How to Wallpaper a Fridge
Ugly, outdated or mismatched fridge? Learn how to cover a refrigerator with removable wallpaper to change the look in just a couple of hours. It’s such an easy process with a stunning after effect!
Is your kitchen craving a dose of style but tight on space? Fear not, because we’re about to unveil the magic of peel-and-stick wallpaper! Yes, you CAN wallpaper a fridge!
Small Kitchen, Big Impact: A Peel-and-Stick Wallpaper Fridge Makeover Guide
We’re no strangers to wallpaper! We have several wallpaper projects we’ve completed from walls to drawer liners to closets, no space is safe from a fun print! Best part, it’s renter-friendly!
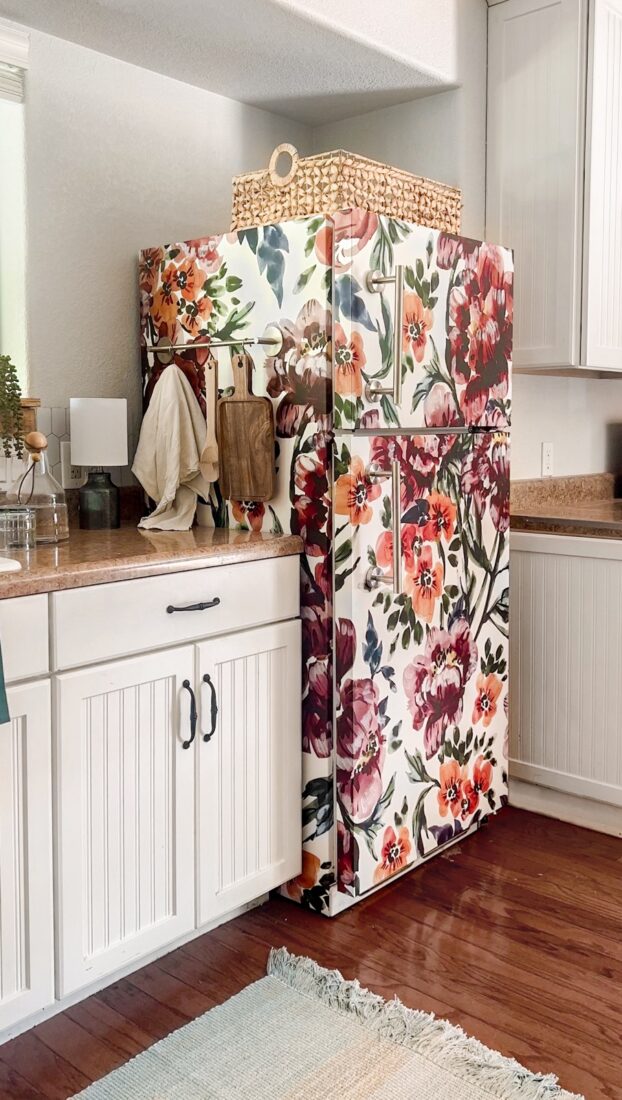
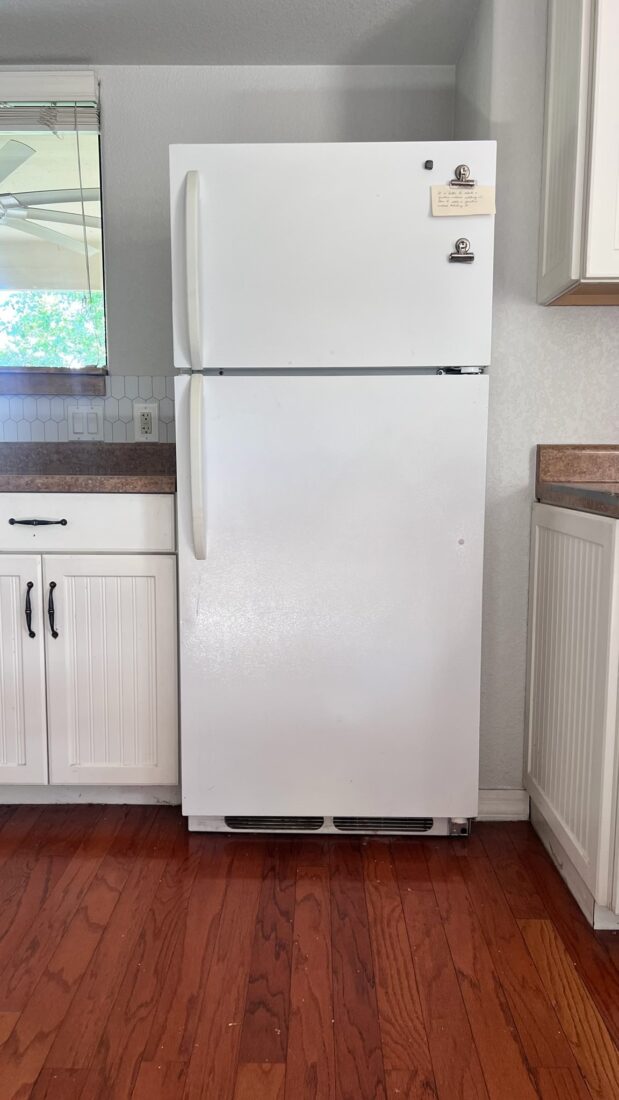
When our parents asked us to freshen up their kitchen guest suite, we knew this floral peel and stick wallpaper would be the perfect way to update their old, ugly (but still functional!) fridge. Here’s what we did and how you can wallpaper your own fridge. Take a look at the boring before:
Step 1: Choose Your Wallpaper:
Before you dive into the DIY adventure, choose a peel-and-stick wallpaper that suits your kitchen’s vibe. Opt for patterns that add depth, texture, or a splash of color to your space. Whether you’re into chic geometrics, serene florals, or playful prints, there’s a design out there that’ll make your kitchen pop! Bonus: use code LOLLY for 35% off!
Step 2: Gather Your Tools:
Equip yourself with the following essentials:
- Peel-and-stick wallpaper *Harper pattern used on our fridge
- Scissors
- Wallpaper kit: utility knife + squeegee set
Step 3: Prepare the Surface:
Clean your fridge thoroughly to ensure a smooth and even application. Remove any handles or knobs that might get in the way of the wallpaper. (These come off easily with a basic screwdriver.)
Step 4: Measure and Cut:
Measure the dimensions of your fridge panels, adding a few extra inches on all sides for trimming. Use these measurements to cut the peel-and-stick wallpaper panels accordingly.
Step 5: Start Applying:
Peel a small section of the backing off the wallpaper and align it with the top of the fridge panel. Slowly peel off the rest of the backing while smoothing the wallpaper down with your hand or a squeegee to prevent air bubbles.
Step 6: Smooth and Trim:
As you continue applying the wallpaper, use a squeegee or credit card to gently smooth out any air bubbles or wrinkles. If necessary, trim the excess wallpaper using scissors or a utility knife along the edges.
Step 7: Repeat and Align:
Continue applying panels of wallpaper to cover the entire surface of the fridge, aligning each panel carefully to create a seamless look. Take your time to ensure each panel lines up perfectly.
CORNERS:
- Wrap corners like you do a gift: use the adhesive to your advantage and wrap it over itself. It’s a nice, tight hold as the adhesive is very strong.
- For the insides of the fridge/freezer doors, tuck the ends of the wallpaper underneath the seal for a clean, finished look when the door is open.
- For the insides of frdige/freezer, cut the wallpaper straight along the inside edge. The temperature won’t affect the strength of the paper, don’t worry.
Step 8: Finish and Admire:
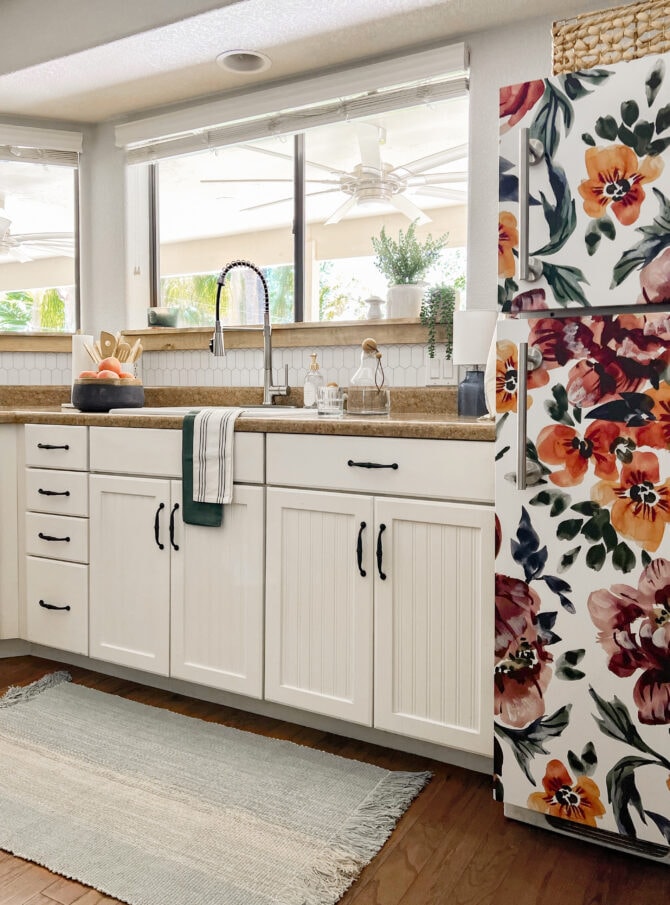
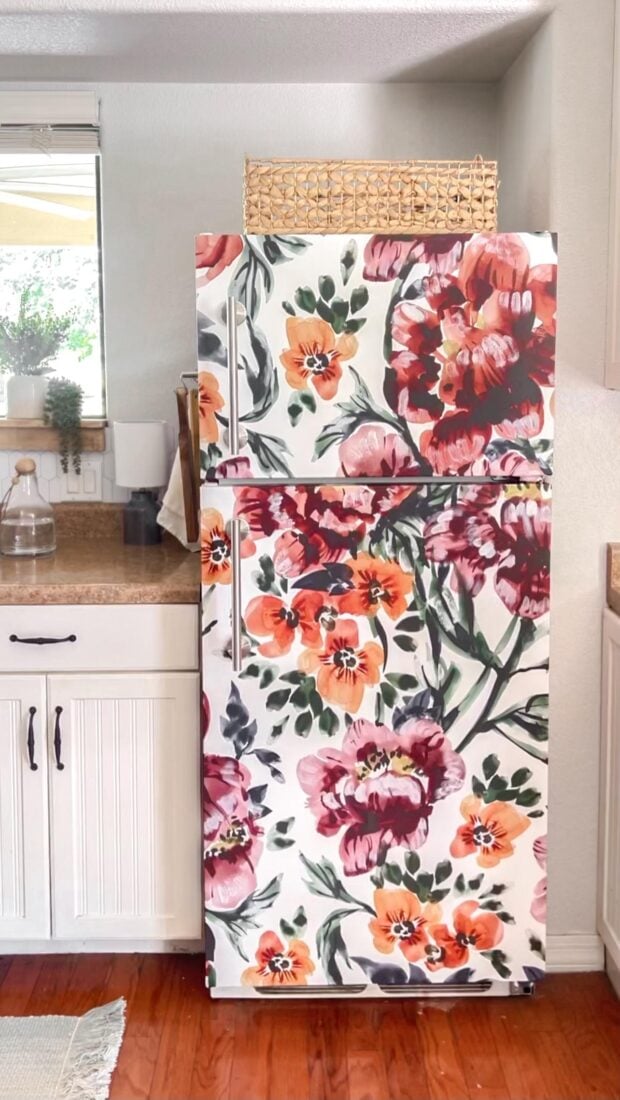
Once all the panels are in place and trimmed, stand back and admire your masterpiece! The peel-and-stick wallpaper has instantly transformed your fridge into a stylish focal point in your kitchen.
Pro Tips:
- Experiment with Patterns: Don’t be afraid to mix and match different patterns to create a unique look.
- Temporary Transformation: The beauty of peel-and-stick wallpaper is that it’s removable, making it perfect for renters or those who love to switch up their decor.
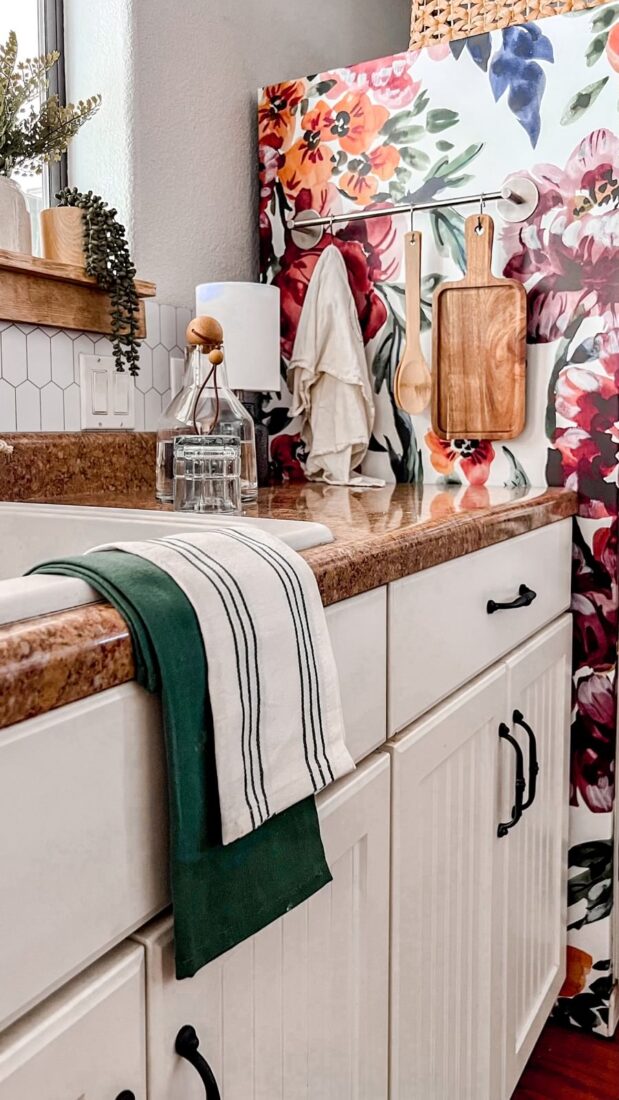
Additional Upgrade: We added these 12″ towel bars to the fridge as handles and threw away the ugly, plastic white handles that came with the fridge. What an upgrade!! I used the same ones in gold on my spray painted fridge and they’re still holding strong 3 years later with a houseful of teens!
We also added an adhesive towel bar with s hooks for extra storage in the small kitchen. Win-win!
Let’s take another look at the before and after:
With a bit of creativity and the power of peel-and-stick, a stylish transformation is within everyone’s reach.
Now, step back and bask in the glory of your revamped space – a small kitchen that’s making a big impact!
SHOP THIS POST

We had a lot of fun freshening up this apartment kitchen. With just a couple days work with beginner-friendly DIY projects, we’ve completely updated the look of this little kitchen! (See the full makeover here.)
Visit more of our kitchen projects to keep yourself busy!
- How to Paint a Tile Backsplash
- DIY Kitchen Shelves with Brackets
- DIY Floating Kitchen Shelves
- Grafitti Kitchen Island Art
- DIY Drip Rail
- DIY Island Hanging Storage
Looking to upgrade your fridge permanently? We have an easy tutorial on how to spray paint a fridge, too!