Hallway Wallpaper
If you’re looking for an easy way to update your hallway, peel and stick wallpaper is for you. It’s easy to apply and doesn’t require any special tools or skills. All you need is some patience and a quality wallpaper to make a narrow hallway look good.
This Post May Contain Affiliate Links. Please Read Our Disclosure Policy.
I can’t begin to tell you how much time I’ve saved by using peel and stick wallpaper. If you’re like me and don’t think of yourself as the most artistic person in the world, this product is perfect for you. Peel and stick wallpaper helped me create a trendy hallway with minimal effort on my part.
We’ve shared our entryway several times but haven’t shared the hallway much. Since we finished the remodel, I’ve been trying to customize each space one room at a time as we never plan to remodel again. EVER.
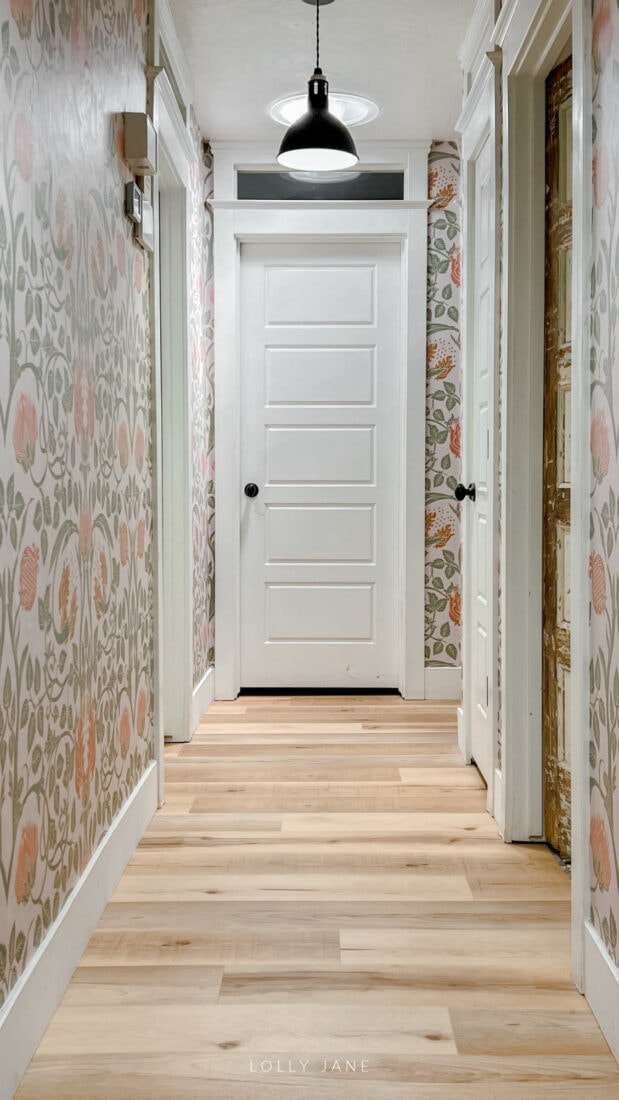
The hallway is right off the entryway so it’s one of the first rooms you see when you walk in. Why not dress it up?
How do you make a hallway look modern?
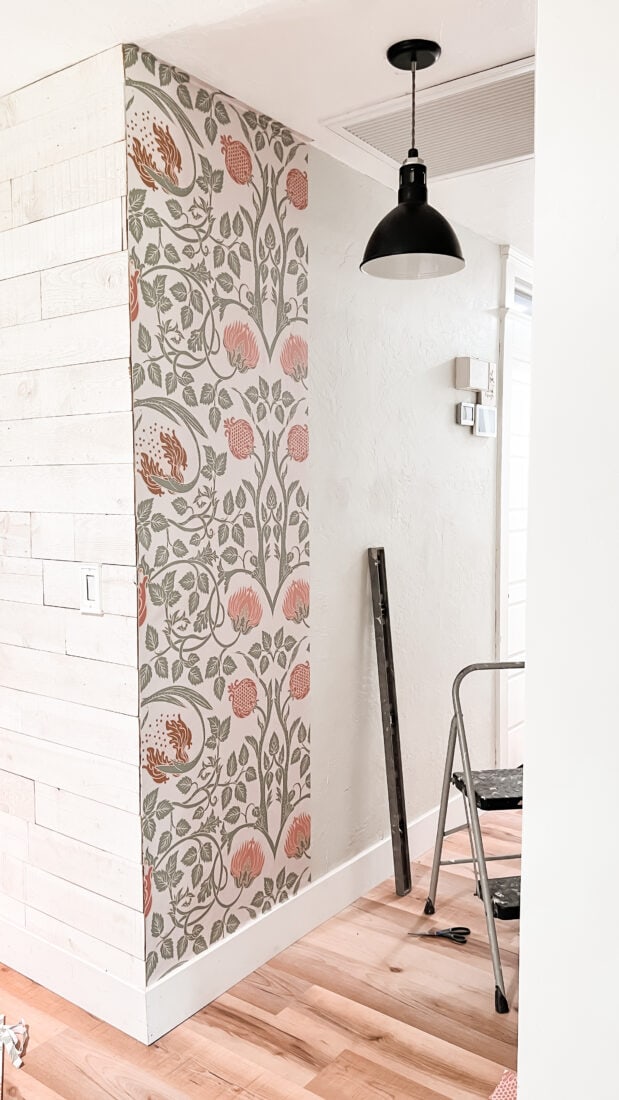
To update a hallway, wall art is a fast fix! We opted for colorful floral wallpaper to make the whole hallway art! 😍 I’ll probably add some family picture frames over time but am LOVING the fast change that a quick peel and stick project can make!

PREVIOUS FIXES
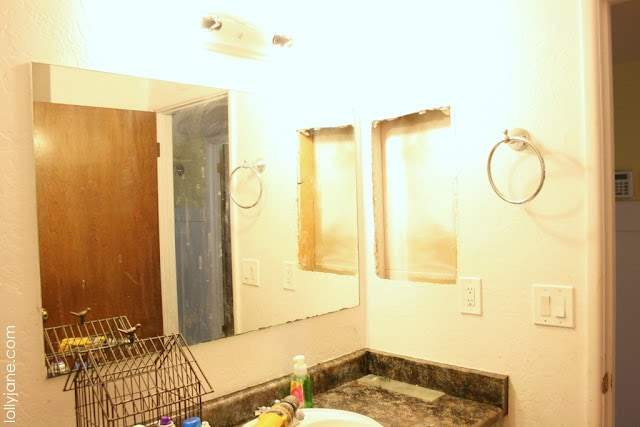
Before the wallpaper went up, we’d already completed several project in this space.
About 8 year ago, we upgraded the interiors doors from the hollow builder grade cheapies that were here when we moved in 11 years ago.
We also added transom windows above the bedrooms and continued the molding all the way to the ceiling to create the illusion of taller walls. In reality, they’re 8′ tall.
Hallway Updates
+
REMOVED SOFFIT + RAISED CEILINGS
+
NEW KNOBS + HINGES
+
UPDATED LIGHTING
+
NEW LVP FLOORING + 5.5″ BASEBOARDS
hOMe | DIY
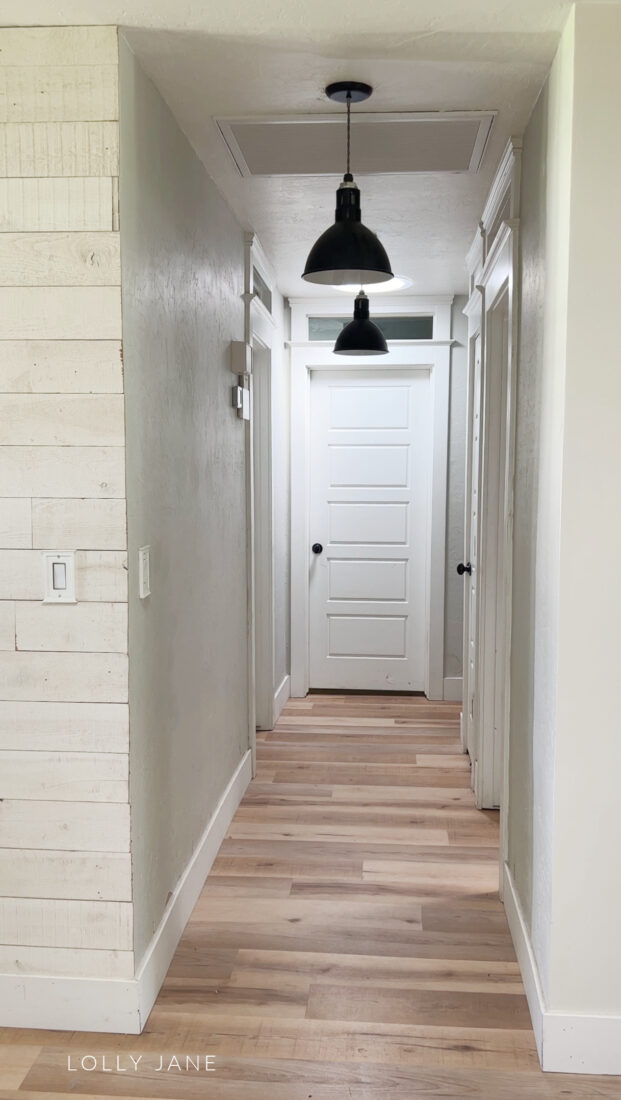
These oval door knobs dressed them up, I love the oblong shape to give it a custom look. I also upgraded matte black hinges to match the knobs as well swapped 1 small wall pendant in an odd spot to three black hanging pendant lights instead.
Thinking out loud: I’m ready for a change and have had my eye on these gold and white scallop ceiling mounts but don’t know if I want to spend the money on them just yet. I need to move electrical to add 1 more light down the hall, closer to our master bedroom. One day soon I hope to get that checked off.
We did replace the old cheap floors with these gorgeous, light wood LVP floors and upgraded the standard molding with 5.5″ craftsman baseboards, too.
The new wallpaper is the cherry on top!
If you’re looking to transform your walls with wallpaper too, read on for how easy the process was and why we recommend it!
What kind of wallpaper is best for a hallway?
Peel and stick wallpaper is a great alternative to traditional wallpaper. It’s easy to apply and you don’t have to worry about poking holes in walls or stretching it out on the floor.
We’ve talked about peel and stick wallpaper several times and even have an in-depth blog post about it. We covered everything from wallpapering over texture to how to prep your walls before wallpapering so check it out if you’re new to this product.
You can use a paste wallpaper as well, it’s simply personal preference. Paste requires more prep work whereas peel and stick is basically a large, removable sticker so it goes on quickly.
If you’re wondering if you should put wallpaper in a hallway, we vote YES!
Peel and stick wallpaper is a great alternative to traditional wallpaper
It’s very easy to install but our favorite part is that it can be removed without damaging the walls. Other than orange peel texture, it can be applied to almost any flat surface.
You can use it in a variety of rooms including bedrooms, bathrooms, the laundry room and kitchen.
How to Hang Peel and Stick Wallpaper
Although we’re veteran wallpaper users, this is our first time using Decco Print. The numbered system is a total game changer!
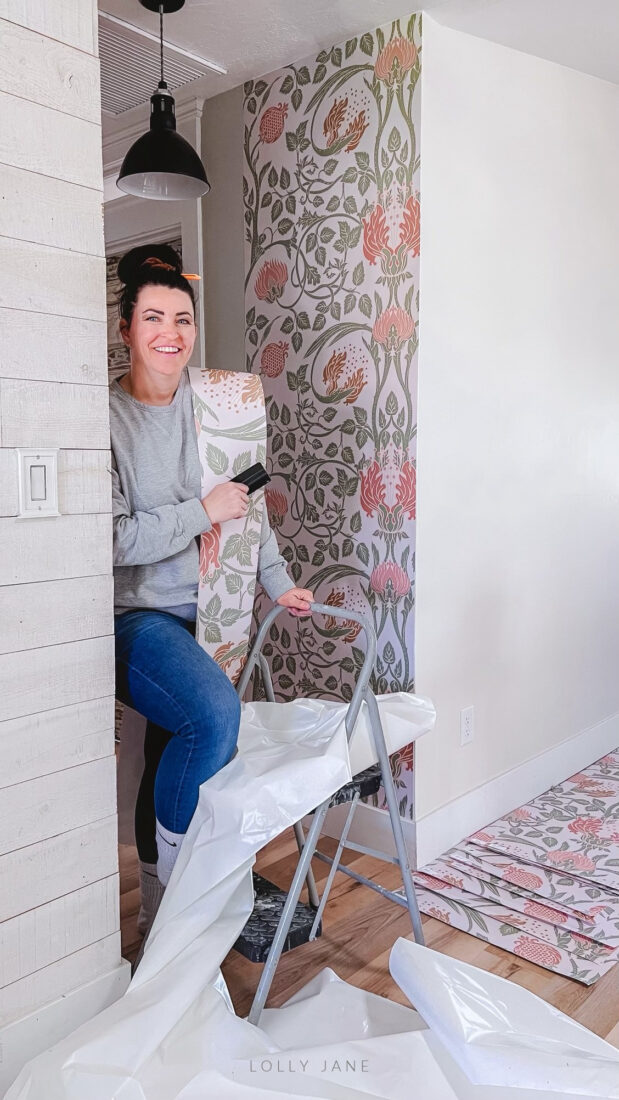
It arrives in individual sheets that are sized to your wall rather than apply from a roll. Each sheet includes the a number at the bottom so you know which order to apply the paper to the walls to take the guess work out of it.
The seams also butt up to each other for a fluid look unlike other brands that suggest overlapping by and inch or two.
Directions to Hang Wallpaper
With this wallpaper, you don’t have to worry about applying an adhesive paste or using a wallpaper brush. Simply peel off the backing and stick it on your wall.
It comes with its own applicator tool that makes it easy to smooth out wrinkles in the paper and get rid of air bubbles.
For the whole project, you simply need scissors, a smoothing tool (or credit card) and a sharp utility knife. Bundle it here!
TIPS
- UNEVEN WALLS: Walls are rarely even so plan on overshooting edges/ceiling and trim later.
- PUSH PIN: Pop the air bubbles with a small push pin or needle.
- BLOW DRYER: Use a hair dryer on low heat to smooth out wrinkles or bubbles.
- CLEAN EDGE: A flat edge paired with a blade will cut perfect lines.
- SPRAY ADHESIVE: Although this defeats the purpose of peel and stick, sometimes a piece just won’t stick! For example, I rounded the corner of my hallway instead of cutting it into two separate pieces. They were short on both sides and because the pressure of the corner was in the middle of the paper, it kept popping up. I sprayed the adhesive along the wall, smoothed out the paper, applied pressure then used painters tape to overlap the seams overnight. Worked like a charm!
We’d love for you to pin our wallpaper hallway so your friends can get inspiration, too!

More Wallpaper Ideas
If you like our hallway makeover, you’ll love these other wallpaper transformations, too!
- Master Bedroom Wallpaper Closet
- Faux Shiplap Wallpaper Wall Treatment
- Teen Girls Bedroom Wallpaper
- Office Nook Wallpaper
- Brick Peel and Stick Wallpaper
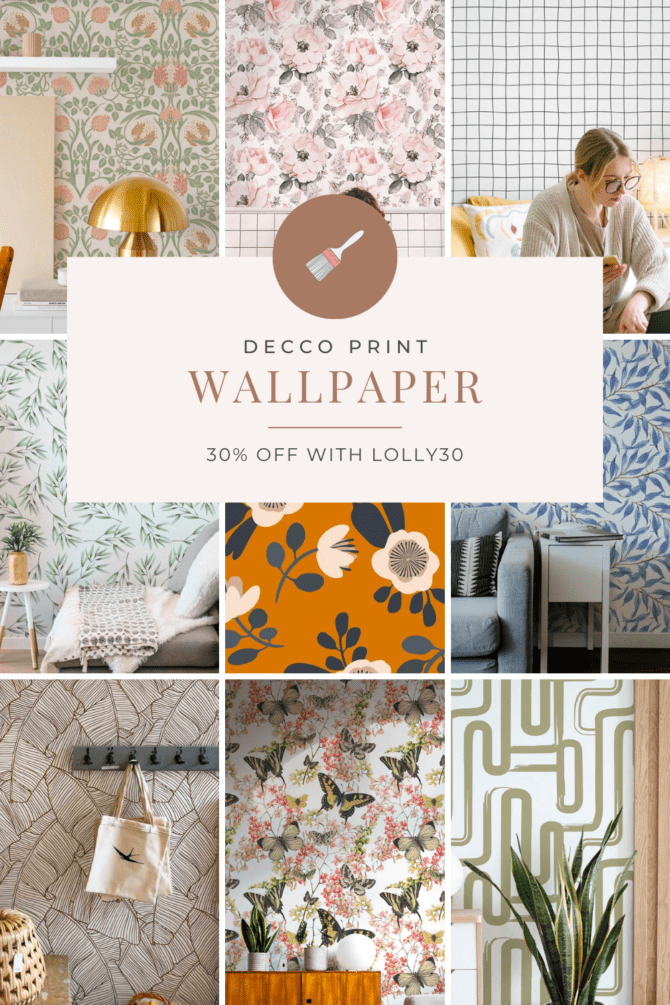
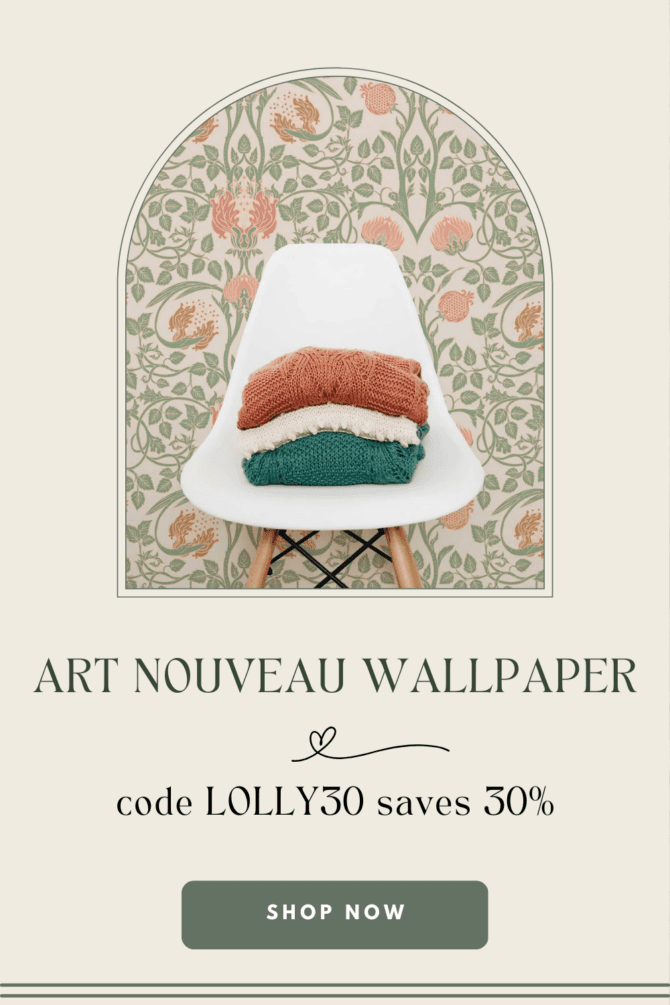
WALLPAPER DISCOUNT
Thanks to Decco Print for providing this custom made Art Nouveau wallpaper to jazz up our hallway! Bonus: they’ve included a 30% off coupon for YOU! Just enter LOLLY30 at checkout 🙂
Loved!!! The hallway wallpaper and the ideas of how to select the right one is worth giving a try.