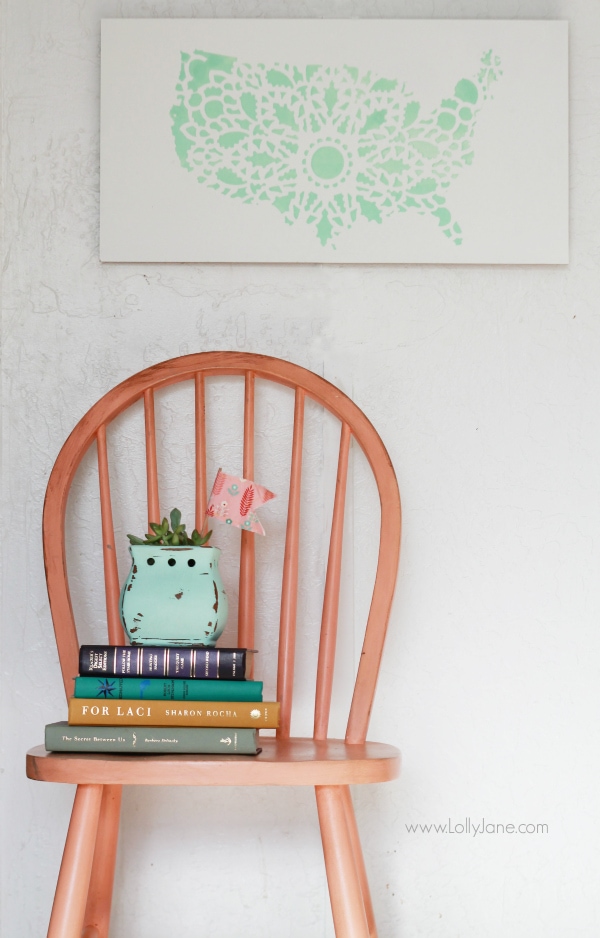
stenciled United States sign
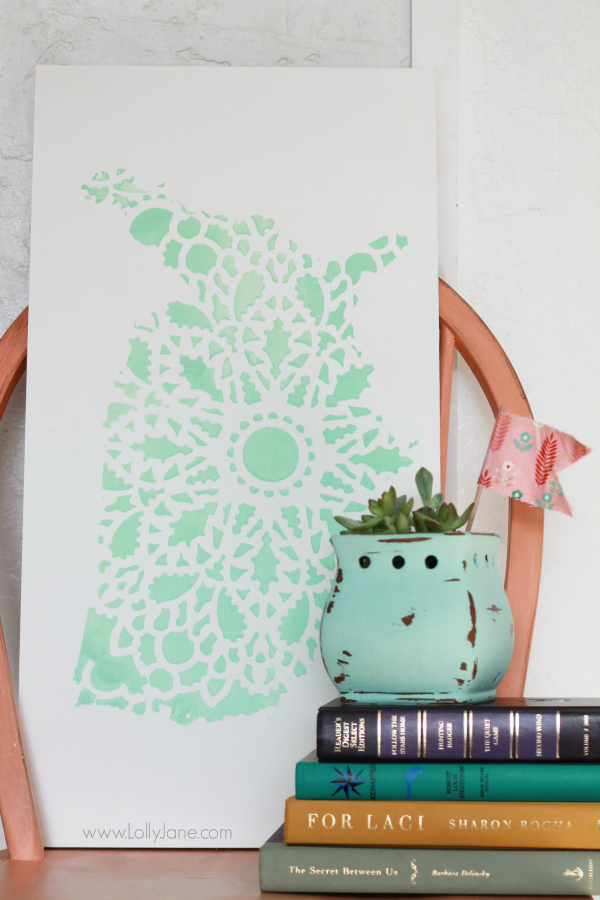
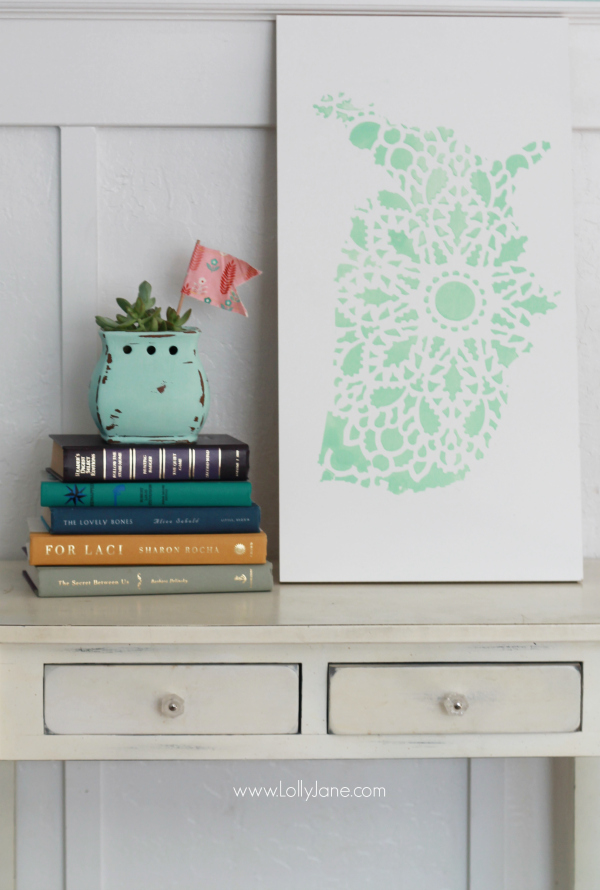
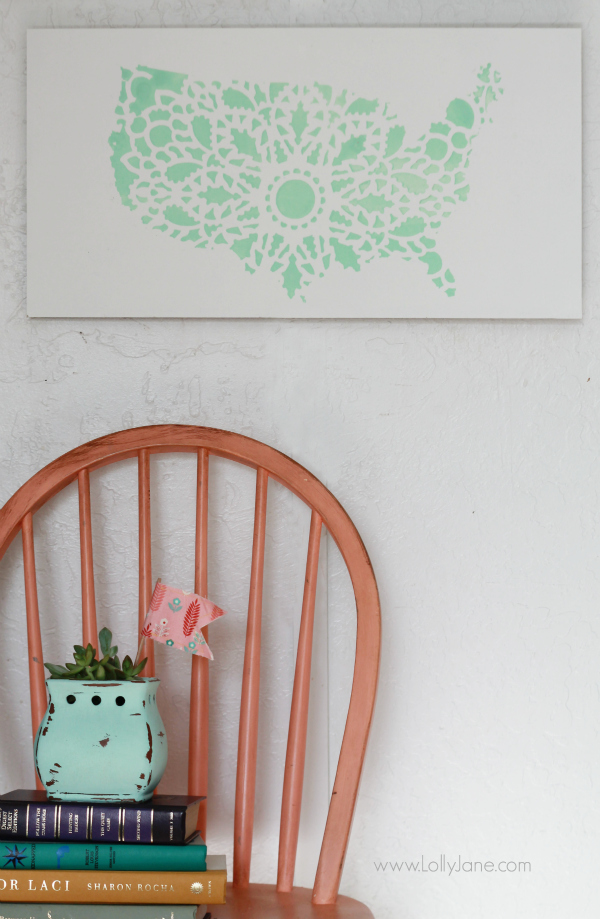
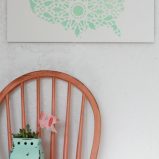
We love this great country that we live in, and we love mint, and we also love stencils, oh, and creating hand painted signs. So we combined them all to bring you our stencil United States sign. It’s a quick process and we love the unique pattern inside the country. We fell in love with the Charlotte all over design from Cutting Edge Stencil years ago. It’s been on my watch list and I finally ordered it, not knowing where I’d put it! CES was kind enough to sponsor Lolly Jane to attend the SNAP blog conference last month, they also supplied this gorgeous stencil so it’s only fair we show you a non-traditional way to use it, right?? We just LOVE how it turned out!
- wood (ours is a 24″ x 12″ mdf)
- sponge roller
- paint brush
- foam brush (optional, we didn’t end up using it)
- acrylic paint (we prefer DecoArt: colors used: White Birch + Soft Jade)
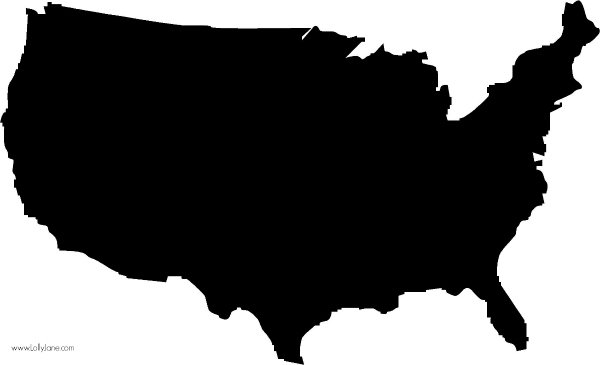
- USA stencil (below, just right click + save. Not perfect quality but if you’re using it for a sign, it won’t matter)
Directions:
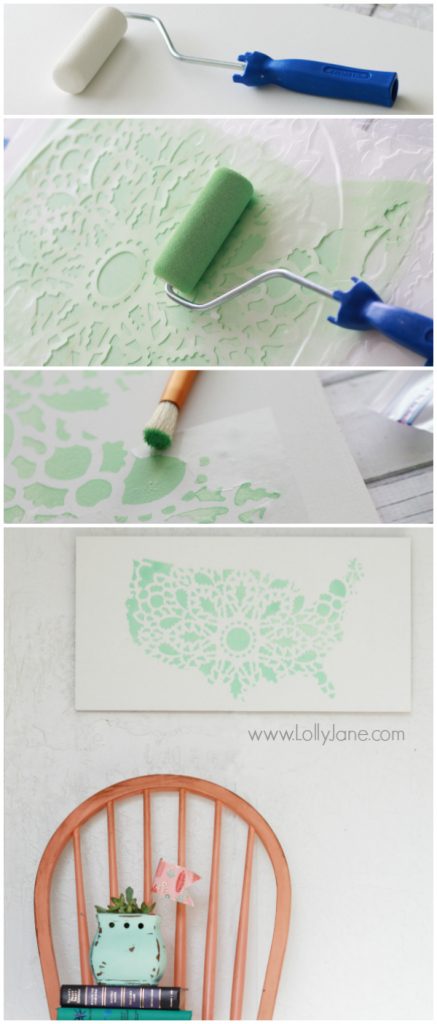
- Paint your sign white, (the roller makes it perfectly smooth, thanks CES for including it!)
- Tape your Charlotte stencil to the wood, (when white paint is dry.)
- Lay your USA vinyl stencil on the Charlotte stencil
- Roll over the USA stencil, one coat will do
- Note: I did have to go over the edges again (pic 3) because the Charlotte stencil wasn’t long enough…all I had to do to fix it was put the USA stencil back on top of the wood directly (after the mint dried), then place the Charlotte stencil over the corner. I used the small paint brush to fill in the gaps until I was happy with the USA silhouette (: Easy!
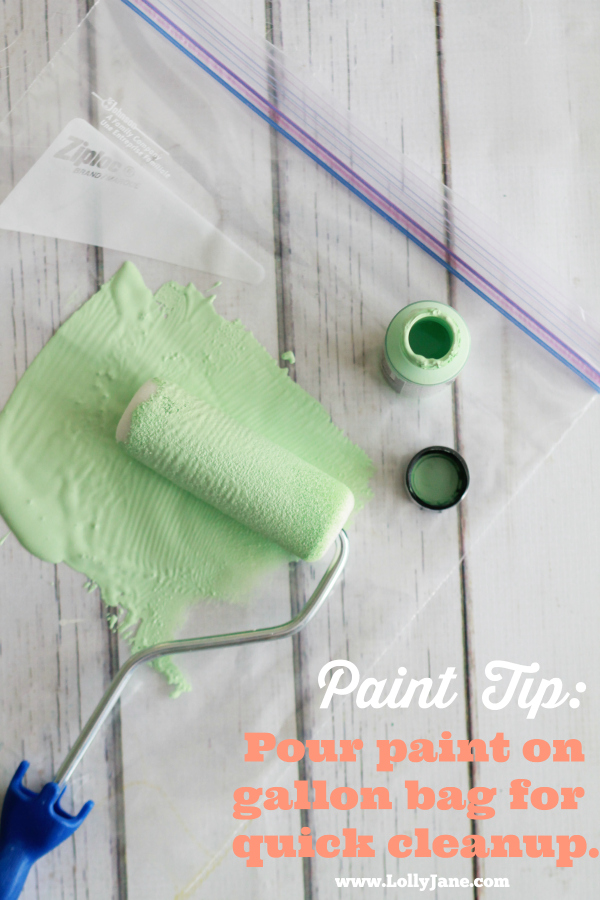
Tip: When painting small spaces, pour the paint on top of a gallon size bag. It’ll be enough space to roll your paint in and you can chuck it when you’re done for easy clean up!
That’s all there is to it! Very, very easy sign tutorial for you!
Visit all of our Cutting Edge Stencil projects, we’ve done lots!
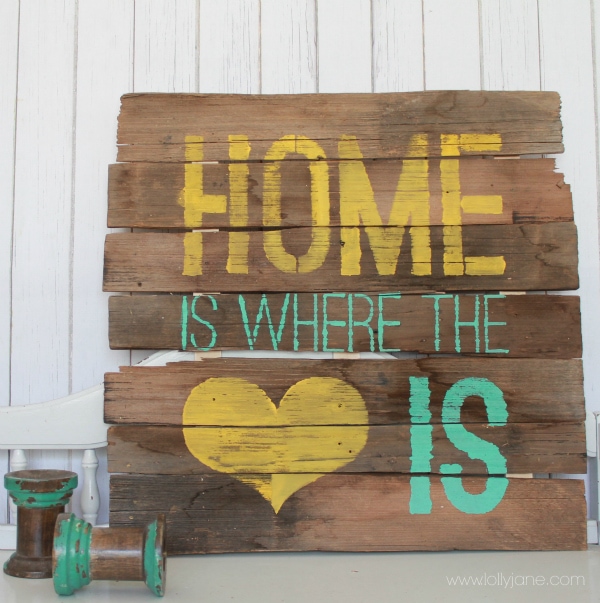
If you like the chippy look, you’ll love our Home is Where the heart is pallet art,
Or how about a Dining Room | Built In Bookcase | Bathroom | Curtains So many possibilities!!
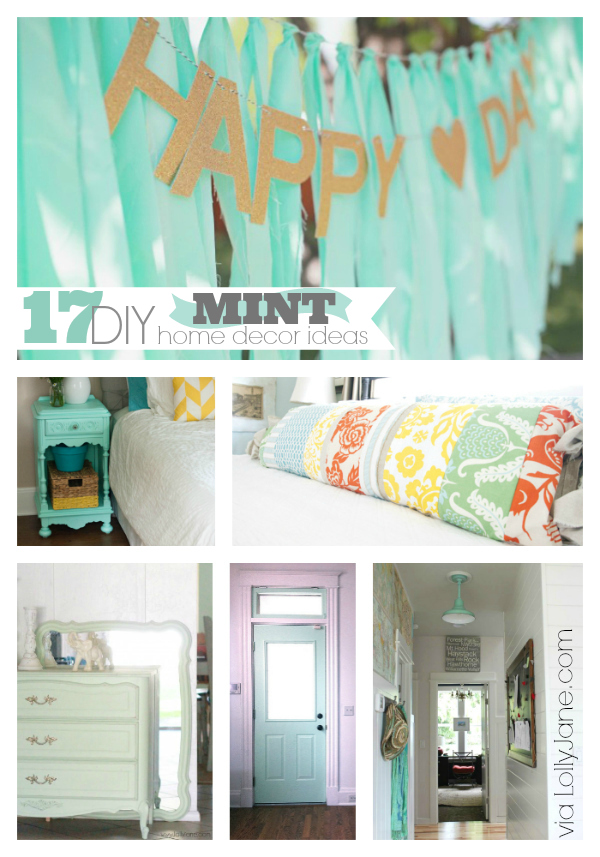
Need more mint in your life? Check out all of our inspirational roundups like our 17 DIY mint home decor ideas!
Stenciled United States Sign
Materials
- wood
- sponge roller
- paint brush
- foam brush
- acrylic paint White Birch + Soft Jade
- USA stencil
Instructions
- Paint your sign white
- Tape your Charlotte stencil to the wood, (when white paint is dry.)
- Lay your USA vinyl stencil on the Charlotte stencil
- Roll over the USA stencil, one coat will do
Notes
- I did have to go over the edges again because the Charlotte stencil wasn’t long enough…all I had to do to fix it was put the USA stencil back on top of the wood directly (after the mint dried), then place the Charlotte stencil over the corner. I used the small paint brush to fill in the gaps until I was happy with the USA silhouette (: Easy!
- Tip: When painting small spaces, pour the paint on top of a gallon size bag. It’ll be enough space to roll your paint in and you can chuck it when you’re done for easy clean up! That’s all there is to it! Very, very easy sign tutorial for you!


Look forward to getting your posts now. I love the US silhouette to use, thanks so much for that, have idea to use it already. Your map turned out gorgeous with mint paint and the stencil. Many ways to use the map, only have to use my old bean. Happy summer days.
Soooo cute and I love the color you chose!
There are no words for how much I LOVE this!!!
I love it!
This is absolutely adorable!!