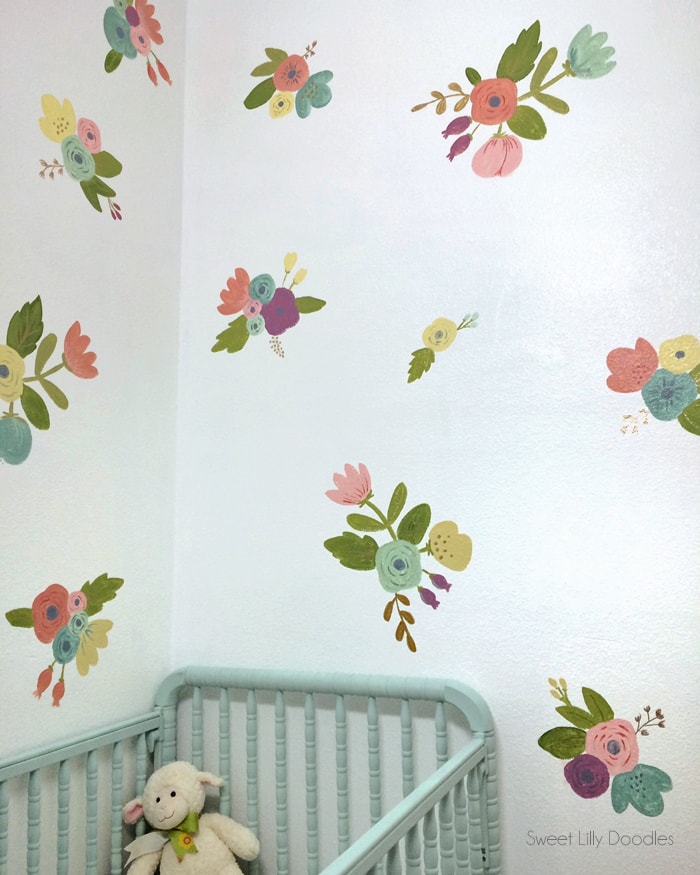
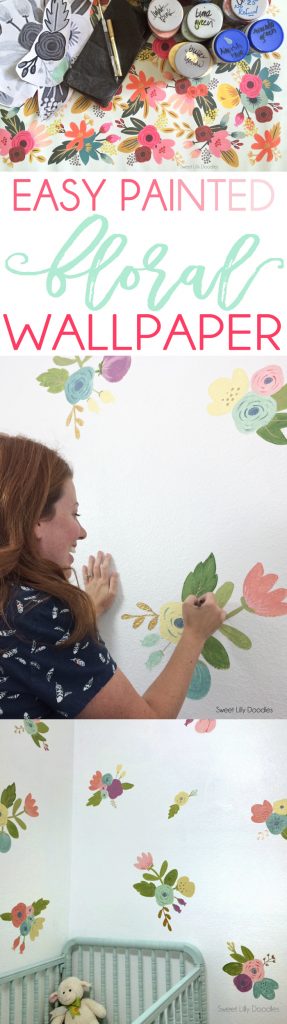
Easy Painted Floral Faux Wallpaper
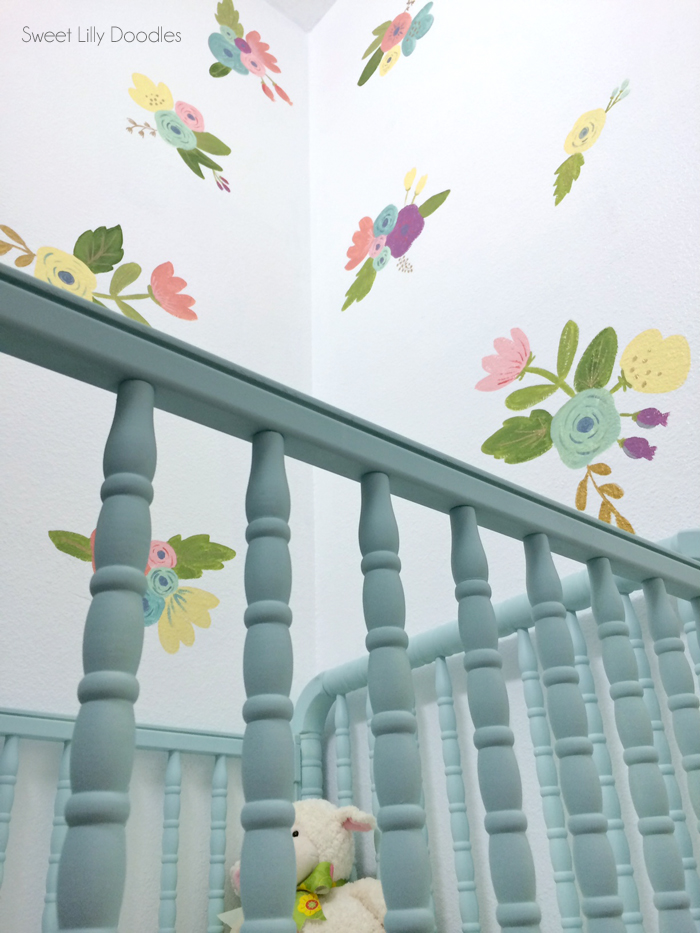
Hello! Megan Ballarini again from Sweet Lilly Doodles. I’m really excited to share this project today! I’m going to show you how to paint flower faux wallpaper, quick and easy! Promise! A dear friend just had her first baby, a sweet little girl! She asked me to help decorate the baby’s nook, aka: their walk-in closet. There’s just enough room in this nook for the crib and a dresser, so it didn’t need much. I jumped at the chance to paint a floral “wallpaper”!
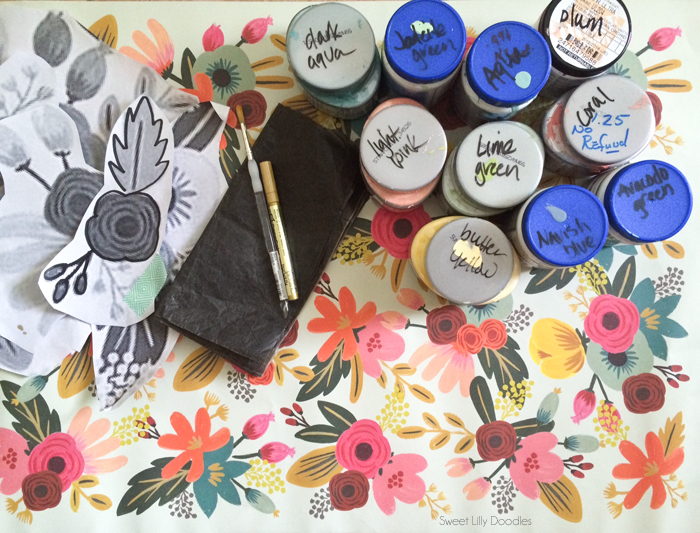
Supplies:
• Paint. I used about 10 different colors; sample wall (latex) paint or craft paint is fine
• Paint brush, I only used one
• Transfer paper, copy or carbon paper from craft store
• Gold paint pen
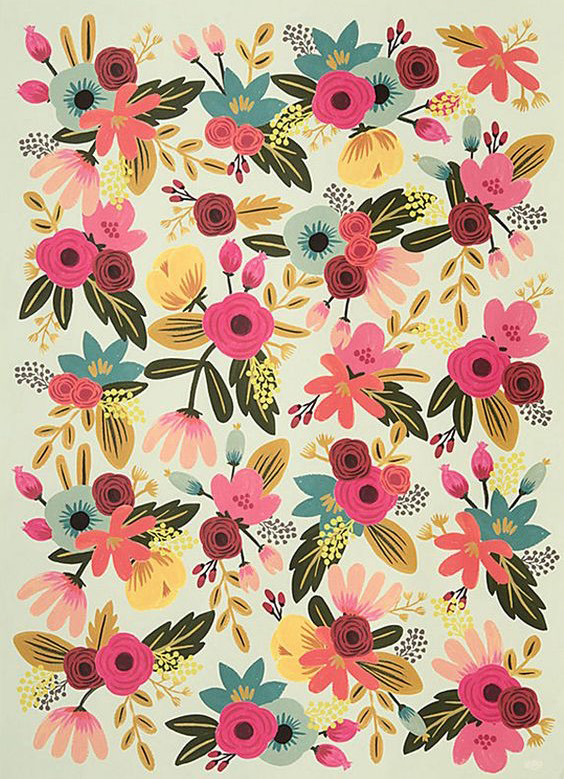
These are my inspiration flowers. I found the image online and saved it in my phone. It’s a sheet of paper from The Paper Source.
Instead of free handing the flowers on the wall, I took my digital image to Staples and had them enlarge it. I emailed them picture while I was in the store directly from my phone, and asked for an engineered print. These prints are black and white, and can be made as large as 3×4 feet for around $7. Your print will be pixelated, but that’s ok!
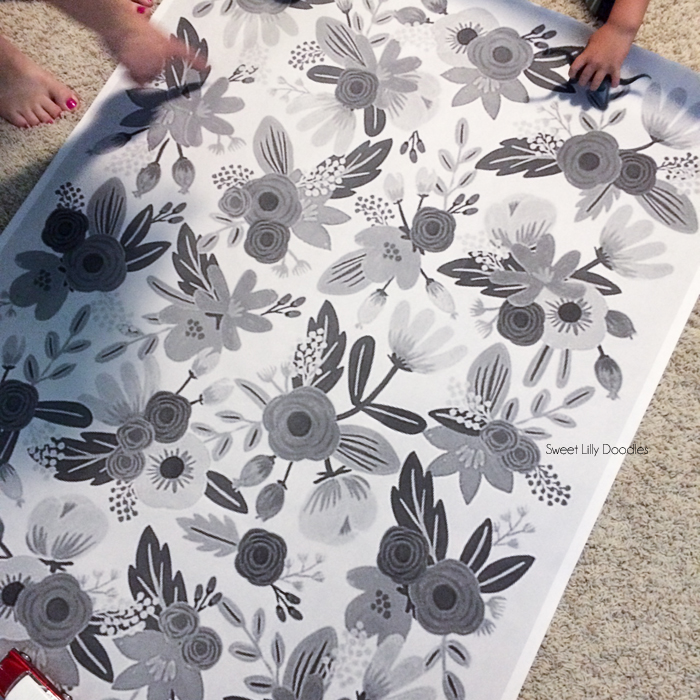
You’re just looking for the general outline and size of the flowers. If you feel the need, just trace around your images with a sharpie to give yourself a clearer outline. Pick your flowers. My friend and I picked out our 4 favorite bouquets. We picked a large one, a small one, and tried to make sure they differed enough from each other. You can choose as many as you’d like, but 4 seemed good. I loosely cut out each bouquet.
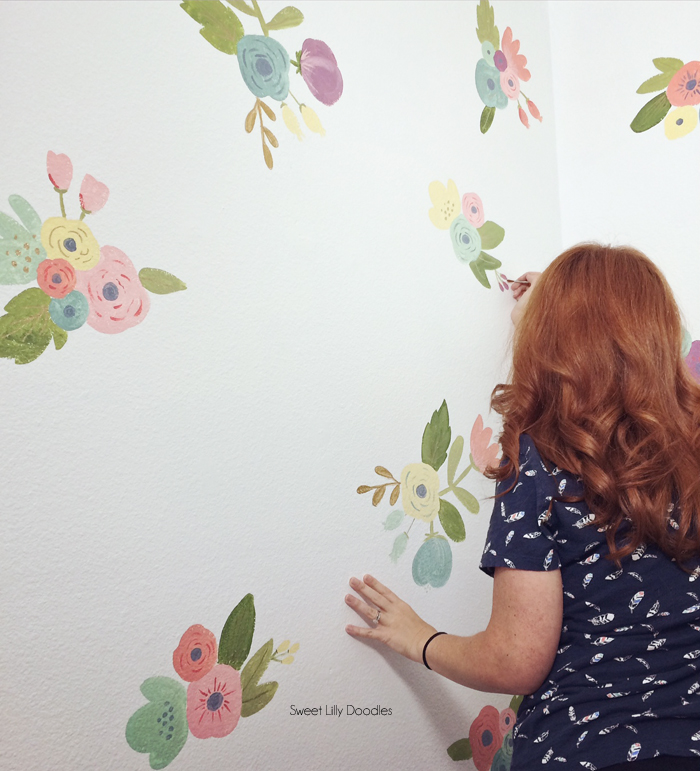
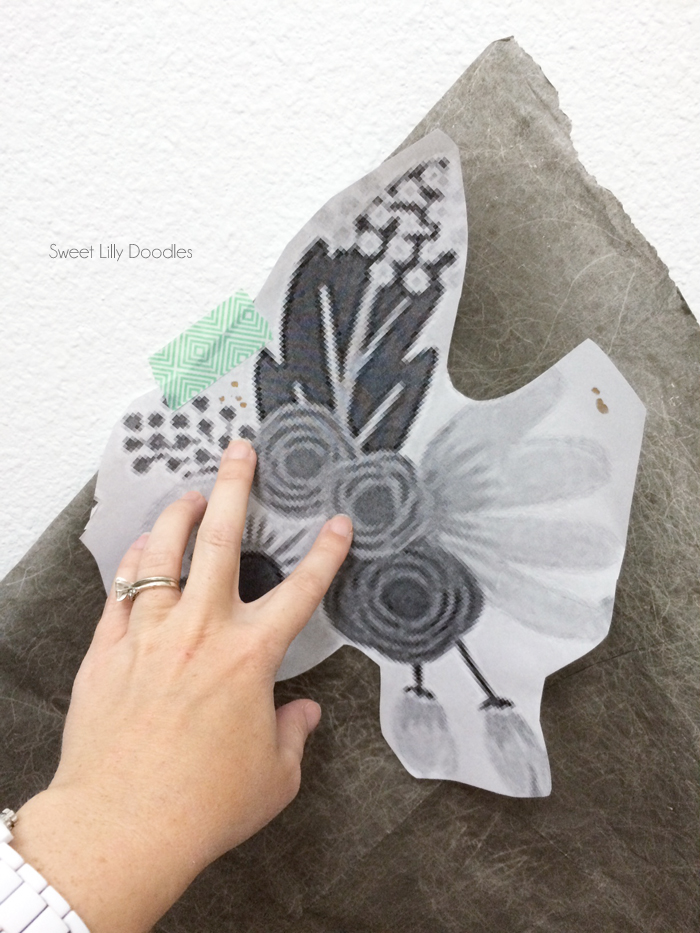 Get them on the wall. I taped the flowers wherever I desired on the wall, and placed tracing or copy paper behind it. Then I quickly outlined the flowers, when you’re finished you’ll have a perfect copy of your bouquets on the wall. So easy!
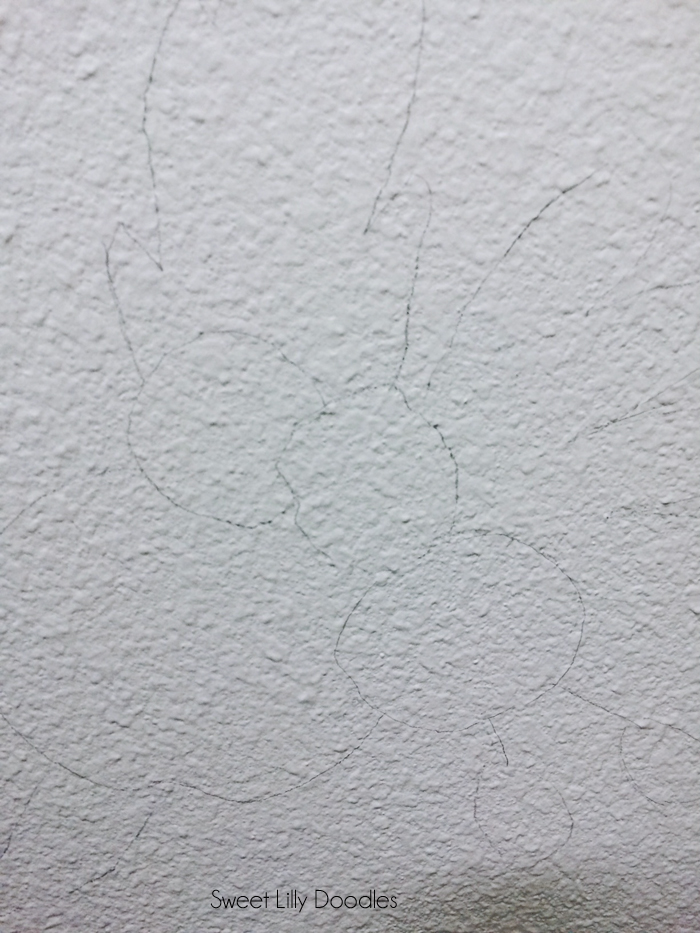
Can you see the outline in the photo? Continue to add flowers alternating their placement throughout the walls.
Paint! I started with one color and painted a bit of that color on every bouquet before moving on to the next color. I did this way because 1. I think it’s faster. And 2. I didn’t want to continually be washing out my brush, (I hate cleaning my brushes!)
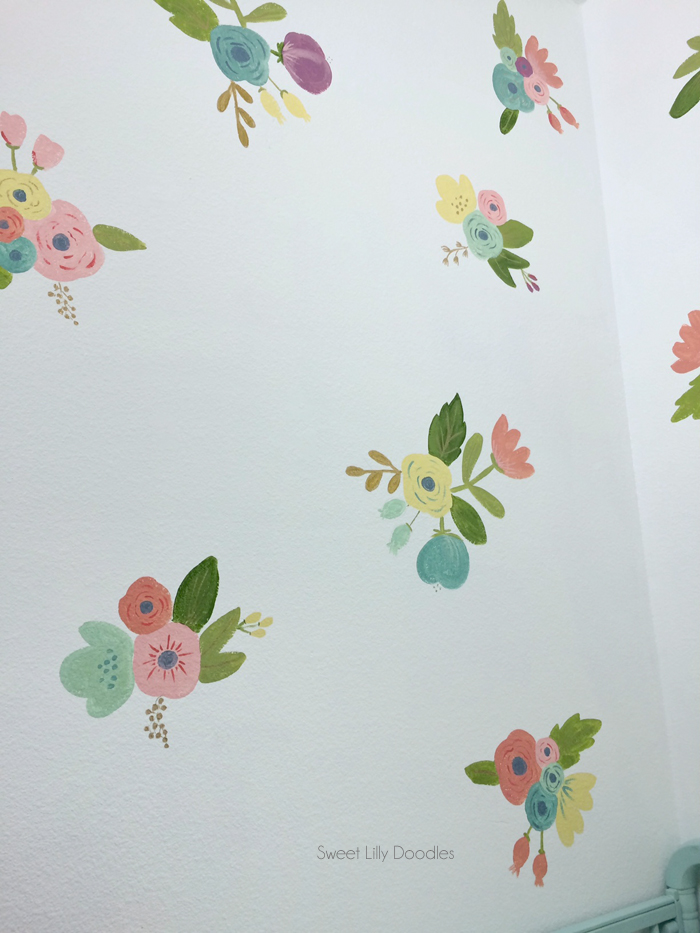
Once all your shapes have been filled in, you’ll need to add some details. This is where it starts to look good!
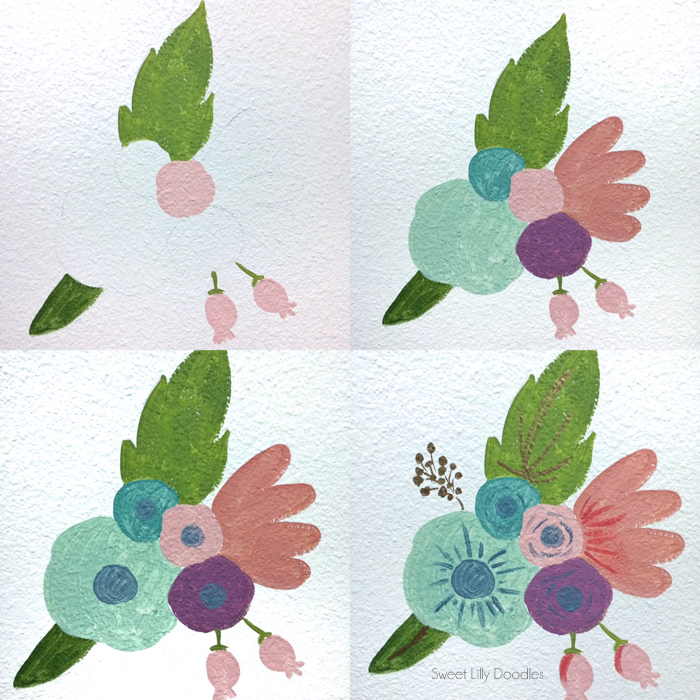
Until now it’ll just look like colorful blobs and you might be doubting me, but wait! Using your inspiration image, add center circles, spirals, dots etc. to your blobs, I mean flowers. You’ll see it start to come to life! I wanted to use some gold, and since I’m all about easy, I used a gold paint pen.
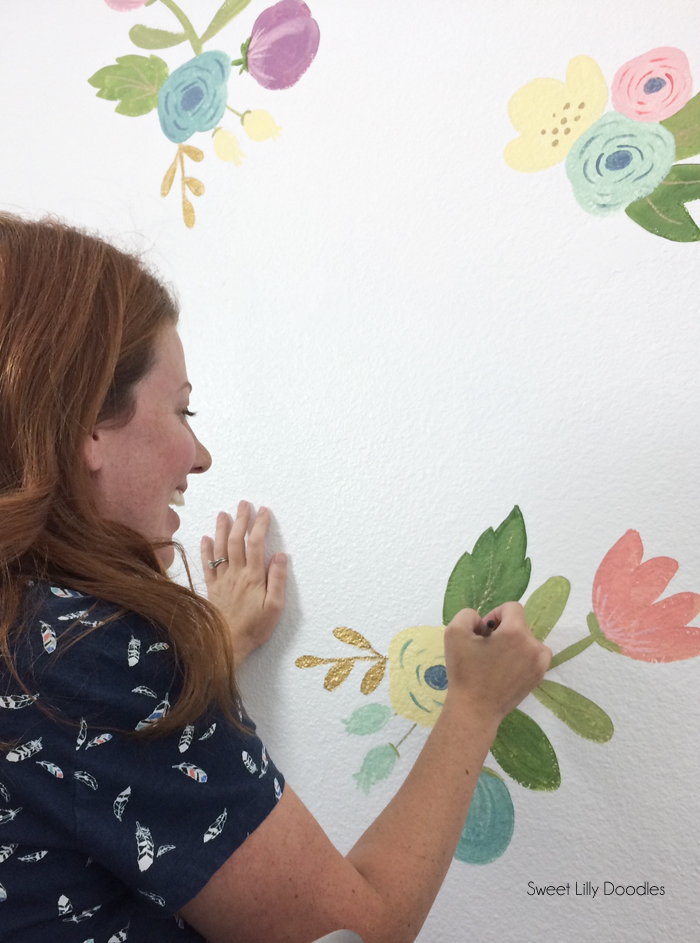
This is perfect for detailed dots, or those funky stem thingys!
Ta-daa!
That’s it!
Told you it was easy! Give it a try, I’d love to see what you do!

Megan
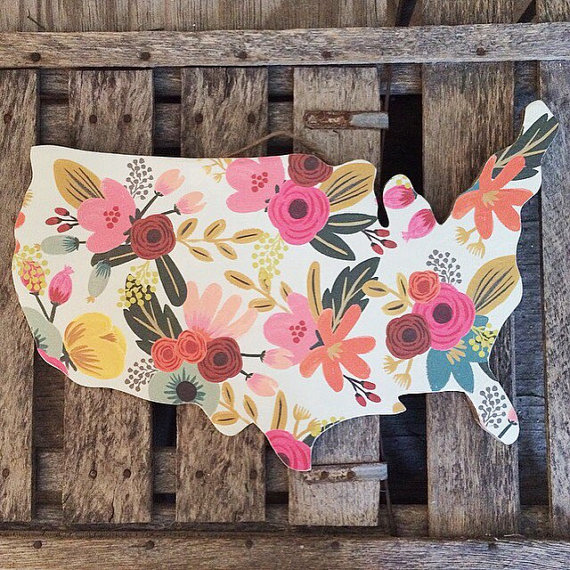
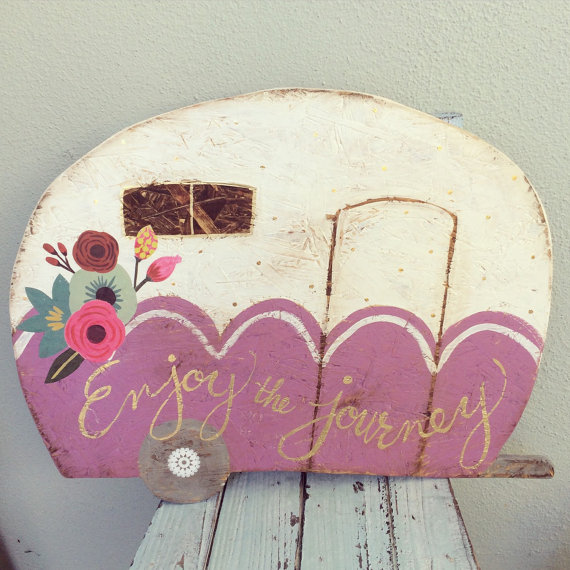
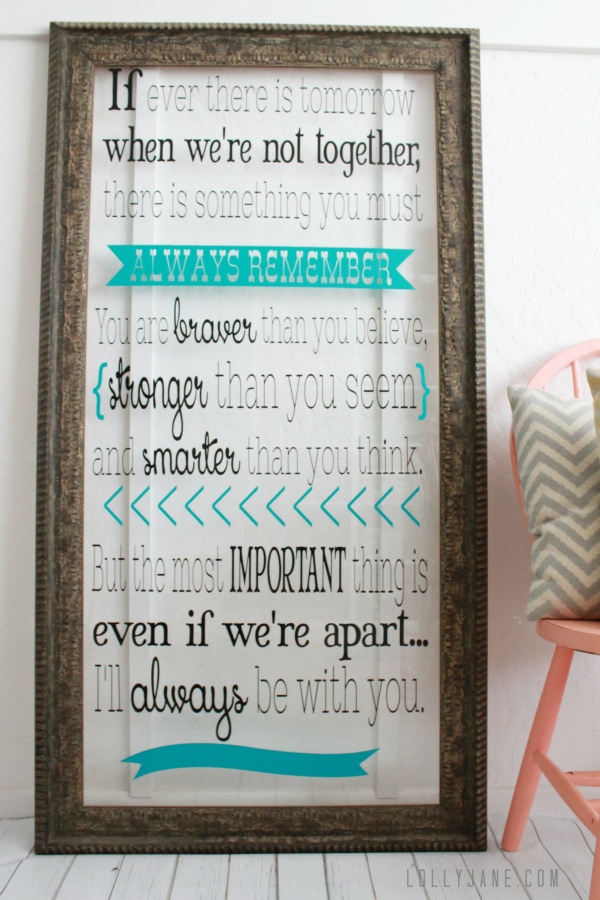
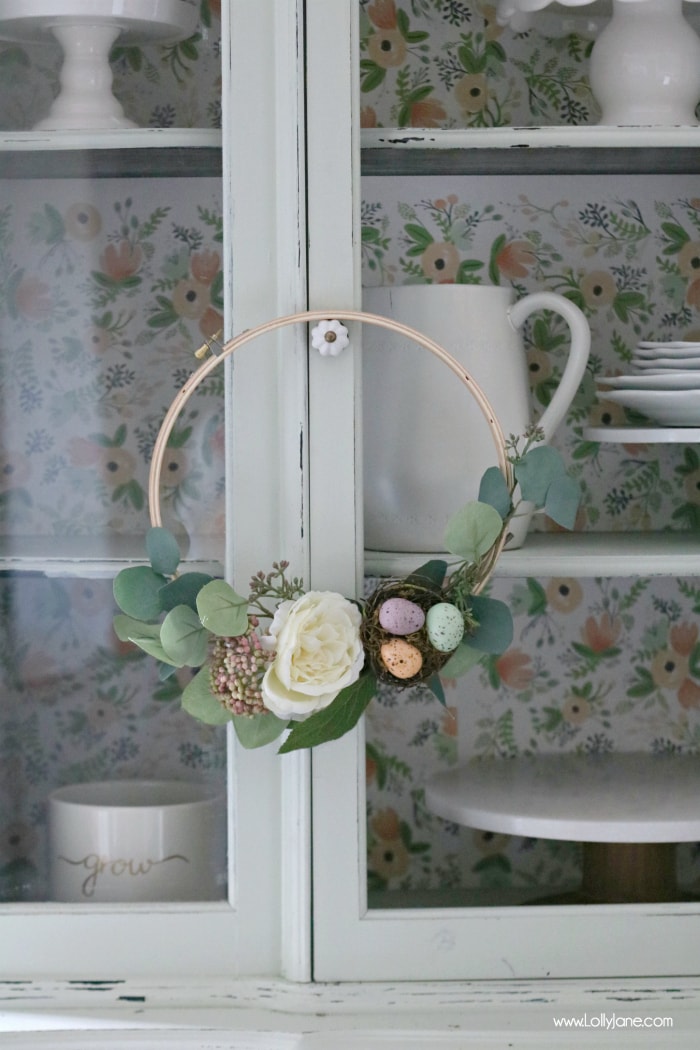
We LOVE this tutorial mucho! Be sure to check out Megan’s instagram and her darling shop with items like below! XO
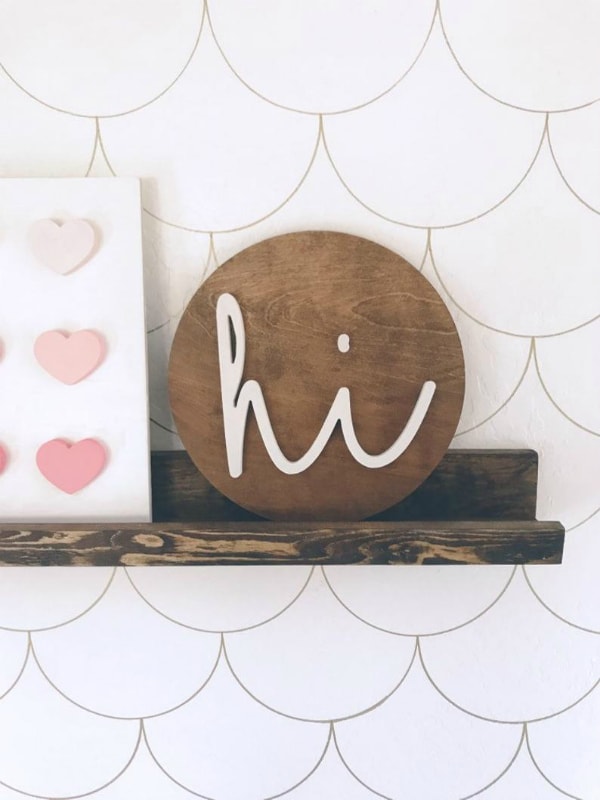
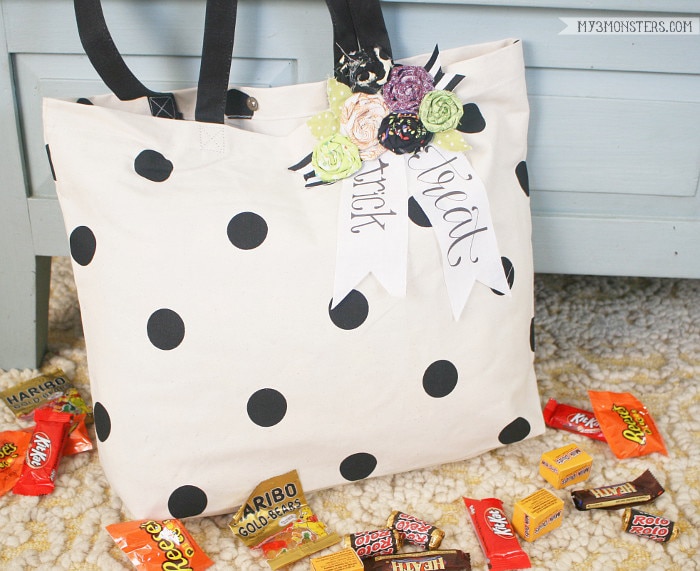
and this darling Polka dot LOVE floral sign!

thanks so much for the response! cant wait to do this for my daughters’ shared bedroom!
Hi Faith! Meg used a variety of 10 colors from her local craft store. She didn’t name specifics but used dark aqua, light pink, aqua, lime green, butter yellow, navy blue, avocado green, coral and plum to name a few! 🙂
May I ask what colors you used for this project?
Oh good!! Hope yours turns out beautifully, Anna!
I love love love this!! I’ve been toying with the idea of painting flowers as well because decals and wallpaper are so expensive! You make it look so much easier than I was imagining 🙂
Hi Jen, she used 10 sample pots from Home Depot. Happy painting!
What a wonderful
Idea ! I was wondering where you purchased the pain from ? How much was enough paint ? Can’t wait to start this
Meg is super talented right!? Definitely worth the work, looks amazing!
Oh my goodness! This is absolutely adorable!!!