diy farmhouse entryway shelf
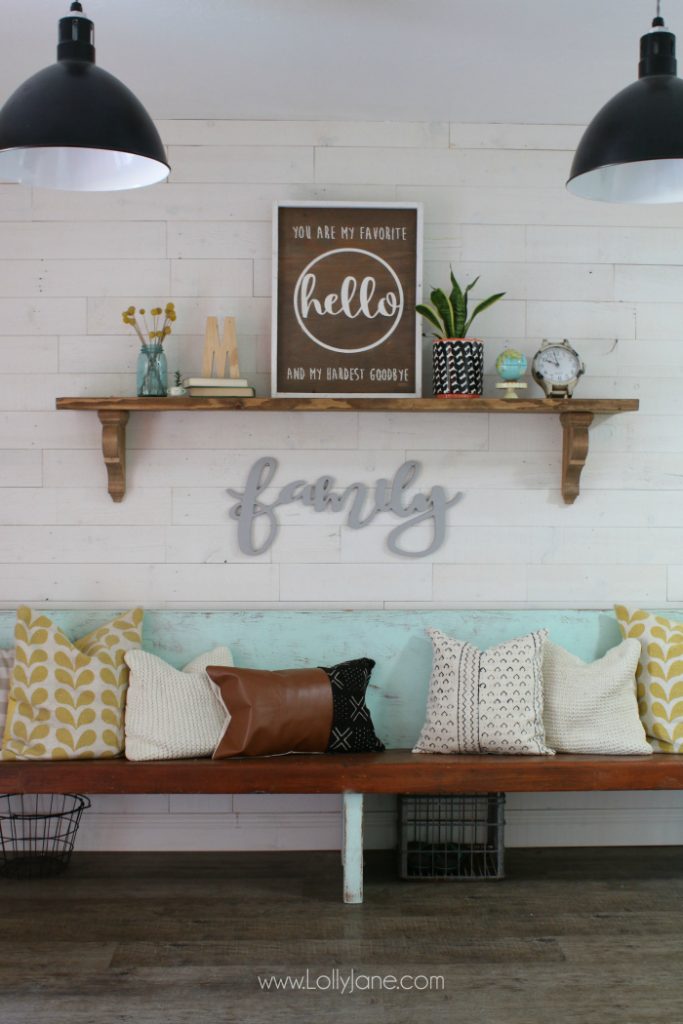
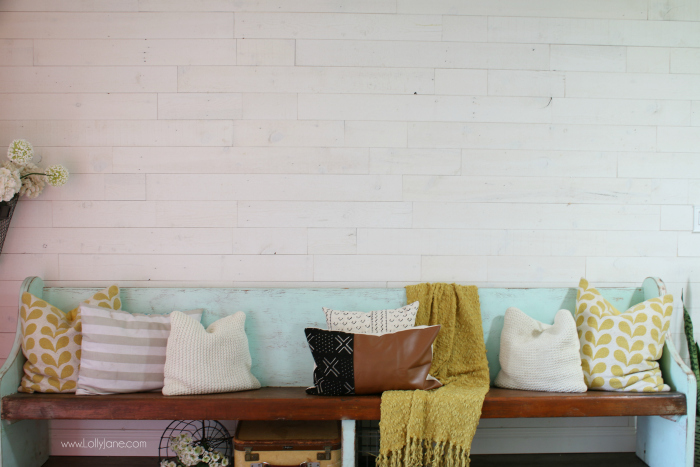
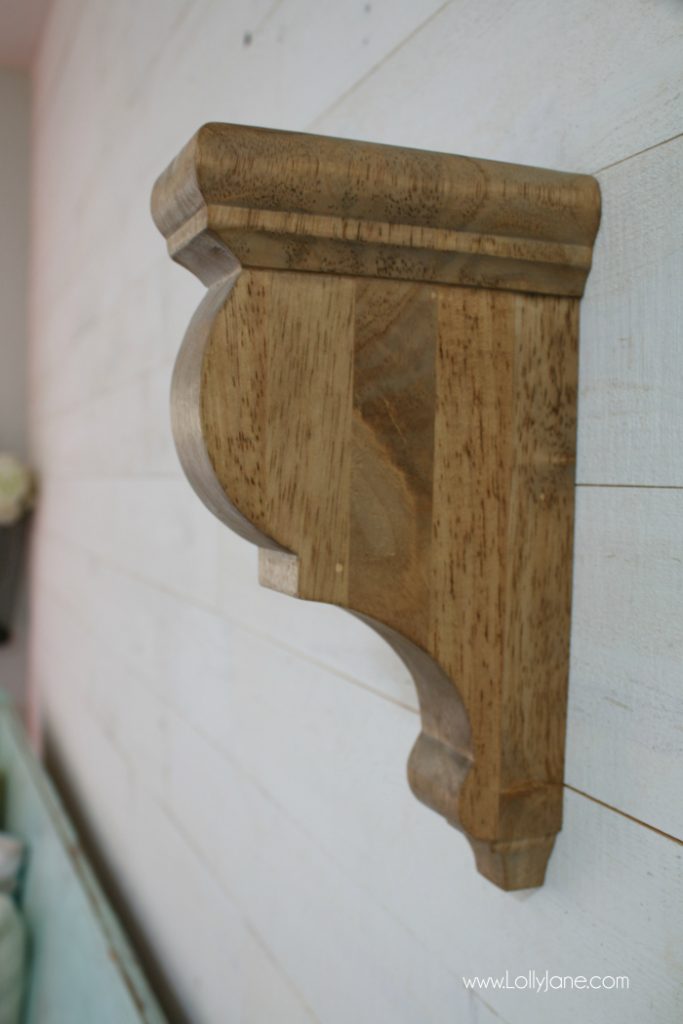
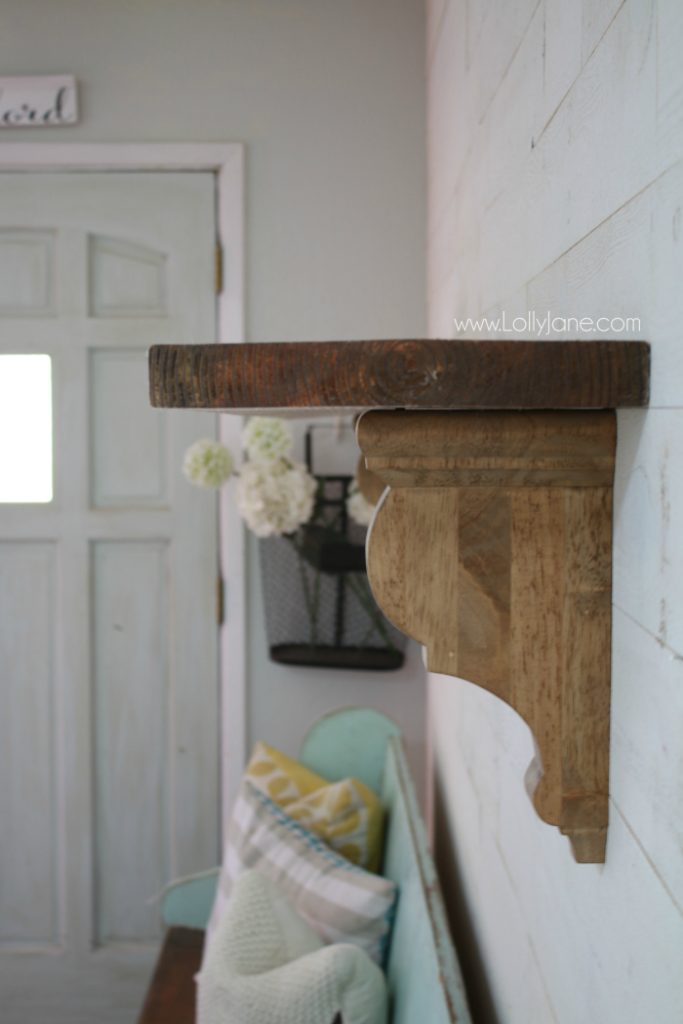
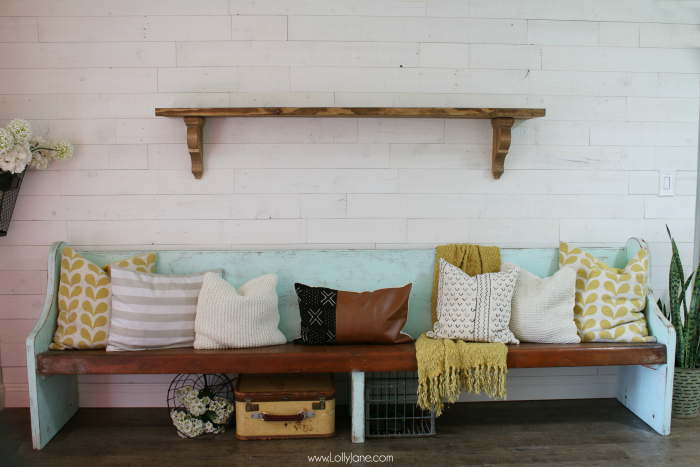
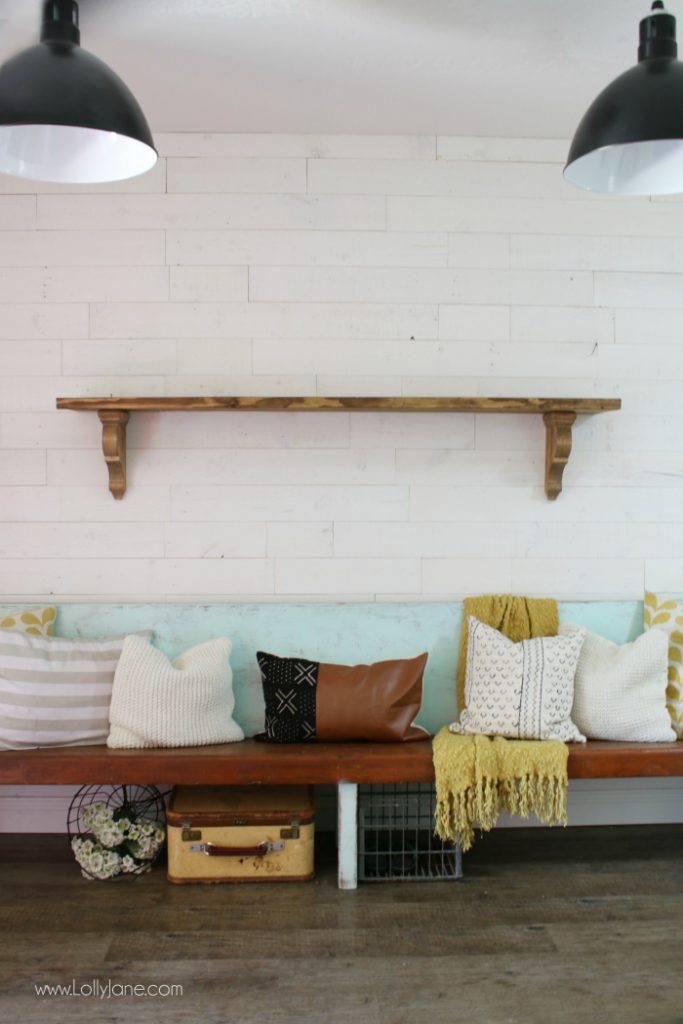
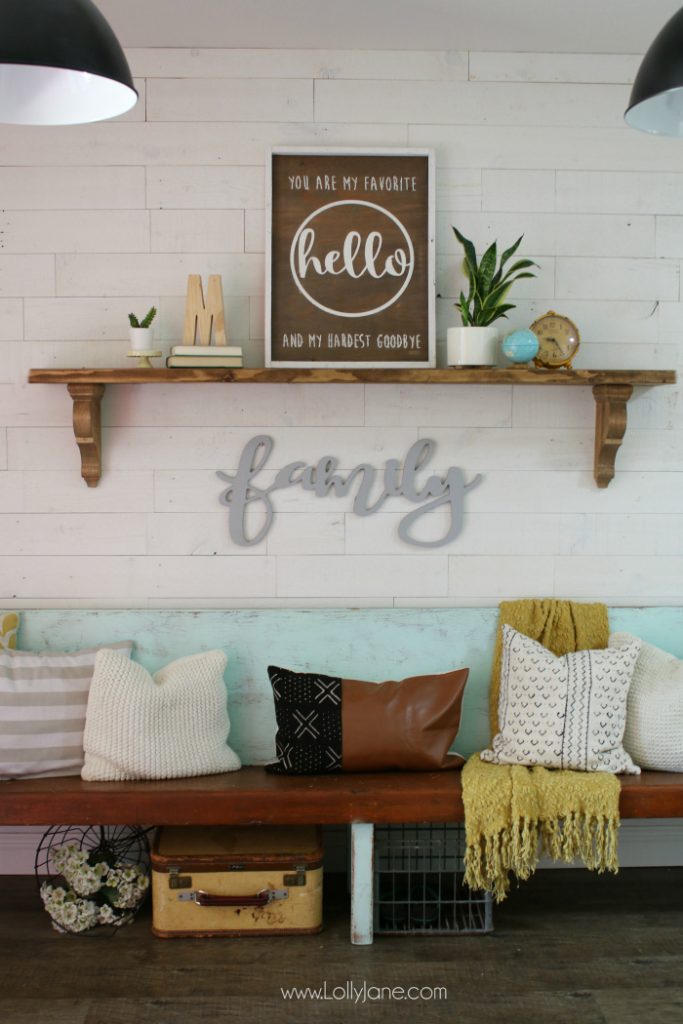
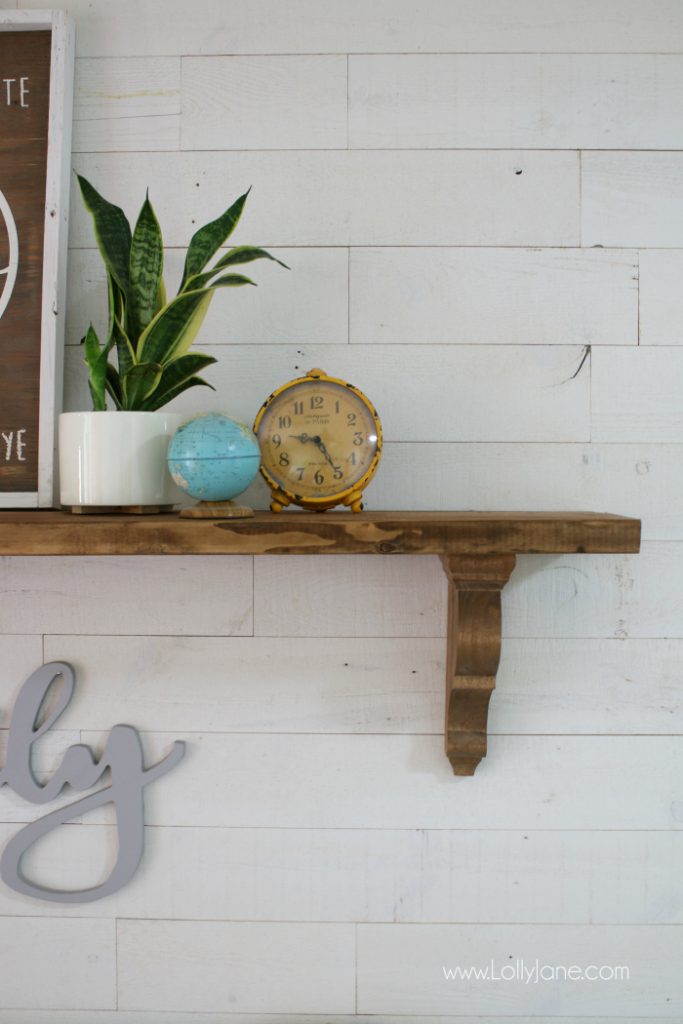
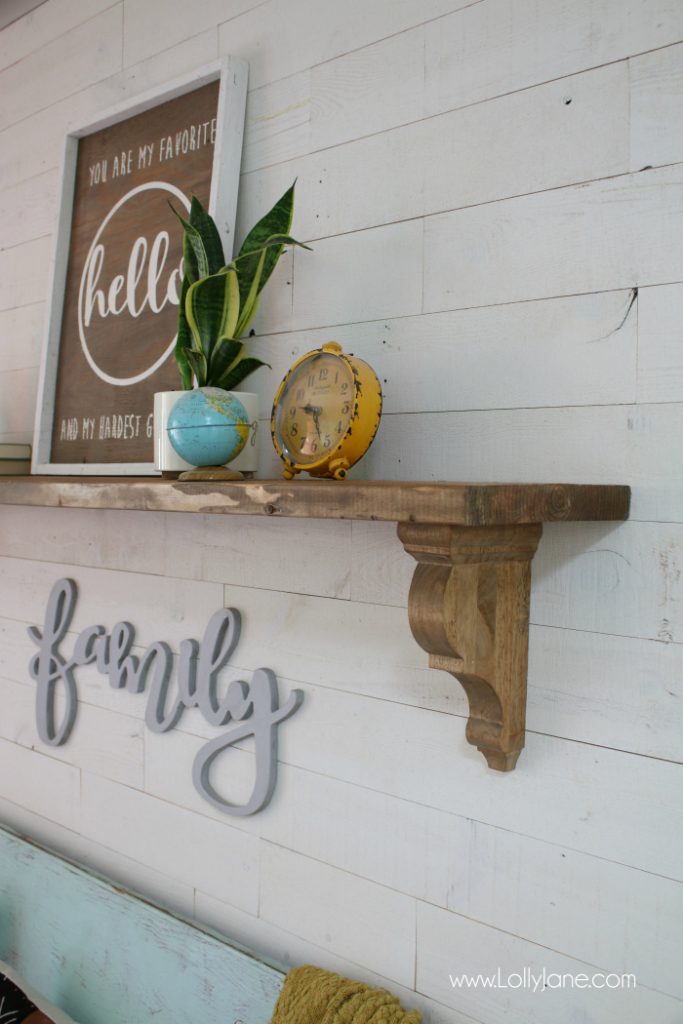
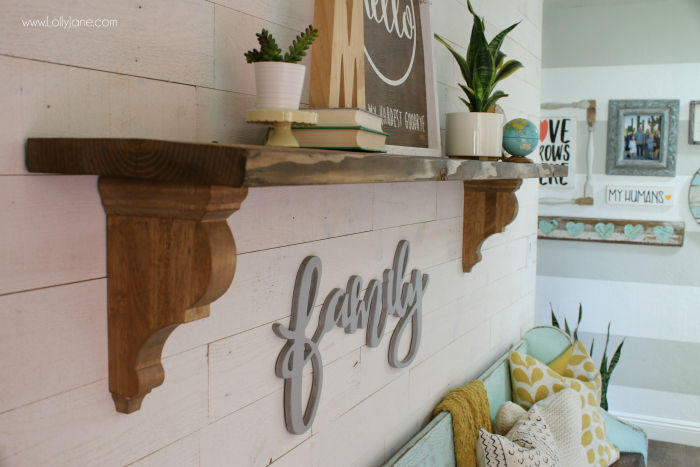
Ahh, I’m so behind on sharing my house renovation progress. But since we’ve had SO MANY QUESTIONS how to make our diy farmhouse entryway shelf, we are sharing the official tutorial today. It’s super easy since all you need are a handful of supplies so here are the quick details that we’ve been asked the most about. The size of the shelf is 2″ thick x 12″ deep. You’ll cut it to whatever length fits your space, ours is a 6′ long shelf, half of the length of my 12′ bench underneath. The corbels for my dining room farmhouse shelves were from Home Depot but these chunky corbels were purchased online since I wanted them to be heftier but still affordable. Read on for how easy it was to assemble.
diy farmhouse entryway shelf
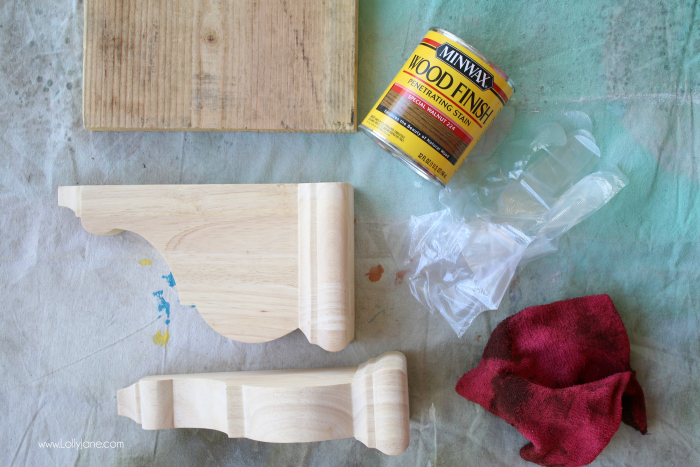
Supplies:
- 2 wood corbels
- 1 2″ x 12″ piece of pine wood (Home Depot, we cut ours to 6′ long on our miter saw)
- wood stain (we used Minwax “Special Walnut”)
- gloves + a rag
- drill + screws
diy farmhouse entryway shelf – stain it
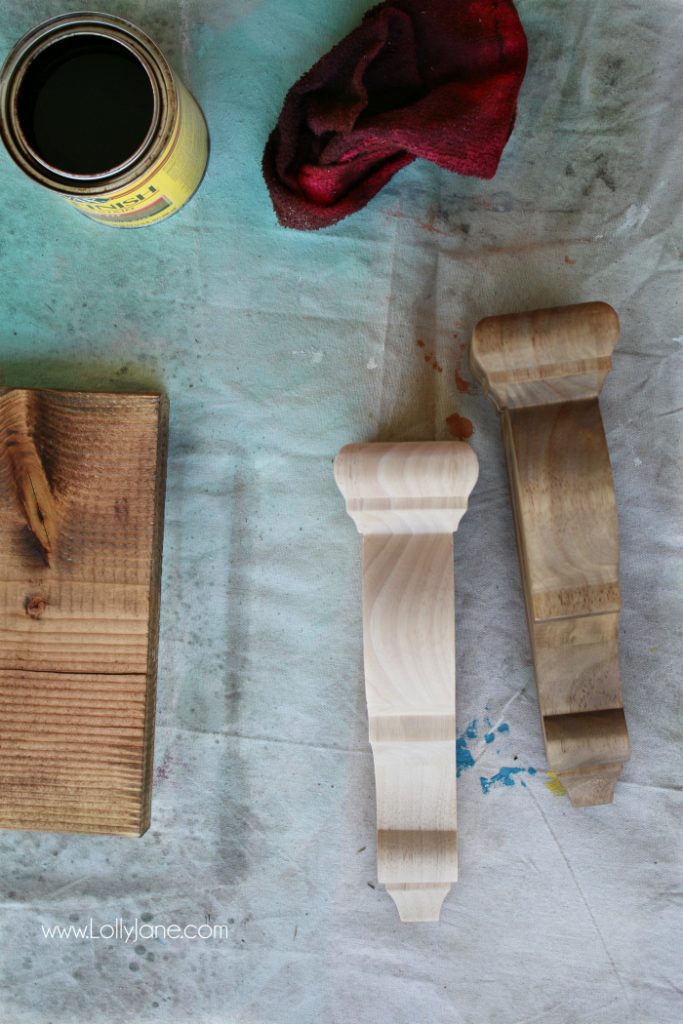
Stary by staining the corbels and wood shelf by dipping the rag in the stain; rub it into wood then wipe off with a clean end of the rag.
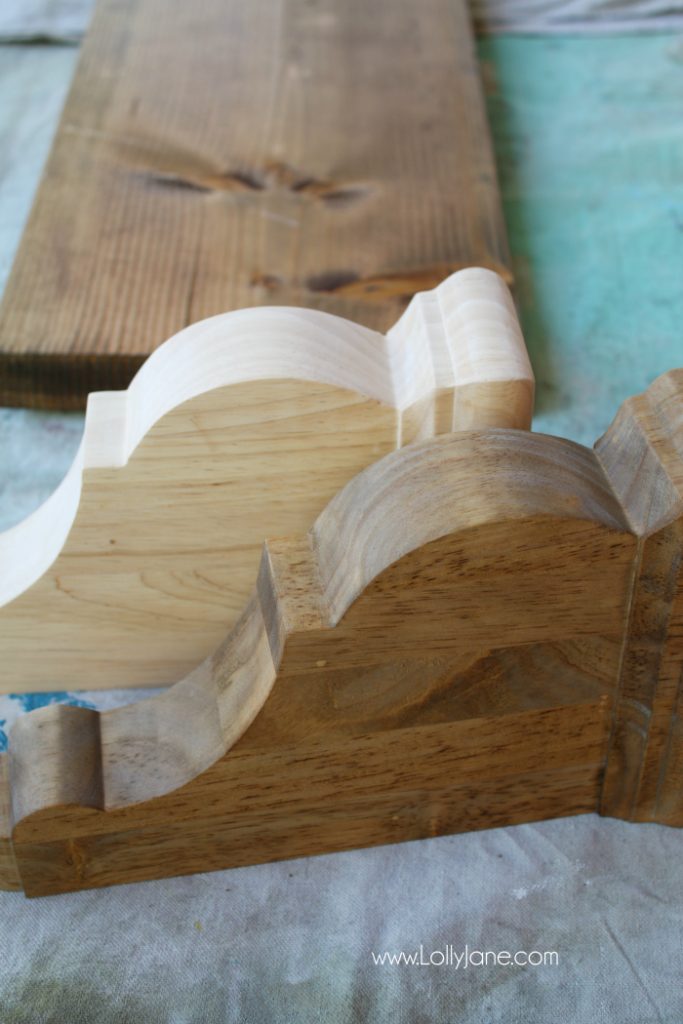
Repeat until finished. We did 1 coat on each to keep it a lighter tone, you can do as many layers as you like until your desired color is achieved. Let them dry for an hour or until dry to the touch.
diy farmhouse entryway shelf – hang it
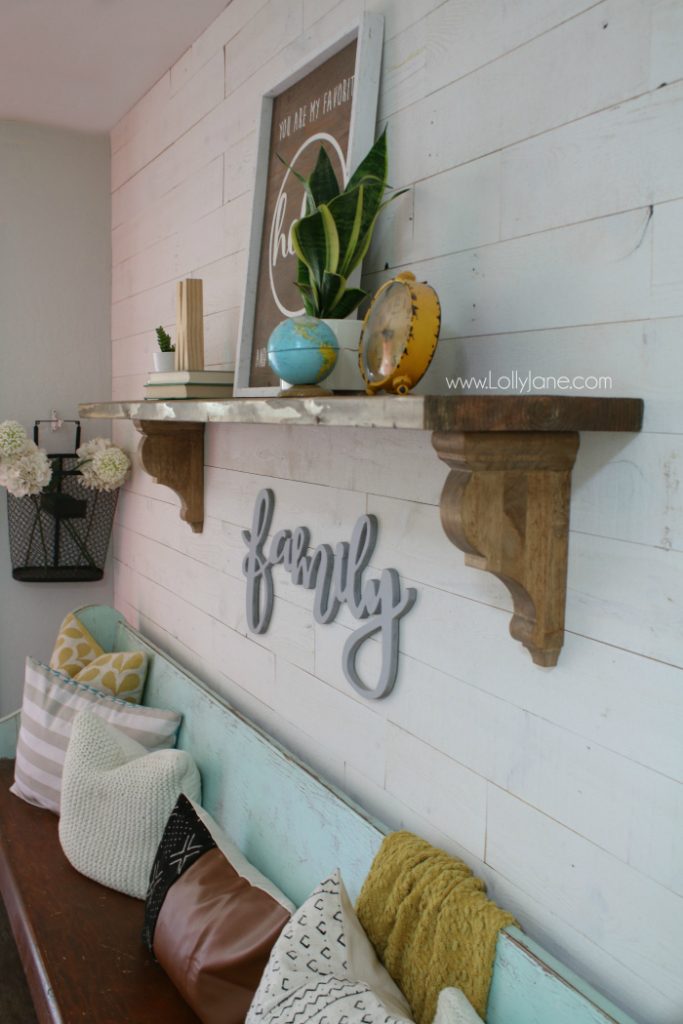
Now that you’ve stained your wood and corbels, get ready to hang it. Our vision for our new shiplap wall has always included a shelf (like our old entryway) and we were so excited to find the perfect rustic corbels to pull the look together.
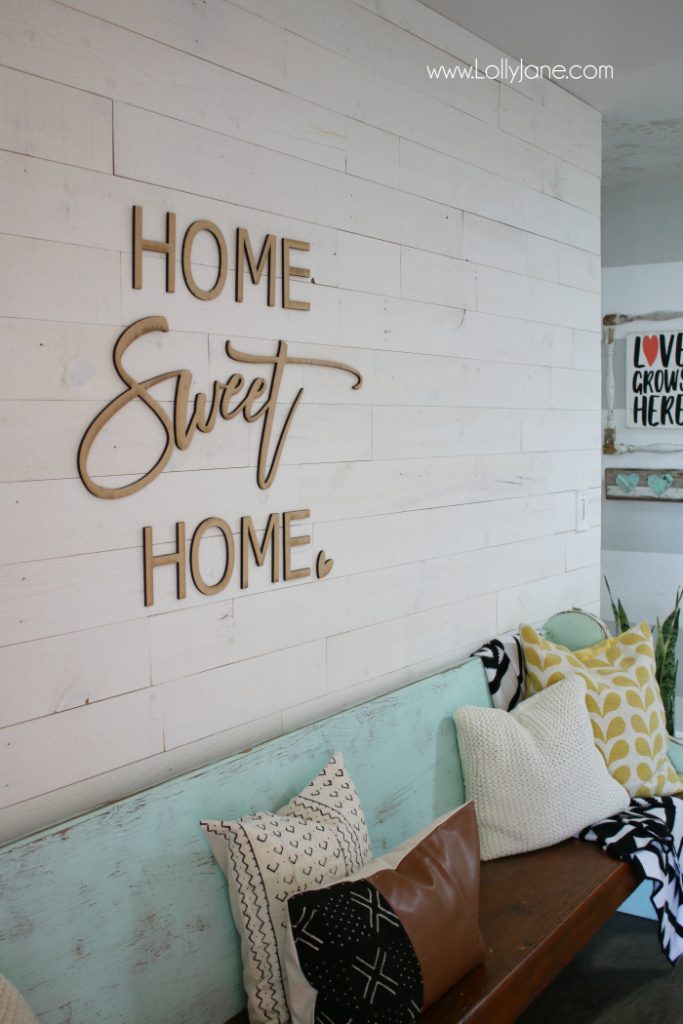
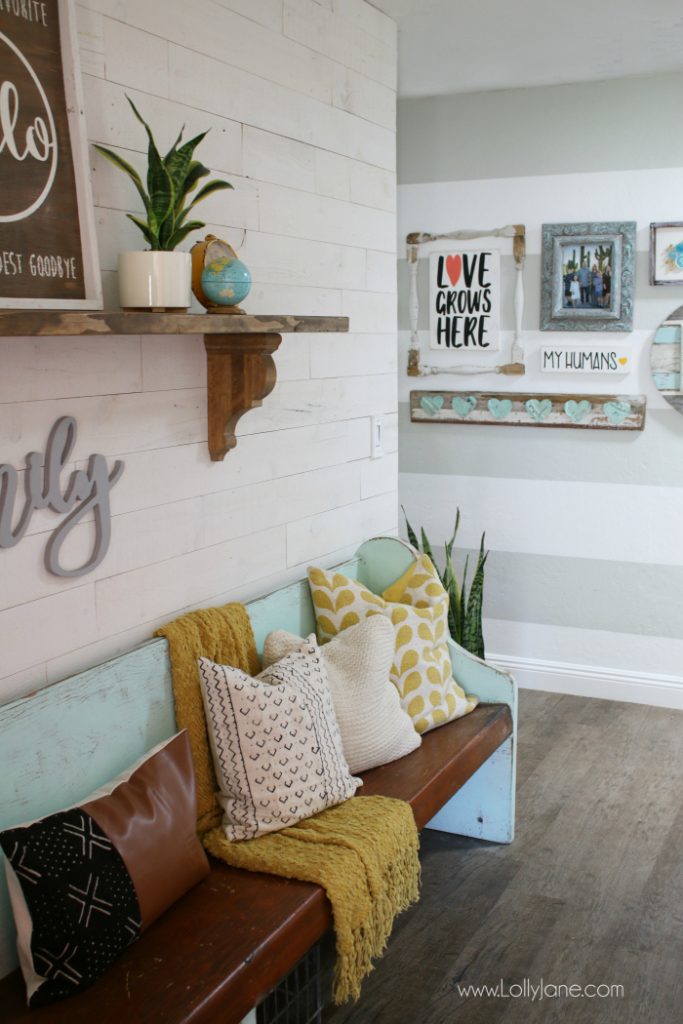
Our wall is roughly 14′ long and it was difficult to fill the full length before. We temporarily hung our fun home sweet home wood cutouts above my favorite thrifted church pew to take up space.
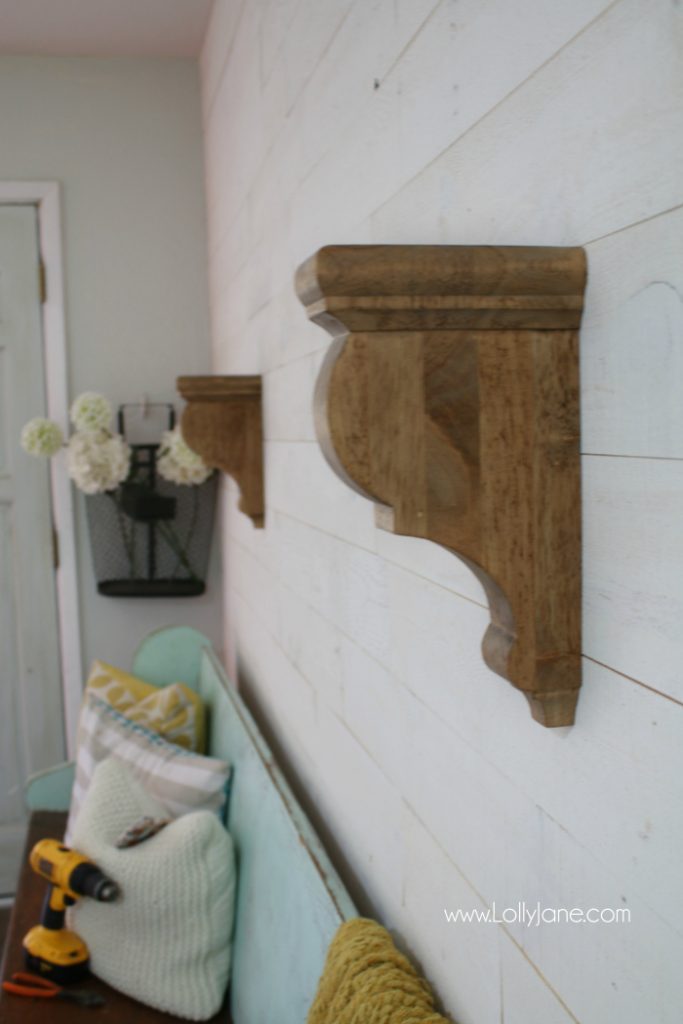
To hang the shelves, find a stud, install an anchor and screw in your 4-6″ screw.
diy farmhouse entryway shelf – secure the wood corbels
To secure the wood to the corbels, screw directly into the top of the wood into the top of the corbels (you’ll use 4 screws total, 2 on each side).
That’s all there is to it! It took me an hour or so, start to finish. I promise you that you can make this lickity split!—I even hung it by myself because my husband got a bomb call out (cop wife problems), it was a little intense weight-wise but I did it!
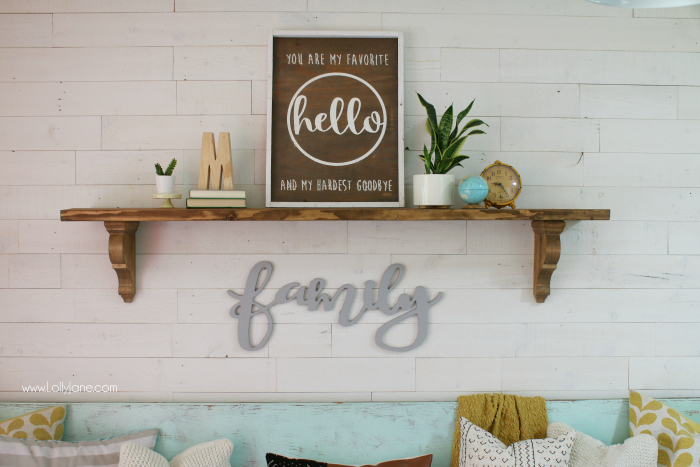
Grab a hello sign and family cutout for an easy way to style your new farmhouse shelf.
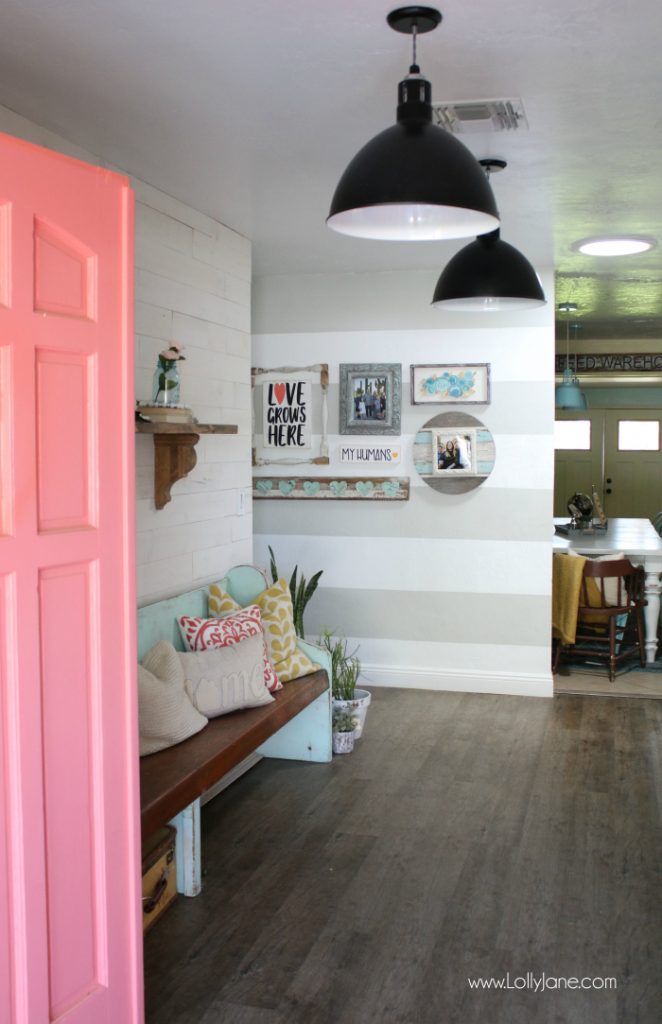
Oh hello, fun gallery wall! Still loving those playful stripes in my newly renovated hallway.
I already swapped out a few pieces of decor, lol…can you spot the differences? 🙂
Are you in love with those black pendants? Me too! Read all about my favorite barn lights here.
PLEASE PIN so your friends can make these too!
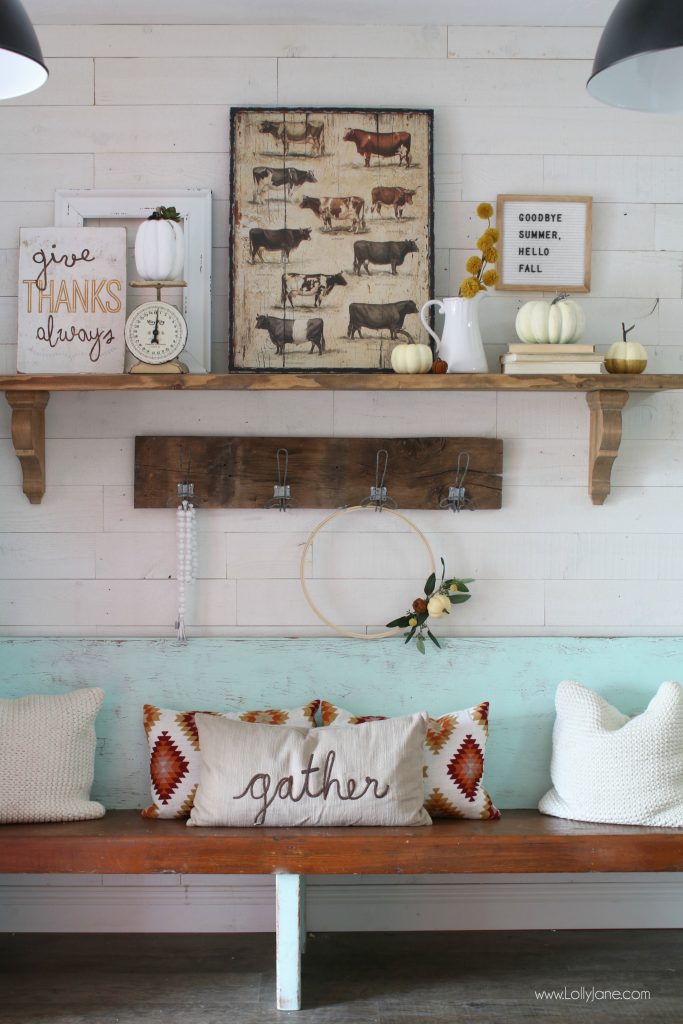
Here’s a fall peek of this space with our favorite hooks, official tutorial coming soon. I know, slacking, originally shared the hooks on our Instagram feed forever ago, ack, so behind!
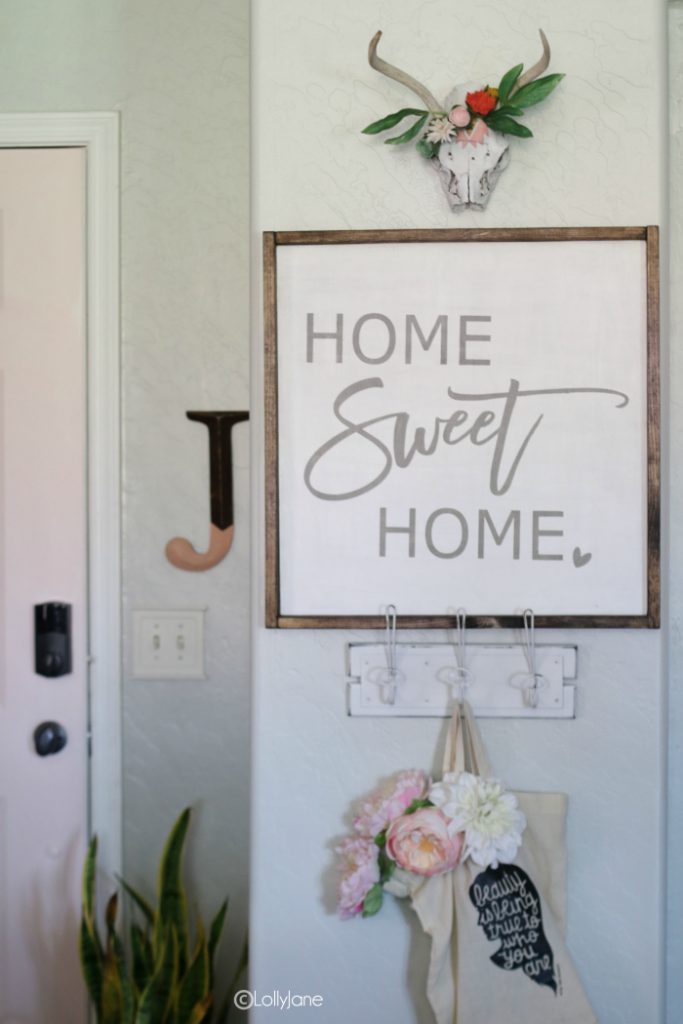
Looking for a sign version of our home sweet home cutouts shown above? Take a peek at it in Kristi’s entryway:
Looking for another easy farmhouse shelf tutorial? We’ve gotcha covered!



It looks so beautiful… the color, the styling everything is perfect!
Very well done entry. That shelf is simple and easy to do, I can think of all kinds of uses for the shelf in this post.
I so love that shelf! Those farmhouse shelf brackets really add a lovely design detail to this DIY. Love it!
Beautiful shelf. Love your entry way. Where did you get the cow print from?
Beautiful entrance. The shelve looks great. Thanks for sharing at Creative Mondays 🙂 Hope you can join us tomorrow.
Gorgeous Entrance way and I love the Shelf it is perfect
Very cute.
I would love for you to share this with my Facebook Group for recipes, crafts, tips, and tricks: https://www.facebook.com/groups/pluckyrecipescraftstips/
Thanks for joining Cooking and Crafting with J & J!
hey girls- love the entryway! So cool!