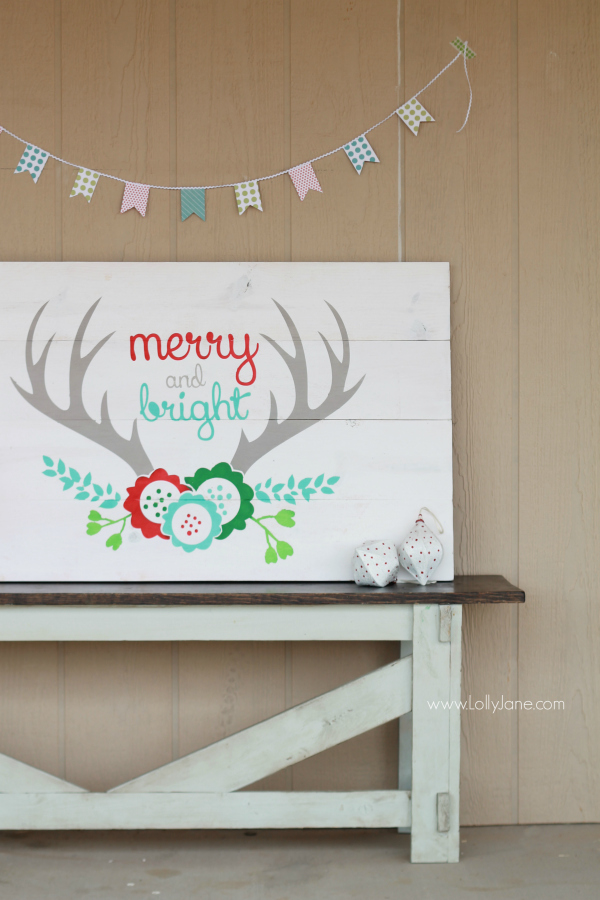
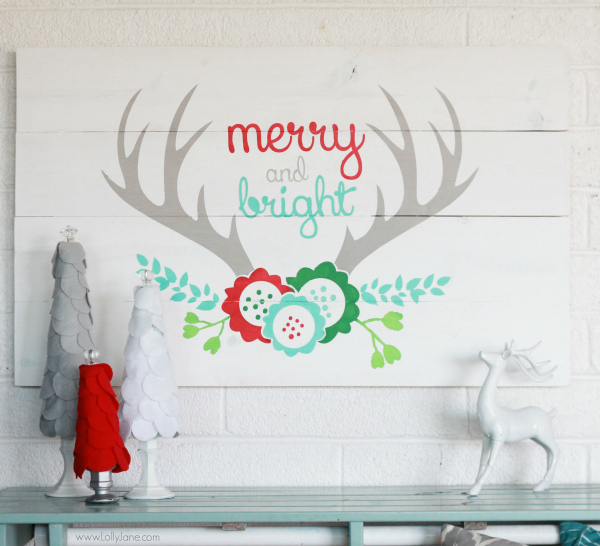
Merry and Bright antler pallet art
Antlers and animals heads are all the rage right now and we adore it! We were raised on a farm and have always appreciated animals. We don’t hunt, at all, which is why we love all things faux animals heads. Flowers and animal art became a trend over the summer and if you follow us on Insta, you’ll know just what we’re talking about! Kelli decided to put a spin on Kristi’s fall antler art printable by turning into a Merry and Bright pallet art sign. Kristi’s typically the designer while Kelli is at the stencil cutter, we make a pretty good team that way.
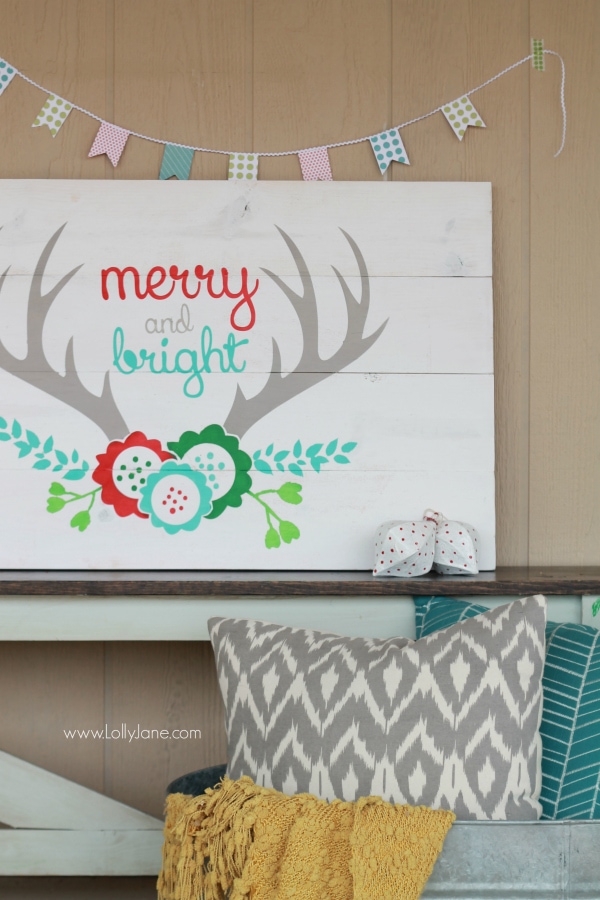
{Pillows from Birch Lane, swoon!}
Birch Lane:
- 2) 1 x 6 pieces of pine wood (we picked up two 6 ‘ pieces)
- 1) 1 x 2 piece of pine wood (ours came in a 4′ piece)
- assorted acrylic paint
- foam or paint brushes
- stencil
- measuring tape
- 12) 1 1/2″ screws
- drill
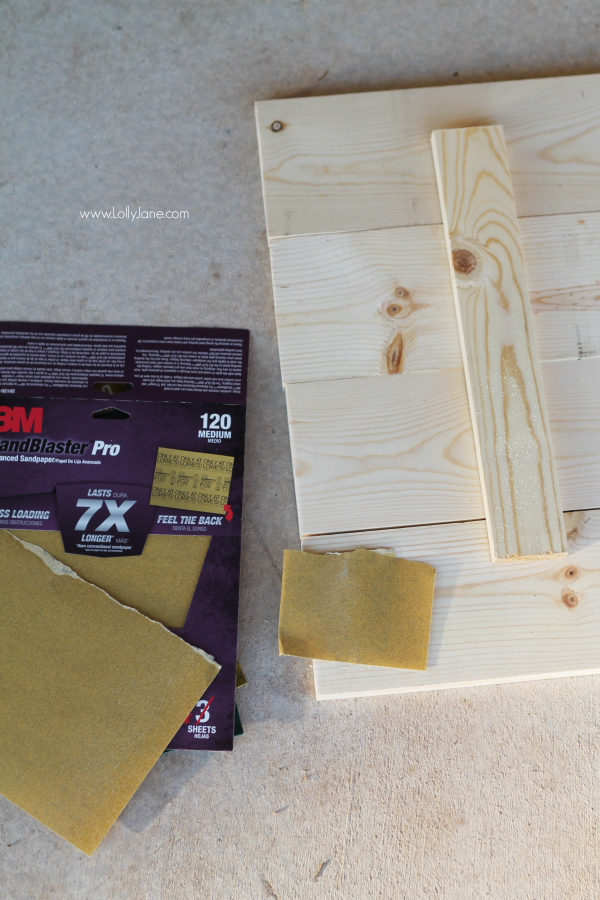
- 3M™ Advanced Abrasives (120 grit)
- Scotch® Extreme Mounting Tape
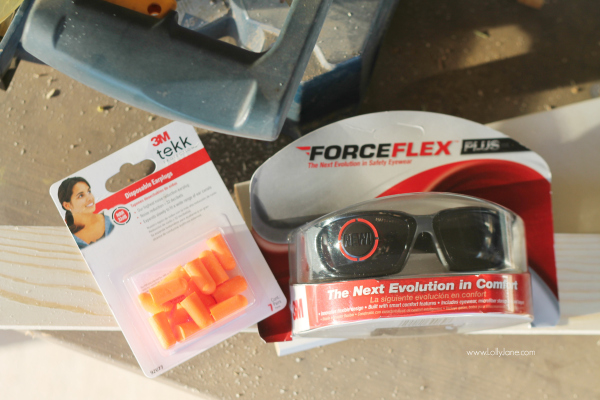
- 3M™ Safety Products (eyewear & ear plugs)
- chop saw
 Directions:
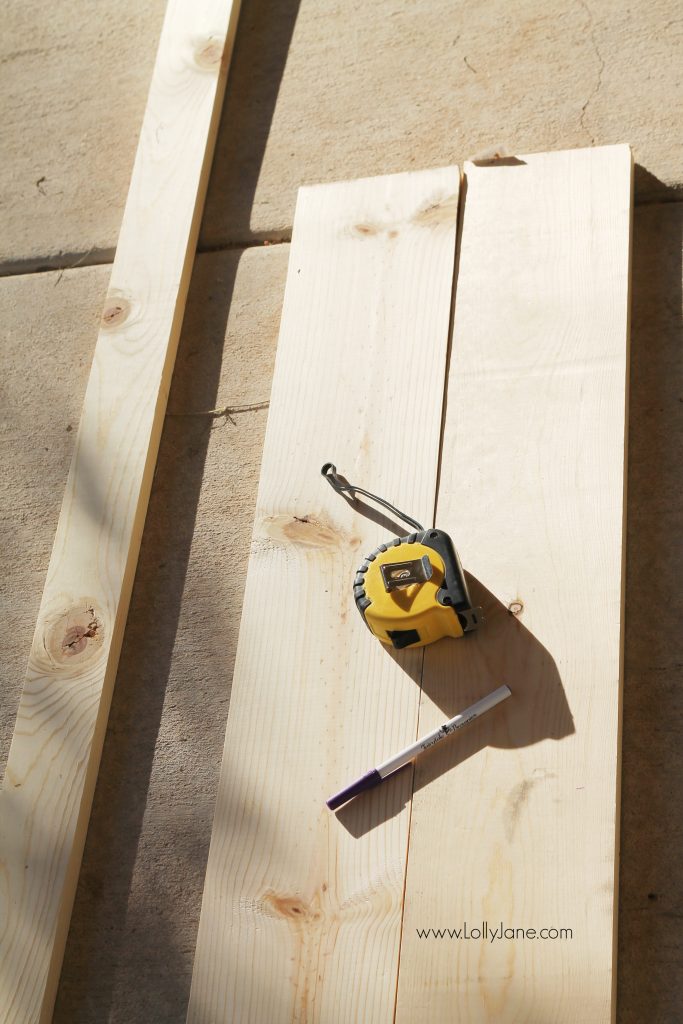
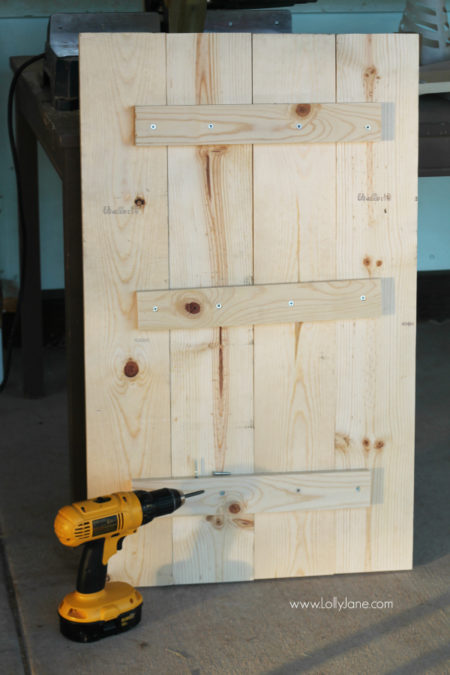
Measure and cut wood on saw: I ended up with 4) 36″ 1 x 6’s plus 3) 16″ 1 x 2’s
Safety first! Me and hubby fight over these earplugs and safety glasses…he likes to sneak them out of my toolbox when he goes shooting for work, lol! Check out all of 3M™ Safety Products before you start your next project.
Sand your edges with 3M™ Advanced Abrasives, I used 3M™ Sandblaster™ Pro Advanced Sandpaper 120 medium grit.
Next you screw your 1 x 2 strips into the back of the wood as shown below. One screw per piece of wood will make it really secure. I chose 3 strips of wood to be extra safe it wouldn’t come apart. It’s so sturdy!

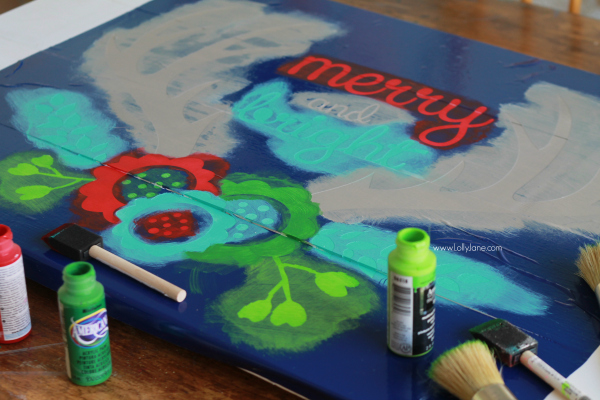
Now the FUN part begins…painting! I started with a light coat of white acrylic paint.

When dry, I laid down my stencil. (See a more detailed step-by-step stencil process here)

I painted inside the stencil my desired colors.
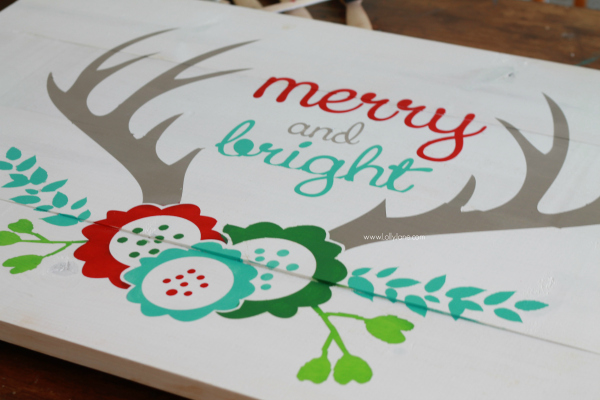
When dry, I peeled off the stencil completely.
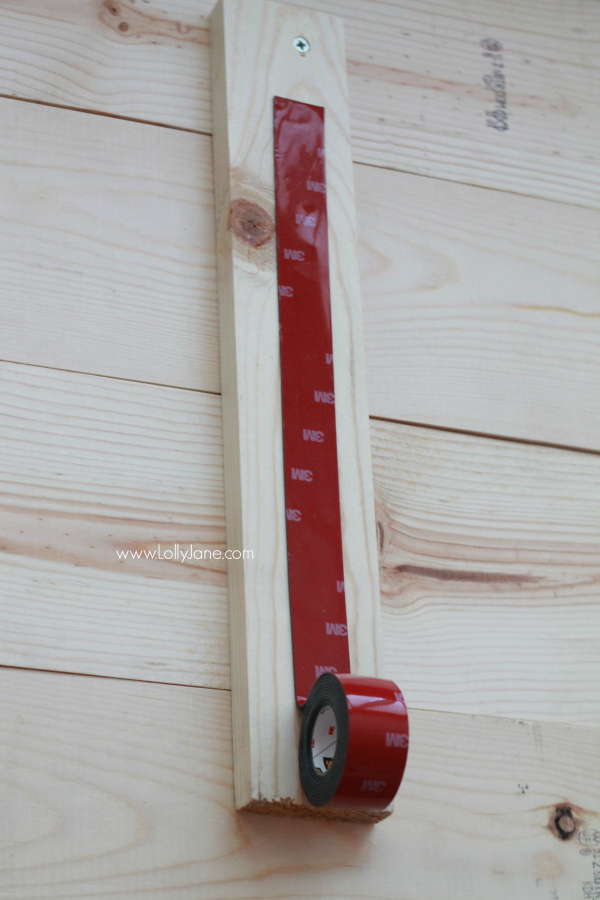
Time to hang this heavy guy! We used Scotch® Mounting & Fastening, the extreme mounting tape. Let me give you a tip that I may or may not have learned from experience…this is permanent. It’s great stuff! It will stick your sign to the wall for a really long time. We recommend using this on brick, metal, wood, or any surface that isn’t fragile and able to hold the weight of the sign.
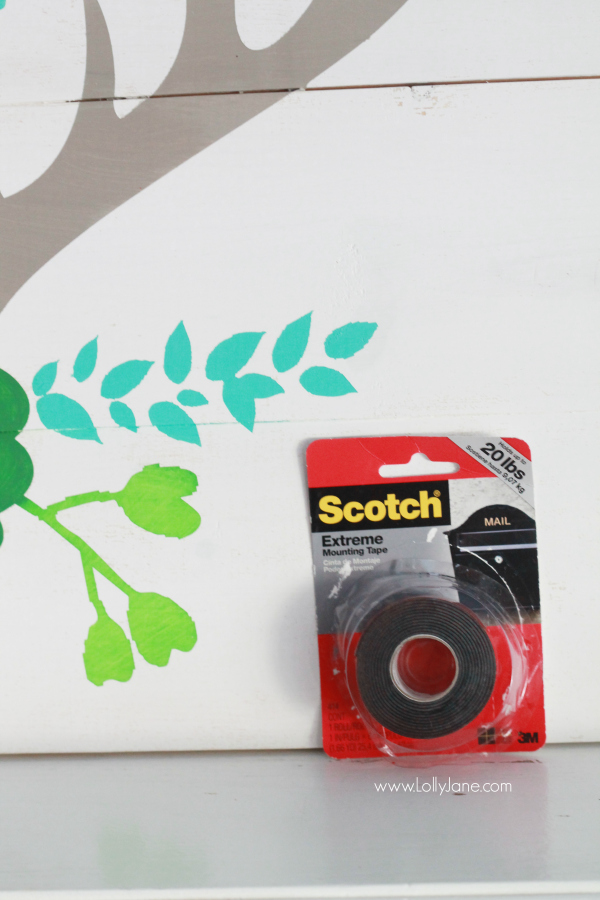
It’s basically really, really strong double-sided tape so lay one end down and when you have it positioned, peel the back side off and push it into your surface. So easy, no drying required.
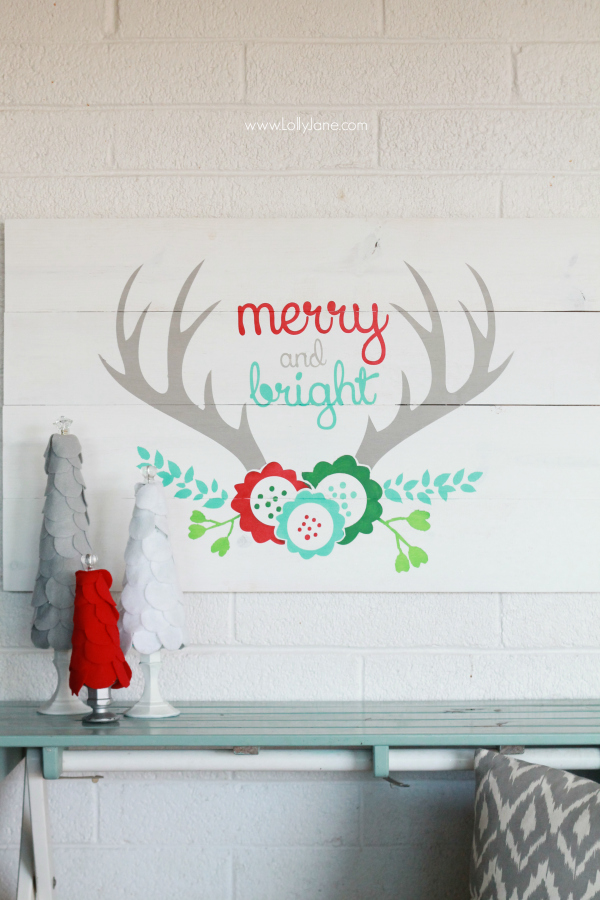
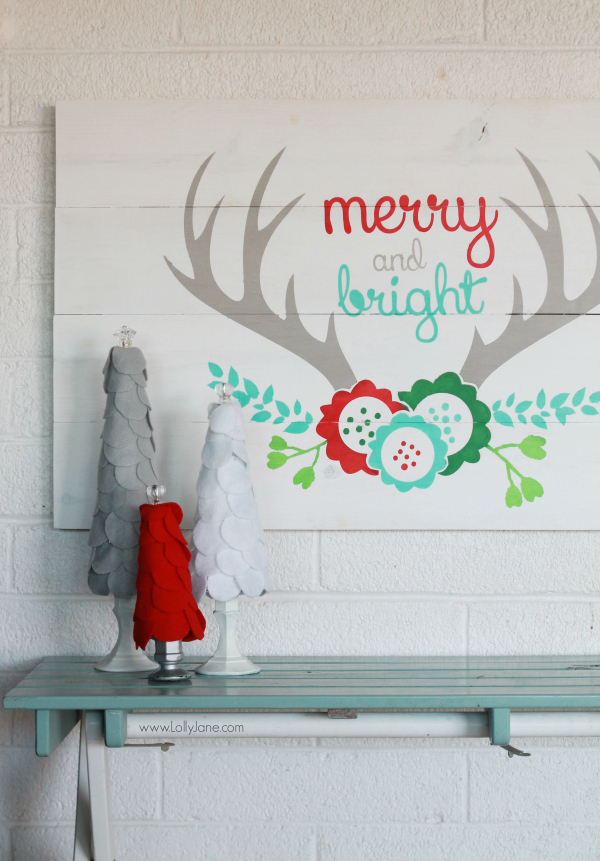
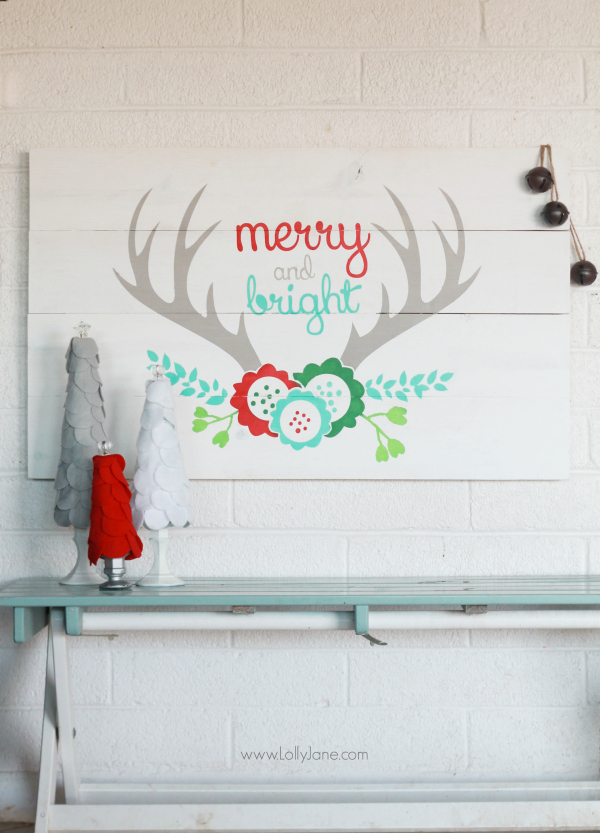
Here is our finished Merry and Bright antler pallet art.
Do you love it?

Would you build and hang this as part of your Christmas decor?

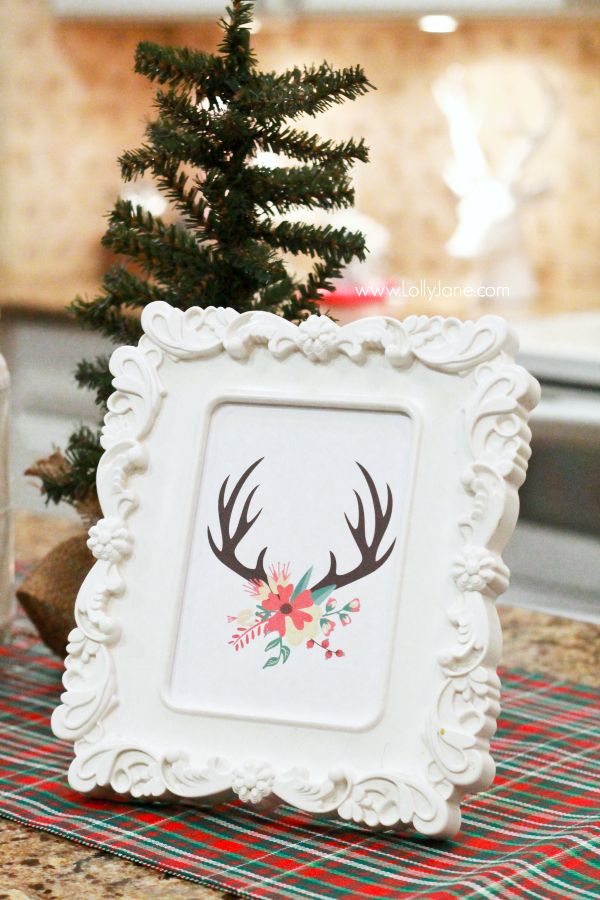
We are proud to be a 3M- sponsored blogger, and, as part of my responsibilities, I get the opportunity to evaluate products from 3M DIY. Opinions are my own and additional product used in the project were selected by me. Check out all of our Christmas ideas like our Christmas antler free printable,
the felt scalloped Christmas trees featured in this post,

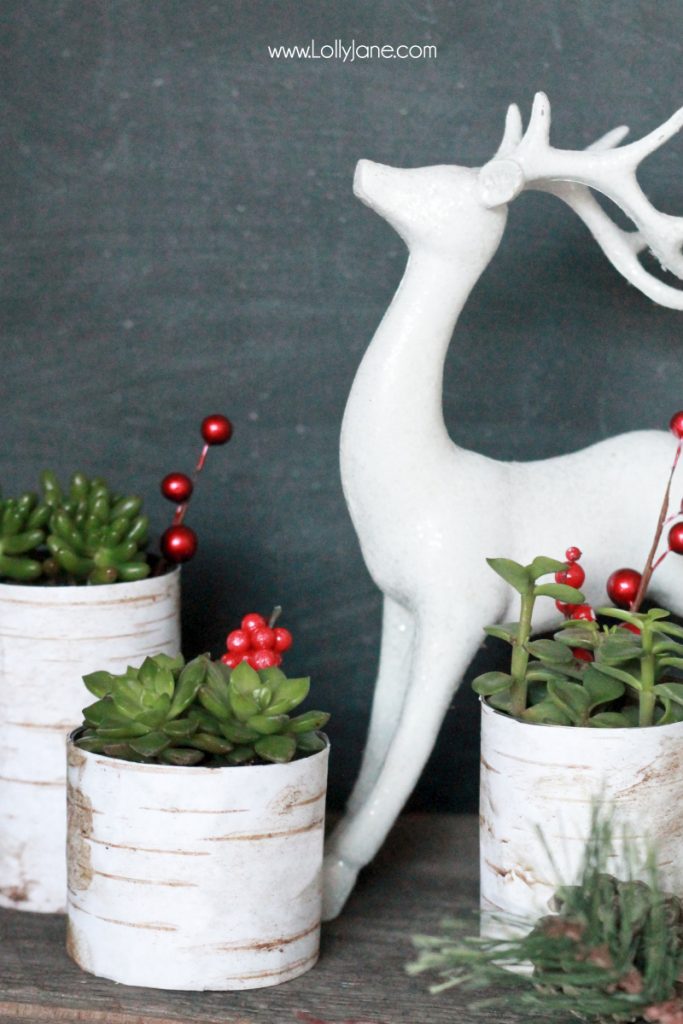
our easy faux birch wood tin cans,
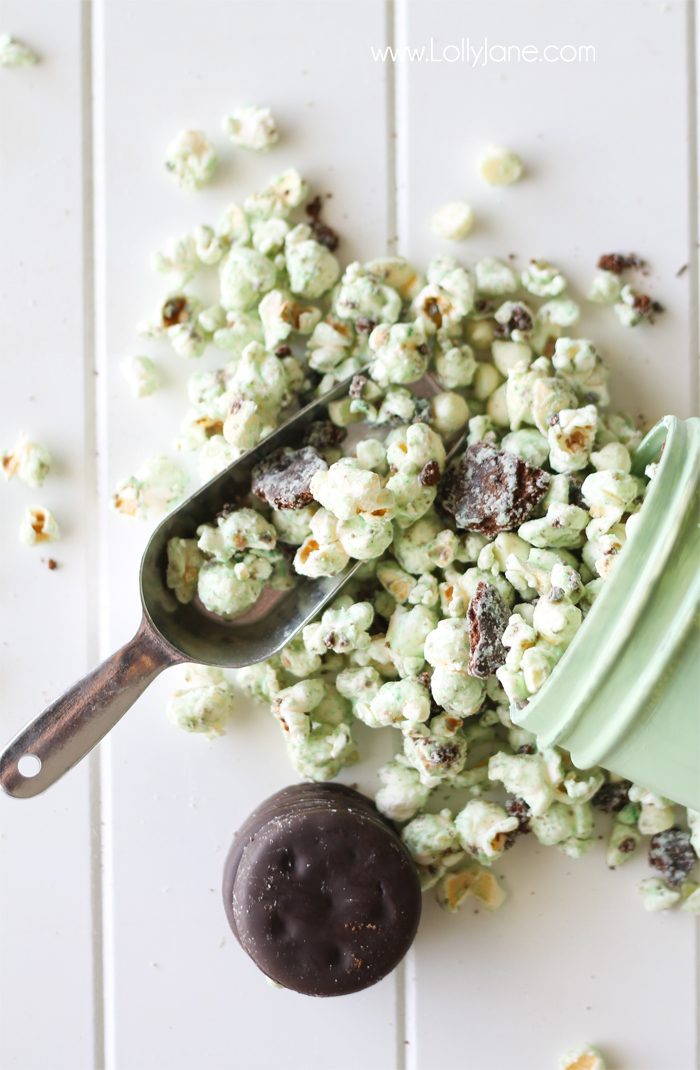
plus all of our yummy recipe like our white chocolate thin mint popcorn, mmm…

Merry and Bright Antler Pallet Art
Materials
- 1 x 2 piece of Pine Wood
- 2 1 x 6 pieces of Pine Wood
- Assorted Acrylic Paint
- Foam or Paint Brushes
- Stencil
- Measuring Tape
- 12 1 1/2″ screws
- Drill
- 3M™ Advanced Abrasives (120 grit)
- Scotch® Extreme Mounting Tape
- 3M™ Safety Products eyewear, ear plugs
- Chop Saw
Instructions
- Measure and cut wood on saw: I ended up with 4) 36″ 1 x 6’s plus 3) 16″ 1 x 2’s
- Sand your edges with 3M™ Advanced Abrasives, I used 3M™ Sandblaster™ Pro Advanced Sandpaper 120 medium grit.
- Next you screw your 1 x 2 strips into the back of the wood as shown below. One screw per piece of wood will make it really secure.

- Paint a light coat of white acrylic paint.
- Lay down stencil & paint.
- When dry, peel off the stencil completely.
- Time to hang!

We lost the file or I would totally send it to you!! So sorry!
I would love to get that stencil design for my home. Is it downloadable or for purchase anywhere?
I’m gaga for this! It’s fun , colorful spin on antler heads. Great job!
So super cute!! Love the colors!!
I love this sign. Will the stencil ever be available for purchase or in a smaller size? I am secretly hoping that it will be a project offered at the next Handmade Nest.Yes I am already planning on it again in May-fingers crossed.
So cute girls!! Love the design and color scheme… you guys are awesome!
Super cute! I just love it!