How to Install Floating Shelves
Make these DIY floating shelves with this beginner-friendly tutorial, perfect for adding style, functionality and warmth to a white kitchen.
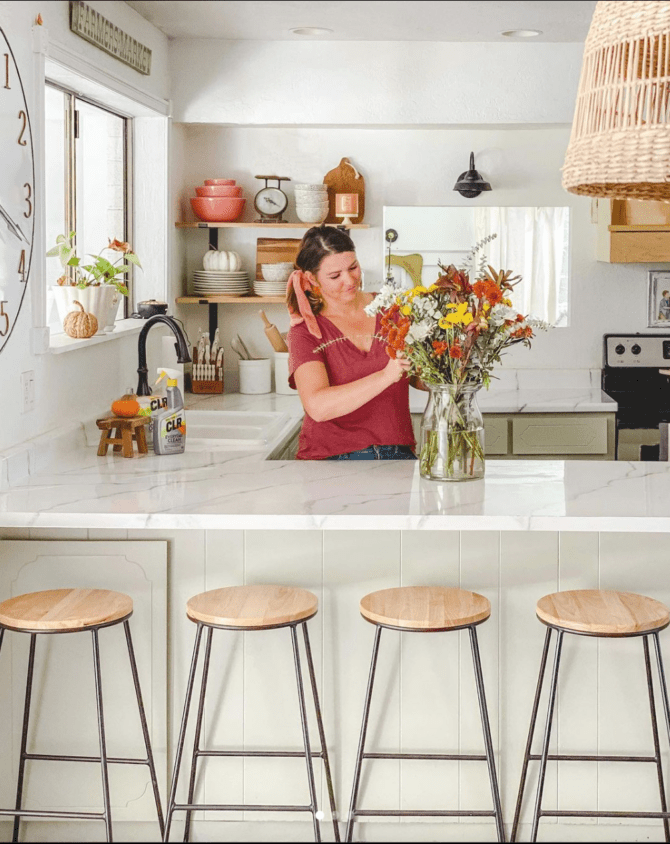
When we renovated our kitchen last year, we left a spot for shelves.
It seemed like an easy enough project but we’ve never worked with floating shelves before, only exposed brackets so we researched a lot before we made any new cuts into that brand new drywall.
We learned there were 2 ways to hang floating shelves.

Here is the before photo of the kitchen without the shelves. We left a gap of 3′ so we’d have plenty of room to fill it daily essentials and fun decor.
A cabinet would be hard to reach as the counter is in the way so shelves made more sense for this space. I may play with paint colors in the future and if I happened to find the perfect size cabinet thrifting, I could talk myself into adding that in its place. It would be pretty for an appliance cabinet to house the toaster. We’ll see.
We laid out 2 pieces of tape to visualize the height we’d like the shelves to be. We ended up with a 24″ gap between the two.
Ways to Hang Floating Shelves
Option 1: SHELF BRACKETS. After hours of researching and watching videos on how to hang floating shelves, we decided that metal brackets and solid wood would be less steps than the second option. A bonus would be that we wouldn’t have to drill into the side of our new cabinets.
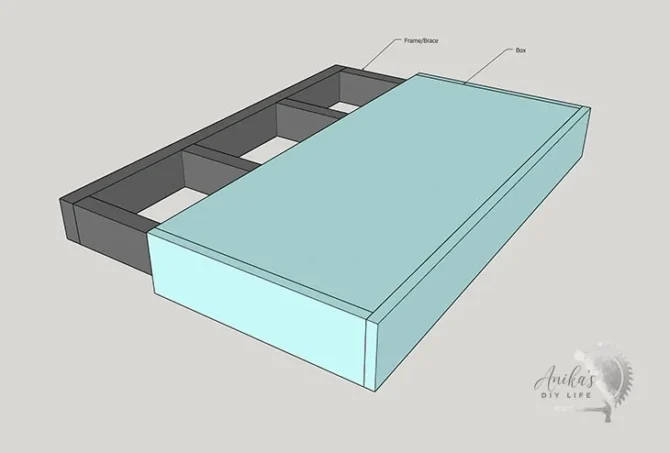
Option 2: BUILDING THE SHELVES IN PLACE. This other option would be a little more precise, building the shelves in place. We’ve included a diagram + tutorial from Anika’s DIY life below for a visual. Basically, you build a frame, attach it to studs then wrap thin wood around the frame. Head to Anika’s site for a great tutorial! Both are great options but we went with option 1.
For the custom floating shelves, having to cut out the new drywall out to drill the brackets directly into the studs was a lot more intimidating in the planning process than the actual doing process. A multi-tool was perfect, it took about a minute per bracket. You can even use a razor blade if you don’t have that tool.
In this post, we’ll go through the steps of hanging floating shelves in your kitchen.

SUPPLIES TO HANG FLOATING SHELVES
If you’re an avid DIY’er, you’ll likely have everything on hand. We only had to purchase the brackets + shelves, everything else was in our stash.
Must-Have Supplies
- BRACKETS: these can be drilled directly into studs
- MULTI TOOL: this cuts drywall precisely
- STUD FINDER: easily find studs behind drywall
- DRILL: so handy for everyday projects
- PLASTER: fill in drywall repairs easily
- SANDING BLOCK: our fav for small projects
- DRILL BIT: we used 1/2″ to match our brackets
- WOOD FOR SHELVES: variety of options + prices below
HOW TO INSTALL FLOATING SHELVES WITH HIDDEN BRACKETS
Step 1: Measure
Before you start drilling any holes, you’ll need to determine the best placement for your shelves. Consider the size of the items you plan to store on them and how high you want them to be. Measure the space and mark the placement with a pencil. Use a level to ensure the shelves will be even.
Step 2: Find Studs
These floating shelves need to be mounted securely to the wall, so you need to find the studs. Use a stud finder to locate them. Then, mark the location of each stud on the wall.
Step 3: Install the Brackets
Once you’ve determined where your studs are, it’s time to install the brackets. These metal brackets are what will hold the shelves in place.
Cut the drywall out in front of the studs so you can screw directly into the stud.
Step 4: Repair the Drywall
Once the brackets are securely mounted, cover the cut marks. We used spackle to fill in the holes. After it dried thoroughly with coat one, we added a second coat and smoothed it out to match the existing drywall. When it was fully dry, we lightly sanded it. We then wiped away any loose debris and painted it.
Step 5: Cut Wood, Drill Holes
We had 2 large and heavy pieces of red oak to drill through. We got a 12″ drill bit but it was difficult to get it completely straight as it was so long. I couldn’t have done it without Nate, he’s strong and was able to tear through the wood.
One shelf worked out perfectly but the other shelf was too uneven, unfortunately. However, Kristi’s husband owns a drill press so he drilled new holes for us on the 2nd shelf (he just flipped it upside down so he used the same side, luckily the holes didn’t overlap) and it was perfectly aligned, phew.
Step 6: Add the Shelves
Slide the shelves onto the brackets, wiggling back and forth gently as needed. You may need a helper to hold the shelves in place while you attach them to the brackets. TIP: Use a mallet to pound them into place if it’s a tight fit but make sure you use a towel between the wood and mallet so you don’t ding or dent the new wood.
Step 7: Decorate Your Shelves
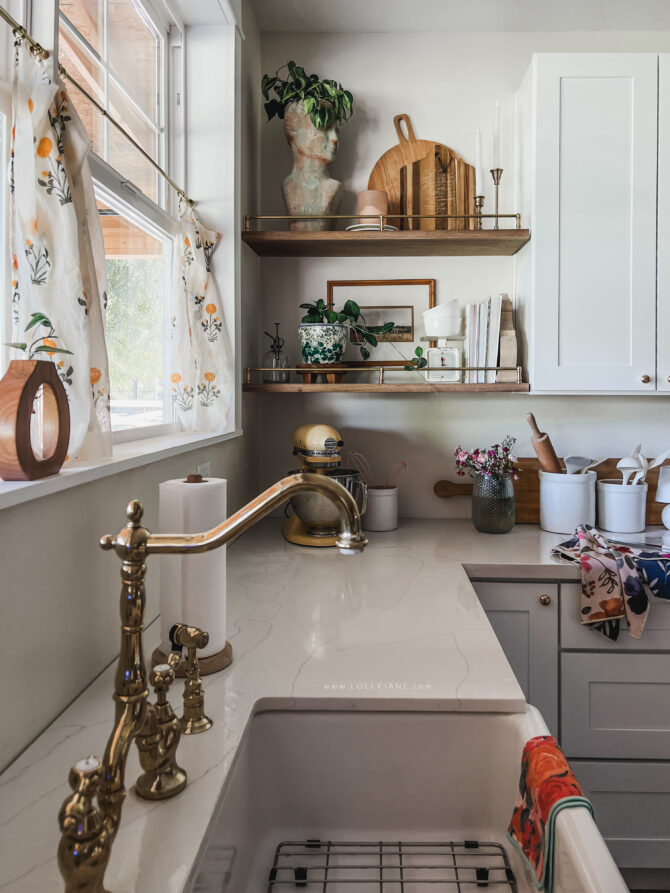
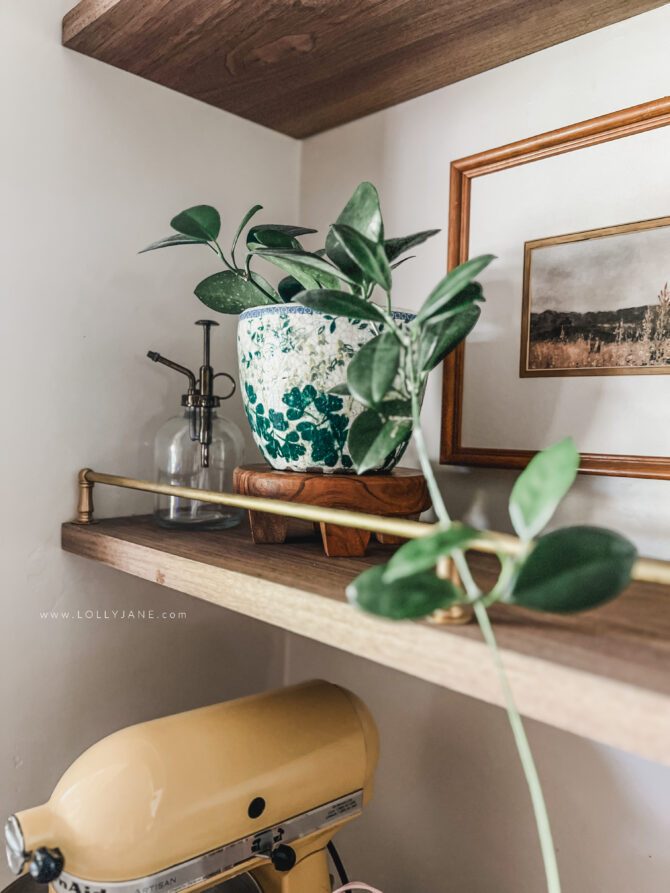
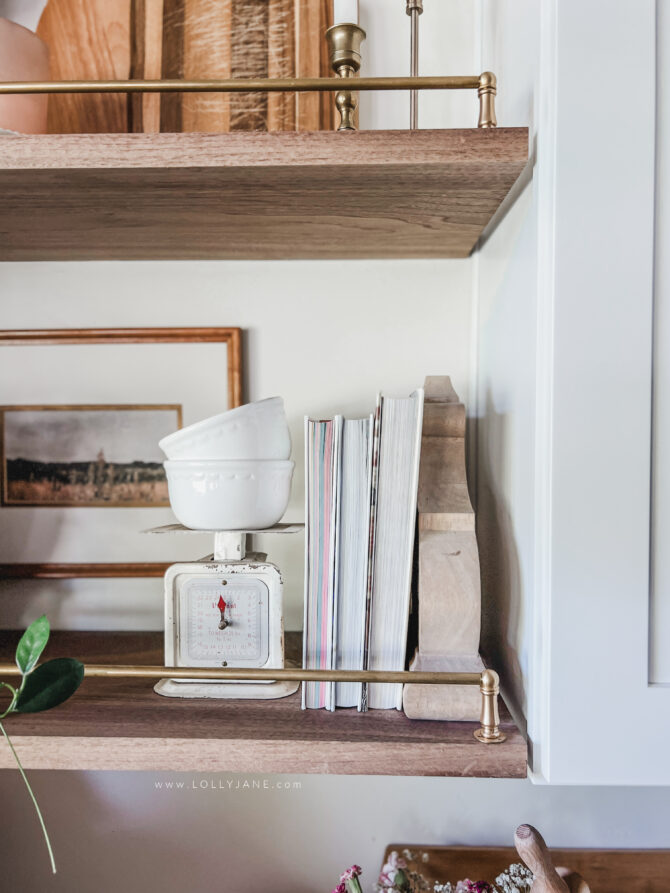
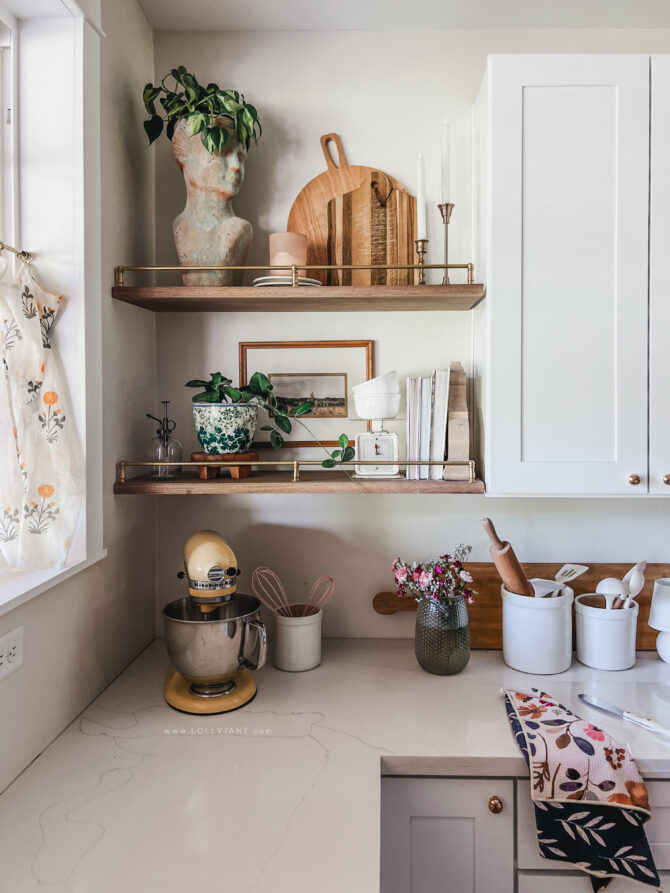
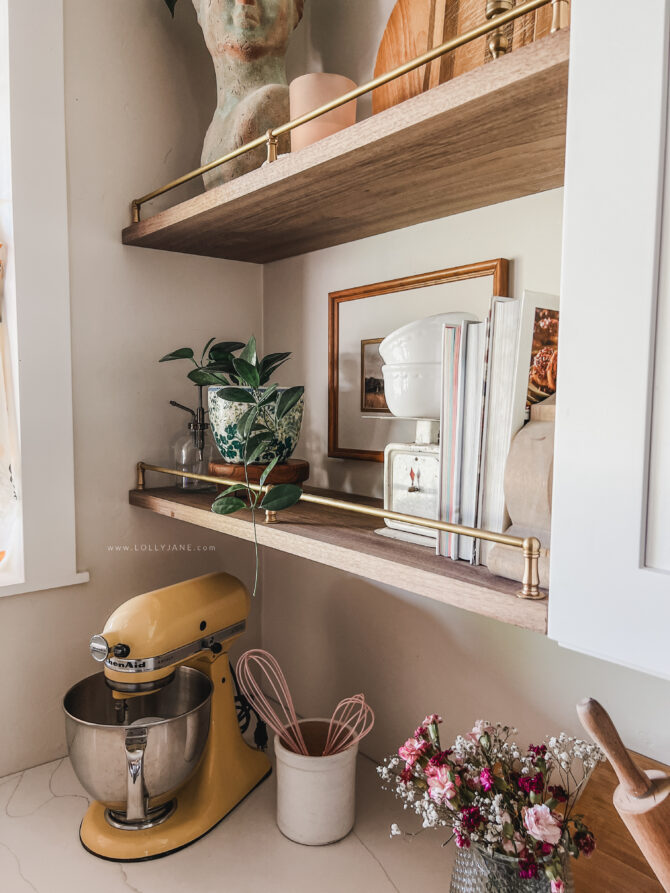
Now that your floating shelves are installed, it’s time to decorate them! I added brass rails just for looks then added my decor.
Use them to display your favorite kitchen items such as dishes, cookbooks, plants and candles. You can also add seasonal decor as the holidays roll around.
CHAT: Where do I find wood for floating shelves?
Not everyone has the time or the tools to make their own floating shelves from scratch like we did. Luckily, there are several places where you can find pre-made floating shelves that fit your style and budget.
Floating Shelf Resources
- Home Improvement Stores like Home Depot, Lowe’s, and Menards carry a wide variety of pre-made floating shelves in different sizes, colors, and materials. These shelves are usually easy to install and come with all the necessary hardware. They’re also affordable, making them a great option for those on a tight budget.
- Furniture stores like IKEA, West Elm, and Pottery Barn offer a range of floating shelves that are stylish and functional. These shelves come in different sizes, styles, and finishes to match your home decor. Some stores also offer customization options to help you create a unique look.
- Online retailers that specialize in selling pre-made floating shelves like Amazon, Wayfair, and Overstock offer a wide range of floating shelves in different sizes and styles. Some even offer free shipping or other special deals, making it easy to find affordable and high-quality floating shelves.
- Local wood shops are a great way to support small businesses and get a detailed product. They can create custom floating shelves that fit your exact specifications and style preferences. This option may be a bit more expensive, but you’ll get a one-of-a-kind piece that’s perfect for your home.
We wanted chunkier shelves that our big box store didn’t have so we went to a local place a few towns over and made a day of it…we even found a new hall-in-the-wall Mexican restaurant that will be added to our new monthly rotation!
Our local wood shop: Woodworkers Source | Tempe, Arizona. You can walk in without an appointment, browse then have them cut your wood of choice for a small, additional fee. They even planed our wood which made it nice and smooth on all sides for us while we were checking out. Highly recommend!
We’re really happy with our wood shelves turned out and are glad we helped a small business out in the process.
More DIY Shelf Ideas
Easy Shelves to Make
MORE shelf tutorials
Hanging floating shelves in your kitchen is a great way to add both storage and style to your kitchen. These would be so cute in a bathroom or family room, too!