diy turnbuckle shelf
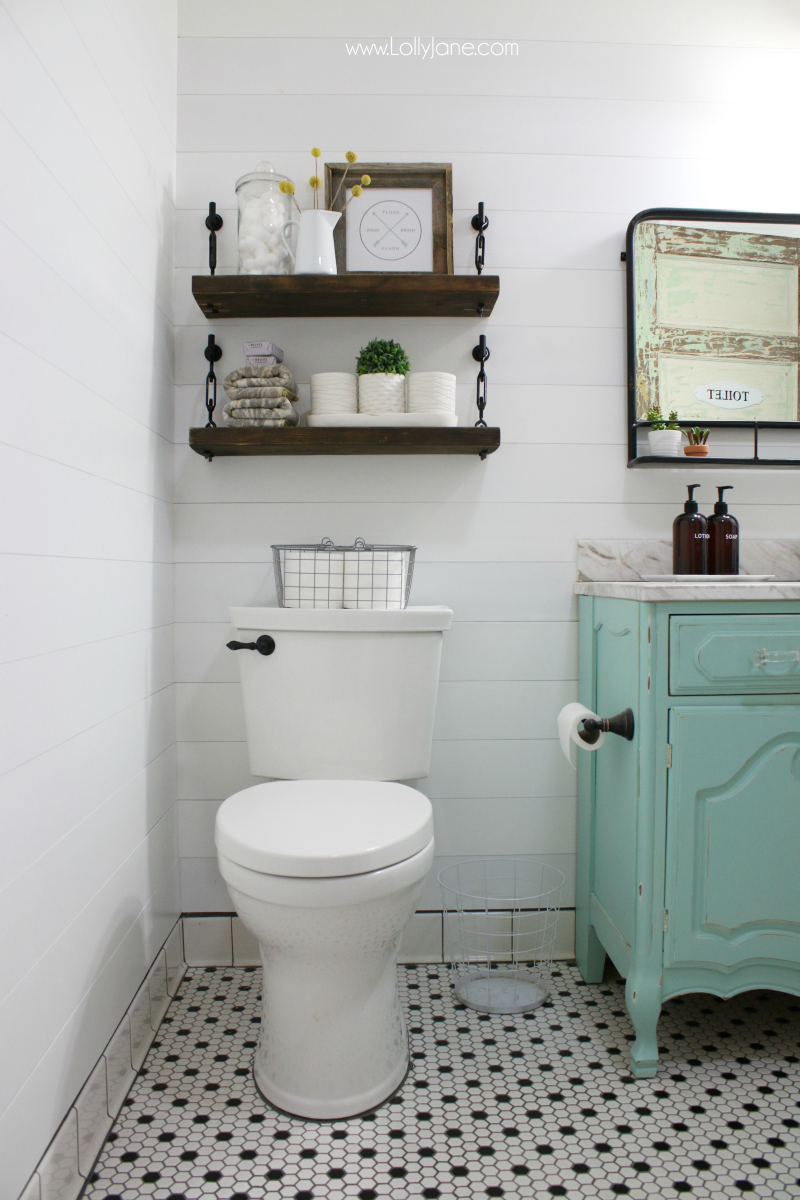
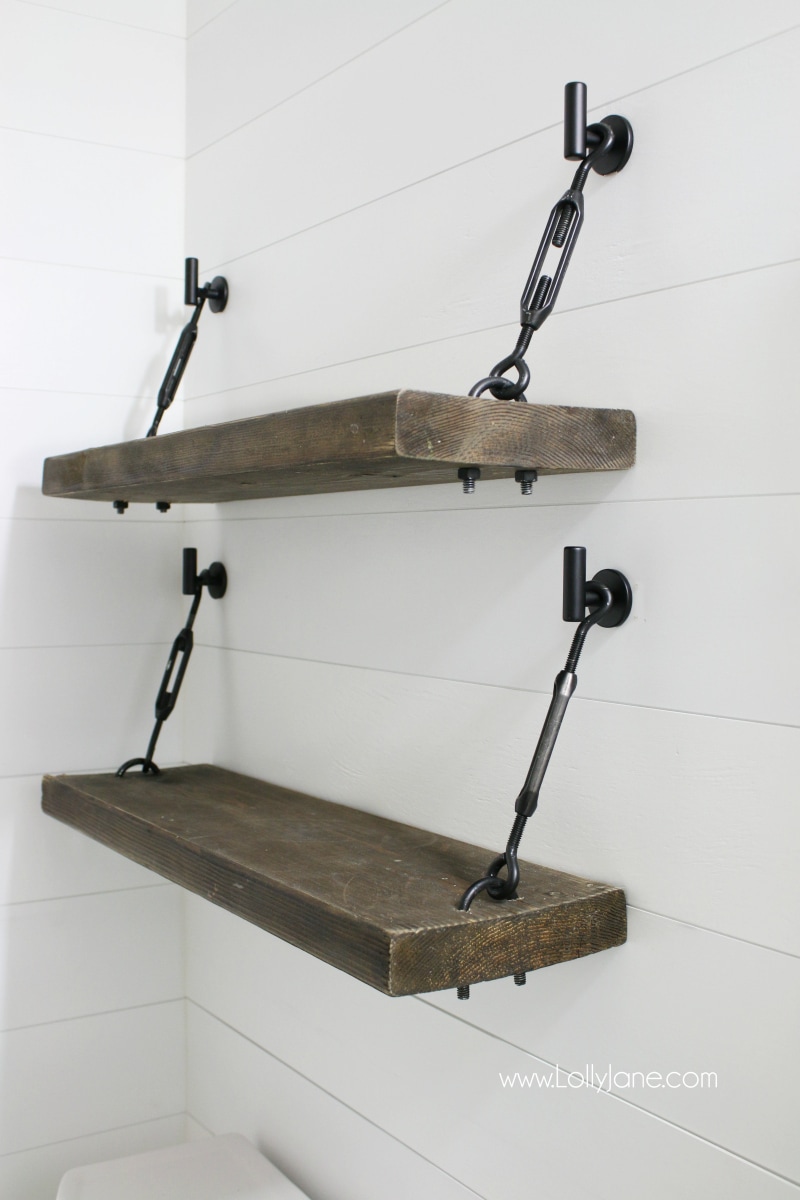
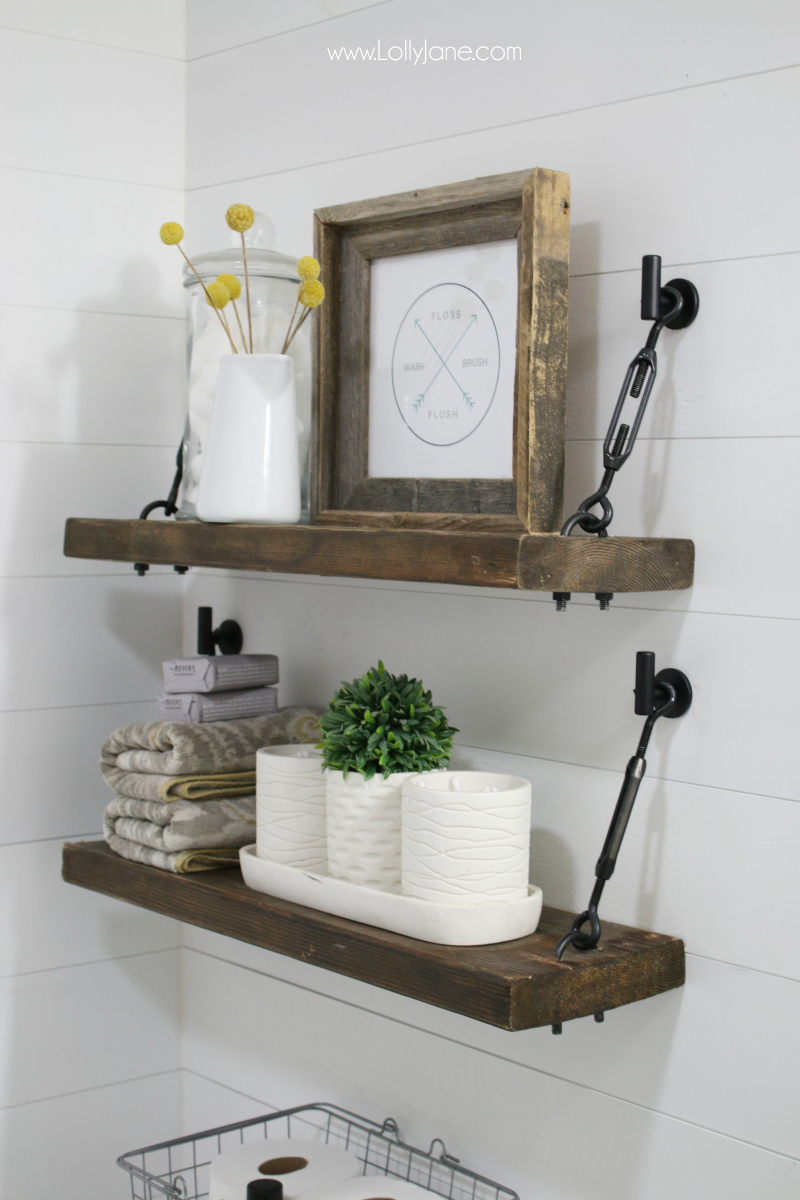
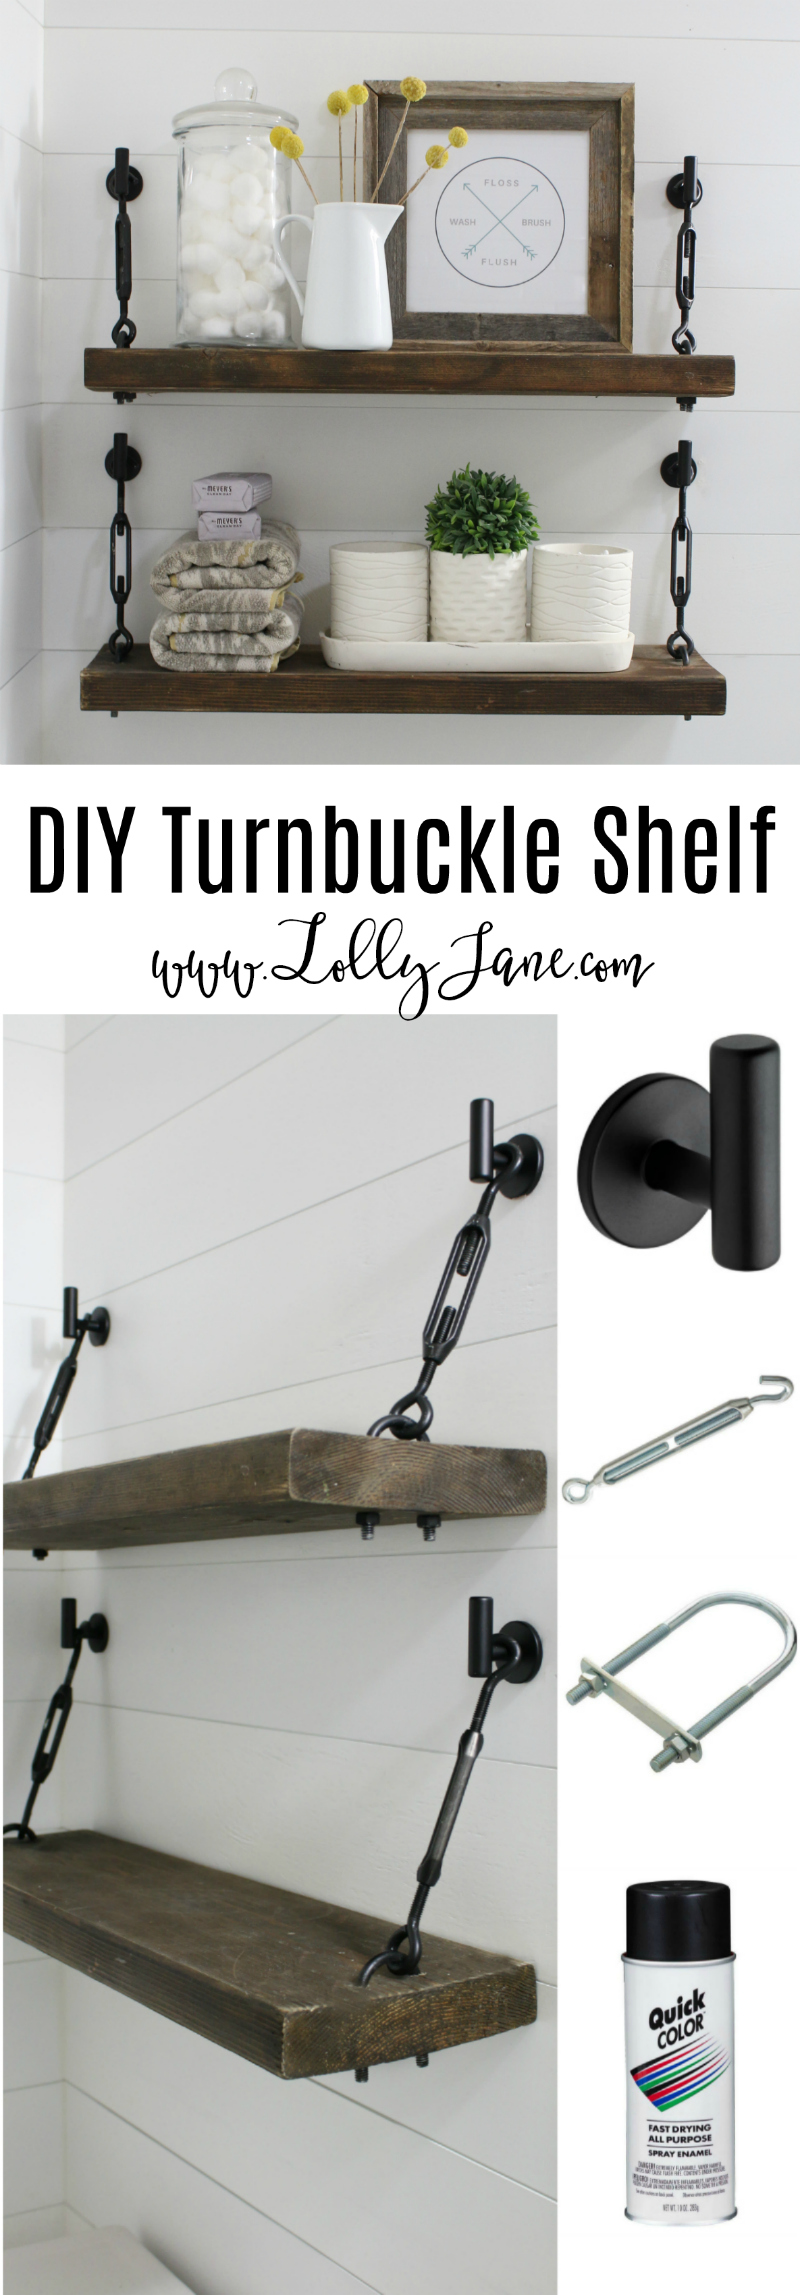
Learn how to make these easy DIY Turnbuckle Shelves! They’re the hottest trend in farmhouse decor with an industrial twist! We’re loving how easy these were to build and the hardware is just $32 for two sets!
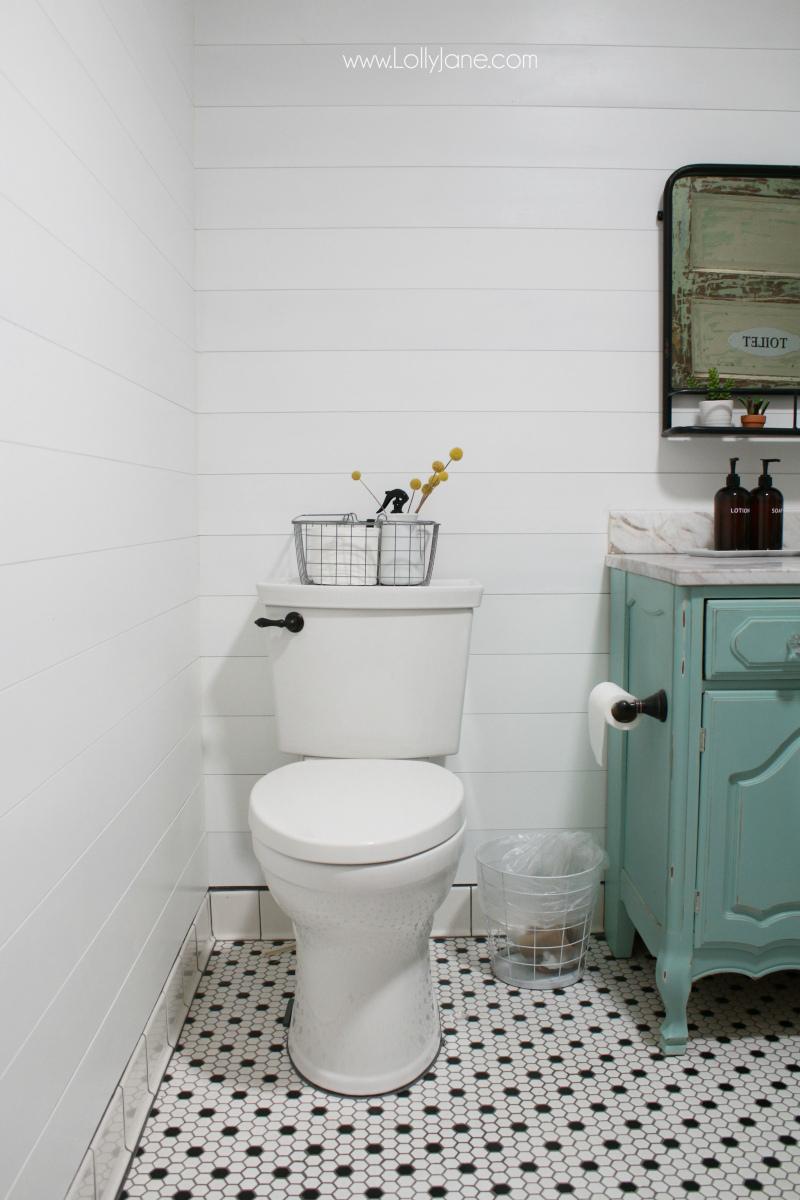
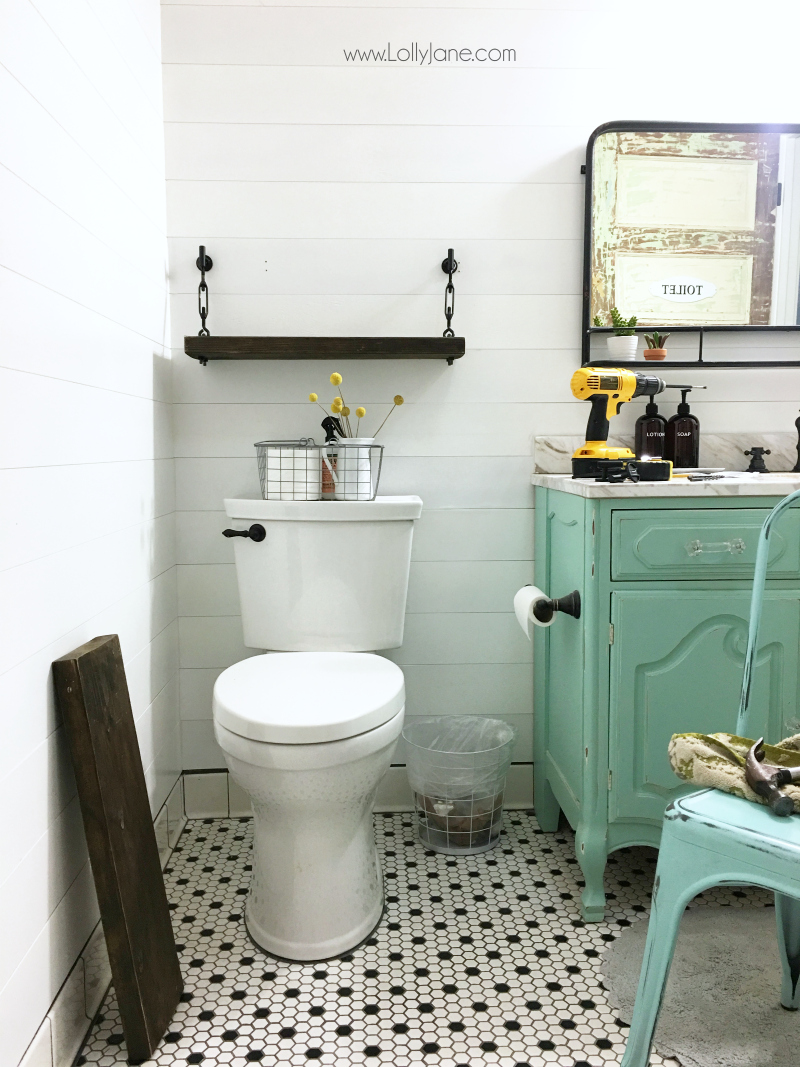
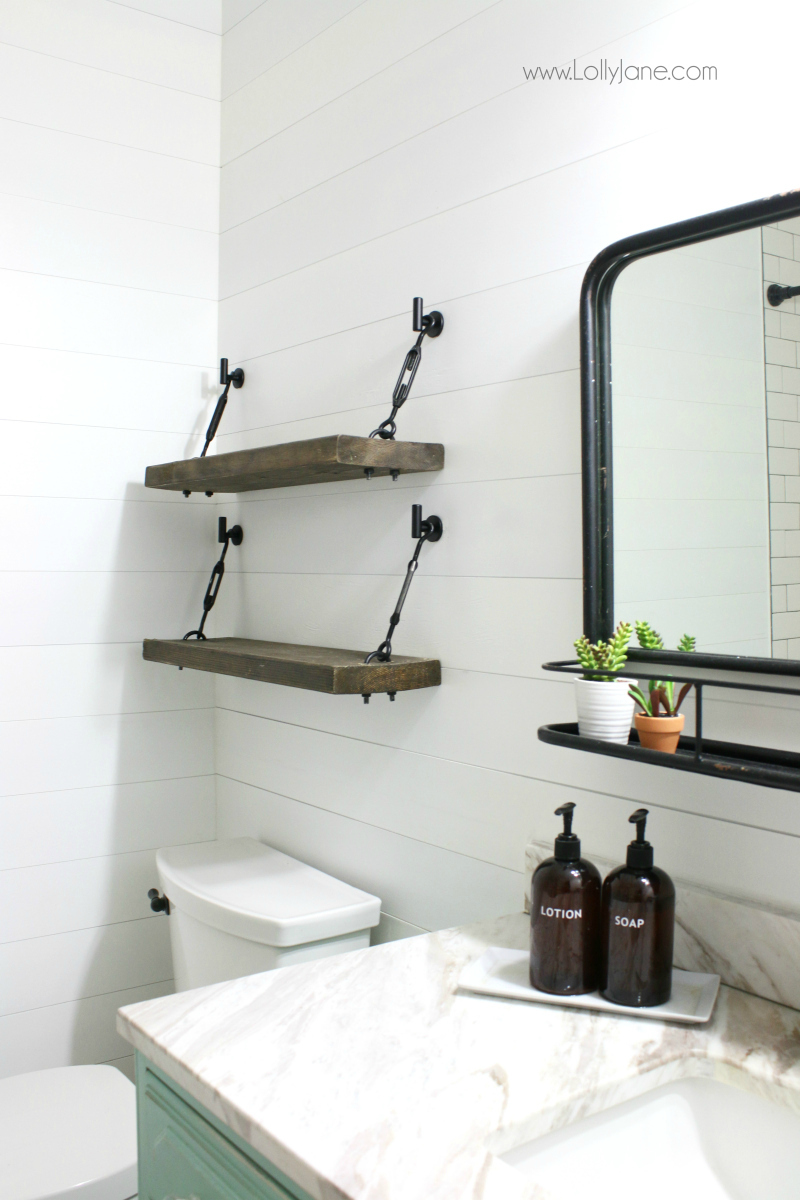
I finished renovating our hall bathroom last month and have been looking for the perfect shelves for storage above the toilet. I’ve been on the hunt for a good hanging shelves diy project and saw the prettiest turnbuckle wall shelf. It was linked to this darling turnbuckle shelf kit but because they’re so darling, they have a small waitlist. I wanted to get mine done quickly so I headed to Home Depot to make my own diy turnbuckle shelf. Here’s the bathroom after and before pictures to show you how big of a difference bathroom shelves make!
I’m pretty sure turnbuckle shelves are gaining popularity because there was a whole display dedicated to diy turnbuckle shelf brackets! Pro tip: look underneath the tempting display for less expensive alternatives, they’re the same brand!!
DIY Turnbuckle Shelf Supplies
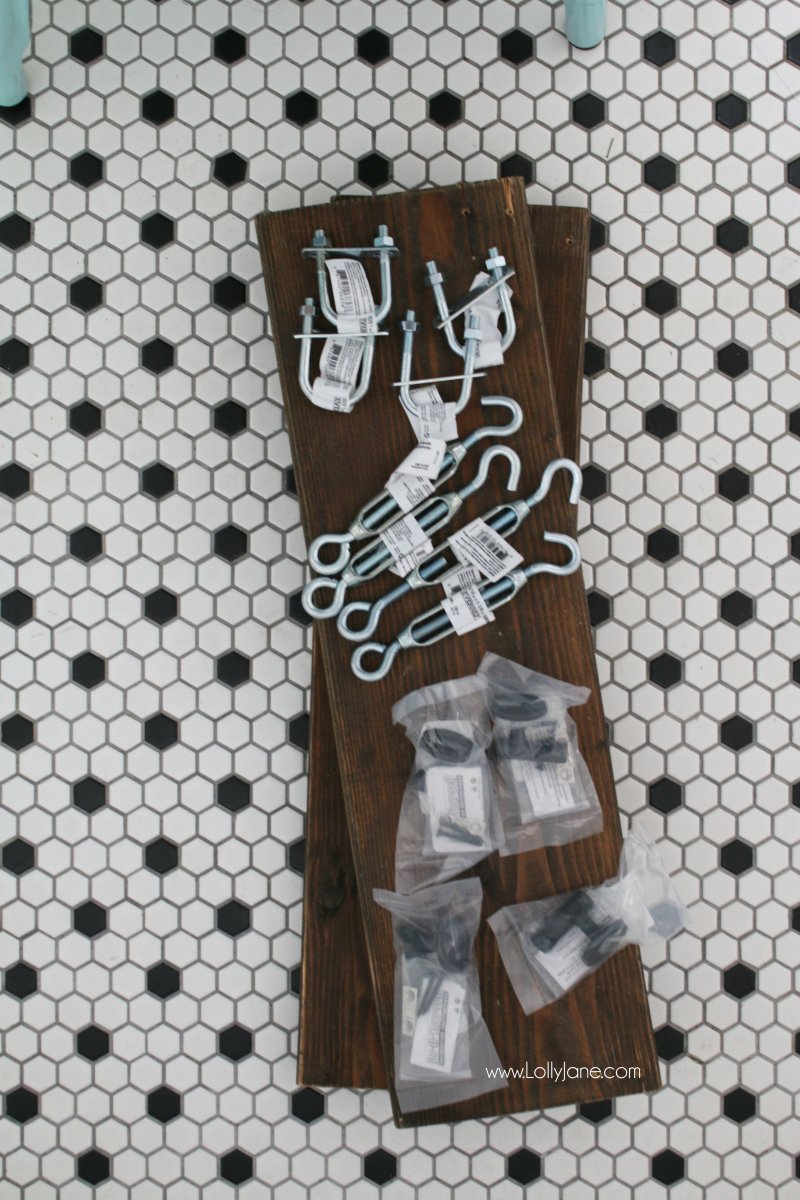
Supplies needed to build turnbuckle hardware to create modern farmhouse bathroom shelves: *aff links to what I used
- 4) U-Bolts (size: 5/16″ x 1 3/8″ x 2 1/2″)
- 4) Turnbuckle Eye/Hooks (size: 5/16″ x 9 3/8″)
- 2) Wall Hooks (I used Liberty hooks from HD), you can use any style hooks, just make sure your hook can get around them and is secure.
- 2) Wood Boards (I used a 2″ x 6″ piece of pine and cut it to 24″ increments. Stain is Minwax “Dark Walnut”.)
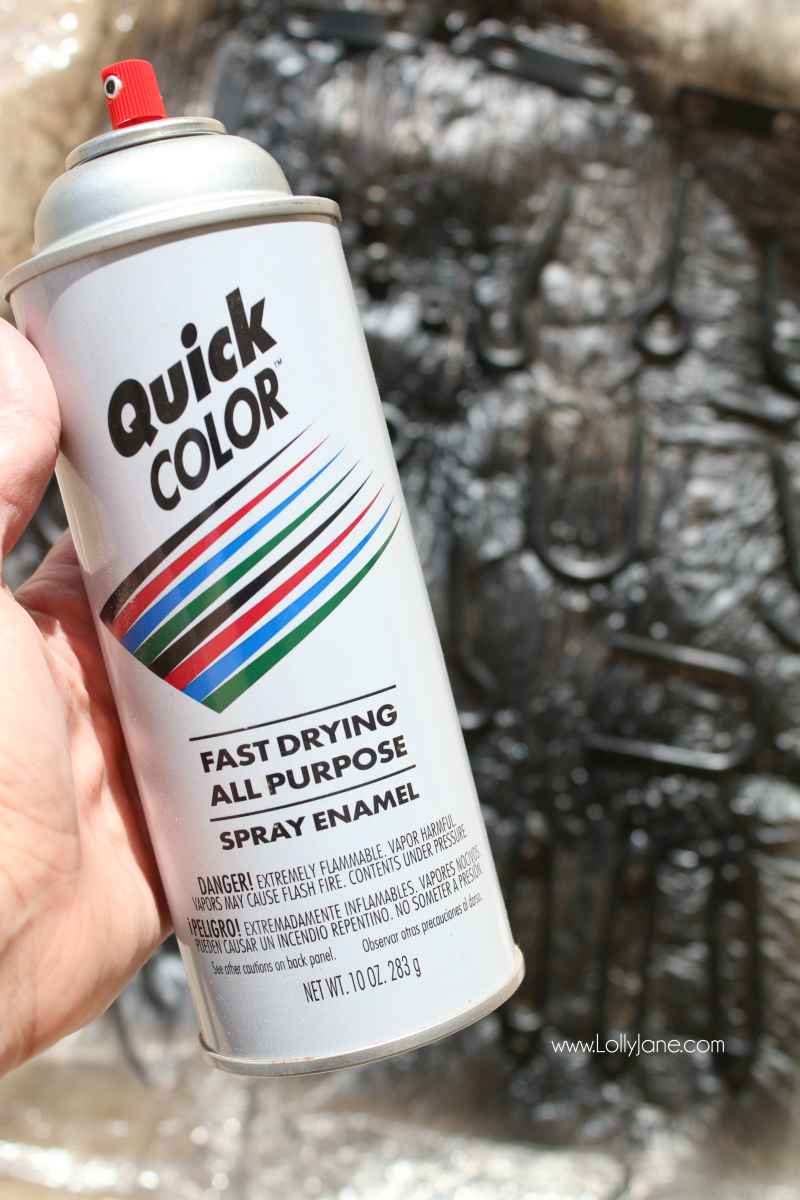
- Black Spray Paint (optional depending on your hardware color preference)
Follow these easy instructions to build turnbuckle hardware shelves.
Since my hooks were black, first I spray painted my hardware to match. Let dry for an hour.
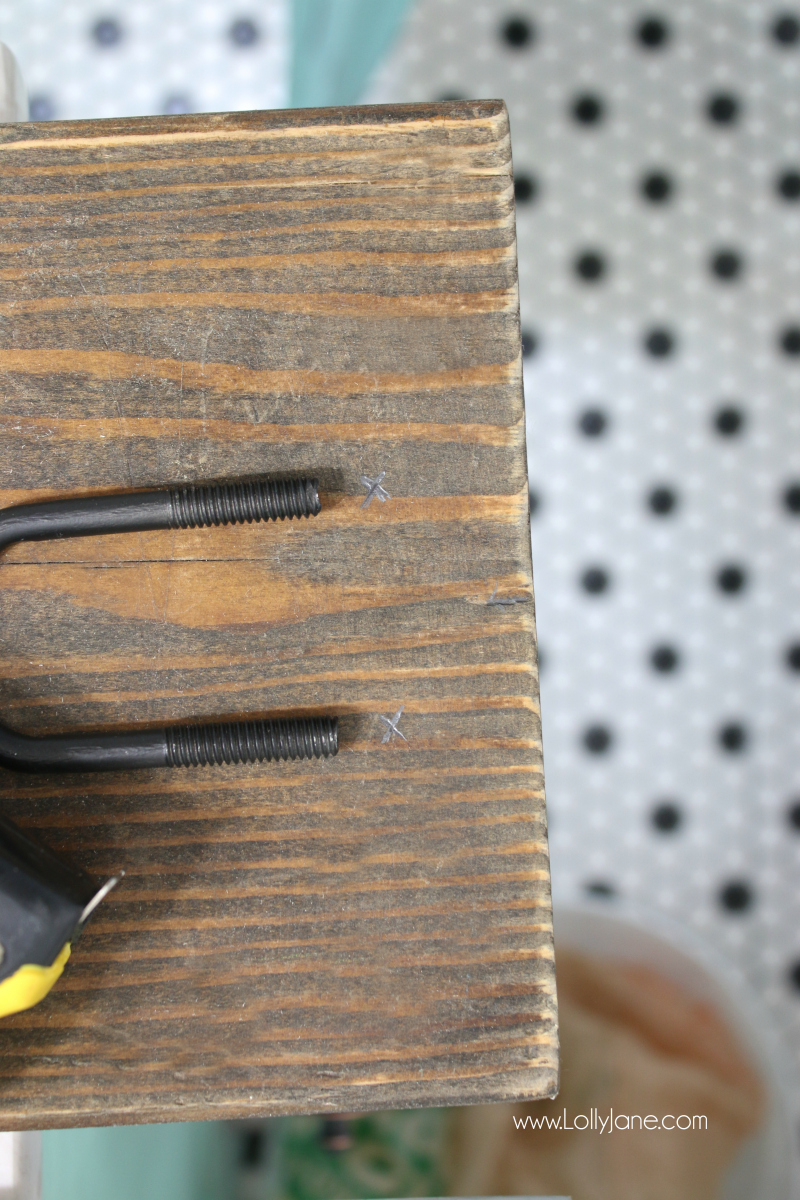
Measure where your U-Bolt will need to be pre-drilled. Mine was 1″ in from the end and about 2 1/2″ in from each edge.
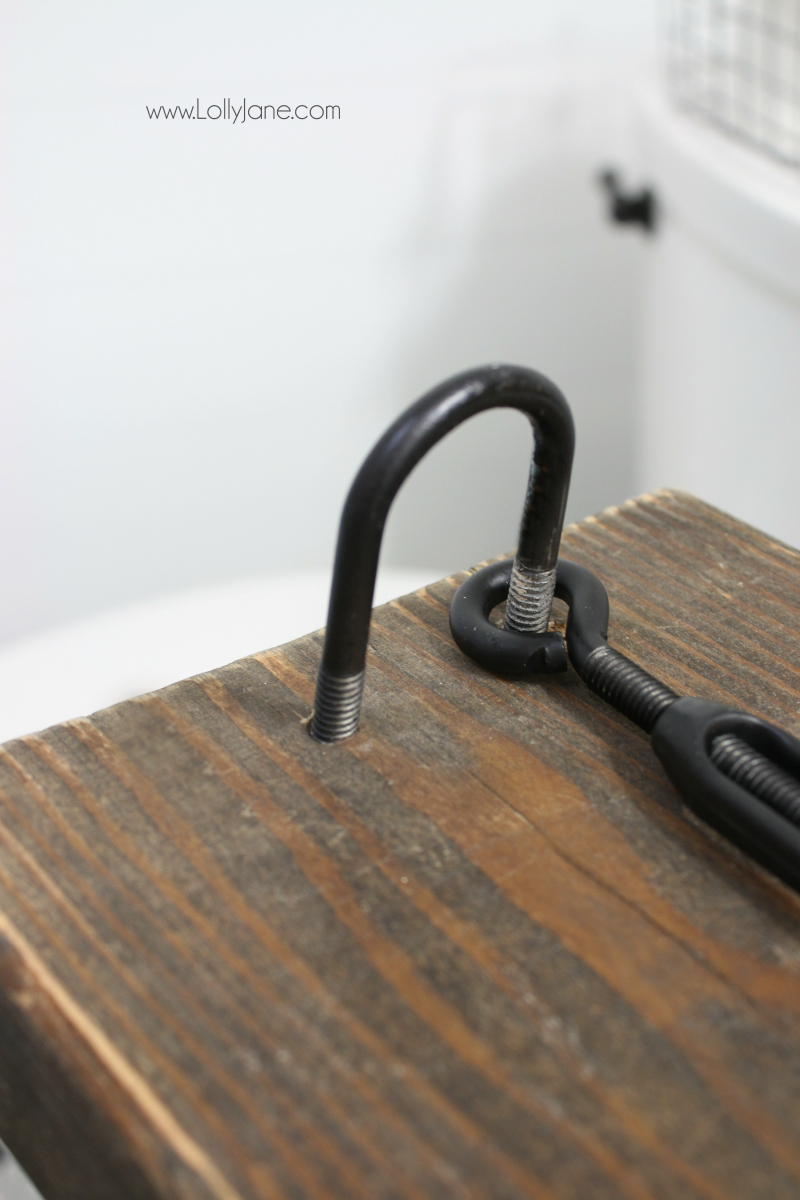
Place your eye hook inside the U-Bolt before you push it through.
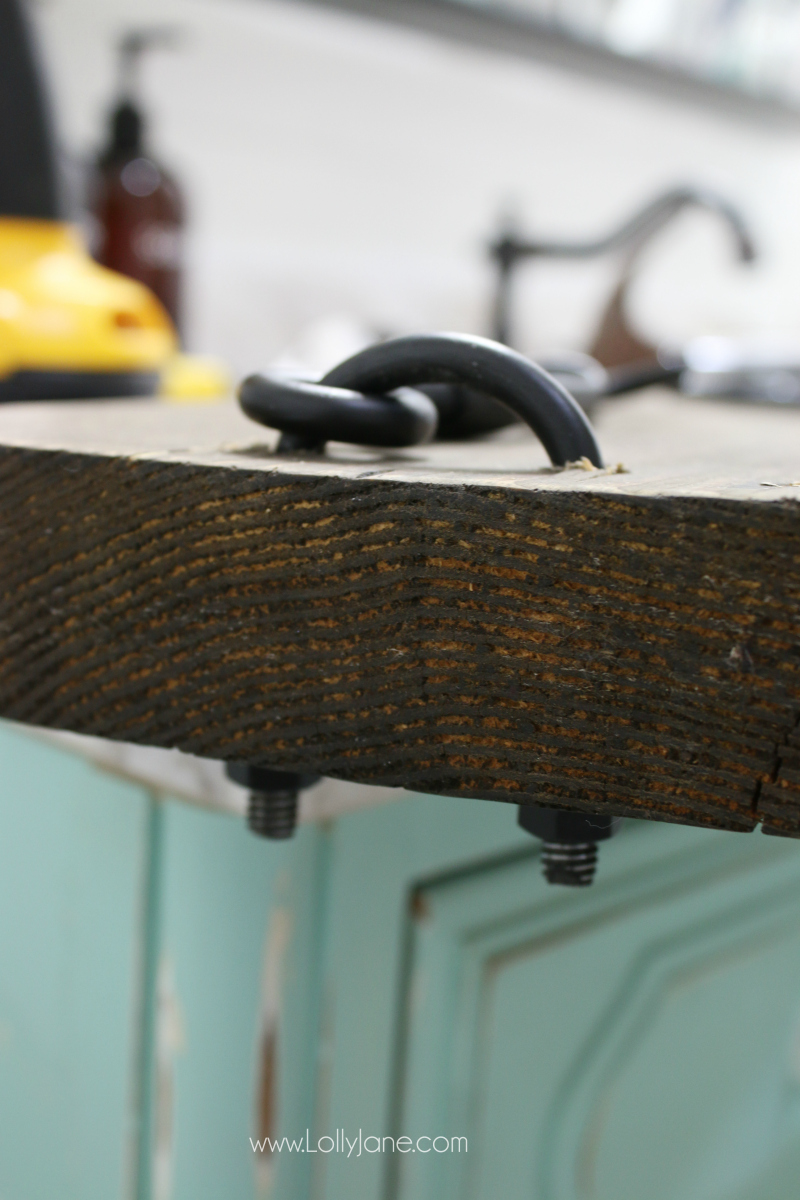
Push it down then tighten nuts onto the backside.
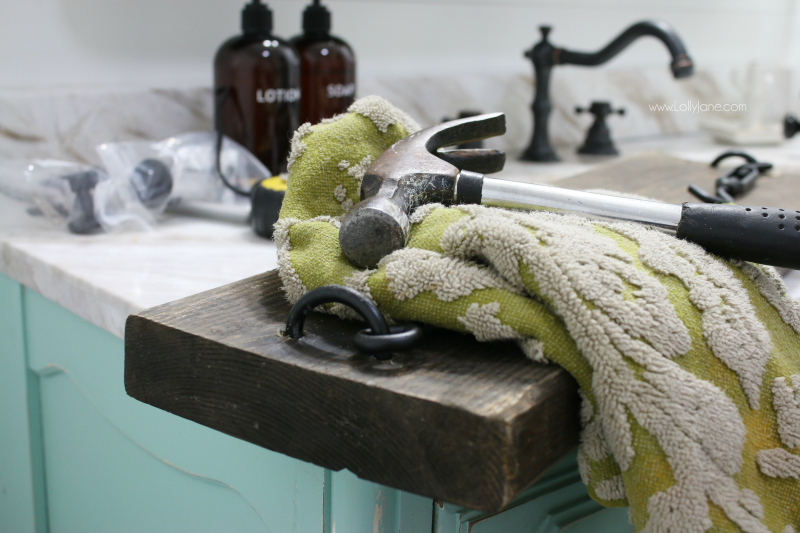
TIP: To push U-Bolt all the way down so it’s nice and tight, you may need to hammer it. Just place a piece of wood or cloth over the top beforehand so you don’t scratch or dent the top of the bolt. If you hit it too hard down, use the cloth to cover the hammer then pull the U-Bolt back up until it’s the right height to secure the nuts on the bottom.
How to Mount Turnbuckle Shelves
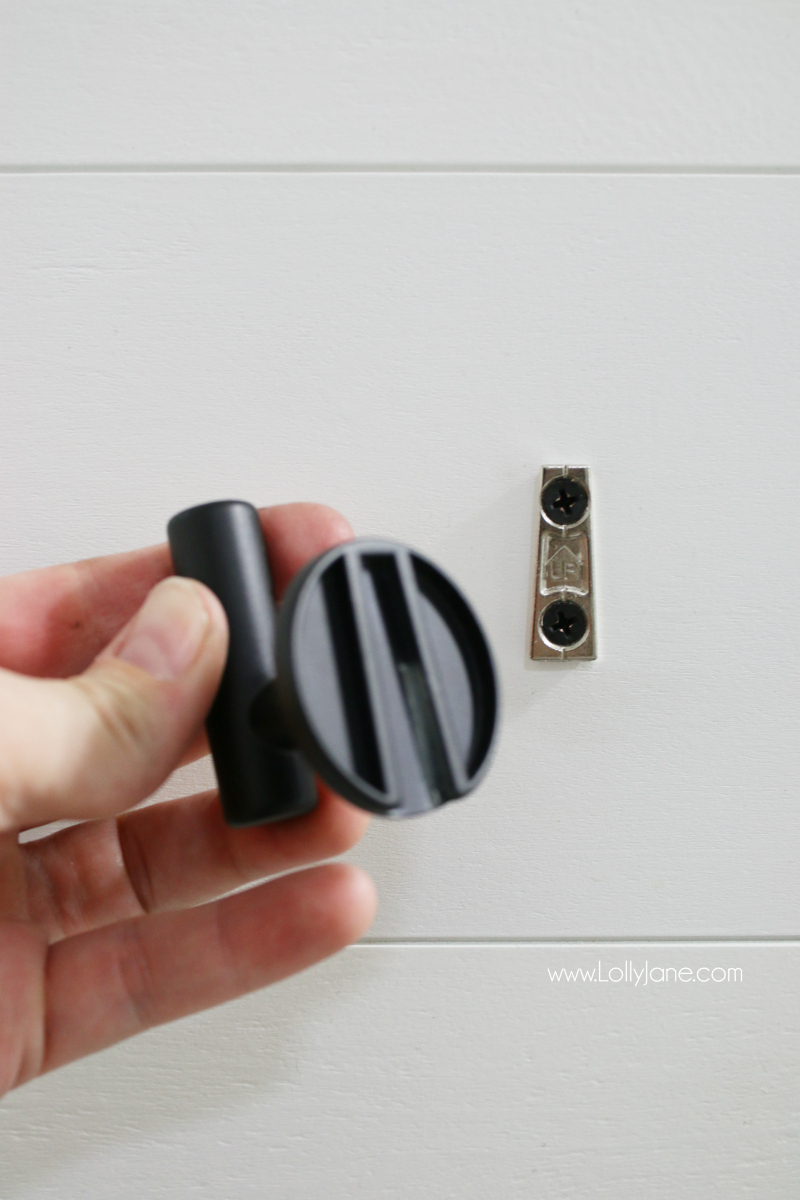
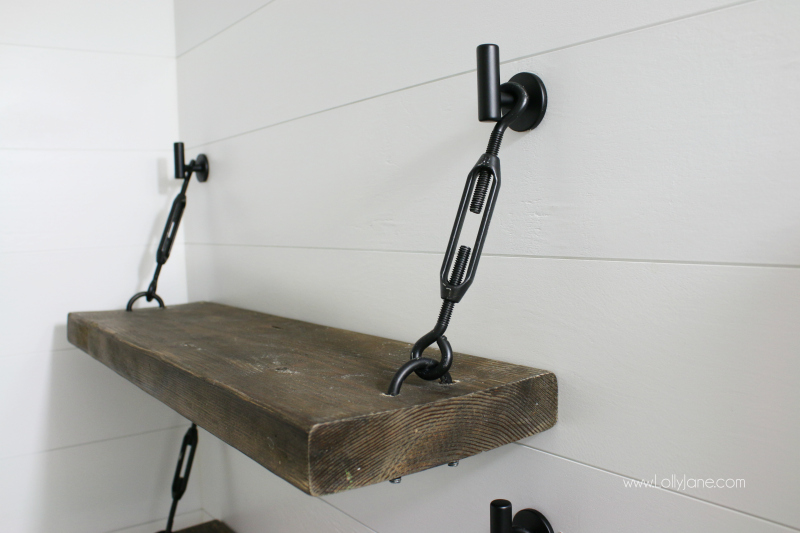
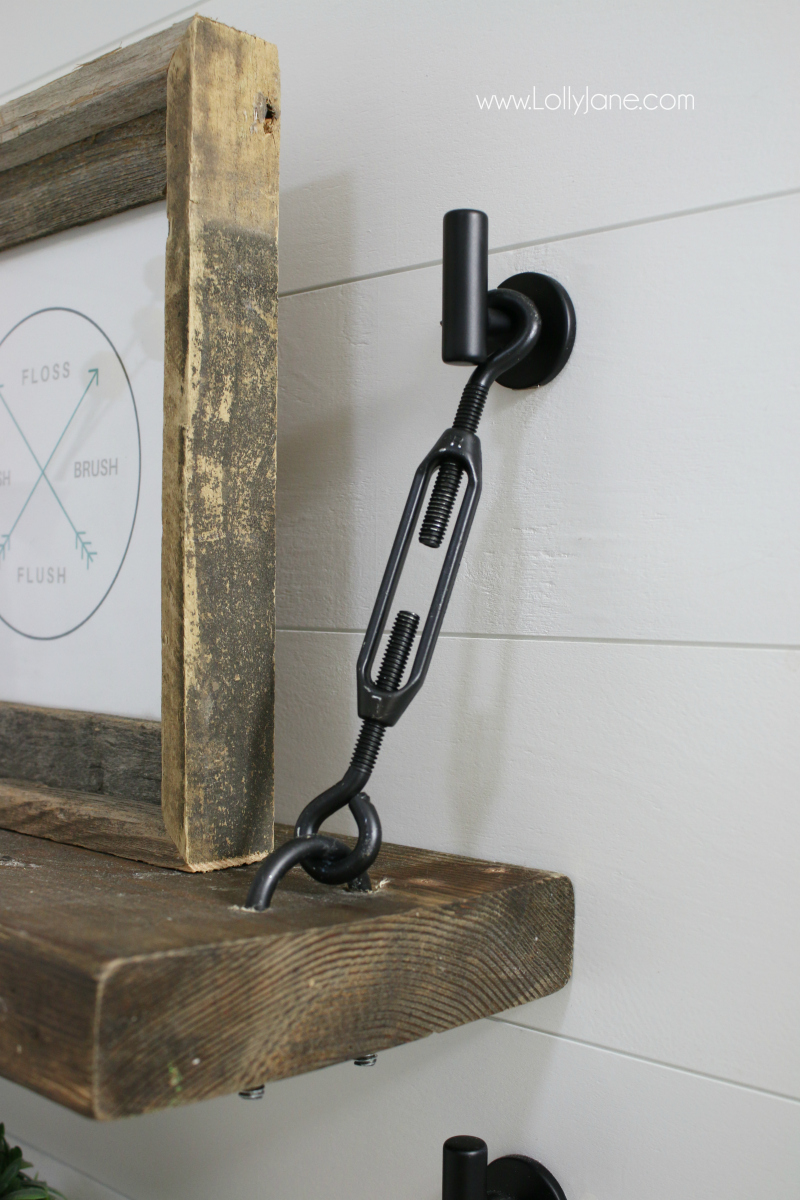
This hardware was super easy to apply to the wall. I centered it over the toilet then added about 6″ above the bottom of the shelf. I like how the hardware slips over the inner screws for a seamless look without the screws showing.
DIY Turnbuckle Shelf Screwset
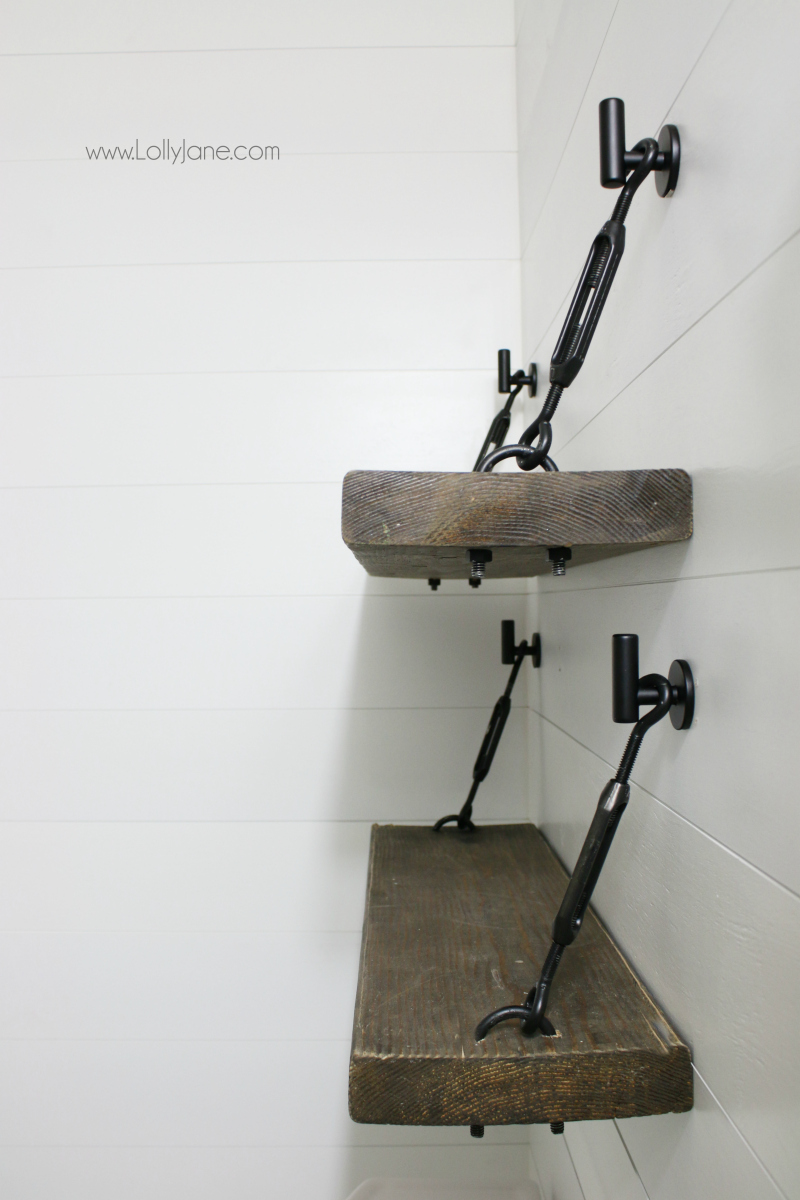
To get the shelf to not shift around, we followed Kara Paslay’s idea of screwing in a 4″ screw into the shelf on the backside and pre-drilling a hole in the wall opposite. Here are their words: “With all your pieces assembled, you are ready to start hanging the shelves. The cables will support the front side of each shelf, but you will need to support the side against the wall. I will show you what I did, but feel free to come up with your own ideas. I drilled two holes in the back of each the shelves that was large enough to accommodate the head of a drywall screw. Once I laid out where I wanted the shelves on the wall I screwed corresponding screws in the wall. I made sure there was enough screw in the wall to support the weight, but left about a 1/2″ of the screw sticking out so there was plenty for the shelf to rest on. We are lucky enough to have 1×6’s behind all of our drywall so I didn’t have to worry about hitting a stud or adding anchors, but most likely you will, so think about this before you start drilling the holes in the back of each shelf and plan accordingly.”
This doesn’t affect the weight but stops the shelf from flipping or moving around. Super sturdy! It took a little bit of muscle to get those U-Bolts in place and I’m horrible at math so I had to do a little wood filler, sssh! BUT this is what Lolly Jane is all about, getting things done and not waiting on help! (My poor hubby worked 60 hours of overtime so I was on my own!) What do you think?
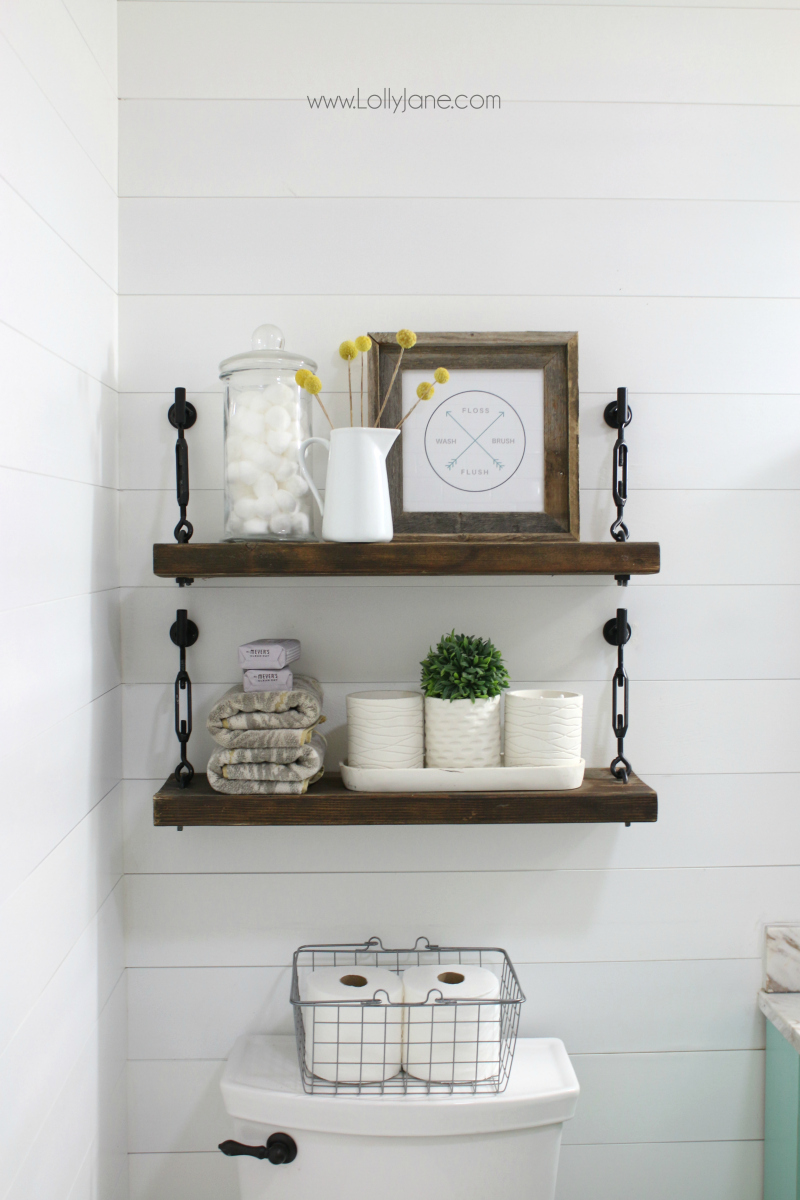
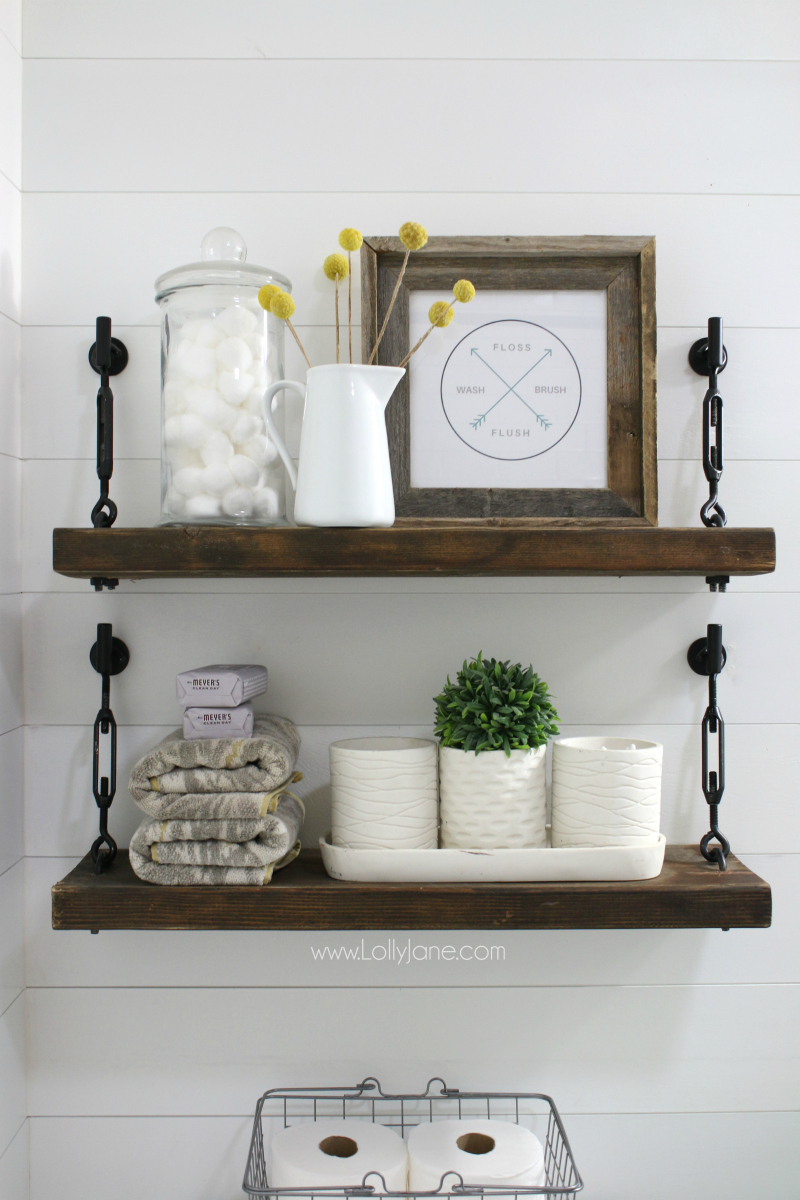
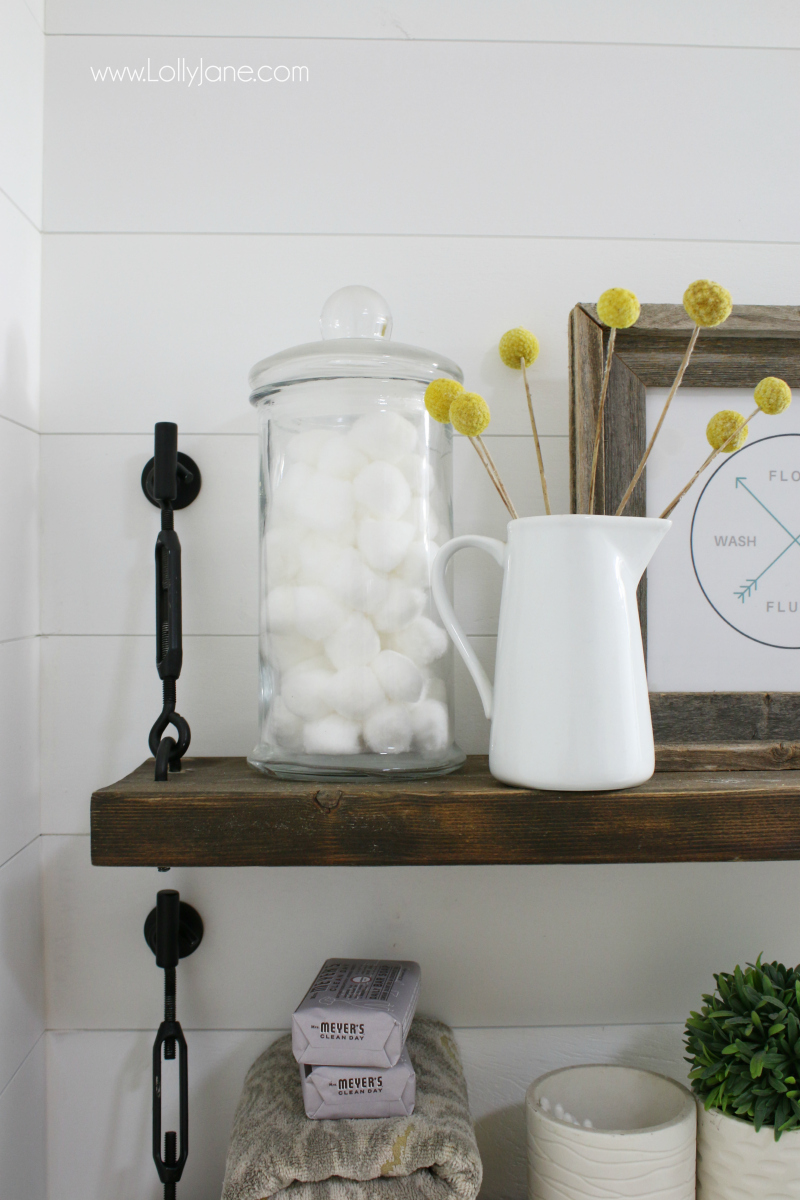
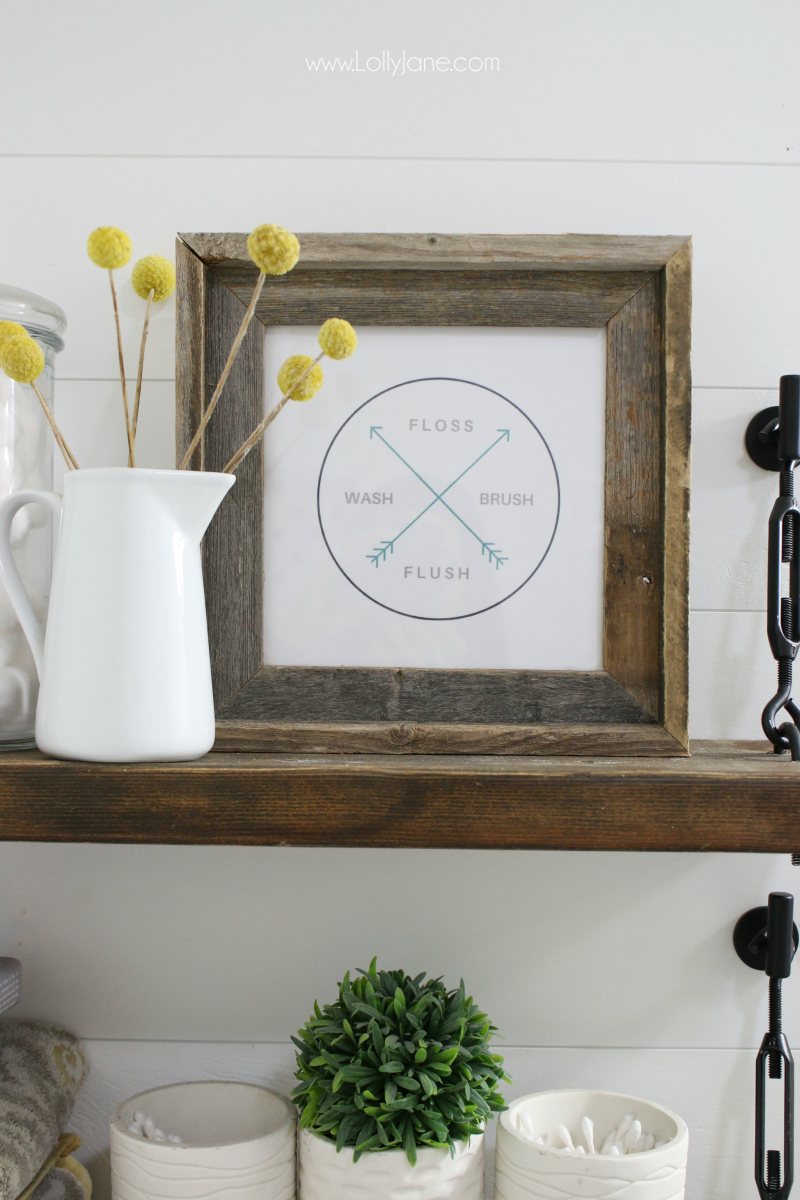
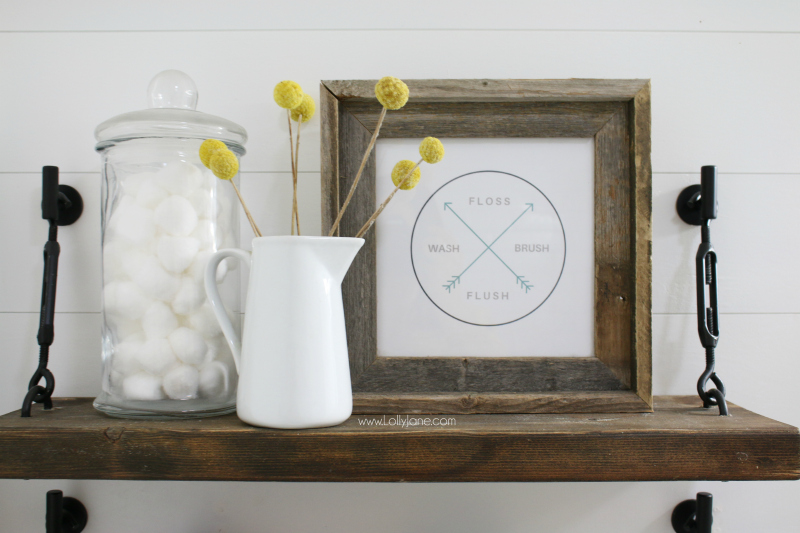
Here they are styled with things around my home.
The apothecary jars, wood frame and triple white jars are from Hobby Lobby. The free floss brush flush wash printable is from us, yay! The wire basket is from Target, I think. The white creamer jar is from Walmart and the billy balls are from Etsy. The linens are from World Market and our favorite soap is from Grove.
I mean, I’m just kind of in love with this view..
Please pin so your friends can build some easy to make turnbuckle bathroom shelves too!
Visit the rest of this bathroom makeover series:
- full bathroom renovation (you won’t believe the before!)
- shiplap wall installation process (hint: it’s peel-and-stick!)
- vintage dresser turned bathroom vanity tutorial (lots of answered questions!)
- free floss like a boss printable (three color options, yay!)
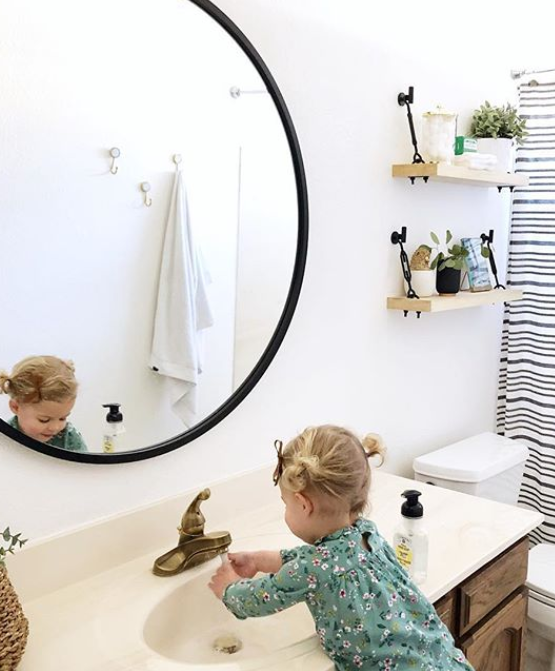
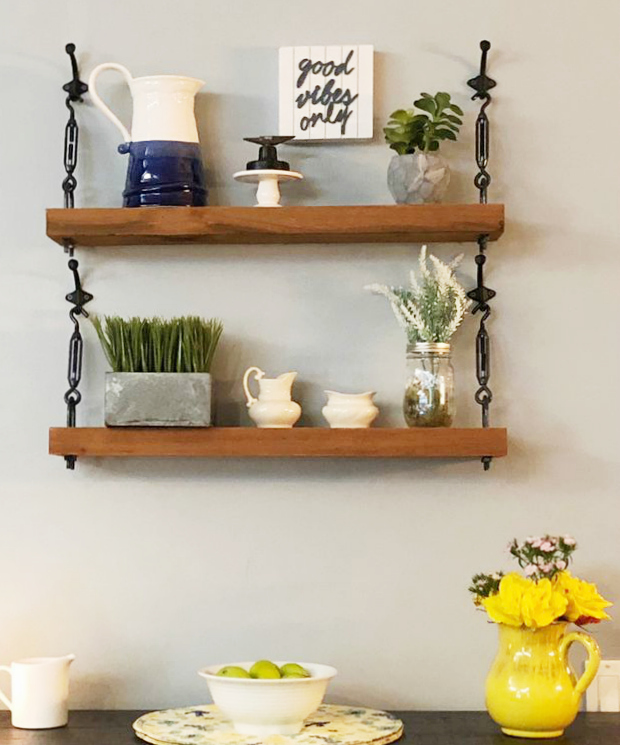
We are LOVING your versions* Keep them coming! xo
*As always, per our terms and conditions, tutorial is for personal use only.
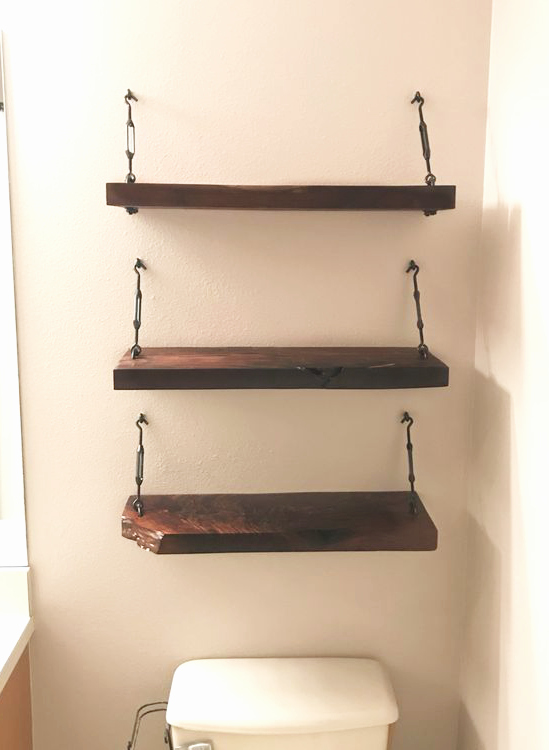
The raw wood turnbuckle shelves look great! Katie did such a good job!
We LOVE how Jolene Apicella created our shelves with hangers instead of hooks like ours. CUTE!
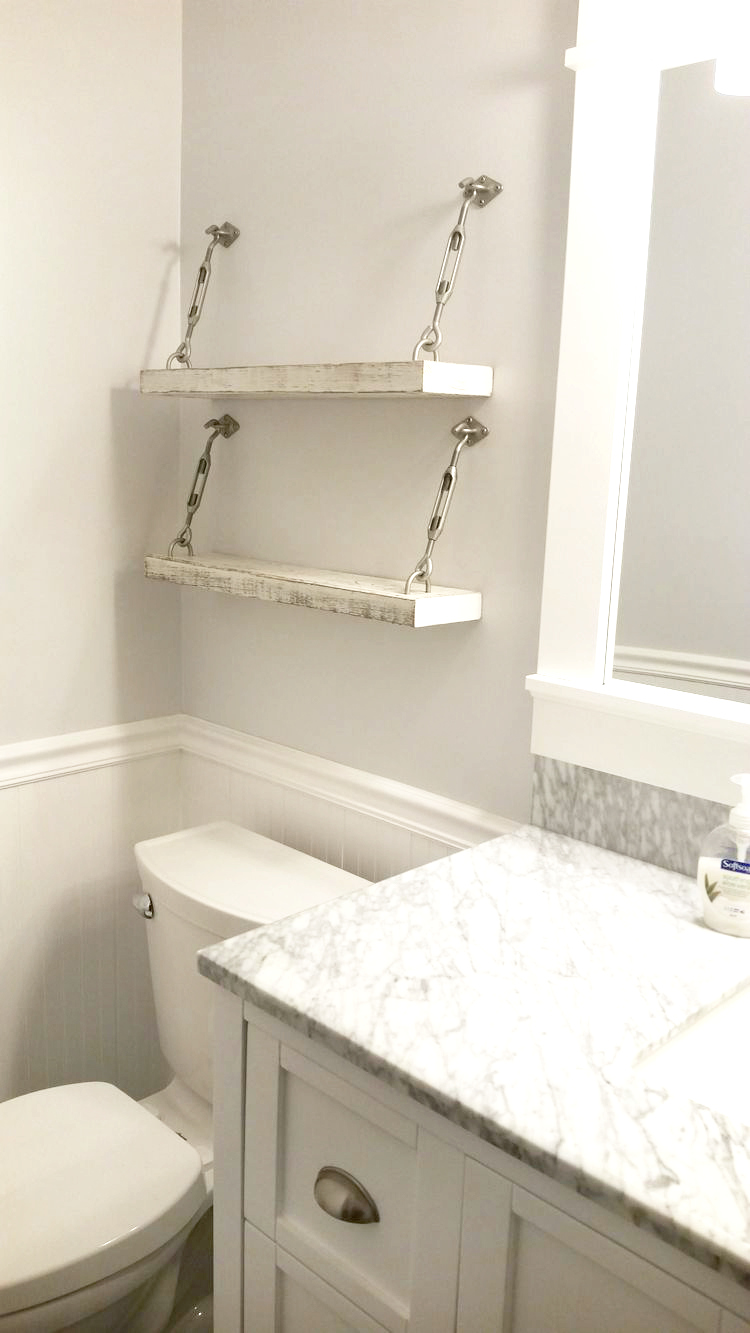
The white turnbuckle shelves with silver turnbuckle hardware from Lee Ann Husdon is a great twist on farmhouse, very modern farmhouse chic. Love it!
The eye hooks that Colleen Jarrell used to hang her walnut plank turnbuckle shelves look so good!



I’m just curious about how they adhere to the wall. There is nothing securing the wood to the wall so if you bump into it can’t it get knocked over?
Hi Melissa,
If you read the full tutorial, it shares the steps to ensure the shelf IS secure to the wall; there is a 4″ screw in the backside of each shelf, there are photos to accompany it so you can see how to do it. 🙂
Thanks! Happy building!
Hi. I love your shelves! I very much want to do this in my bathroom. I have purchased everything thing and even stained my shelves but I am having a hard time finding the turnbuckles. Could you tell me where you found them? I tried the link but it didn’t work.
Hi Jennifer! Here is the link: http://bit.ly/2JWzGTc They’re from Home Depot, 5/16″ x 9 3/8″ turnbuckles. We’d love to see an “after” pic! 🙂
hey girls- this is oh so cool!
You nailed…I mean drilled it… It is absolutely fab! I am sending it to my girls for inspiration too!
Thanks so much, Amanda! Love how they turned out 😀
I love these shelves so much! Thank you for the amazing tutorial. I’m so excited to shop for the supplies and make these for my bathroom.
Thank you, Karen! I’m thrilled with the response from everyone and am loving seeing so many sets being made!
Any idea how much those can hold weight wise?
Hi Sami, I’m guessing about 10-15 lbs/each when screwed into drywall. However, it depends on if you screw them into studs or use an anchor.
I was wondering if was necessary to screw them into wall stud or just use drywall anchors. My hubby told me it always better to use stud but they won’t be centered over toilet if I put on locations where the stud are. Will they hold up with drywall anchors?
Hi Haru-depending on what you place on them, they should be fine with anchors. Studs are always the best option but we used anchors as well since we didn’t place anything more than a couple lbs on each shelf. Happy building!
I have a perfect spot for these shelves! Pinned for later!
Wahoo!! Happy building, Kristin!
I love the shelves, they are so cute. I love the bathroom colors, too. Thank you for linking up with us at the #HomeMattersParty linky.
Oh they look so beautiful! They fit perfectly in your bathroom! Excellent idea and work
Thanks so much, Christina!! We appreciate it!
Absolutely love these shelves!!!! I’ve shown the to my husband and he’s going to make me some for my kitchen!!! Can’t wait. Thanks so much for the step by step. Gorgeous shelving!
Oh yay! That’s awesome, whoo ho for Honey Do lists. We’d love to see them, tag @lollyjaneblog or #lollyjaneblog 🙂 Thanks! XOXO
Love this idea!! Simple, classy, and adds so much style to the bathroom!
Thanks so much, Sean! It’s nice to clear up some clutter from the vanity, too 🙂
I wish I had read the whole post first. I was racking my mind on the positioning. It makes sense with the side views of shelves because you can seem them angled. I love the finished look. love it laura
Hi Laura! We do that too, pro skimmers over here 😉 Glad it makes sense to you!
These are gorgeous. I’ll be stealing this idea! I’m sure they’re super strong, too!
Thanks for sharing
#amazememonday
Katelynn, hampersandhiccups.com
Oh thank you, Katelynn!!
You did an awesome job! Yes and when a woman puts a head to it we can accomplish anything ?
Yes!! Agree!! 😀
These shelves are so gorgeous! They are quite the focal point in your bathroom. Great job. <3 I will be sharing on Pinterest, but I found you through the Show and Tell Link Party.
Oh thank you for visiting, Keri!! xo
I’ve been making turnbuckle shelves for months (I know, ridiculous). The one thing that’s stopping me from hanging is that I’ve been unsure if I need to do something to stababilize the shelf or if gravity + resting on the wall is enough. I don’t see you mention anything so I’m assuming that the shelves are sturdy? Looks adorable, thanks for sharing!
Rebecca I was wondering the same thing. Looking forward to finding out.
Hi Rebecca and Misty! I just updated the post with a little trick I saw from another shelf. I included the write-up and pictures above.
If you’re looking to hold some major weight, I would consider a floating shelf, adding a cleat underneath or even attaching some L-Brackets beneath.
As is, they are very sturdy although I’m not sure how much actual weight they would support. They don’t budge and I’m very comfortable with my four children grabbing things off of them with much confidence they will hold up.
Thanks, ladies! If you make a set, we’d love to see them! xo
Totally adorable!! Very creative and perfect for farmhouse design!!
Nancy
wildoakdesigns.blogspot.com
Thanks, Nancy!
Oh wow! That is such a fun project! I love those shelves! They are probably a focal point for the bathroom. Great idea and thanks for the tutorial! Saw your post through the before and after party:) pinned!
Hey thanks so much, Kathleen!
I have a feeling your turnbuckle shelving will be showing up on “Farmhouse” blog hops really soon. Super innovative project using hardware store materials. Love it.
Thanks, Nancy! We loved the ones on Etsy and had to recreate them when they were on a waitlist. Super affordable 🙂