How To Hang a Grid Gallery Wall
Hanging a gallery wall is a great way to add some personality to your home. Learn how to hang a gallery wall quickly with these affordable frames and pretty art lights!
We’re no strangers to gallery walls. We’ve put them in bedrooms, dining rooms, bathrooms and even hallways. They’re a great way to fill a space and add a personal touch to your decor.
How To Hang a Grid Gallery Wall
Gallery walls are always evolving. You’ll notice in the past we personally had busy gallery walls with mis-matched frames, sizes and patterns.
Lately, we’ve adopted the minimal look and have been in an ongoing battle to get rid of clutter.
When we moved back in after the remodel this year, we had a new, very large wall that stared at us every day. The unique thing about this giant blank slate is that it’s sits opposite of our new, cozy great room.
The great room is tv-free and is instead meant to sit and chat. It’s filled with cozy couches and soft pillows plus a circle, wood coffee table to kick your feet up and relax.
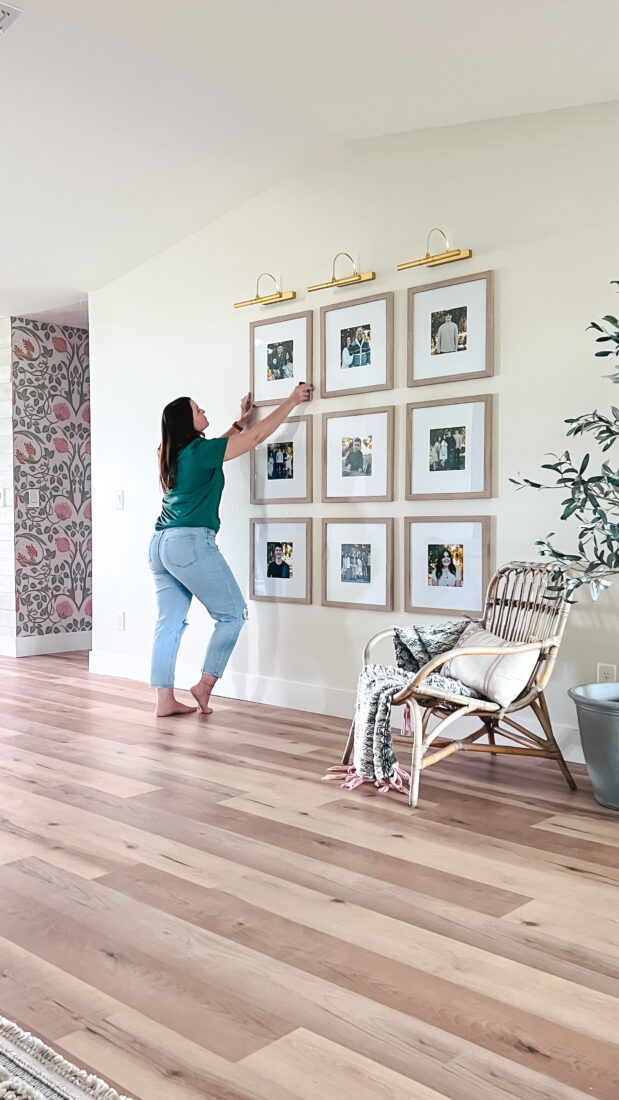
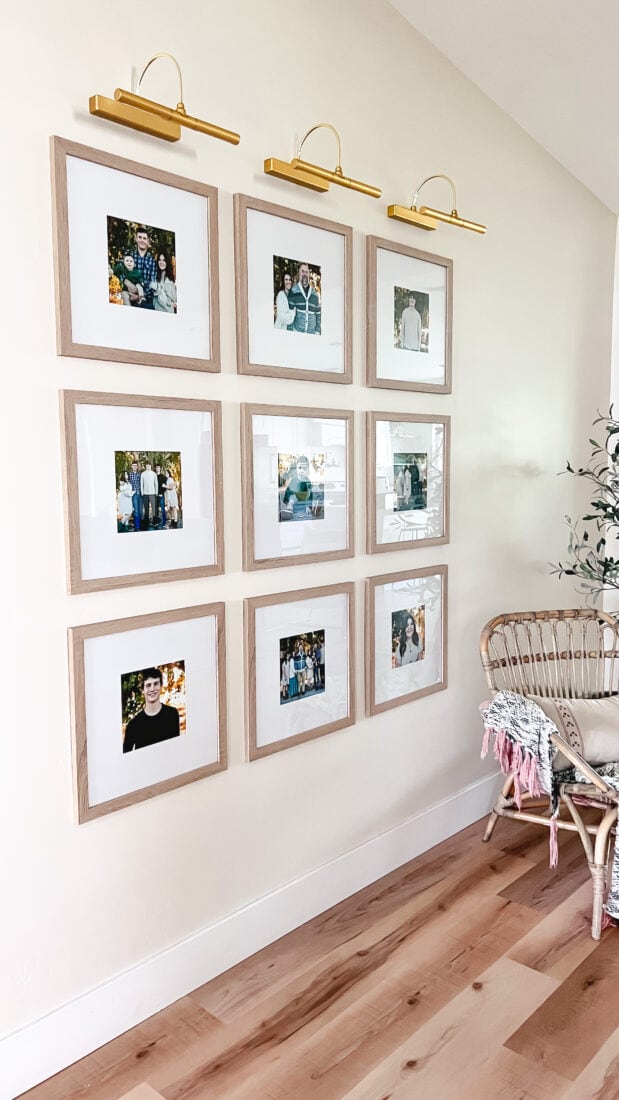
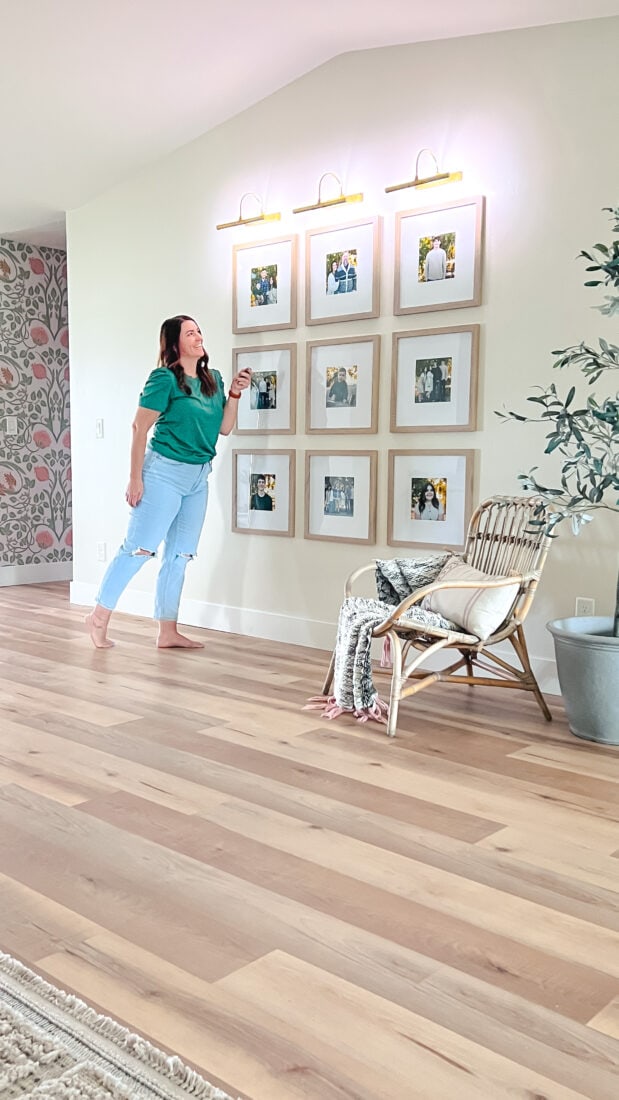
I knew I didn’t want any furniture on the opposite wall so I decided to add this year’s family pictures to it then add pretty brass picture lights (bonus: battery operated!) to create subtle art.
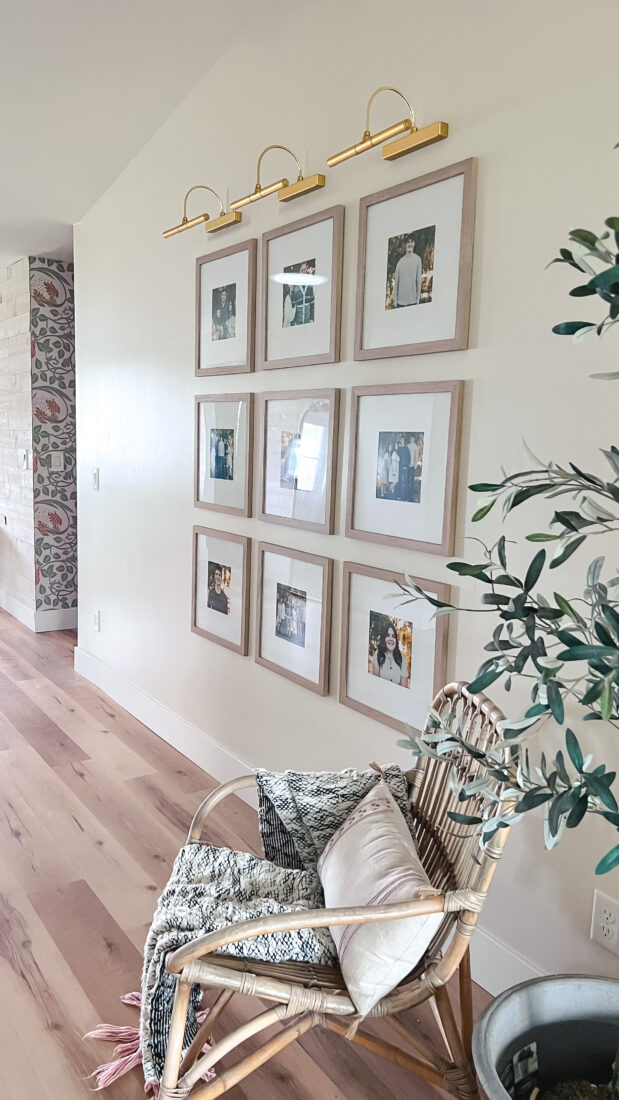
I used light wood frames with white mats and soft brass, clip on cordless picture lights to light it up at night. It’s the perfect touch to the wall and I’m so happy with how it turned out! Read on to make your own.
Supplies to Create a Gallery Wall
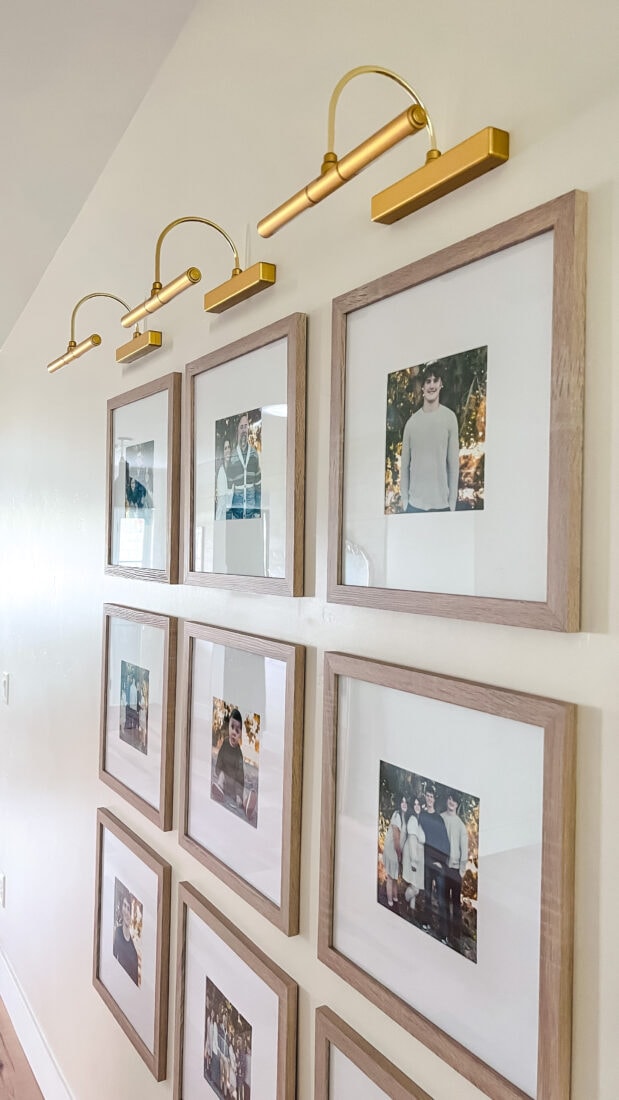
- Picture Frames (mine are 18×18)
- Art Lights (battery operated, no hardwiring required!)
- Drill
- Level
- Meauring Tape
- Pencil
- Museum Putty
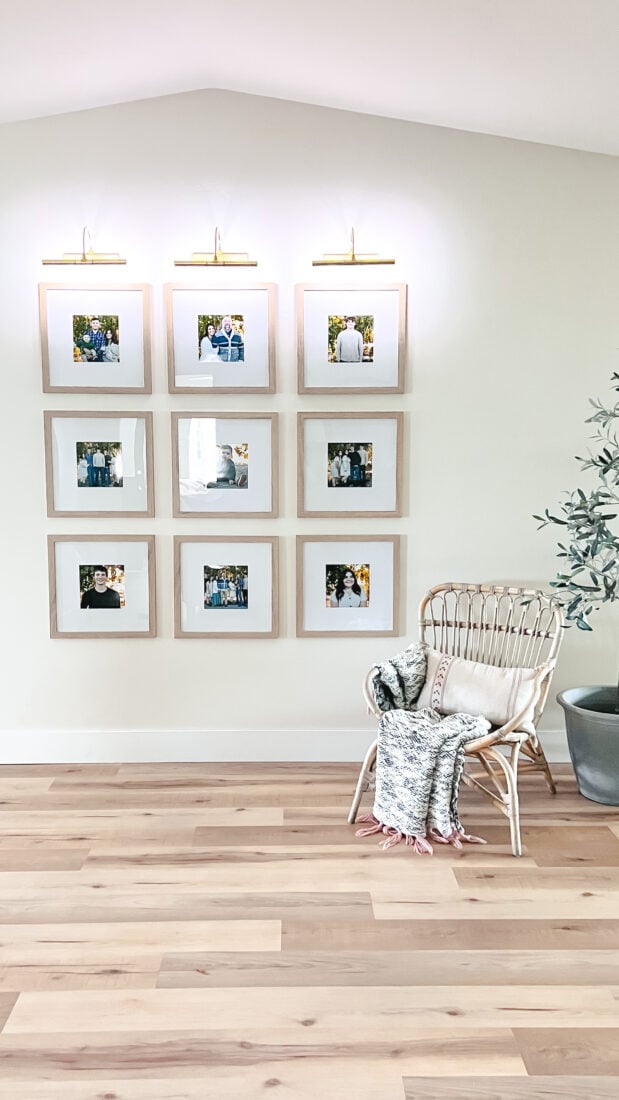
How to Easily Hang a 9 Grid Gallery Wall
Expect to spend an hour on this gallery wall. Such a fast project!
Measure the Length and Width of the Wall
This will help you determine how many frames you’ll need to buy, as well as their sizes. For example, if your walls are 10 feet long by 8 feet wide, you can fit up to three rows of 18 x 18 frames like my wall.
Create a Layout
Use newspaper, butcher paper, wrapping paper or even tape copy paper together to mimic your frame sizes. This will help visualize how the frames will look on the wall without pulling holes in the wall.
I personally used the leftover backside paper (hung with painters tape) from my recent hallway wallpaper project and loved how it help bring it to life.
Instagram was a great way to get more opinions to help me narrow down my design. I took a poll to see if I should keep the table and our readers were 50/50 so it wasn’t helpful, haha! Consequently, I ended up putting it in the entryway instead.
The 9 grid gallery wall is a safe bet that matches any decor style. Get creative with the frames or even photos or prints inside if you want to shake things up.
How to Hang a Gallery Wall
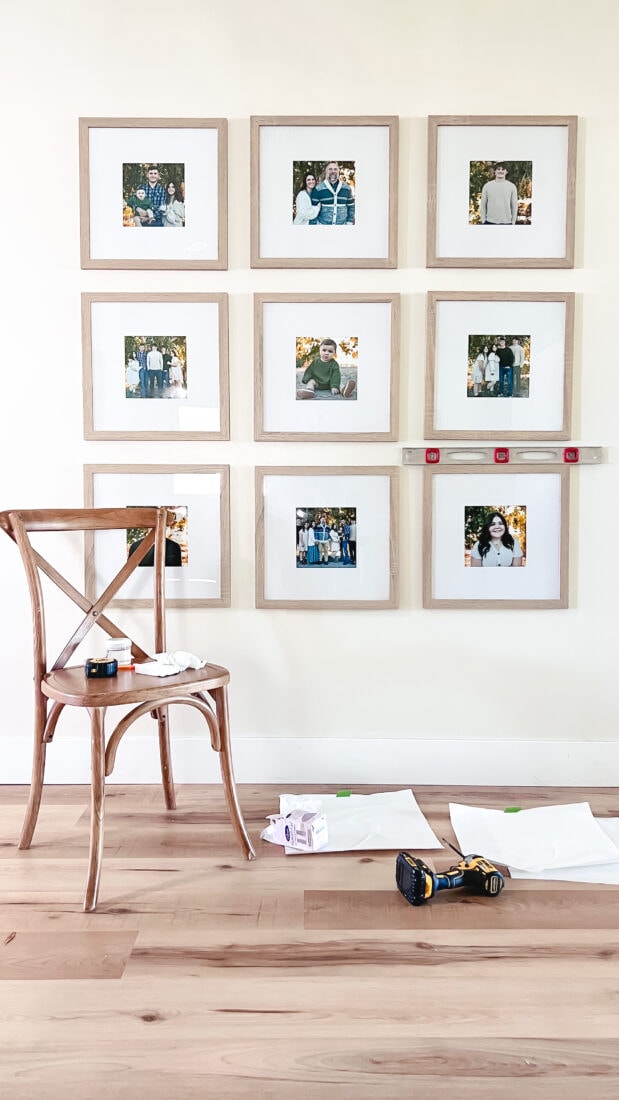
Just like any artwork, the rule of thumb is to hang it 57″ high, regardless of ceiling height. This “magic number” is the standard eye-height of the typical person. It’s also an industry standard in most museums and art galleries.
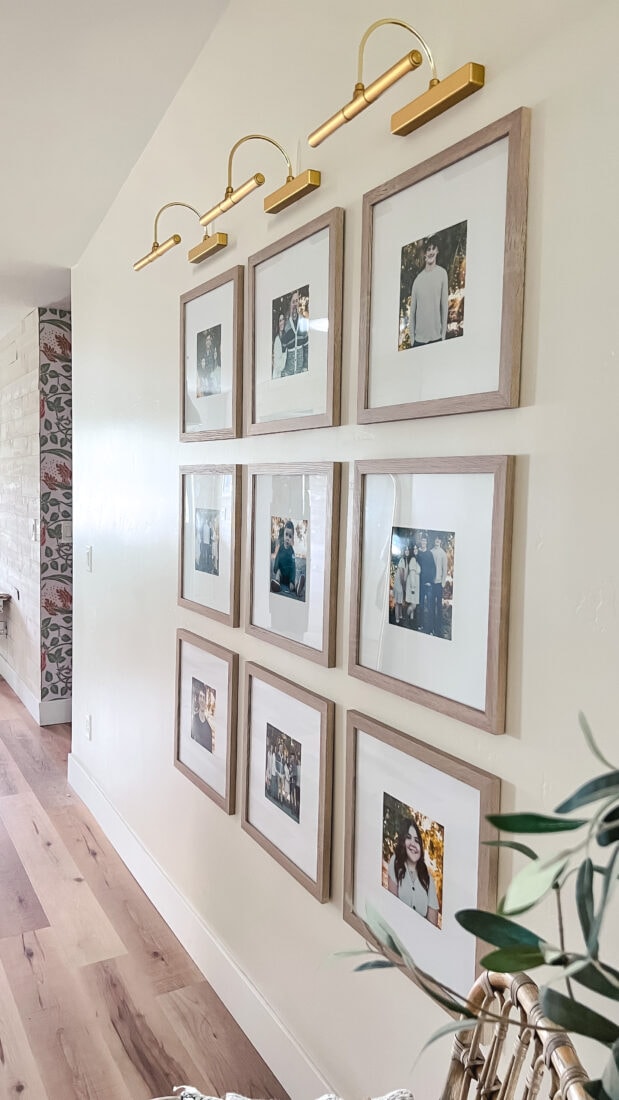
With this information, I hung my center frame around 50″ since I was going as high as 7′ tall (the top of the art light) and as low as 30″ from the bottom of the bottom row of frames.
These particular frames are even better because they come with a paper guide to ensure level hanging!!
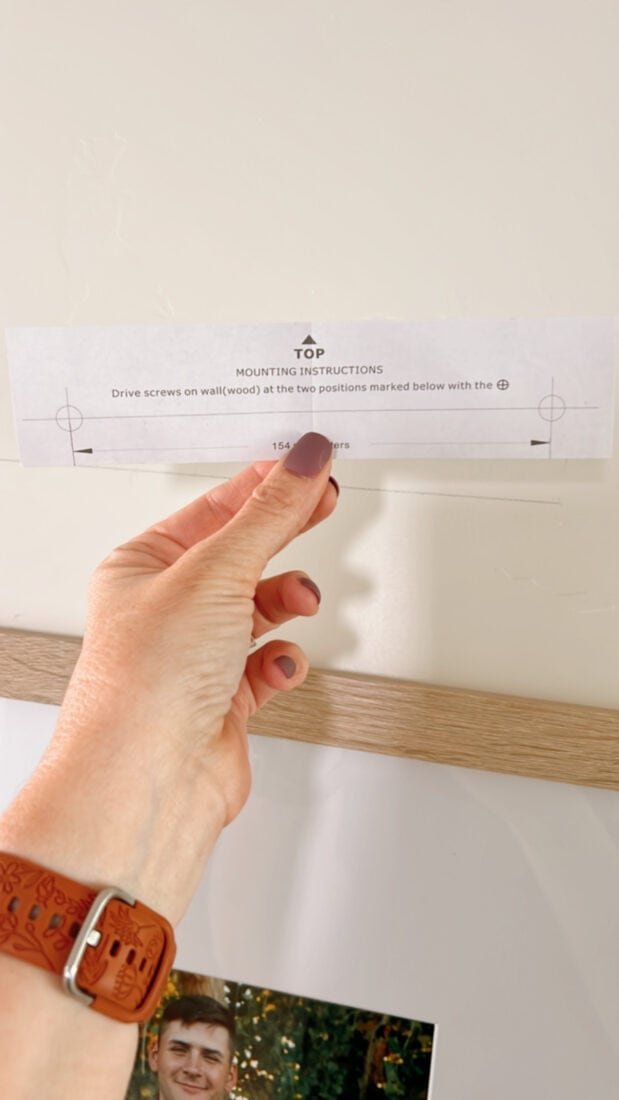
Once I marked the middle frame, I drew a level across the top of the middle frame for my base. I hung it with a screw then measured 3″ between each frame.
I went in 9″ to the center of the frames, leveled the top, marked where the hanger is (about 2″ below the top), then screwed and hung it.
Repeat for the next 2 rows.
Tip for Straight Frames
PRO TIP: If you don’t want crooked frames, use Museum Putty behind the frame to stick to the wall and it won’t budge!!
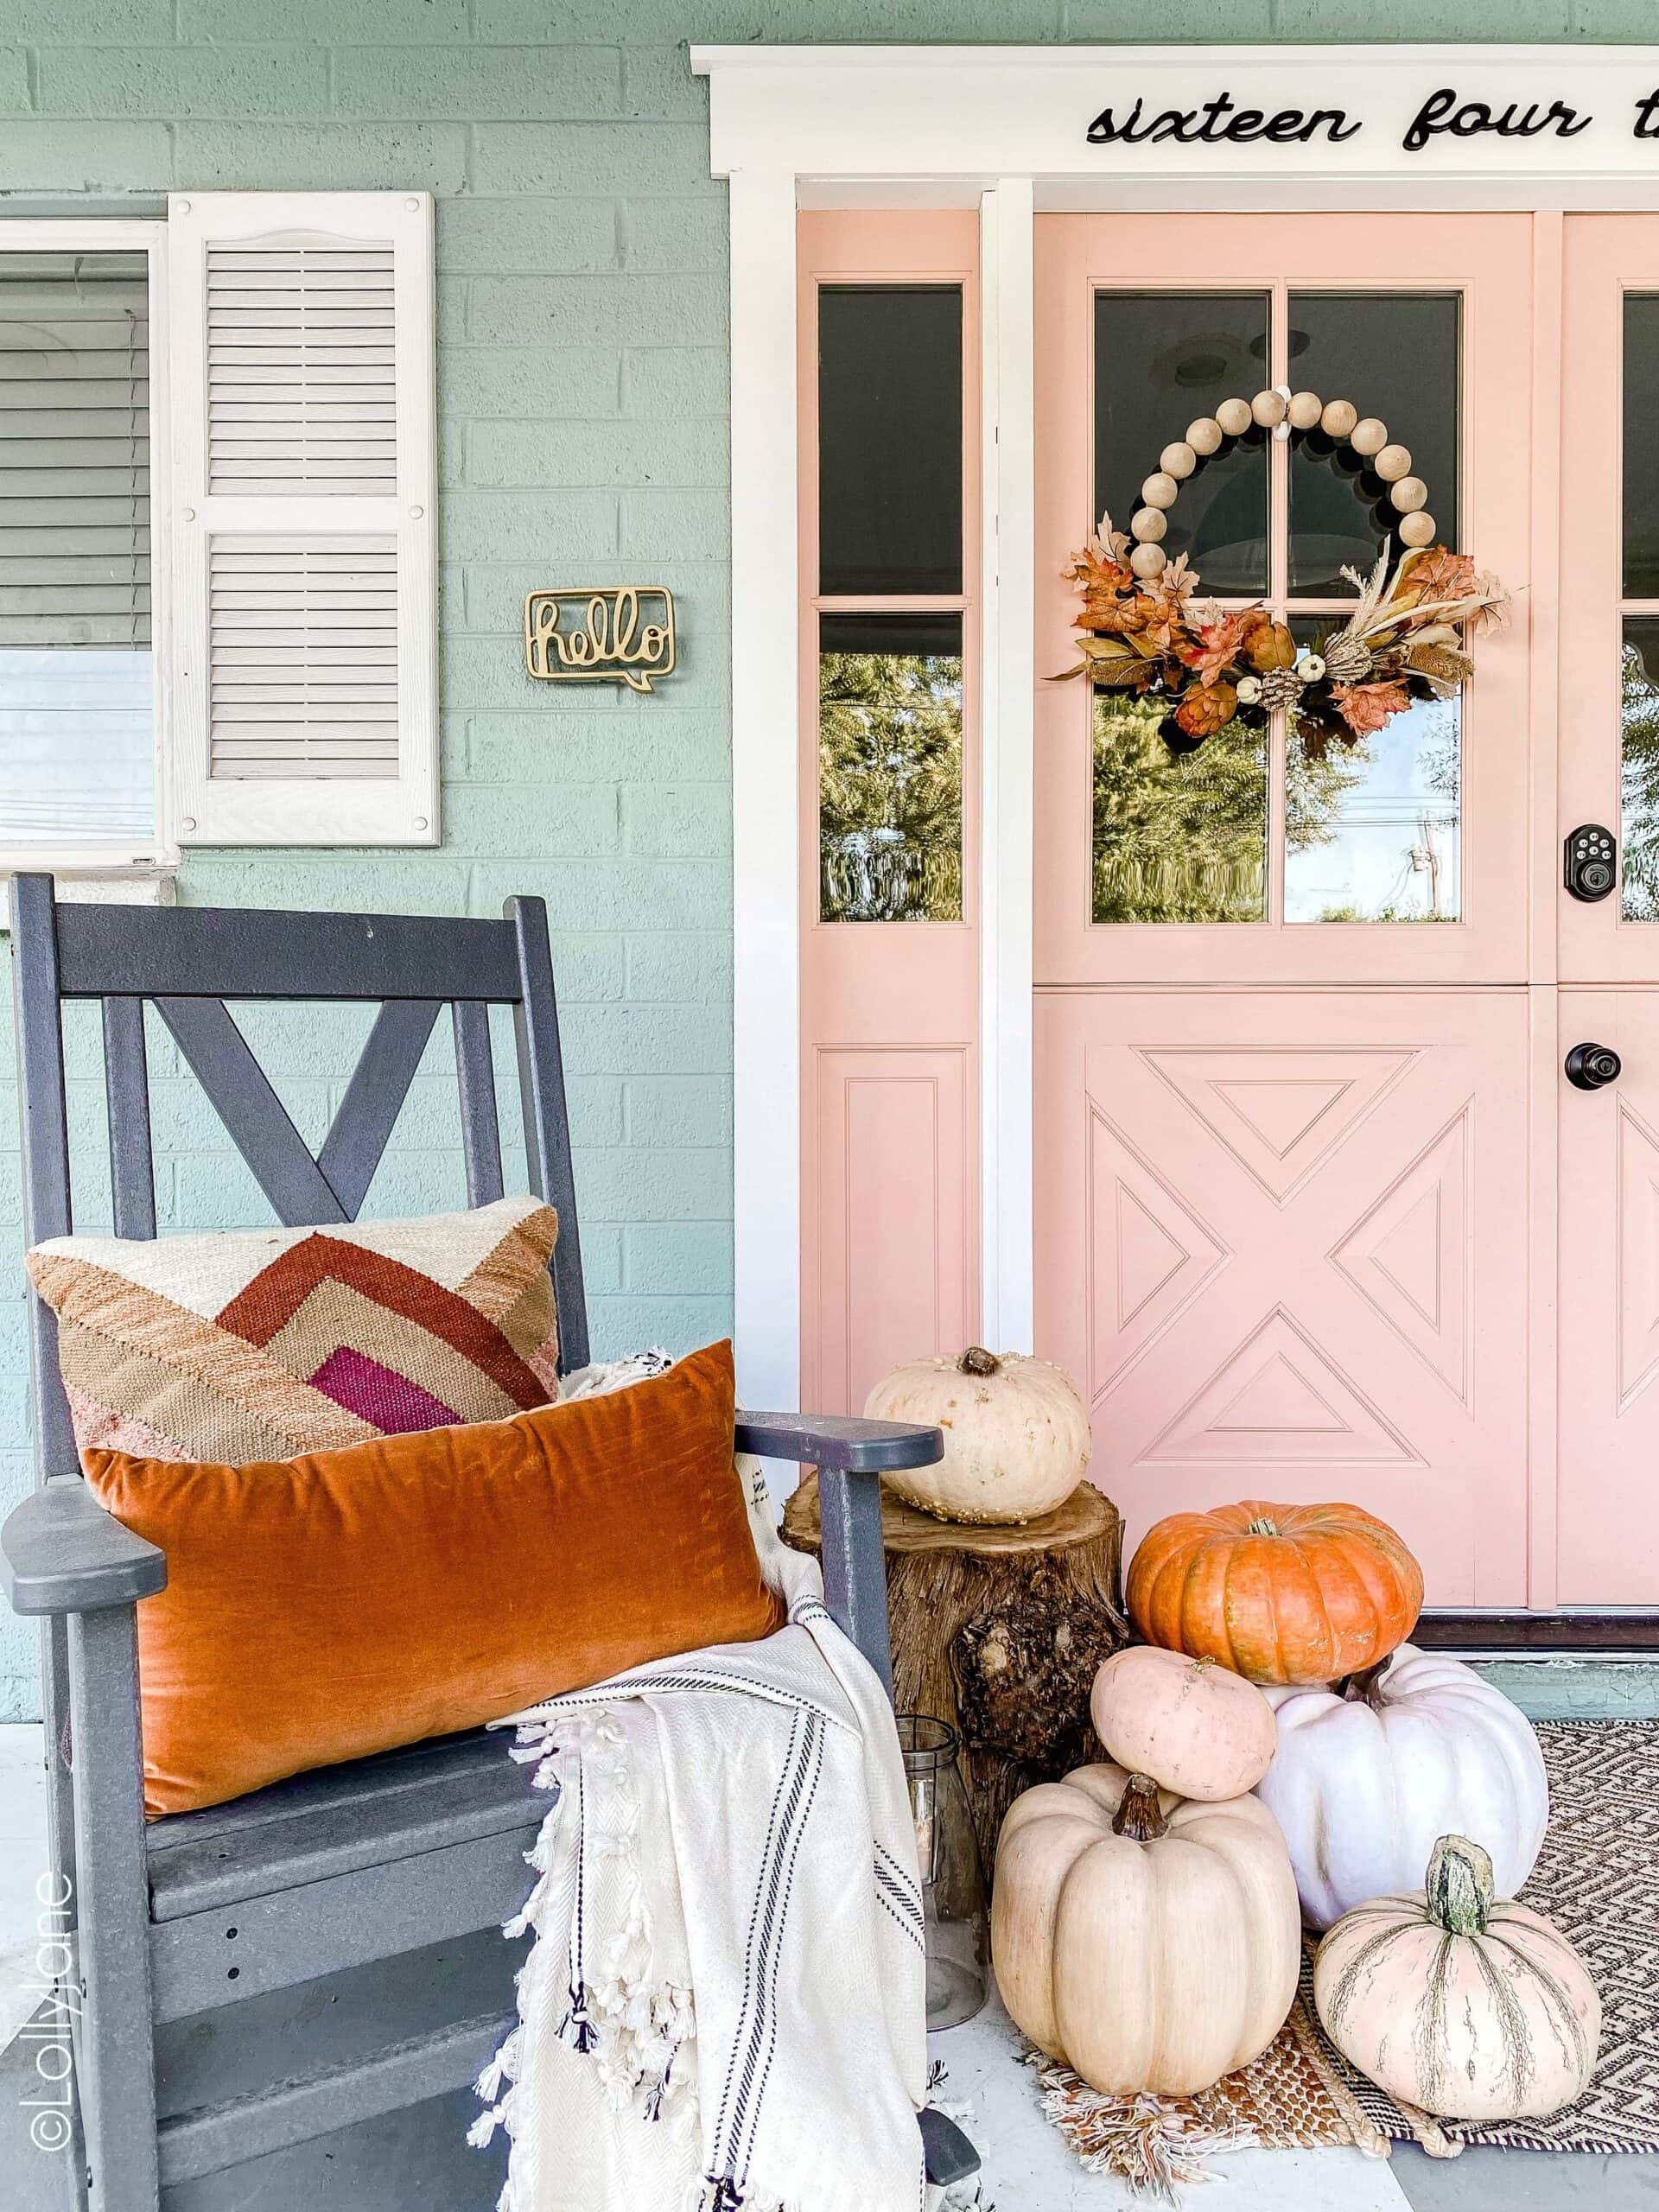
More Gallery Wall Ideas
We’ve shared SO many ways to decorate your walls, here are a few of our favorites!
Tips for Gallery Wall Frames
Although gallery walls are an easy way to personality and style to your home…if you’re not careful with how you create one, it could look like a messy pile of frames.
Here are some tips to avoid that:
- Make sure the center of your gallery wall is balanced. This means having equal amounts of space on either side of the center point (the middle frame). If one side has more frames than another (or none at all), then consider rearranging them until everything looks right.
- Choose frames that are all similar in size and shape so they’ll balance each other out when hung together in rows along a single line across your wall space. For example, if some of them are square while others are rectangular or oval-shaped, make sure that none are significantly larger than any others so they don’t overpower each other visually when grouped together.
- Consider all colorful or all black and white prints, keep the same color scheme to create a uniform look.
Add Battery Operated Art Lights
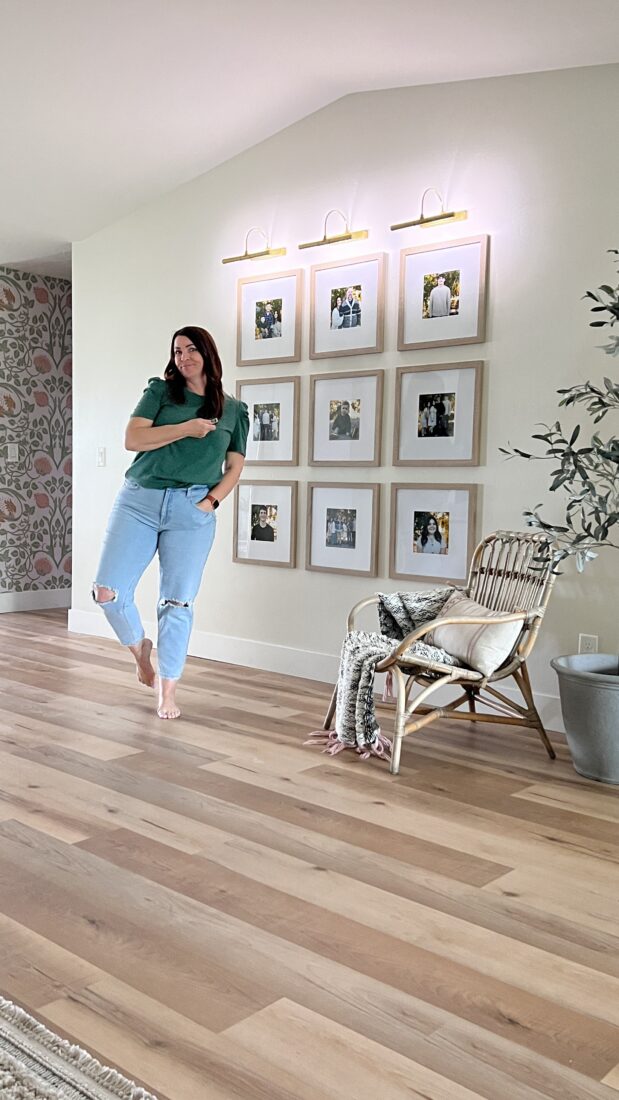
Art lights are a great addition to any room. We love that our picture wall lights are battery-operated! They allow you to display your favorite pieces simply and elegantly without having to deal with cords or wires.
Whether you’re looking for something sleek and sophisticated or playful and fun, there are plenty of options to choose from. Amazon has really affordable choices. We’ve rounded up some of our favorite ones on our Storefront!
They’re also great if you want to set up your own art gallery without having to worry about finding a power outlet.
I love that gallery walls are a great way to display family photos in one spot! My oldest kiddos is out of the house, a mother of her own now and my second child will be leaving this summer. Seeing their faces everyday front and center means so much to me!

They’re spaced 3″ above the top picture frame 🙂
How high above the top frame did you mount the battery operated lights?
Your wall is beautiful and I’m going to give it a try. The link to the frames says they are 16×16 yet you used 18×18. Are these available in 18×18?
Hi Amy! Welcome back 🙂 We did put it over textured walls! We wrote a post about texture here: https://lollyjane.com/peel-and-stick-brick-wallpaper so you can see how well it’ll go over it.
We’ve only ever wallpapered over textured walls and have no problems with it falling off 🙂 Hope that helps!
Hi! I haven’t been here in a while. I LOVE your gallery wall. I have a question about the wallpaper in the hallway. Do you have to have smooth walls? I have a slight texture and I have huge walls so I’m nervous about trying to. Thanks!