DIY Double Batten Wall Treatment
How to install a DIY double batten wall treatment, perfect for beginners! Grab this supply list for our full tutorial to make the whole process seamless. Top if off with a freshly painted wall to be the envy of all the neighbors!
We are so excited to share a new wall treatment with you today. It looks super high end but is actually super affordable, we spent less than $130!
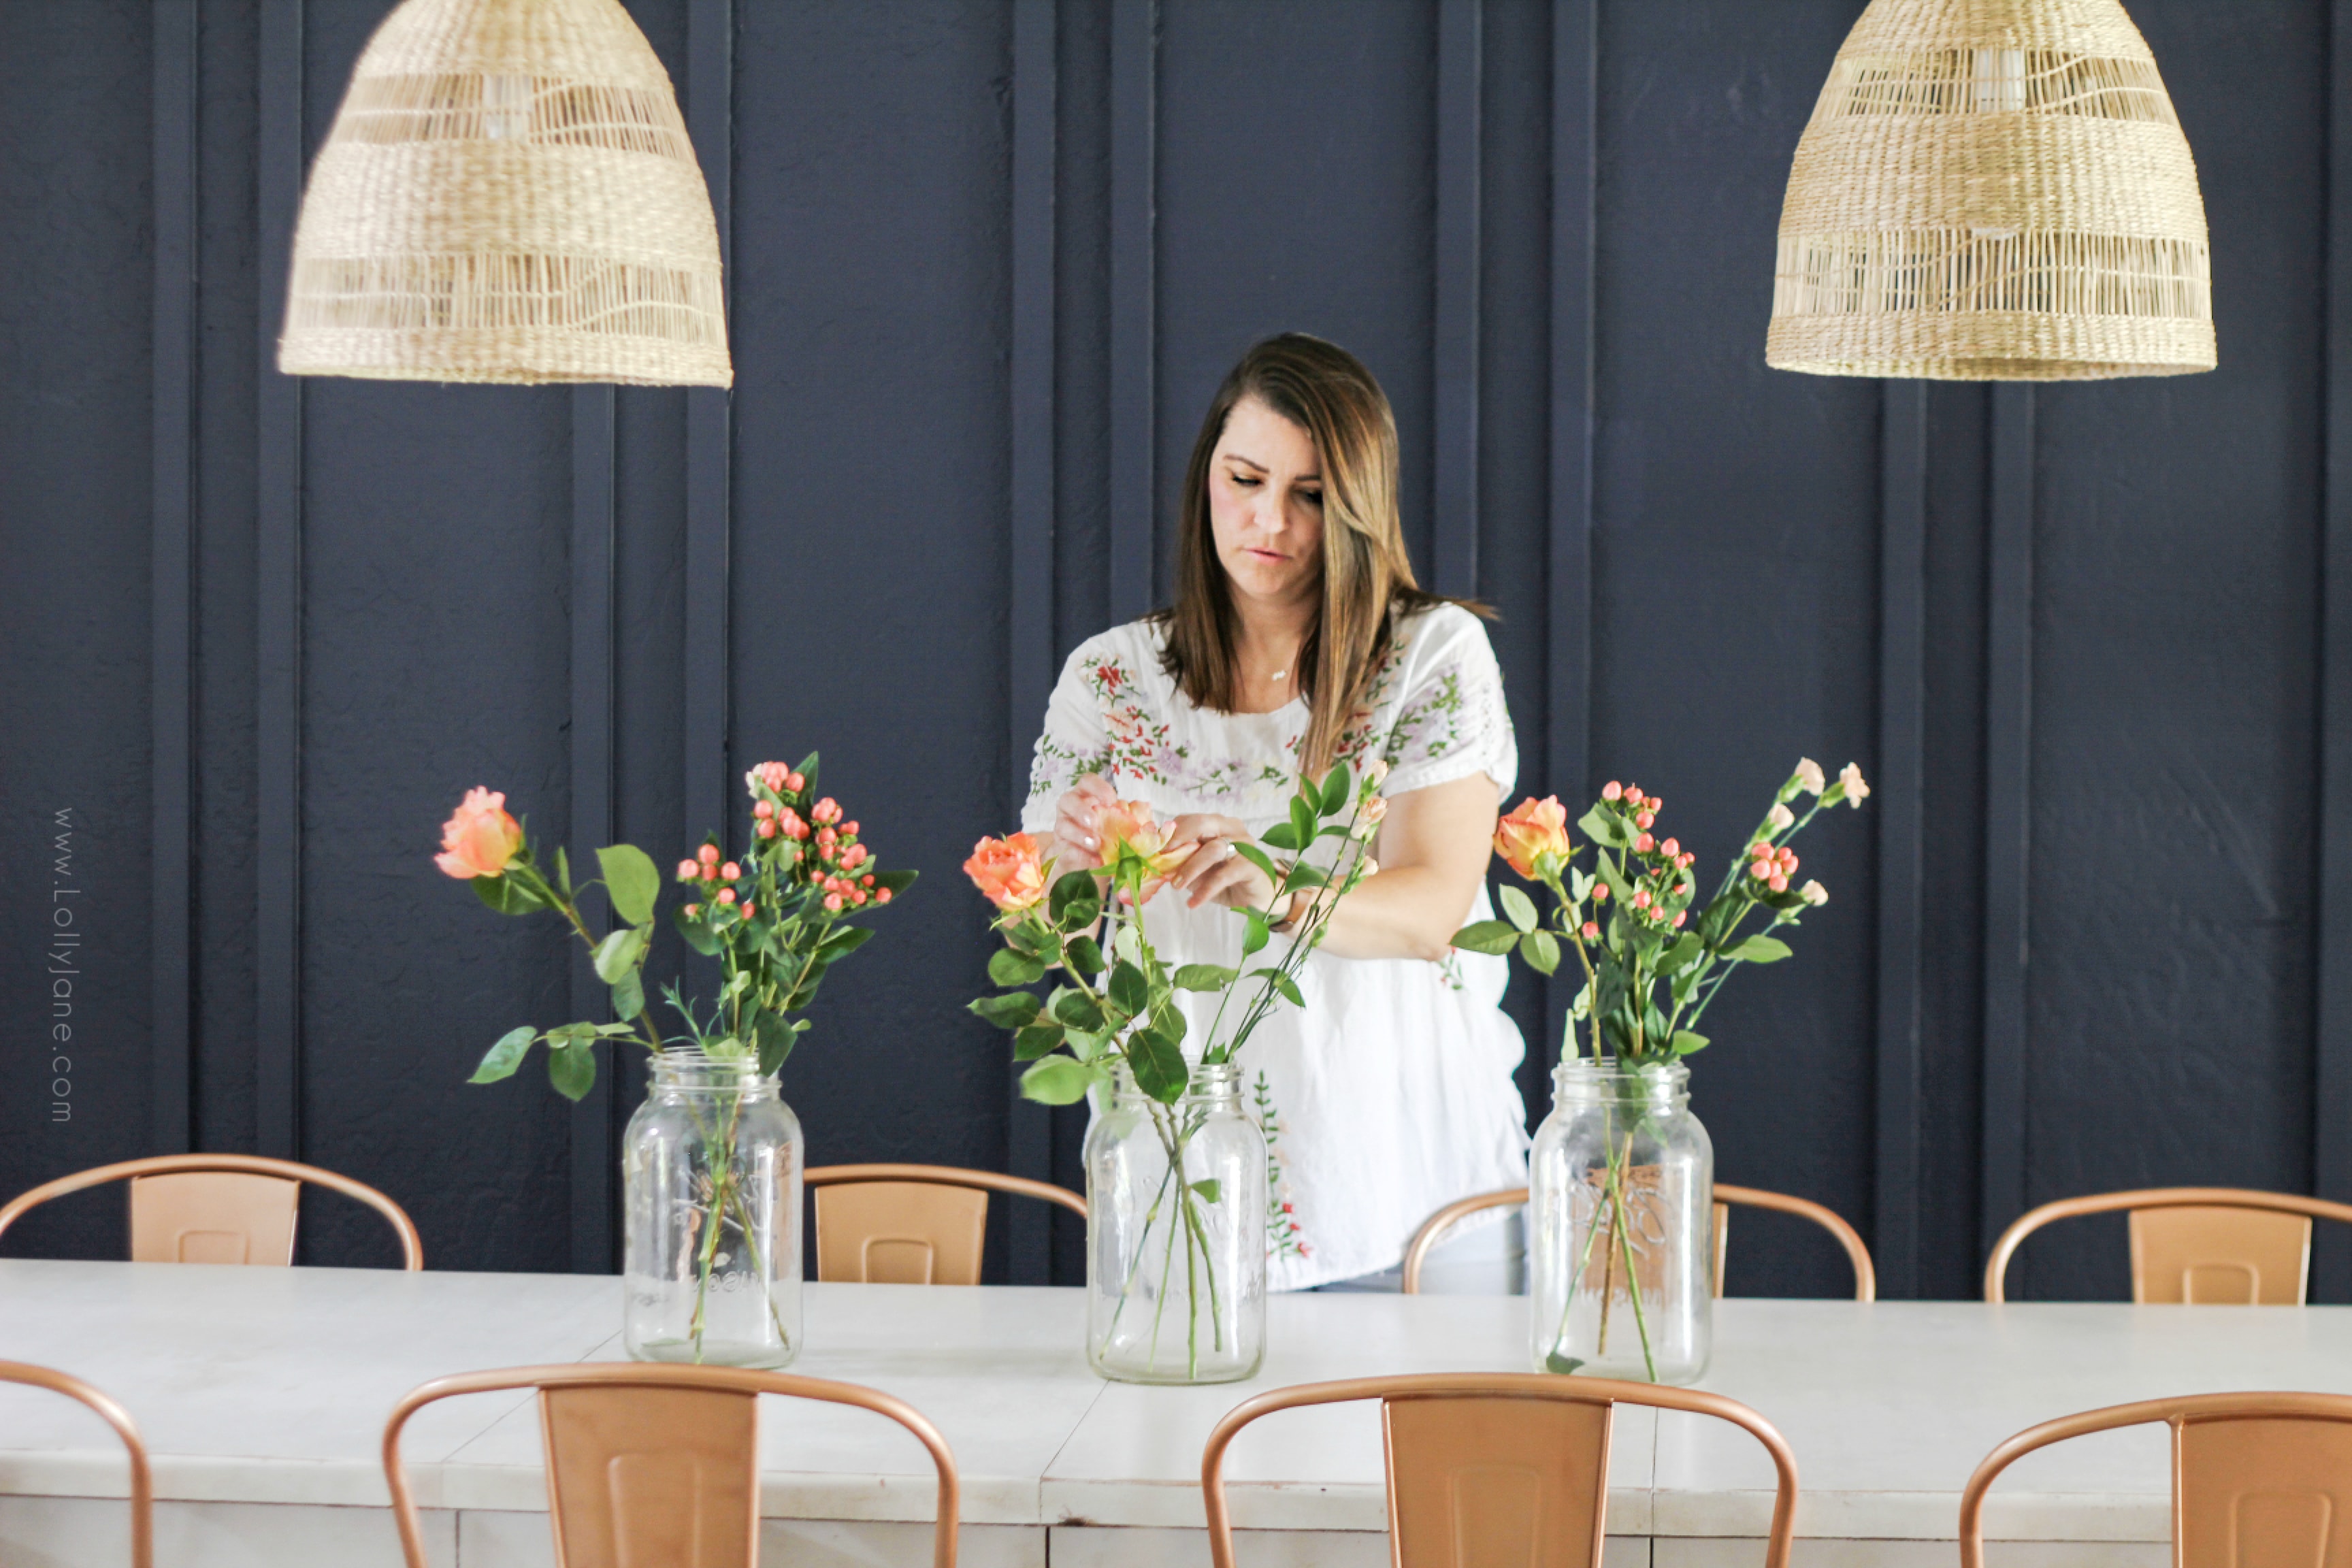
When our favorite paint company, Rust-Oleum, asked us to partner with them on their new wall paint line, we jumped at the chance! We knew their gorgeous hue of navy “North Shore” would look so gorgeous on a double batten wall. We originally saw it here and knew it’d be the perfect match!
North Shore is one of the designer 12 colors in their new Rust-Oleum HOME Ready-To-Use Interior Wall Paint.
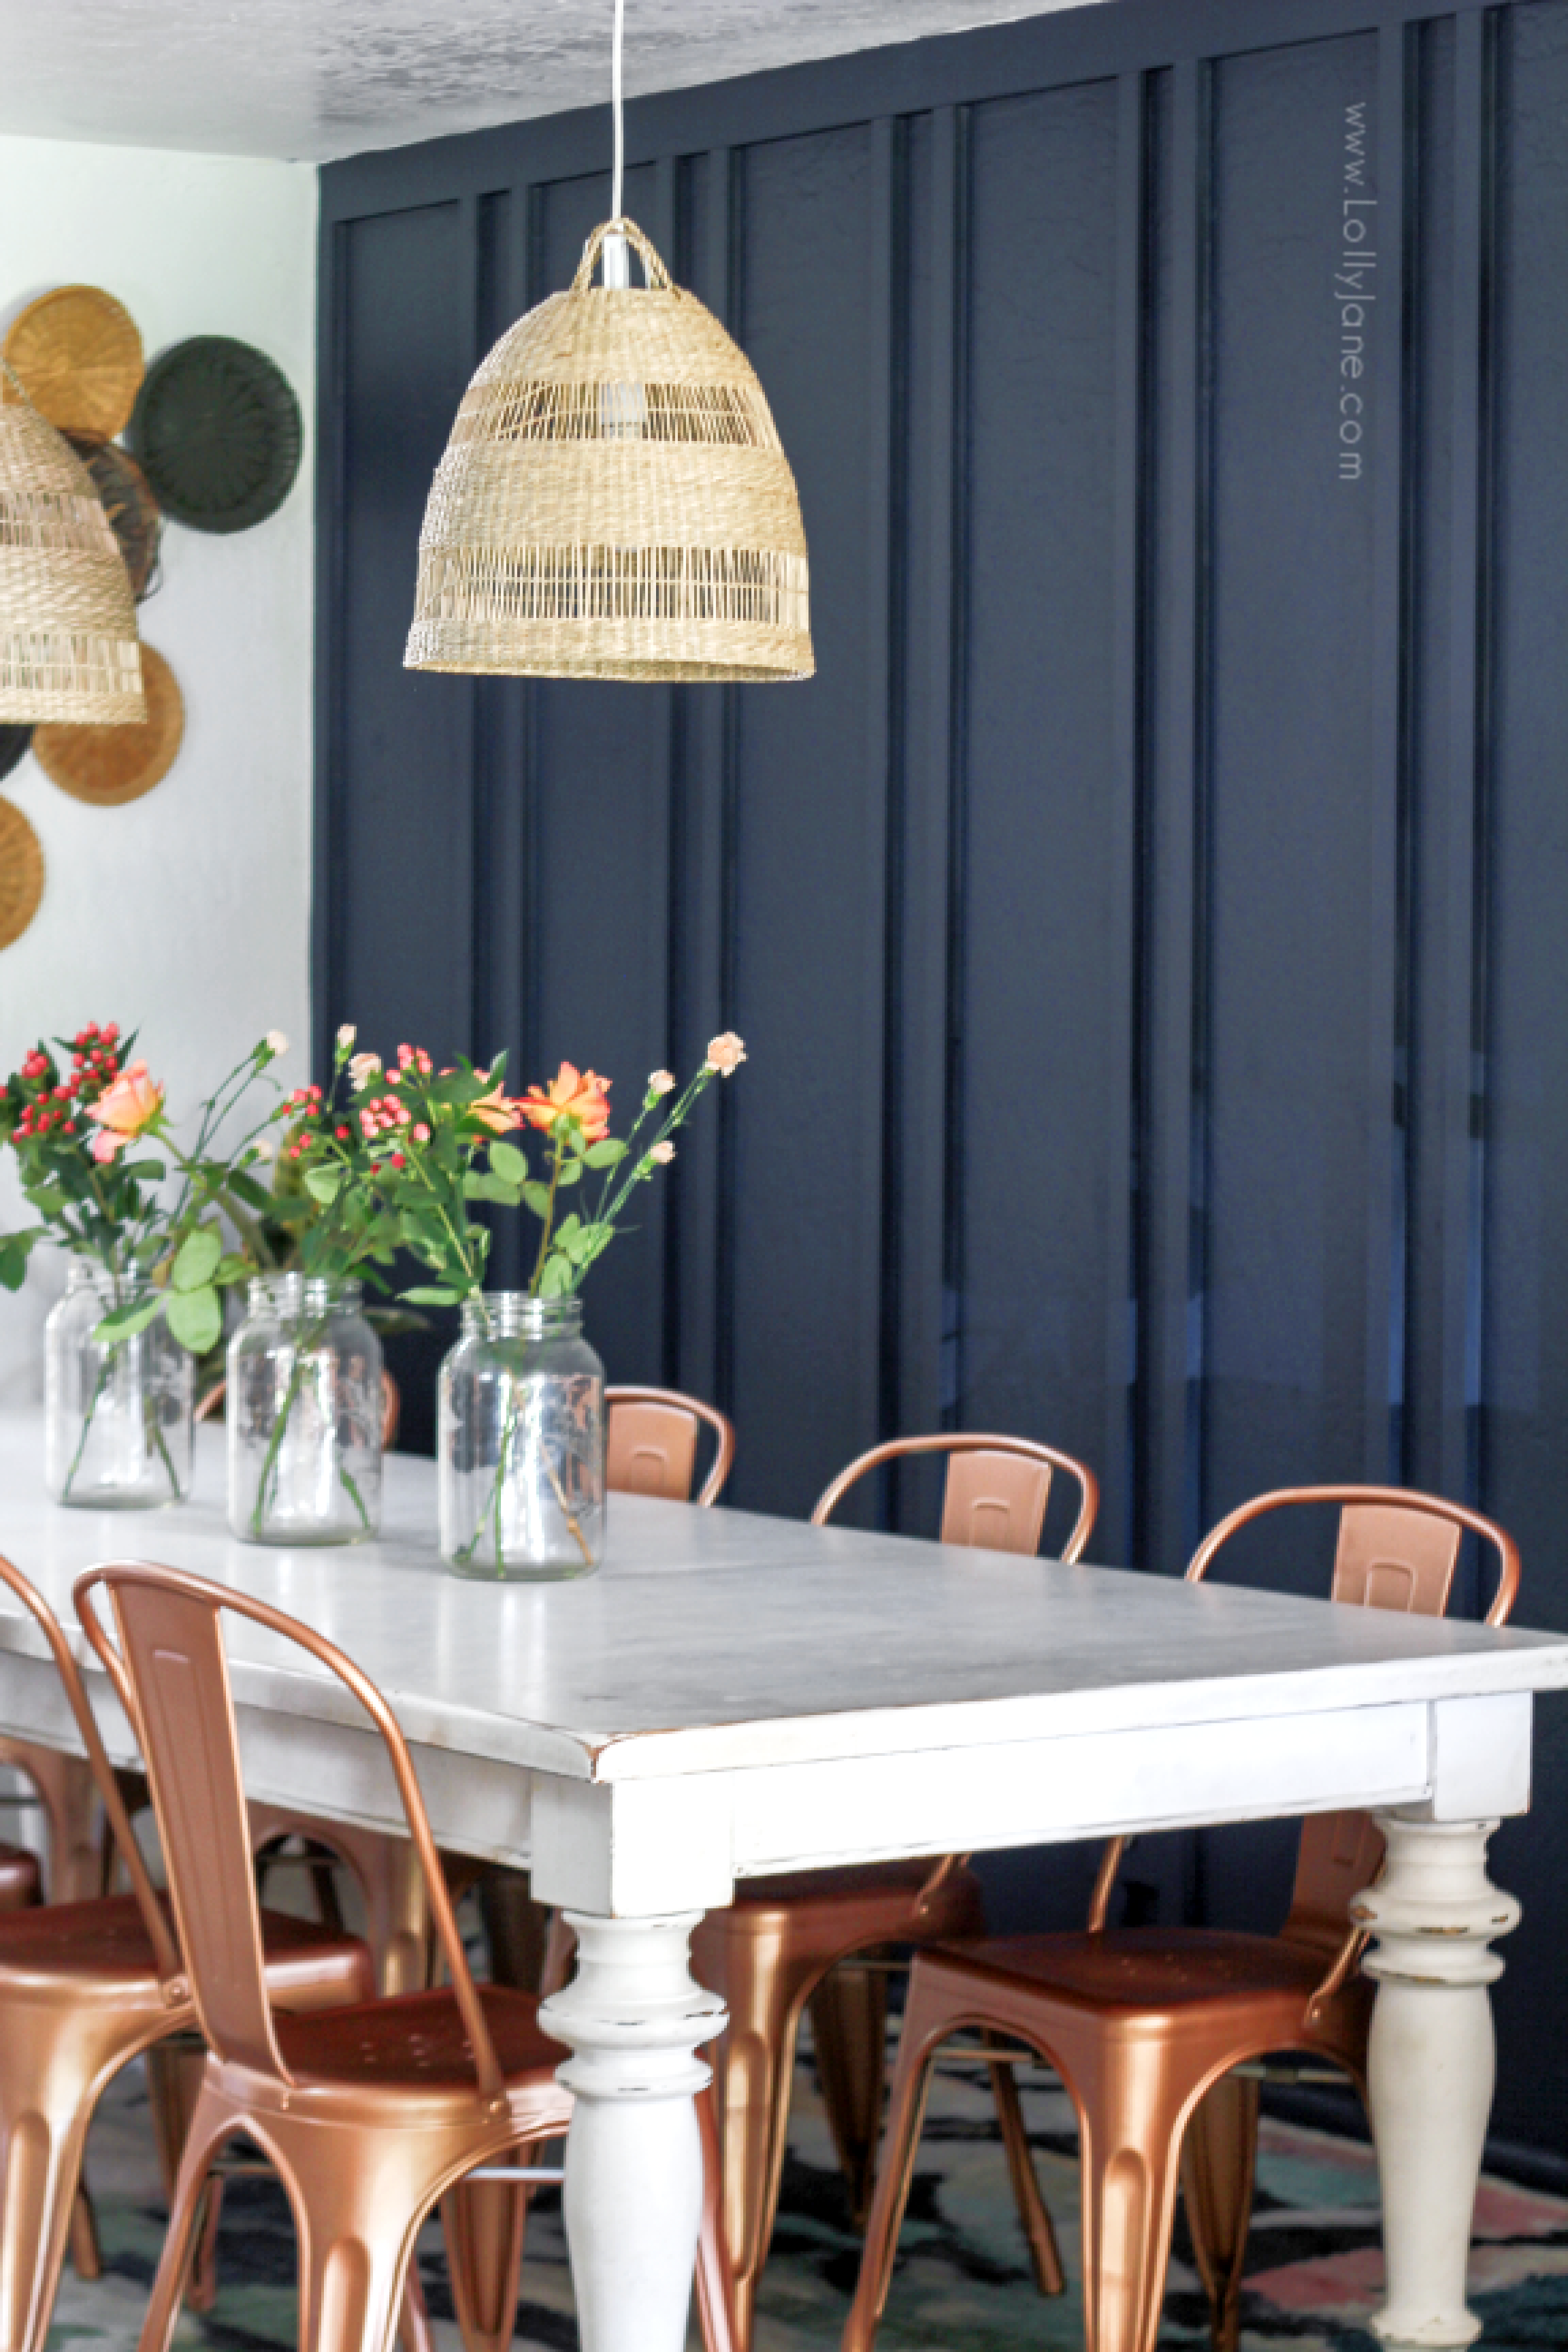
We took a quick trip to Home Depot where Rust-Oleum HOME Ready-To-Use Interior Wall Paint is sold exclusively. We had this wall installed and painted in just 24 hours and could not love it more!
Read on for just how easy it is to go from drab to fab with this thick, soft new wall paint.
SUPPLIES
- 1×2 pine wood
- 1×4 pine wood
- nail gun + nails
- paintable caulk
- Zinsser primer
- Rust-Oleum HOME Ready-To-Use Interior Wall Paint
- paint sprayer or roller + brushes
- wood filler
- sand paper + sander
- painters tape + paint sheeting
- measuring tape + pencil
This is the room we’ve transformed and we’re so happy with how it turned out!
Goodbye faux wallpaper, hello moody navy!
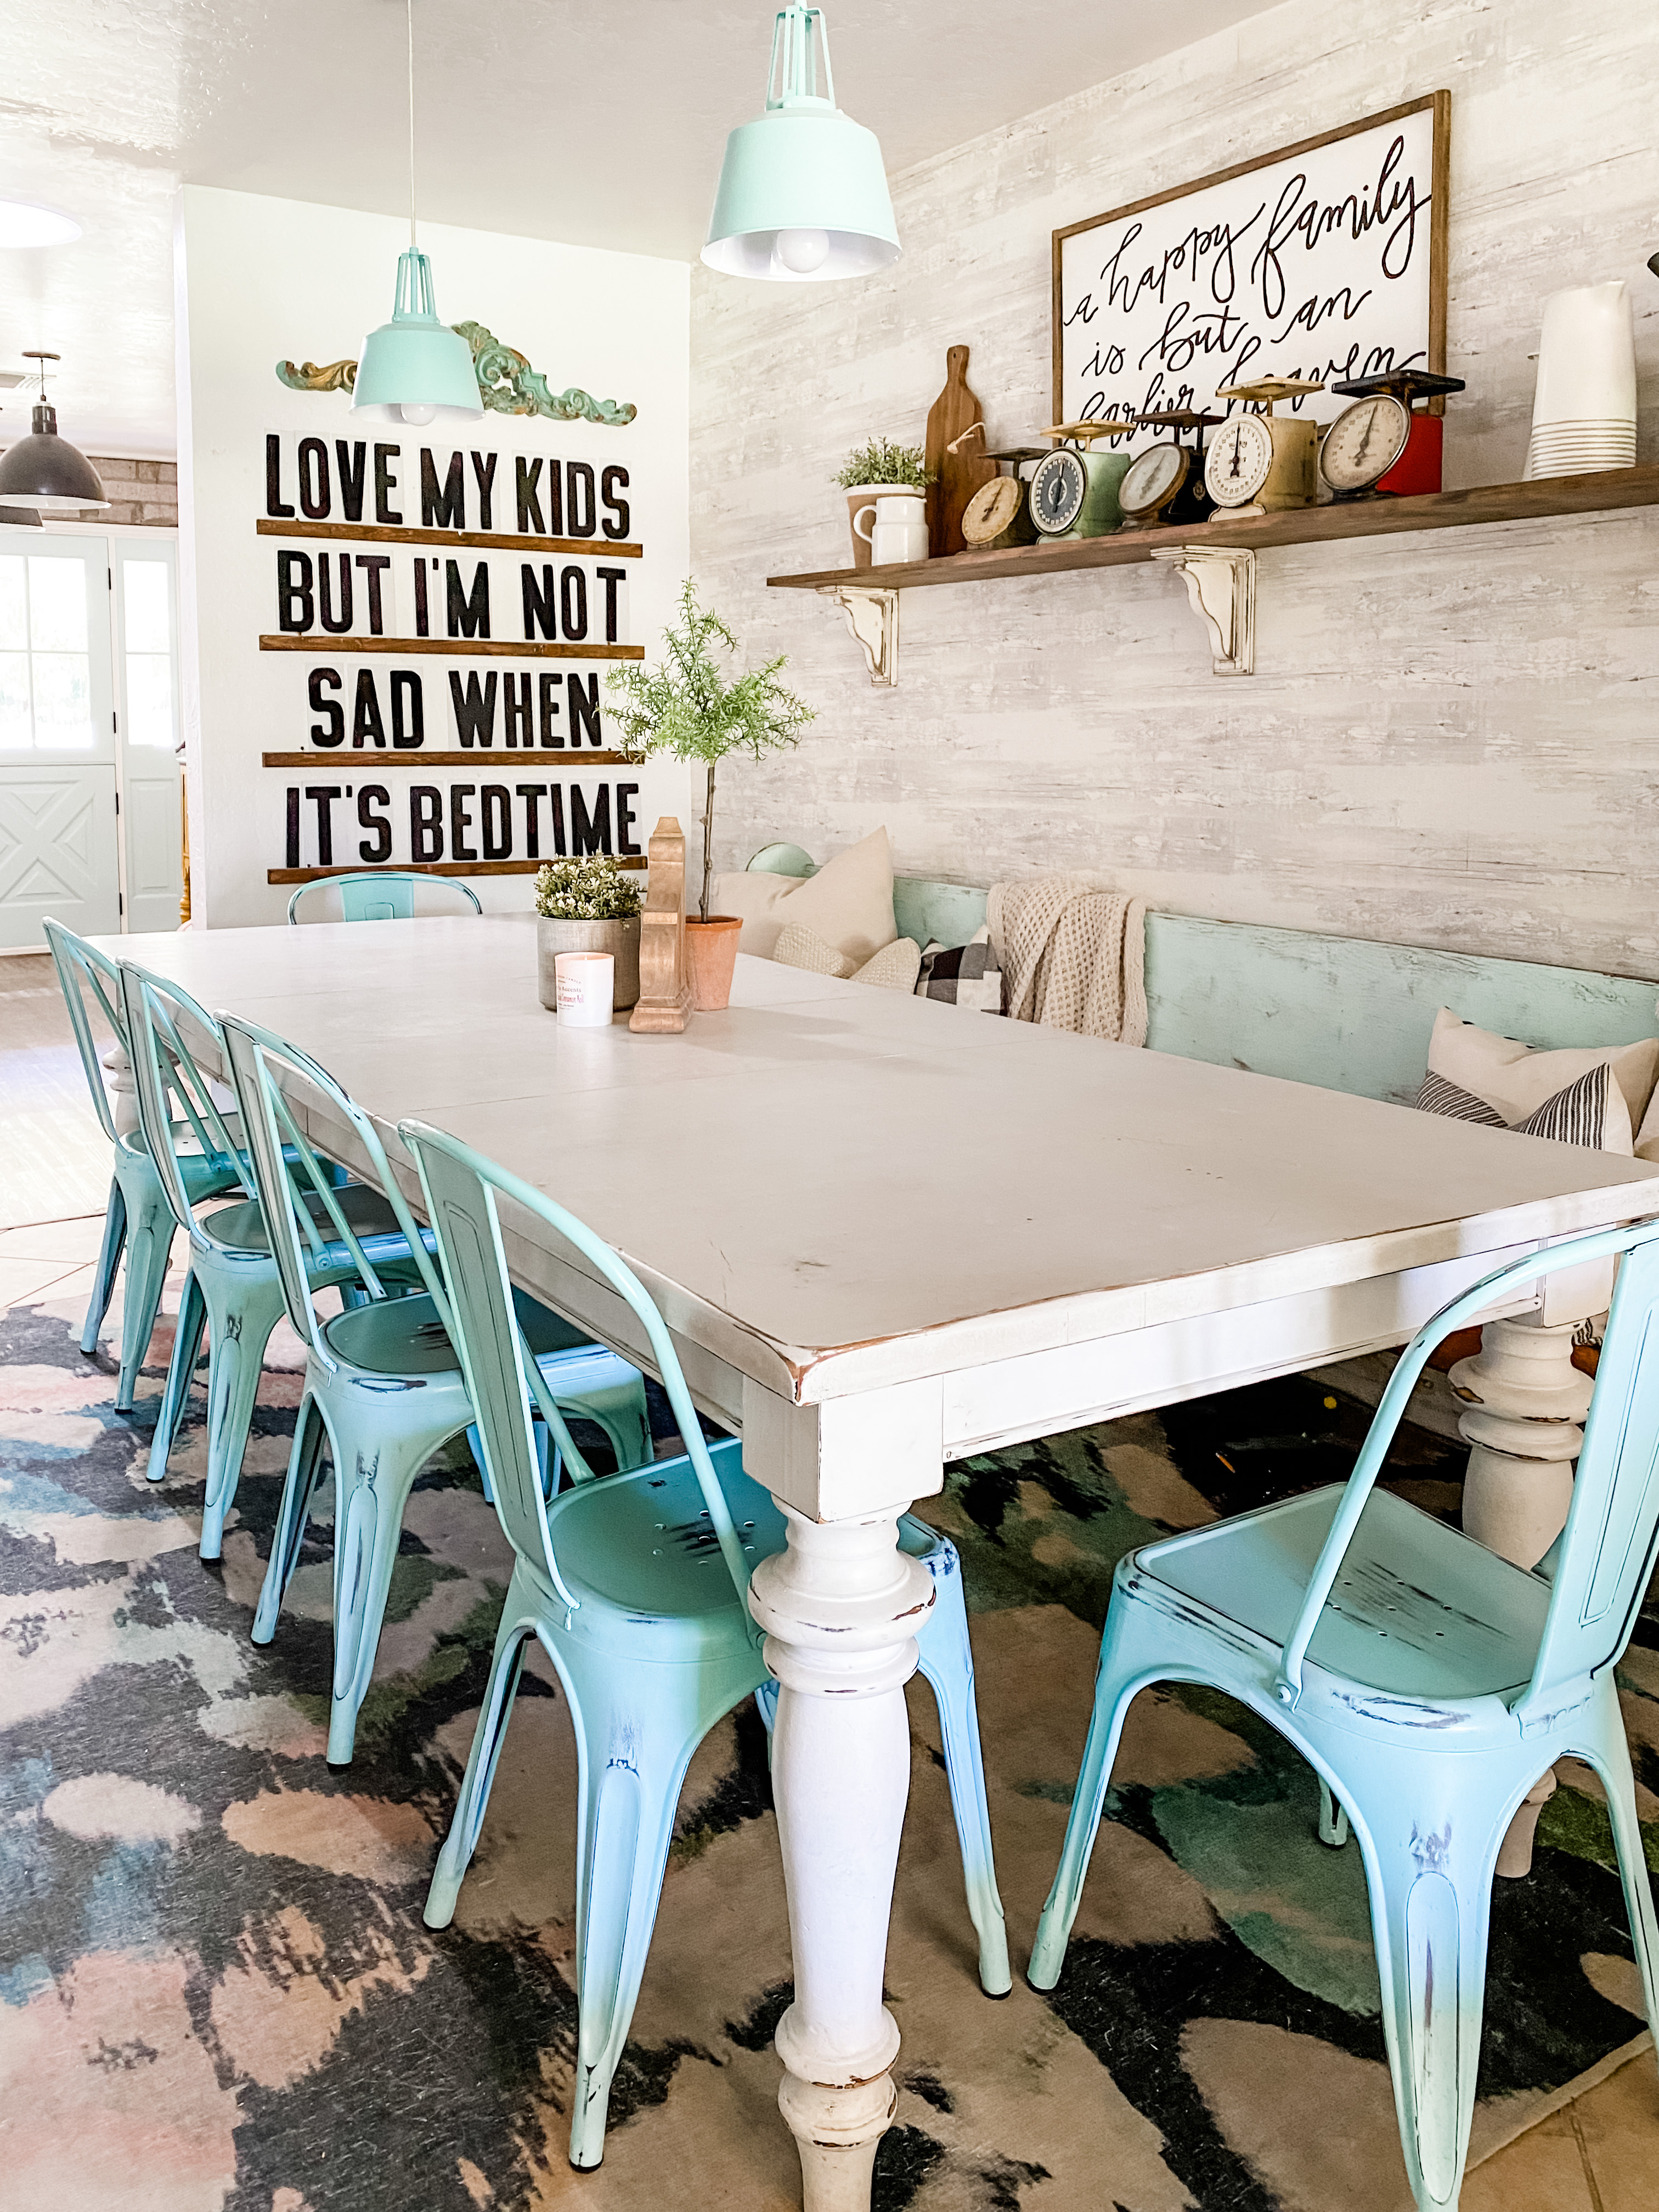
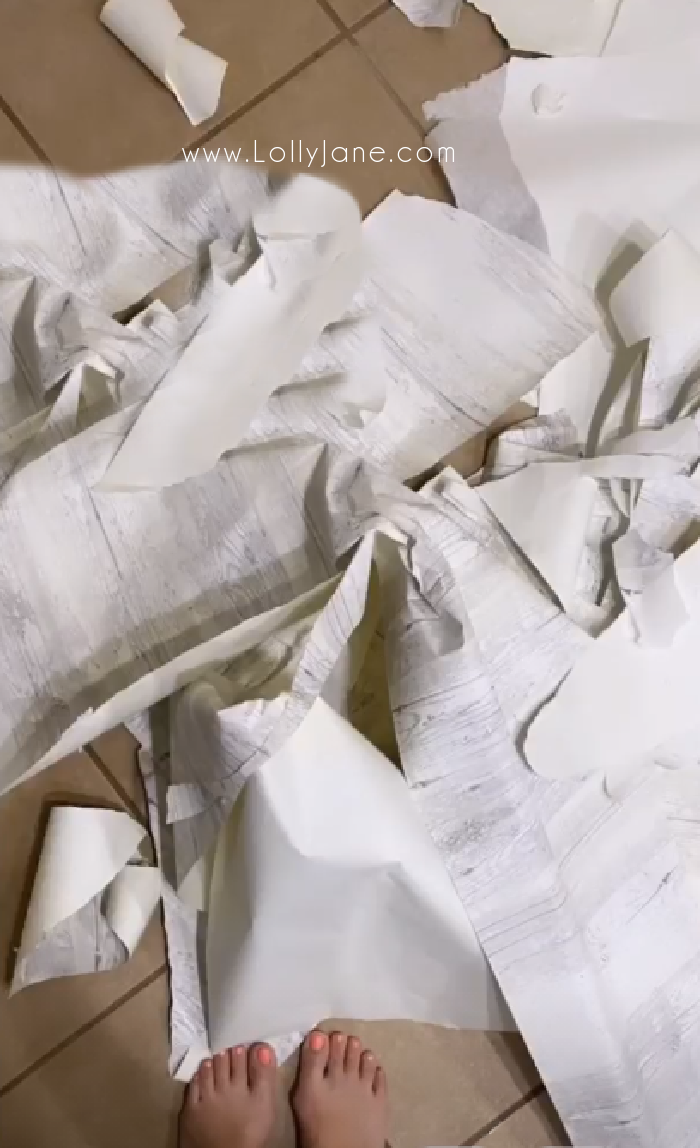
We removed the faux wood wallpaper completely. We also discovered a great way to remove the wallpaper adhesive naturally and easily!
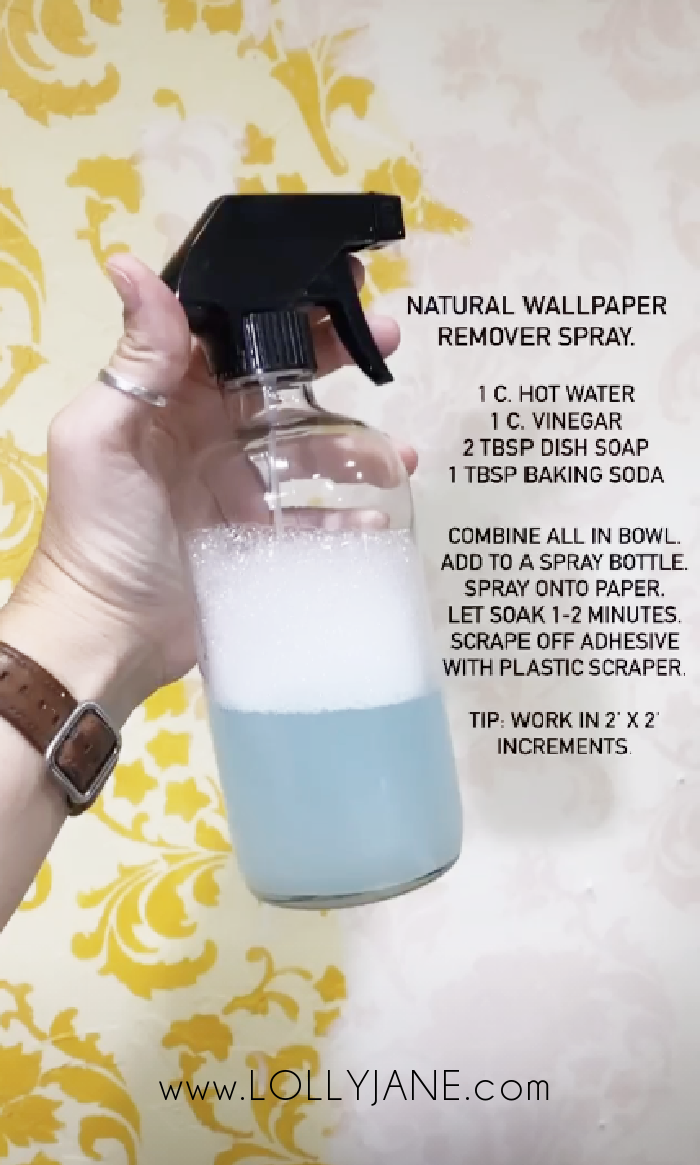
Here’s our favorite handmade wallpaper removal spray with ingredients from your kitchen.
instructions
measure your wall
The hardest part of this project was the MATH! ? We recruited Kelli’s husband to help us with the measurements and ended up with the following spacing, yours will be be dependent on your own wall size.
Our wall is approximately 13′ long x 8′ tall.
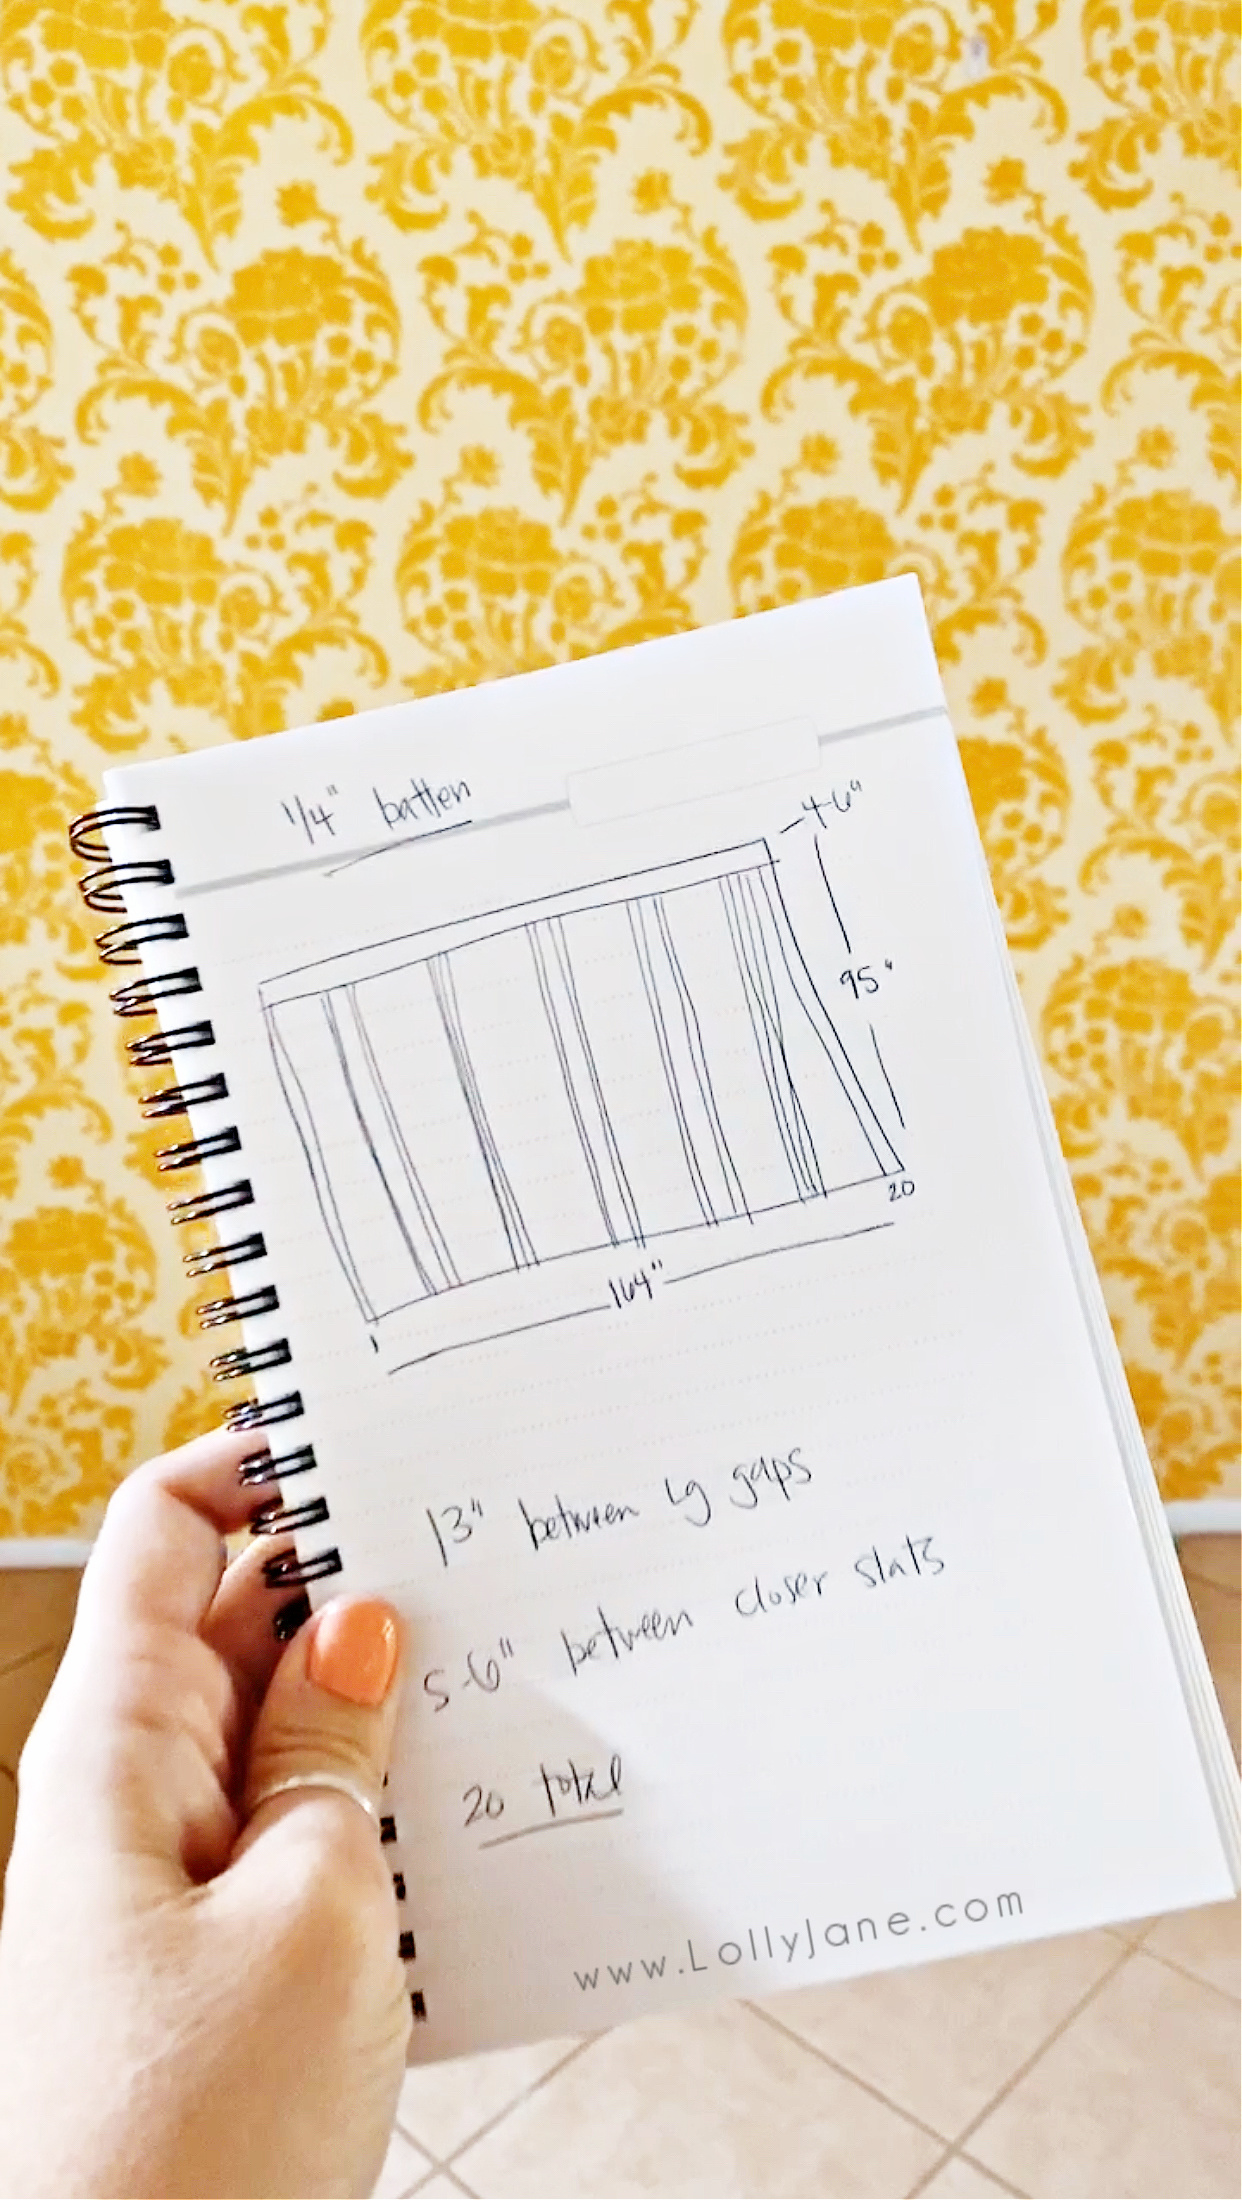
We ended up with 8 total sets of double batten, which came out to 18 pieces of furring strips total. Each set is about 6″ apart from each other.
From set to set is spaced about 13″ from each other.
Note: the two opposite end caps were about 1/2″ further from each other to make up for an extra 2″ discrepancy overall.
Overall, it looks really nice.
install batten
We started by framing the ceiling in a 1×6 wood. We made sure it was level as we went, don’t depend on the ceiling as a guide, to be safe. Secure with brad nails.
We also framed out each of the sides of the walls with batten, just one piece. This step really helps define the wall and makes it look more custom.
After attaching the side pieces with brad nails, mark your double batten pieces.
Attach the batten with brad nails.
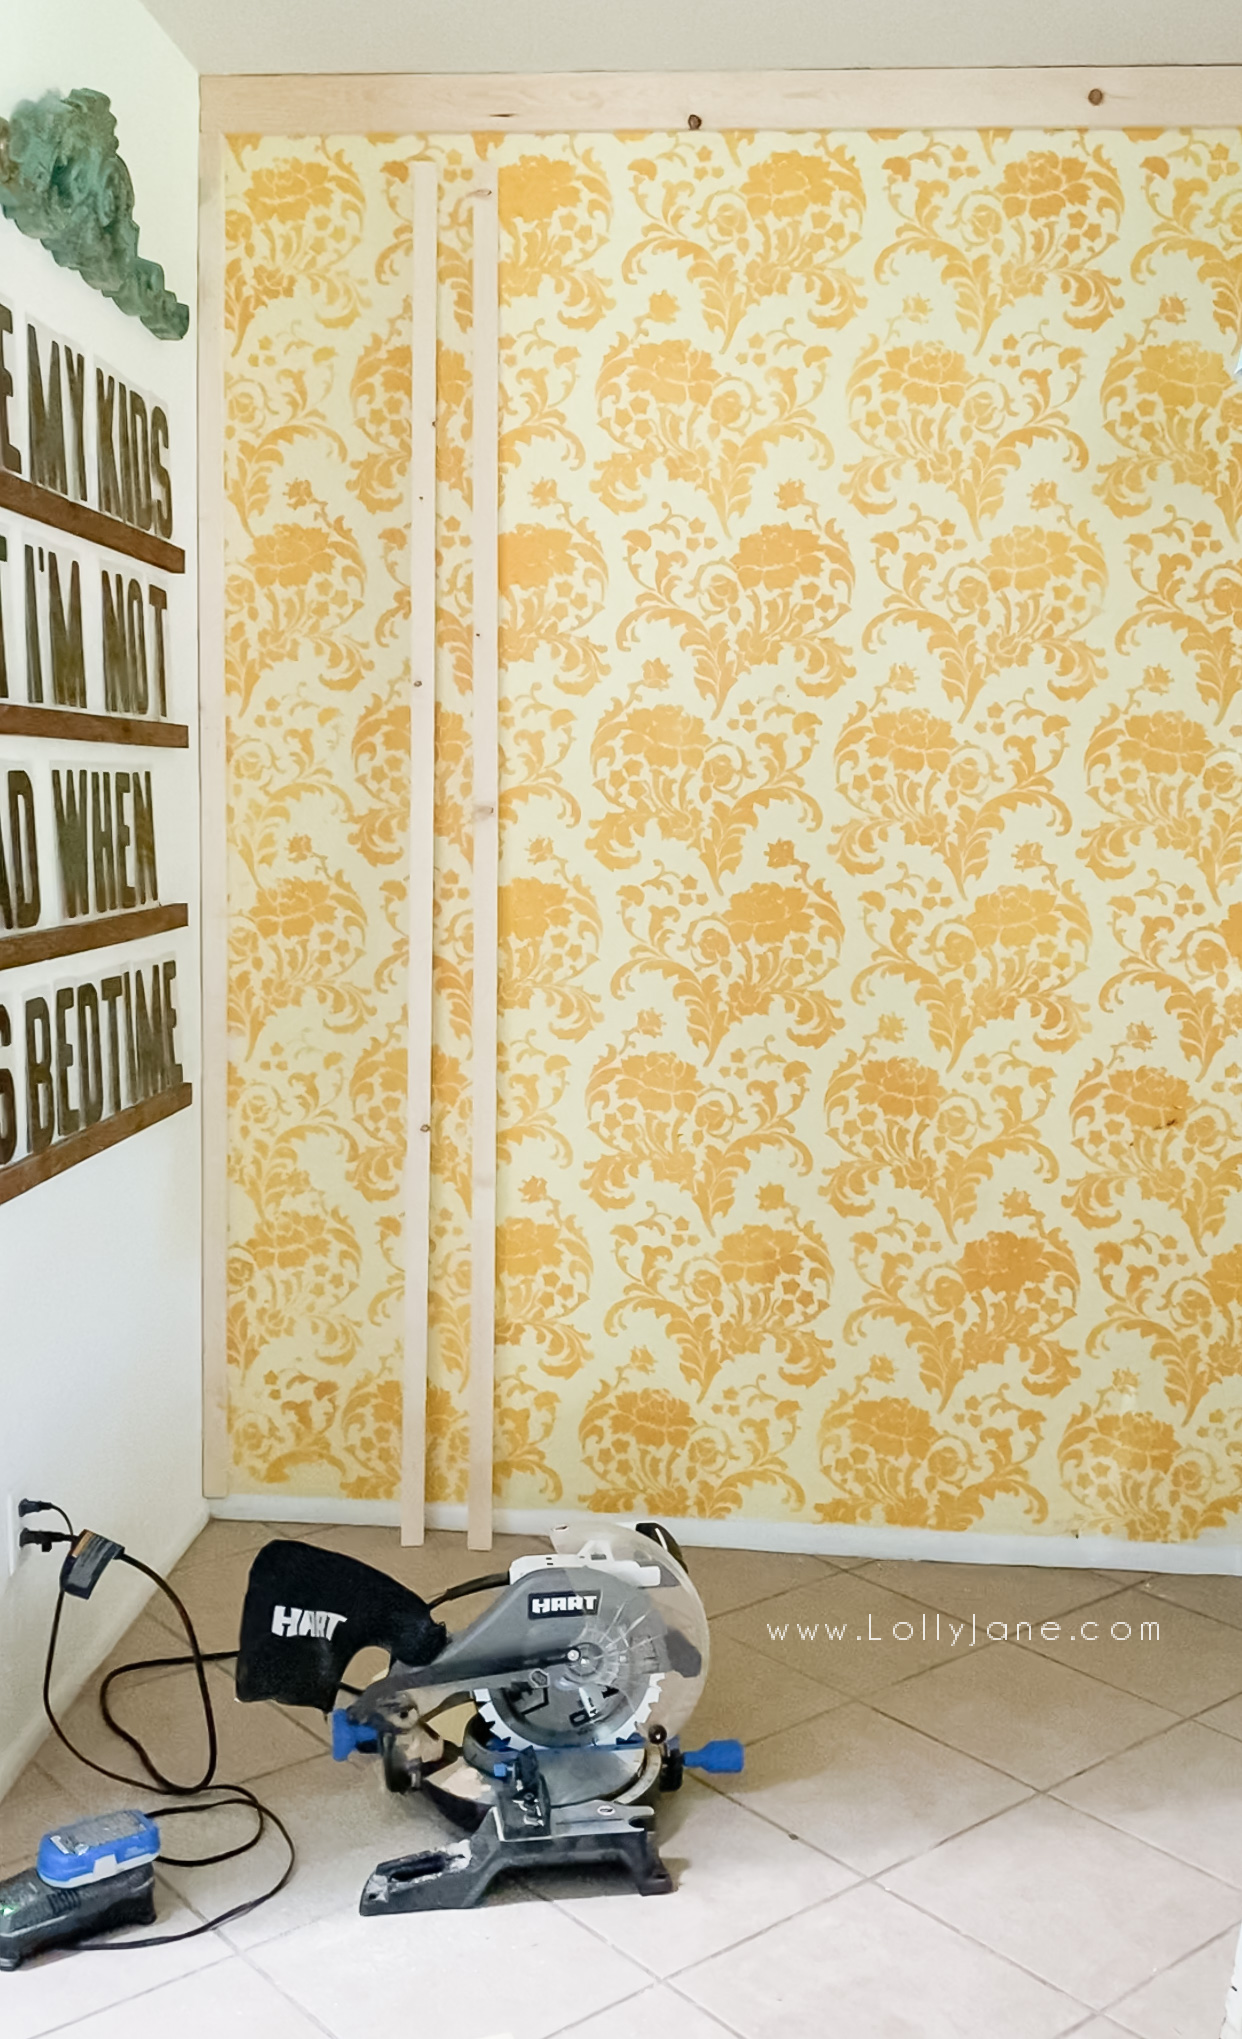
For the outlets, we framed around it with the same size wood scraps, just to make it look a little more custom. This is totally optional and to be honest, was a lot out of laziness but we like how it looked afterward.
wood fill and caulk
This is an important step to make your hard work look professional.
Wood fill the tops of the batten nail marks with wood filler. Sand down when it dries.
Caulk each piece of the batten, smooth with your fingers or a microfiber towel. We used 3 tubes total.
prime the walls and batten
We prefer a paint sprayer for this step. There are SO many pieces of batten and raw wood really soaks up paint so being able to spray it all at once is so convenient! You do have to prep it which takes some time but spraying it leaves a nice finish with no brush marks which is why we love our sprayer.
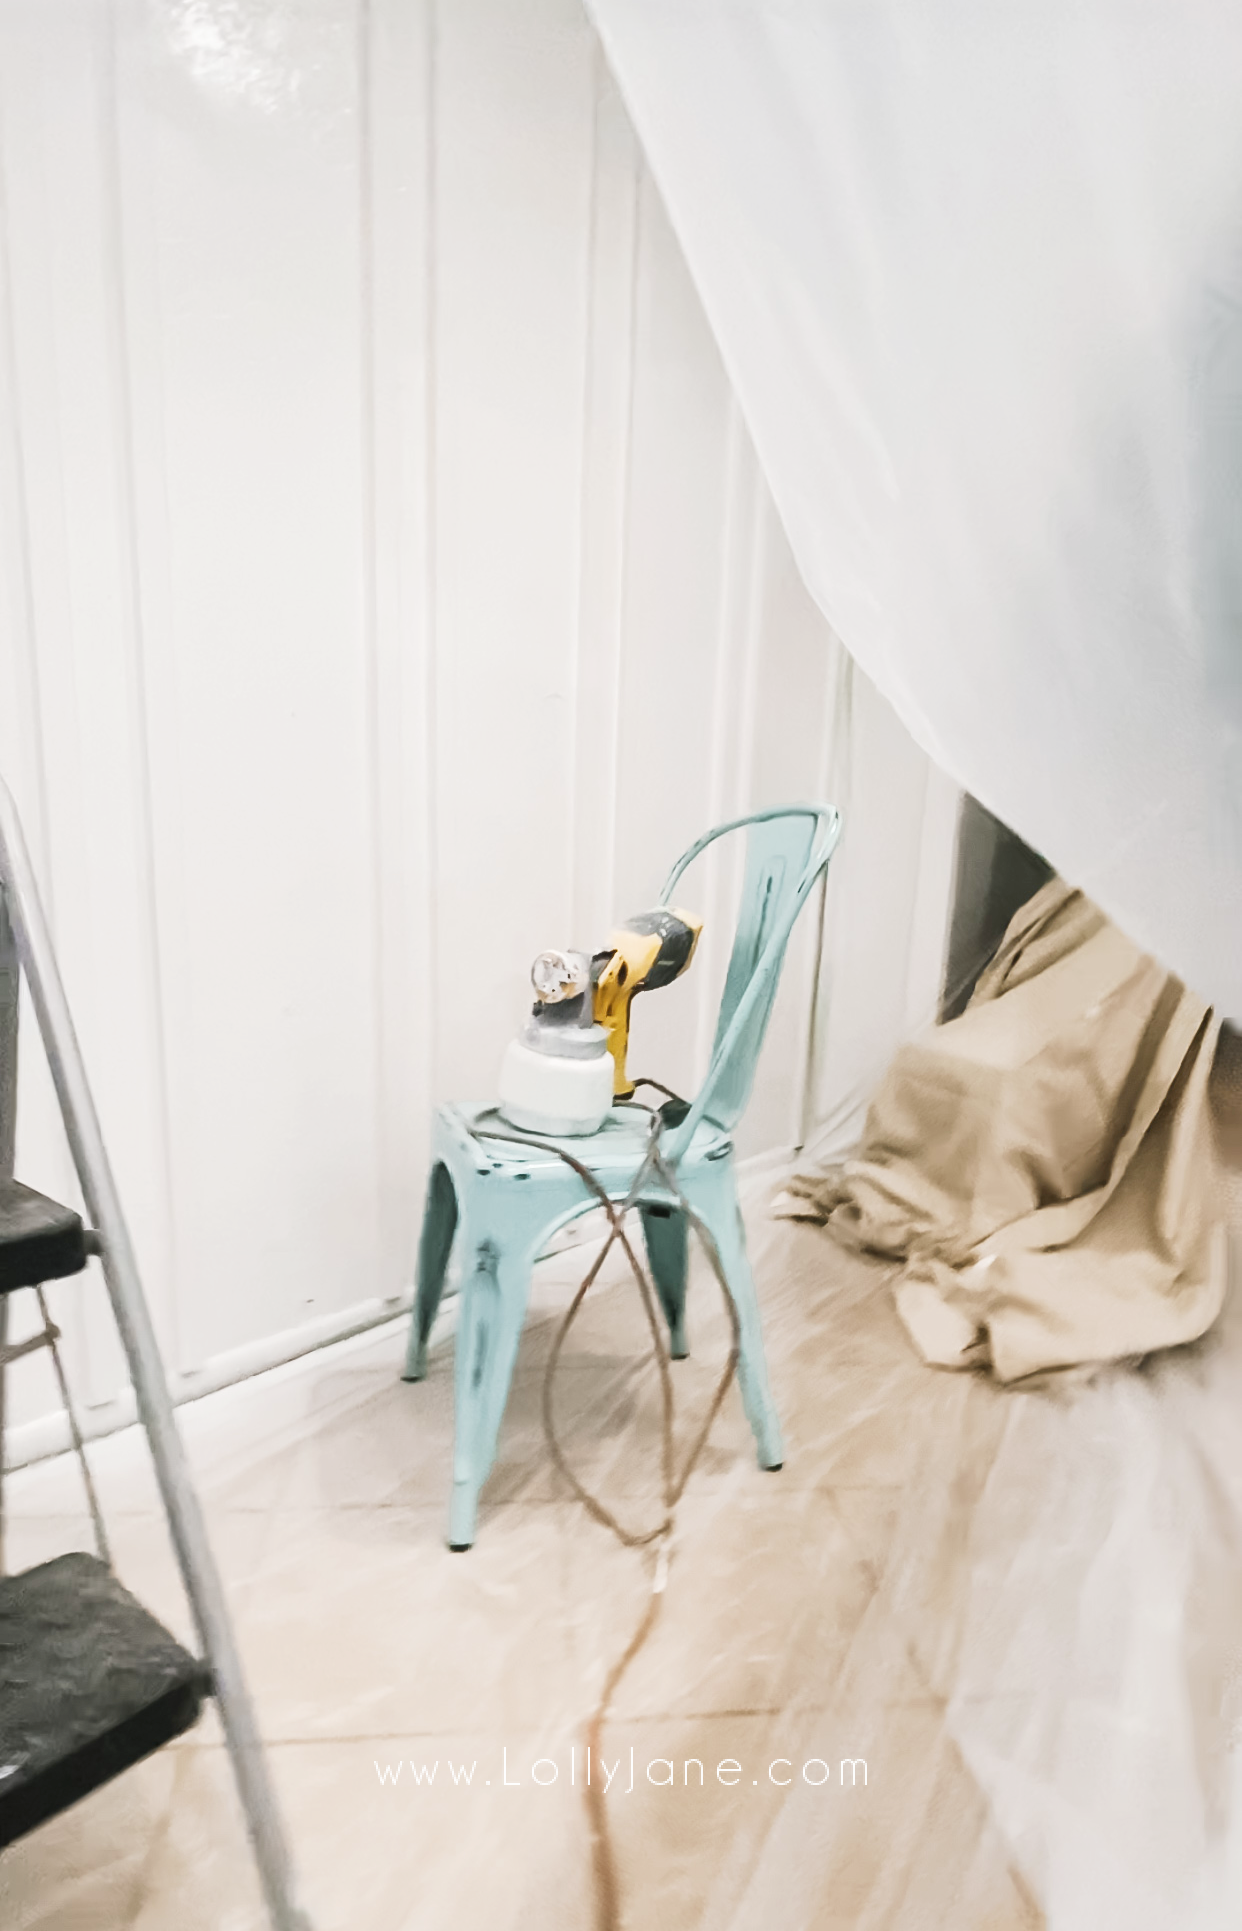
We painted 2 coats of primer after letting the first coat dry for half an hour. The white double batten was stunning! I was so happy we decided to double it up even though it was double the work.
paint the double batten
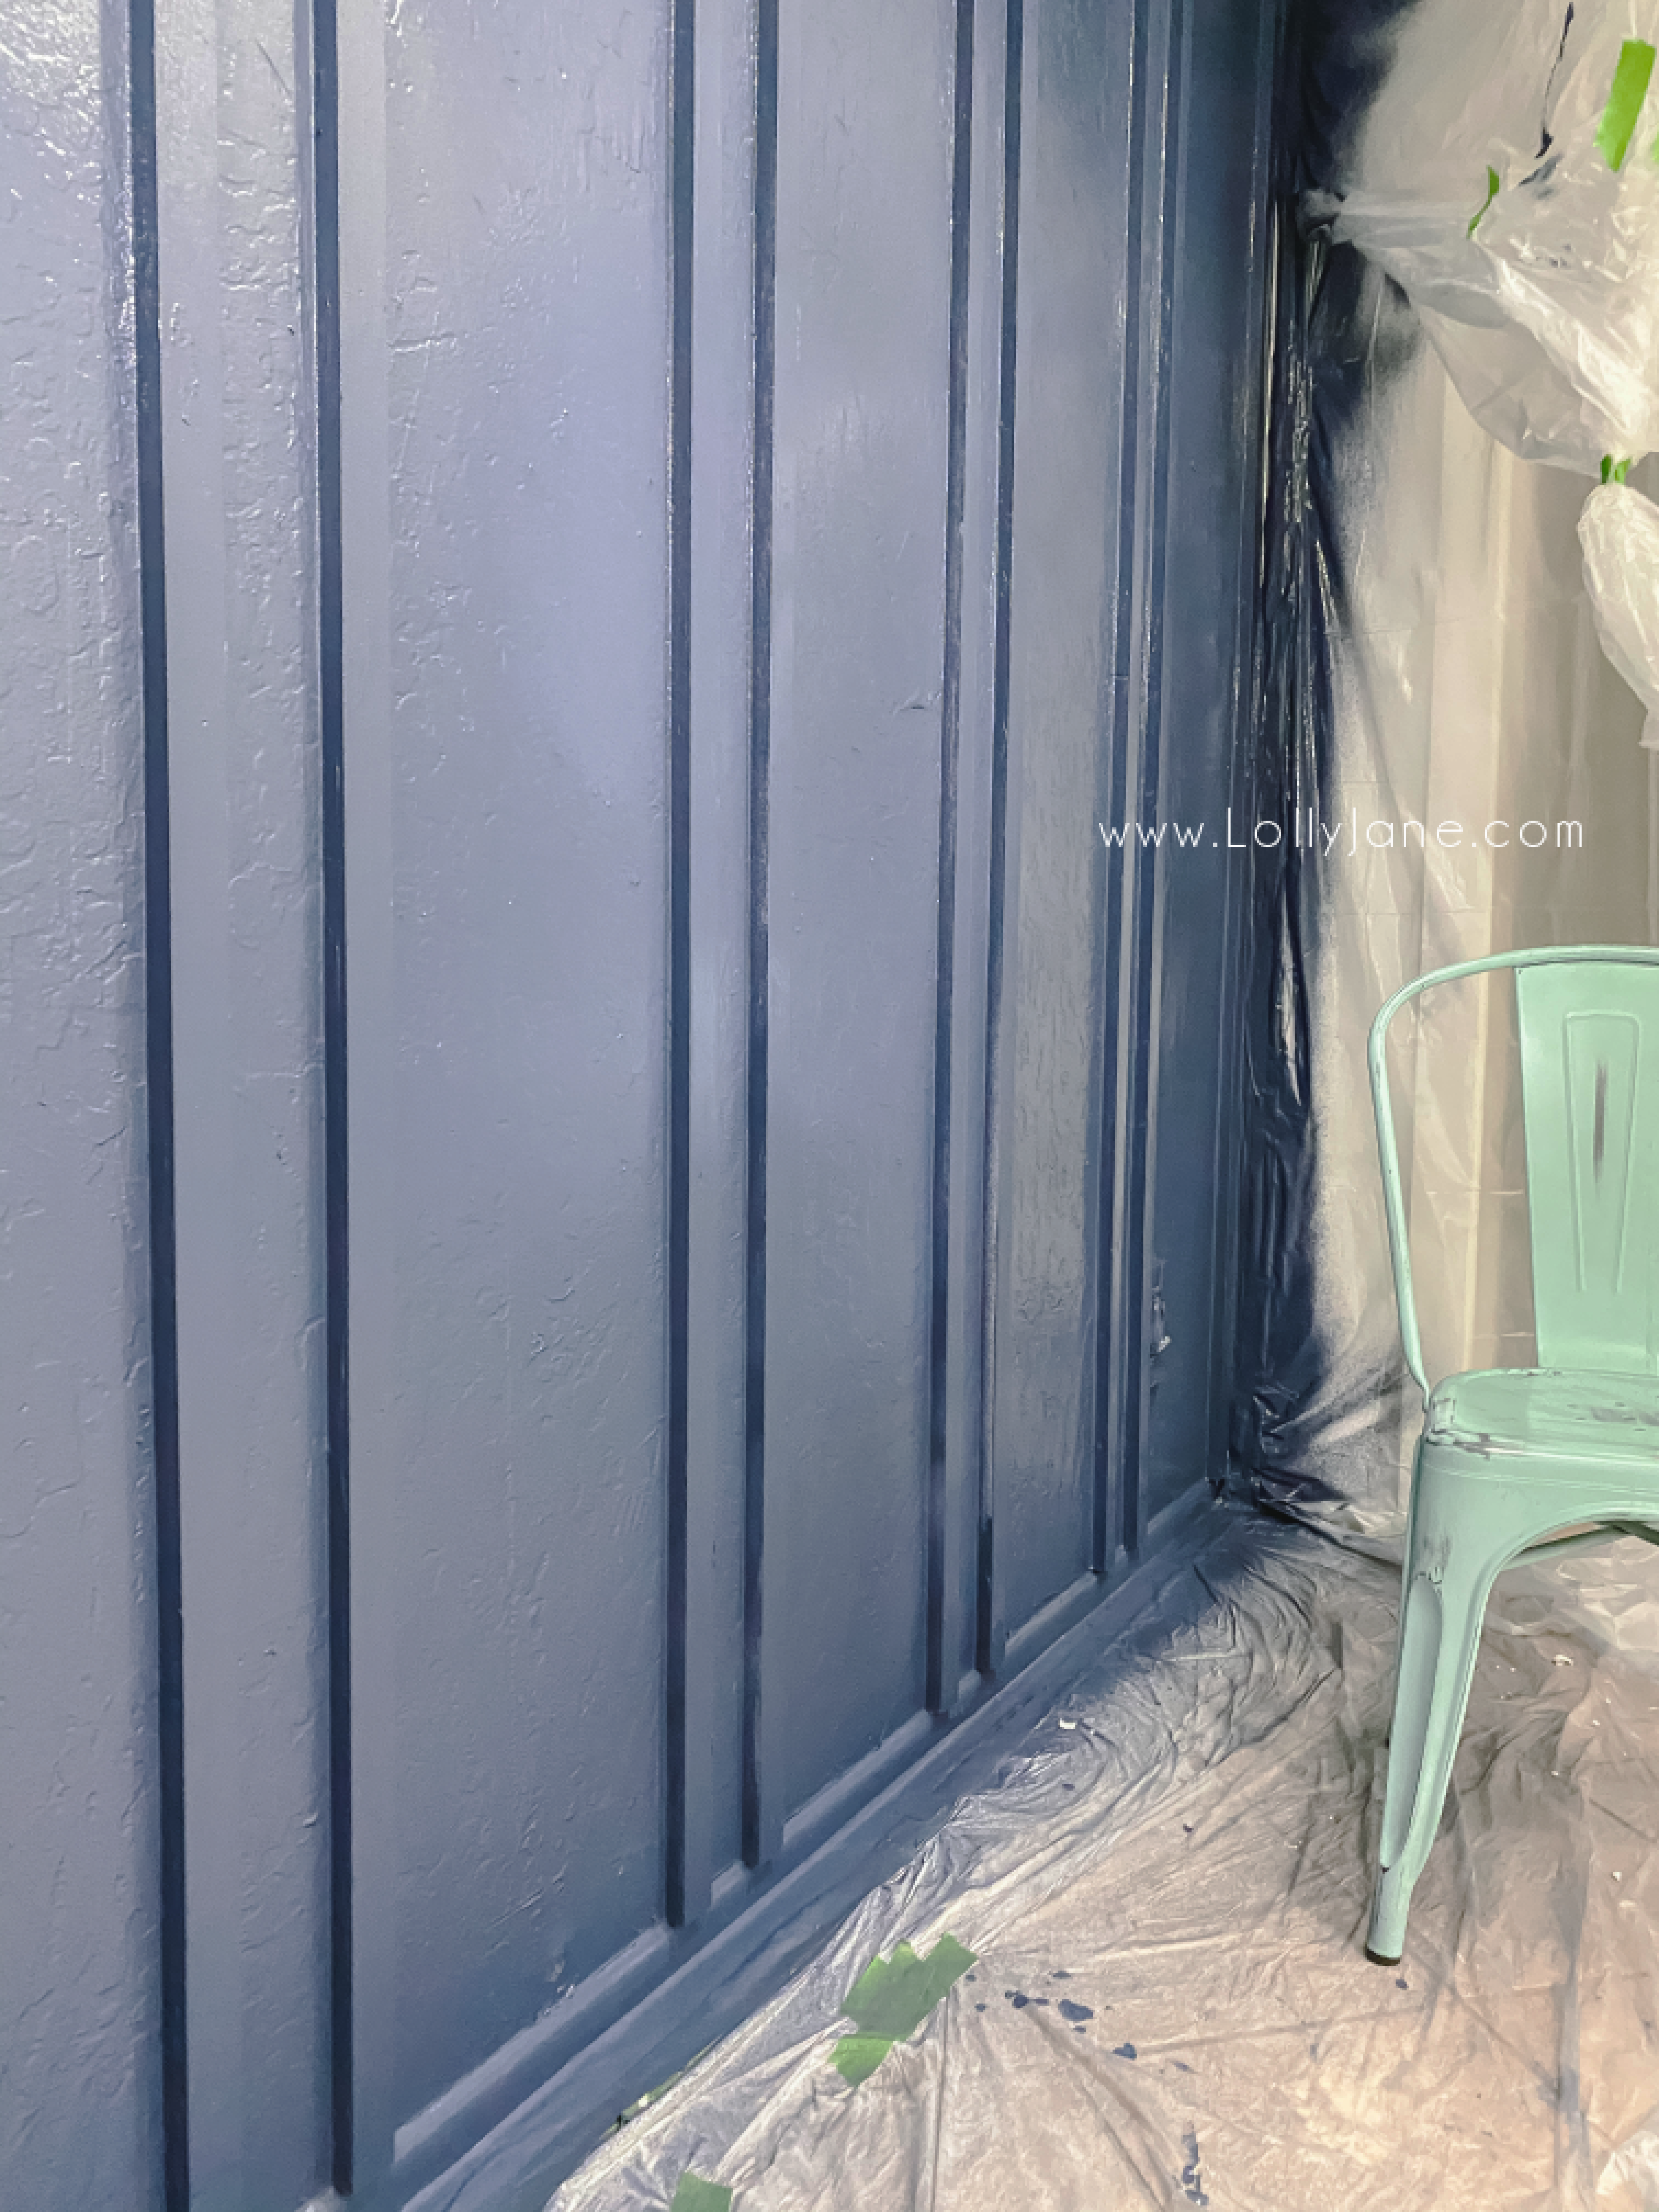
This was THE MOST FUN PART OF THE PROJECT!! Because we already did such invasive prep, we got the watch this paint go on in one beautiful coat. Yes, one, that’s it.
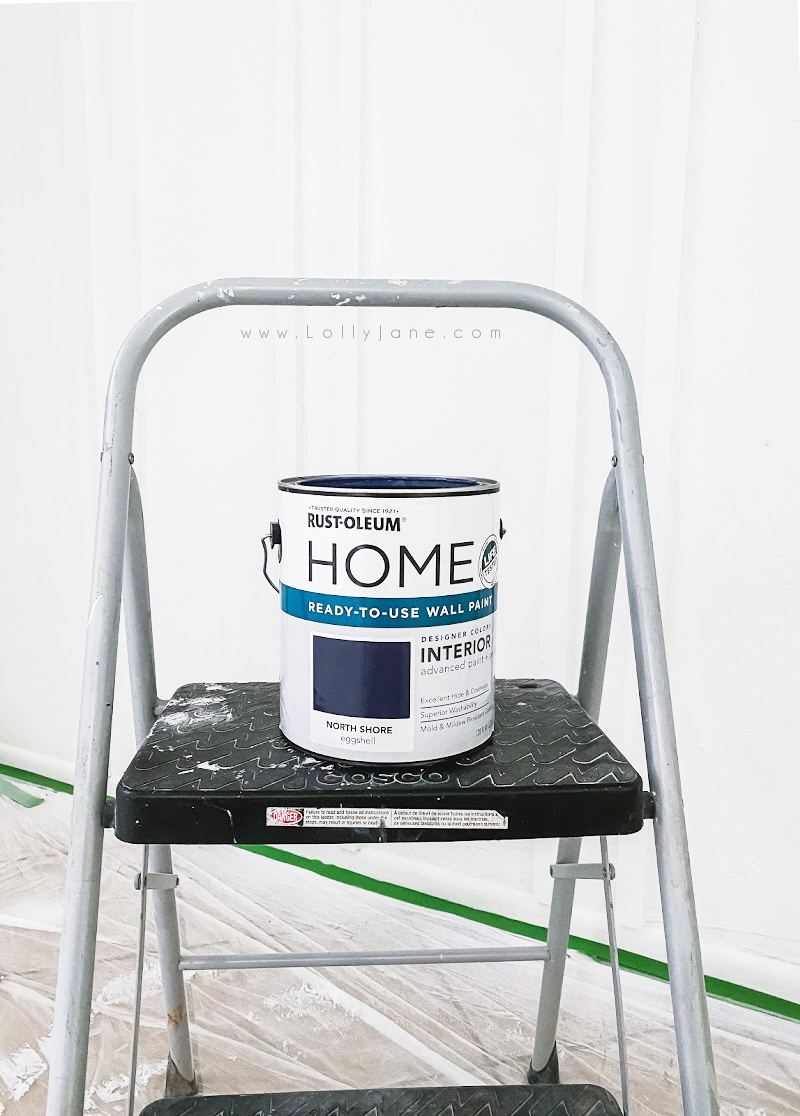
It literally went on smooth and even and feel SO SOFT. Do you know how rare that is to get such a buttery finish with eggshell?
I was SHOCKED! It’s gorgeous.
HOME paint brings you the convenience of a pre-mix paint with a great selection of 12 designer colors, exclusive to Home Depot.
Here are some of the top reasons we love it:
- Advanced Paint + Primer
- Excellent Hide & Coverage
- Superior Washability
- Mold & Mildew Resistant Coating
- Life Tested to stand up to your family’s daily activities
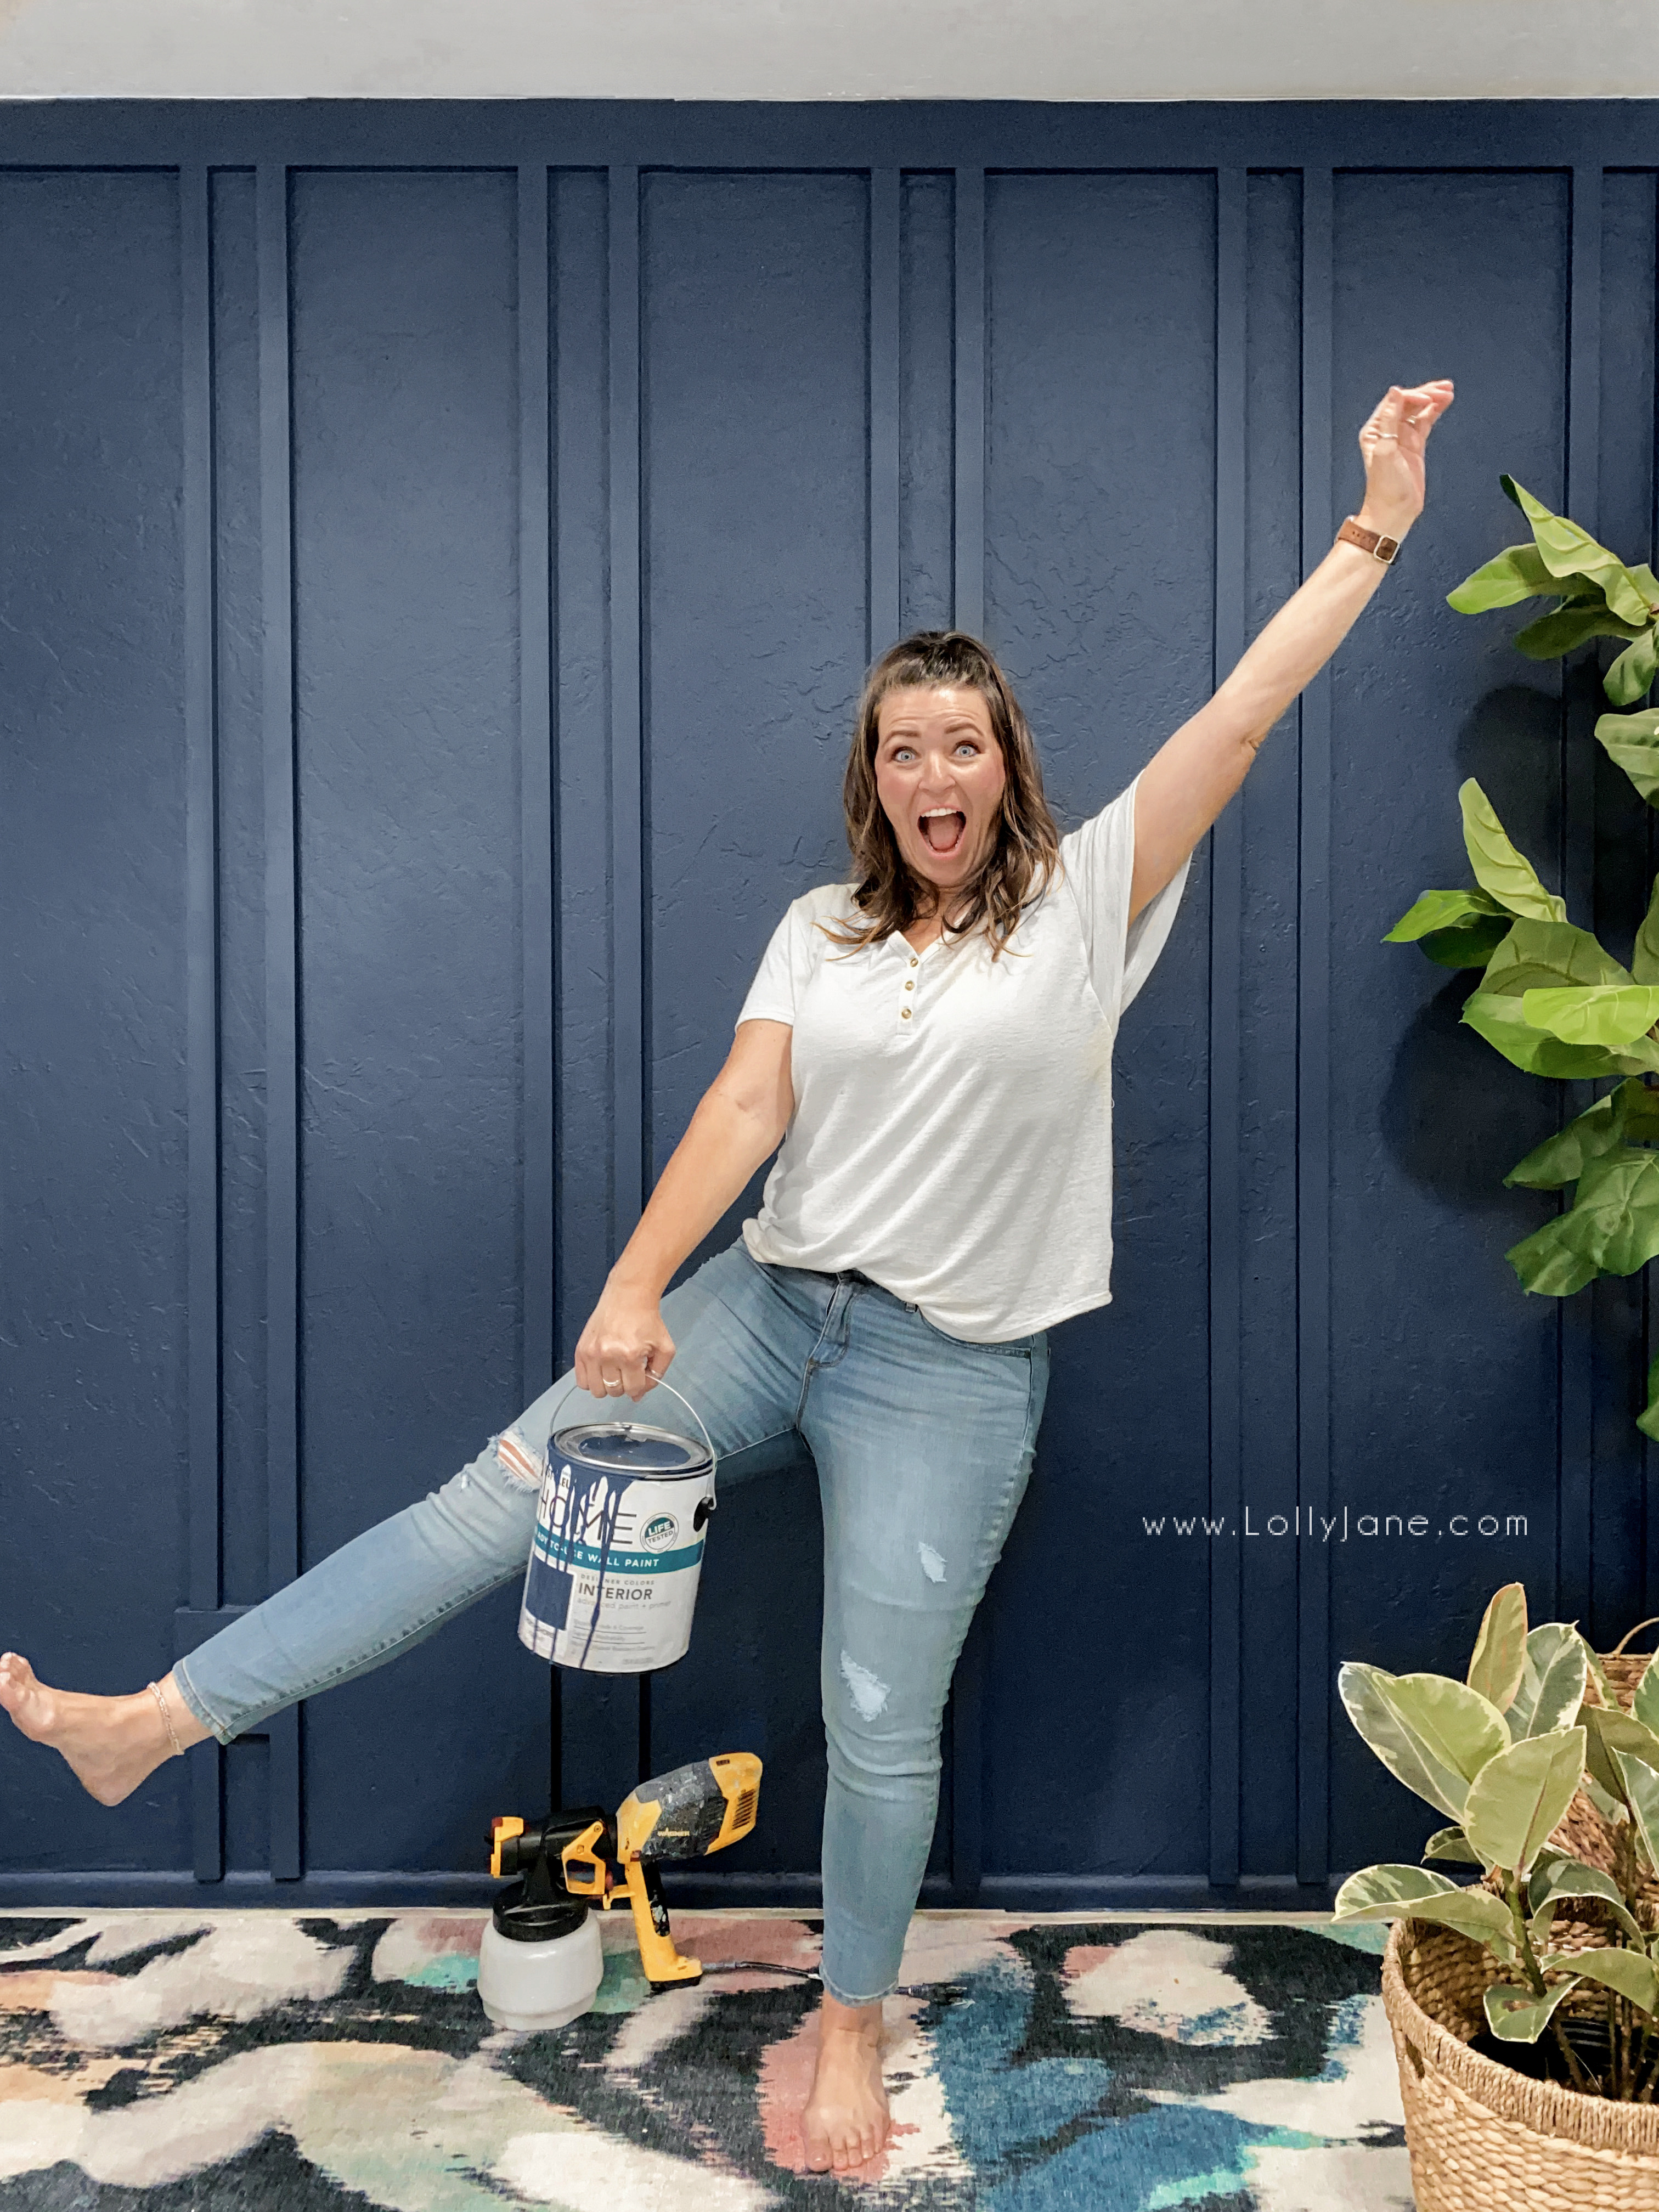
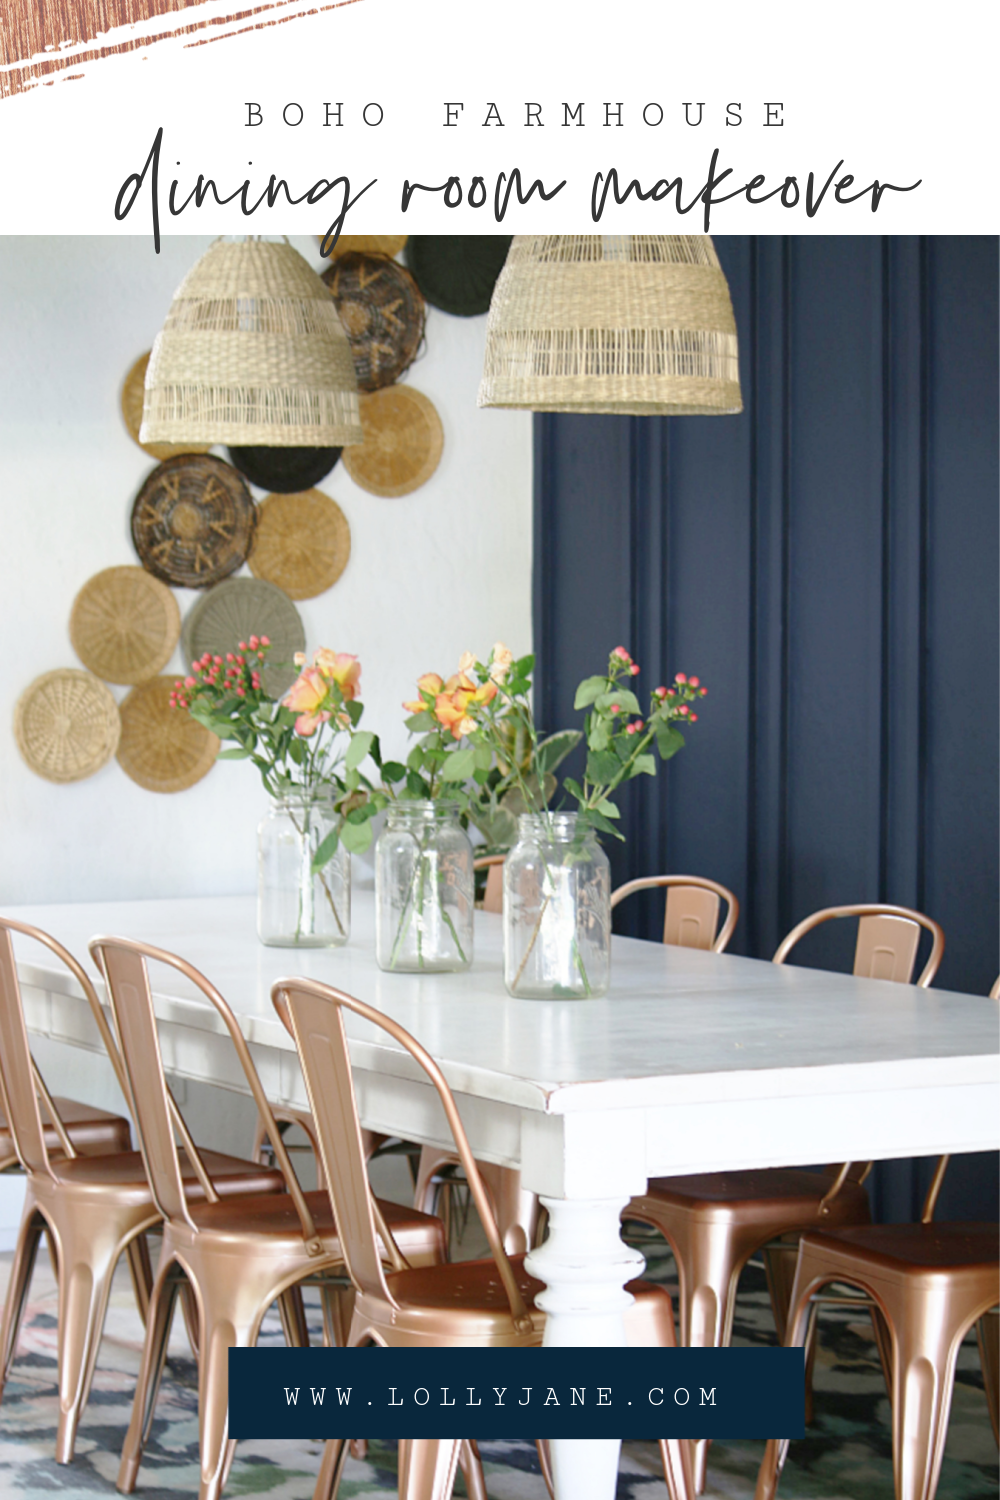
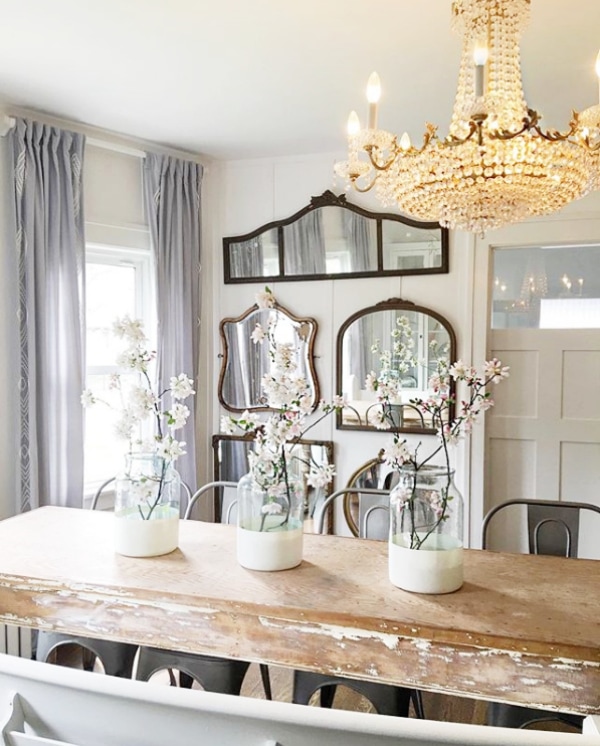
accessorizing the boho farmhouse dining room
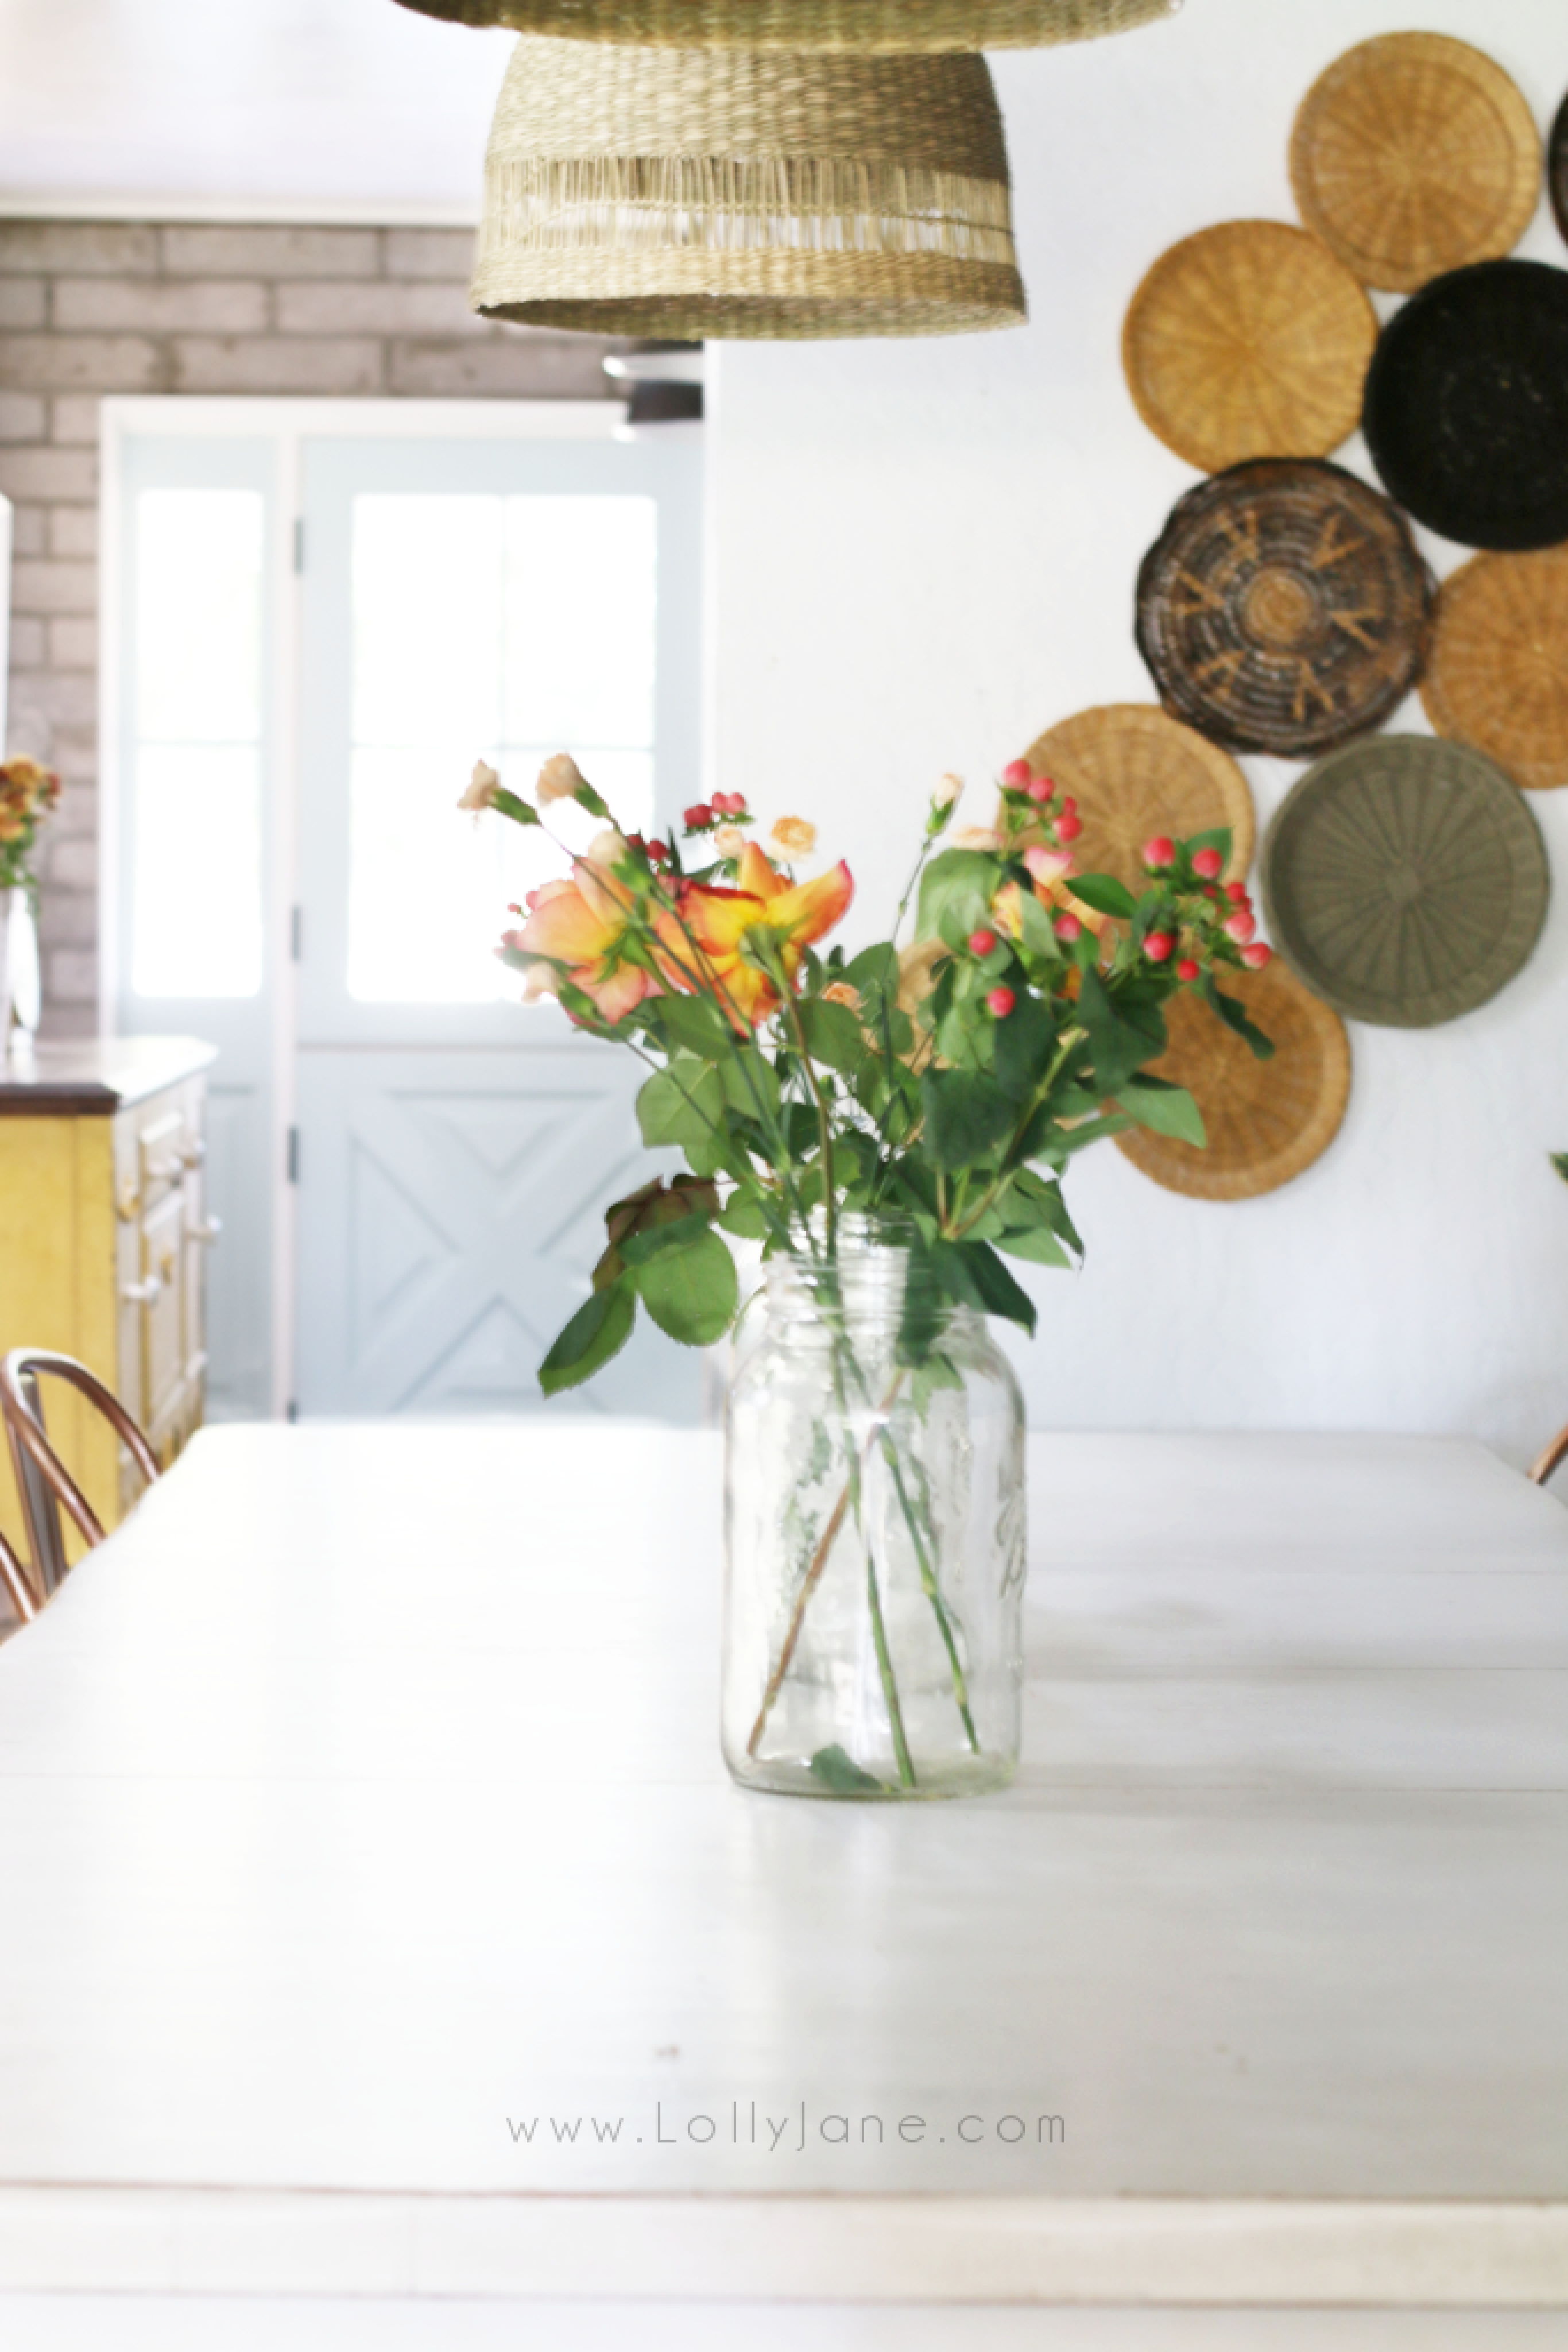
The fun part about painting this room was the decorating domino effect it had!
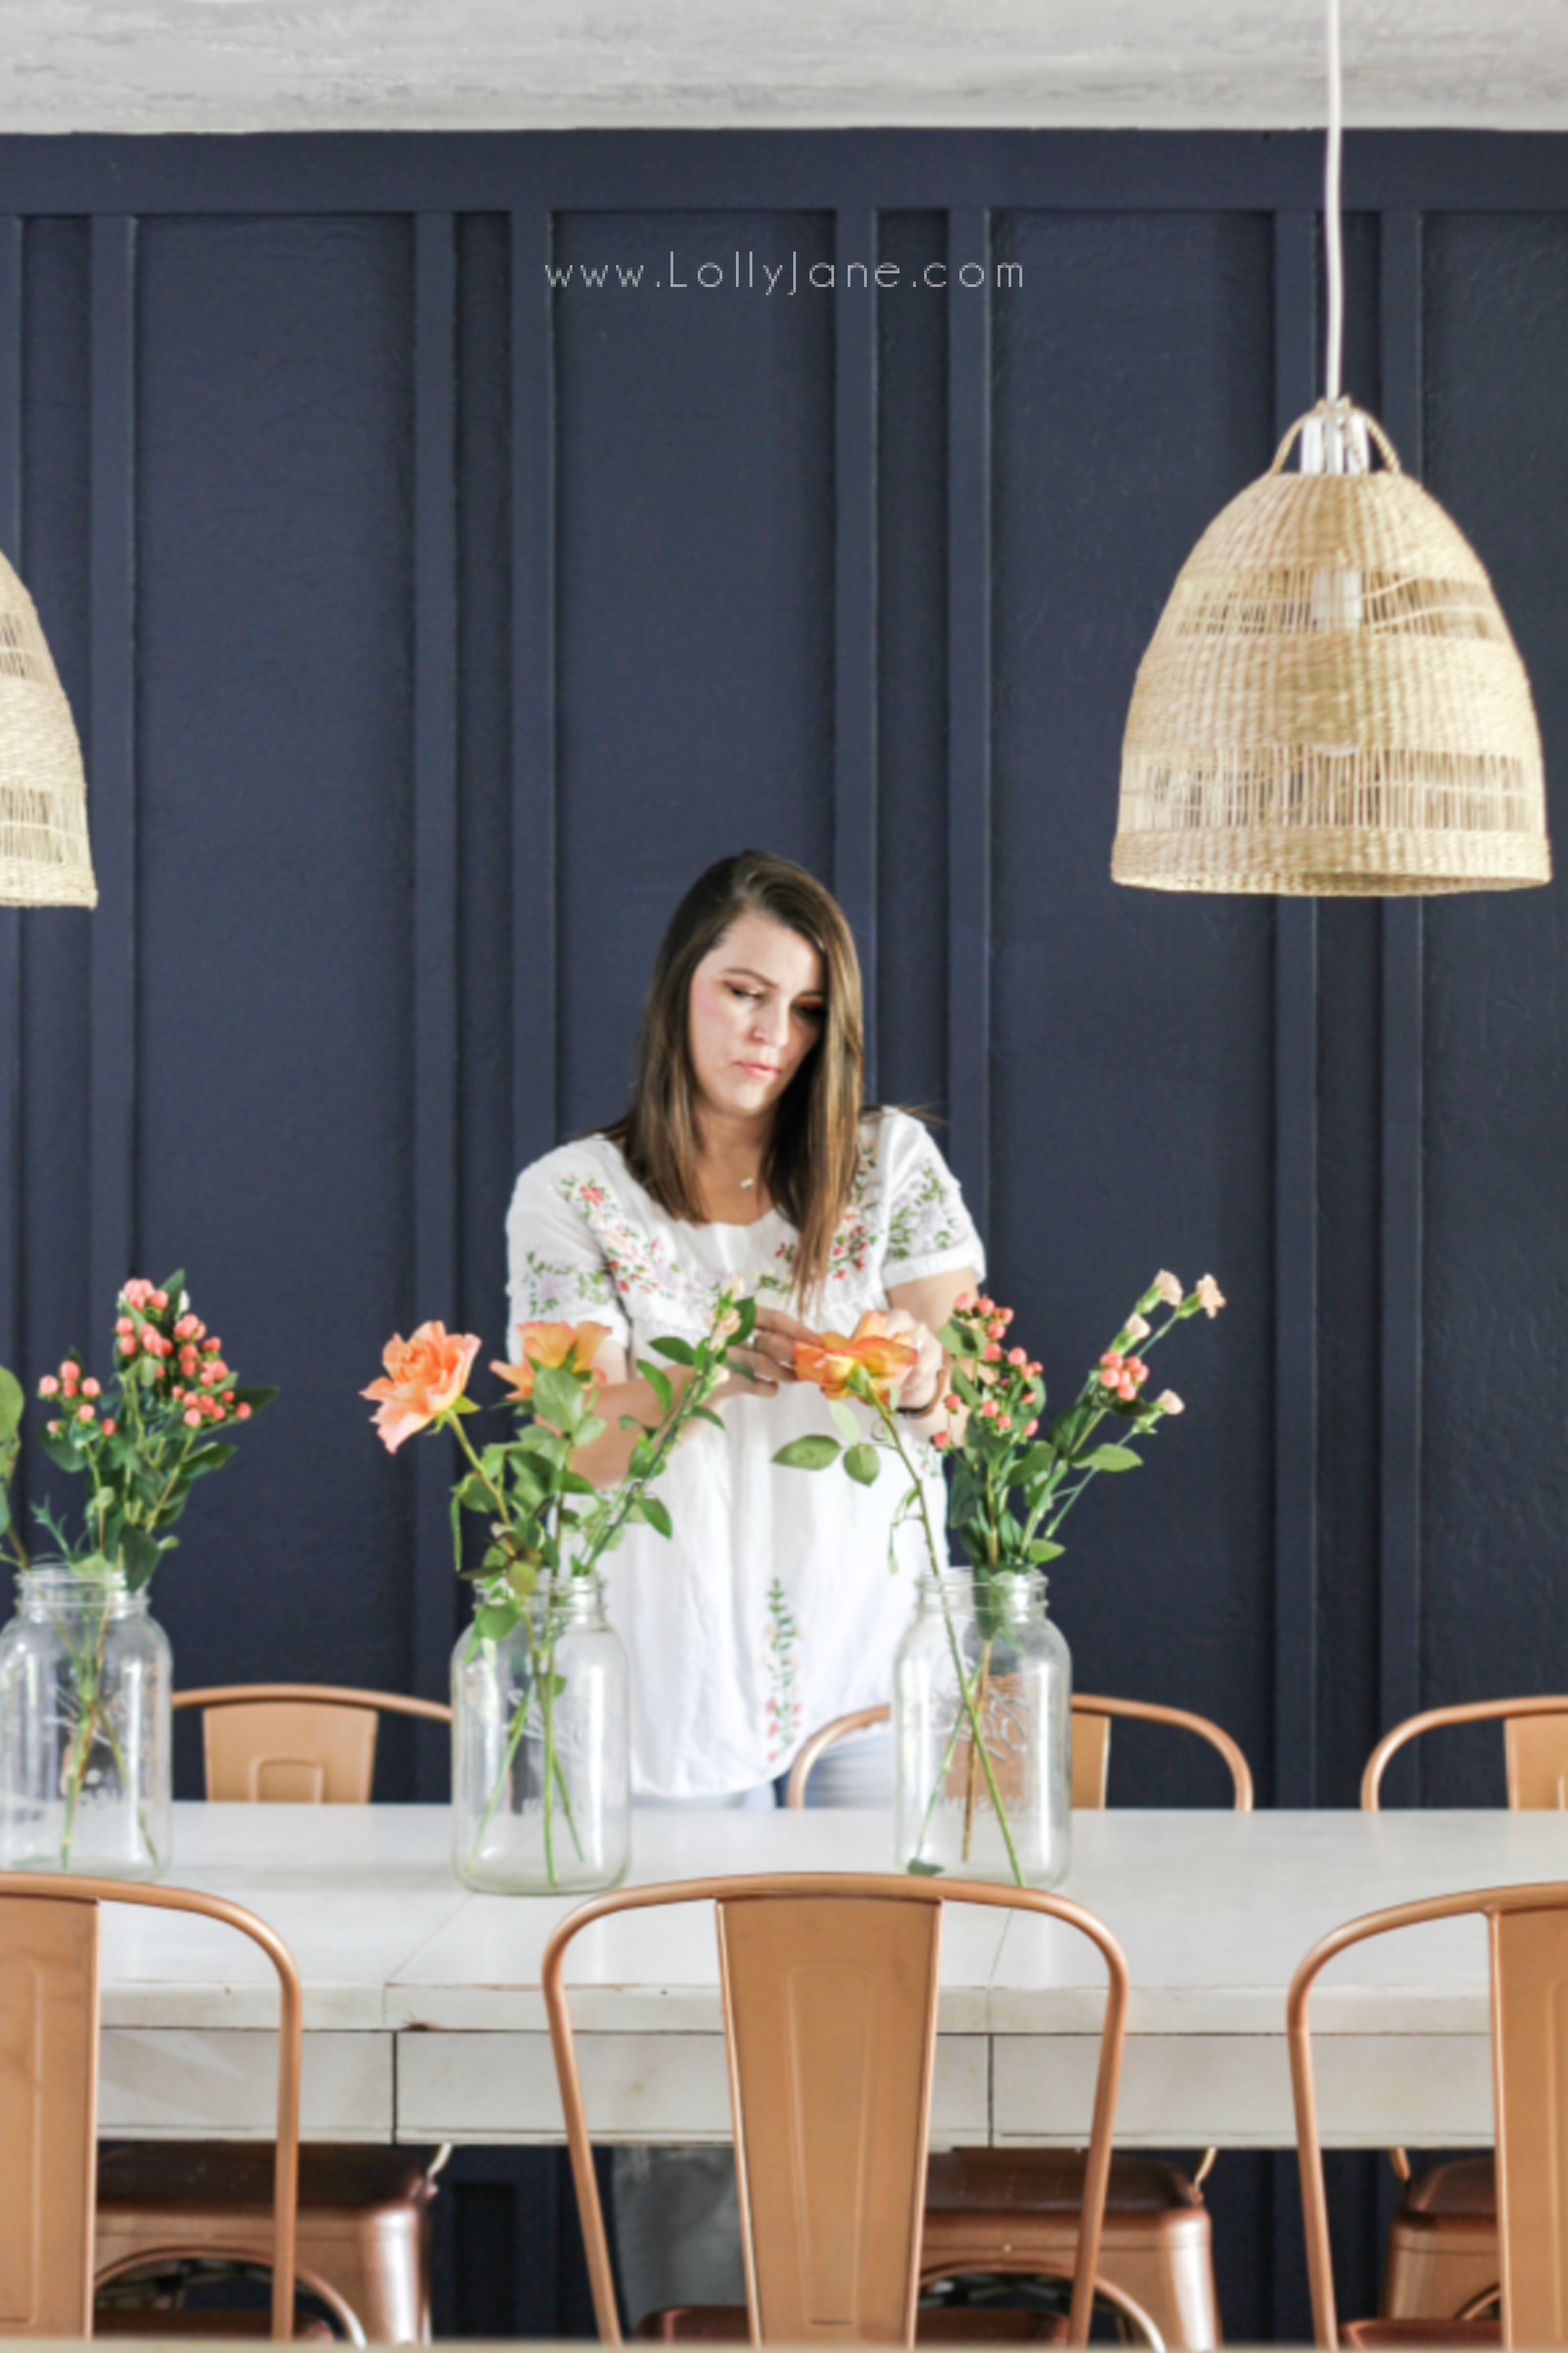
I’ve had my eye on boho designs lately and have been wanting to move away from the farmhouse trend. Boho is so cozy and warm and all about twinkly lights and yummy candles…I’m in!
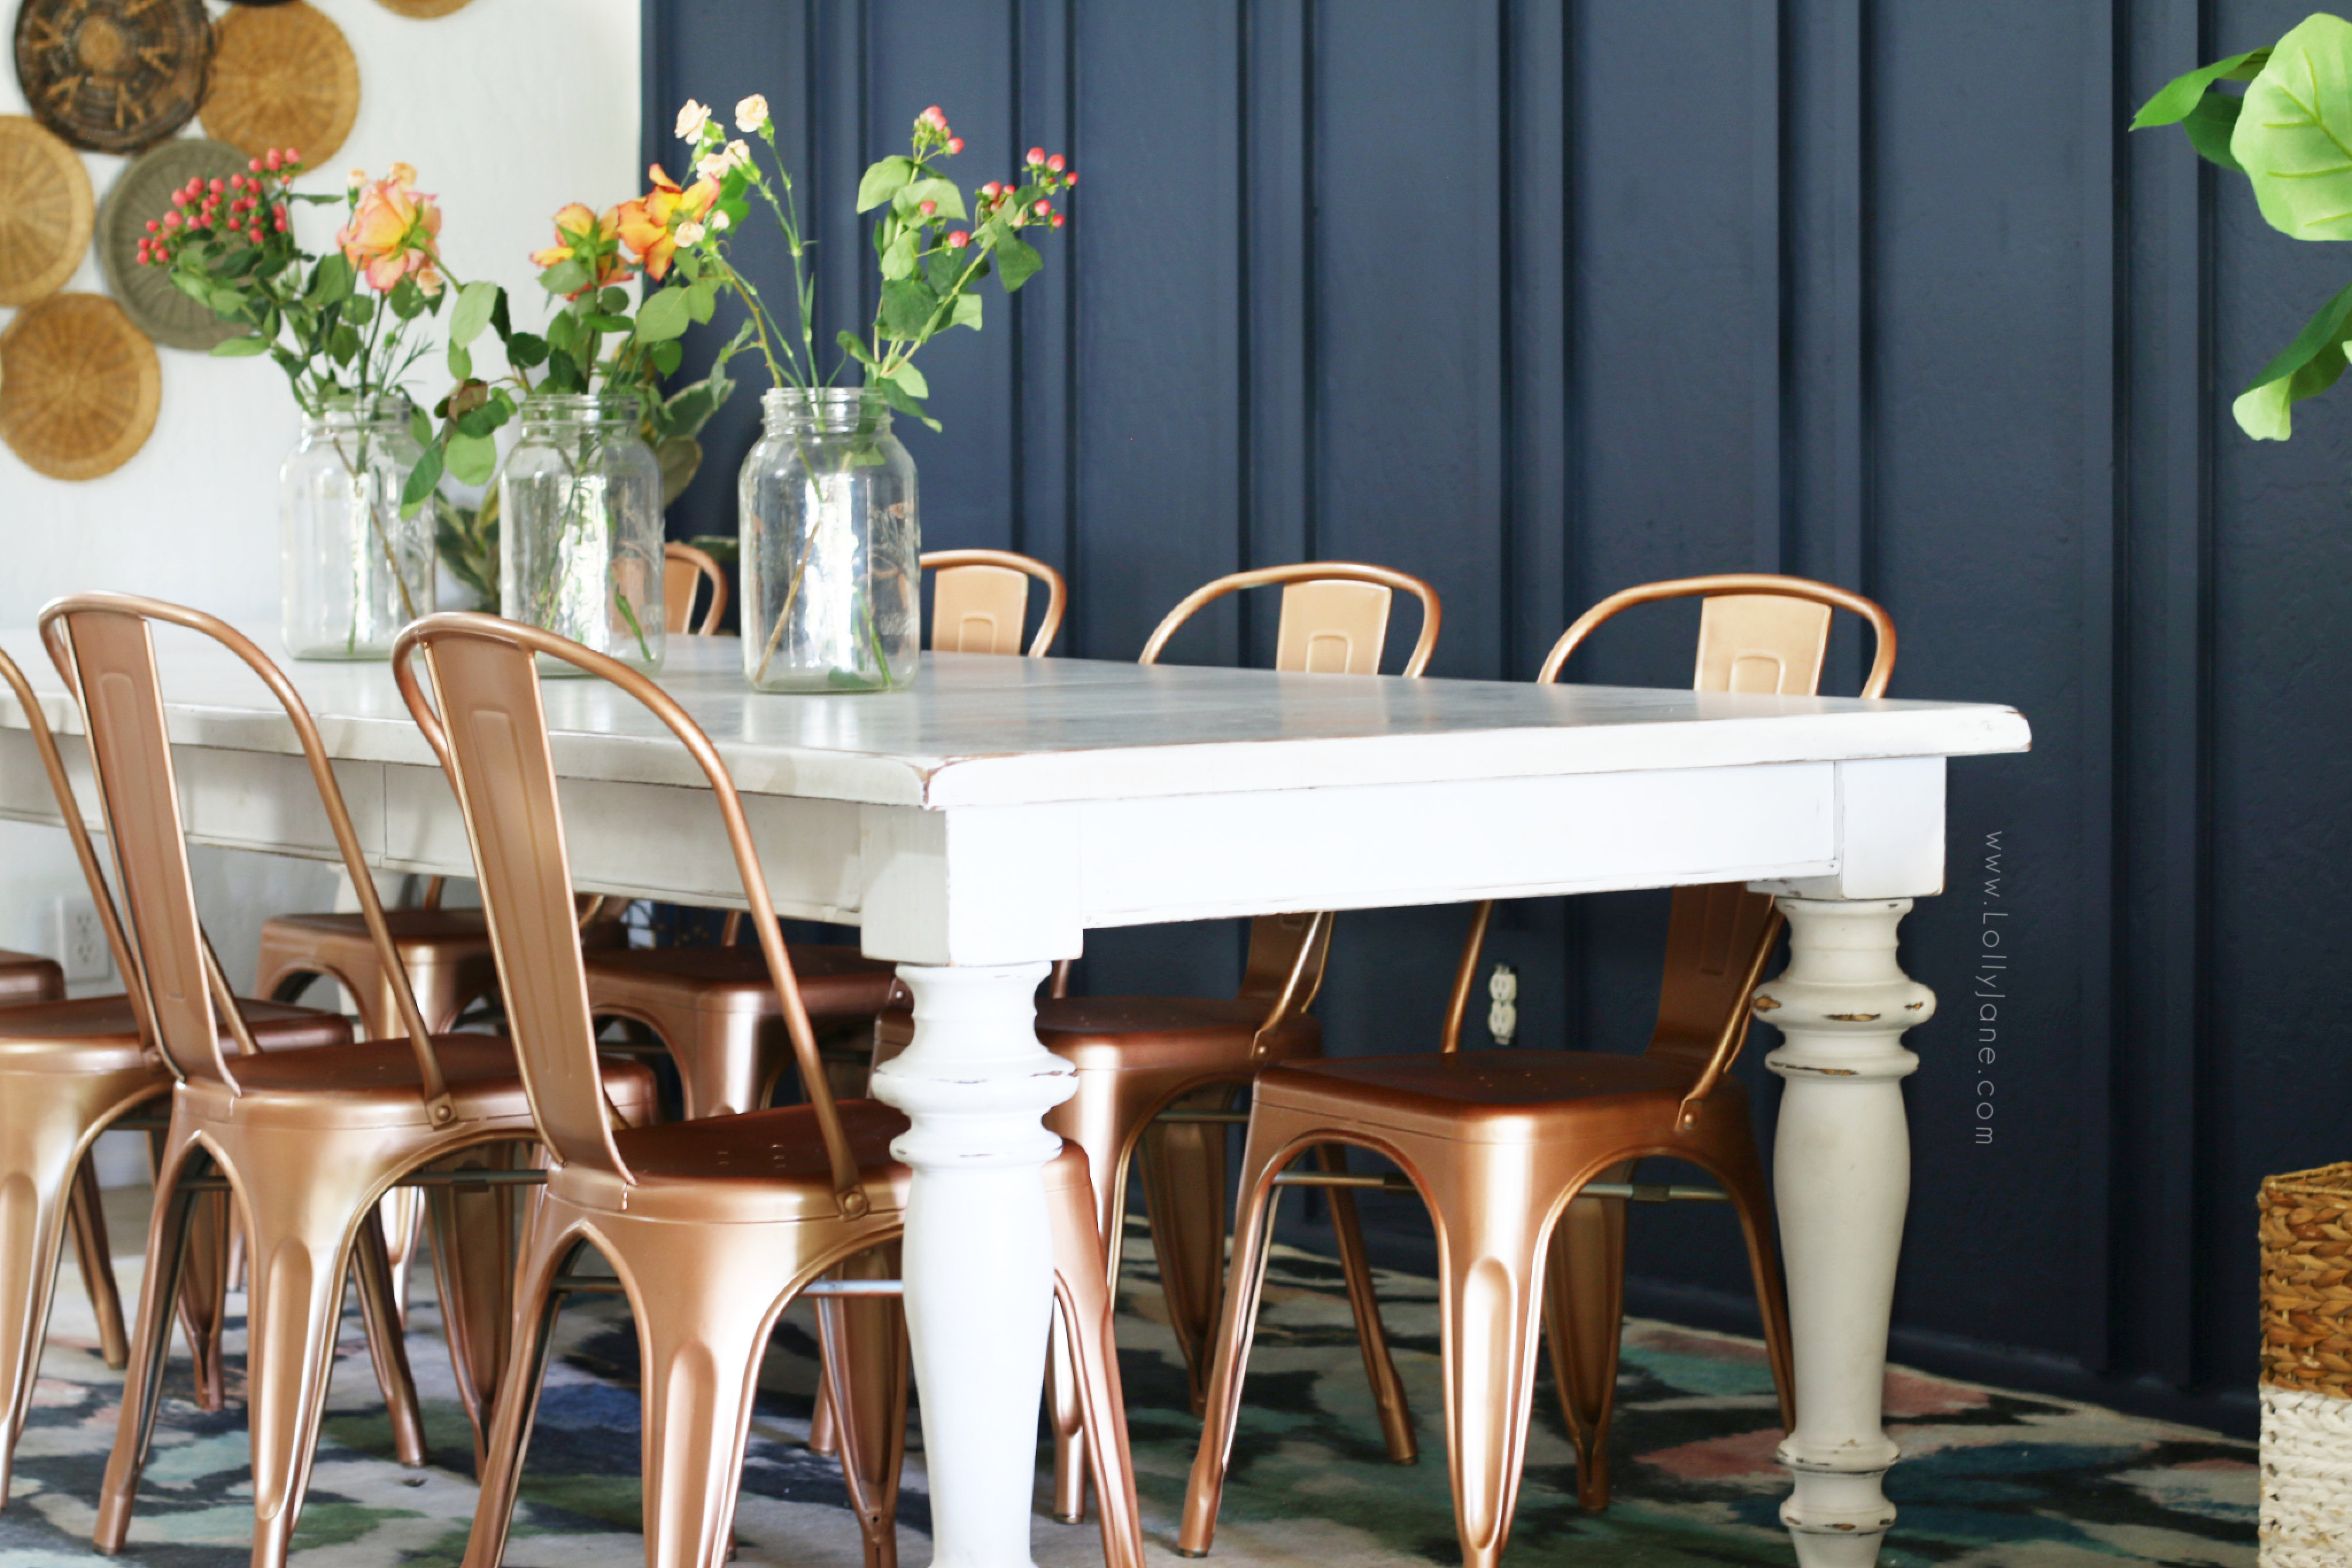
After painting the wall, I decided the room needed more natural elements instead of the playful aqua tones.
basket lights
I swapped the previous metal pendant shades with basket shades and spray painted the old pendant lamp white. So fresh!
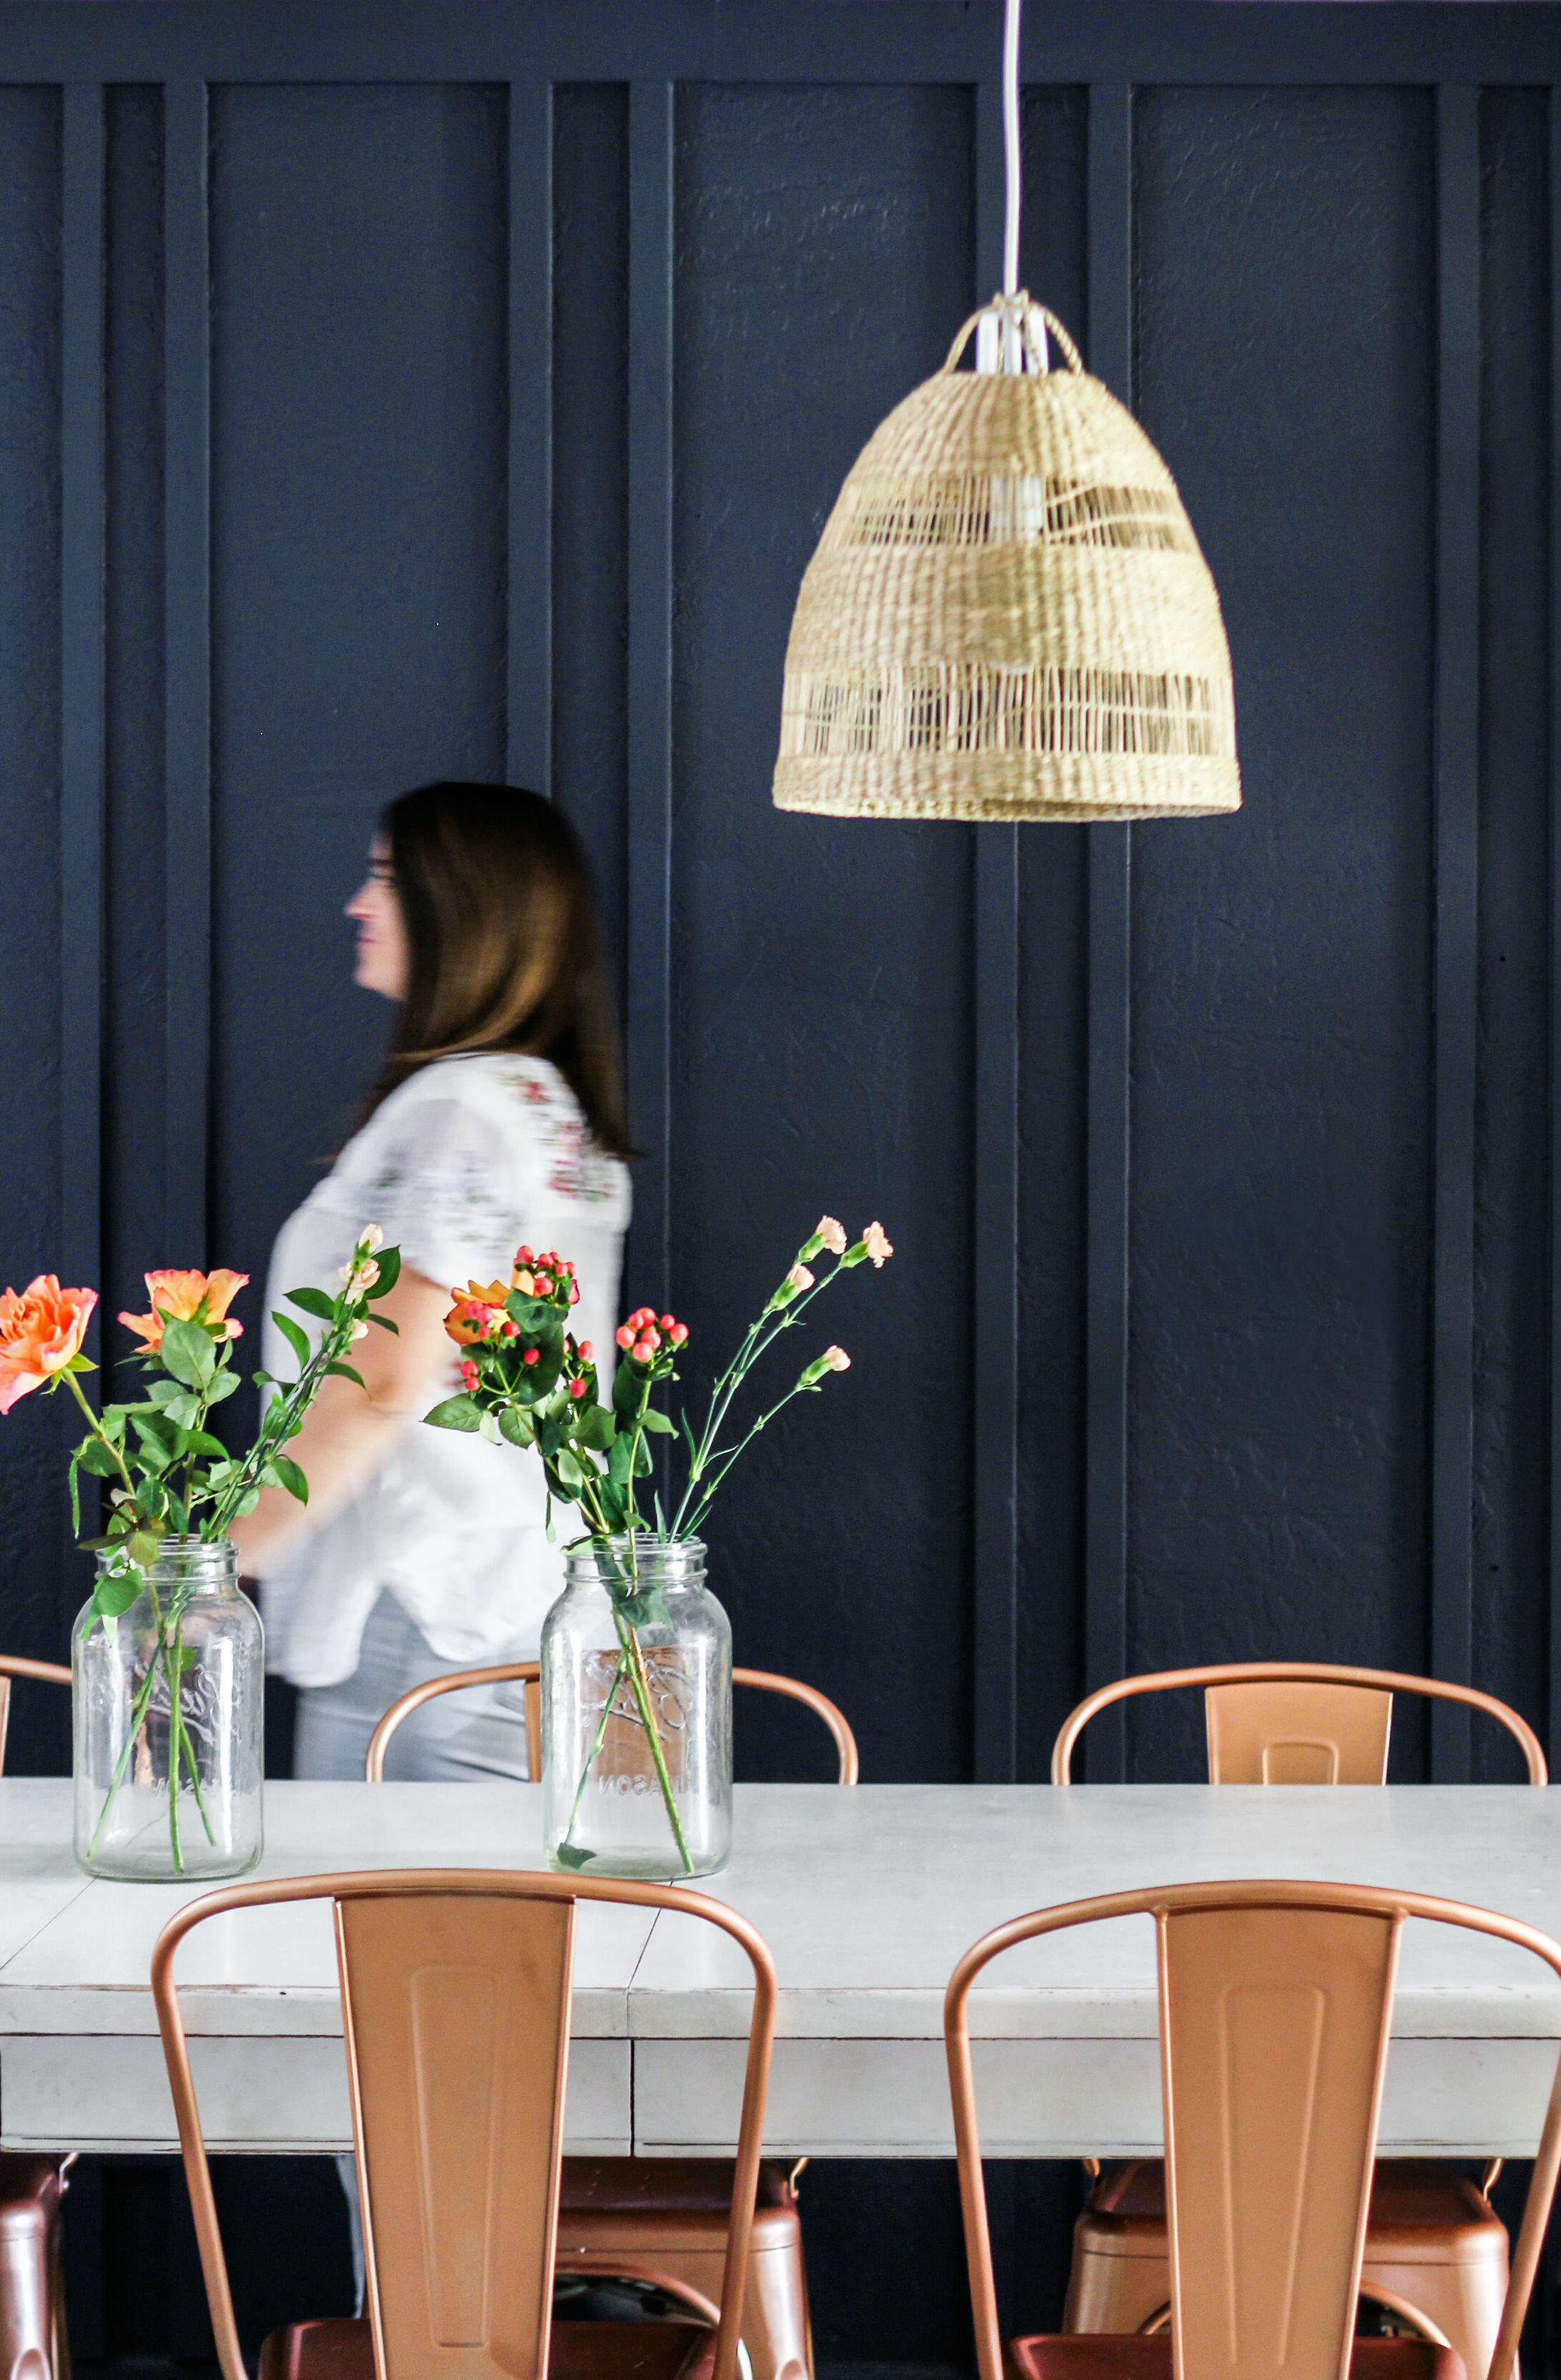
boho basket wall
I also traded our fun letterboard ledge wall for a chic boho basket wall instead with all thrifted plate holders, the whole wall cost me $13…including painting a few of the baskets with camo colored spray cans we found in our stash ?
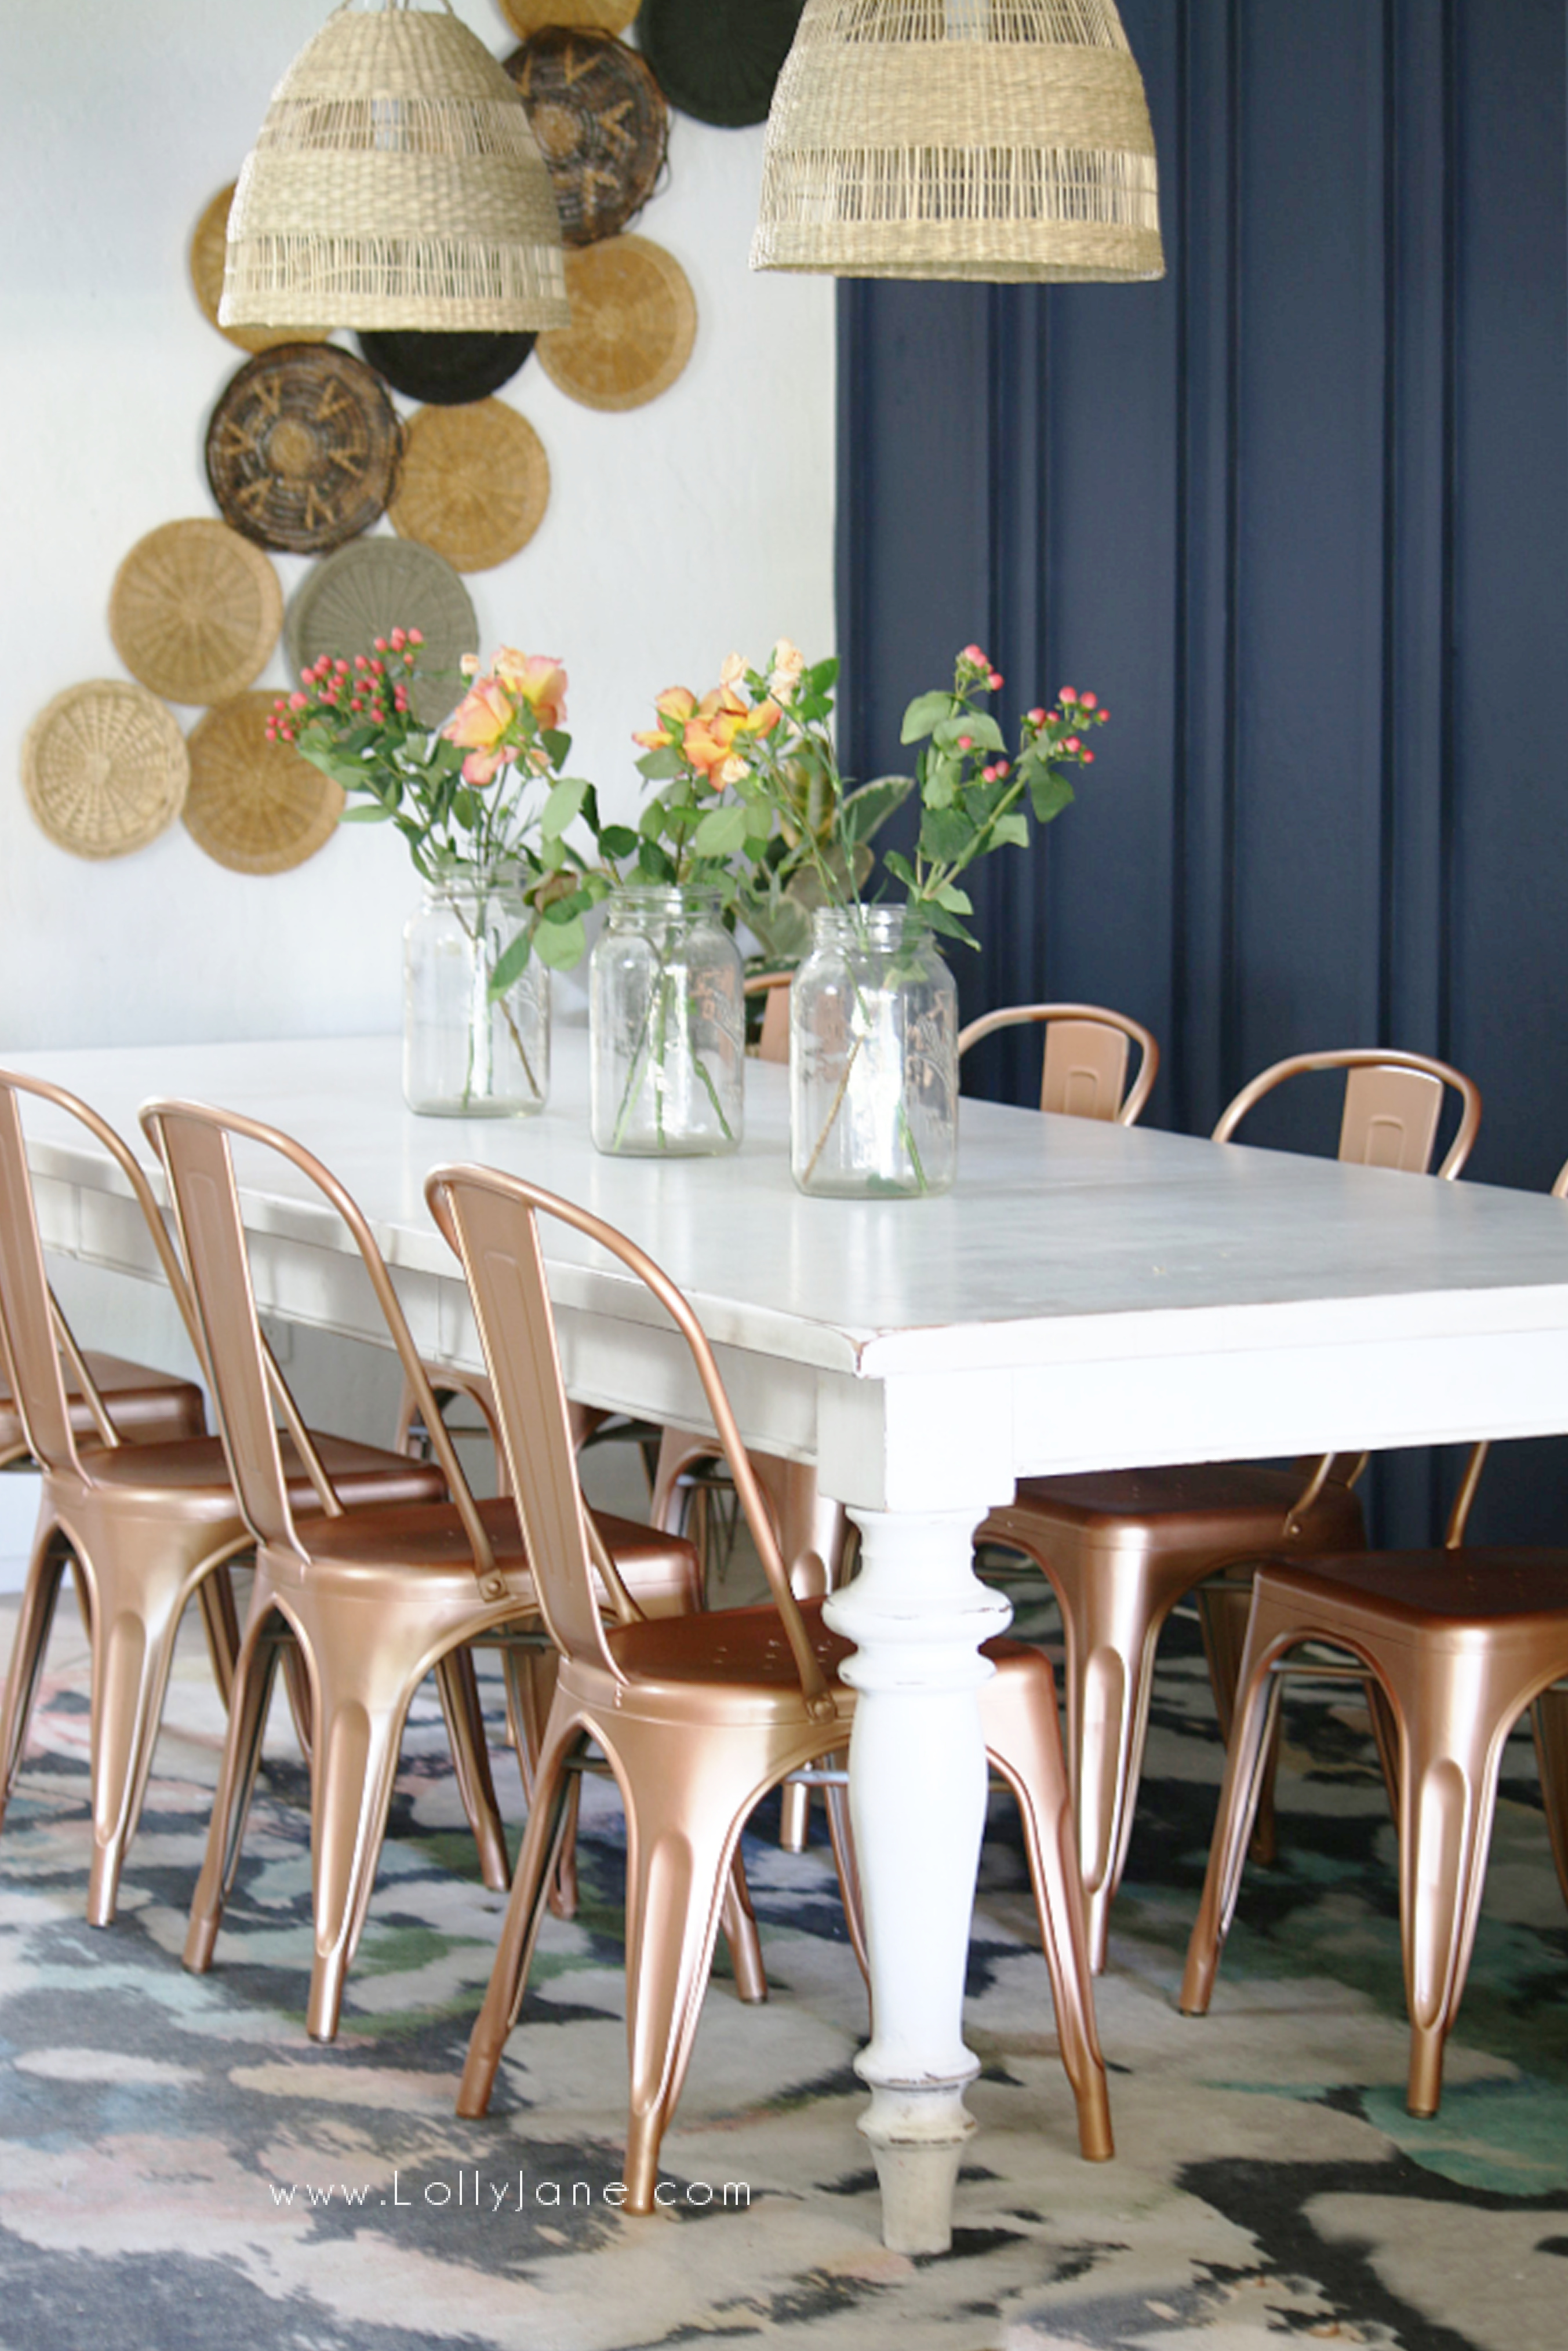
copper spray paint chairs
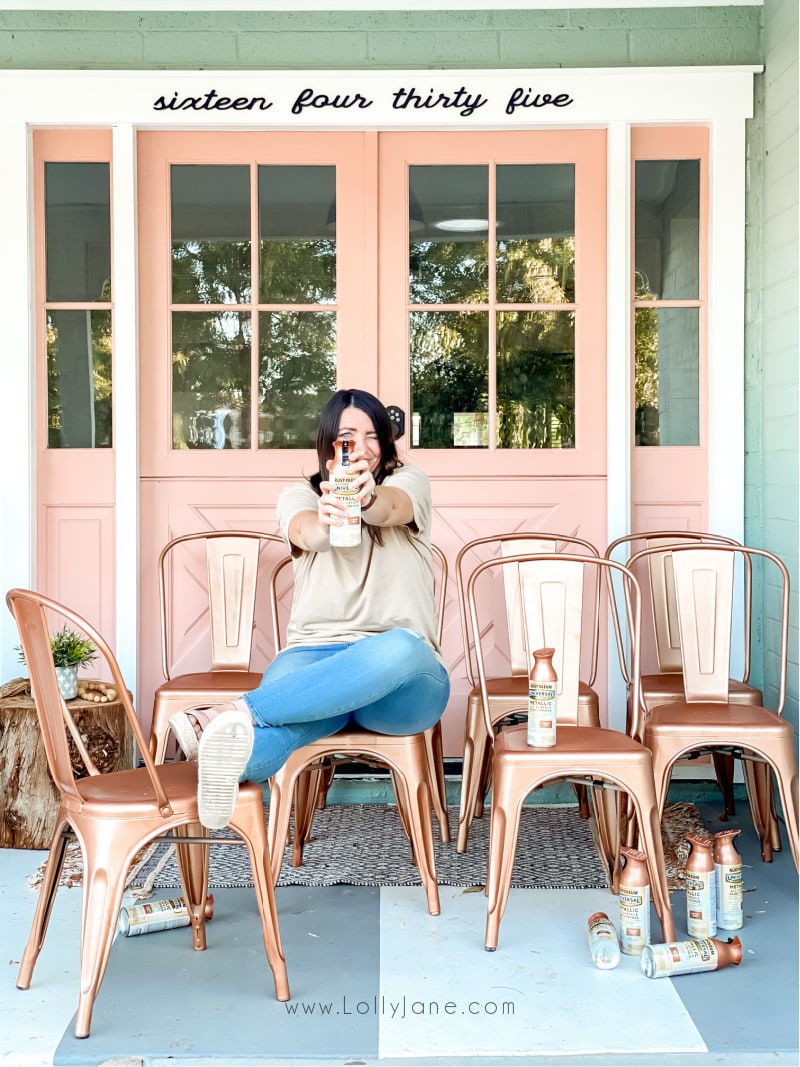
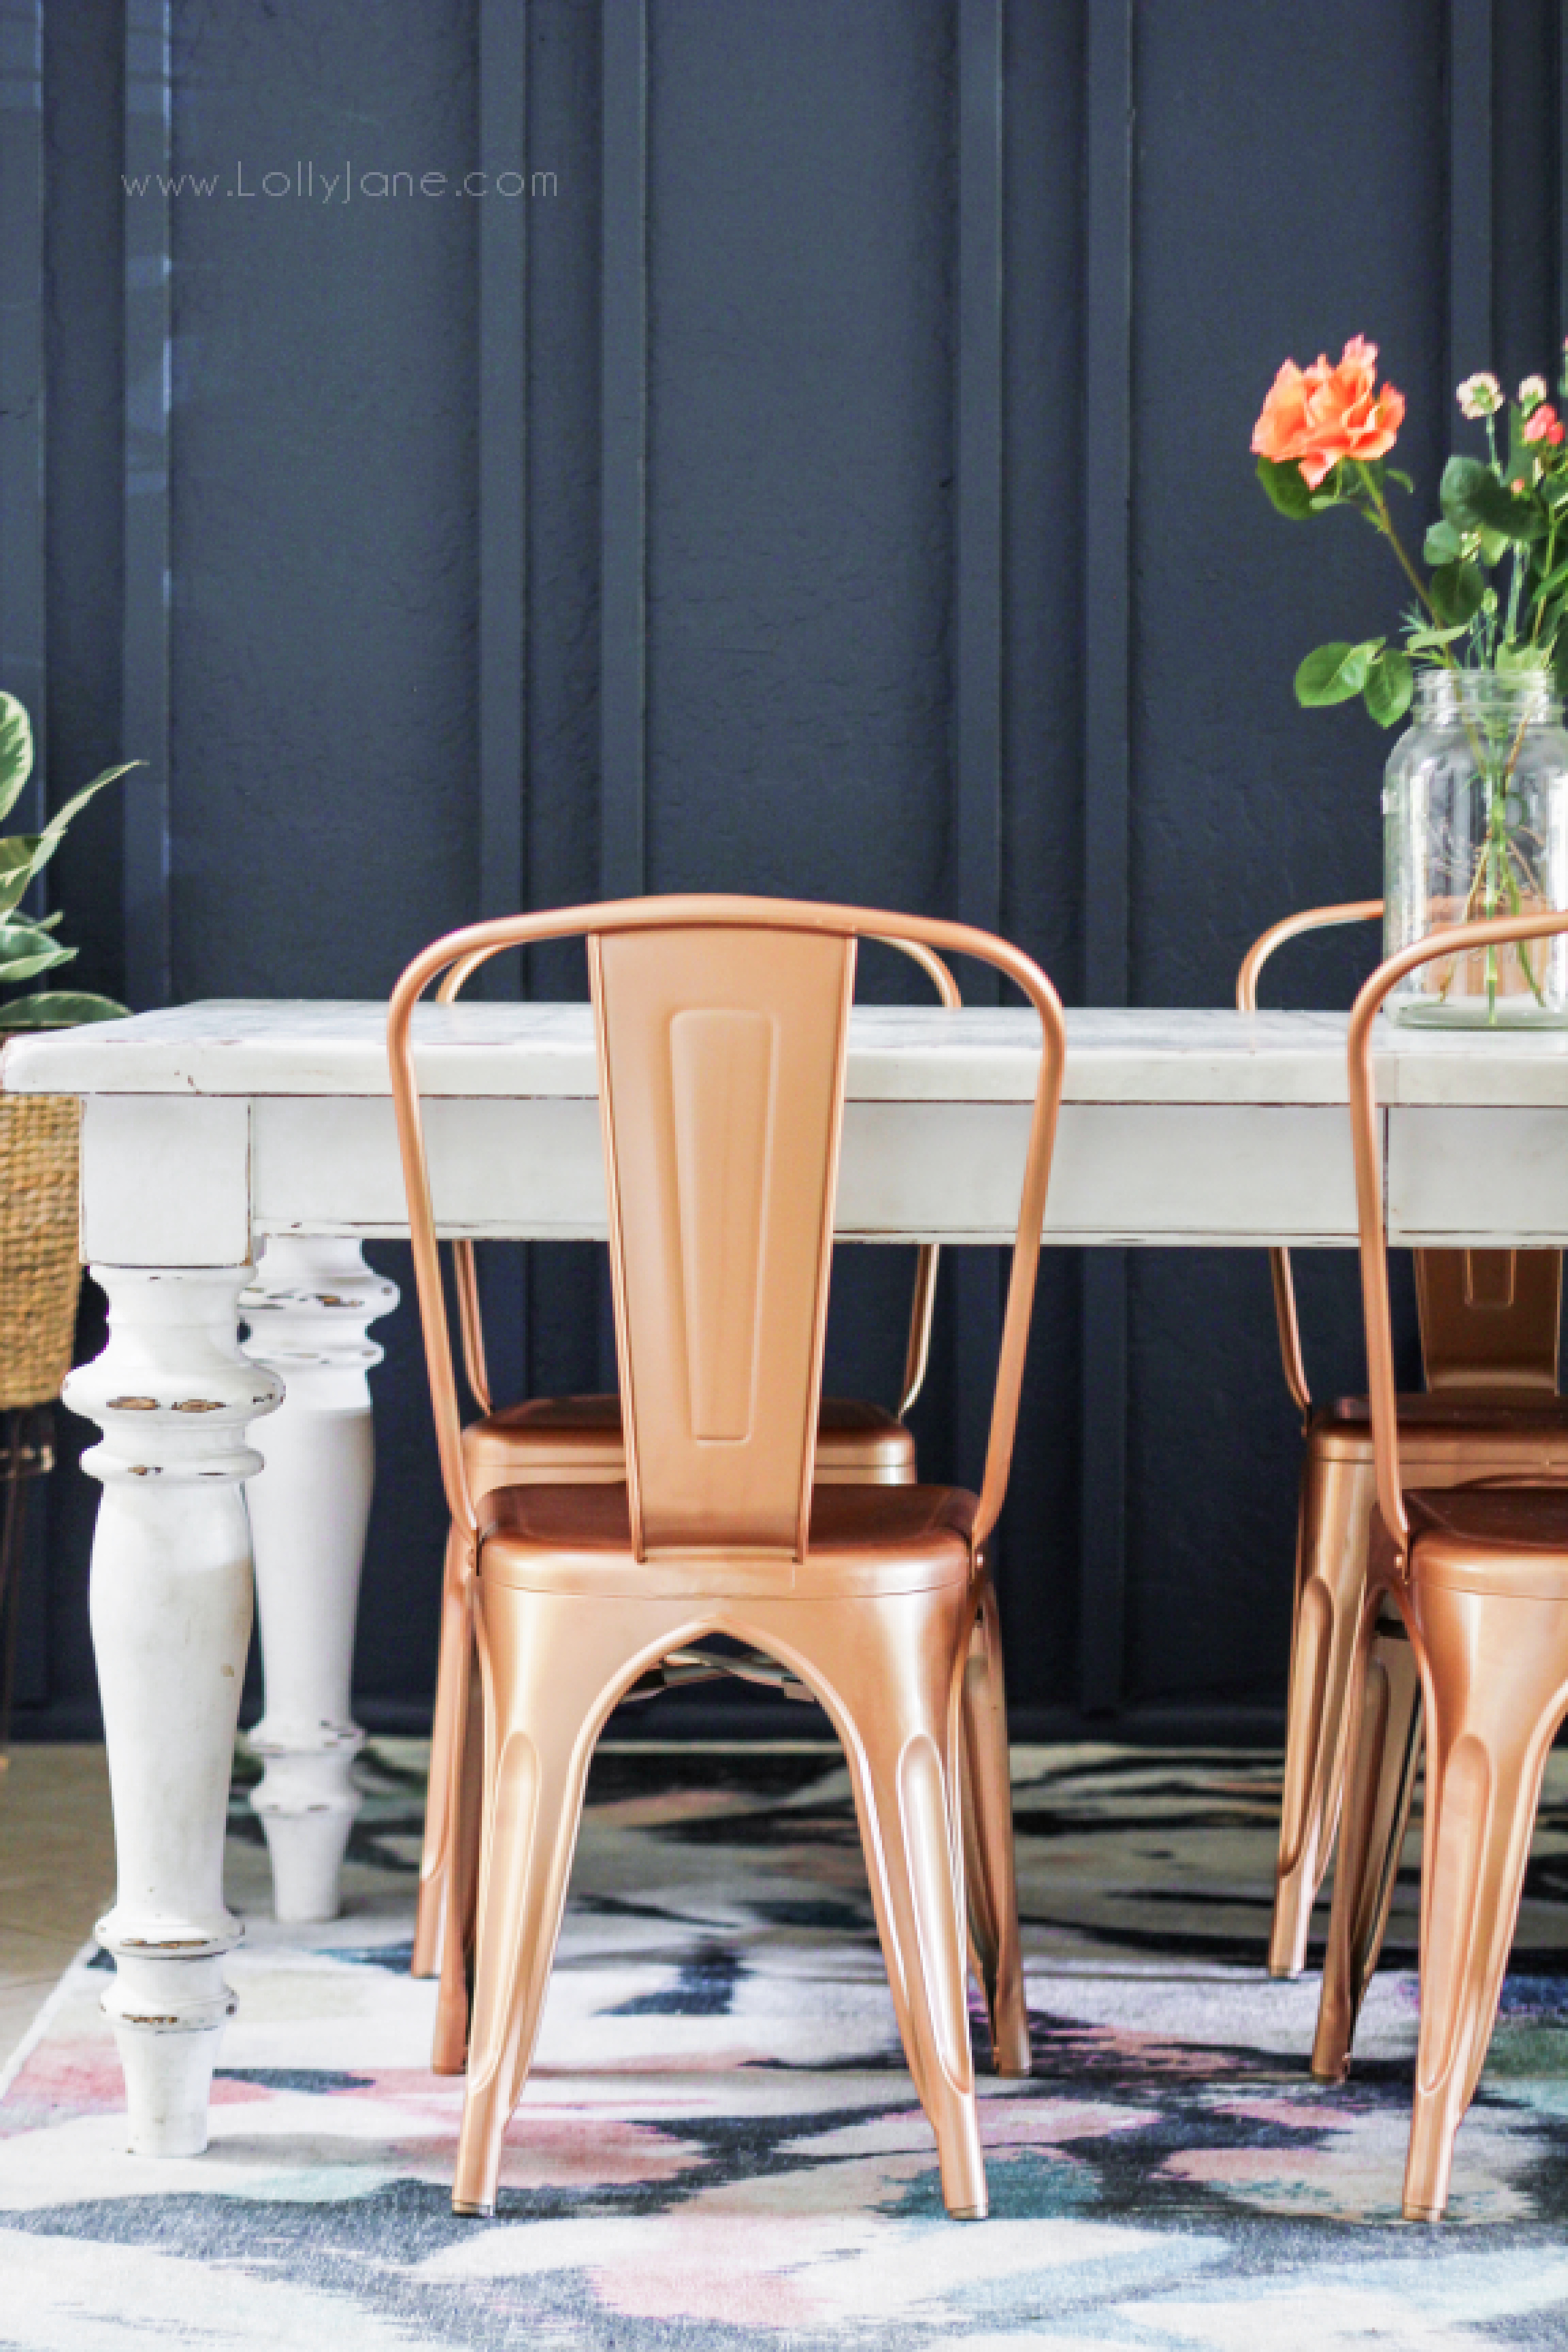
Lastly, I spray painted the aqua chairs to a beautiful Copper Rose Metallic and love the pairing of the navy + rust!! Check out our new blog post on the right way to spray paint metal chairs.
final cost breakdown
wall treatment supply costs
- Paint + Primer: $73
- Wood: $47
- Caulk: $7
additional decor costs
- Basket Light Shades: 2 shades = $40
- Spray Paint for Chairs: 7 cans = $49
- Thrifted Baskets: 13 total = $13
TOTAL COST: $229
room source list
*May contain affiliate links which means we’ll make a commission and NO extra cost to you!
- Kalina Rug
- Metal Chairs
- Mason Jars
- Florals for Jars: Flowers, Lisianthus, Berries
- Dining Room Table *similar linked
- Basket Light Shade *similar linked if you need the full light kit
- Rubber Plant
- Fiddle Leaf Fig Tree
- Rattan Plant Baskets
PLEASE PIN
We’d love for you to pin this so your friends can family can get inspired, too!
visit more rust-oleum projects
If you’ve read Lolly Jane before, you know Rust-Oleum has never led us astray.
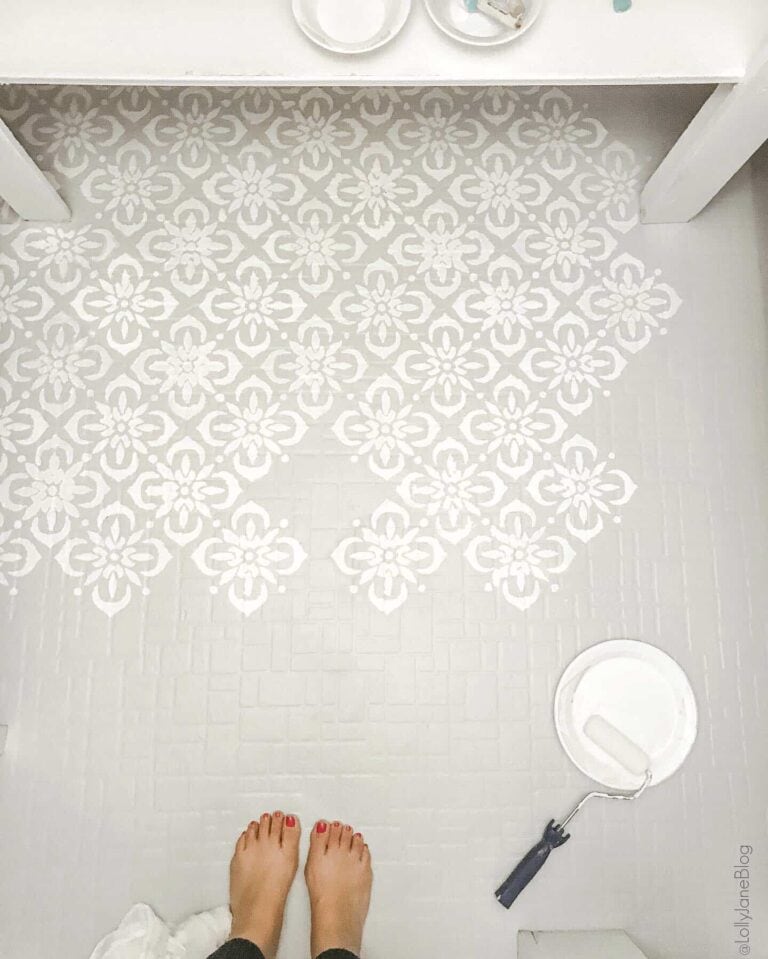
From our chalk painted floors to our upgraded specially formulated floor paint on our pantry makeover, they’ve completed the perfect line up with their new HOME line wall paint!
comments?
Leave any questions or comments below, we’d love to help you out with any paint problems or projects in your life! xo

How did you blend the batten at the baseboard? I want to do in my bedroom! Love it!
Hi! If your baseboards are flat, you can add it on top. If they’re rounded or thinner than your board and batten, just add a small piece of trim to the top of your baseboard to create a flat surface. Once it’s all painted the same color, it’ll look custom! We like this small piece from Lowe’s 🙂 https://rstyle.me/+NOMErWBtbEIPR_n9fUKFrg
Hi!
Looks so good! Im a beginner, what tools did you use to complete this project?
Thanks!
Hi! We used a nail gun but you can use liquid nail and painters tape if you don’t have one. It’ll take longer since you have to wait for it to dry. We also used a palm sander but you can use a sanding block. Again, it’ll take longer but you don’t need to invest in tools just for this. There is a full supply list of what we used in the blog post. 🙂
I’m sorru but this looks tragic
First of all: *sorry not sorru Second of wall: Why do people say sorry when they’re not truly sorry? Why do people feel the need to leave negative comments places when they disagree on things? How is that helpful? How is that kind? How will our world ever unite when we can’t even keep things civil on small things like blogs? We’d love to see your home for tips on how to un-tragic our dining room that offends you so very much.
Did you paint right over the wallpaper?
Hi! No, we removed the wallpaper fully. I’ll add those pictures in…the full live video process is in our Instagram stories! xo
https://www.instagram.com/stories/highlights/17893173013576929/
Love it all!!!! Where did you get basket lights for so cheap?!!?
Ikea 🙂 https://www.ikea.com/us/en/p/torared-pendant-lamp-shade-seagrass-20430382
Gorgorgorgus!!!! Having trouble pinning though , no P to click on.
Thanks for letting us know, we’ll get that fixed! xo
Did I miss in your materials list what size and type of wood you used for the battens? I’m a little confused about that! Ok, I just found in your text where it mentions furring strips. Is that what you used? Thanks for your help. It’s a wonderful wall and I’d like to recreate it!
Thank you!
It’s listed but here it is again:
*1×2″ pine for the vertical batten. We used 18 pieces total, it’ll depend on your own wall size.
*1×4 pine for the top piece. We used 2 total.
That’s it 🙂 Then you just caulk, prime + paint!