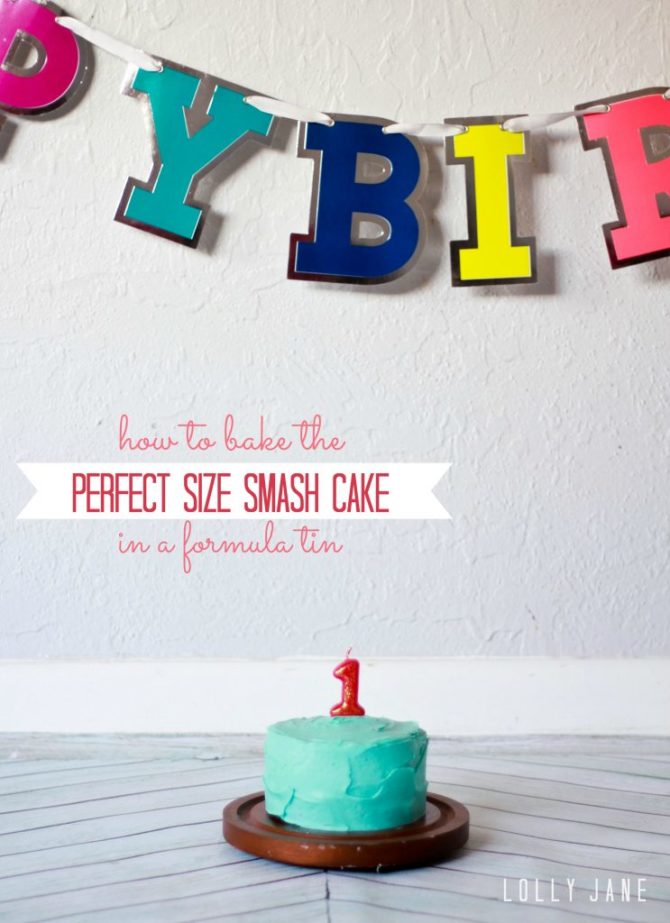
How to bake the perfect size smash cake
Celebrate your little one’s first birthday with a custom smash cake! Learn how to make a smash cake using a formula can for the perfect size cake for baby’s first birthday! Easy photo shoot tips, too!
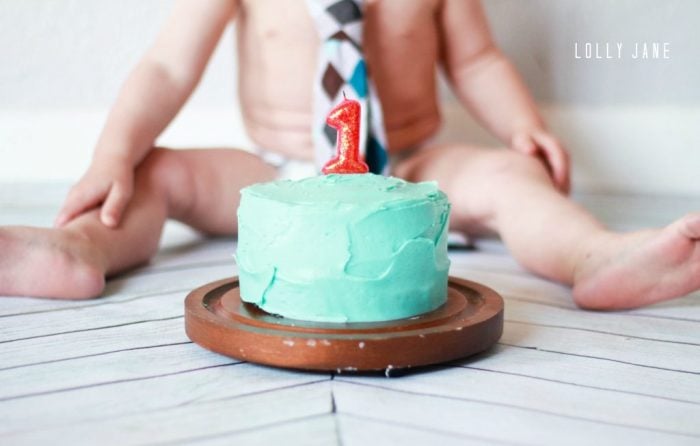
My little man turned ONE this past week… oh, how time f l i e s! He wasn’t feeling very well and I hadn’t planned on a big party since my hubby had to work late so I decided to do a simple photo shoot to capture this sweet age and let him explore his very own smash cake.
What is a smash cake?
Smash cakes are just mini frosted cakes. They’re meant exclusively for the birthday baby to dig into it with their hands. It definitely gets messy but the photos are priceless. I knew my standard round cake pan would make too much cake since it was just the 3 of us (baby + toddler) so I did a Pinterest search for tin can cake tutorials but they were either too big or too small, (any other mama just think of “Goldilocks and the 3 Bears” after reading that line?) I scoured my cupboards and came up with a near empty formula can and thought, “Why not?” so I gave it a whirl. It was the PERFECT smash cake size, who knew!
How to Prepare for a Cake Smash Photo Shoot
Because I wasn’t throwing a party but knew I wanted to do a quick shoot to document Dutch’s special day. I snagged a pre-made first birthday bunting (similar style linked) and a “1” candle then placed a cute argyle toddler necktie on my baby boy. I laid out my faux wood vinyl floor to create a rustic look, too. Making the cake was easiest part, though.
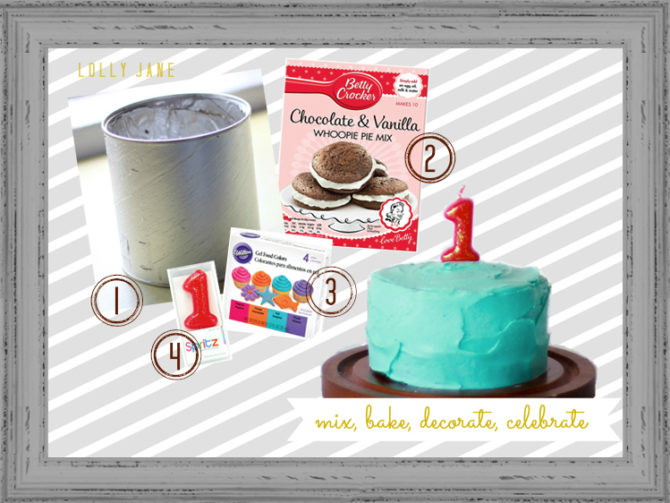
- Formula Tin OR 3 – 4″ Cake Pan*
- Whoopie Pie Mix*
- Gel Neon Color Dye
- Number One Candle
*Note: You can also bake a standard cake mix in a loaf pan then cut out 3″ circles with a biscuit cutter.
How to Make a Smash Cake Using a Formula Can
- Clean out an empty 12 oz formula tin can with soapy warm water and let try.
- I used a whoopie pie box mix because it makes a small cake and comes with 2 frosting packets. Simply mix according to the box directions and pour into the formula can, being generous with PAM flour spray. Bake at 350*F for 18 minutes or until baked through. Note: The sides of the formula can bubbled a bit towards the top but did NOT bubble where the batter was and the cake was untouched…probably because it’s not meant to be used as a baking pan. Ha! (;
- I love the bright neon food coloring (I used teal) and mixed with the 2 frosting packets that are in the whoopie pie box, which easily covered the cake and ended up being the perfect amount.
- Simply top your frosted cake with a number candle.
It was about a 25 minute start-to-finish process and for me, with 2 little ones running around, that was the icing on the cake. Hee hee…. pun intended! (;
What is a good size for a smash cake?
If you can’t find a formula tin or don’t have one on hand to recycle, a 3″ round or 4″ round is common for smash cakes. Some people use a 6″ round for a smash cake but that’s getting pretty big for the baby to mess up if you’re giving it exclusively to them. No size is wrong though 🙂
We hope you enjoyed our smash cake hack of using a recycled formula tin to make an easy smash cake! Please leave a comment below with your feedback and a picture if you’ve used our ideas! We love to hear from y’all!
Visit more cake recipes:
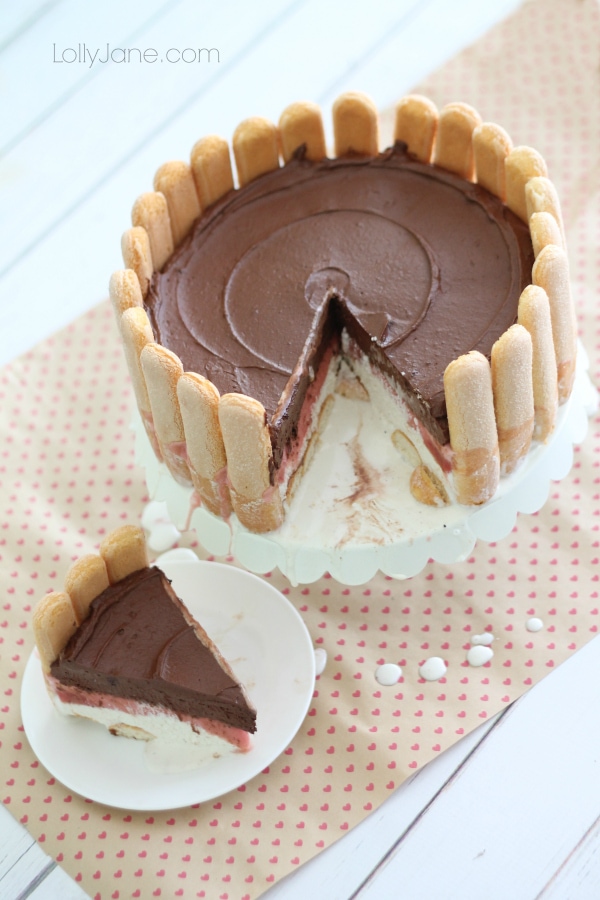
- Neapolitan Semifreddo Shortcake
- White Texas Sheet Cake
- Strawberry Lemonade Cake
- Cinnamon Sour Cream Cake
FAQ’s about smash cakes
Can you bake in tin cans?
In order to bake in tin cans, they need be metal throughout. Recently, a lot of tin cans used for canned food are lined with a plastic type coating. You don’t want to bake in a can that is white on the inside.
Is it safe to eat from a tin can?
Tin cookware, which used to be very common in earlier centuries, is still sold for outdoor cooking purposes. It is deemed safe to use under current health regulations.
Looking for more cake recipes?
Visit all of our YUMMY CAKES like our Neapolitan Shortcake,
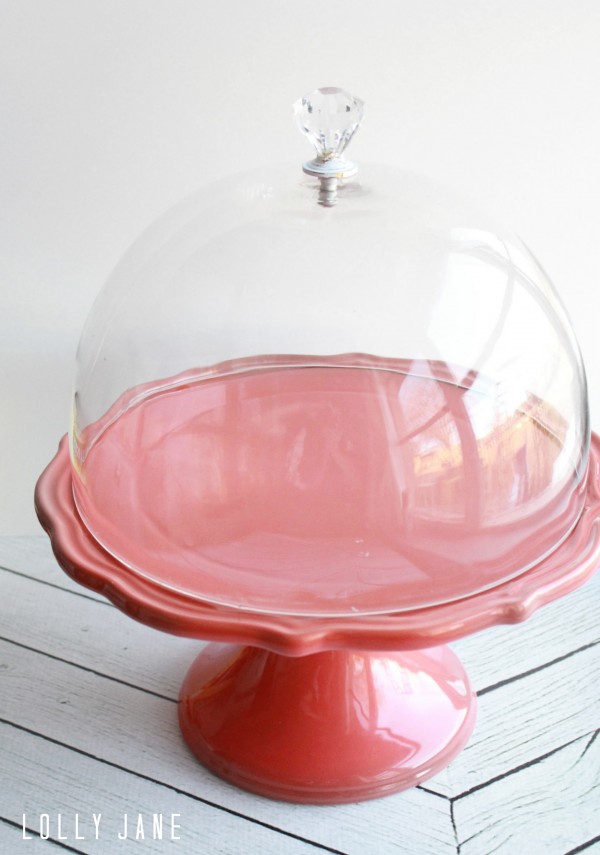
plus learn how to fancy up a cake stand on the cheap!


Thanks for the feedback, Megan!! (: So happy it turned out!!
I admit, I was skeptical at first but this is an awesome idea. I used a standard cake mix (funfetti) and poured about 2/3 into a 21 oz tin and the other 1/3 into a 12.5 oz tin. Both tins were very lightly coated with butter, then floured before pouring the batter in. The larger one I baked at 350 for about 40 minutes, the smaller one for about 20 minutes. I did nothing but check the centers to see if they were done during baking. My cans both had a metal lip on them which were easy to cut off with a sharp kitchen knife. They slid out of the cans with very little work on my part.
I had to do a little bit of tweaking to the initial instructions to accommodate the type of mix and cans but, overall, I’m really glad I found this!
You are a rockstar, Mary! Thanks for the tips! Babysitting it a bit is time consuming I’m sure but I’m glad you didn’t give up. It’s a crazy out-of-the-box tip with the formula can but the size is too perfect not to try. Thanks much for sharing:)
XOXOX
Thanks for the idea – Just made it this afternoon. Used a Costco Kirkland brand formula can. I maybe used a little more than half of a box cake mix, and had a little bit of trouble with the bubbling of the can going into my cake. However mid baking I pushed the foil back towards the can, and the batter filled back in most of the way. I recommend checking on it often, esp if you use too much batter like me 🙂 When I took it out, I cut the lip off using scissors, and flipped it onto some parchment paper. i noticed that the bottom middle was still not fully cooked, so popped it (still upsidedown) on a cookie sheet and back in the oven. Will have to do a touch of trimming, but overall should look great once I put the icing on. Thanks for the idea!!
Thanks, Rena! We didn’t, we just heavily Pam-sprayed it (:
Neato! Did you have a hard time getting the cake out of the can?
Hi Lauren, We told Chelsea too that you can remove the lip (it should come off without a mess using a clean pair of pliers) or you can do what I did- I just greased the can really well (almost overkill, ha!) with FLOUR baking spray, baked it, used a knife around the edges to loosen it up then cooled it in the fridge for a bit before the cake just slid right out. 🙂 Good luck and lmk if you have more questions! xoxo
Hi Chelsea, I know this is way past your discussion date, but did you ever figure out how to get around the lip. I have a Similac large can, and it definitely has a lip that would make it difficult to get the cake out. Thanks for your help!
Hi Blair! I used a thin frosting knife and ran it around the edges immediately after removing it from the oven then let it cool completely before turning it over. Letting it cool or even freeze for a short while is a great idea! Happy baking and happy birthday to your little man! 🙂
Love this idea! I didn’t have a formula tin, so I’m using a metal coffee tin to bake my son’s smash cake this weekend. Do you mind me asking how you got the cake out of the tin without it falling apart? Did you chill it first?
Thanks Irma, good question! It was the Similac can. Make sure you use a good spray before adding the batter (the baking spray with flour in it would be fab!) Good luck! 🙂
This is perfect!!!
Is it a similac 1.93 lbs formula can? Or Enfamil 1lb can?
Not sure what brand of formula can you had but mine didn’t have a lip? It’s a very thin can so next time try cutting the can away from the cake 😉 Good luck! XO
How did you manage to get the cake out of the can with the lip on the top? I tried this last weekend and it was a complete fail because it would not come out clean.
Hi Samra, I snagged mine at Walmart but found a similar product here: http://amzn.to/1du9dKQ I just greased the formula can REALLY well and let it cool completely before removing, (to remove you can turn the can upside down and softy tap the cake until it comes out.) Good luck!! (:
What store did you buy the whoopie pie cake mix from ??? Really need to find it for this cake and how did you remove the baked cake from the formula can?
LOVE this, just pinned!
Great pictures, great tips!
How fun Thanks for trying our tutorial! So I am betting you added a whole cake mix vs. the whoopie pie quantity, which is about half the amount of batter. I can’t find the exact amount of a regular cake mix vs. the whoopie pie mix to compare for an exact amount but I would guess you would cut a full cake mix in half at least, maybe adding a smidgen more batter than half at most. Good luck! (:
I can’t find the exact amount of a regular cake mix vs. the whoopie pie mix to compare for an exact amount but I would guess you would cut it in half at least, maybe adding a smidgen more batter than half at most. Good luck! (:
This was a fabulous idea! I did a test run to try it today for my little one’s first birthday and the middle did not cook through well, I even left it in for quite a bit longer…any suggestions??? Thank you!
Oh!-it was a large formula can (:
What size can?
Such a great idea! If using a full cake mix how far do you fill the can up with batter? Thanks.
A formula can? Clever.
Dang, that stinks!!
Oh my gosh, he is so stinking cute! My little man just turned 1 a month ago.. and yes time does fly. But I totally wish you would have posted this a month ago… I guess for baby number 2 🙂 Pinning now and using later!
This little smach cake is so cute! Love it!
That cake is too cute! It really is the perfect size for a smash cake! Love the blue frosting too…great color choice for pictures!
So cute and fun!!
Kristi, that little cake is beyond adorable!!! Though the little guy trumps the cake in cuteness. 🙂 Happy 1st birthday to the little darling!
I KNEW I would find a use for my old formula cans!! My husband will be so happy! ha ha My baby is turning one in a little over a month and I needed a smash cake, so this will be perfect! Great idea.
What a genius idea! Your little man looks like he cooperated with this super cute shoot for his mama! Time sure does go by fast…my oldest “little man” will be 22 soon. Love this tutorial, Kristi. I’ll be back later to par-tay!
CUTENESS! Little Dutch is a handsome lad 🙂
Love the teal icing!
Love this idea. The fact that you used a formula can is incredible! Great job! <3 Heidi Rew from PartiesforPennies
How cute Kristi! I love the icing color too. Last year we celebrated a relative’s 1st birthday, and no matter what, he would not touch his smash cake! It looks like you guys had better luck!