diy rustic marquee holiday tree sign
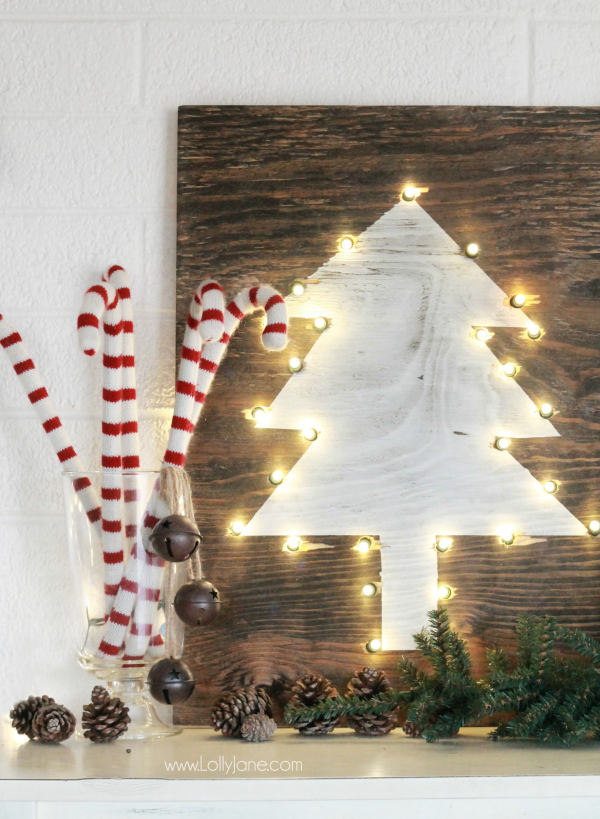
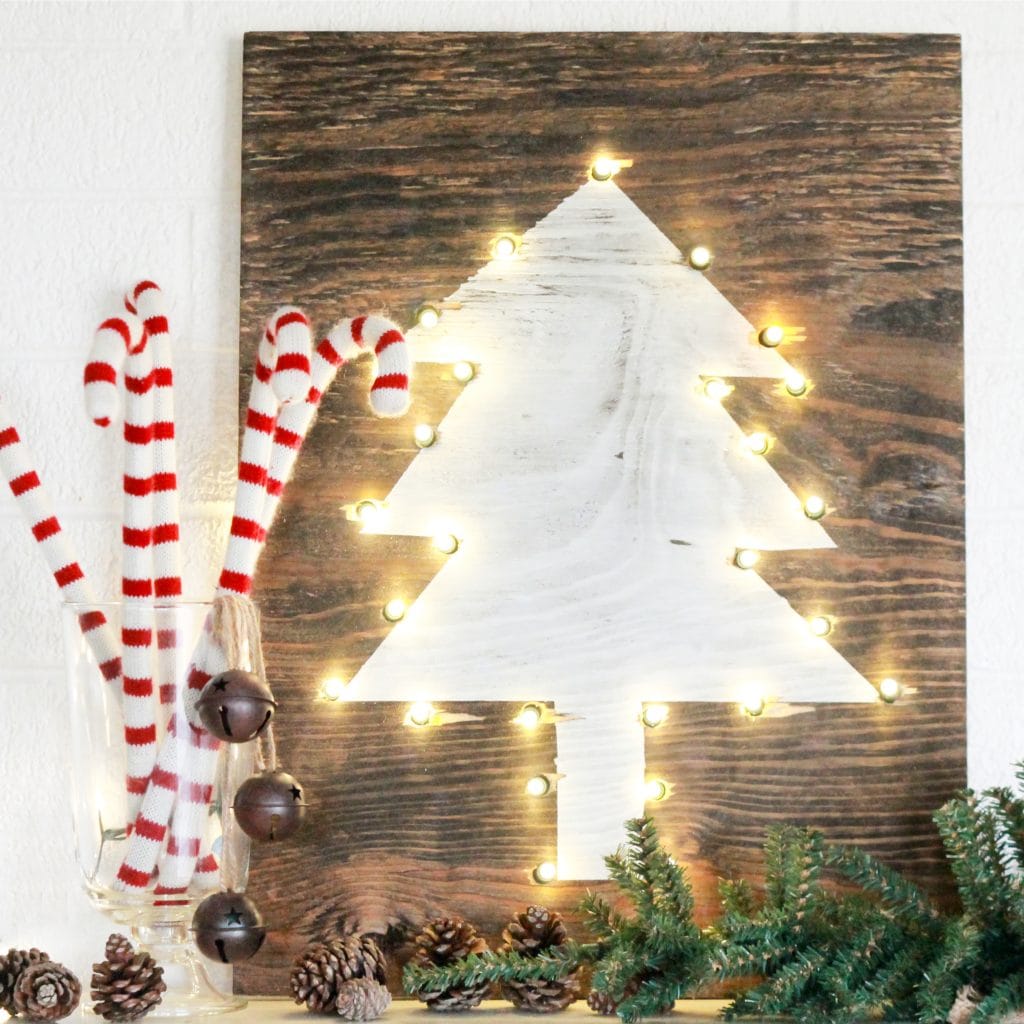
You know we love making signs and have been on a marquee kick lately so we decided to combine the two, holiday style, and see what we came up with!
With a little ScotchBlue™ Painter’s Tape added into the mix, we created a DIY rustic marquee holiday tree sign!
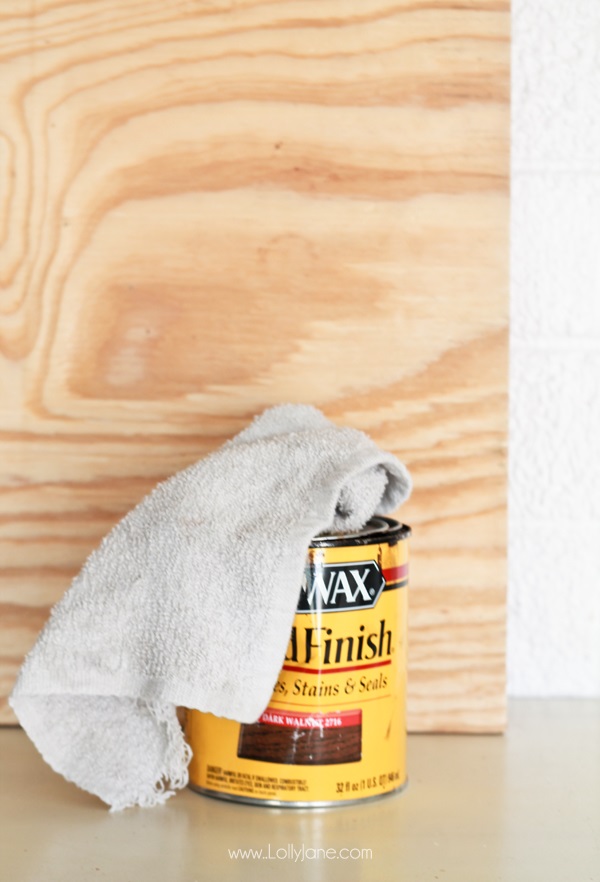
To get started you’ll need a raw piece of plywood, pencil, stain hue of choice, ScotchBlue™ Painter’s Tape Delicate Surfaces, white acrylic or latex paint + a foam brush. A drill with a bit to accommodate the Christmas tree light size you choose is also needed.
Instructions:
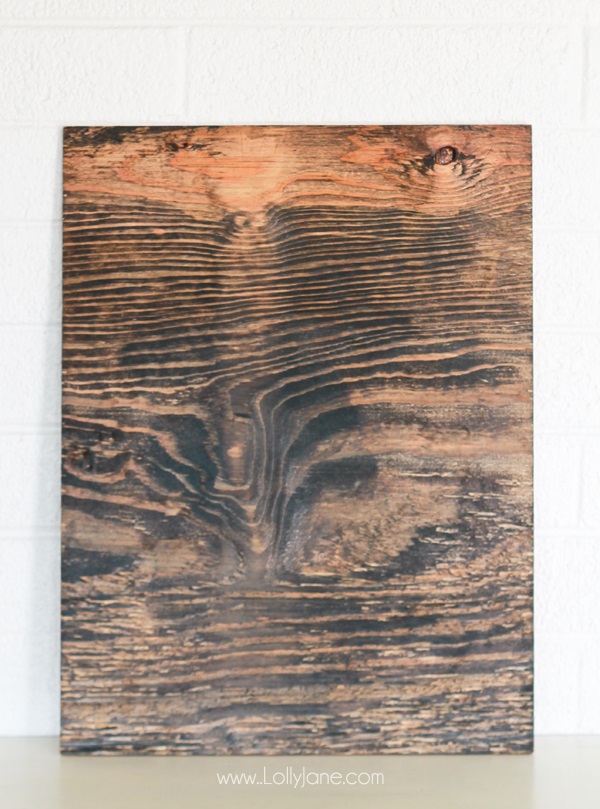
- Stain plywood, (we used Minwax® Dark Walnut.)
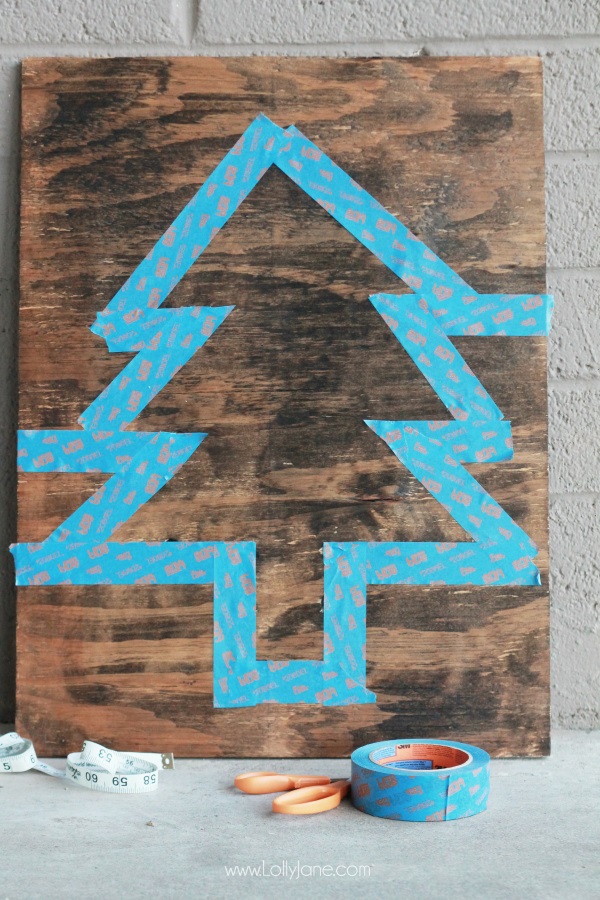
Freehand a Christmas/pine tree outline with a pencil.
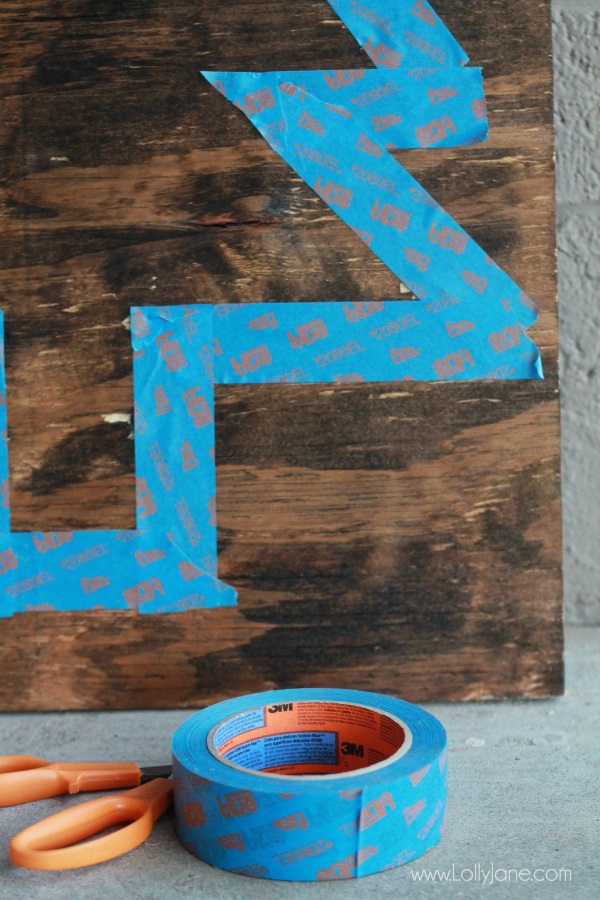
Use ScotchBlue™ Painter’s Tape to follow pencil lines until an outline of the tree is achieved.
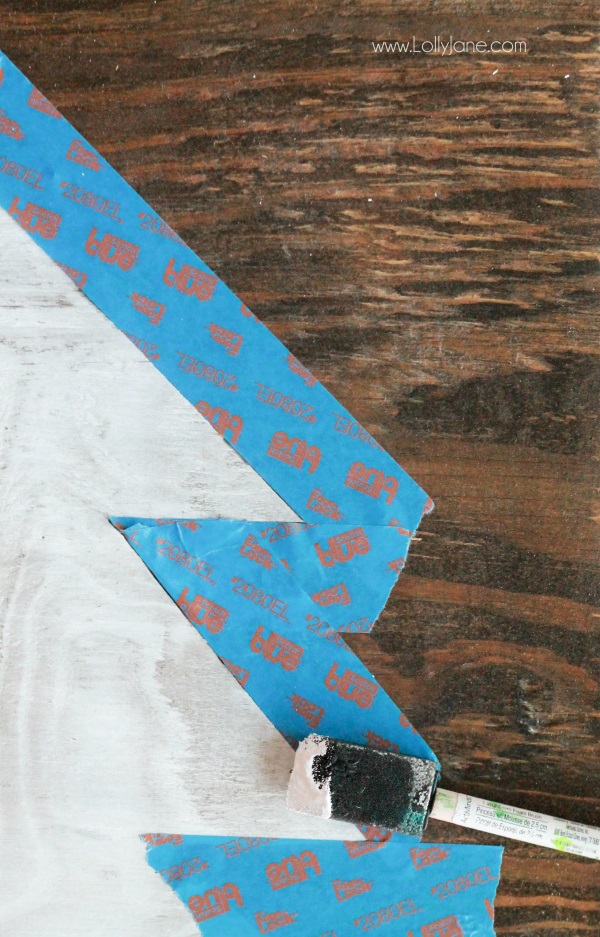
Paint inside the painters tape.
Once paint is dry, peel off painters tape and discard.
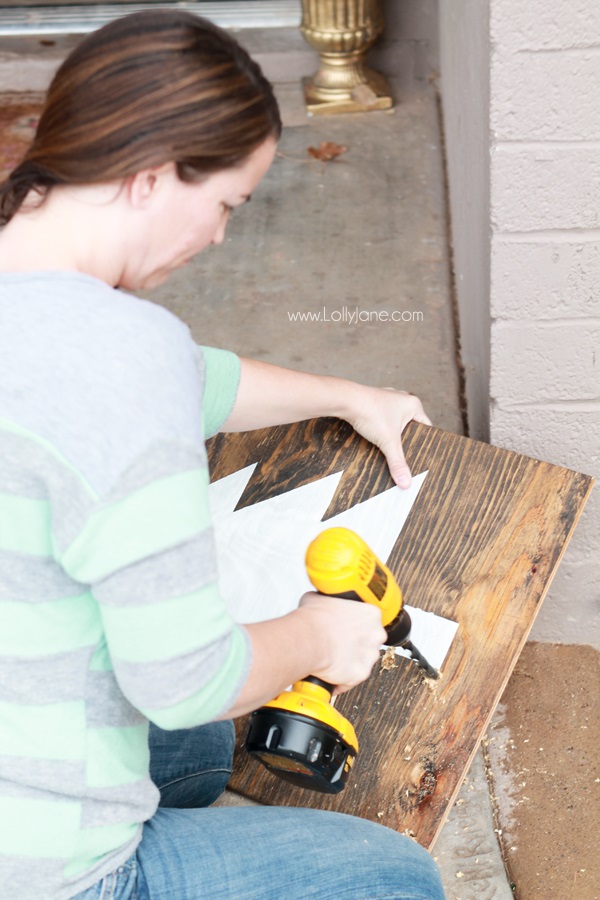
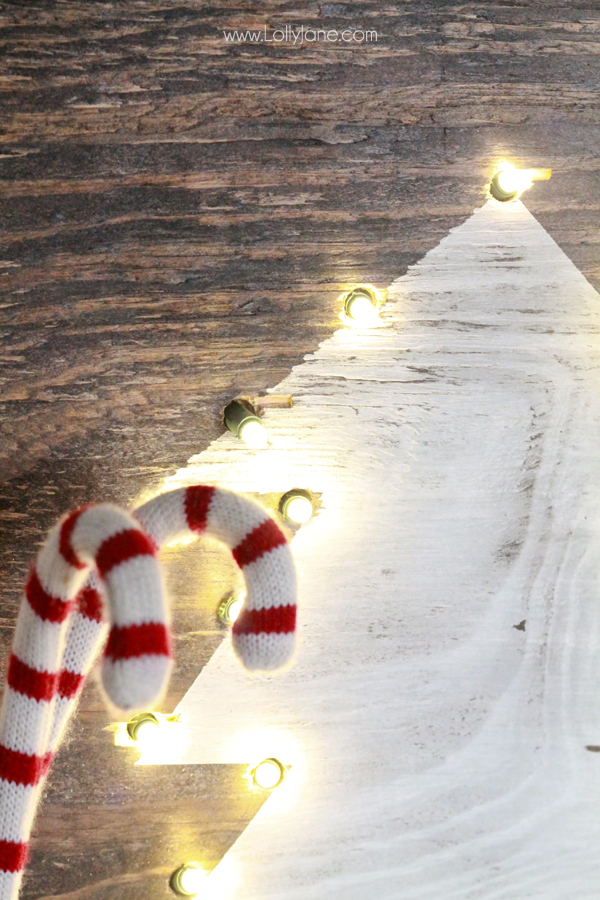
Drill holes around the painted tree. Push Christmas tree lights through holes.
Using painters tape, hold into place from the back by taping over strands.
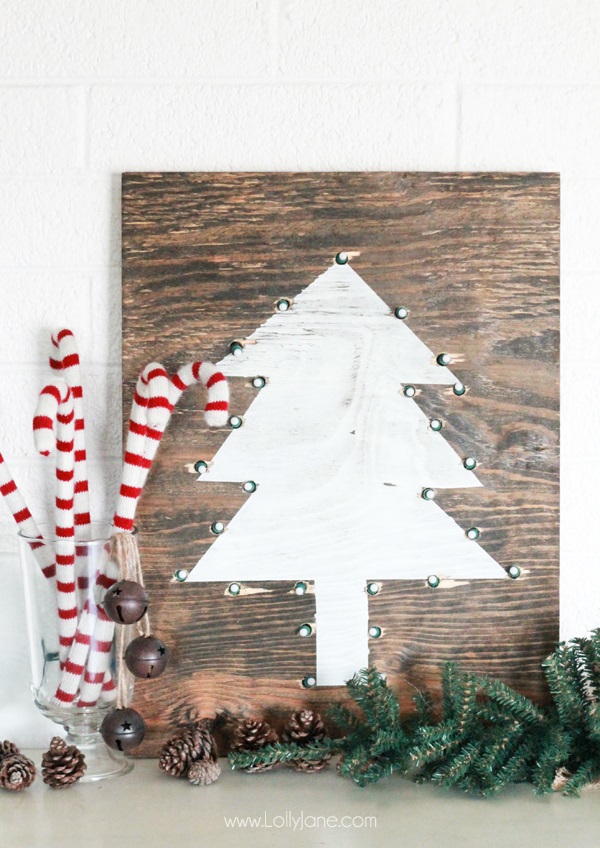
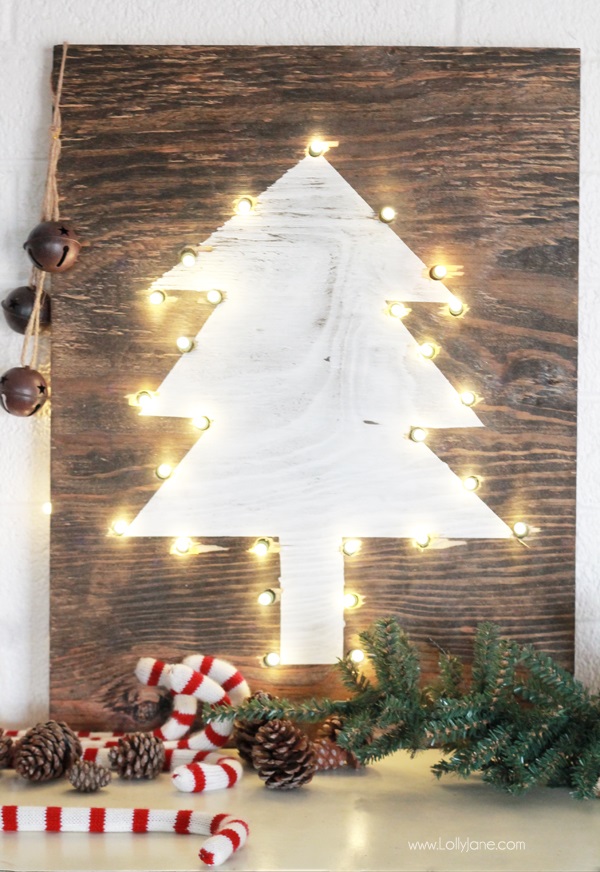
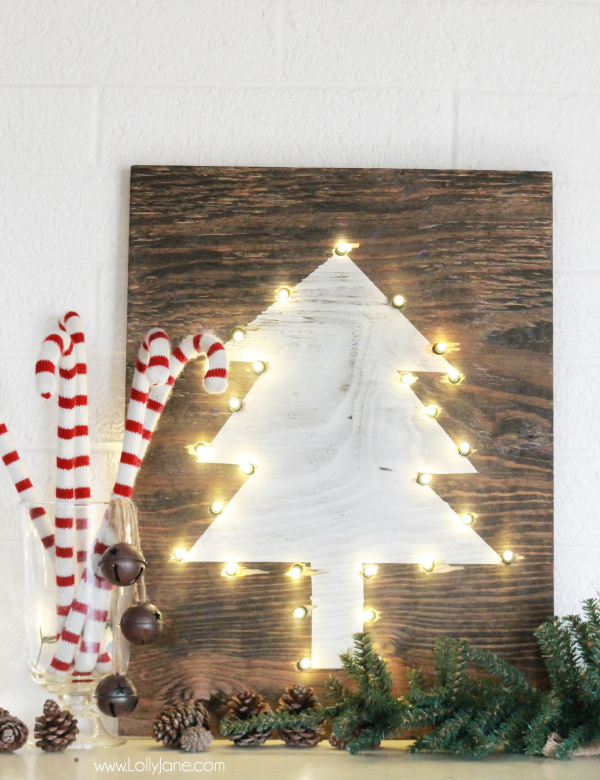
That’s it! A rustic marquee holiday tree sign you can do yourself in little time.
Paired with our fabric covered candy canes, pine cones and greenery, it makes for a fun piece of holiday decor!
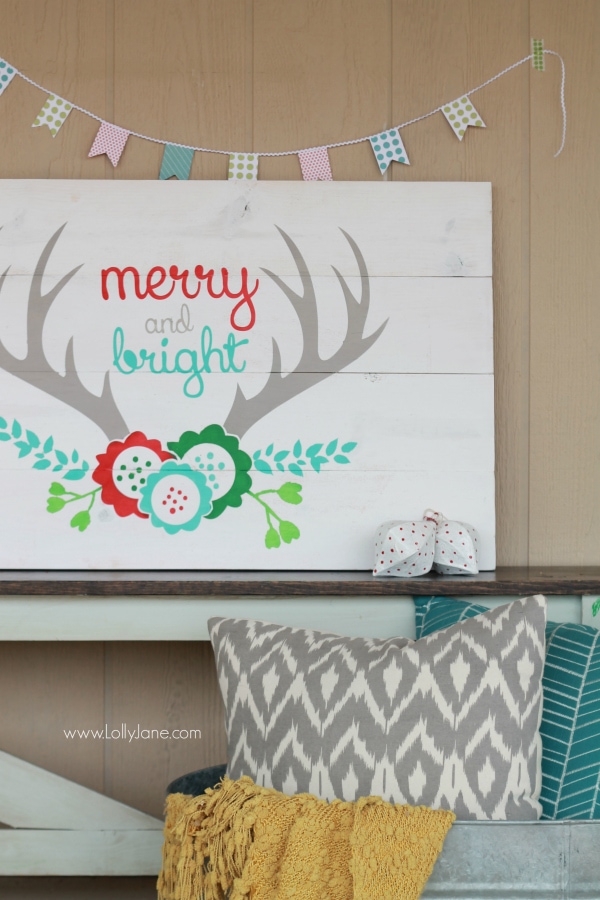
Check out our other projects we’ve made using ScotchBlue™ Painter’s Tape like our Mailbox Makeover, Rolling Garden Cart revamp or our Moose Wood Framed sign plus all of our Christmas decor like our Merry + Bright antler pallet art,
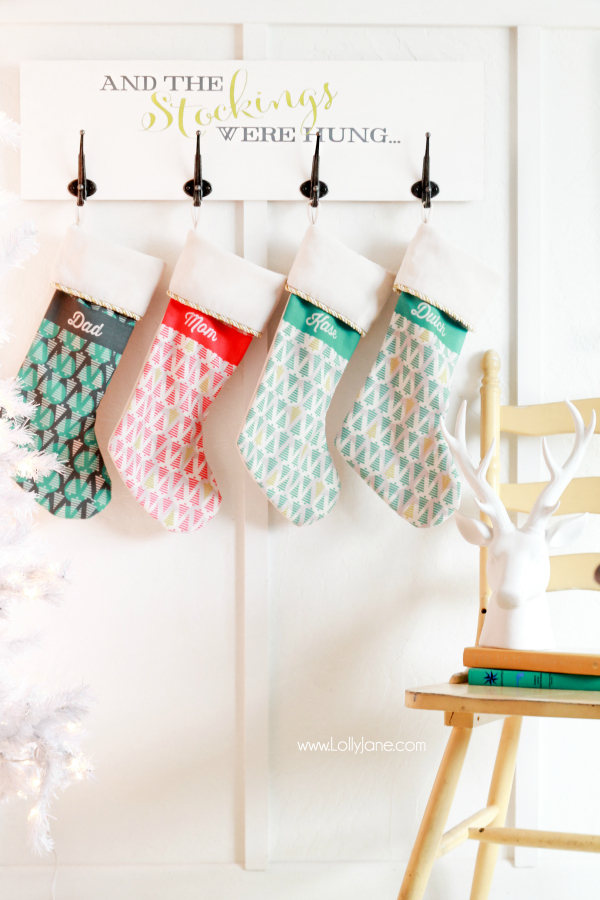
and our easy stocking board,
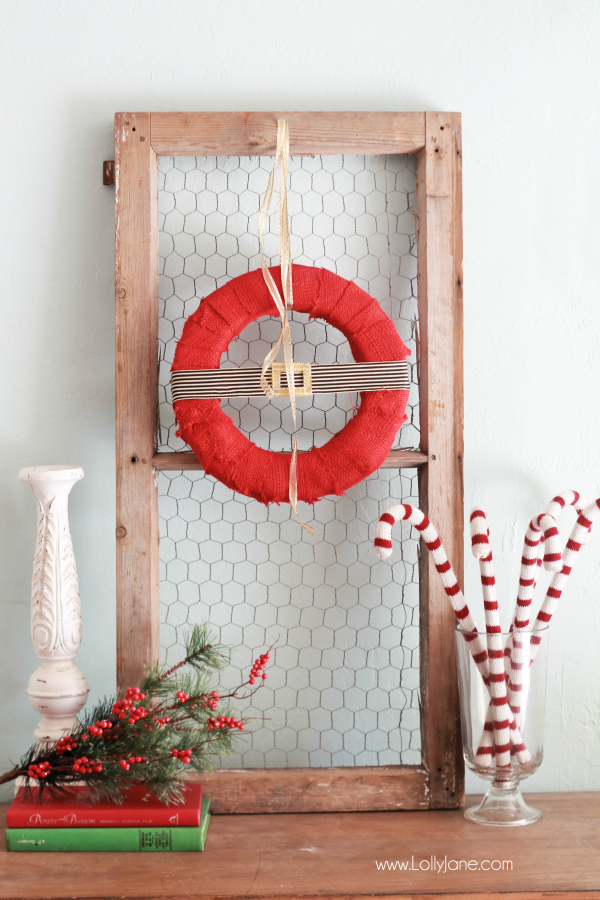
plus our cute Santa wreath,
our yummy and adorable Chex Mix trees,
and 7 Christmas Traditions to start this year!



Hello cute ladies! I’m stopping by to let you know that your tree sign was my favorite from our last party. Happy dance time! We will be featuring them at our party that starts tonight at 7 pm. I hope to see you there. Lou Lou Girls
I love everything! Pinned and tweeted. We appreciate you taking the time to stop by our party. We love partying with you! I hope to see you on Monday at 7 pm. Happy Saturday! Lou Lou Girls