diy holiday stocking board
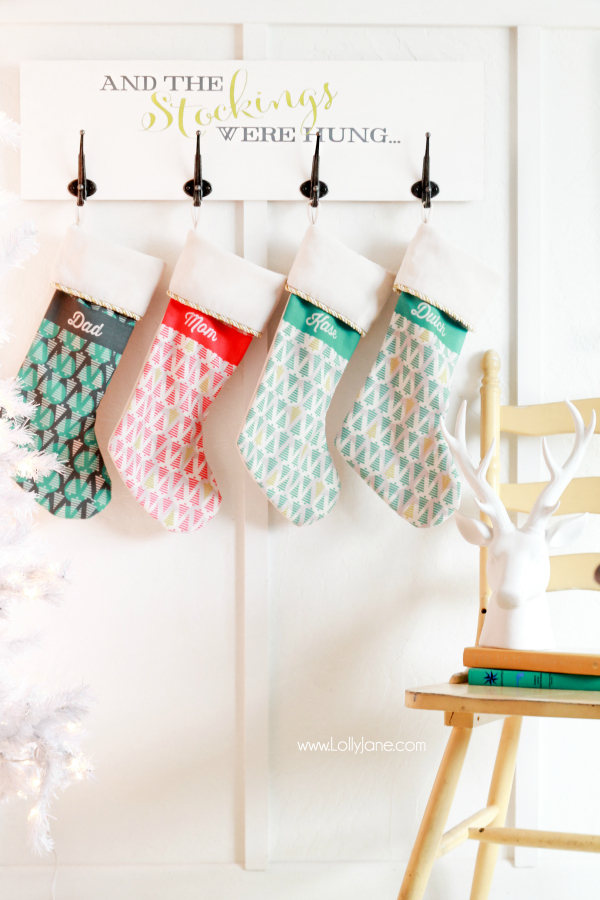
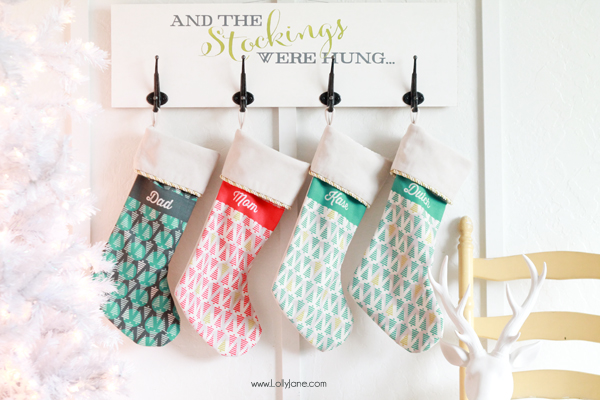
We are in high gear for the quickly-approaching “Big Day” (Christmas!) and was thrilled to receive my personalized Christmas stockings last week. Of course my boys tore open the package to find their own but then turned to ask where they could hang it. Umm… our current home doesn’t have a fireplace mantel so I quickly recreated our old stocking holder board and hung it on the wall next to the tree. They were happy with the easy solutions and since I can’t stop ogling at these gorgeous stockings hanging in my house, I was happy as well!
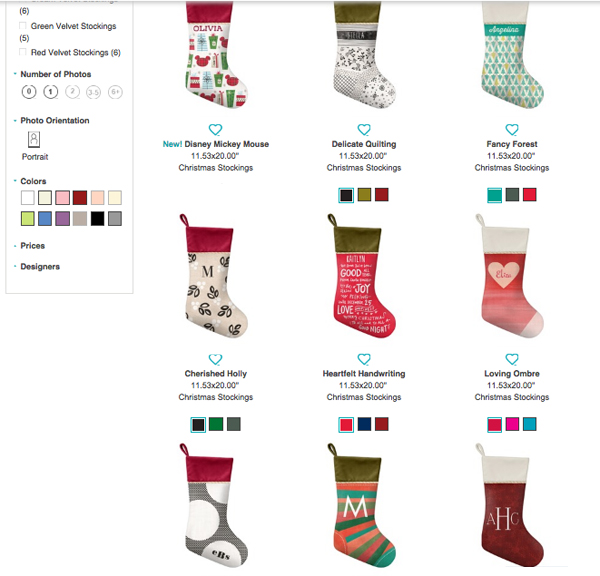
Since I was thrilled with my 2014 family Christmas cards, I hopped over Tiny Prints to search for the perfect stocking. I scrolled through their eye candy, also known as the home decor section, and scrolled until I saw these beauties, Christmas stockings:
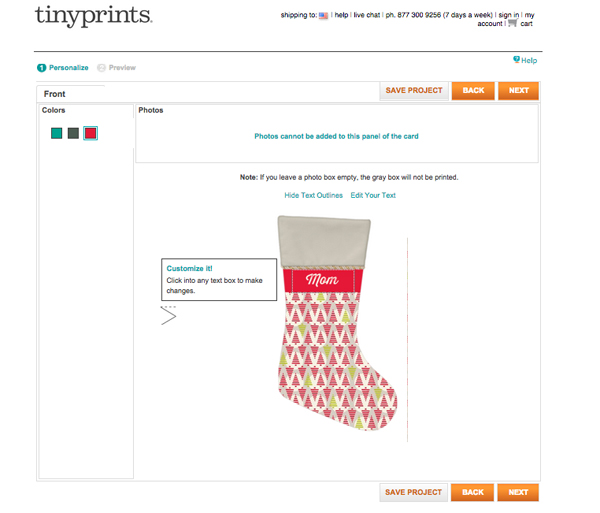
I was drawn to the Fancy Forrest immediately because I have 3 boys in our family and that particular stocking offers 2 shades of pretty turquoise blues but still has an option in the red family. Plus, the little modern trees are to die for cute! I was sold. (Okay I have to admit something funny… I typed in “Kristi” at first because seeing “Mom” as my title still throws me off sometimes. Oops! lol!)
I personalized the stockings in my current font crush, Thirsty Script, and it looks so good! The fabric is so soft yet strong, a perfect combination for 2 little boys that will be handling it. 🙂 I was also personally crushin’ on the glass, zinc and metal ornaments. We collect ornaments whenever we travel and are always up for a new one… especially when it has our family picture on it!
Pictured// Metal ornaments
Tiny Prints also carries beautiful pillows +throws, be sure to pop on over to see for yourself! To get the how-to on our stocking holder board, read on!
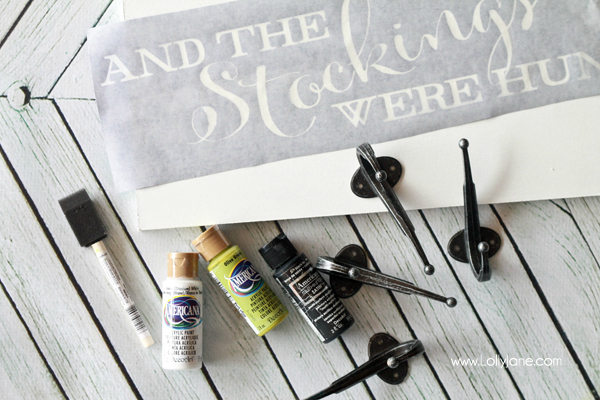
Supplies:
- 10×30 MDF board
- Vinyl lettering stencil, “And the stockings…”
- White, Green, Black (or gray) acrylic paint
- Hooks (number depends on how many family members you have)
- Hanging hardware
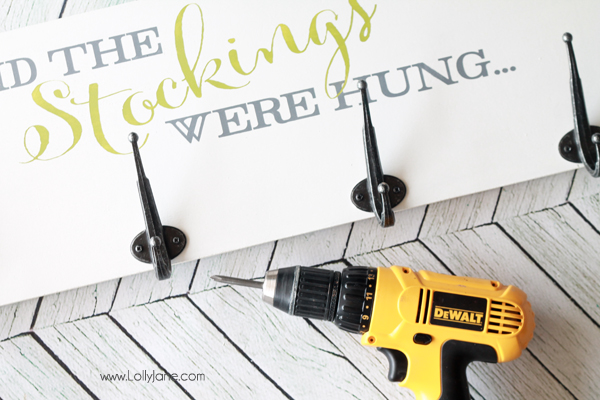
- Drill (optional vs. screwdriver)
There are only 3 easy steps to make your own:
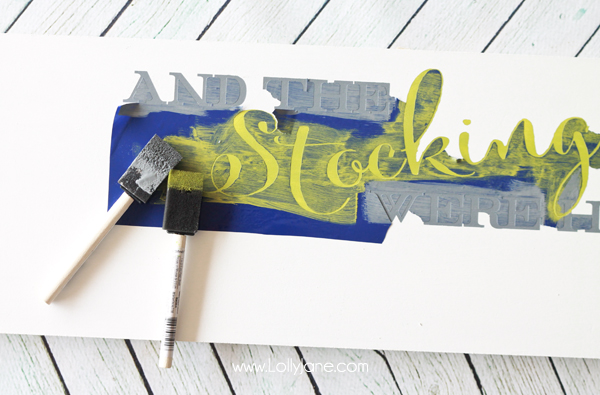
1. Paint board, (let dry overnight, if possible.)
2. Peel vinyl stencil and center on board.
3. Paint as shown.
4. Peel vinyl lettering and discard.
5. Attach hooks + hardware.
6. Hook Christmas stockings over your hooks.
Now it’s time to ooh and ahhh at how pretty those stockings look with your tree! With a little money, time and effort you can create this board for an easy alternative to a mantel. Enhoy!
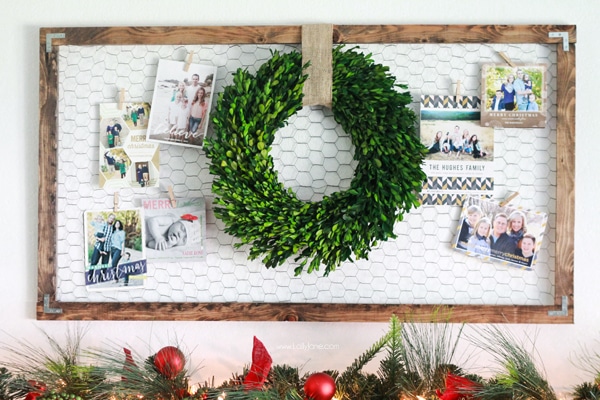
Be sure to check out Tiny Print’s gorgeous Christmas + holiday cards as well! You can see more of my family’s 2014 card along with a DIY Holiday Card Display that can be used year-round for other cards like wedding announcements, baby shower invites or just for everyday photos of your loved ones.
Also check out 7 ways to add gold flair to Christmas decor!
DIY Holiday Stocking Board
Materials
- 10×30 MDF Board
- Vinyl lettering stencil, “And the stockings…”
- White, Green, Black (or gray) acrylic paint
- Hooks number depends on how many family members you have
- Hanging hardware
- Drill optional vs. screwdriver
Instructions
- Paint board, (let dry overnight, if possible.)
- Peel vinyl stencil and center on board.
- Paint as shown.
- Peel vinyl lettering and discard.
- Attach hooks + hardware.
- Hook Christmas stockings over your hooks.




Where do you find the “And the Stockings were Hung” stencil? I love this! Do you make them to sell?
We make our own but don’t sell. However landeelu.com can hook you up!! (:
Thanks for the great tutorial! Just wondering what you use to make your vinyl stencils?
Thanks.
I love these stocking and your stocking holder board is awesome! Thanks for the tutorial 🙂
Thanks so much, Terrie!! Happy crafting! XO