DIY Board + Batten Accent Wall
Have a blank wall you want to spruce up? Add instant texture with a Board and Batten accent wall that is easy on the wallet and a great beginner project!
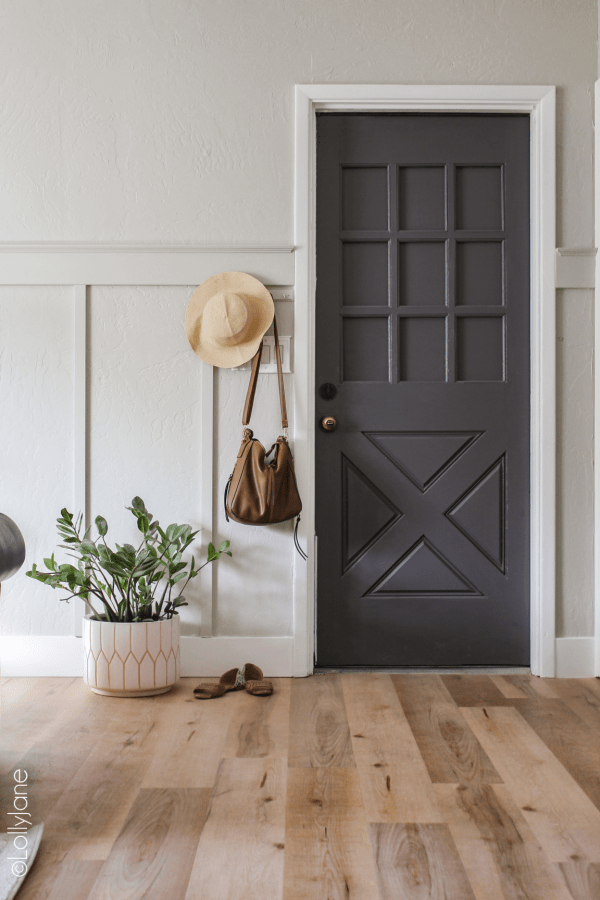
We just closed on our childhood home (awww!) and my entryway is the first area I decided to upgrade since that is the first space visitors see. Enter our EASY Board and Batten Wall Treatment that we knocked out half a day and didn’t break the bank. Note: This blog post was originally published in 2011.
What is Board and Batten?
Board and batten, or board-and-batten siding, is a style of wall treatment. It has alternating wide boards and narrow wooden strips called “battens.” The boards are usually 1′ wide and battens 1/2 inch wide but there is a lot of flexibility to this style of wall treatment and you can make them as skinny or wide as your space OR personal preference allows.
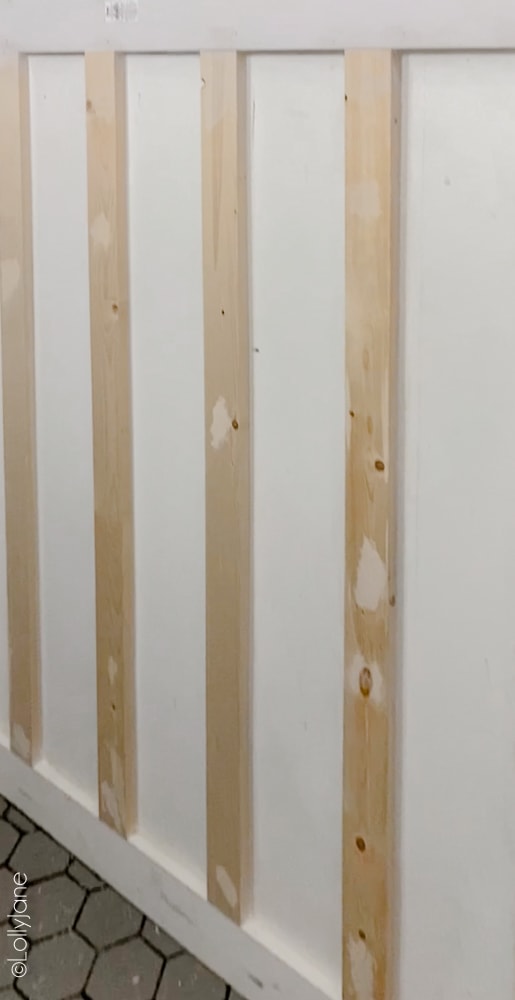
YES YOU CAN DO THIS WALL TREATMENT ON TEXTURED WALLS.
In fact, the photo above is without boards and wood installed directly onto textured walls. This tutorial is for batten only over a flat wall. You can get as fancy as you want in the end and add a ledge or decorative trim which has made board and batten such a classic and long lasting trend.
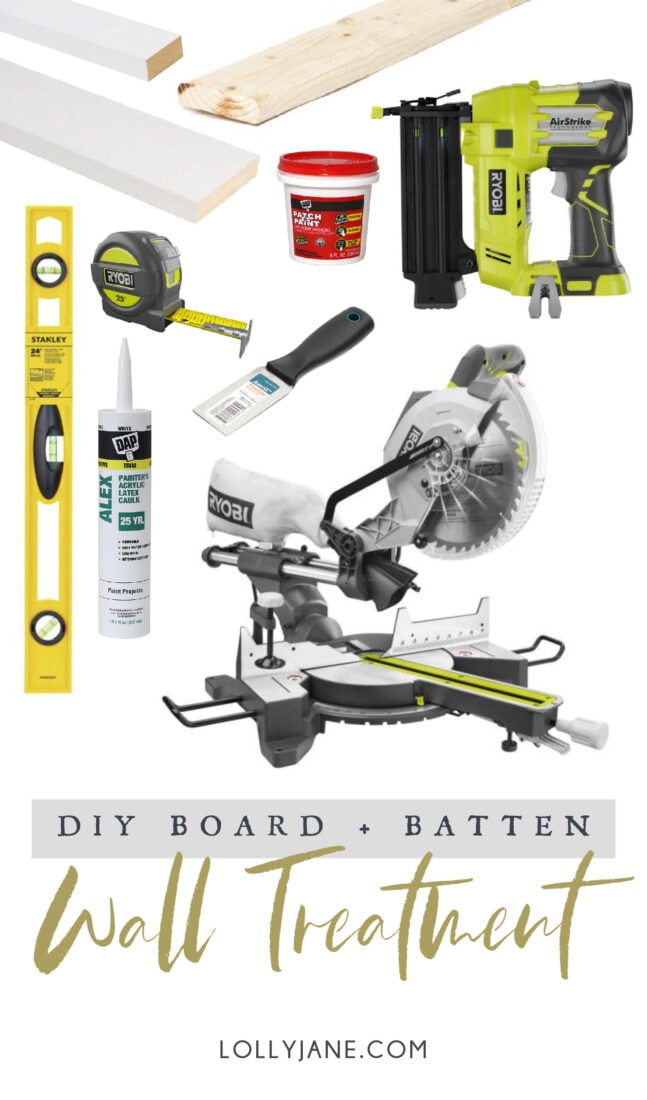
TOOLS FOR BOARD AND BATTEN ACCENT WALL
If you’re a somewhat experienced DIYer then you likely already have the tools on hand needed to make a Board and Batten accent wall.
This is a great project for beginning DIYers as it is all straight edge cuts. It can be tedious due to the touch up caulk + painting but I will safely bet it can be done in half a day or so if you are doing one wall. Anything more and it will likely be a weekend project.
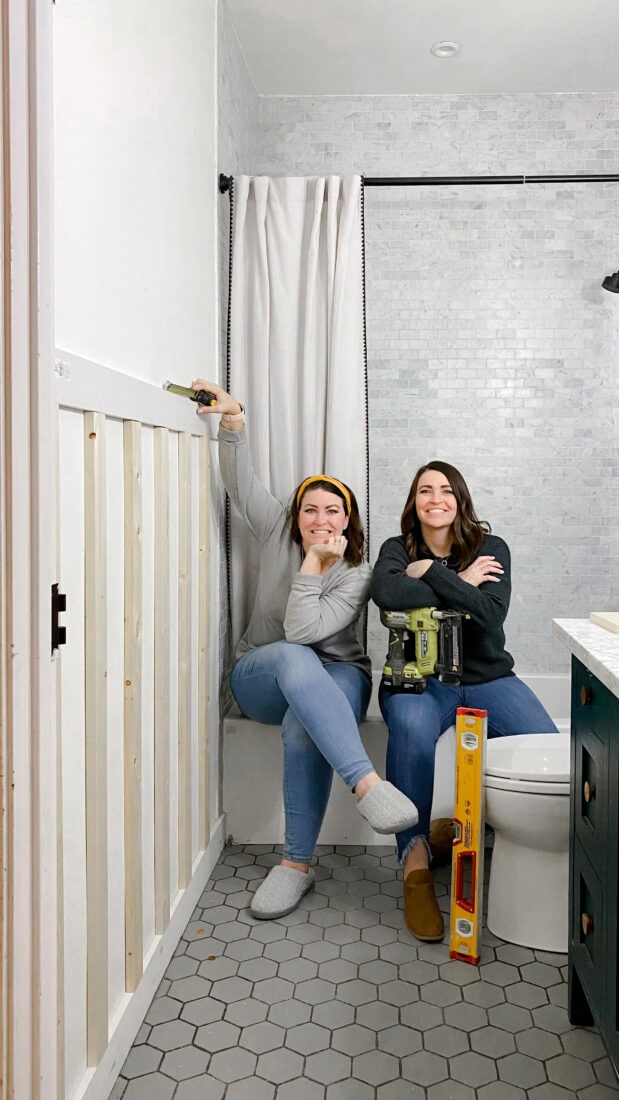
Pro tip: Grab a partner and you can knock it out much quicker!
MATERIALS FOR BOARD AND BATTEN ACCENT WALL
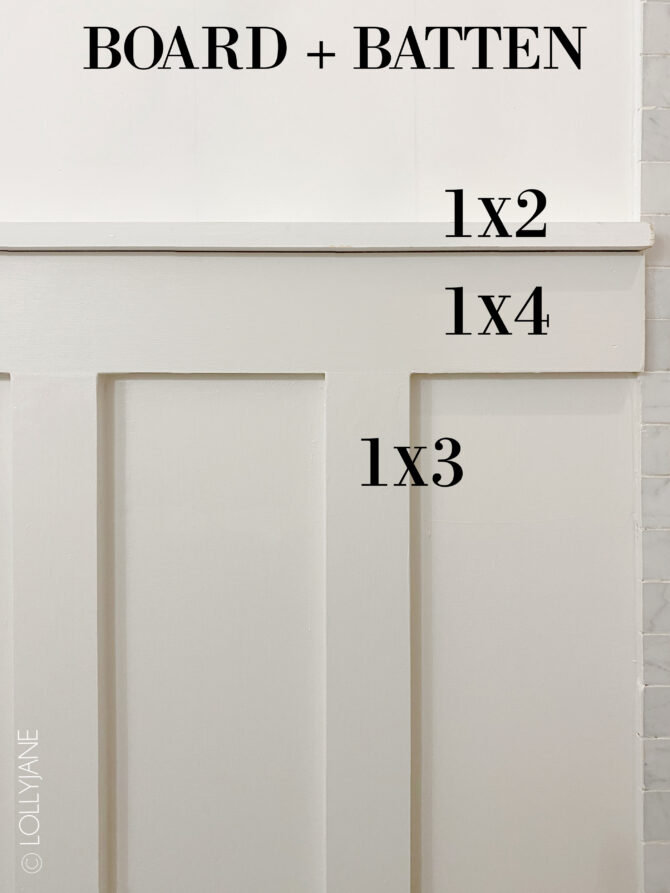
For today’s project, we are sticking with 3 sizes of lumber to create the classic board and batten look. (I used raw pine lumber for this batten in this project but for ease I would recommend MDF instead as it’s already sanded + primed and ready for paint; the price different currently averages $.70/board.)
Materials List:
- 1×4 Primed MDF (Ledge)
- 1×3 Pine
- 1×2 Primed MDF (Top Board)
- Paintable Caulk
- Wood Spackling
- Putty Knife
- Paint of choice, (we used Ultra Pure White Behr for the wall and Toque White by Sherwin Williams for the board + batten)
Note: The actual width of each board is half an inch less than the name, so a 1×4 board is actually 3.5″ inches across, a 1×3 is actually 2.5″ and so on. Don’t be alarmed when you measure and see you’ve lost a 1/2″ at a time.
How to measure Board and Batten
Measuring your wall for board and batten isn’t that overwhelming, you just need to do some basic math to ensure everything is proportional. Traditionally, batten are spaced anywhere from 10” to 20” apart but it is 100% personal preference or depends on what your own space allows. This specific wall is 68” wide, so we used 7 (1×3) batten with a distance of 6″ inches between each batten and I think the spaces fit the room nicely.
To measure your own wall, first find the total width of your wall and divided it by how many battens you want. Next, decided how far apart you want yours. For example, this wall was 68″ wide. To get the spacing as close to 6″ apart as possible, we needed to add 7 battens.
Each batten is 1×3 which is 2.5″ wide (taking into account that 1/2″ shortage I told you about earlier with how boards are sold but how they actually measure) for a total of 17.5″, (7 battens x 2.5″ batten width.) Subtract the width of all of the battens from the width of the entire wall (68″ – 17.5″ = 50.5″). Then, divide that by the number of spaces between battens, which would be 6″. 50.5 divided by 6 = 8.41″ so from batten to batten is 8.41 but the space in between is 6″.
Pro tip: Cut a piece of scrap wood the size of space between each batten (6″ for mine) so you can easily run it between the battens to ensure it’s evenly spaced and skip the tape measure each time you lay a new batten.
Before you cut, draw a line from wall to wall where your horizontal trim piece will go, (the line will represent the bottom of the trim not the top.) The reason for this is most walls are not 100% straight and each batten will usually vary in height at least a few centimeters; the line will help you know exactly how tall EACH board is from the line to the baseboard. Better yet, install your horizontal trim piece first to ensure the most accuracy for your boards.
Don’t skip this step: Before you cut, draw a line from wall to wall where your horizontal trim piece will go, (the line will represent the bottom of the trim not the top.) The reason for this is most walls are not 100% straight and each batten will usually vary in height at least a few centimeters; the line will help you know exactly how tall EACH board is from the line to the baseboard. Better yet, install your horizontal trim piece first to ensure the most accuracy for your boards. We jumped the gun so learn from us.
REMINDER: DO NOT CUT EACH BOARD THE SAME HEIGHT AS THEY WILL ALL VARY SLIGHTLY. For the batten I cut my 8′ boards in half (now 4′ tall give or take a few centimeters) because, including the 4″ baseboard, I wanted them to be about towel height for my kids since this is their bathroom.
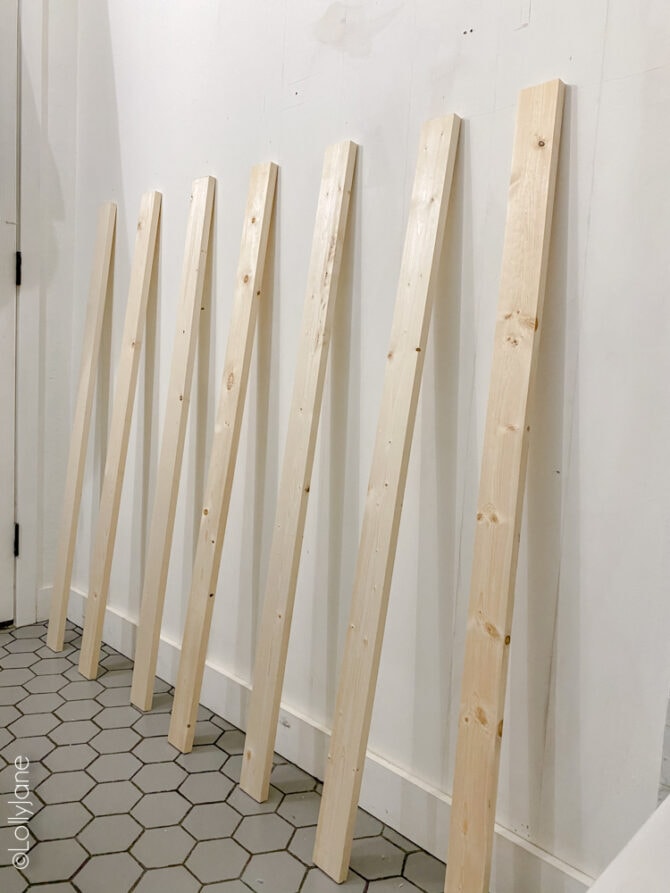
Line them up on the wall and ensure you like the distance and that each board has about the same space on the each end of the wall so it looks proportional. Mark the middle of where each batten will go (8.41″ for me with a 6″ space between the battens.)
Pro tip: Before you secure battens to the wall, wipe down your wall so when you paint it between the battens will be a clean surface to take the paint. I used a magic eraser and a warm soapy rag.
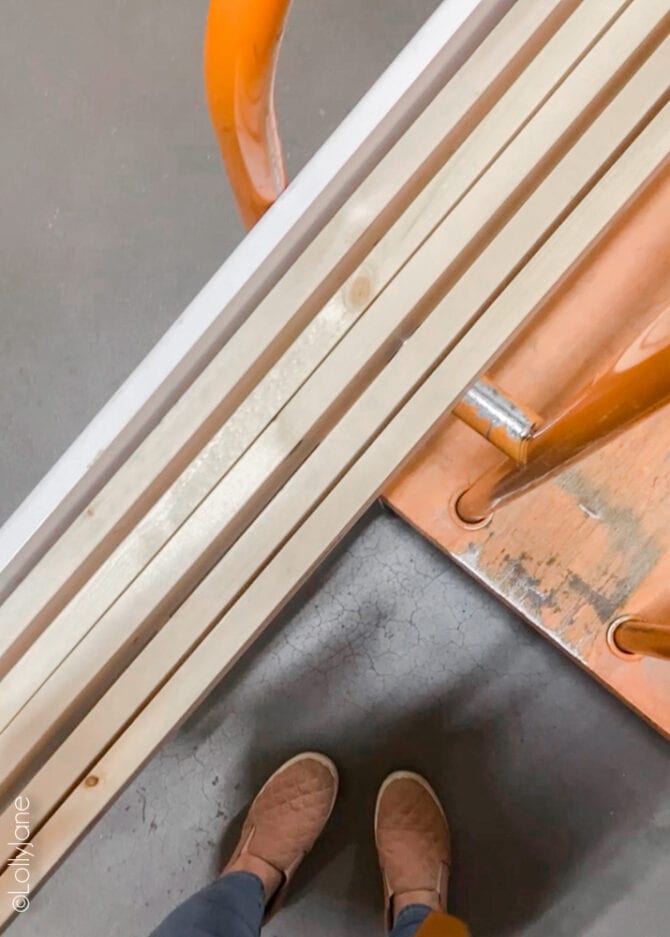
Cutting your wood for Board + Batten
For the batten I cut my 8′ boards in half (now 4′ tall give or take a few centimeters) because, including the 4″ baseboard, I wanted them to be about towel height for my kids since this is their bathroom. You can make yours as tall as you prefer, the batten in my dining room is 5′. Measure out and cut your trim pieces from wall to wall.
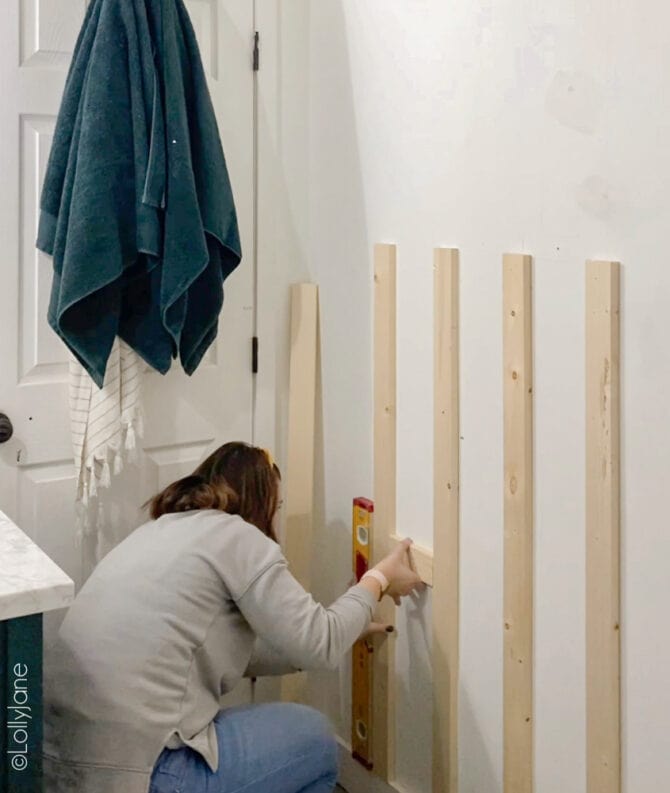
There’s that 6″ scrap piece of wood allowing me to skip busting out the measuring tape every time I lay a new batten.
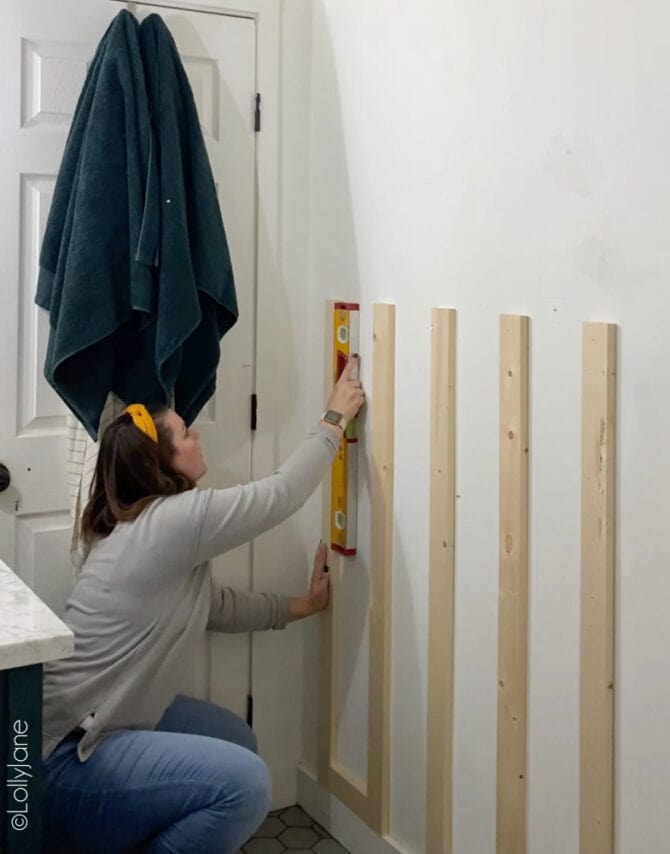
The level is your best friend in this project and the best tool to make sure everything is exact. The piece of trim to help evenly space the batten is a guide but the level has the last say. 😉 I used it at the top and doubled checked the bubble did not move on the bottom; don’t assume because the top is level the bottom is as well. Next up, securing the battens!
Attach the BOARD + BATTEN to the wall
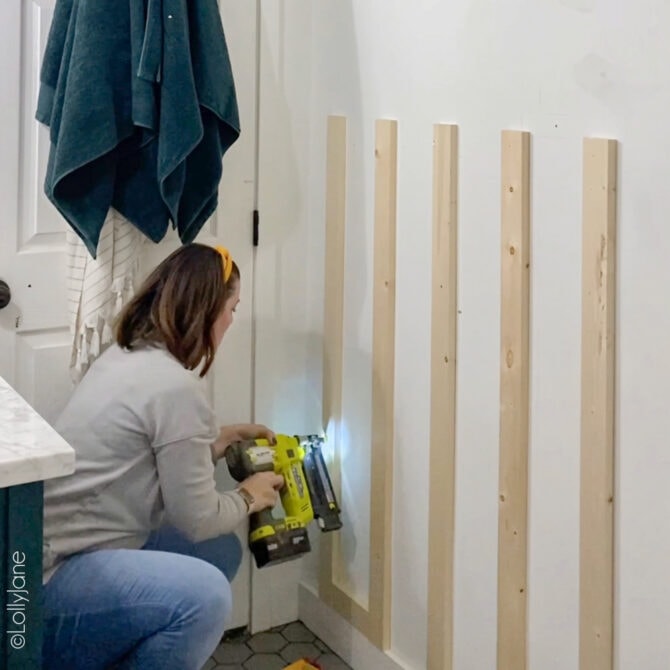
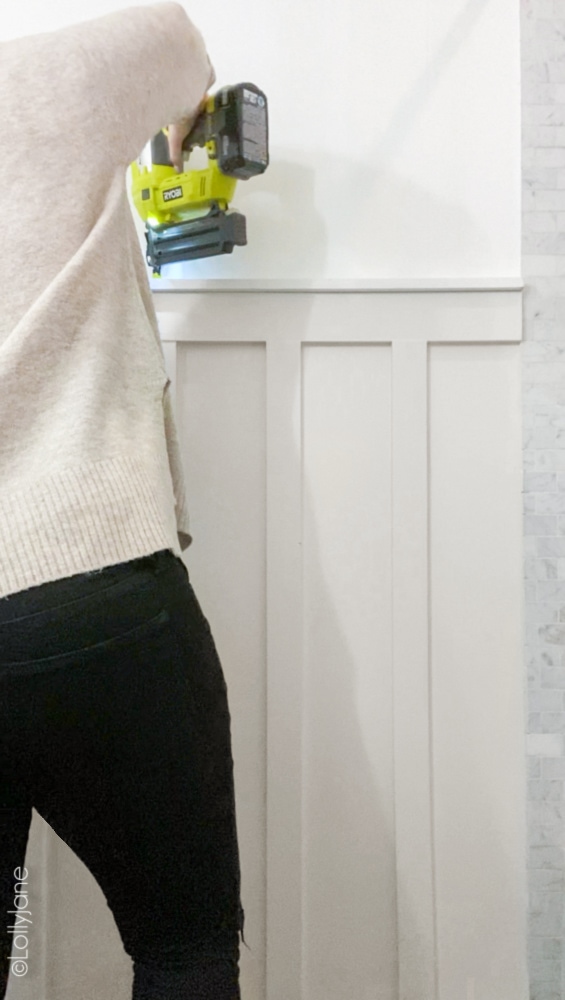
We’ve talked about this cordless brad gun for years because we love it as it is not only reliable but VERY user friendly. It’s a great gun for beginning and experienced DIYers as well as easy and hard projects!
We used 3-4 brad nails/batten. Simply press the head of the gun to the batten then pull the trigger.
We secured it on the top, bottom and 1-2 brads in the middle, depending on how wonky the wall is and how flush the battens are against the wall. More wonky = more braid nails. 😉
Lastly, add your top horizontal 1×4 trim above the battens and the 1×2 trim on top to finish it off, adding brad nails every 6″ or so, (or so it is completely flush against the wall.)
SpacklING the BOARD + BATTEN
Ta-da! You did it! Now for the worst part: spackling and caulking! This is the most tedious part of the project so I turn on a good show or podcast and it seems to help pass the time.
First scrape a small amount of wood or multi-purpose spackling over the brad nails to fill in the nail holes then use a putty knife to smooth it out. Once dry, lightly sand over the spackling to smooth out any rough areas.
Caulking THE BOARD + BATTEN
Make sure your caulk is paintable then, once secured inside your caulk gun, run a bead of caulk along each and every seam. This really blends the look of the wood to the wall and makes it look like a built-in and quite professional.
Pro tip: Dip your finger in water before running your finger over the seam; this thins out the caulk on the sides. You can also use a baby wipe instead of water; just wrap the baby wipe around the tip of your finger. Once the caulk is dry, you’re ready to paint!
I added my 1×2 as a last minute addition but here it is painted… see how much a difference it makes from the above photo? You can see below the space between 1×2 and 1×4 has yet to be caulked.
Caulk is definitely your friend! 😉
Painting Board + Batten
Painting board + batten is like any other project. Paint the seams (cut in) first then use a roller for the flat areas between the batten. I applied 2 coats of each color.
Paint colors used:
- Wall: Ultra Pure White by Behr
- Toque White by Sherwin Williams (Home Depot can mix it for you)
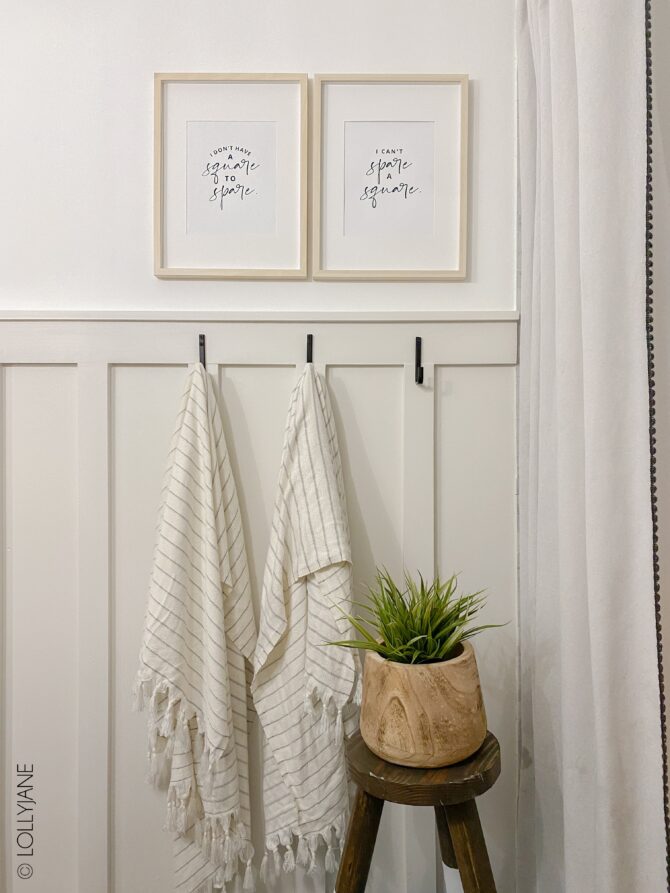
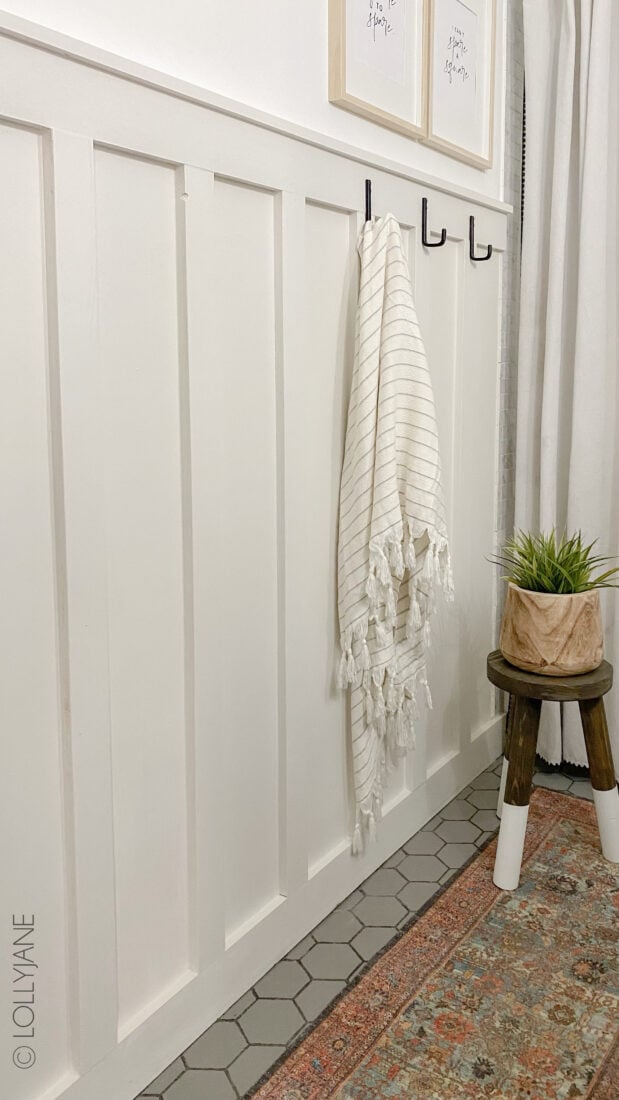
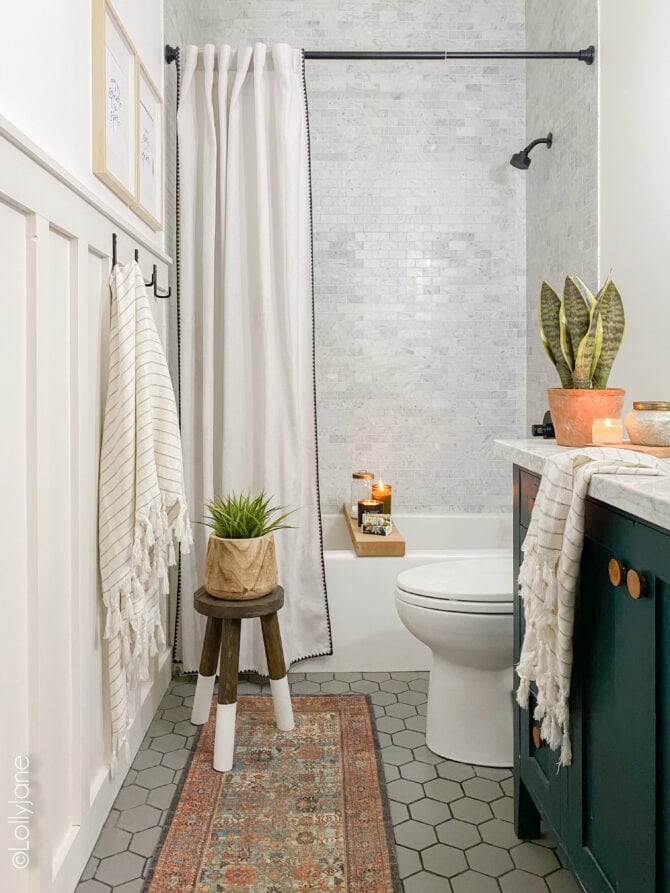
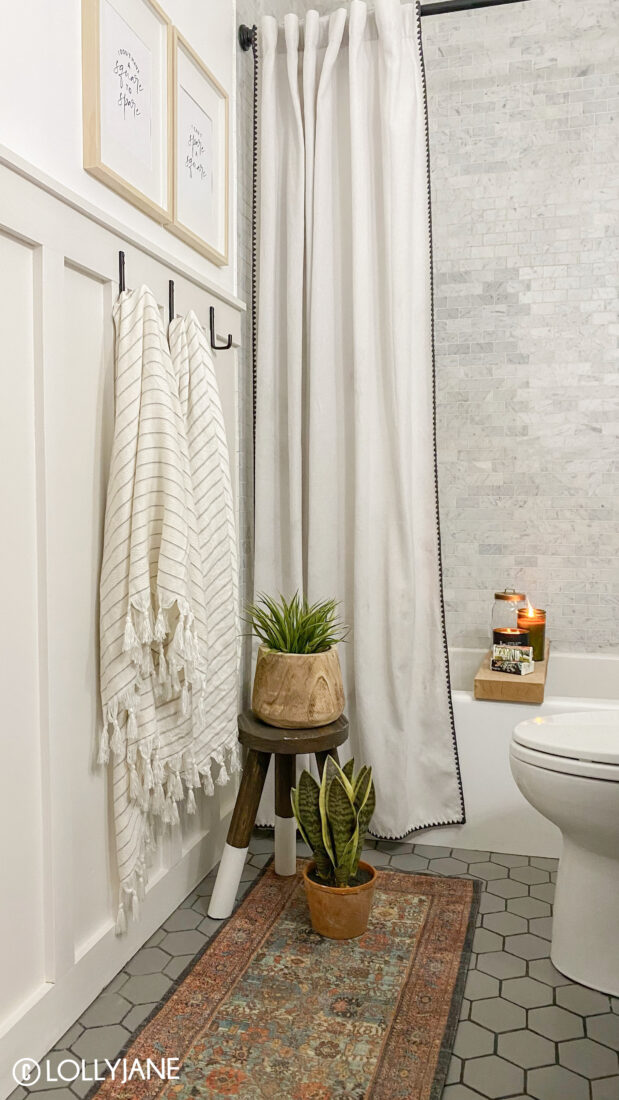
There you have it! We would rate this as a beginner project but we’re happy to walk you through any questions you have. Tag us on social media at @lollyjaneblog or #lollyjaneblog so we can show off your hard work. (Also snag this FREE “Spare a Square” bathroom art here… tell me you know what show I’m referencing, hahah!)
Shop the accessories in this project:
- Free Printable 8×10 “Spare a Square Art”
- Turkish Towels
- Black Wall Hooks
- Wood Planter (another option)
- Dip Dye Stool
- Persian Rug
- Shower Curtain
- Bathtub Tray is just a piece of wood but here’s an alternative
- Paint colors: Board/Batten: Toque White by Sherwin Williams, Wall: Ultra Pure White by Behr
More easy accent wall ideas
Can’t stop, won’t stop!
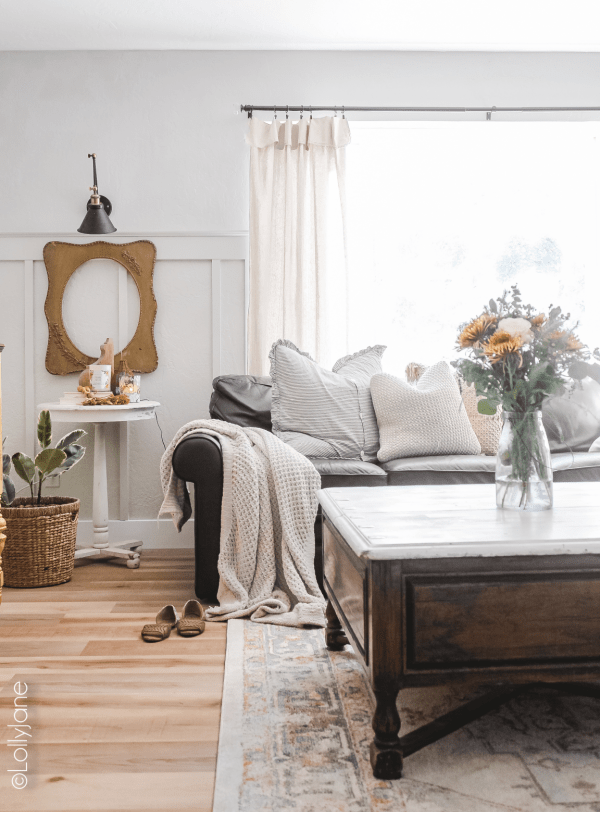
Here’s the same treatment in my family room…
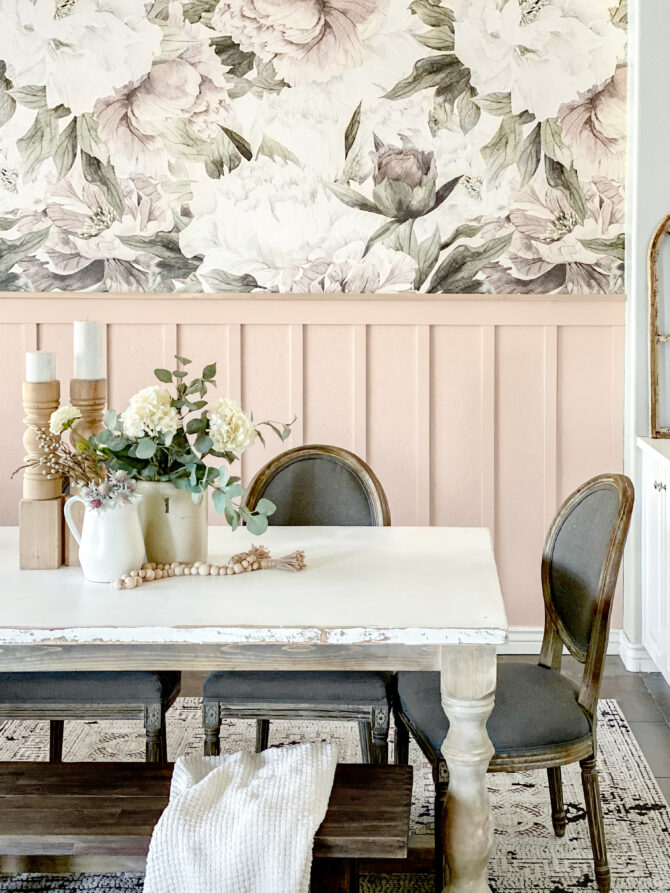
…and Kristi’s dining room!
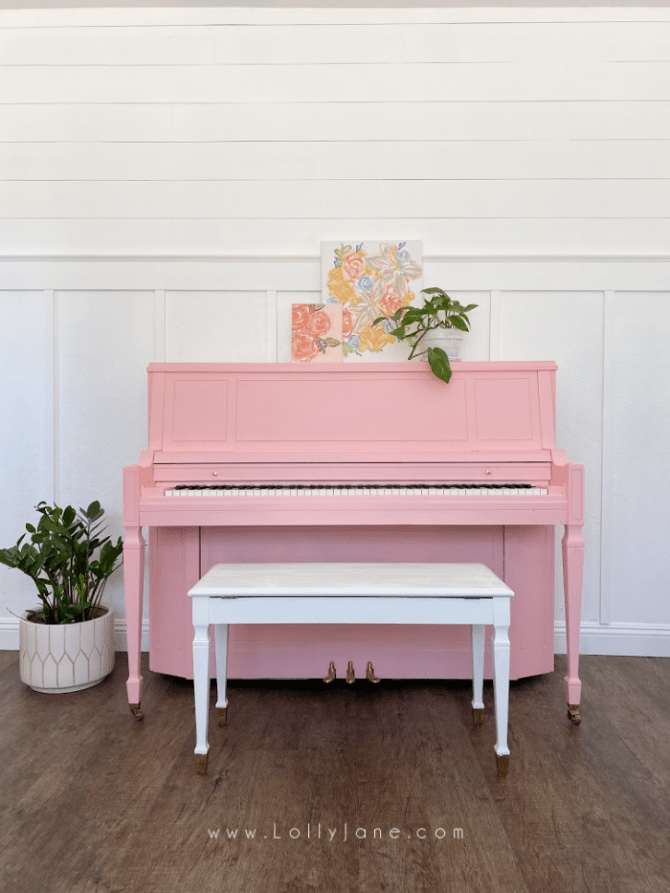
I’ve also gone a step further and recently added shiplap ABOVE the board and batten in my piano room:
For this specific Board and Batten, the top molding is 5″ thick. We placed it 41/2′ up from the floor. The skinny vertical slates are 1×2″ thick and were placed every 16″ apart.
If that wasn’t wild enough, I went another step and built a DOUBLE BATTEN WALL in my own dining room. Friends: IT IS STUNNING!
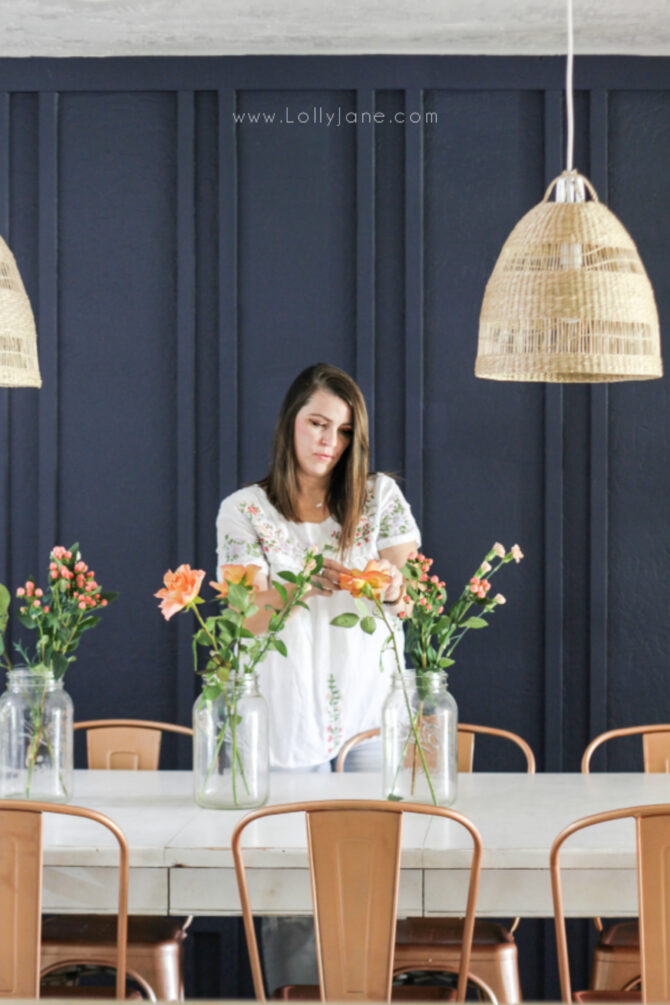
Besides vertical designs there are a handful of other styles like herringbone, geometric or however you want to build it! Tag us on Instagram (or use the hashtag #lollyjane to your post) so we can share your hard work in our stories! Happy building!

Hi! We didn’t use liquid nails, just brad nailed it directly to the wall. When you caulk it, it’ll help with adhesion 🙂
I may have missed it, but how did u secure the battens to the wall? One part said Brad nail, was ur wall sheet rock? How did the boards stay attached to the wall with brads to sheet rock? Other tutorials have suggested using liquid nails for boards against sheet rock. The project looks fabulous I’m just curious how the brads worked out for you.
Not at all 🙂
Thanks so much, Brenda!
Hi! I may have missed it, but how high are your ceilings? Mine are 8ft and trying to figure go high I want it to go. Thanks!
Your dining room look is fabulous! I am thinking about doing this and adding wallpaper in the large spaces.
Have you had any issues with the mdf boards and moisture in the bathroom?
Your wall came out great! Thanks for the tips, especially the callout on not cutting the boards to the same length because they may slightly vary 🙂 very helpful!
Hi Julie! Thank you! It is all tile in the shower, (from Home Depot, details in this post: https://lollyjane.com/small-modern-farmhouse-bathroom/), and yes the vanity was handmade by my husband and painted in Cascades by Sherwin Williams. Holler for anything else and happy DIY’ing!
Hello, is that tile in the shower or a tile board? I am trying to figure out our bathroom look. I love your design and my bathroom is exactly like yours. Did you just paint your old vanity? I need mine to be taller than my current one. Thank you for your help.
Hi! We only have very textured walls and we think it looks great! You can also put some thin particle boards behind it so it’s nice and clean looking but we haven’t taken the extra step, personally.
We just did an accent wall but love board and batten, it’s so versatile. Kelli painted the whole wall the same color, including the board and batten which created a uniform look but kept it classic as the batten is still there. Send us a pic, we’re happy to offer our personal opinion!
Hi Jennifer! You bet: https://lollyjane.com/how-to-a-paint-a-piano/
Thanks! 🙂
Hi Melissa! It’s called Iron Ore by Sherwin Williams ?
Hi! What color was used on your door?
Did you paint your piano?? Would love to see a tutorial on that!
Yes! It’s called Cascades by Sherwin Williams 🙂
Did you paint your vanity!? If so, what color! I need that color!!!
I love your tutorial and the colors you chose! I’m going to try this sometime this month. Trying to figure out if the accent color (for the board and batten) should be carried throughout all the trim for the bathroom or just on that wall. Did you just do an accent wall? I do not have an eye for design so I love a good tutorial!
Love this tutorial! What would you recommend doing for textured walls? Is it the same process? Trying to figure out how to do it in our family room
This is a great question! You can lay a small piece of trim on top of your floorboards to create a flat surface for the batten to butt up against. The smaller, the better, just enough to meet up with the depth of the batten so a 1×1. You can also cut the bats and an angle downward so it looks like it molds into the tapered floorboards.
I have tapered floorboards, do you recommend removing them and using a flat edge board? If so what measurement?