How to Paint a Piano
You only need a little paint and a couple hours to transform a dull piano into a happy work of art! If you’ve been debating about painting your piano, go for it!
This tutorial shows you how easy it is to paint a piano. Yes, you CAN do it!
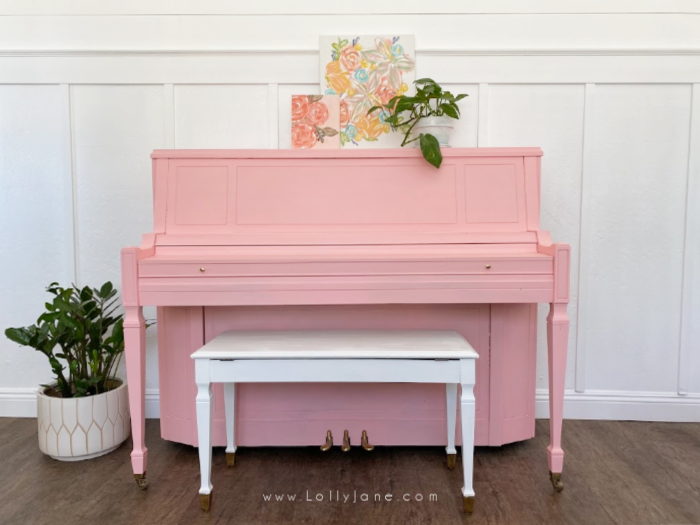
My brother was looking for a dresser and I was looking to re-home one during my boys shared bedroom makeover earlier this year. Turns out, my brother was also looking to re-home an old piano so we came up with a fun idea: we traded furniture.
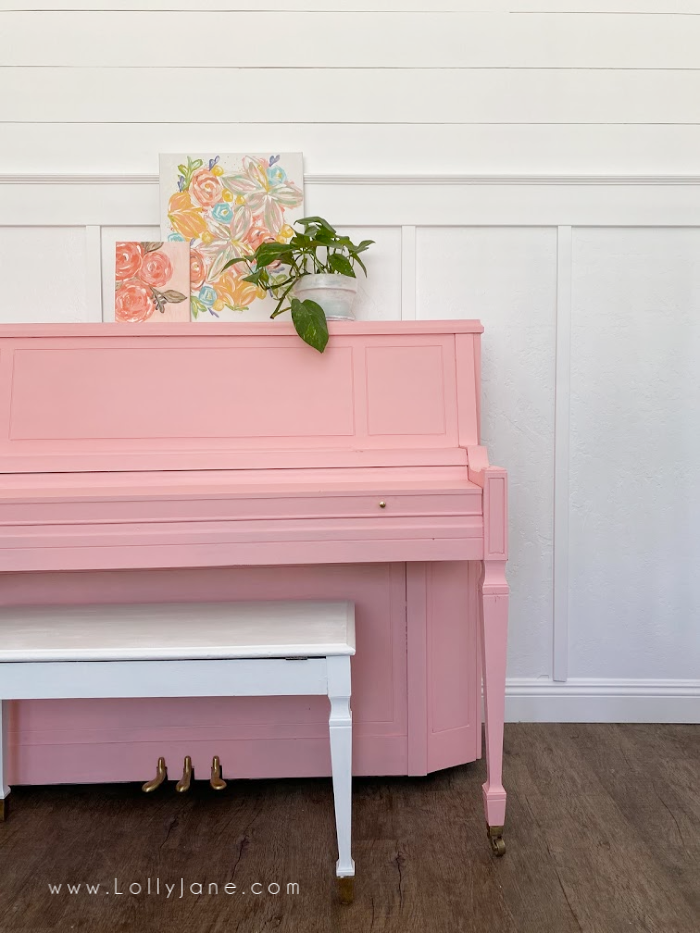
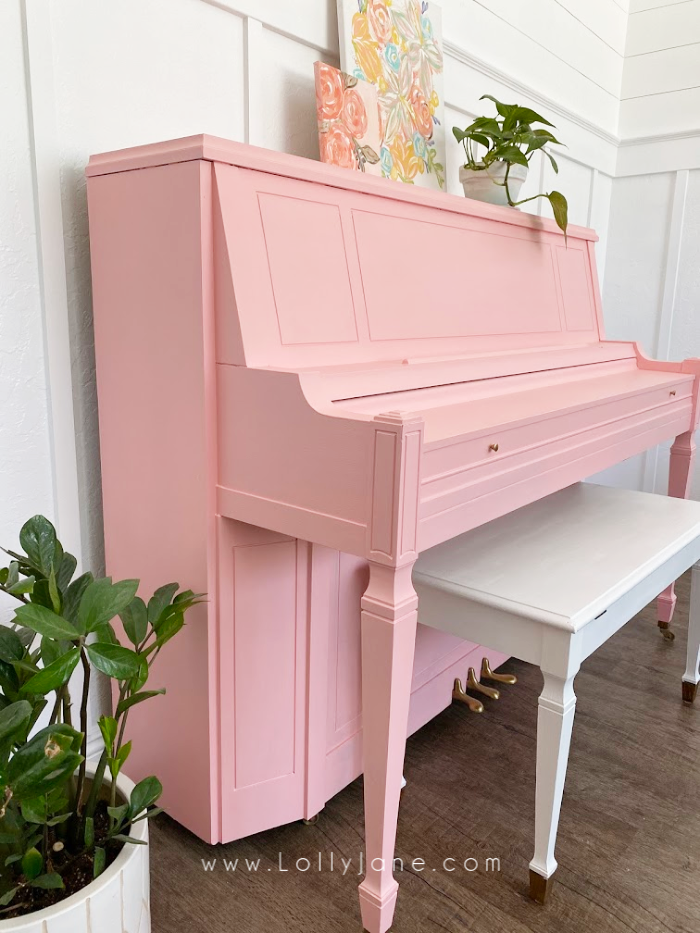
My younger two kids were SO excited! They immediately downloaded a piano app and have started to pick it up pretty well. It’s been so fun to listen to them play and it’s been even more fun to watch them play on a freshly painted pretty pink piano!
SUPPLIES TO PAINT A PIANO
Our top two must-haves are quality paint and our favorite go-to brush!
These other supplies will help get your project done quickly, as well.
- Paint
- Brush
- Painters Tape
- Rub N Buff (optional for feet)
- Wax or Polycrylic (to seal it)
How to paint a piano
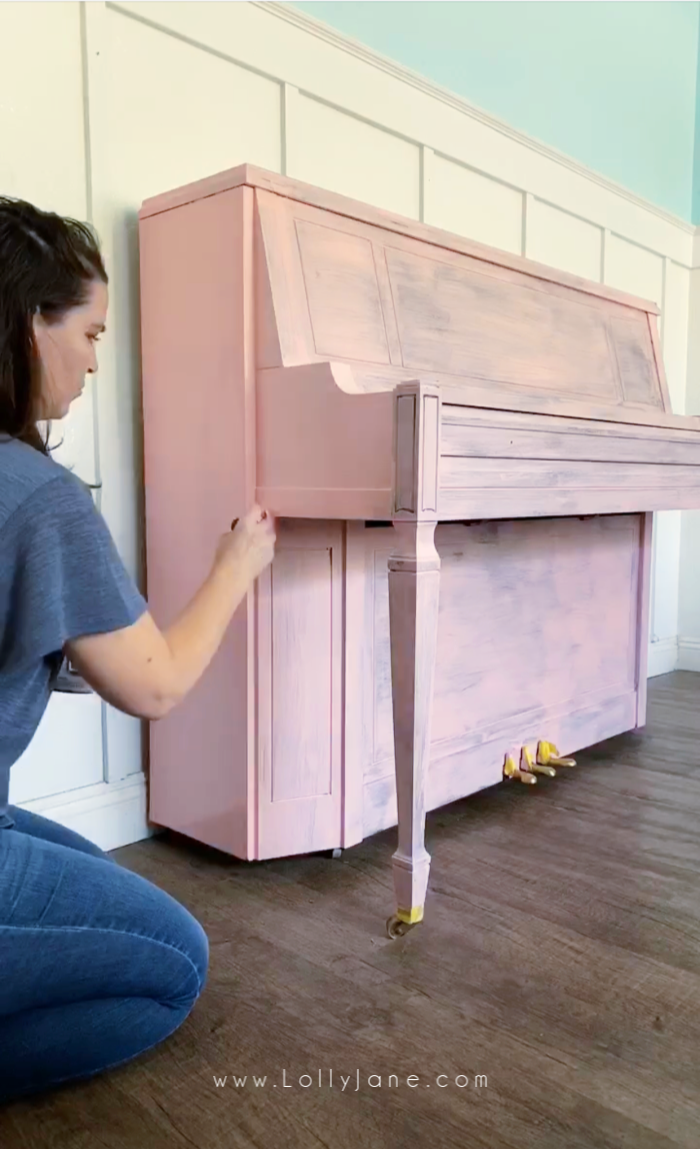
Painting a piano really is as easy as opening a can of paint and start brushing.
Yes, it really is that easy.
PREP
First up, prep the piano! If you’re using a quality paint, skip sanding! A primer and paint in one will take care of the sanding.
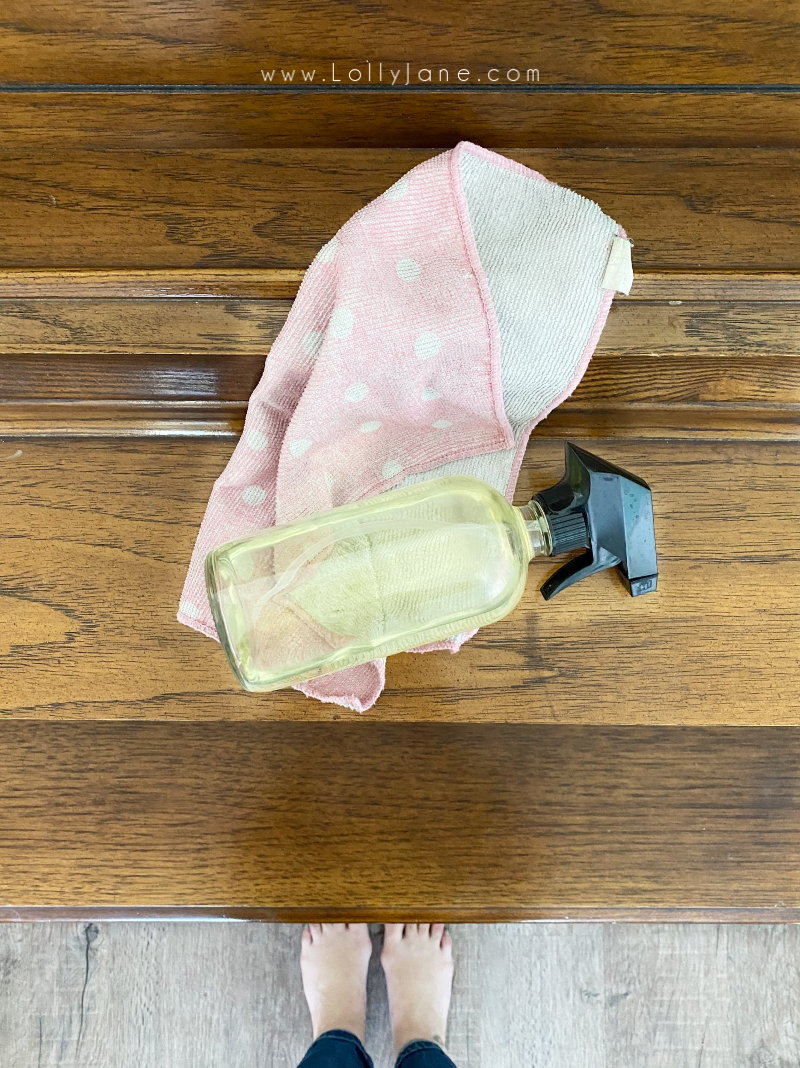
To prep, I used an all natural cleaner to de-grease and remove any dust from the piano. (You can also use Krud Kutter..we have some left over from our pantry floor makeover, it lasts a long time.)
Then I taped off the keys and the feet along with the pedals.
PAINTing a piano
There are several types of paint you can use to quickly and efficiently paint furniture and painting a piano is no different.
Our go-to is Rust-Oleum latex, it’s got excellent coverage and as a result, allows for less coats.
We added 1/3 can of our leftover pink paint from our little library makeover to a half full pint of flat white from our pantry makeover.
Reduce, reuse, recycle 😉
If you want to match this color, ask for Fashion Pink from Benjamin Moore, lightened by 50%.
We really love our little Wooster brush and have used it on multiple pieces of furniture. We simply dipped it in paint then brushed it on the piano.
three tips for a professional finish
- Tip 1: paint in the grain of the wood. Drag your brush the same direction as the wood grain, even if you have to change directions a lot.
- Tip 2: paint in light coats. You’d rather paint multiple light coats than to have globby, heavy layers that you’ll have to sand down later.
- Tip 3: Speaking of sanding, lightly sand between layers. Don’t worry about sanding every inch but do run a quick sanding over each layer of paint to knock it down. Dust it off then keep painting.
These tips will help to create to leave a smooth, even finish.
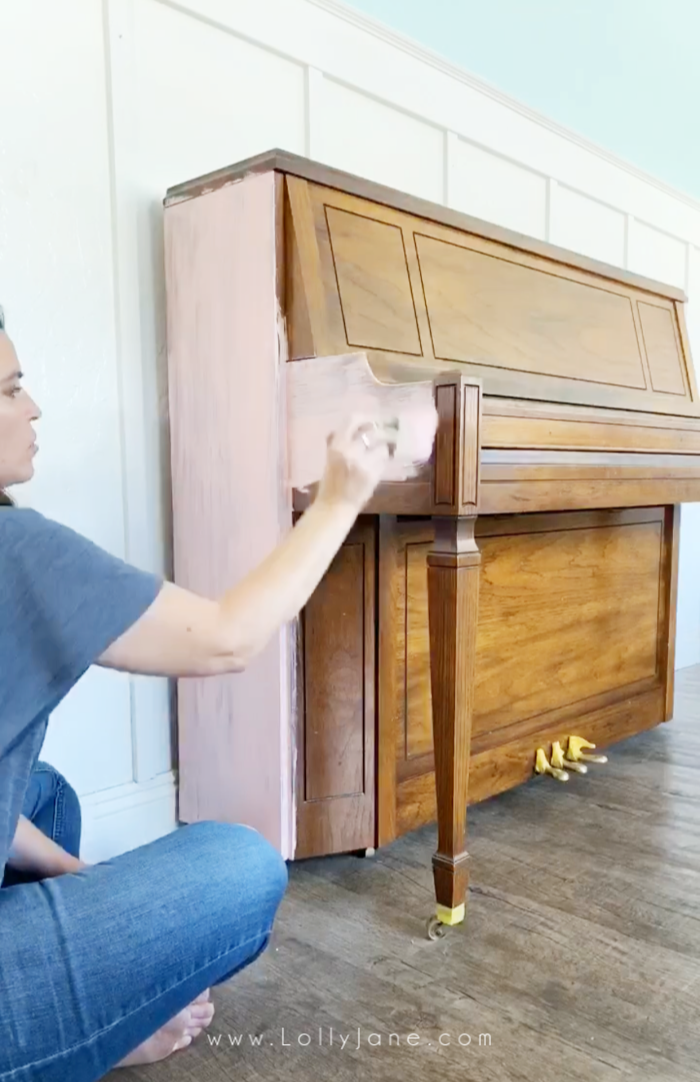
By the time you get to one of the piano, you’ll be ready to start painting the other end of the piano. No need for major dry time in between.
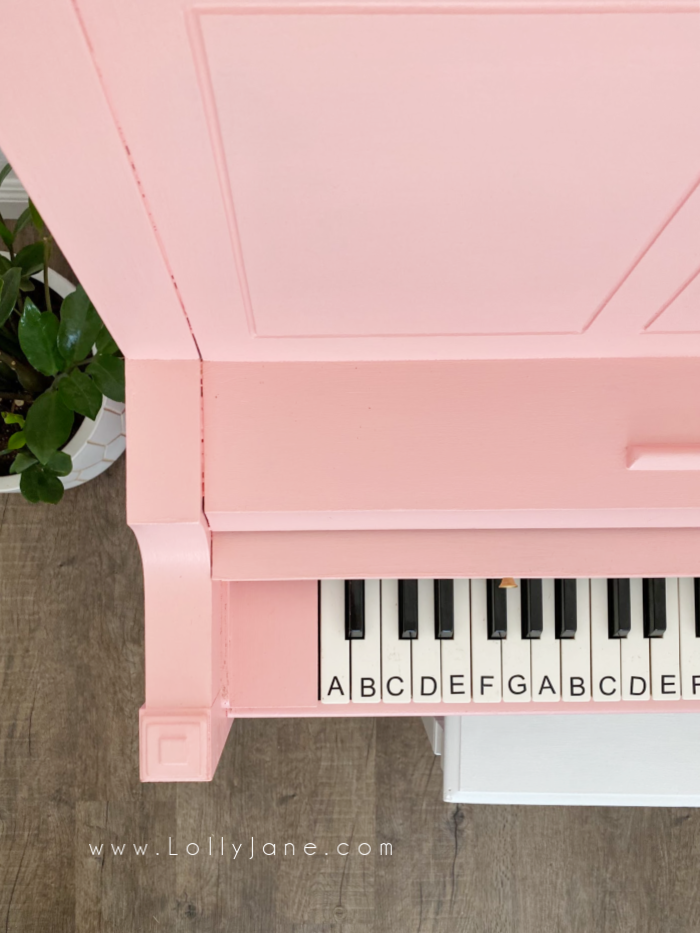
How do you paint around piano keys?
This is one of the most asked questions when we shared our piano makeover on Instagram.
This will be dependent of your own piano as they’re all built different but I was able to tape the tops of the keys then use a small paintbrush to paint above them.
To tape them, I had to use 6-8″ strips of tape instead of one long row so I was better able to create a tighter seal.
accessorize your piano
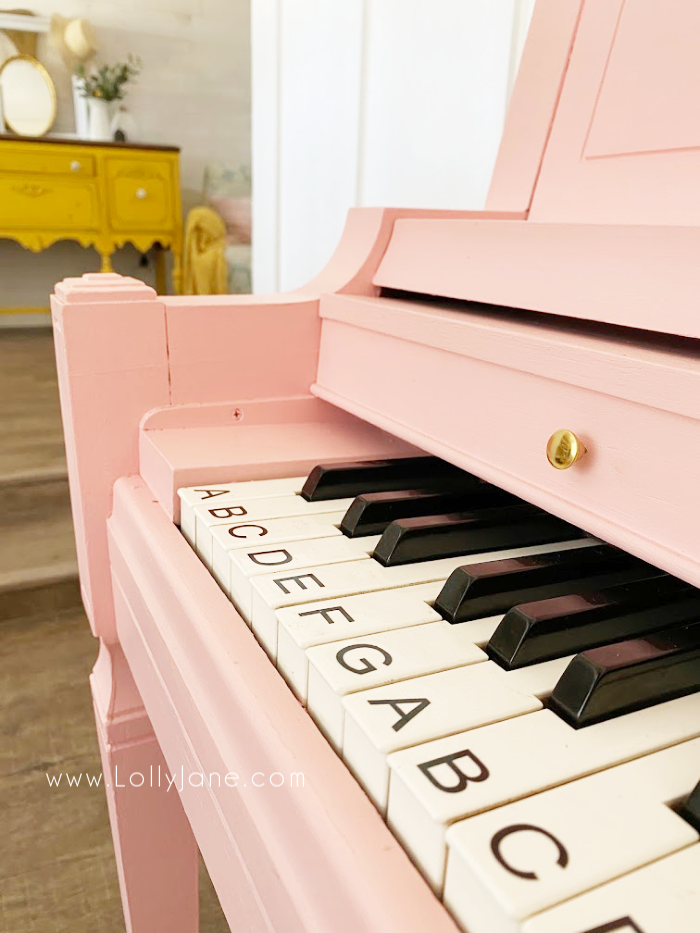
I added new gold piano knobs since the piano was missing a knob when it was donated to me.
*Note: I used the kind that screwed directly into the piano so I had to wood putty the old holes then pre-drill new holes to screw these right in. It was easy enough but you could also grab these piano knobs to use the old holes.
painting a piano bench
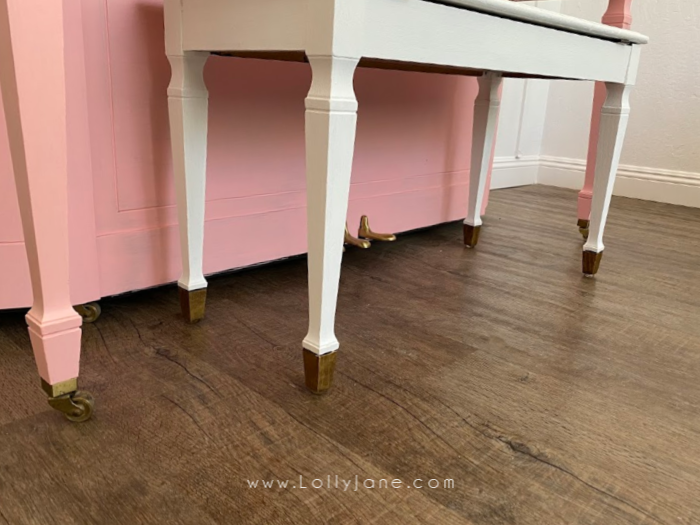
First, I painted the matching piano bench white. Next, I used the Rub ‘N Buff on the feet to match the already-gold feet of the piano. Then, I used the same white paint linked above. I explicitly always keep a can on hand for touch up’s.
visit more furniture makeovers
- How to Paint a Hutch with Floral Paper Backing
- How to Milk Paint Furniture
- How to Distress Furniture with Spray Paint & A Sander
- How to Customize an Ikea Furniture Side Board to Look Custom
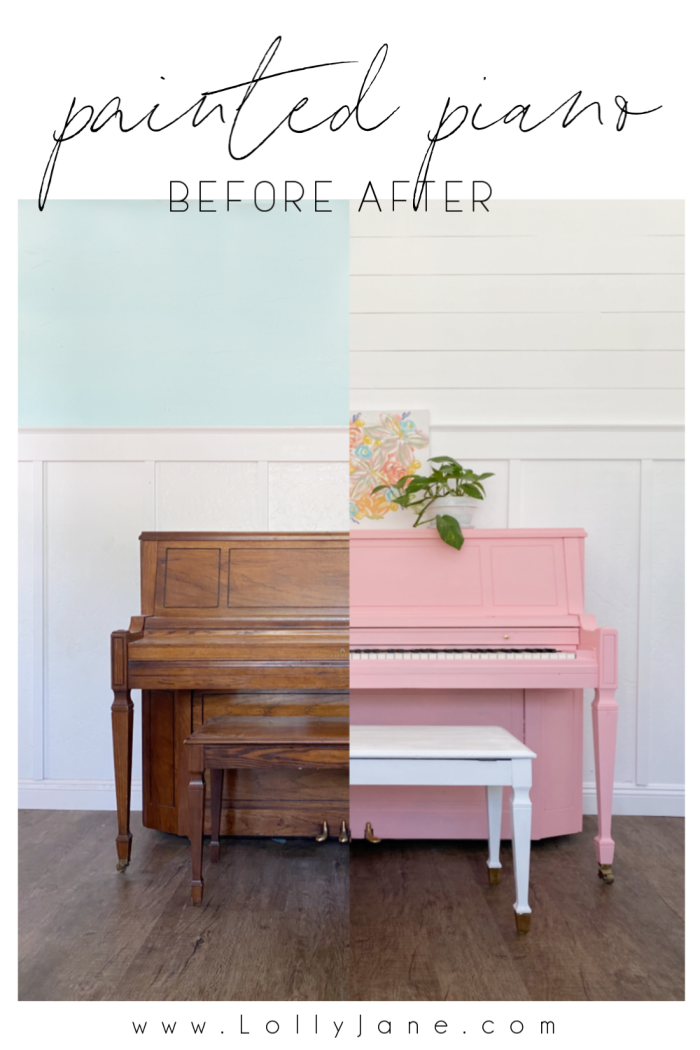
BEFORE/AFTER
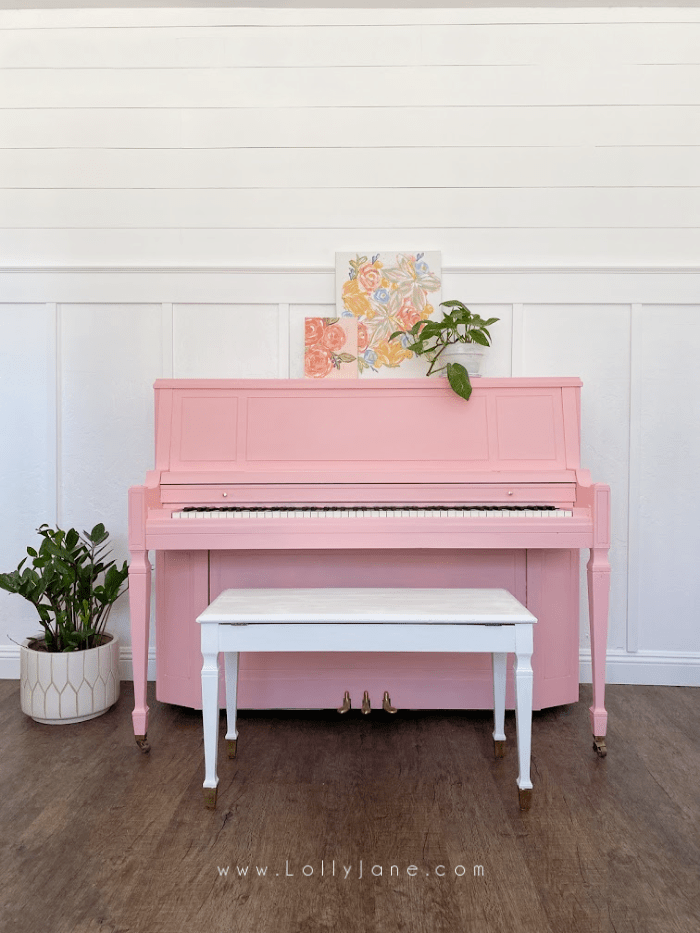
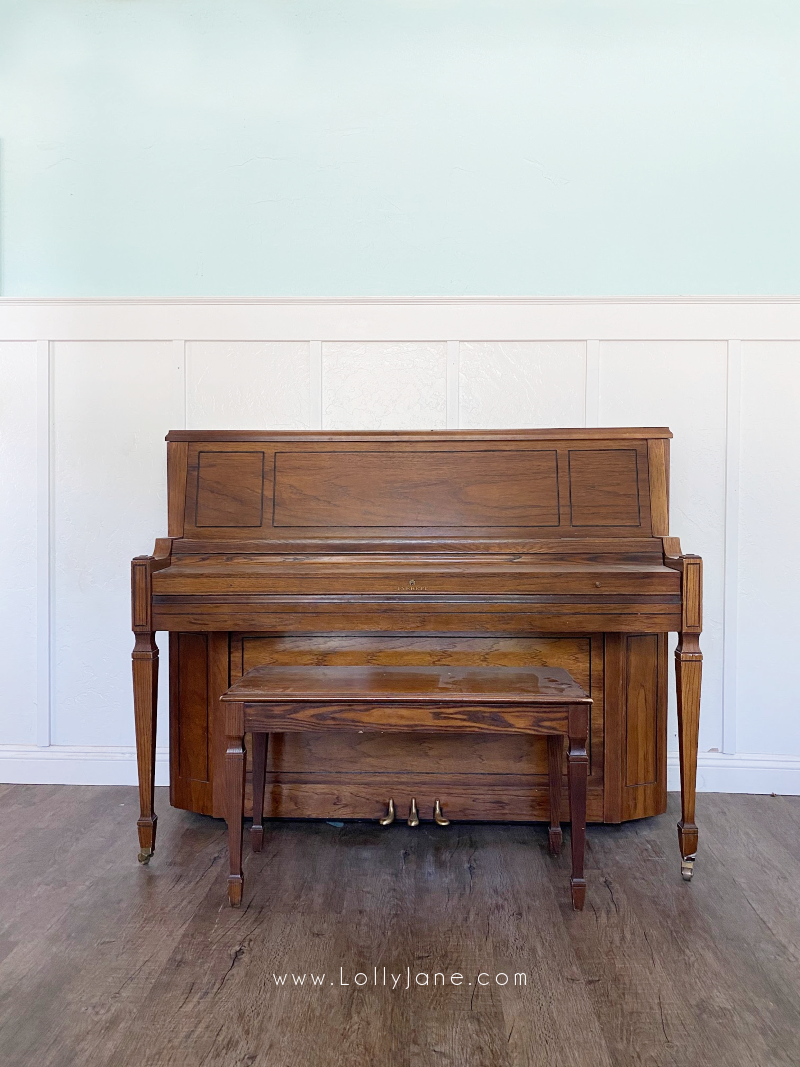
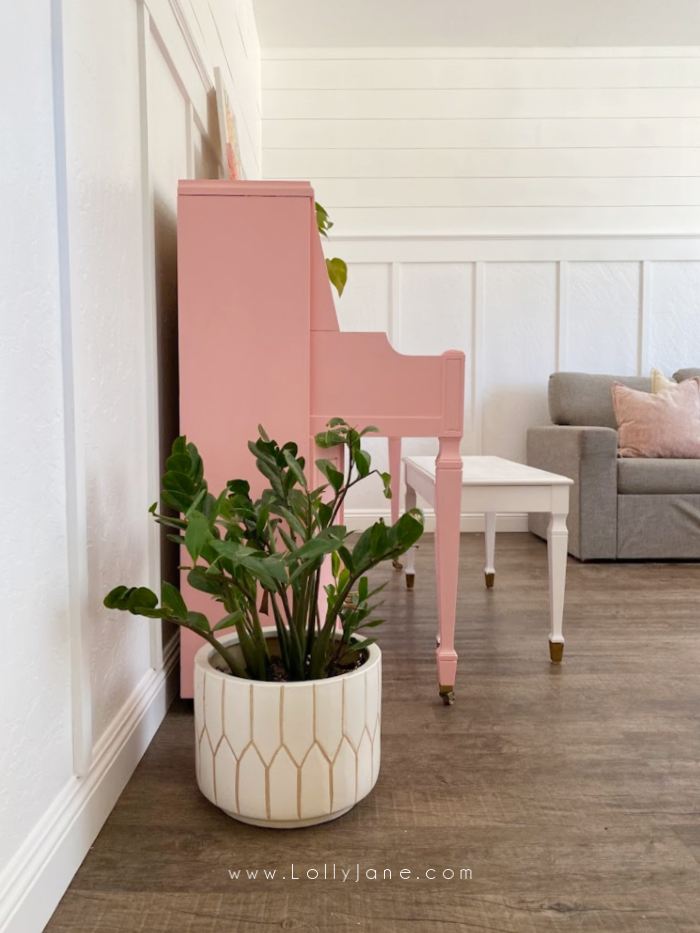
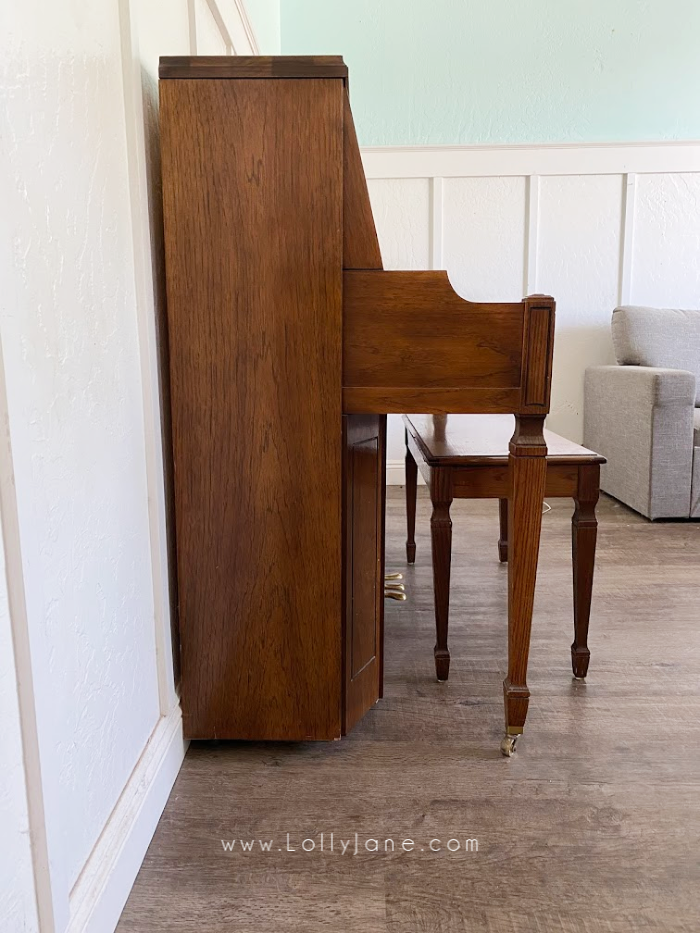
FAQ about painting a piano
We told our Instagram community we were going to paint our piano and asked them what questions they had.
We’ve answered them as best as we could but please leave your own questions in the comment box below and we’re happy to assist ya!
How do you update an old piano?
- Paint it!
What kind of paint do you use on a piano?
- You can use the same paint you prefer for any furniture to paint a piano: we prefer chalk paint or plain old latex.
- Milk paint work as well spray paint but our go-to is latex or perhaps chalk if we have it on hand.
What do you seal your piano with?
- Our favorite sealer is Mixwax Polycrylic. It doesn’t yellow and leave a smooth finish.
- If we chalk paint it, we wax it to seal it. It leaves a soft, buttery finish.
- Note: when you wax furniture, you’ll need to re-wax every 18 months – 2 years as needed since it breaks down. It’s not a huge deal-breaker but do consider that before you choose between chalk paint vs latex paint.
How much does it cost to paint a piano?
- If you were to get your piano professionally refinished, certainly you’ll pay thousands of dollars.
- This was free to paint since we were using leftover paint from our little library build.
- You can paint a piano yourself for the cost of paint!
Can you refinish a piano yourself?
- Absolutely. There are several techniques to paint furniture, we opted for a simple brush and latex paint.
- Accordingly, don’t forget your confidence!
Can you paint piano keys?
- Yes. To paint your piano, make sure the keys and pedals are taped off. Then, you can paint.
- Make sure to sand in between coats.
- Pick your favorite most bright color and begin painting, using a foam brush to make it smooth.
Does painting a piano ruin it?
- No, painting a piano doesn’t affect the sound.
- This is a debate my sister-in-law and I have had for years. Her piano still sits untouched and consequently, she still hates the color. GO FOR IT 😉
Leave any further questions below! XO

It’s so pretty. Great job.