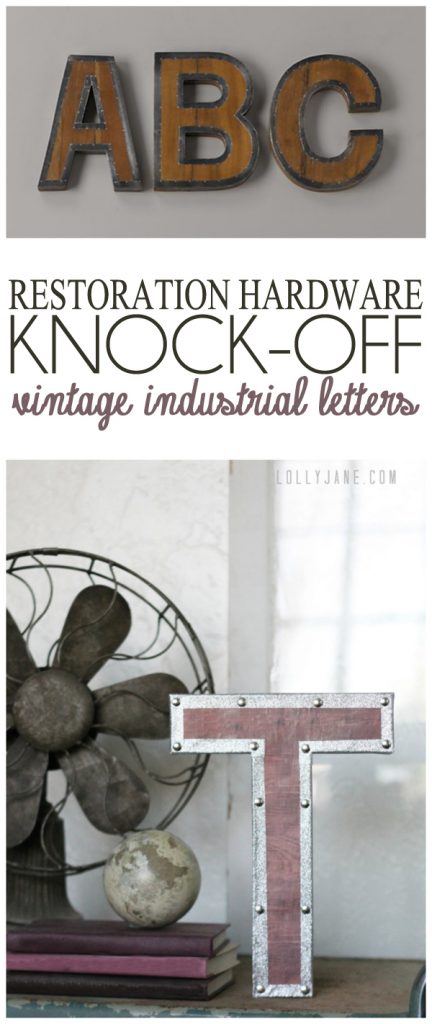
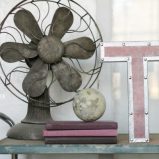
Vintage industrial letters | Restoration Hardware inspired
I’m not willing to pay $15 per letter for home decor… especially when I have four kids who are in sports, music classes + preschool that I have to pay for on top of decorating my house! I spotted the cutest vintage industrial letters on Pinterest the other day and I immediately loved how the wood and metal compliment each other and the nails! Oh, those nails are SO cute! But, the price tag made me determined to make my own version so lo and behold, I’m sharing with you just that: an easy Restoration Hardware vintage industrial letters knock-off. And, the cost per letter is only $4.03. Bam.
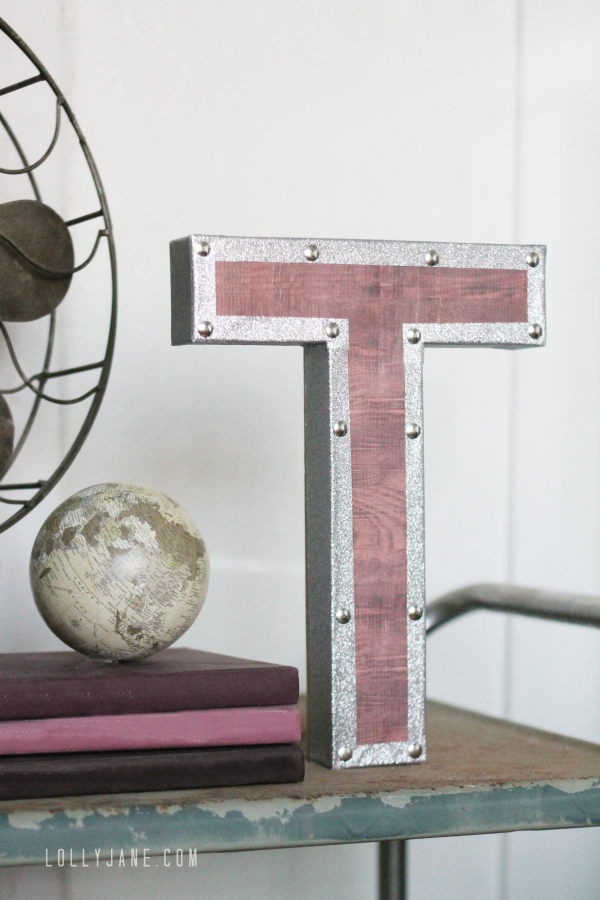
I couldn’t have made the letters without our favorite adhesive, Duck Brand Craft Tapes new silver glitter tape! That’s right, glitter. And the best part? It doesn’t flake off like other glitter tapes because it’s self adhesive with zero paper backing. Easy to peel, rip or cut with scissors. I. Love. It. It’s great because you can add texture without the bulk. (Plus they carry aqua, red and pink in addition to this fun silver!)
To make your own vintage industrial letter, gather the following supplies:
- paper mache letter (JoAnn’s, $3.99/sale)
- silver push pin tacks (Dollar Tree, $1)
- wood scrapbook paper (had on hand)
- Duck Brand Crafting Tape ® (on hand)
- DecoArt decoupage (on hand)
- foam brush, scissors, pencil
Directions:
- Backward trace your letter onto the wood scrapbook paper, cut out.
- Apply a layer of decoupage onto your letter, lay scrapbook paper on top of it.
- Smooth it out and let dry.
- Using glitter Duck Brand Crafting Tape ®, start from the bottom of the letter and push onto letter, going 1/4″ in.
- Repeat all the way around the letter.
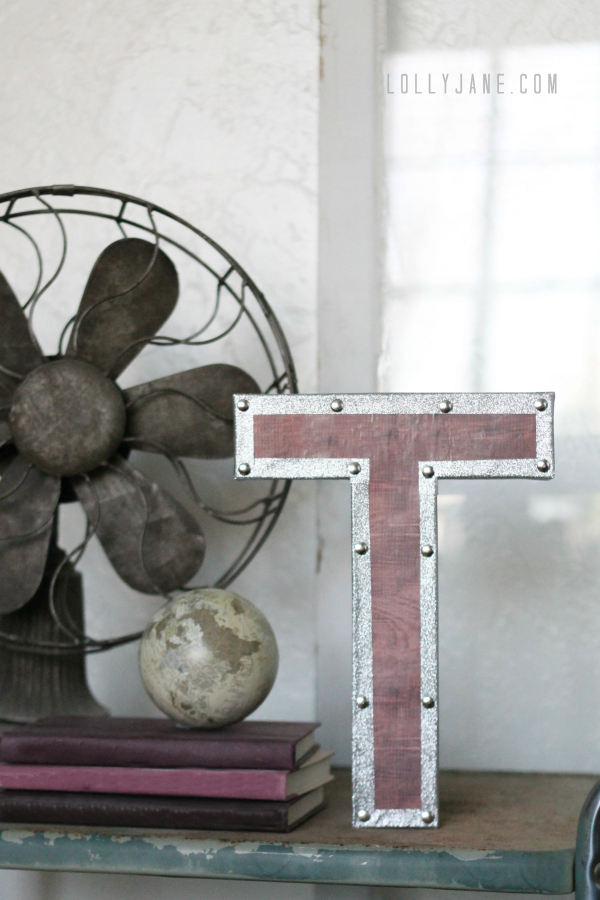
- When you’ve trimmed it up and are happy with the same thickness all around, push tacks into corners and middles of the letter to mimic nails.
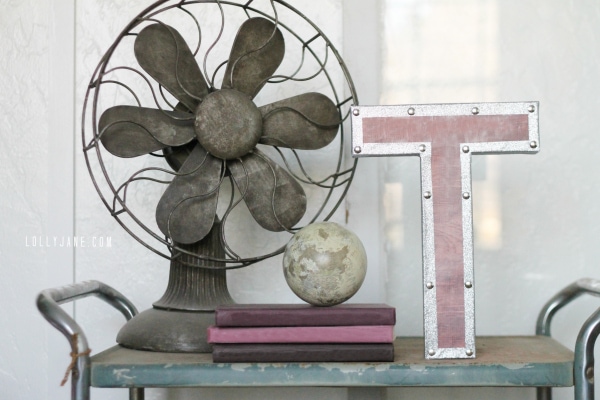
It’s that easy and will cost you 1/3 of the price of the actual store we were inspired by. Winning! 😉 My 7 year old son was so excited that he had his own cool letter that he carried it around with him for a little while until I finally talked him into putting it back on his shelf in his room. Silly kid. Now his older brother wants a “B” for his shelf! Good thing I have all the supplies and it’s so fast to make.
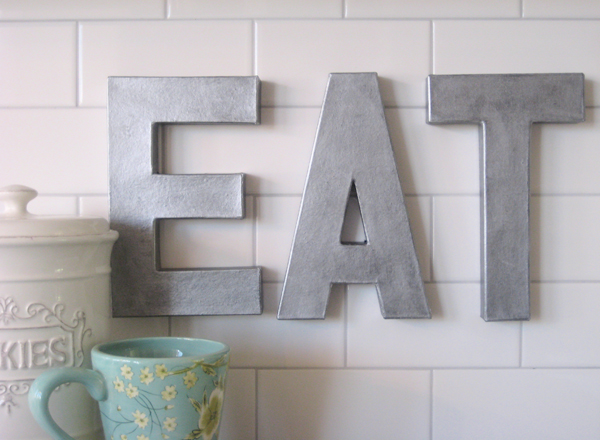
It would be so cute if you spelled out HOME or BATH for a non-kids room too. We made some cute dining room Anthro-inspired EAT letters a few years ago that would be cute with an industrial twist! 😉
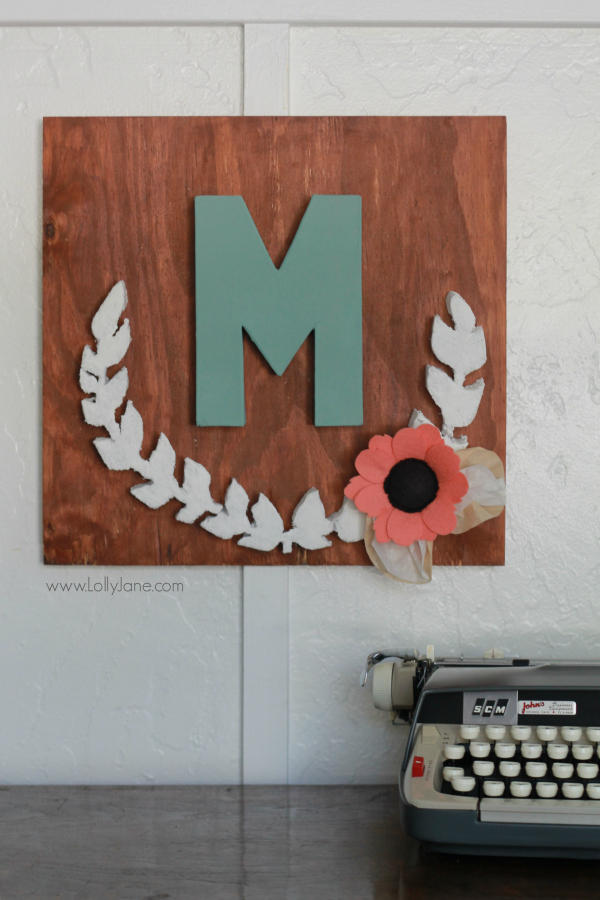
Be sure to check out more of our home decor projects like our foam laurel board,
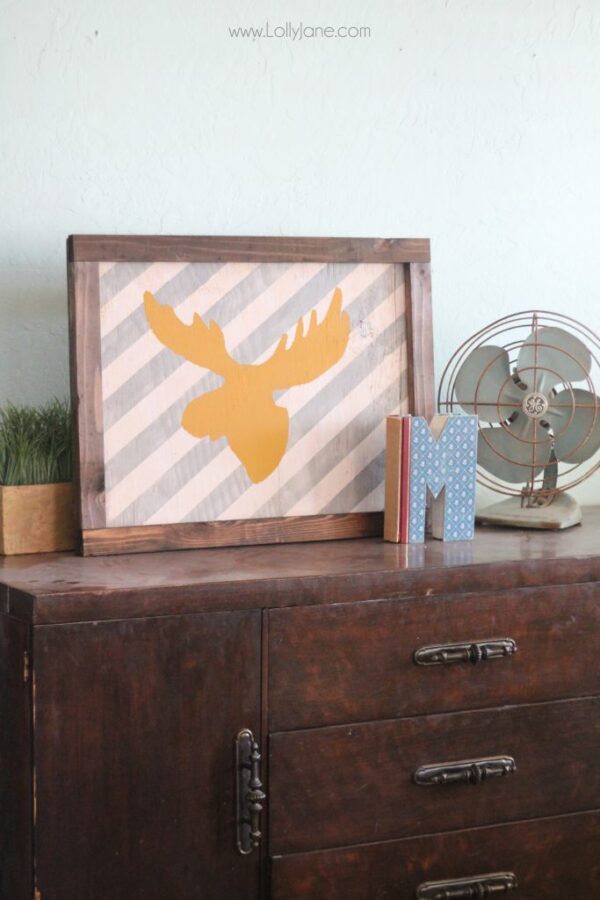
our easy moose head sign,
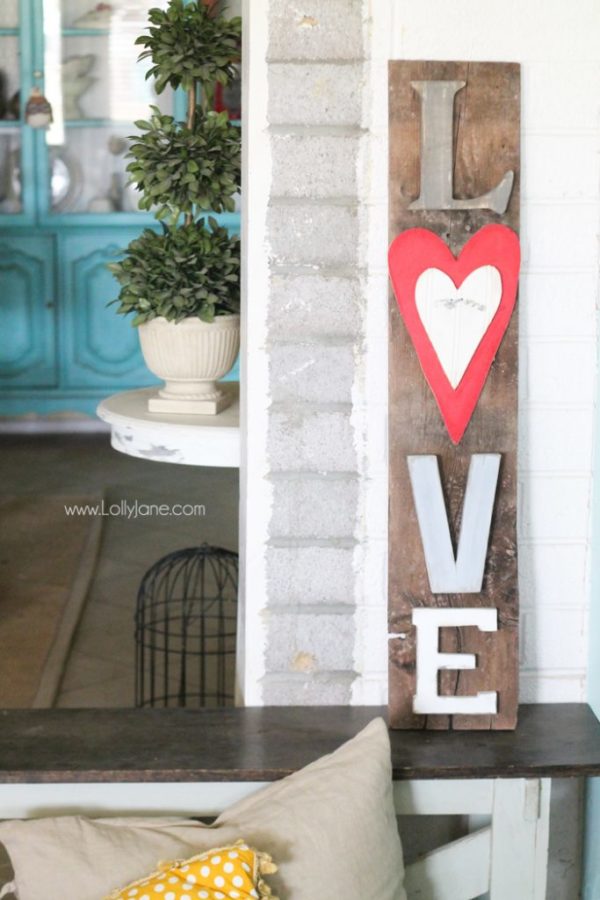
and our rustic LOVE barn wood sign.
Vintage Industrial Letters | Restoration Hardware inspired
Materials
- paper mache letter
- silver push pin tacks
- wood scrapbook paper
- Duck Brand Crafting Tape
- DecoArt decoupage
- foam brush
- scissors
- pencil
Instructions
- Backward trace your letter onto the wood scrapbook paper, cut out.
- Apply a layer of decoupage onto your letter, lay scrapbook paper on top of it.
- Smooth it out and let dry.
- Using glitter Duck Brand Crafting Tape ®, start from the bottom of the letter and push onto letter, going 1/4″ in.
- Repeat all the way around the letter.
- When you’ve trimmed it up and are happy with the same thickness all around, push tacks into corners and middles of the letter to mimic nails.
Hi! You just use your razor and make slits as you go. They’ll fold over each other with little problems 🙂
I have a question. How do you do the tape in letters that are rounded B D C etc!
Awwww, thank you so much!! 😀
Awesome idea and tutorial…I like yours better than the Restoration version!
These turned out pretty cooL!! I’ve not done a duct tape project yet, and this one looks really good. Thanks for sharing!
Surely 🙂
Am I permitted to post this on twitter?
Good question, Danielle- that’s why we showed a “T”… no edges. Haha, jk! 😀 I would wrap the tape around the edges as tight as you can. I will try the letter “B” (my others sons letter I have to do anyway) and let you know how it turns out! Keep you posted! XO
I’m curious how you’d do the take around the edges of a curvy letter. Any ideas?
Thanks, Sarah! It’s addicting, we love that tape!
Love this! Would have never guessed it was tape. I need to get my hands on some of that, thanks for sharing.
These are so cute, what a great knockoff! Pinned 🙂
This is a fabulous project. I love the transformation – the letter looks amazing. I’ve never seen the glitter tape before – I’ll have to keep an eye out for it.
Love these letters!!
I LOVE this!! I want to make an “S” I’m hoping I can wrap the tape around the curves ok.
O.My.Gosh. These are adorable. I’m having one of those “why didn’t I think about that” moments. Love it!
Emma
Definitely no jigsaw needed but also we miss the authentic look of real wood. Bet your letters are super cute!
These are amazing and so easy! Love love love it!
This is insanely genius!! When I make wood letters, I cut them from Miranti. Its $11 for a 4×8 sheet… you can get LOADS of stuff from one piece. But your idea you don’t need a jigsaw!
GET OUT OF HERE!!! That is amazing! I definitely want to try it! Thanks for sharing all the details.
Very, very cool! At first, I thought you used wooden letters (the wood grain on the letter) and see that it is the crafting tape! Ingenious!!
You girls are amazing, and the letter–so cute!
Looks amazing! Love it!
Emily@ elizabethjoandesigns.com