How to Use Rub n Buff on Wood
Our magic weapon for an aged brass look is hidden in a very small tube 😉 Just a tiny amount of Rub n Buff can change wood to gold in a few seconds! Learn how to use Rub n Buff on wood for a huge impact on home decor!
If you’re looking to upgrade your home decor, Rub N Buff is a must-have! It adheres to all kinds of surfaces. Wood and metal are the most popular choices but it works on a variety of goods.
It’s an inexpensive way to change the the look of picture frames, light fixtures, art, hardware, decorative knobs, etc. The possibilities are endless!
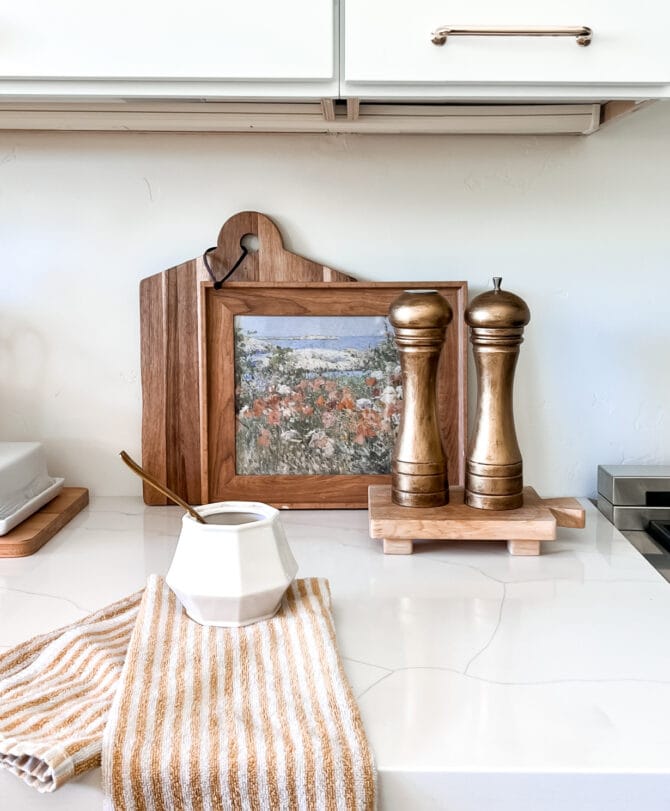
Watch how fast we transformed these $3.49 thrifted goods with Rub n Buff to make them look like aged brass salt and pepper shakers since we didn’t love the price tag of these beauties.
Supplies to Rub n Buff Wood
All you need to do is use your fingers or a lint-free cloth to rub it onto the surface and it transforms it quickly. Buff it with a lint-free cloth so you don’t have any leftover residue. It’s truly that easy!
Just a few items
More Thrifted Home Decor Ideas
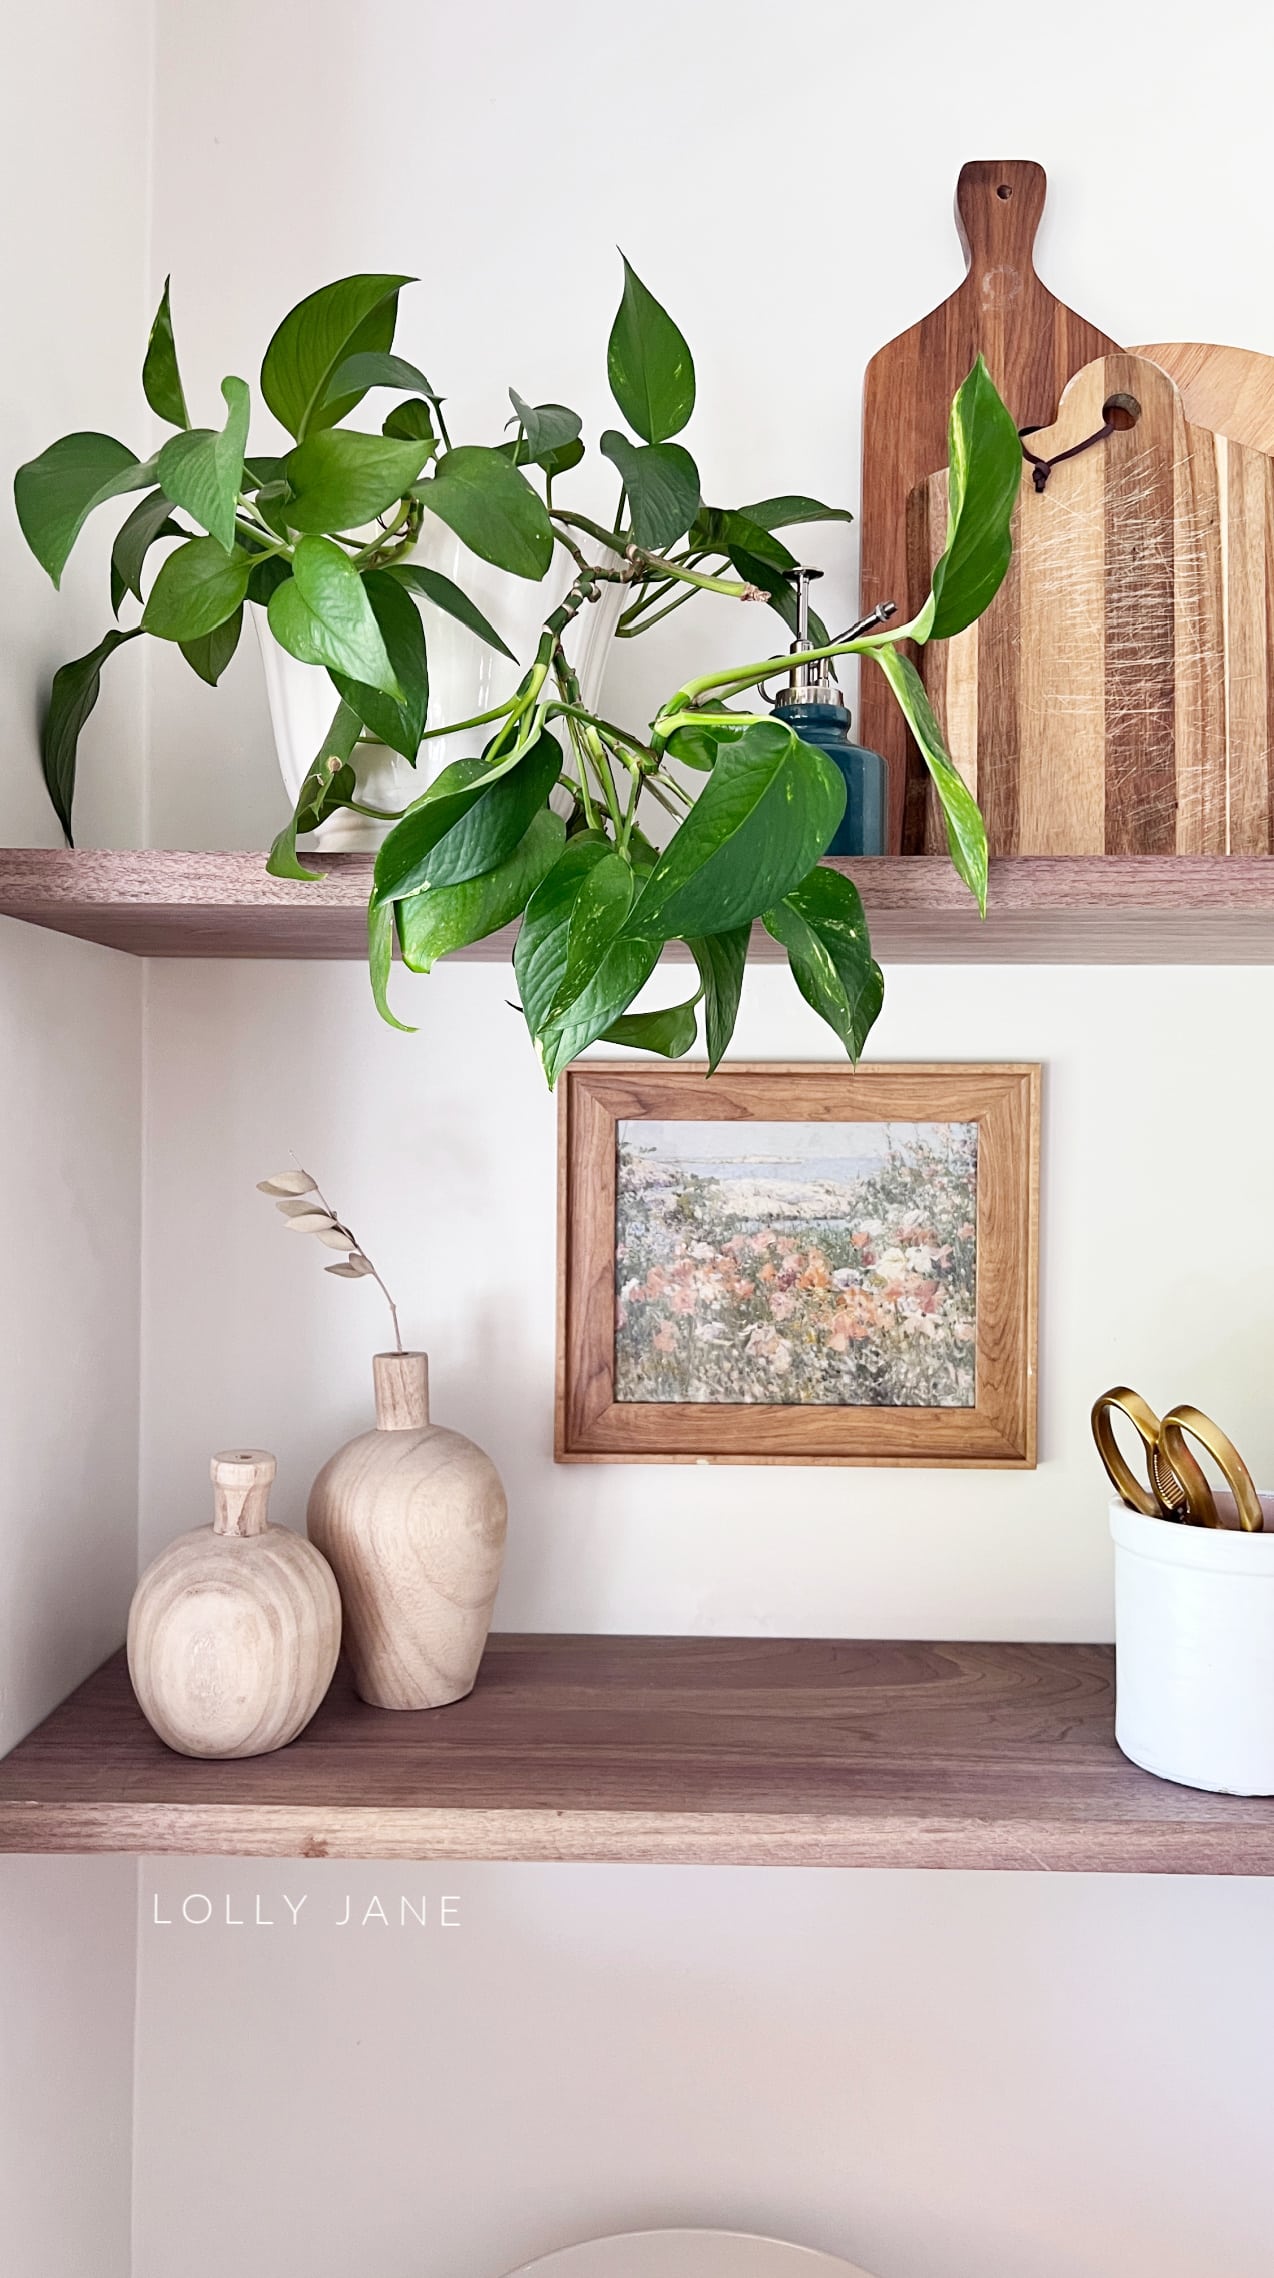
- Kitchen Shelf Styling
- Water Closet Decor
- Pink Piano Makeover
- Open Shelf Styling
- Color Block Thrifted Vase
How to Rub n Buff Wood: Step-by-Step
Step 1: Prep Your Surface
Before you begin, ensure that your wood surface is clean and free from dust or debris. If needed, sand the wood to create a smooth, even surface. You can also use painter’s tape to mask off any areas you want to protect from the Rub n Buff.
Step 2: Don Gloves
Rub n Buff is a fantastic product, but it can be a bit messy. To protect your hands and nails, put on latex gloves before you start the application process.
Step 3: Apply Rub n Buff
Squeeze a small amount of Rub n Buff onto a clean, lint-free cloth. Start with a modest amount, as a little goes a long way. Gently rub the cloth onto the wood surface in a circular motion. This will help distribute the product evenly and create a subtle metallic finish.
Step 4: Build Up Layers (Optional)
Depending on the level of shine you desire, you can apply additional layers of Rub n Buff. Allow each layer to dry for a few minutes before adding more. This step allows you to customize the intensity of the finish.
Step 5: Buff for Shine
After applying the Rub n Buff and allowing it to dry, use a clean part of the cloth to buff the wood gently. This will enhance the shine and ensure a polished, professional look.
Step 6: Final Touches
Once you’re satisfied with the result, remove any painter’s tape you applied earlier (if any), and inspect the piece for any uneven areas. You can use a small paintbrush to touch up any missed spots.
Step 7: Let It Dry
Allow the Rub n Buff to fully dry for at least 24 hours. This will ensure that the finish is durable and long-lasting.
Using Rub n Buff on wood is a simple and effective way to transform ordinary wooden items into something extraordinary. Whether you want a subtle metallic sheen or a bold, glamorous look, Rub n Buff can help you achieve your desired outcome.
So, roll up your sleeves, grab your Rub n Buff, and give your wooden pieces a stunning makeover that will impress everyone who sees them.