How to Install Vertical Shiplap
If you’re looking for a timeless wall treatment, a vertical shiplap wall is easy to install and looks high end. Read this tutorial to install vertical shiplap without bracing the backside, it’s easier than you think!
During our own home renovation, we moved into my parent’s basement apartment. A month into the rental, their basement flooded! With septic water, nonetheless ?
It was so toxic that they had to do a full basement gut job, removing the tile, carpet, kitchen and bathroom cabinets, baseboards and much of their drywall. It was a shocking amount of money they had to pay out of pocket as insurance only kicked in about a fourth of the cost.
Because we were able to get the floors installed so quickly (thank you Pro Core!!), my little family was able to move back in after 5 weeks. Which gives me full access to decorating it for my parents as a thank you gift for letting us use their space.
Plus they want to turn it into a VRBO when we move out so my goal is to decorate with timeless features that will last for years to come. Vertical shiplap is just that, classic. It can be found in homes over a hundred years old which gives me confidence to install it for my parent’s home.
If you’re looking for an easy way to install vertical shiplap, liquid nail is key!
HOW TO INSTALL VERTICAL SHIPLAP WITH LIQUID NAIL
This Post May Contain Affiliate Links. Please Read Our Disclosure Policy.
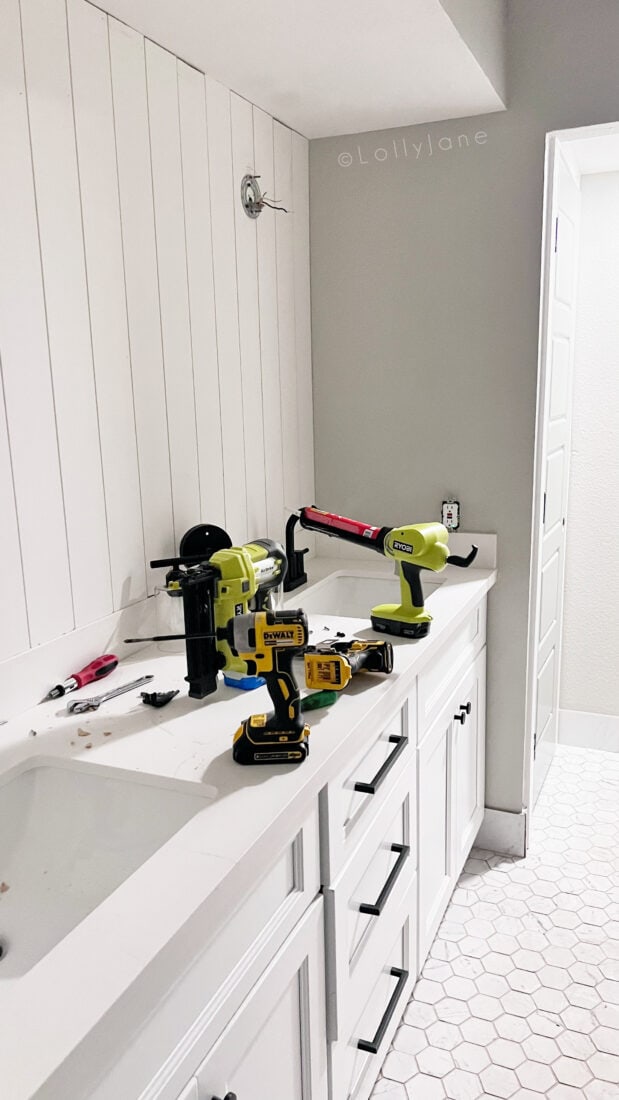
Here are the supplies we used to put the wall together in just one day.
SUPPLES TO INSTALL VERTICAL SHIPLAP
- Nickel Gap Shiplap Primed MDF Boards
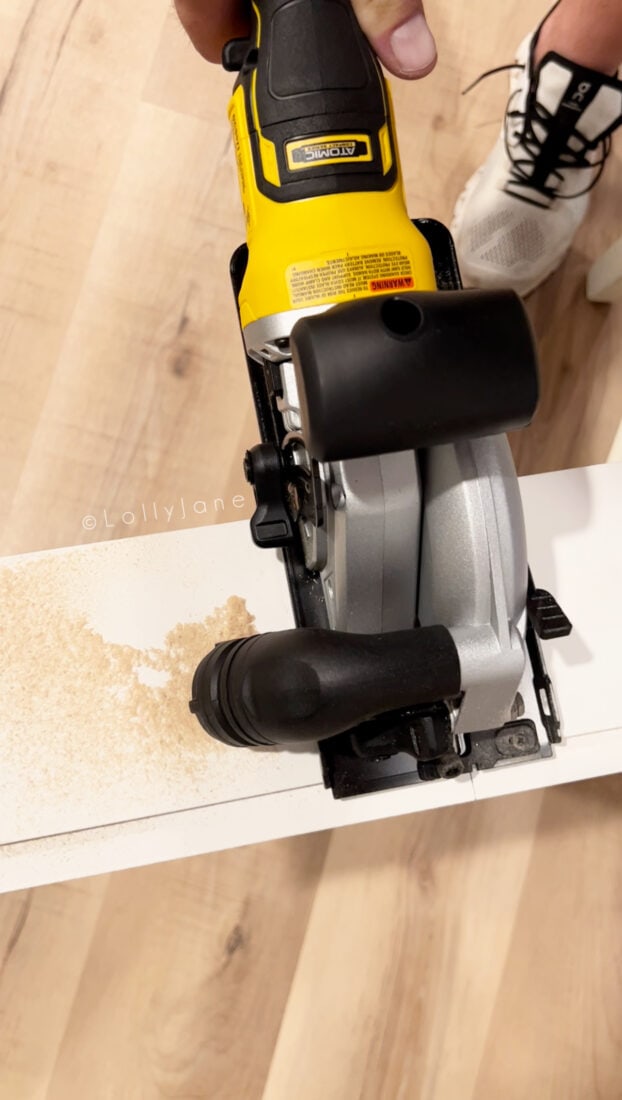
- Cordless Circular Saw (You can also use a miter saw)
- Liquid Nails
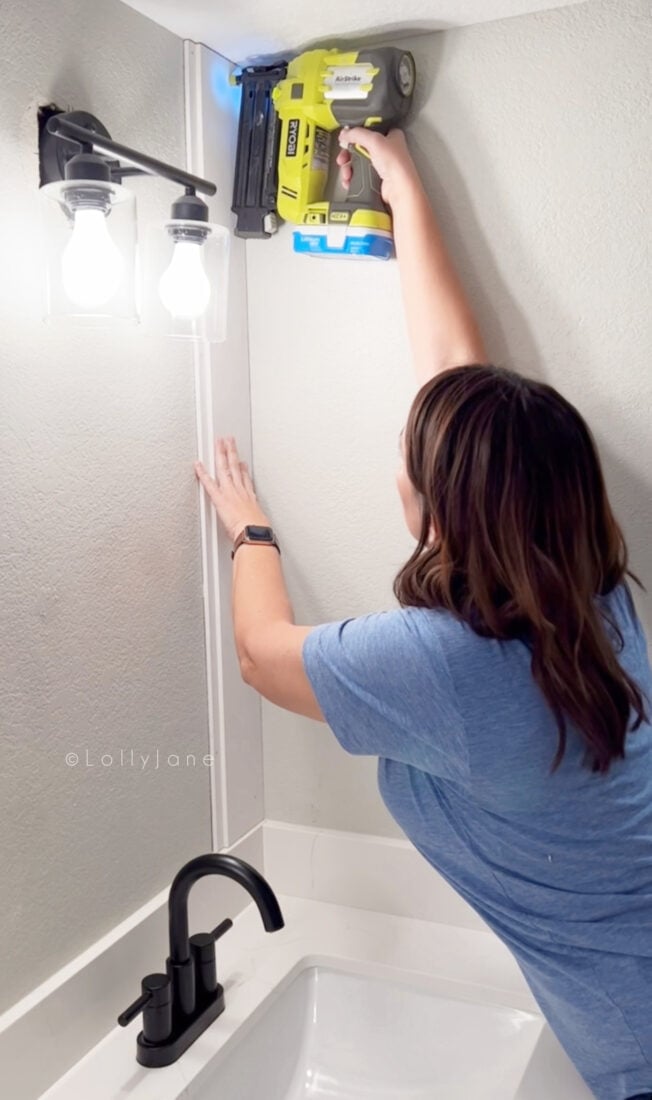
- Nail Gun
- Caulk Gun (We just got this electric caulk gun one which is so nice!)
- White Paintable Caulk
- Wood Trim for the Top
- Wood Trim for the Peg Holder
- Screw On Wooden Pegs
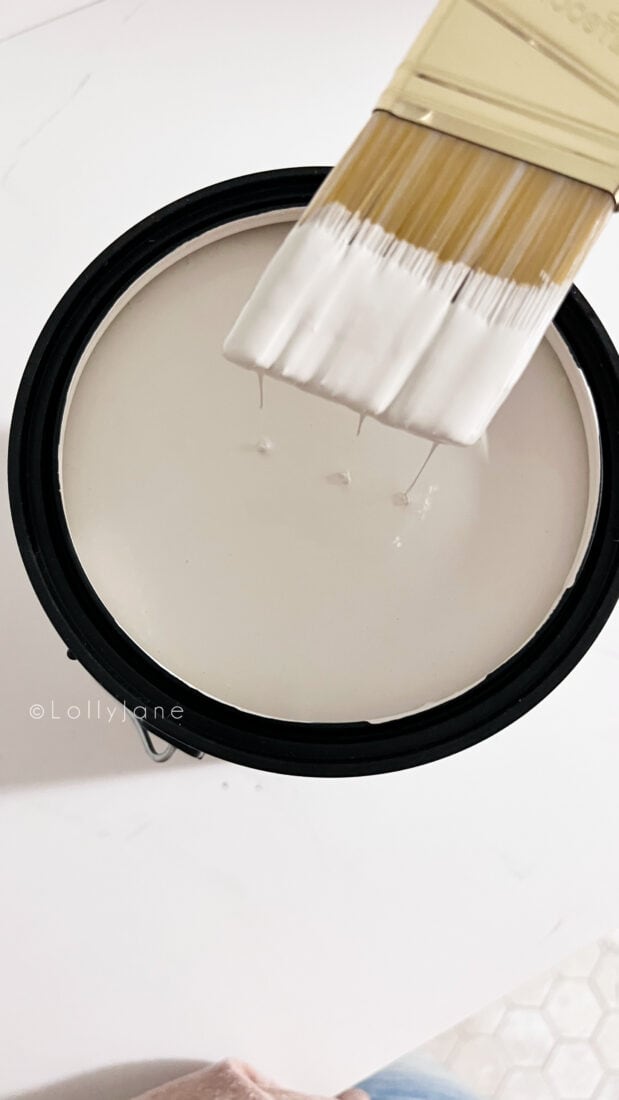
- Paint (We used “Natural Cream” from Benjamin Moore mixed by Behr in satin)
- Paint Brush (Our fav brush ever!!)
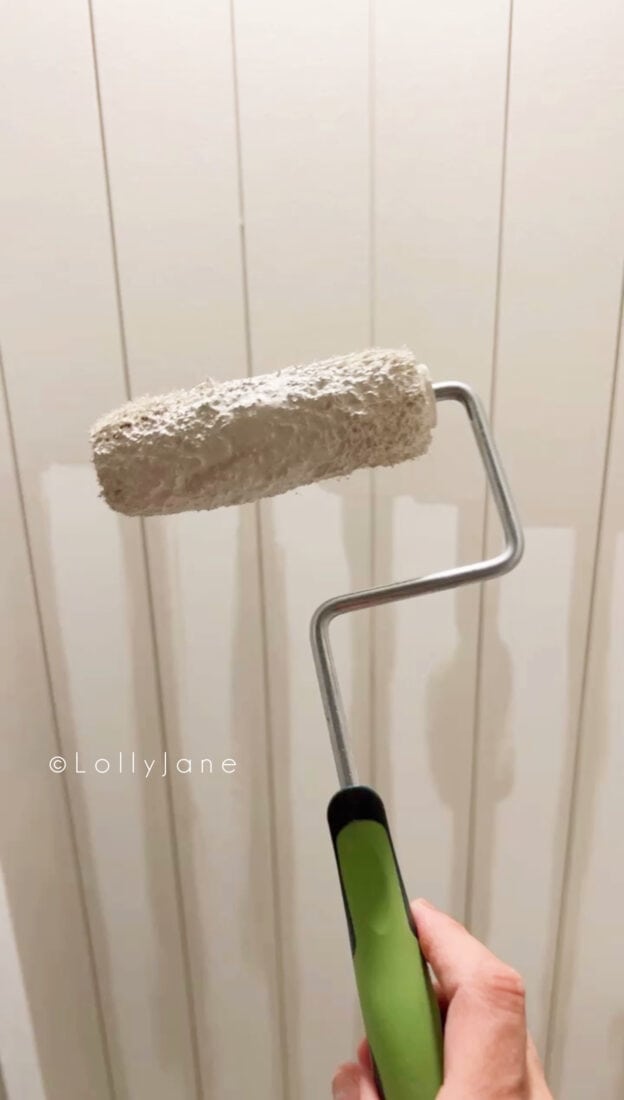
- Mini Roller (We like the smaller size for this project, it does one board at a time)
Install the shiplap
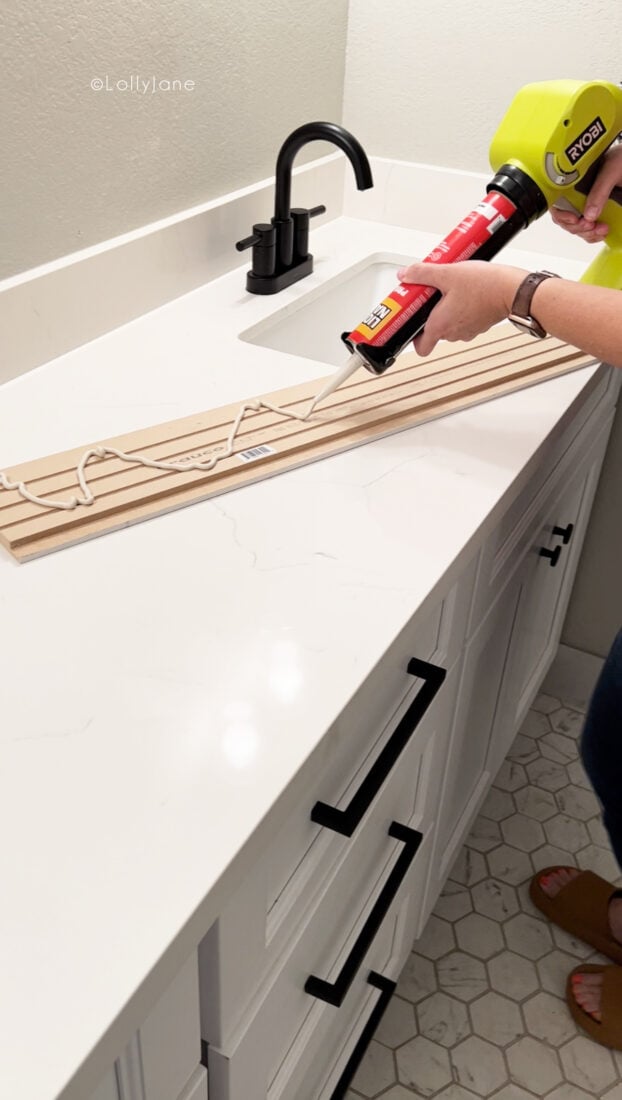
We used liquid nail as a permanent solution. It may ruin your drywall upon removal but we don’t plan on removing it for years to come so this was a great option for us.
If you’re looking for a less permanent solution, you’ll need to install furring strips (thin pieces of wood) on the studs horizontally. (This is only applicable for vertical shiplap since you can find the studs with horizontal shiplap.) See “alternative shiplap install options” below.
How to Install Vertical Shiplap
- Cut your shiplap to size accordingly. (We used a skill saw inside the house then swept up the shavings afterward but you could also use a miter saw or even a small hand saw.)
- Apply liquid nail the full length of the backside of the shiplap piece.
- Press the shiplap to the wall then nail the edge of the shiplap to the wall.
- Repeat the process until you get to the end of the wall.
- Fill in all the nail holes.
- Caulk the top and bottom of the shiplap to fill in any imperfections.
- When the caulk dries, paint the shiplap inner seams with a brush then use a roller to paint the remaining shiplap. (Spray for a really nice finish!)
Tips for Applying Vertical Shiplap
- To cut around outlets or lights, use a jigsaw.
- Paint the edges of the shiplap before you install it so you can paint the full wall quickly with a roller. Bonus: you avoid possible brush strokes!
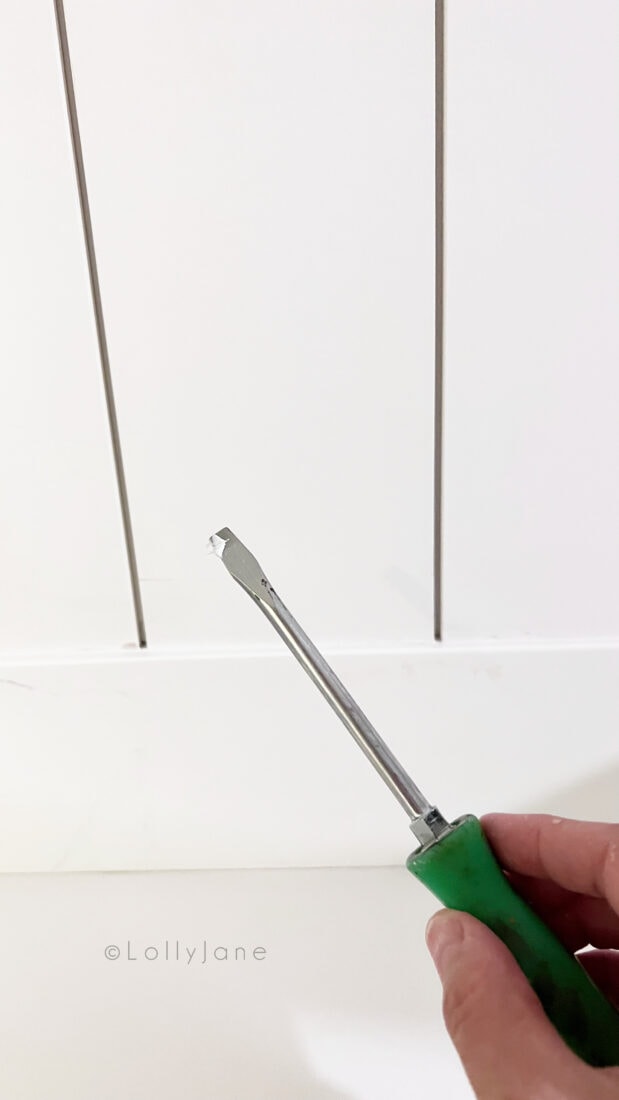
- Caulk before you paint. Use a small flat head screwdriver to pick the caulk out of the seams.
- Use latex caulk for a clean edge to finish shiplap, it’ll fill in any imperfect cuts.
- To join shiplap corners, glue or nail on corner trim for a fast fix. Or butt-joint boards together, depending on your preference.
- If you don’t want to replace your baseboards and they’re not flat, nail a small piece of corner trim upside down to create a lip for the shiplap to sit on nicely. It’ll look more custom.
Alternate vertical Shiplap Installation Options
We would have done the above application if we had the depth but we didn’t want to add an extra 1″ to our wall as we needed the shiplap to line up with our bathroom counter lip.
For the shiplap install with furring strips, you would nail the strips to the studs every 2-4 feet. Then you would nail the vertical shiplap into the furring strips the whole length of the wall.
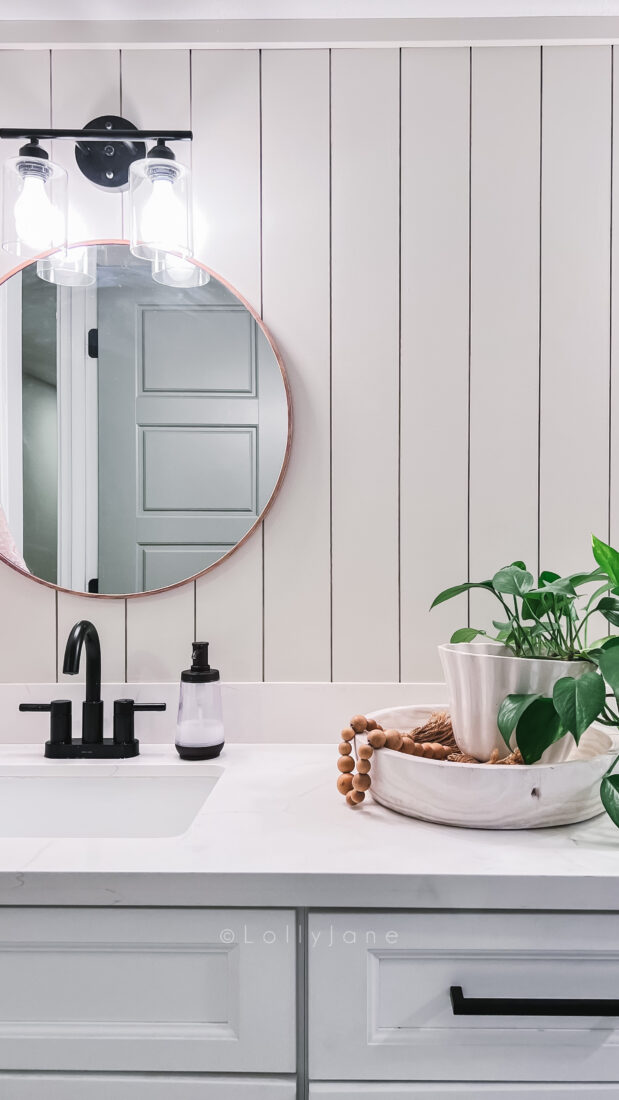
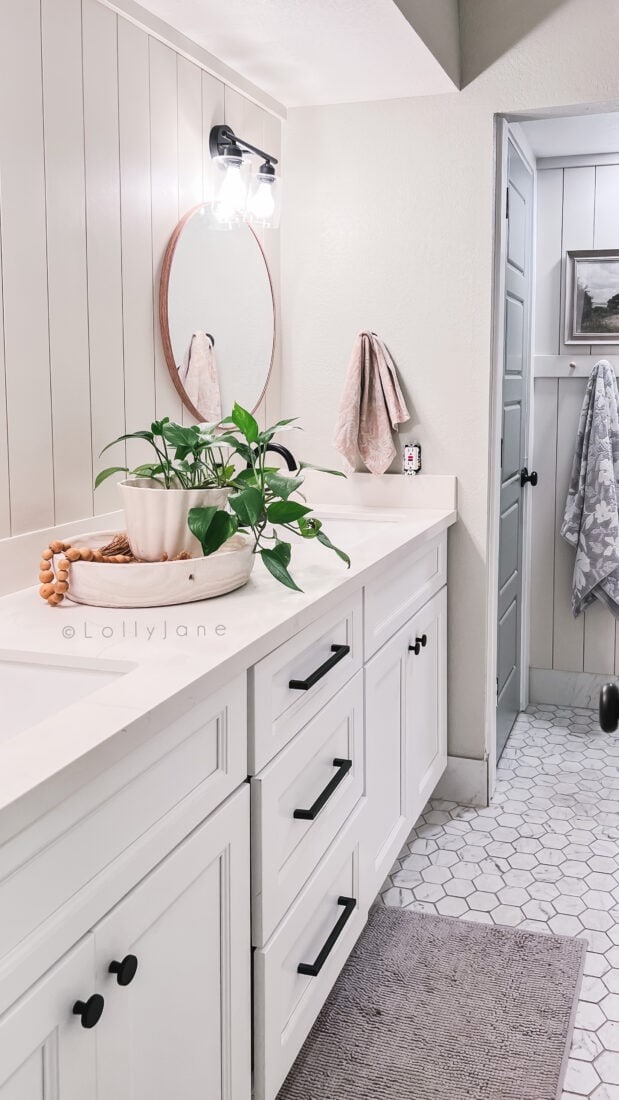
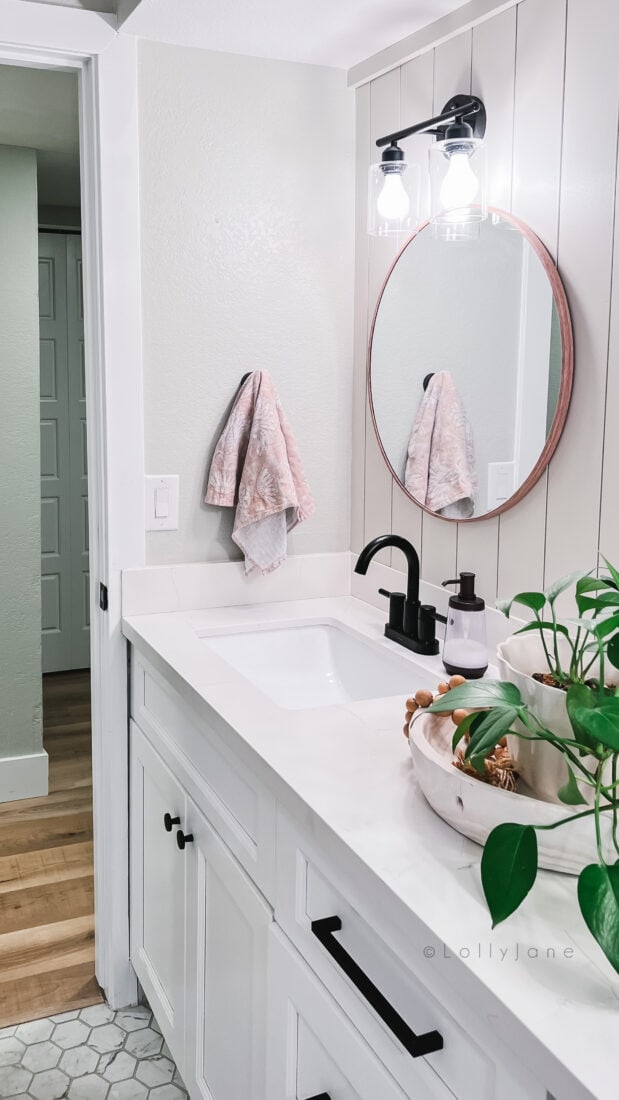
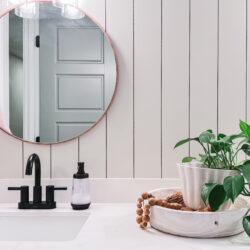
Cream Bathroom Paint Color
We decided on a soft neutral for the shiplap to compliment the existing green walls (Bay Sands by Valspar) that our mom is obsessed with. The paint color is Natural Cream by Benjamin Moore in a satin finish.
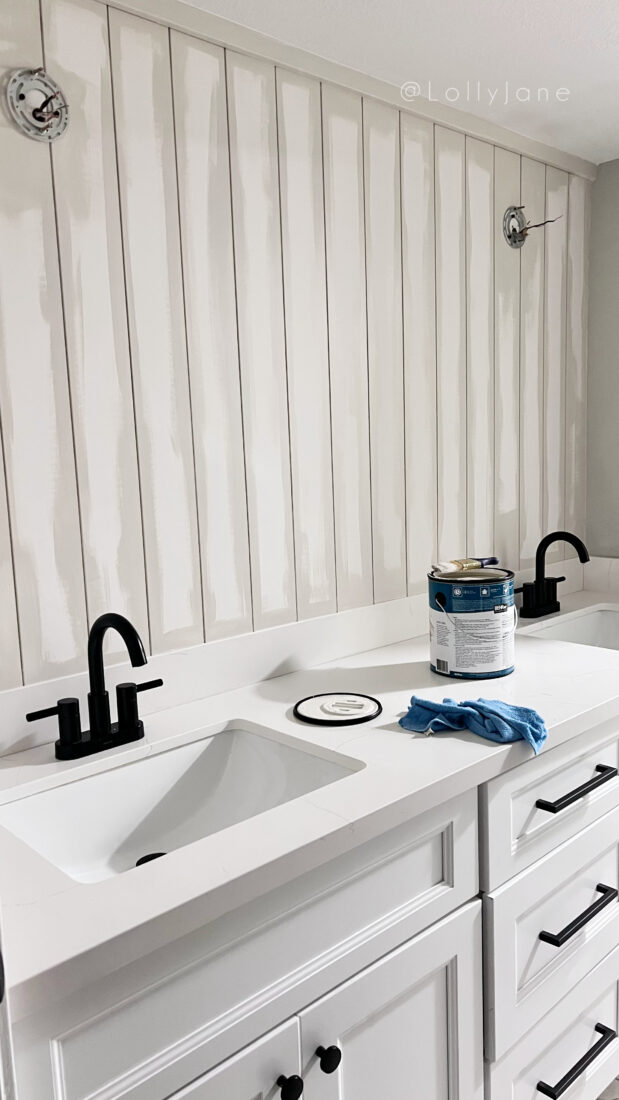
We used our favorite Wooster brush for the edges and seams then a 3/8″ nap roller for the shiplap. We love that the mini roller fits the shiplap perfectly for no extra paint waste.
This was an easy wall treatment, you can totally do it! Leave any questions in the comments below! XO

Visit more Wall Treatments
We love a pretty accent wall! Take a peek at some of our favorites:
- Board and Batten Wall
- Double Batten Wall Treatment
- Peel and Stick Shiplap Wall
- Peel and Stick Brick Wallpaper
- Painted Stripe Wall
How to Install Vertical Shiplap
Materials
- Nickel Gap Shiplap Primed MDF Boards
- Cordless Circular Saw You can also use a miter saw
- Liquid Nails
- Nail Gun
- Caulk Gun
- White Paintable Caulk
- Wood Trim for the Top
- Wood Trim for the Peg Holder
- Screw On Wooden Pegs
- Paint We used “Natural Cream” from Benjamin Moore mixed by Behr in satin
- Paint Brush
- Mini Roller We like the smaller size for this project, it does one board at a time
Notes
HOW TO INSTALL VERTICAL SHIPLAP
- Cut your shiplap to size accordingly. (We used a skill saw inside the house then swept up the shavings afterward but you could also use a miter saw or even a small hand saw.)
- Apply liquid nail the full length of the backside of the shiplap piece.
- Press the shiplap to the wall then nail the edge of the shiplap to the wall.
- Repeat the process until you get to the end of the wall.
- Fill in all the nail holes.
- Caulk the top and bottom of the shiplap to fill in any imperfections.
- When the caulk dries, paint the shiplap inner seams with a brush then use a roller to paint the remaining shiplap. (Spray for a really nice finish!)
-
- To cut around outlets or lights, use a jigsaw.
- Paint the edges of the shiplap before you install it so you can paint the full wall quickly with a roller. Bonus: you avoid possible brush strokes!
- Caulk before you paint. Use a small flat head screwdriver to pick the caulk out of the seams.
I love the look of shiplap! My dream is to have a rustic shiplap beach shack close to the bars and restaurants on a Caribbean island. It is so cold here. Only 5 days a year that you can sit outside in the evening without a jacket. I want to head south!!