DIY cedar shutters tutorial
Hello friends! So happy to be stopping by again from Making it in the Mountains, where I blog about our journey to renovate our first fixer upper to create the {farmhouse} of our dreams!
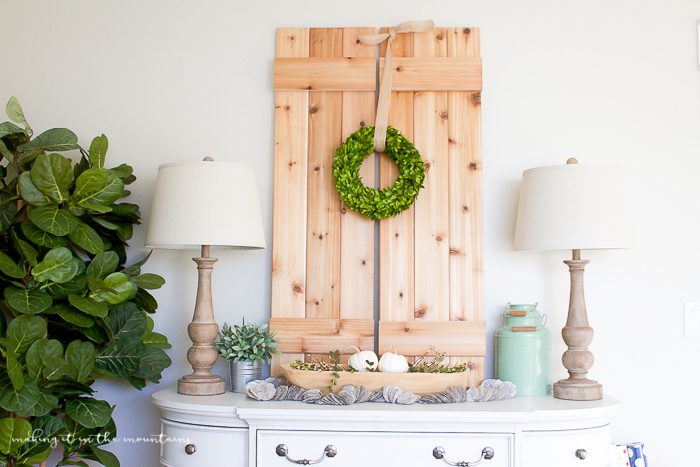
Since popping in to share my book page garland last month, I’ve had a ton of questions about the beautiful cedar shutters I showed it draped over. Y’all have been asking for a tutorial, so today, I’m so happy to show you just how quick and easy those rustic shutters were to whip up!
To make each shutter, I started with 3 cedar deck boards cut to my desired length, which for me, was 4 feet. I laid them all out side-by-side and then cut two shorter boards that would lie across them all, one for the top of my shutter and one for the bottom – these two pieces are what will actually hold the shutters together. I used some clamps to hold my cross boards in place, turned it all over and, with a couple of screws, I attached the longer boards to each of the cross boards beneath. Screwing first through the longer boards, and then into the cross board, allowed for the screws to stay hidden, so they were’t visible from the front of my shutter.
Once it was all together, I gave it all a quick wipe down with this natural danish oil to bring out the grain and protect the wood.
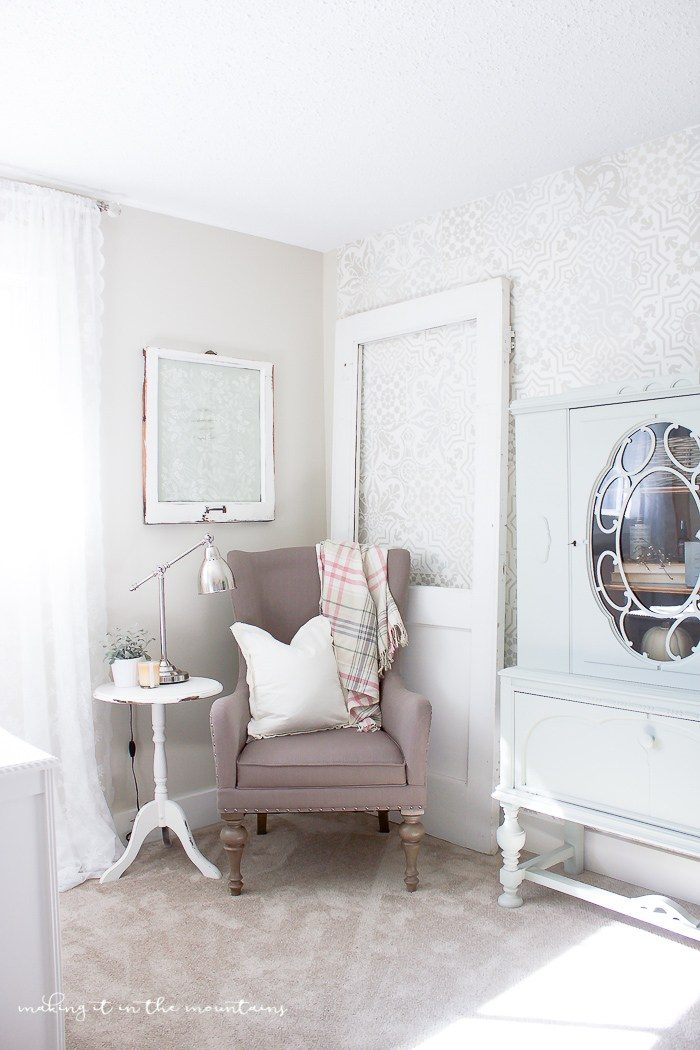
I think they look so pretty sitting on top of this beautiful buffet table in my new office space! But really, there and SO many ways I could put these to work all over the house!
These rustic shutters were so quick to whip up, I’m already planning to build a few more to throw in with my holiday decor.

Wishing you SUCH a lovely day!
Cute cute cute! Love Kristi’s office space mucho,
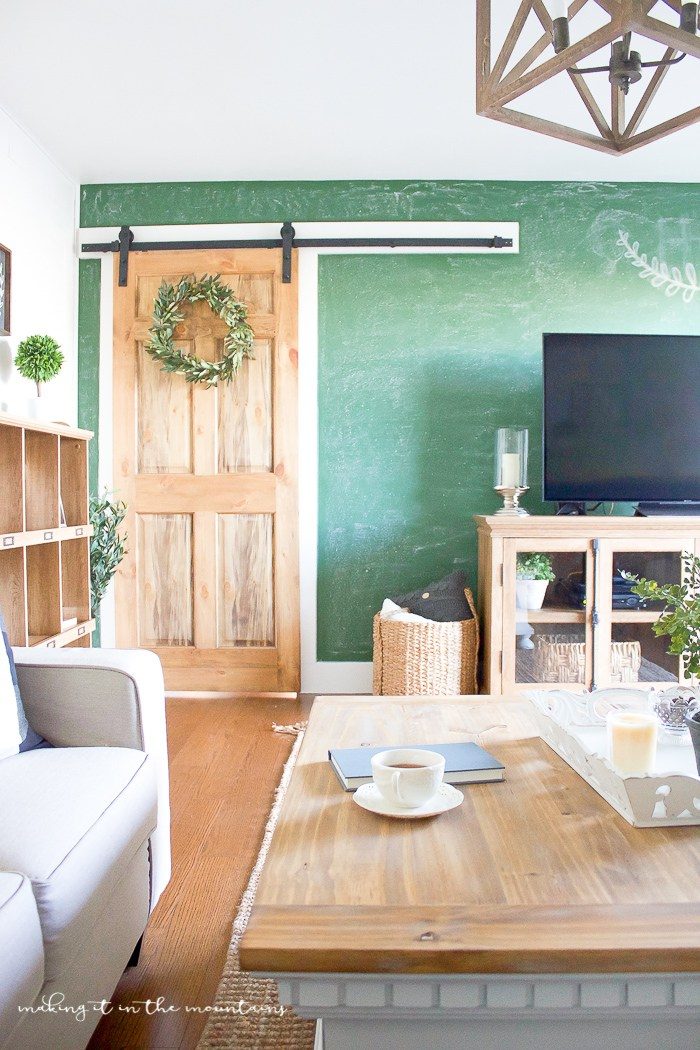
and her gorgeous DIY Chalkboard Painted Wall!




I LOVE this DIY and I actually have all the materials in my garage, but I would have never thought of this myself. Thank you for the inspiration!!
Cooking Up Faith
http://www.cookingupfaith.org
Oh please share your final pics with us! xo
This is such a fantastic blog, I love it and am consistently pinning. I see posts that attract me in a link party for example and of course its Lollyjane.
I have been wanting shutters for eons and the are ridiculously pricey where I live. You solved a problem and I thank you.
Pinning.
Kristi does such a beautiful job with her decor and these shutters are no exception. I really like the chalkboard wall as well.
Such a beautiful project! Thanks for sharing your project at Craft Frenzy Friday on Mom Home Guide!
Hi Kristi, I have an china display cabinet similar to yours in your office. I was wondering how you painted the filigree on the outside door of the cabinet. Did you remove the filigree or what. I;m having an awful time trying to paint the filigree and clean the glass. Any suggestions??
Good question for Miss Kristi, we’ll let her respond 🙂
love the shutter!!! amazing!
Thanks, Courtney! We love it too!
Kristi just keeps rocking it out! Featuring this at Your Inspired Design tomorrow!
Hi Kristi, just hopping back to let you know that you will be featured at SYC tomorrow.
hugs,
Jann
Yay, so glad you shared the tut. I’ve been meaning to make some shutters for a while now but for some reason I just haven’t gotten around to it. This was the inspiration I needed. Thank you ladies
These are great! What a fun project. Thanks for sharing at the Family Joy Blog Link Party this week!!
Thanks for sharing the how to’s for these great shutters with SYC. Love them!!
hugs,
Jann
So pretty! Love the garland around it too!
We love it too! Ck out the tutorial here: http://lollyjane.com/diy-book-page-garland-tutorial/
This is so cute!
I would love for you to share this with my Facebook Group for recipes, crafts, tips, and tricks: https://www.facebook.com/groups/pluckyrecipescraftstips/
Thanks for joining Cooking and Crafting with J & J!
these shutters are adorable
I love the shutters! Great project.
Thanks, Virgina, we think they’re gorgeous!
I’d like to borrow a bit of your creativity please and thank you!
Kelli and Kristi, these are gorgeous! I’m going to try to get more crafty in 2017, and I know where to go for inspiration and how-to’s!
Hi Jean!
Thanks so much! We’re glad you love our blog (:
xo