DIY Halloween “EEK” sign
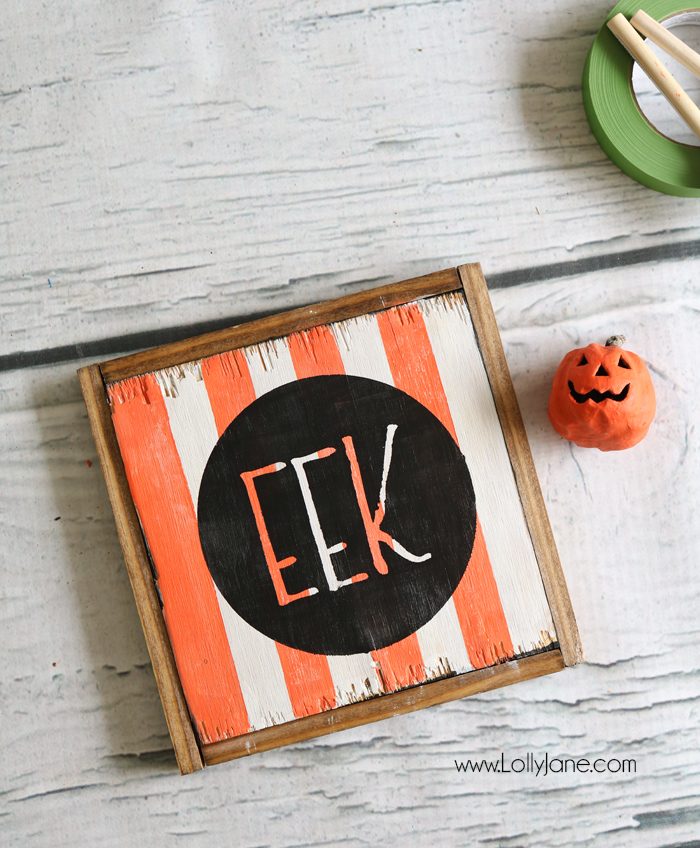
EEK! Halloween is in 28 days so we are getting to work sprucing up our spooky spaces! We’ve partnered with Jane on Instagram and are playing along with the short IG series #JaneTrickOrTreat. Today we’re kicking the series off with our “Trick” (aka: EEK sign) and you’ve gotta head to Jane’s IG to see the “Treat!” Every day this week they’ll be sharing a new Trick or Treat so be sure to follow along. 😉
In the meantime, who wants to make an Eek sign?! Fab! Let’s get started!
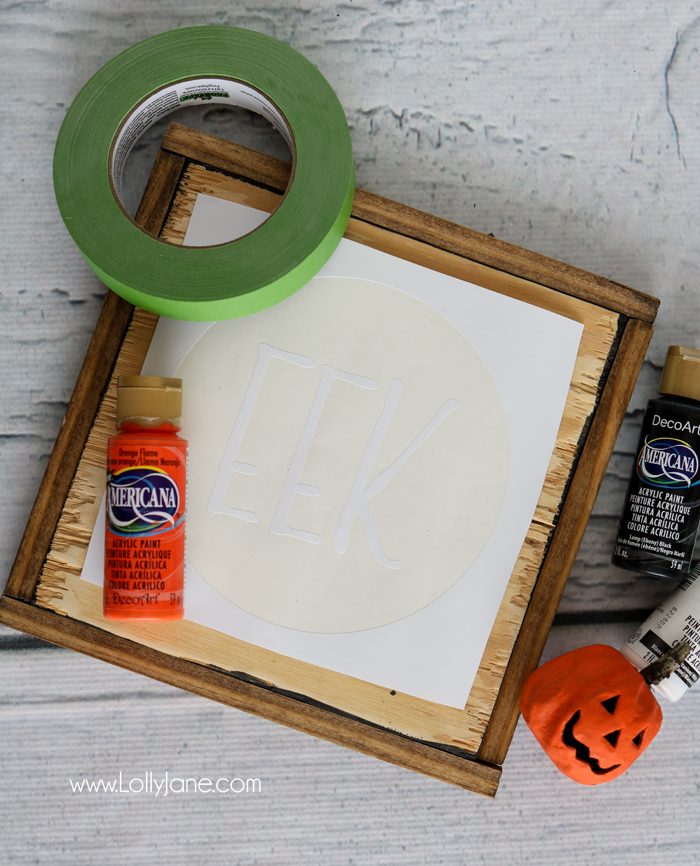
To make your own you’ll need scraps of wood from your stash or new wood, whatevs! We used:
- 8″ x 8″ pine with 1/2″ furring strips cut to fit
- Wood stain
- Acrylic paint: White, Black, Orange
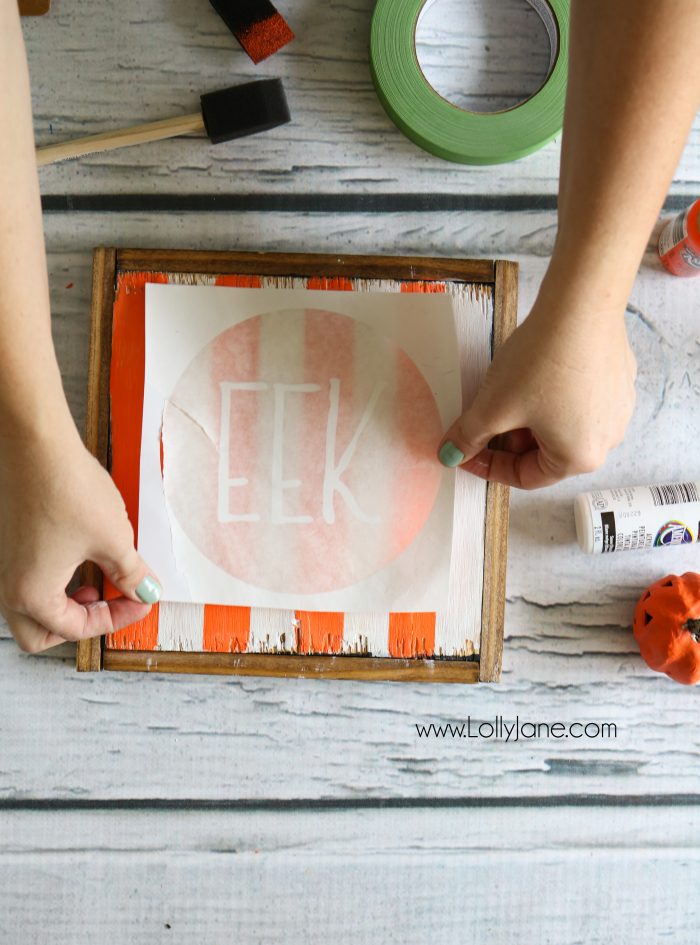
- 4″ x 4″ EEK vinyl stencil (from the cut file below)
- Foam brushes x3
- Frog Tape
To assemble this cutie took us less than an hour! First, build your sign.
Now, let’s paint!
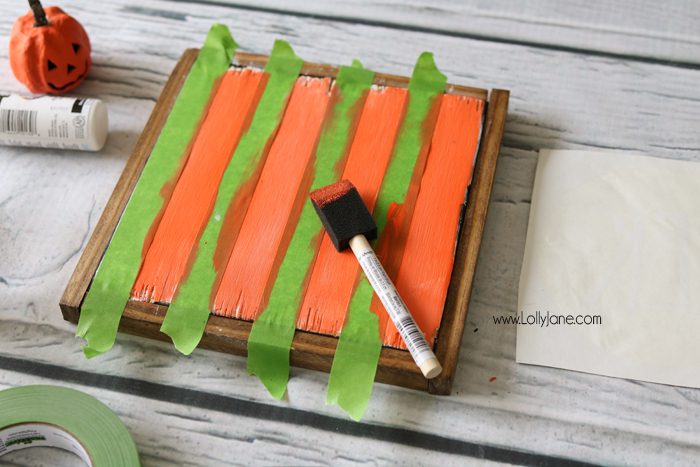
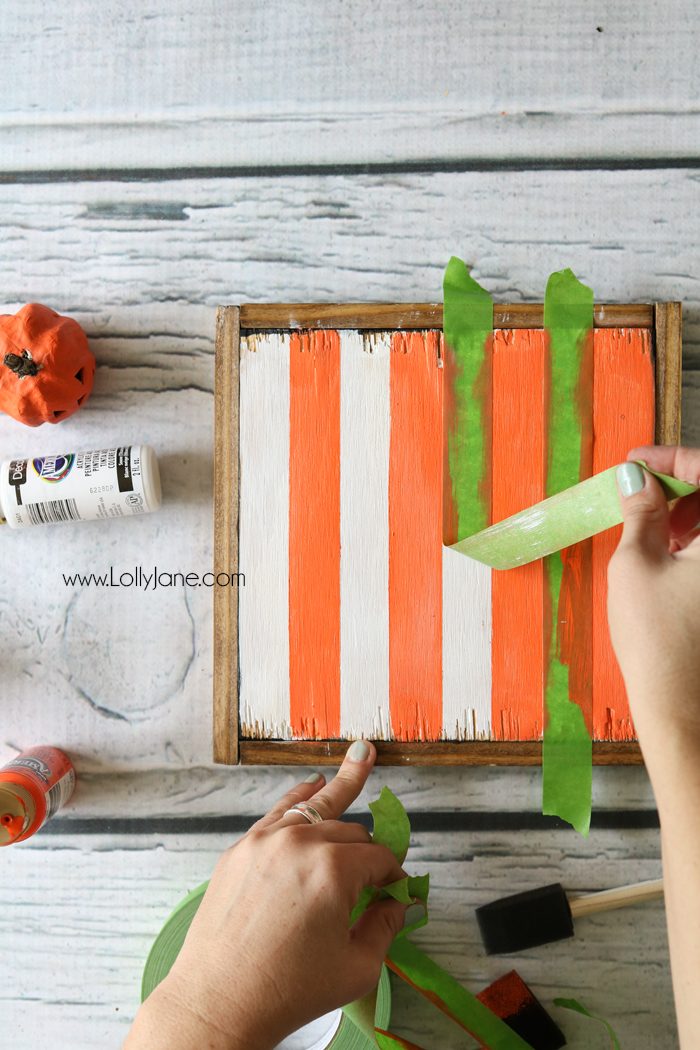
- Paint wood white.
- Once dry, lay 4-5 pieces of Frog Tape across sign.
- Paint orange over tape.
Peel tape up! Viola! Crisp stripes! Next, place vinyl stencil EEK centered over the board.
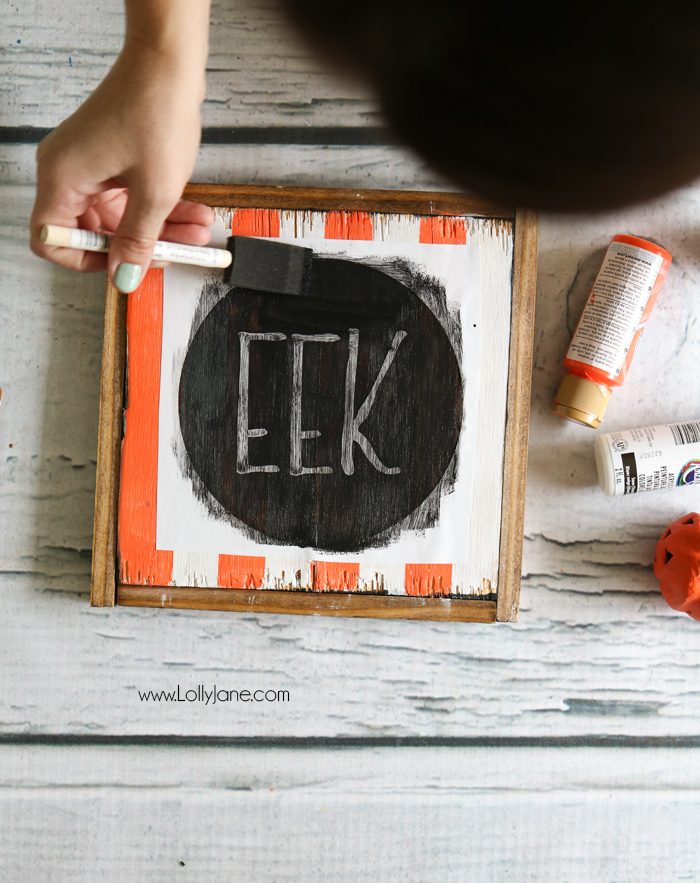
Next, paint black over the stencil.
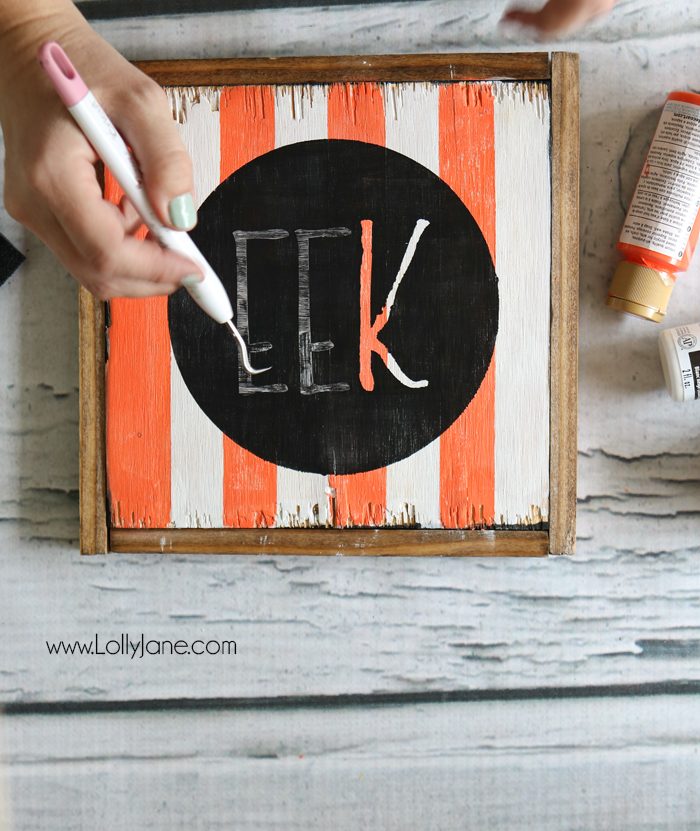
Lift stencil from board and discard. Using tweezers or weeder, remove EEK letters from stencil.
Optional: Add sawtooth hanger to the back. We didn’t as it sits upright as is.
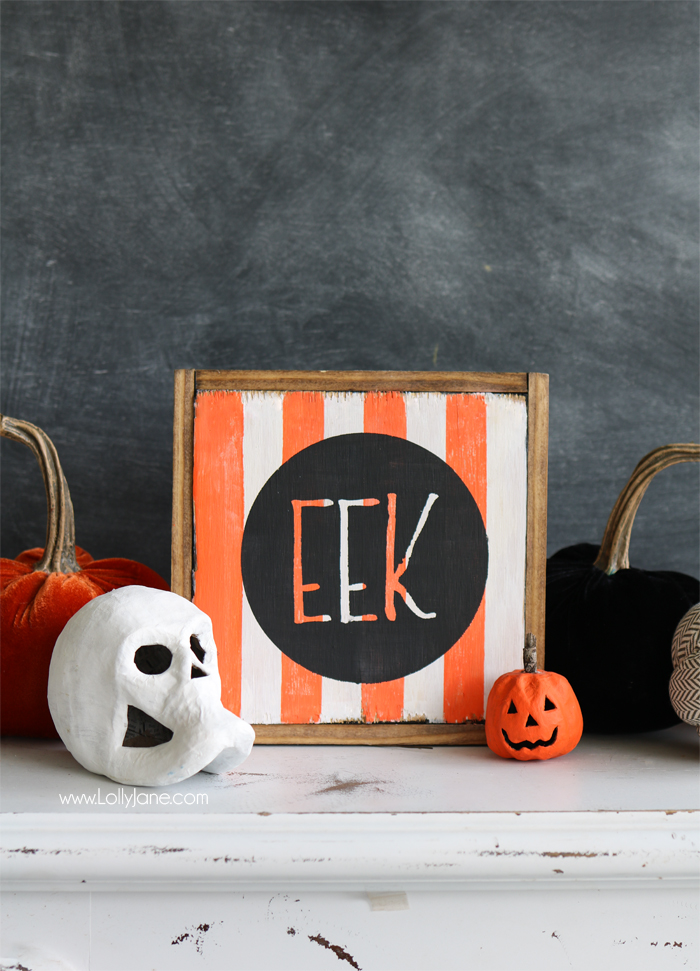
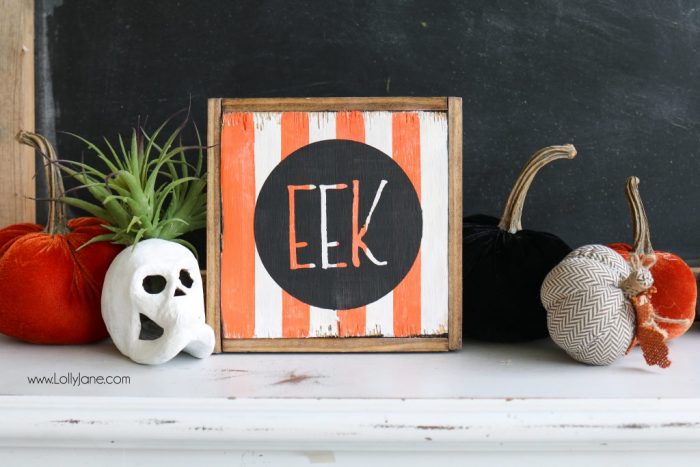
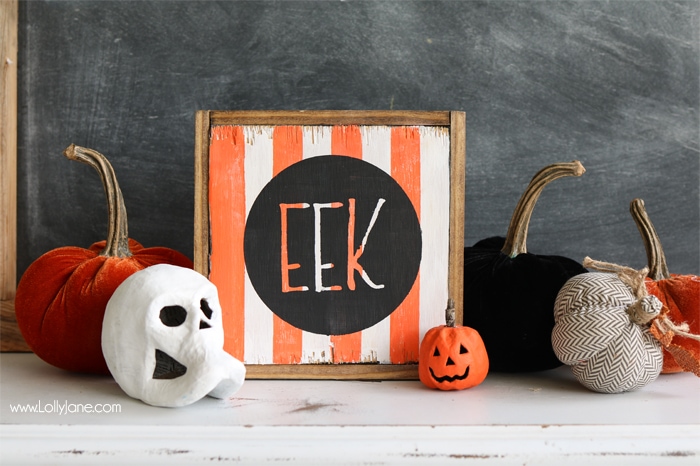
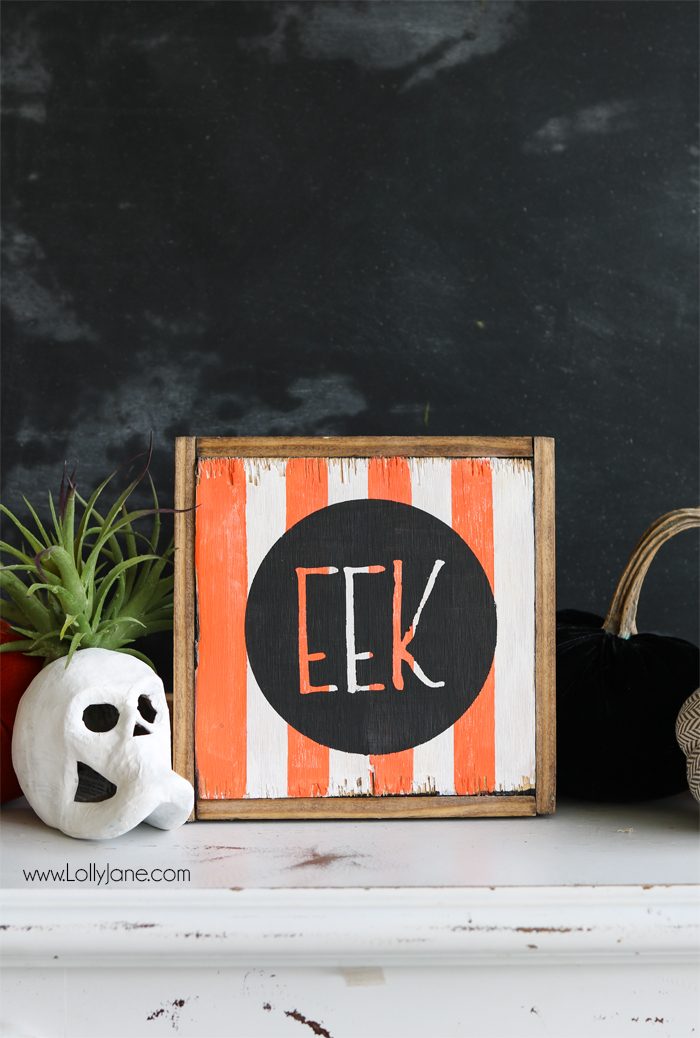
That’s it. Pretty darn cute, am I right?
This spooky little number would be a great hostess gift for your upcoming Halloween parties or just pair with pumpkins, real or artificial, to spruce up your own spooky space stat! HAPPY HALLOWEEN!
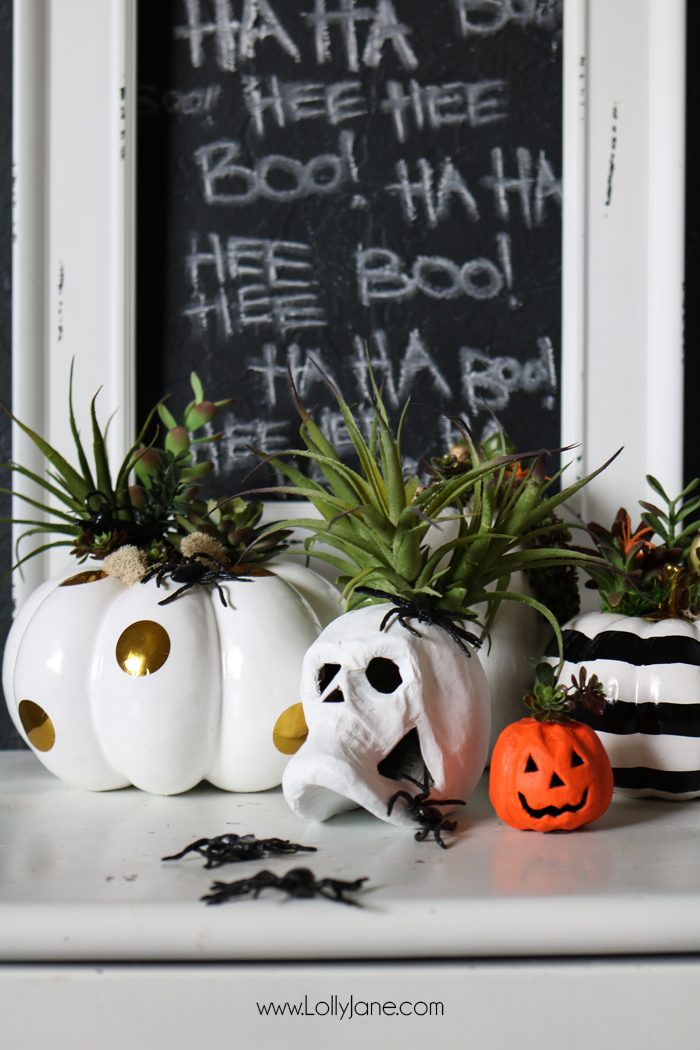
Check out more fun DIY Halloween decor like our Succulent Pumpkin Planters,
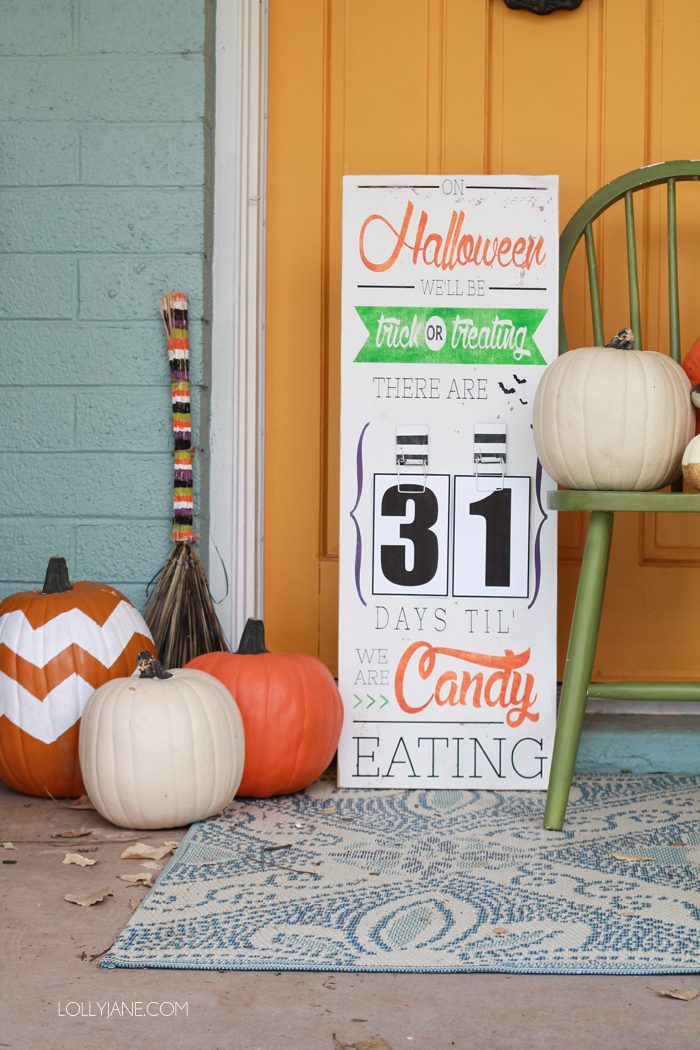
our DIY Halloween Countdown Board,
or our Halloween Ghost Cupcakes! Yum.





I am horrendous at Instagram, but I want this little sign and of course the cupcakes too. The sign is so signature and fun.
Thanks for the file and all the inspiration!
Enjoy!! xo
This looks great. Love Halloween fun. Thanks for sharing at Creative Mondays, hope to see you on Wednesday for our next blog hop 🙂
Super, super cute! Thanks for sharing at Celebrate It!
So simple but so effective and thank you for the Eek File 🙂
I love that you kept the sides of the furring strips jagged to give it a perfectly imperfect look. Thanks for sharing your fun Halloween sign on Merry Monday. Pinned it.
So cute, and I love the stripes- adds a modern flare!
SUPER CUTE! (love them ghost cupcakes too – soooo easy but so perfect!) Thanks for linking up at Share the Wealth Sunday!
Aww thank you so much, Carly!
Thanks so much for linking to http://simpleparenting.co.uk/apple-printing-naturally-crafty-15/
You’re right this is the cutest EEK sign, thanks so much for the printable to 😉
This is SO cute! 🙂
Very cute sign. Also easy to make. I hope to see you link up with us at Family Joy Blog Link Up Party. Check us out http://thinking-outside-the-pot.com/?p=3022
LOVE this EEK sign and thank you for sharing the EEK cut file, however, I’m not finding the cut file download link?
If you right click and save, you can convert it to your program (:
How did you get wood edges so jagged looking?
Hi Danielle! We cut the wood on our miter saw and didn’t sand the edges down so it created a rough look (: