Easy Watercolor Flower Tutorial
If you want to learn how to paint effortless looking watercolor flowers, we’ve got the easiest tutorial for you! Follow these quick steps to paint the perfect watercolor flowers in no time!
Hi, it’s Ashley from Star and Arrow Designs. We have been having a LOT of May showers around here, so it’s only appropriate that we kick off spring with some bright happy florals. Want to learn how to paint those effortless looking watercolor flowers? Scroll on! First, we will do a little watercolor 101 and then a tutorial to practice to get you warmed up.
Watercolor 101 for beginners
Watercolor is by far my favorite medium. I love the simplicity (or complexity) of it. It is such a free spirited medium, and with a little practice, you can create some really beautiful things.
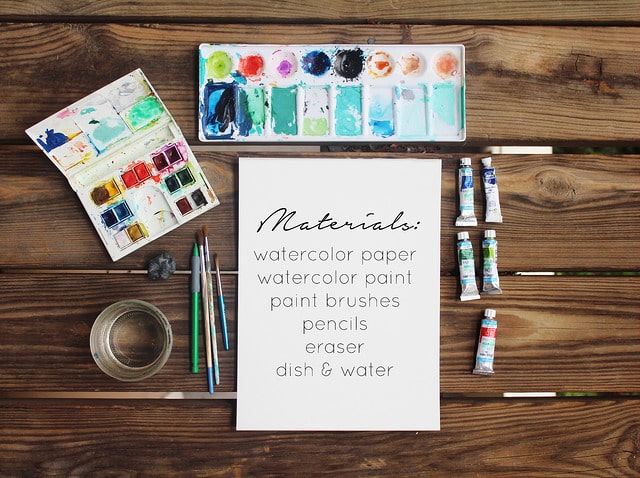
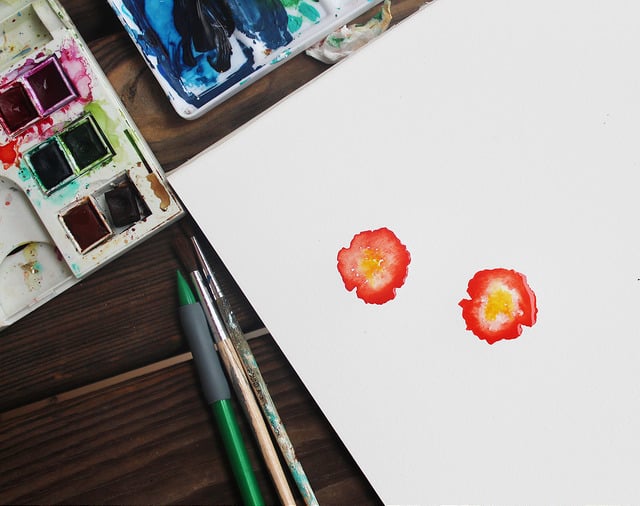
materials for watercolor painting
To start, gather your materials. If you read my DIY Abstract Art tutorial, I am all about saving costs, especially when you are just starting out and having fun! Don’t worry about getting the best thing until you know you love it.
- Paint: If you are new at watercolors, opt for inexpensive watercolor paints.
You can use pan (hard) or concentrated (liquid) watercolors. I use both for different reasons. I find that the concentrated watercolor is much more vibrant and feathers much prettier when added to water. They will be your more expensive option.
I use paints similar to this and these.
- Brushes: I like these watercolor brushes, they include storage which is a bonus.
- Paper: The thicker the paper the less it warps.
I like this thicker paper ($) or this watercolor pad ($$).
You can also buy single sheets at most art stores. You’ll also need the following materials:
- Pencil & Eraser
- Small dish & water
- Paper Towels
WATERCOLOR 101: THE BASICS
Play with your paints and colors first! Get the feel for your materials and how the paint flows in the water.
Tips:
- The more water you use, the lighter the color.
- Once you paint over pencil, it can’t be erased. Sketch your design and then erase (link) your lines as much as possible while still seeing the lines.
- If you mess up, dilute the area with water and “erase” with paper towel
- Too much water or paint? Blot with paper towel.
check out more watercolor projects:
The two methods I use the most when painting are:
Wet on wet: apply water first to the area you will paint, then apply wet paint,
- More free flowing
- Works well with concentrated watercolors
- Feathers the paint
Wet on dry: apply paint to dry paper.
- More concentrated color
- Creates solid color
- Doesn’t blend colors as well
WATERCOLOR 102: FLOWERS
What is there not to love about watercolor florals? I love loose and flowing flowers and here are some simple (if botanically inaccurate) ones to try!
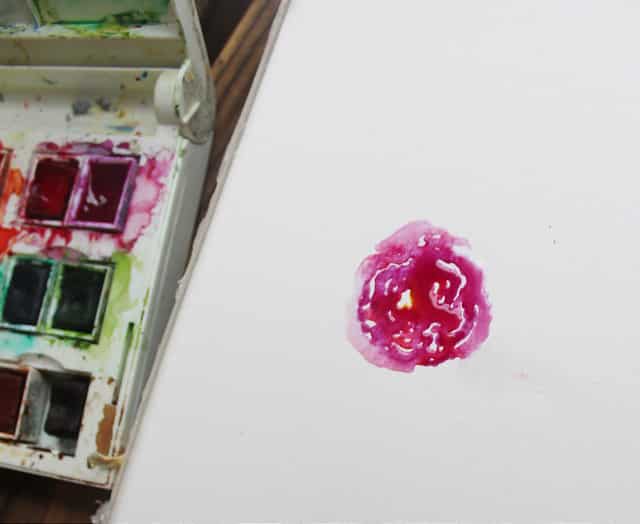
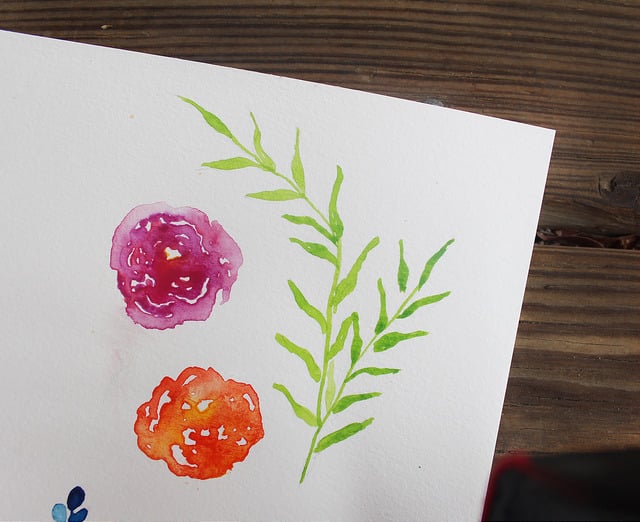
Roses:
- Paint a small “V.” This will be your center
- Paint loose wavy lines around the V. These are your petals
- Continue painting a couple layers outward
- Clean your brush and using water or a lighter paint color, lightly pull it through the blank spaces around the rose.
- Allow it to touch the first color to lightly blend the colors
Poppies/ Anemones:
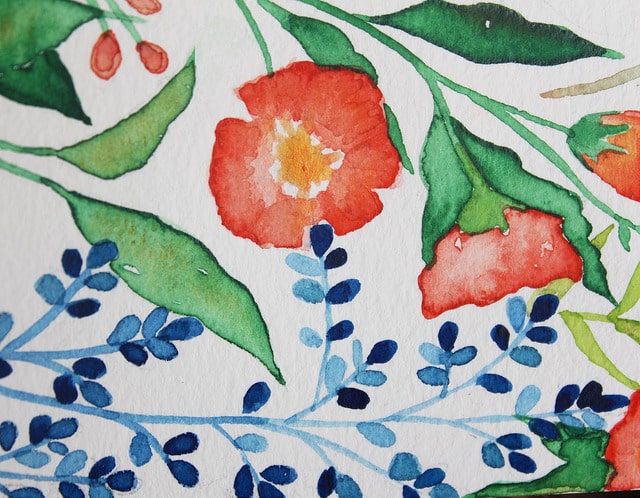
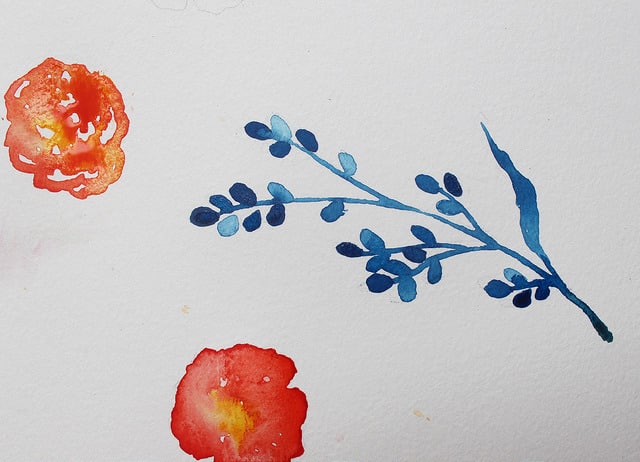
- Paint a wavy circular line with occasional slits to form the flower shape.
- Keep the outline saturated
- Clean your brush and use clean water or a second color to paint inside the outline, being sure to blend with the outer color.
- Leave the middle white.
- For a dark center, paint it in once the flower has dried
- For a light center, paint it while the flower is still wet to blend
Berries:
- To prevent your berries from blending all together, let some dry before painting others
- I like to make them all different shades, starting with dark saturated ones.
Leaves
- Mix a little ochre, tan, or brown to your green
- The looser the lines, the prettier your leaves
- Leaves are random! Don’t think too hard
Practice makes perfect, and I have found that the more I worry about details, the more forced my artwork looks. There you have it. Have fun! Be sure to stay tuned and follow along with my art adventures on my Instagram. XO, Ashley


Anyone teaching a beginner’s class should follow this outline.
Thanks, Pamela! So glad you enjoyed the tutorial!
Thank you for sharing these tips.
Glad you enjoyed it, Judy! Take care!
Thanks for helping us artists & aspiring ones to create lovely pieces just like you! ^_^
So glad this was helpful, Erica!
Thank you so much for the inspiration!
Glad you like it, Linda! 🙂
Wow pretty! Watercolor has always felt so daunting to me but this makes me want to try again. Thanks for the tips on when to use wet vs. dry. helpful 🙂
She’s so talented, we love it too, Stephanie!