Old to new: vintage window dry erase board!
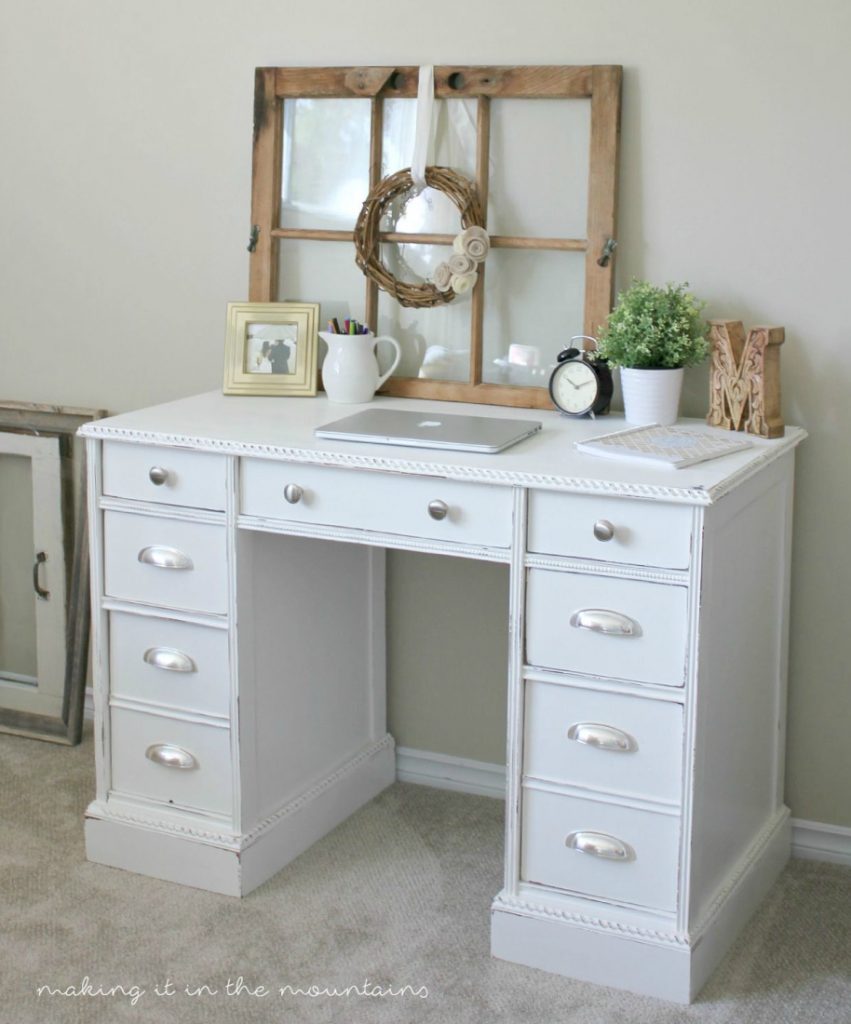
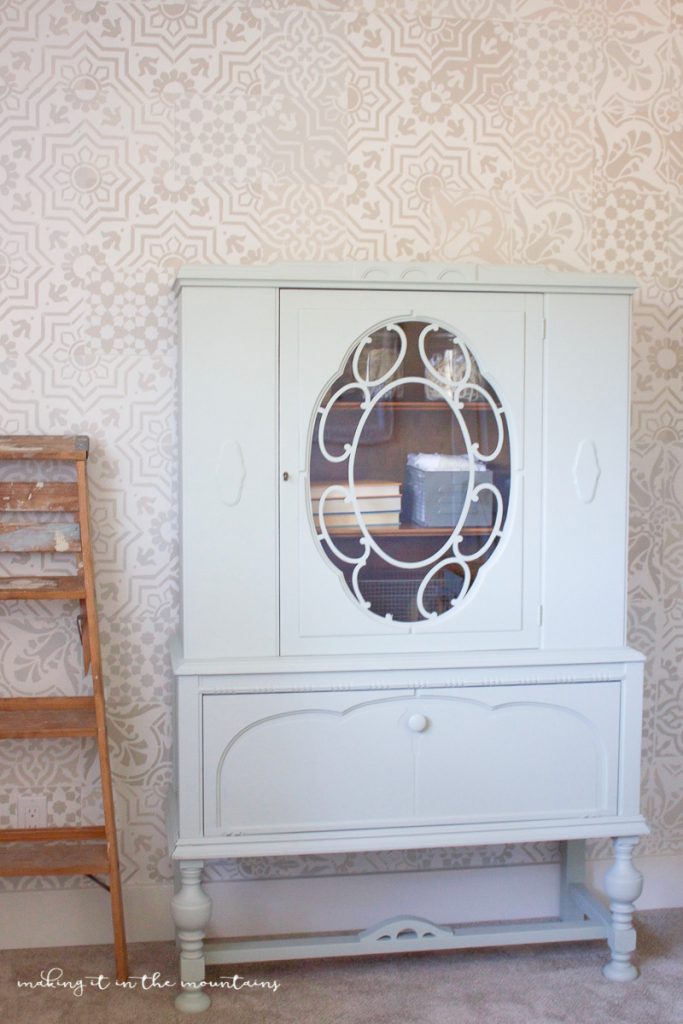
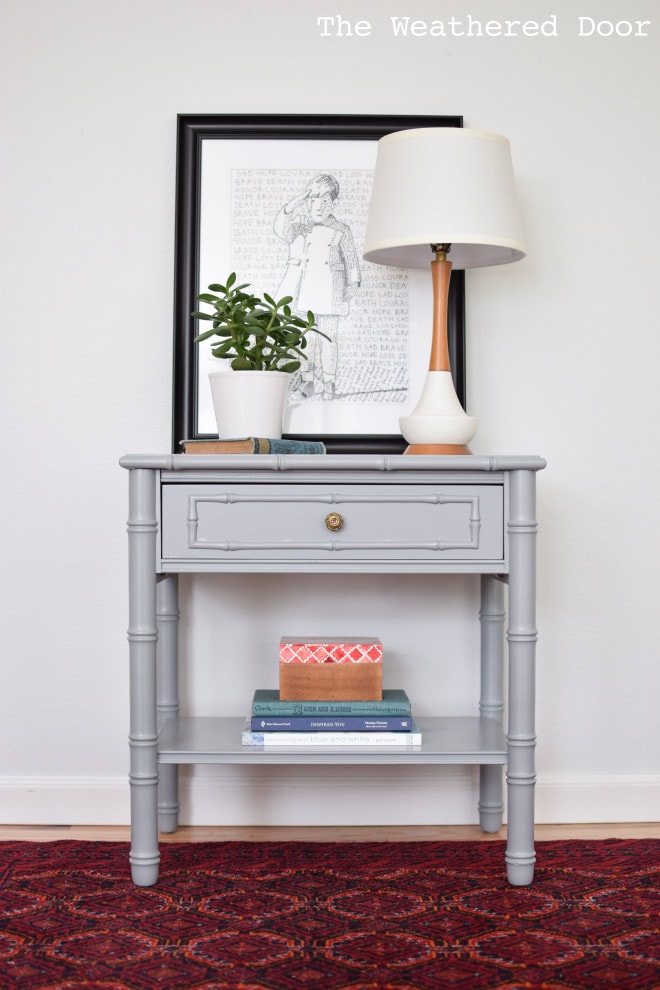
Hello friends! I’m so happy to be popping in again from Making it in the Mountains, where I blog about our journey to transform our first fixer-upper into the {farmhouse} of our dreams, one DIY project at a time. We’ve been hard at work these last few months creating a lovely office space that I can work from home in. Okay, maybe not so much hard at work as hardly working … ha! I mean, it is Summer after all. And warm, sunny days are nothing to be wasted waaaaay up here in northern AB! I suppose that’s why it’s taken us months to finally be seeing some progress in this office space. Though I’m not exactly happy with how long it’s taking us to get there, I’m really loving the projects we’ve tackled so far!Like this pretty vintage cabinet I painted up for some extra storage…
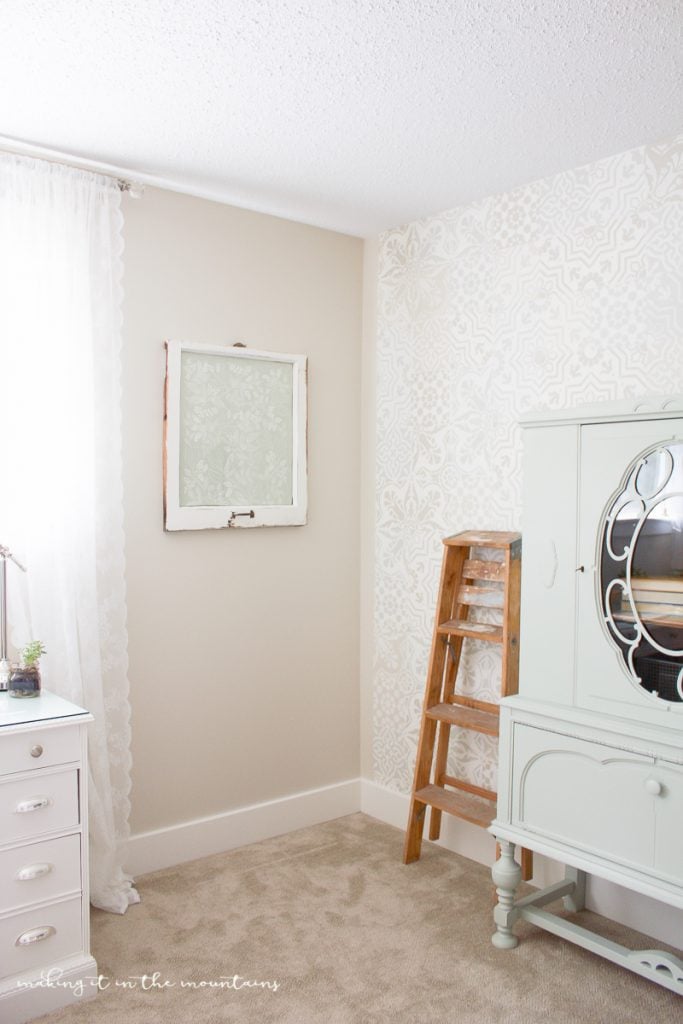
I think it looks so perfect standing in front of that painted tile wall! And how sweet does this DIY vintage doily dreamcatcher look hanging on my farmhouse style memo board?

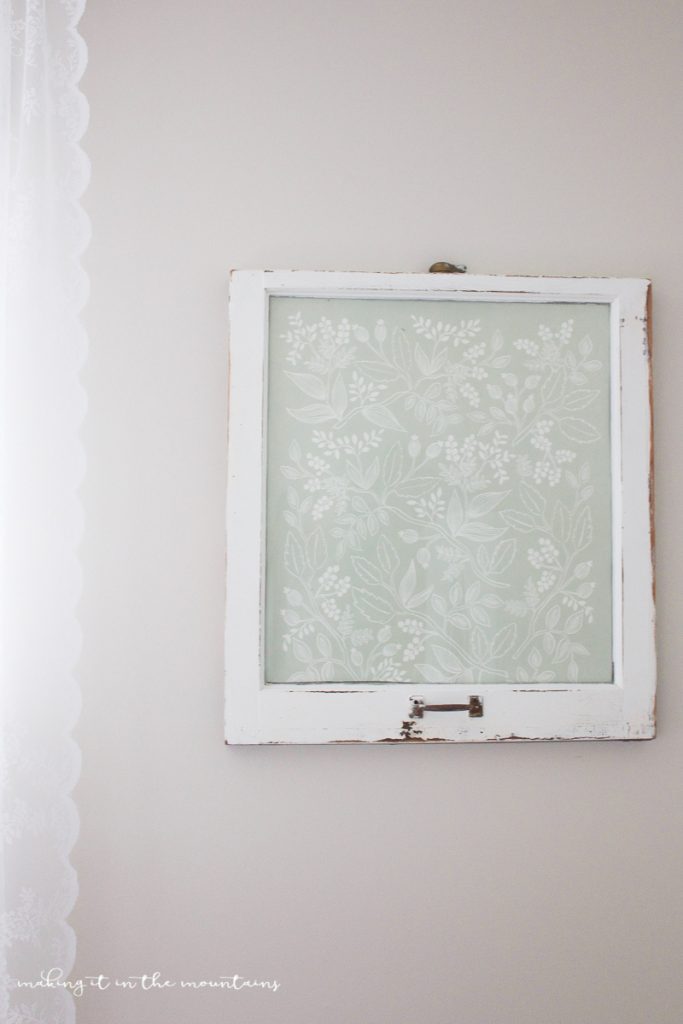
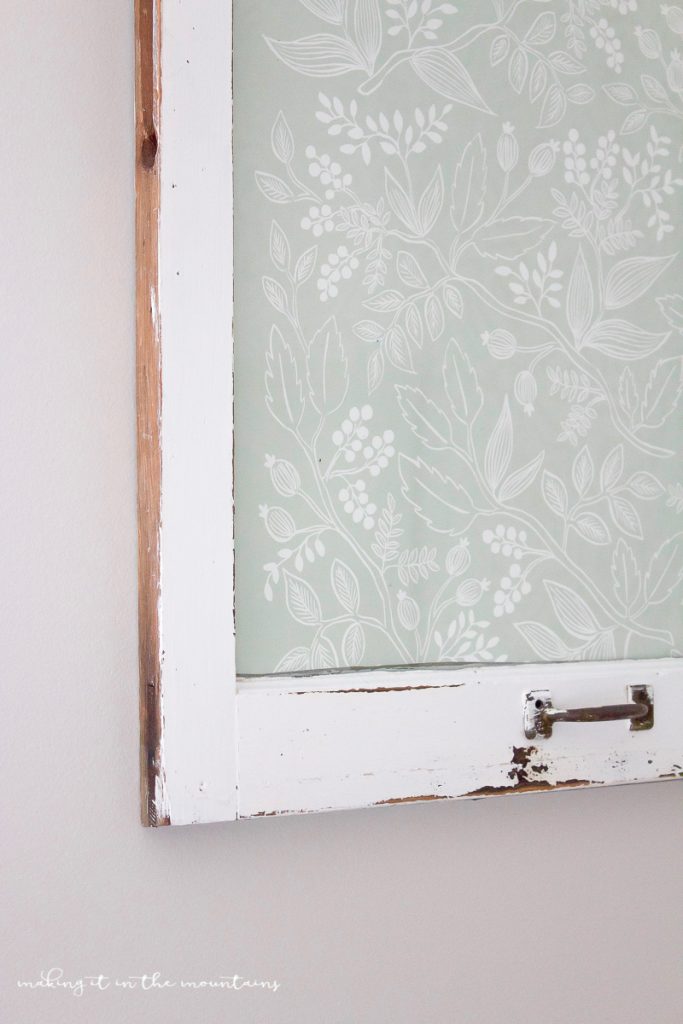
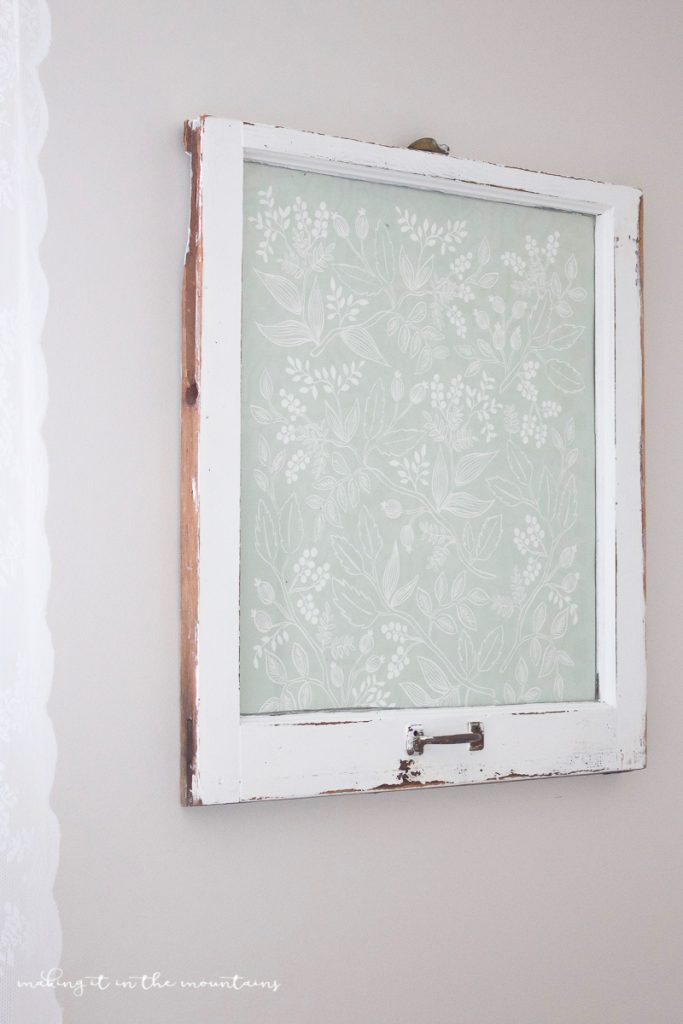
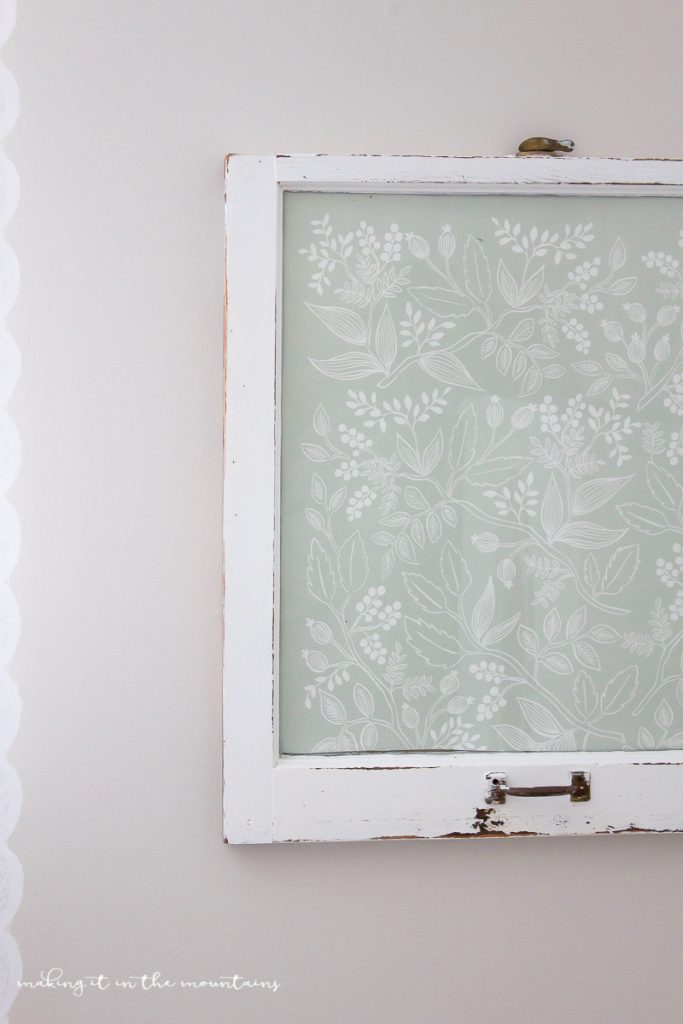
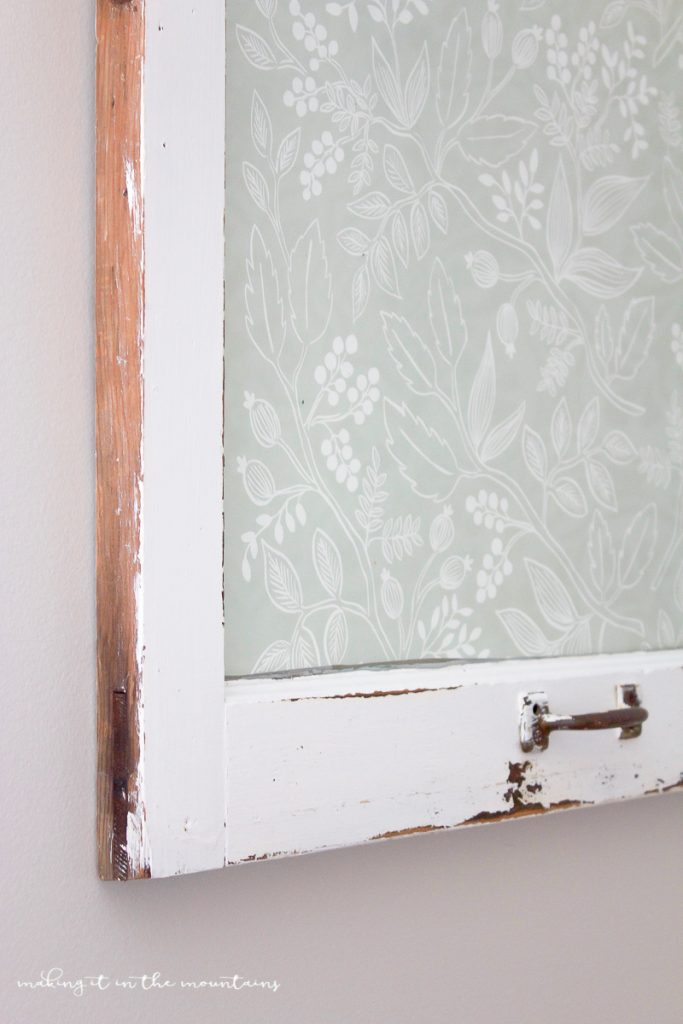
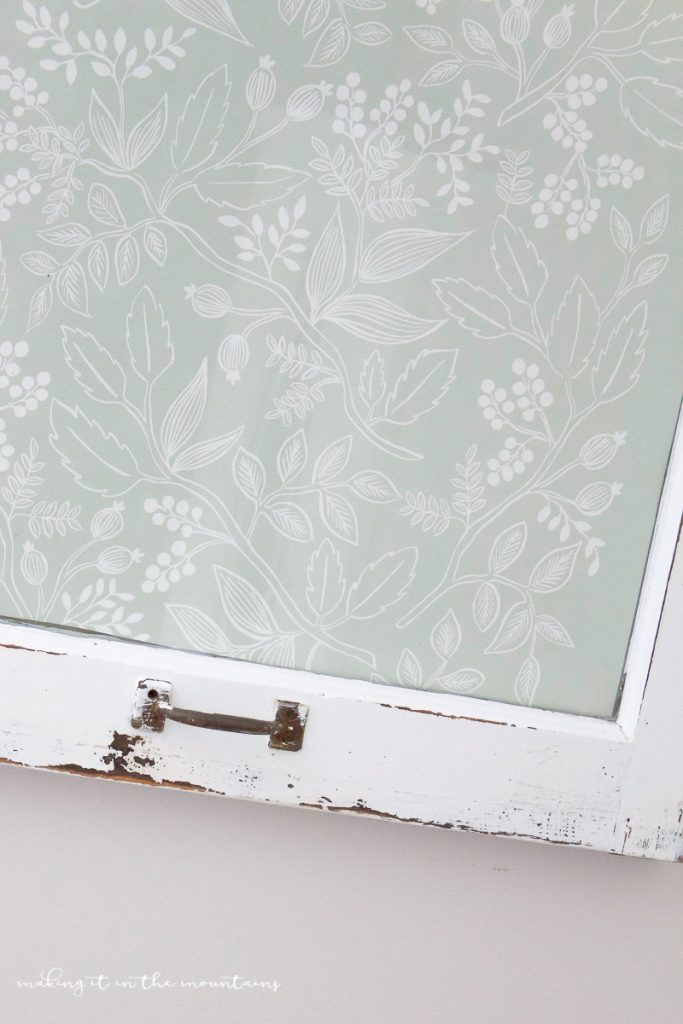
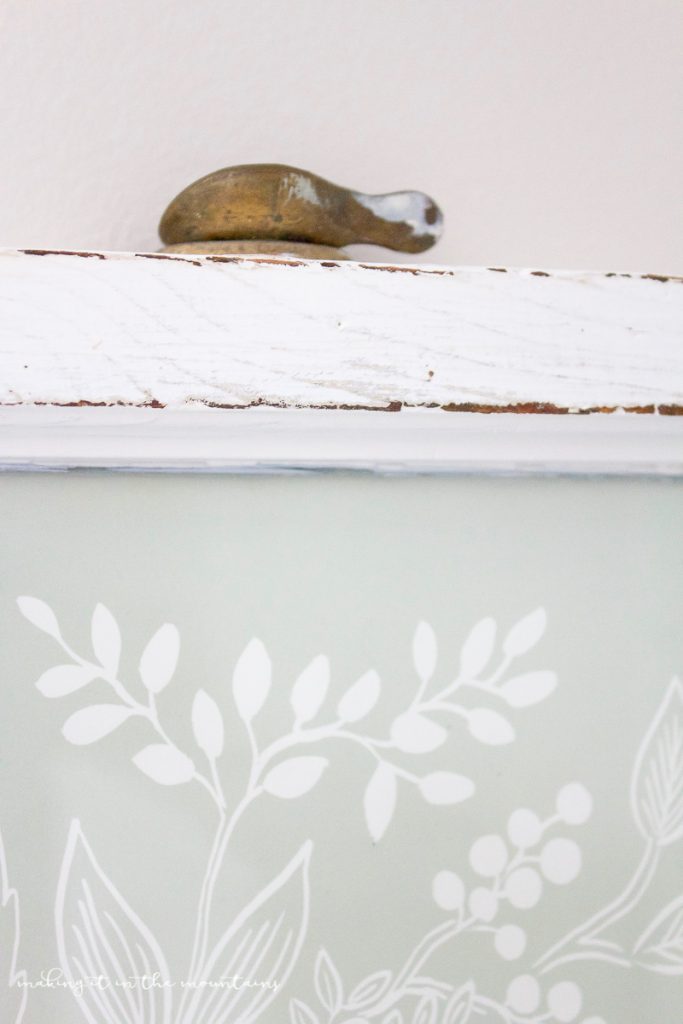
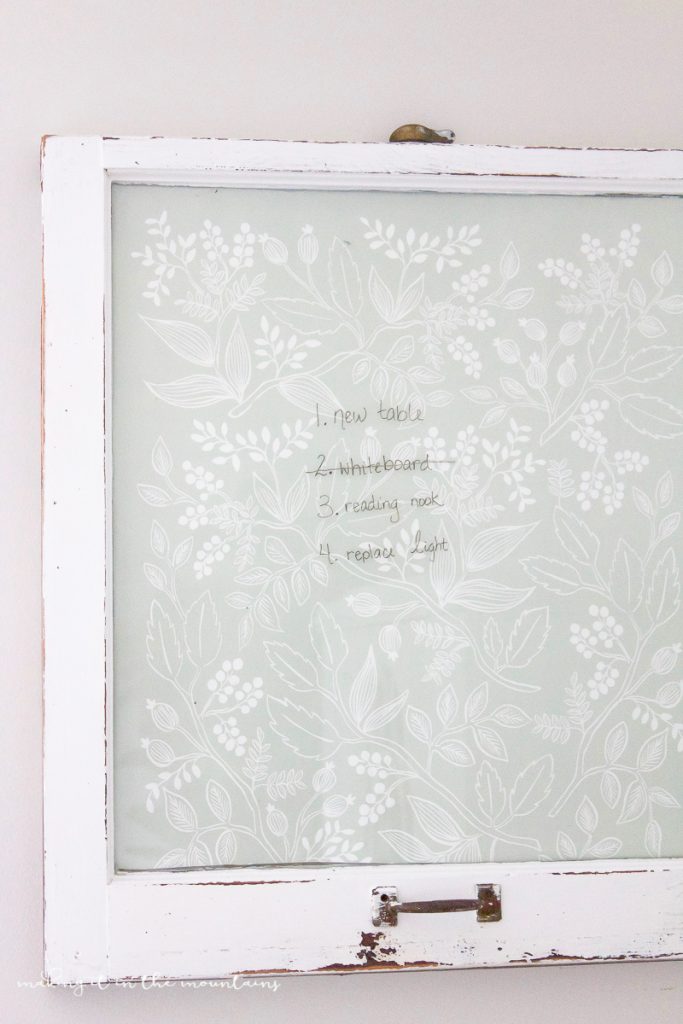
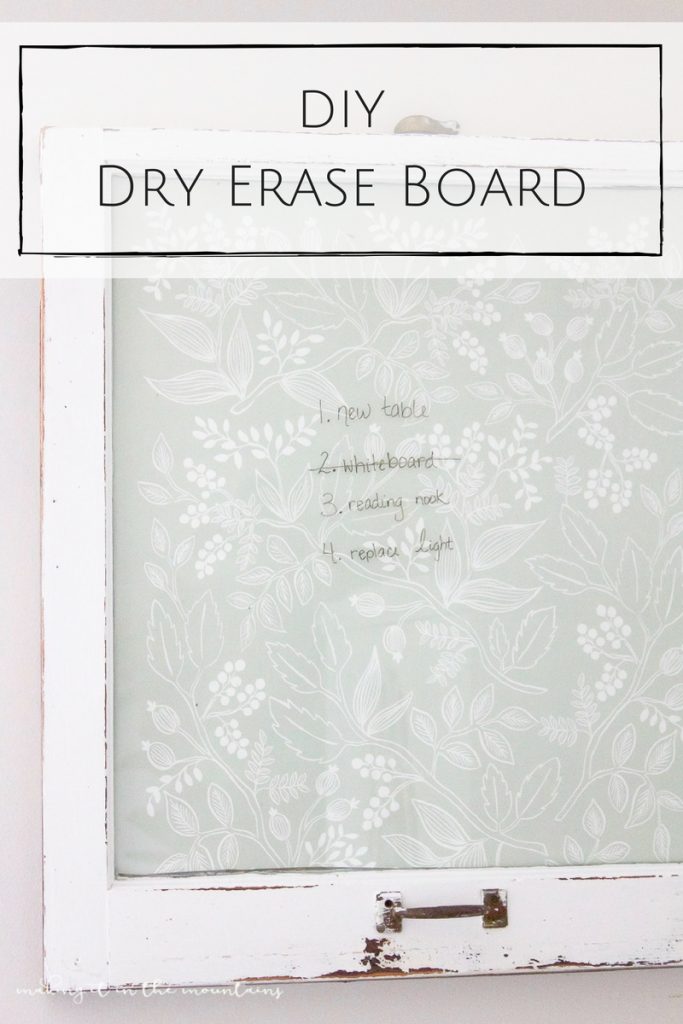
I’ve got myself the prettiest dry erase board that I can write on and wipe off to my heart’s content with any old dry erase marker.
I’ve had this old window sitting around for ages now and I’m so happy to finally be able to put it to work in my new office space!
If you liked this project, I’d love for you to pop by to see all of my other farmhouse style DIY’s! Wishing y’all such a lovely day!

.jpg)
Visit several more farmhouse ideas like our DIY Farmhouse Shelves,
plus our own Kristi’s new Farmhouse Chic Shelves!

.jpg)
.jpg)
I found the exact same vintage window in Facebook marketplace. I was so excited! I took the time to scrap off some paint off the glass and clean the window. However my window was filled with termite droppings and live termites. It sounded like sand running through the frame when turned upside down. So I cut a hole in the back and my nightmare came true. What a mess and waste of time. Absolutely disgusting. So be careful when purchasing old vintage wood, especially windows! I don’t think it’s worth it.
Oh my word that is so gross, ack!! So sorry and thanks for the heads up!
For me it’s your Dry Erase board! WOW!!!! Seeing the lace curtains, I just knew you had used a piece of lace instead of wrapping paper. I read wrapping paper I had to take a…well lets just say I looked a bunch of times. I really love this one, thank you for sharing.
Looks amazing!!
Thanks for linking up with Welcome Home Wednesdays! Live every Wednesday at 7AM CT.
liz @ j for joiner
Thanks, Liz Jo!
Love the look and yes it is so pretty. Thanks for partying with us at Merry Monday.
I love the vintage look especially with the white wood. Thanks for sharing at Funtastic Friday.
Thank you for sharing Kristi’s project at Shabbilicious Friday this week. How adorable is that paper and the chippy vintage window. I’m delighted to be featuring this post at the party tomorrow. Hugs ~ Kerryanne
hello Kristi and Kelli with an I!
Boy am I ever glad I hopped back over to comment and noticed that your name isn’t with a Y.
I loved this project! You are featured today on my blog for Thursday Favorite Things.
Thank you for sharing.
Olivia
LOL, thanks, Olivia! Happens all the time 😀
Love your dry erase board! Pinning this so I don’t forget it. I have one anytique window that now I know just what to do with!
This is wonderful! Thanks for sharing at Home Sweet Home!
This is absolutely adorable. Old windows are gorgeous and this is a perfect way to use them!
Love those chippy brackets and what you did with the desk! I have that desk, but I’m thinking that it needs an update to look more modern.
What a cute and practical idea! It’s amazing what creative people can come up with. Visiting from Over the Moon Link Party #39 🙂
Love this, it looks amazing, that wrapping paper is so gorgeous!! Easy and quick projects are so much fun!
Cutest dry board ever. I love it! Thanks for sharing with SYC.
hugs,
Jann
Oh I NEED one of these for my home office! It looks gorgeous, love the paper you’ve used 🙂
I would have never guessed that was wrapping paper you used. Love it! Thanks for sharing your post with us at Creatively Crafty #CCBG http://tryit-likeit.com/link-party-it
PS – lots of pop ups and ads are showing up on your site. It took a few clicks to get you see you post.
Isn’t this too cute?! LOVE it!
I would love for you to share this with my Facebook Group for recipes, crafts, tips, and tricks: https://www.facebook.com/groups/pluckyrecipescraftstips/
Thanks for joining Cooking and Crafting with J & J!
I agree with you Kristi! Having a creative space for the work-at-home mom is a must! This is a lovely addition to your space–so chic and very much a design and function piece as well. Thanks for sharing it with us on #shinebloghop this week!
I love it; how creative! The paper you chose makes it look like etched glass. Very pretty.
Love how your office is coming together, Kristi and this is the perfect addition! xo
That window is absolutely gorgeous and even better you didn’t have to paint or distress it! The wall paper you used is perfect and ties in so well with the rest of the space. Love it, Kristi!
That is so pretty! I love the paper you chose! I can’t wait to see the whole room completed! You are actually living my dream~I want so badly to find an old farmhouse fixer upper that I could decorate and DIY to my hearts content! And farmhouses are so fill of charm and just rambling is the only word I can think of. My house is so tiny, I’m finding it hard to make it the style I want it to be.
You’re doing a great job!
Hey girls Love this! So cool!
I found my way to your blog via Kristi of Making it in the Mountains. She’s a fellow Canadian;) Well, I’m in Prescott (have you visited the great estate sales and new vintage shops up here?), recently having moved from Gilbert, and I see we were ‘neighbors’;) It was fun to discover your blog this morning. I’m sharing it!