Two-tone coffee table tutorial | furniture makeover
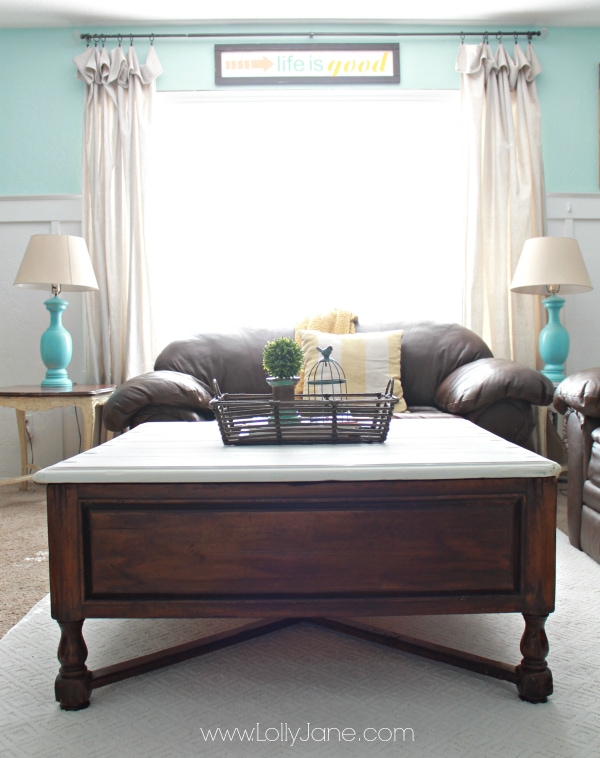
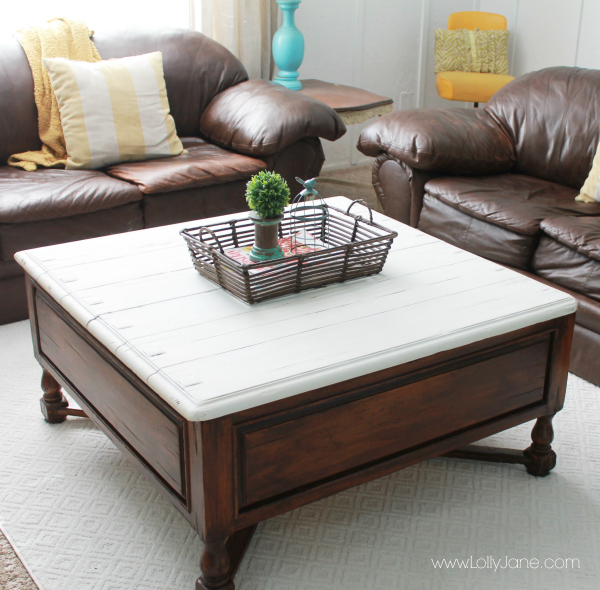
Happy Monday! We’re back with another easy tutorial today, this time sharing how to take a boring thrifted coffee table and turning it into a two-tone beauty! As y’all know, we like to share inexpensive alternatives to spending major money and this one was one of our cheapest furniture redo’s yet. (;
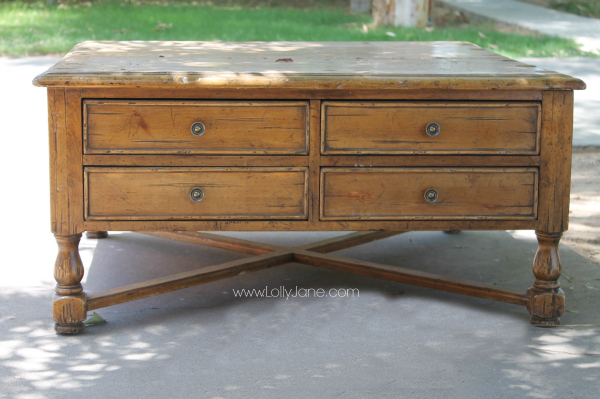
Take a peek at what the coffee table looked like before. I snagged it from my neighbor (who found it at Goodwill) for only $30- score! As you can see, it was in good shape with great bones! It just needed a little refinish job and I knew exactly what I wanted to do to it when I spotted it.
I first prepped the piece for staining by sanding it down on the corners. It looked like a beast of a dog used it as his chewing toy , darn it! I could have filled it in with wood filler and tried to repair it but since I have 4 littles and this is staying in the hub of our home, my family room, I decided to sand it down and blend it in instead. It’s going to go through it’s own form of torture anyhow! LOL!
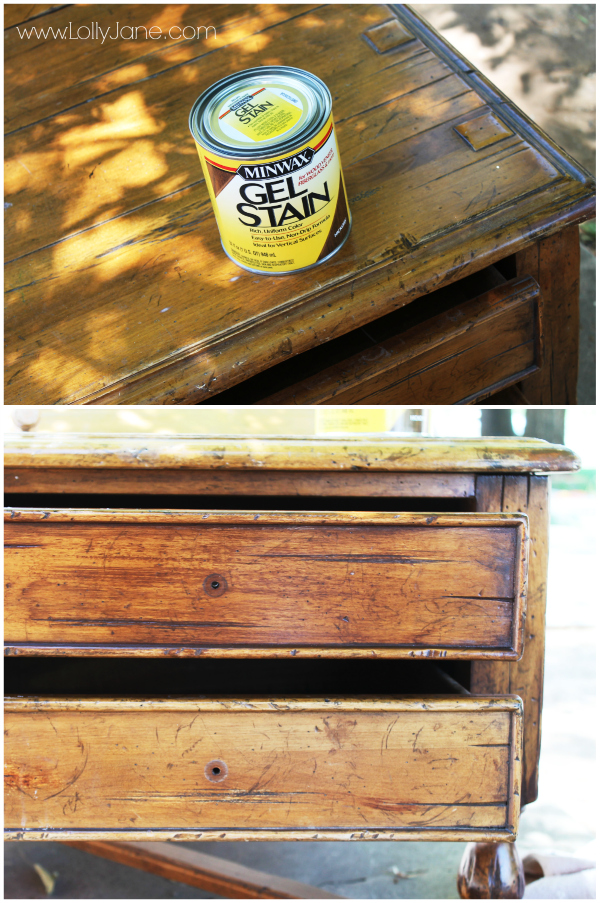
I’m a huge fan of staining furniture and have been wanting to try Minwax’s Gel Stain that I’ve heard so much about. It was fun to use since it went on with a rag instead of a paintbrush… yep, I said FUN. I looooove painting and staining as much as a girl loves shoes! Anyway the stain didn’t need two coats which is a huge bonus as this ended up being a quick step! Since I live in AZ and it’s always hot out, it dried super fast. See? There are perks to 120* degree weather! (;
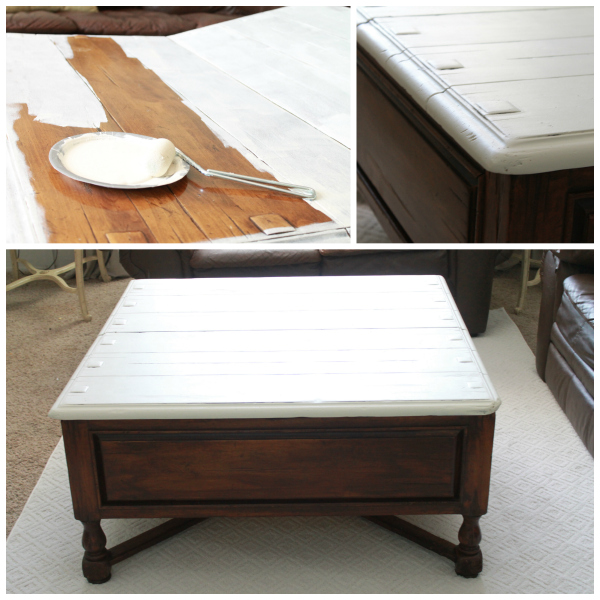
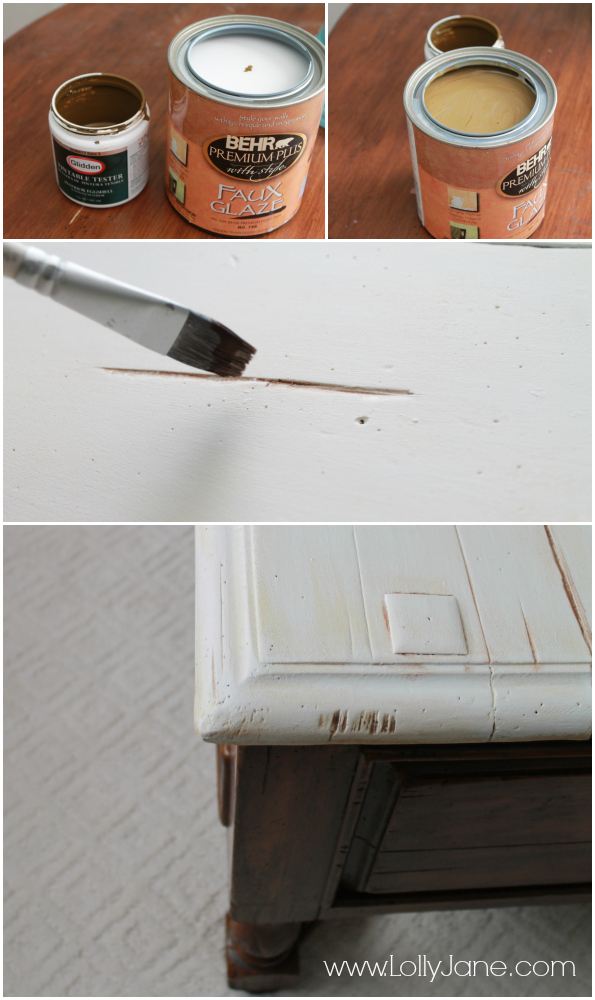
I love how the stain darkened it a couple of shades as you can see in the last picture above. I used a sample size from Home Depot of “Ruffled Clam” cream, this kept the cost down since the samples are less than $3. I then applied two coats with a foam roller, using up the whole sample.
Ralph Lauren used to sell the perfect glaze “Smokey” but it’s recently been discontinued from Home Depot, which totally stinks! I bought a faux glaze and paired it with another sample color, Brown Thrush. I then poured the brown paint into the glaze and was left with a light brown tint to compliment the cream. Truth be told, I would much prefer the RL glaze but I’m okay enough with the end product of this homemade glaze mix.
I used a small paintbrush to fill in the cracks to darken them. I really like the feel of a good aged piece of furniture so the paint + glaze was a good combination. It’s really easy and forgiving so if you’re tempted to try it, go for it! It’s hard to mess up and you can always re-paint over any mess ups!
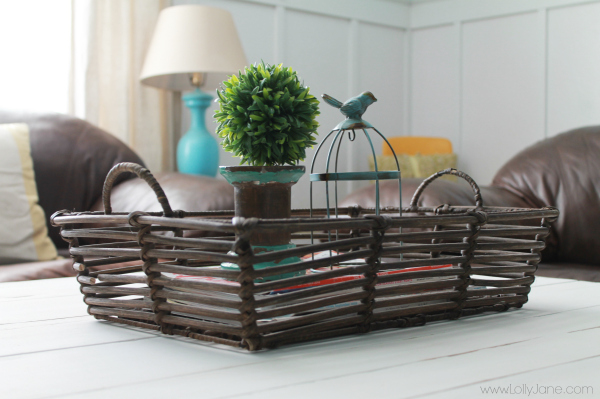
I love how the lines show above, it really gives the coffee table character.
If the above picture looks familiar, we shared a similar angle when we scored this amazing Mohawk SmartStrand Rug. UPDATED: We’ve had a few questions on this project. Here goes:
Q: How much stain did you apply on the table to make it that dark? A: One quick coat was enough to darken it. The can comes in one size and I used a couple ounces is all; it goes a very long way!
Q: What did you do with the drawers? Leave the knobs off, or replace with solid wood? A: I actually put the knobs back on but didn’t include it in the final pics.
Anyway this was a super easy project and once again, I’m amazed at how a bit of paint + stain can completely transform a piece! (:
Be sure to visit all our furniture before and afters like our crib to porch swing,
one of our many dining room table makeovers
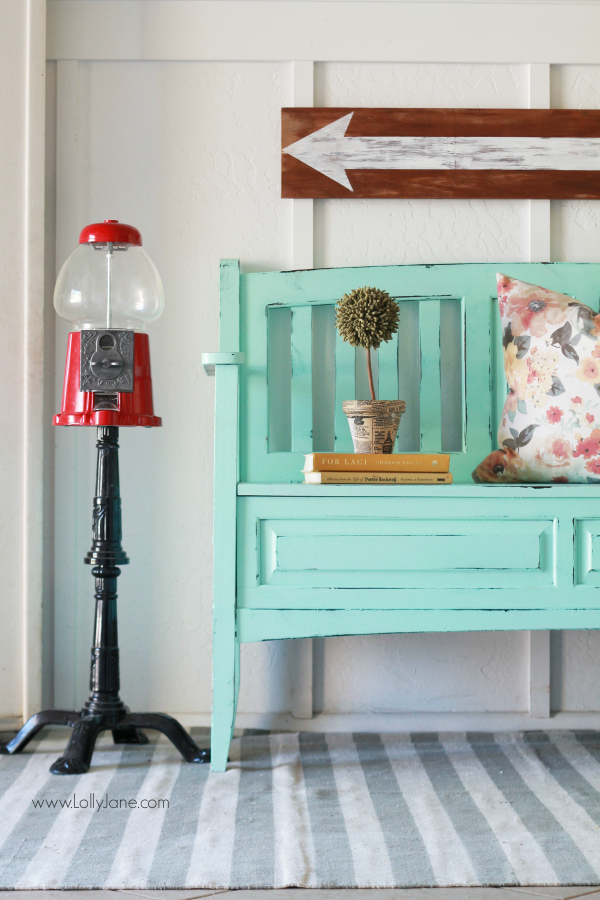
plus our black to teal bench transformation!

.jpg)
.jpg)


Hi there. I love the look of this coffee table! I want to make my own coffee table using some stained oak plywood (the good stuff) we picked up for free from a construction sight in town. Could I use the same paint that you used for the top of yours? How did it hold up against things being set on it? Any chipping or rubbing? Thank you in advance!
Hi! It’ll definitely work perfectly for your wood! I’ve had it painted for six years with minimal chipping, I repainted it the same color in June for the first time. Pretty good results for being used daily with 4 kids + friends and dogs and lots of feet on them 🙂 Thanks so much, good luck! LMK if you have further Q’s! Best, Kelli
The sanding part alway intimidates me- did you sand the whole thing to bare wood? If not, did it accept the stain? It turned out beautiful!!
Hi Mel!
Sanding is the worst! We prefer CitriStrip instead…it’s an awesome gel that you loosely “paint” on then wait for 20 minutes until it dries (turns white). Then you use a soft scraper and it sluffs right off!! You can get it at any home improvement store!
For this project, I darkened the stain by applying a gel stain on top of the existing stain (on the lower half of the table) then painted right over the top with white (no sanding or stripping).
Let me know if you have any more questions, it’s so easy!!
Awesome!! Thank you so much! I just bought this awesome second hand table but the pedestals are curvy and would be a HUGE pain to sand. You are a life saver!
Whoo hoo! Happy DIY’ing! 🙂
Great idea! It certainly looks like one of a kind!
good eye to see how you can transform it. love coffee tables with drawers for remotes etc.
A paper plate for your paint roller; now why didn’t I think of that! I’ve been make batches of chalk paint and using my tiny brush and a roller would be so much faster! Thanks for sharing; it looks beautiful! Love a great Goodwill find.
Glad you can use the tip! (; Lucky to have came across this piece and make it pretty once again! Thanks for popping by, Jessica!
What a cute table! I still don’t have a “proper” coffee table, but as I am already transforming my living room in my mind, I guess I’ll better not buy one right now! 🙂
well done, it looks so good! and I love that it has drawers – so good for a quick tabletop cleanup before the guests arrive 🙂
Haha Steph! So glad to hear others do that too! 😀
I love how it turned out!! It’s beautiful!! Great job!!
As always, it looks spectacular. And I think I’m slowly learning to frequent Goodwill more often!
Seriously Amy! Go more… you never know what you’ll find! (That kinda sounded like a Goodwill commercial…LOL!) 😀
I love it! It looks great. You make it look so easy!
Love this! Talk about a deal-$30! You are amazing as always!!
Great find! I love the drawers and the two-tone is so pretty! I hope it stays nice for awhile for you!
Haha Kathryn! I hope so, too! LUCKILY it’s a sturdy piece so if it lasts throughout my “kid years” it will have been a good $30 well spent! (; LOL!
WOW! I am seriously impressed at your vision for what that table could become!
Love love it! I love the look of time worn pieces! Your curtains are to die for too!
XO
Lisa
We love that look, too! Thanks Lisa- the curtains are just drop cloths folded over. (;