diy fabric garland
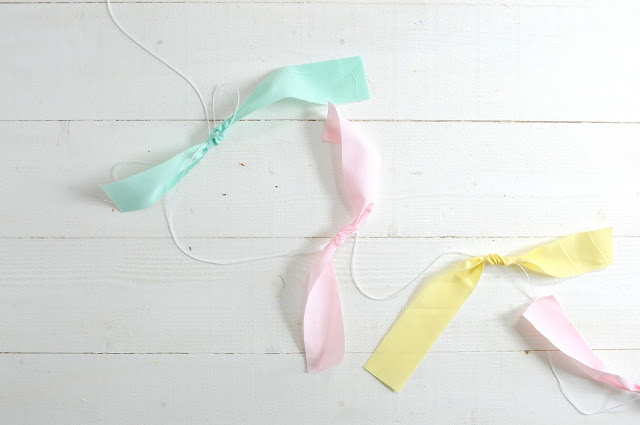
This is a super simple garland I created in some of our daughter’s fave colors {mine too!} to celebrate her birthday earlier this week…because sometimes sitting down to cut and sew bunting just takes too long!!
This DIY is so easy, and is totally kid friendly if the boredom of long summer days sets in… they can choose the colors, and if they can understand how to tie a knot, they can assemble it, too!
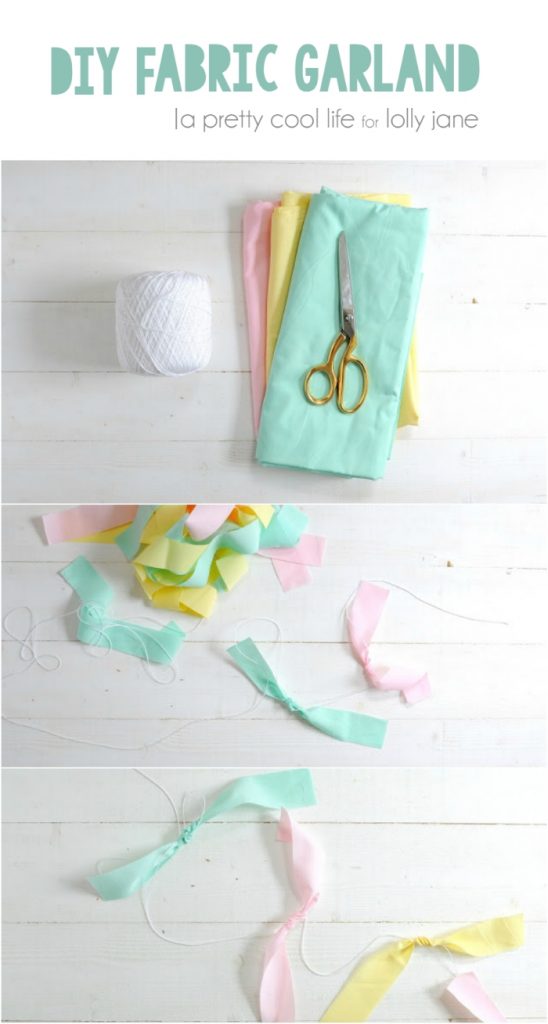
You’ll need:
- scrap fabric
- scissors
- twine
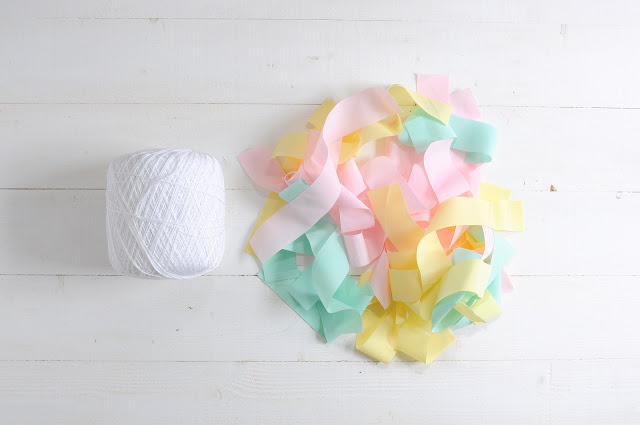
Start by cutting your fabric {you could even tear it on the grain to make this even faster!} into strips. I made mine about 10 inches x 1.5 inches.
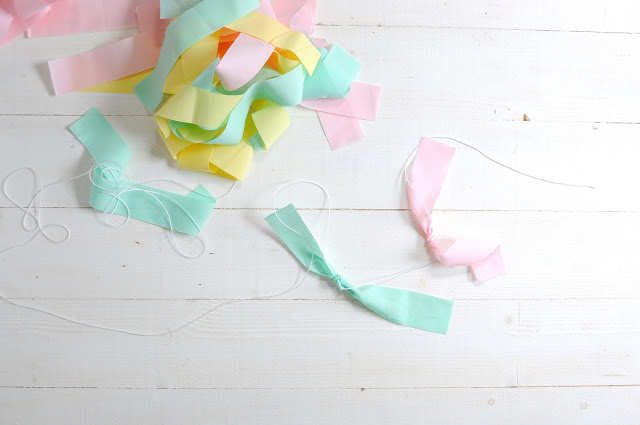
Then just knot the fabric strips along a piece of twine. The beauty of this is that since the fabric is knotted, the bows can easily slide along the twine…your garland can be as full or as thin as you’d like it!
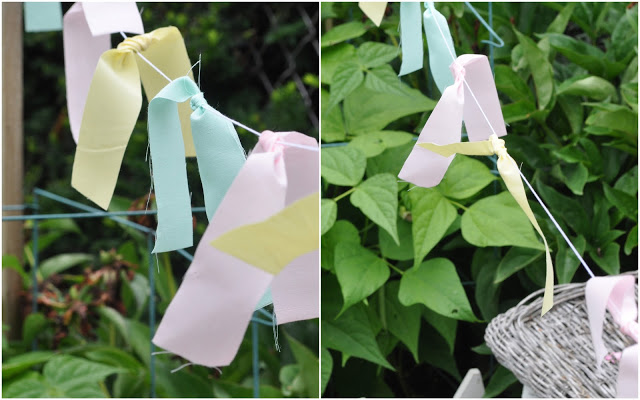
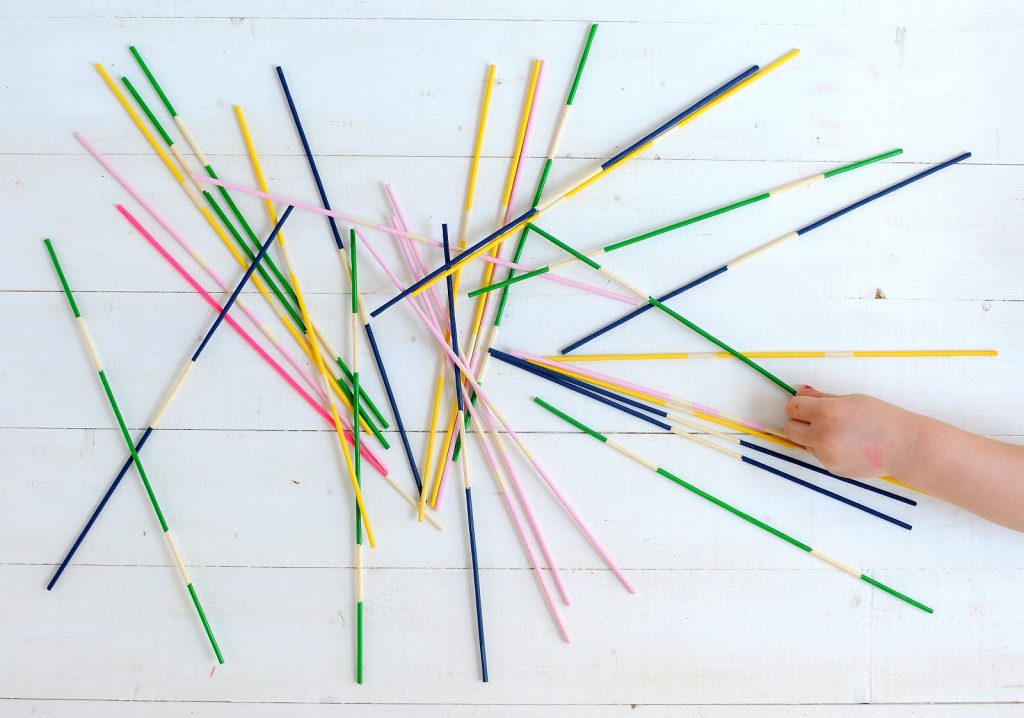
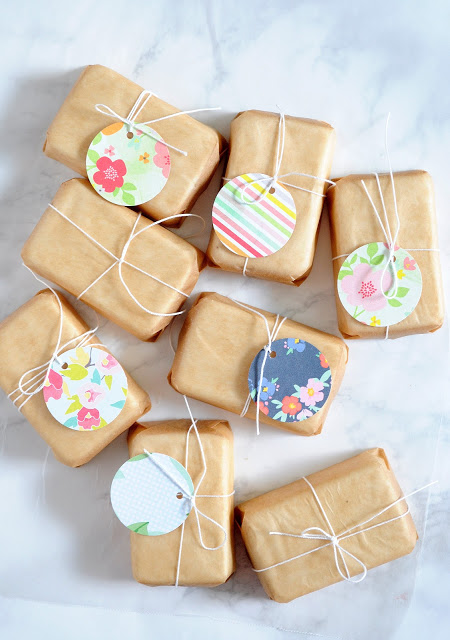
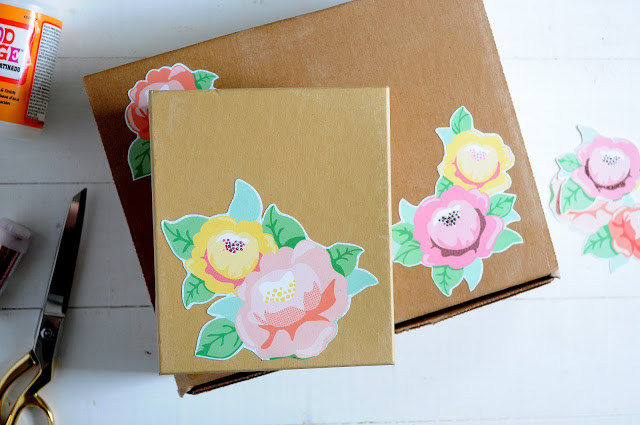
And now that our party is over, the garland has found a second home across our backyard vegetable patch…I may like it even more blowing in the breeze! Check out MORE projects like my DIY Pick Up Sticks, Grapefruit Mint Soap or my Decoupaged Floral Gift Boxes!
Find me on my blog, bloglovin’ and my fave social media sites:
: : facebook
: : pinterest
: : instagram
: : twitter
See all of A Pretty Cool Life’s ideas she’s shared here on LJ like her pretty polka dot ring dishes
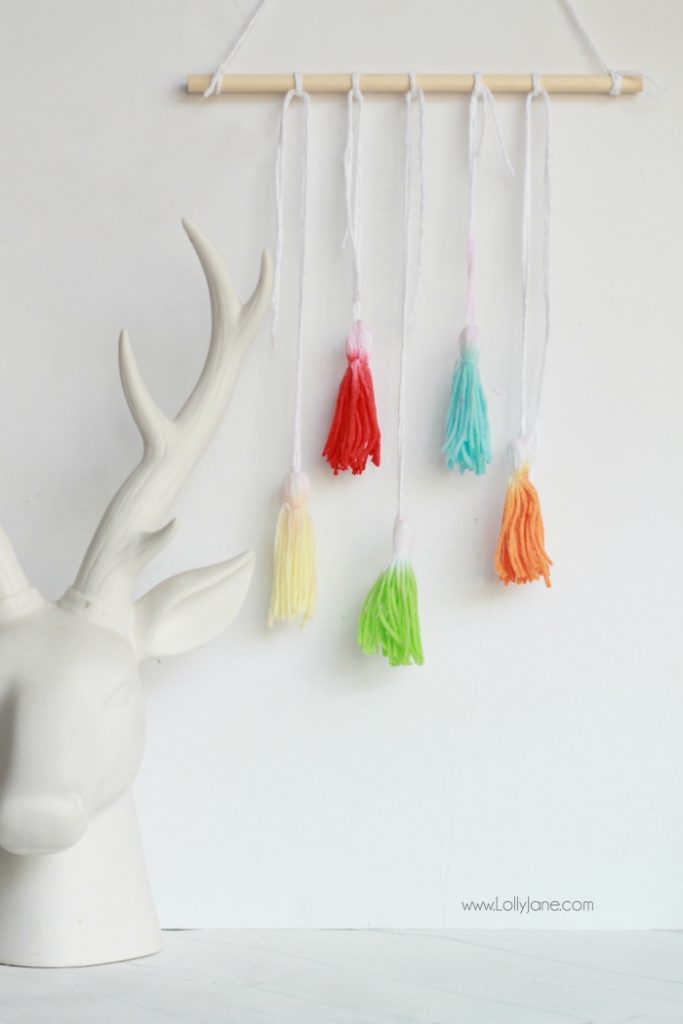
plus visit similar ideas of ours like our Kool Aid Dip Dyed Tassel Hanging
DIY Fabric Garland
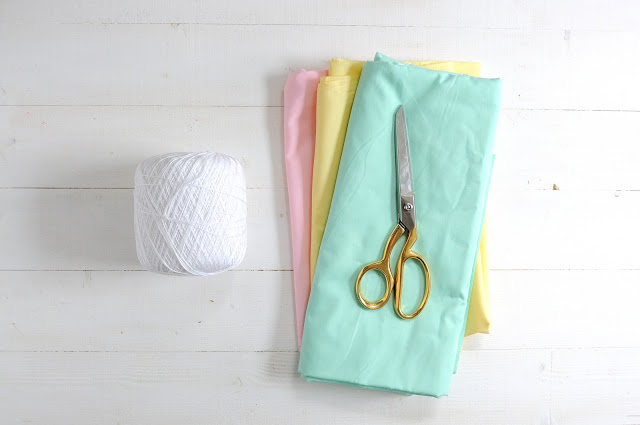
Materials
- scrap fabric
- scissors
- twine
Instructions
- Start by cutting your fabric {you could even tear it on the grain to make this even faster!} into strips. I made mine about 10 inches x 1.5 inches.
- Then just knot the fabric strips along a piece of twine. The beauty of this is that since the fabric is knotted, the bows can easily slide along the twine…your garland can be as full or as thin as you’d like it!

This is so cool!!