how to distress furniture with spray paint and a sander
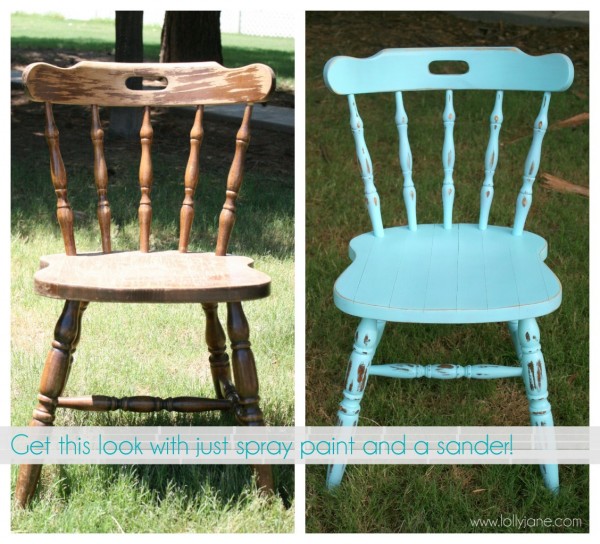
One of the most asked questions I get from friends is how I get the perfect distressed, aged, vintage feel for furniture. While there are tons of techniques out there, the easiest is way is so simple: spray paint and a sander. Yes, that’s it. Here is how to distress furniture with spray paint and a sander to get that awesome vintage look.
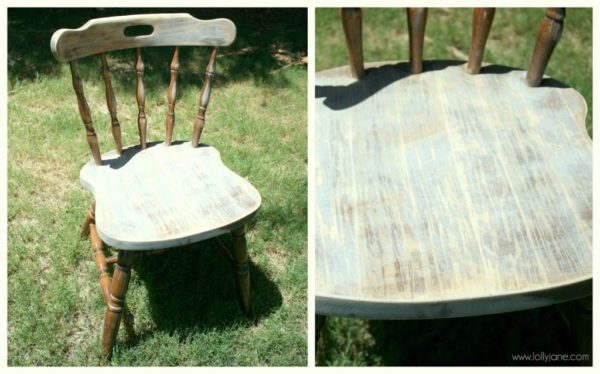
This technique works best for previously painted/stained dark wood. Start by giving it a light sand allover using 60 grit paper. I didn’t sand heavily as my mouse sander did my work for me. If you were going to prime your piece, sand it again with a 180-200 grit to smooth out the surface for your paint. Wipe it down and you’re ready to start painting.
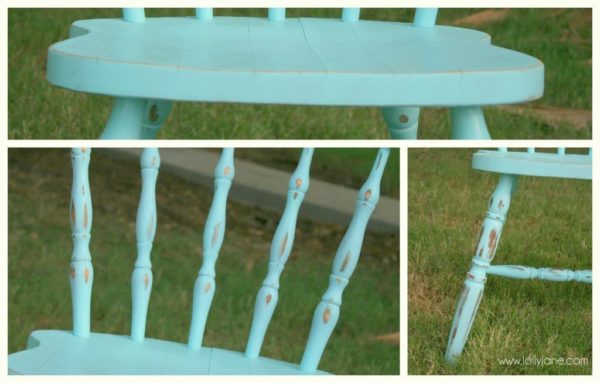
Then spray paint the whole piece. Lighter coats versus heavy spray will prevent the paint from dripping and runs. After it’s painted, lightly rub with sandpaper. I prefer my mouse sander since it’ll speed up the process but you can get the same look by hand.
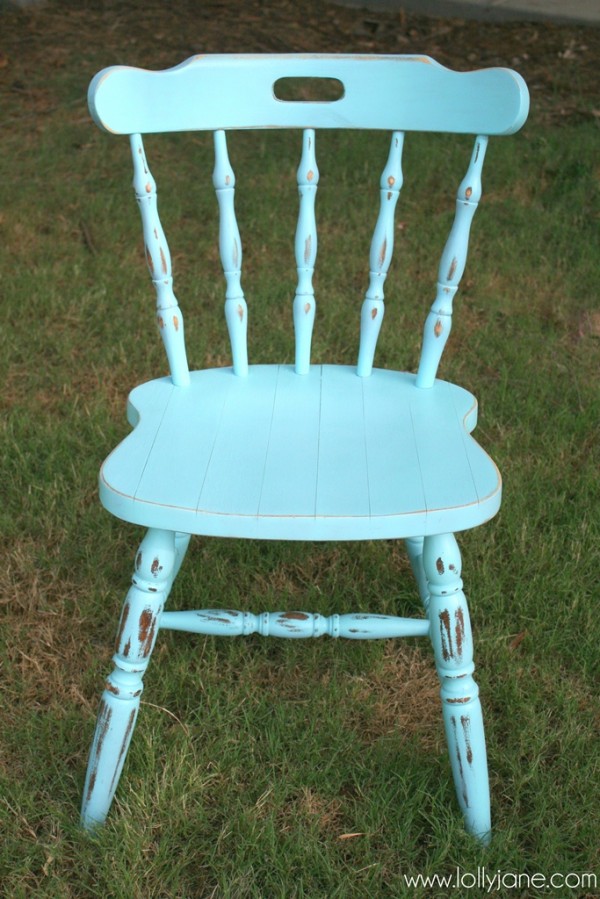
Tip: When aging furniture, you want it to look natural. You’ll rub it in the spots that would have naturally aged as if the paint rubbed away with time. So the highest points of the legs where it’ll be touched the most, the front side of the chair where your back will rest when you’re sitting in it, etc.
It’s that easy. If you’re starting with a piece that is a lighter wood shade, you won’t get this dark distress technique to pop out. However, you can add some stain or glaze to darken it up afterward. An example of that is my son’s dresser that was sky blue turned gray with dark distressing.
For more of our furniture tutorials, click here.
And if you like what you see, won’t you please subscribe so you don’t miss out on our latest and greatest? (:

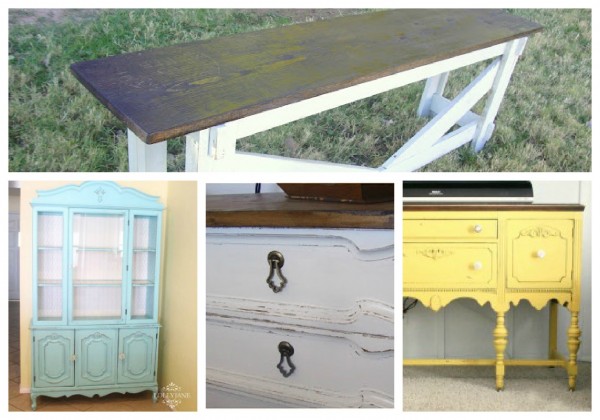


I used the pastel pink and I loved it so much that I also did a cupboard in the same color. Thank you
This is awesome… Will this work on MDF that is currently painted a black semi gloss? Would I sand, prime and then paint?
You got it, Carrie!
Well done girls! Looks great 😀
Carly xx
really good job, the antiques looks so good now !
Thanks so much 😀
I love what you’ve done with your pieces, they are so pretty and the photos are beautifully styled.
Hi what inspiration for a beginner like me! Can you recommend a sander for small furniture, chairs, bookshelves, etc? I would really appreciate your expertise! Loving your blog!
A Black & Decker mouse sander. So light weight and gets the job done!! (:
What color and brand spray paint did you use? And how many coats/cams did it take! Thanks!
It was Blue Ocean Breeze by Krylon (available at Walmart), two light coats is all. (:
I wold like to know what grit sand paper you use? Most tutorials seem to leave that out 🙁
You’re right, that’s something we’ve addressed and should include in each post! Here’s what I did and have updated the post too, thanks for the reminder, Kendra! (;
Start by giving it a light sand allover using 60 grit paper. I didn’t sand heavily as my mouse sander did my work for me. If you were going to prime your piece, sand it again with a 180-200 grit to smooth out the surface for your paint. Wipe it down and you’re ready to start painting.
Any tips on doing this with “fake” pressed wood furniture?
Hi Thea, I just found this awesome tutorial that shows how to paint on prefinished furniture: http://www.gingerbreadgem.blogspot.be/2013/02/miss-mustard-seed-milk-paint-tutorial.html I would give it a try! If you don’t like the shabby look, just paint a few coats and seal without sanding (; Good luck!
expound on this: Lighter coats versus heavy spray will prevent the paint from dripping and runs
That is really, really pretty! I do love the distressed look – and how easy 🙂 🙂
Great tips! Thank you so much for sharing this. It makes it less intimidating when thinking about working on a project like this.
Glad you benefited, Shannah (:
Love that chair! I need to do some thrifting to find something similiar that I can paint and distress for my porch.
What is the color of the blue on the chair? Beautiful! Thanks for posting.
Thanks for sharing, gals! You make it look so easy and not so intimidating.
Some girls don’t realize how easy peasy this really is. Good tutorial. and of course cute chair!