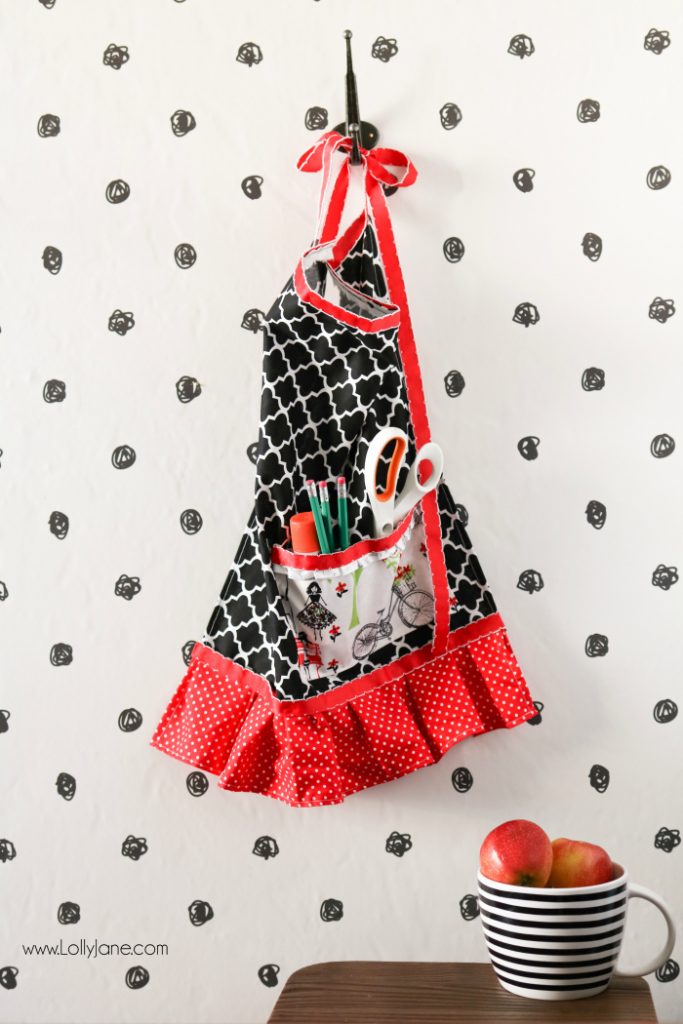
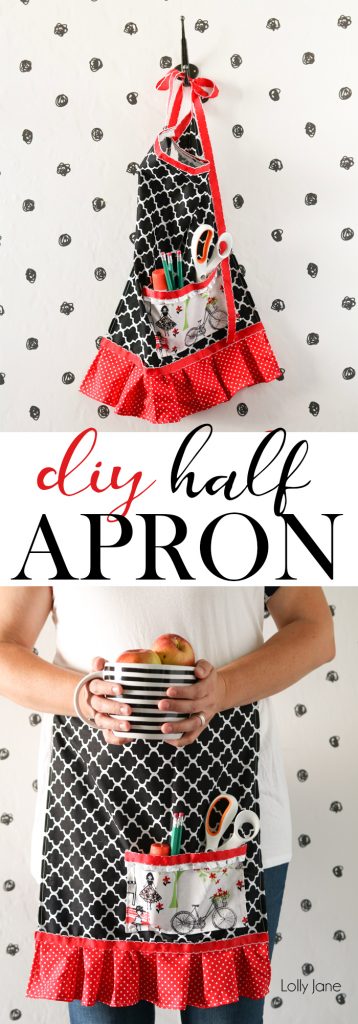
easy half apron tutorial
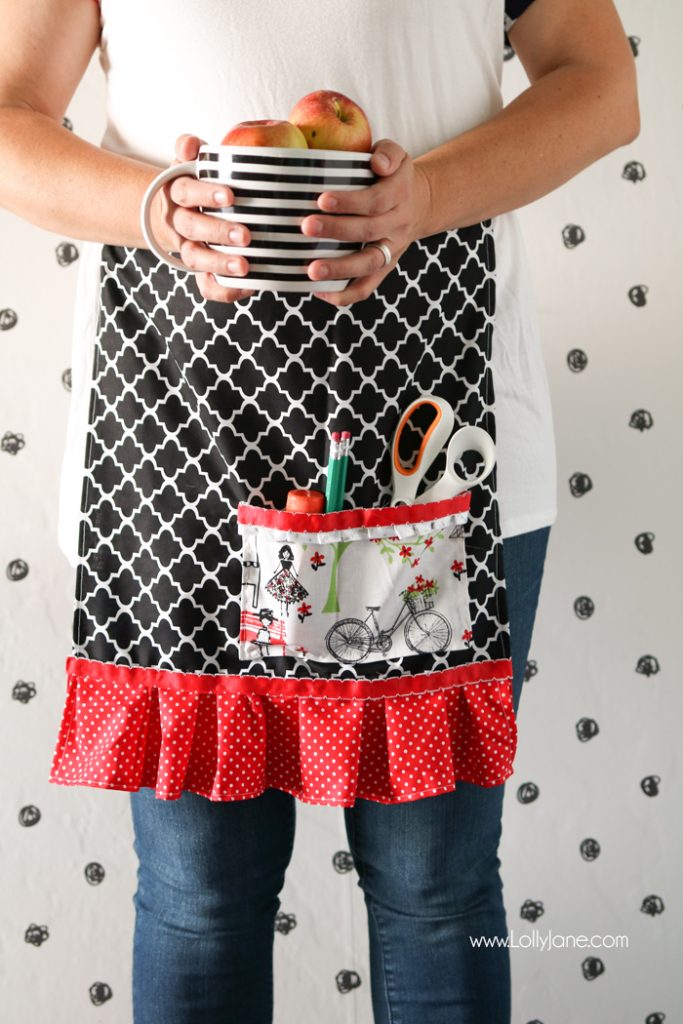
My littles have been in school for 2 weeks now, a bit earlier than the rest of the country… this momma, after shedding some tears on the first day, is now kind of loving it! To ease their teachers back into the new year, however, (as I’m sure their summers went TOO quickly!) I’ve whipped up this easy half apron tutorial to give to them for class time. You see, when I used to teach K-6 art, I would always sport an apron to help keep my clothes clean. Since I was playing with messy mediums, like charcoal or paint, it was nice to have that protective layer over my clothes to help keep them clean or to pile pieces of trash, wrappers, small art supplies, confiscated items from students., etc. in the pocket. My sons, preschool and kindergarten ages, are in classes with lots of messy materials too, and this is a great apron to slide a gift card in the pocket of and give as a back-to-school gift for your kids teacher or art teacher… or wear yourself as a mommy who now has a LITTLE bit of time to clean up around the house whilst the kids are in school and you head back into the fall routine.
Our mom always wore a half apron with a pocket when we were growing up and she told us instead of making multiple trips around the house to put this ‘n that away, she would hold things in her large pocket until she was in that part of the house and would then put it where it belonged. Smart! And, it is super affordable to make!
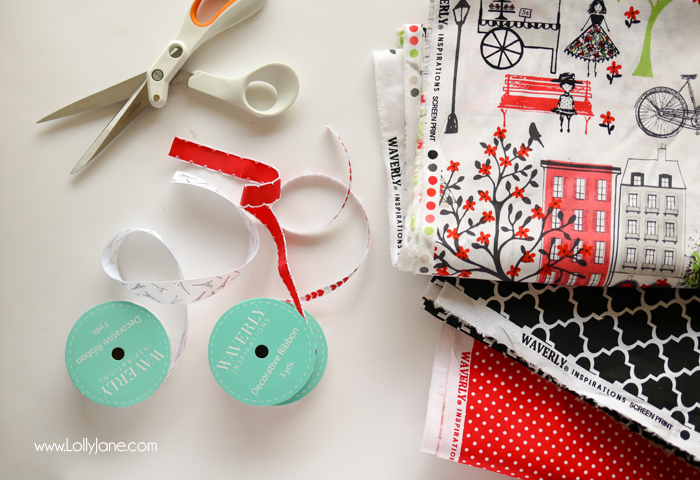
Materials needed:
- Fabric (I used Waverly Inspirations) found at Walmart
- Ribbon (Again, love me some Waverly Inspirations!)
- Sewing machine
Instructions:
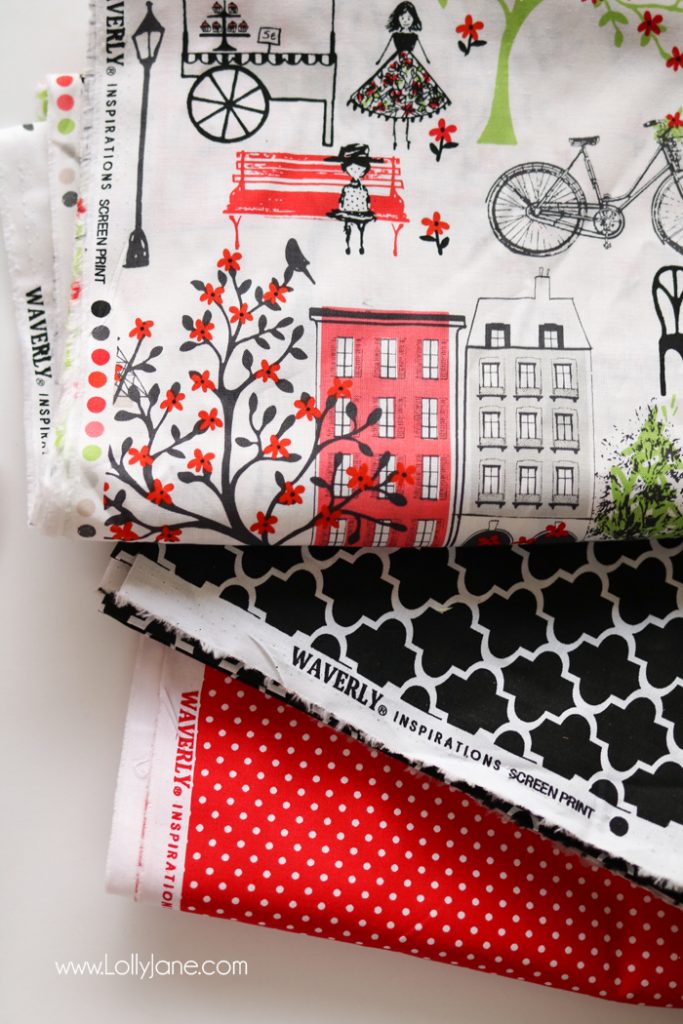
I started with the cutest fabrics and loooove to mix & match; I think these fun Waverly Inspirations prints pair well and with the pops of red, scream, “Hello school year!” To get started, make your fabric cuts:
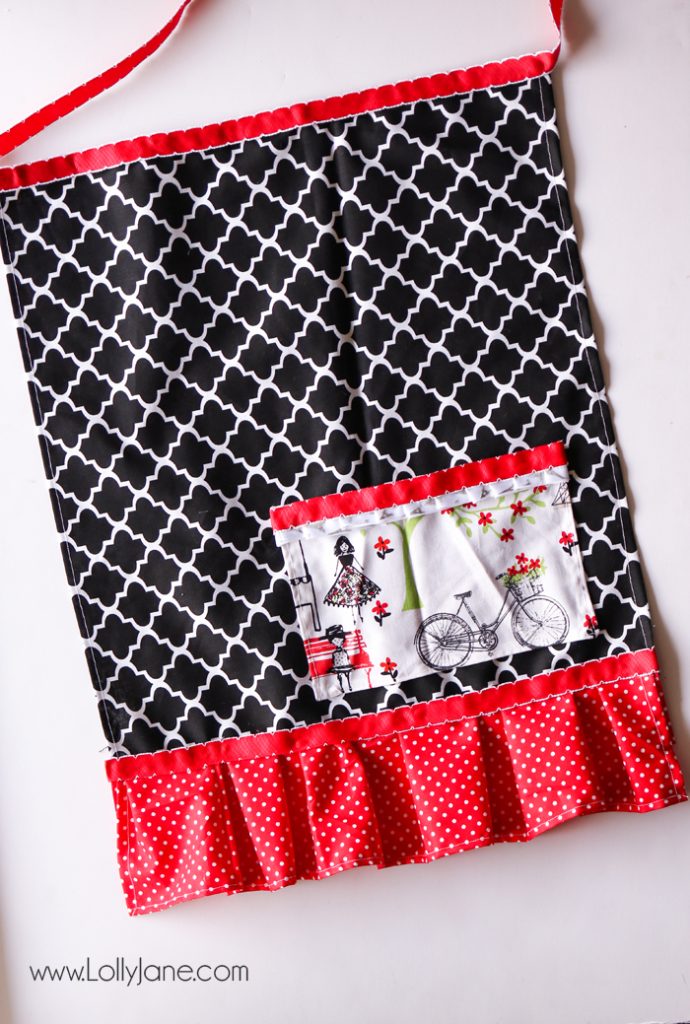
- I cut the quatrefoil black & white fabric 15″ x 17″, (feel free to adjust to your own height and/or preference,) then sew to make a 1/4″ seam.
- I then cut a 21″ x 4″ strip of the cute polka dot fabric and sewed all the seams the same as the body of the apron.
- I cut a piece of the patterned fabric 7″x 5″ for the pocket to fit all sorts of things. 😉 Don’t forget to hem your seams!
I also cut some ribbon to add some textures and pops of color to this easy aprons. Fact: Every time I enter the craft section at Walmart, I end up at the ribbon wall. Whyyy does my wallet love ribbon so much?! Haha! The Waverly Inspirations patterns and colors are darn cute, as you can see!
Back to the ribbon cutting:
- 70″ for the waist
- 8′ for the pocket (if you add the pleat like I did, allow yourself 3-4″ of extra ribbon)
- 15″ to go over the seam that connects the two patterns

Sewing time!
- All pieces of cut fabric got a roughly 1/4″ hem.
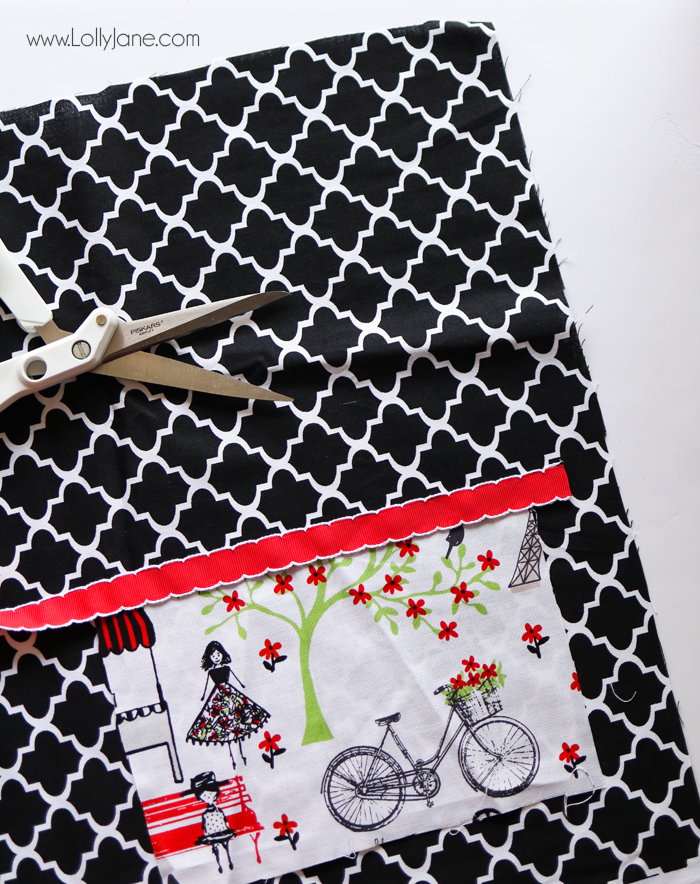
- I stitched the polka dot fabric under the quatrefoil pattern and sewed a ruffle to add some texture. I added the red ribbon over the top of the seam to hide it.
- I stitched the pretty Eiffel Tower ribbon into a pleat then put it over the top of the pocket and added some red ribbon over that to pull all of the fabrics/colors together.
- Lastly, I sewed the pocked onto the apron.
Bam. You’re done!
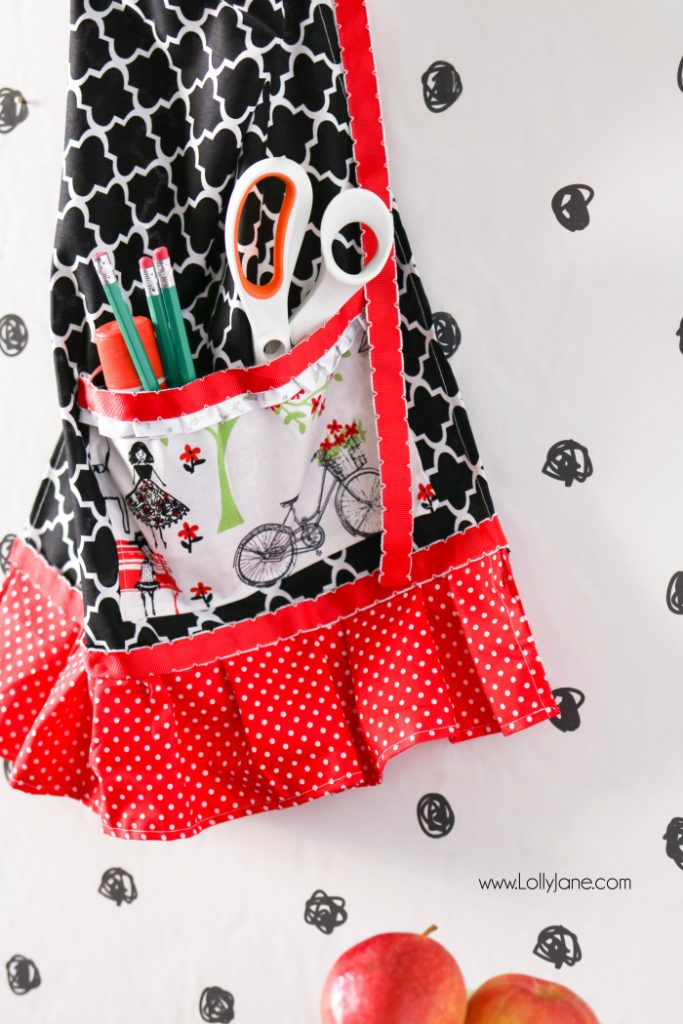
I added a dab of hot glue in between the pocket to allow heavier objects to stay straight, (like the pictured scissors.) In hindsight I would stitch a seam in the middle of the pocket to allow for 2 sides. 😉
Well there it is for you, folks! We don’t do very many sewing tutorials so feel free to ask for clarifications and such, haha! In the meantime, check out Waverly Inspirations to see if YOU can be inspired!
We were compensated for this project by Waverly Inspirations in partnership with Walmart, but as always, opinions are our very own and we really do shop and use Waverly often! Thank you for supporting the brands that help keep our free tutorials… well, FREE! 😉
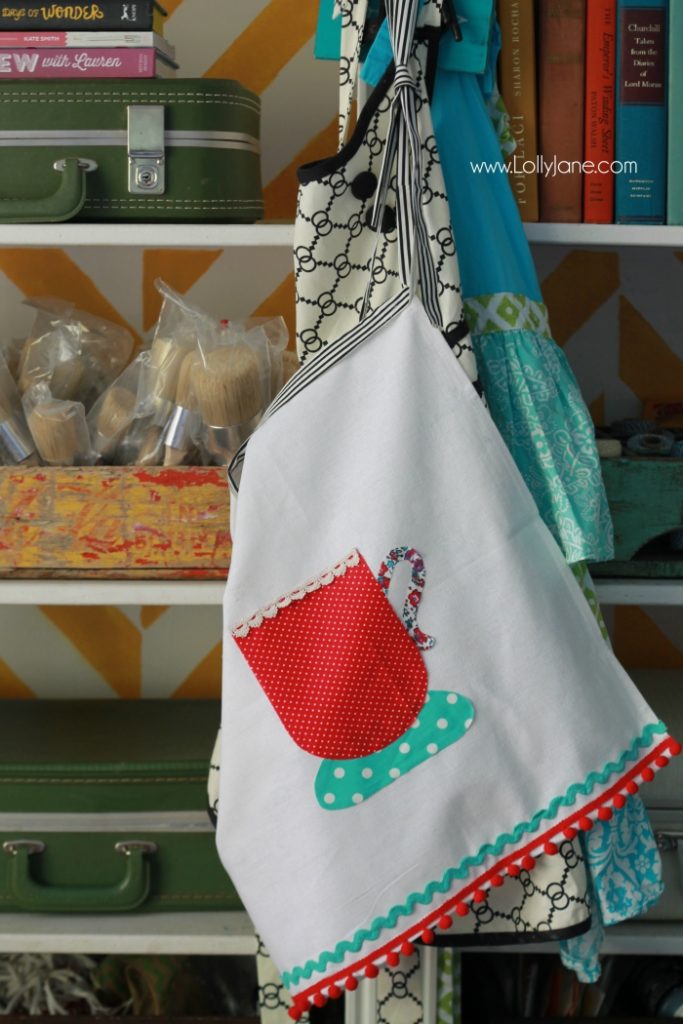
Check out more tutorials like How to Make a Tea Towel Apron,
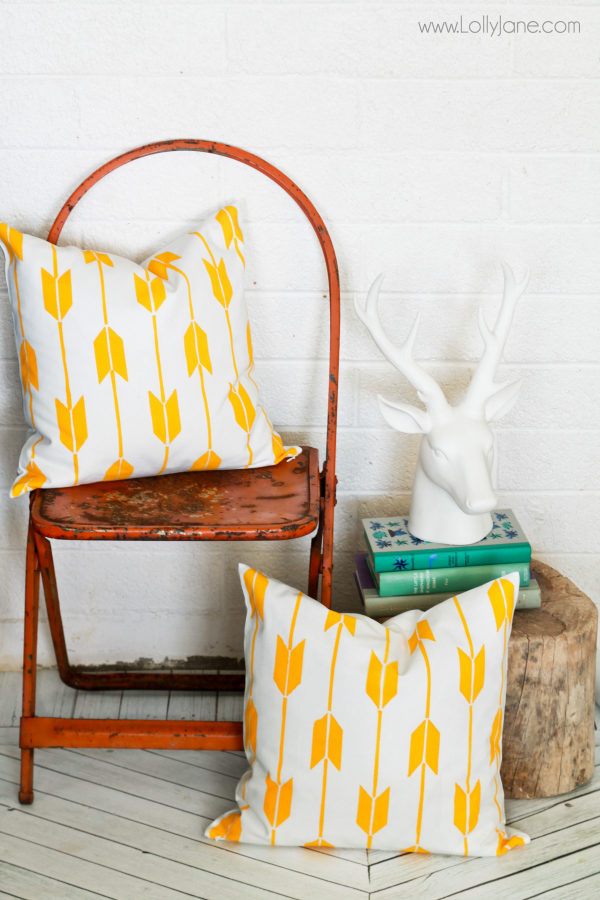
or our cute DIY Stenciled Pillow!


This apron is so sweet and thoughtful!
Awww, whohoo!! Thanks, Joanita!! XOXO
This is such a great tutorial 🙂 Thank you so much for sharing!
Congratulations! You are one of my features 🙂
Joanita @ Snickerdoodle Sunday
What a cute apron! Thanks for sharing at Home Sweet Home!
Your apron is adorable and what a great idea for a teacher’s gift. Pinning. Thanks for sharing at Snickerdoodle!
Thanks for sharing with us at Creatively Crafty Link Party #CCBG http://tryit-likeit.com/link-party-it
Such a cute and spunky apron! Before having my own family, I never really thought much about aprons. Honestly, it wasn’t until last year some time that I started to actually wear the couple of aprons I’d been given in the preceding years. And now, I really enjoy wearing them. I have a ‘house uniform’ that doesn’t need an apron, but definitely when I’m cooking and sometimes cleaning, or when I actually have ‘real’ clothing on, I wear them now! 🙂
Thank you very much, Becky!! Can’t wait to gift it! 😀
Ahhh thank you so much!! Let us know how yours turns out!! xoxo
So cute! Just what I was looking for! Now I am gonna go try and attempt this!
I love this apron. The color is fabulous. I think I need one for myself. Thank you so much for sharing.
I feel like I’m the mom who doesn’t think of things like this. Great reminder, such an easy tutorial. LOVE those fabrics too!!
Love this! When time allows, I’m making me one of these little cuties! There are several things that I carry from room to room (like my cell phone and glasses) and when I don’t have pockets it’s a problem. With my crazy absent mindedness I’m forever forgetting things and retracing my steps!
Thanks for the easy looking tutorial~can’t wait to get this done!
Thanks, Megan! We love the french pattern, so fun!
My mother-in-law is a first grade teacher, I’ve seen how hard she works “off duty”…it’s nice to let them know they’re appreciated (:
LOVE this apron! So sweet of you to think of teachers, they work so hard!