DIY Pumpkin Topiary
Today’s post is sponsored by JOANN. As always, opinions are our very own but we really do love JOANN!
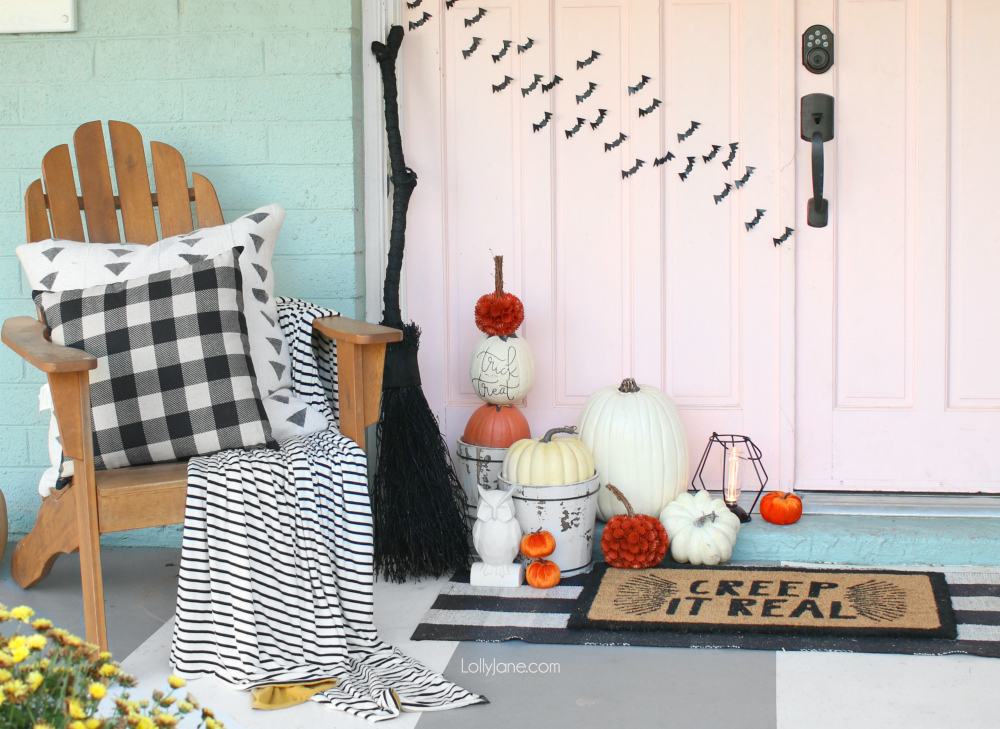
Your porch is the first thing that greets your visitors so spruce up for the holidays with this EASY dIY Pumpkin Topiary that can be made in less than 30 minutes! It’s great to welcome spooky guests or simply turn it around to keep it festive for fall!
DIY Pumpkin Topiary
Since my porch is so wide, I have a lot of real estate when it comes to decor in that space. I like to incorporate at least one bulky item (or two… or five, haha!) to fill the space. For all my fun Halloween finds, I first check JOANN Stores as they have a wide variety of seasonal decor,) and you know I love their app to get the latest coupons on merchandise!) This JOANN run did not disappoint! I was able to nab a HUGE black witch broom that my daughter immediately claimed then informed me she was changing her Halloween costume to a witch to match “her” new broom. (Um, MY new broom, haha.)
How to Make a DIY Pumpkin Topiary
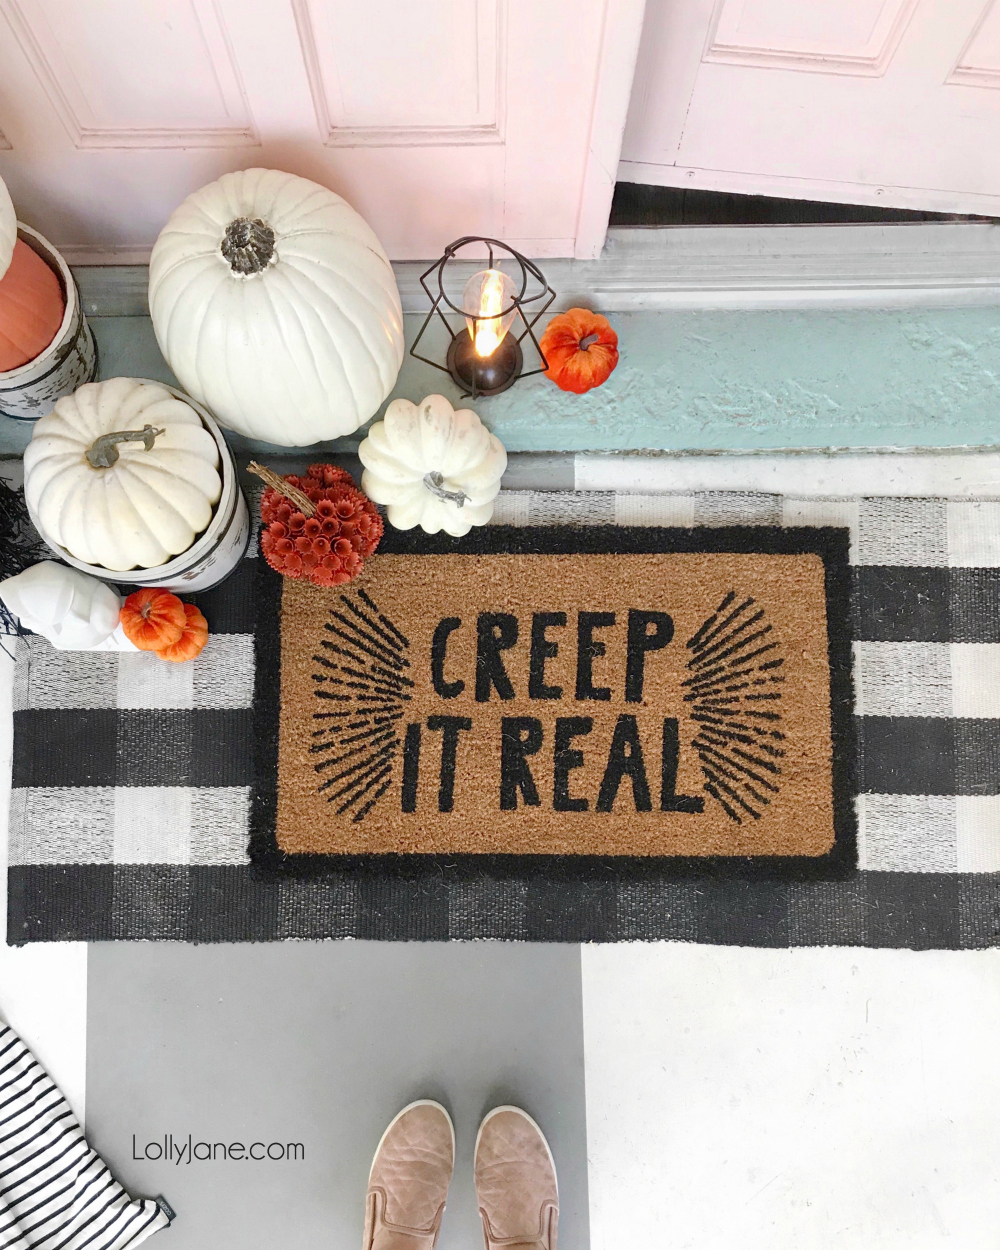
My JOANN run also included the most darling farmhouse style white chippy buckets, (minus the splinters!) and I knew I wanted to fill them up with fall goodness. Also snagged was a playful Halloween doormat that states Creep It Real, 2 black lanterns, more pumpkins (of course!) and a pretty white ceramic owl. Hoot hoot.
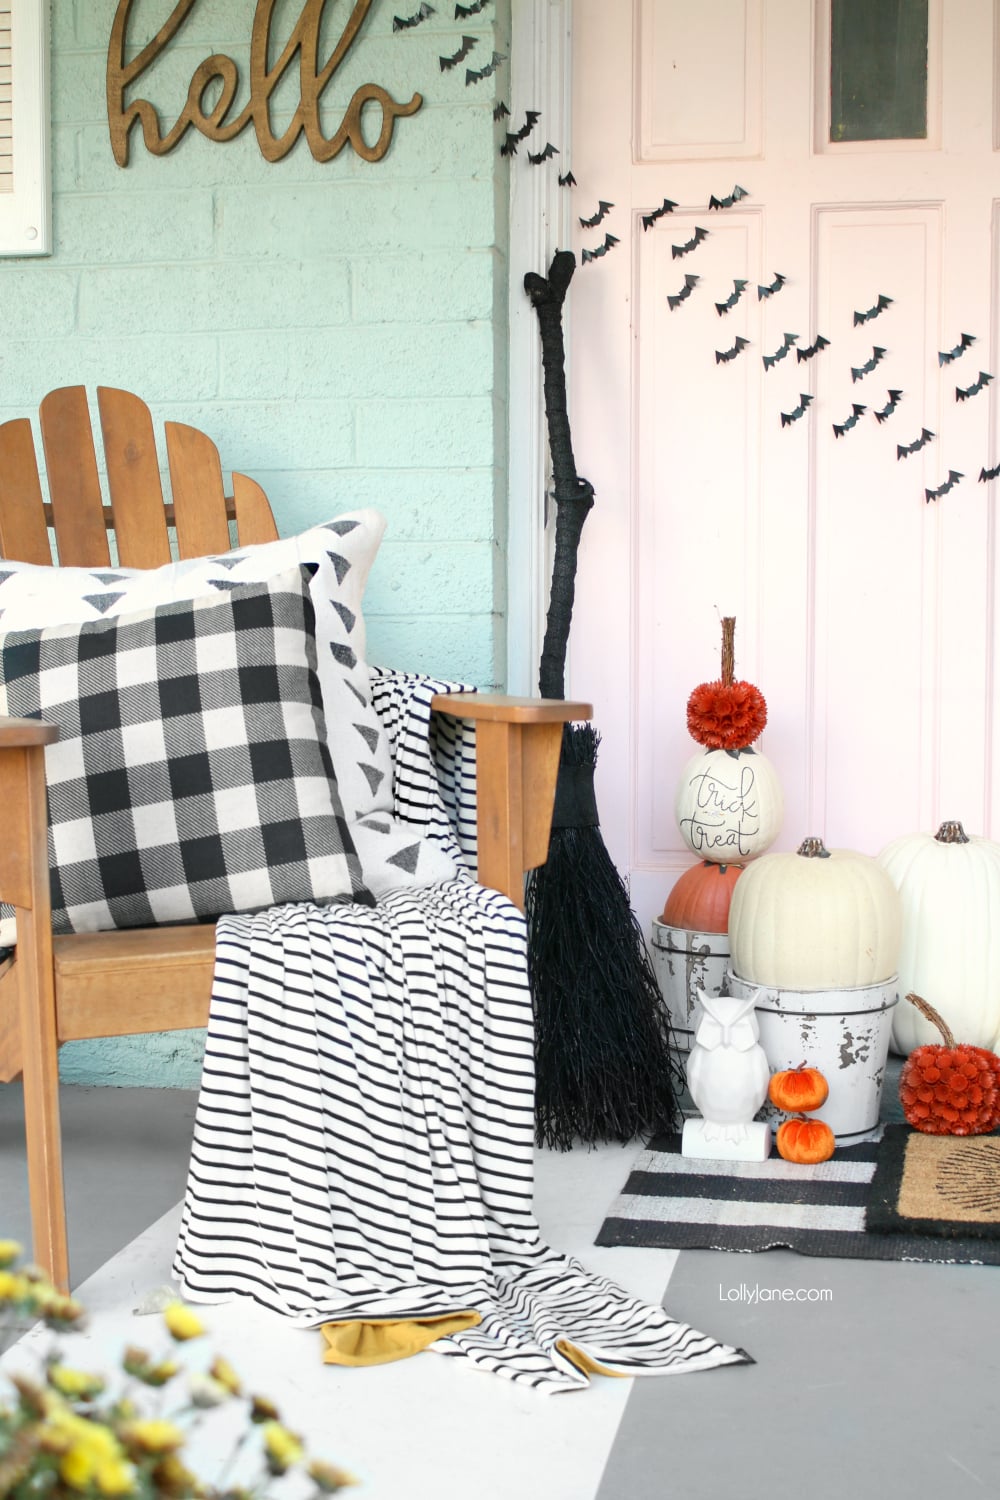
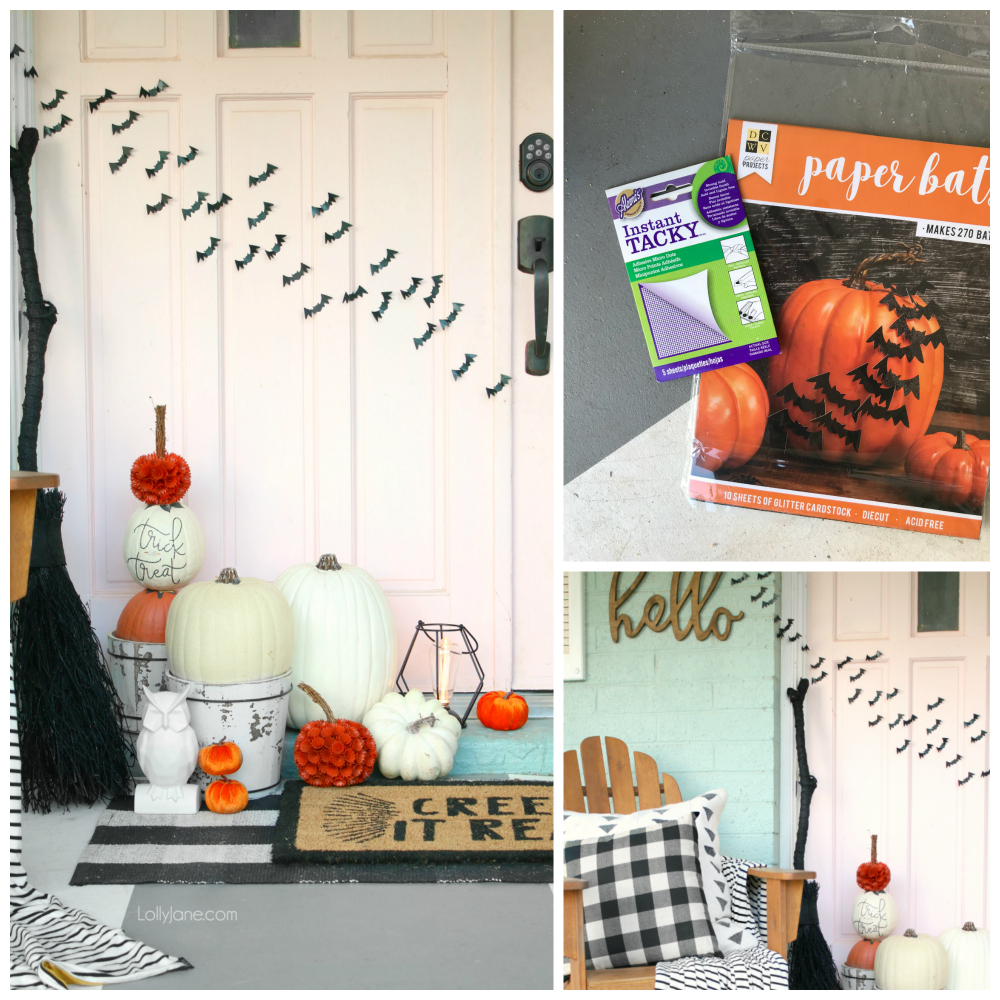
I simply layered the largest piece (the broom) of my JOANN haul against the wall then just kind of worked around it with real and fake pumpkins, a chic black lantern, and a fun outdoor chair that always houses a pillow and/or throw for the time of year is it. 😉
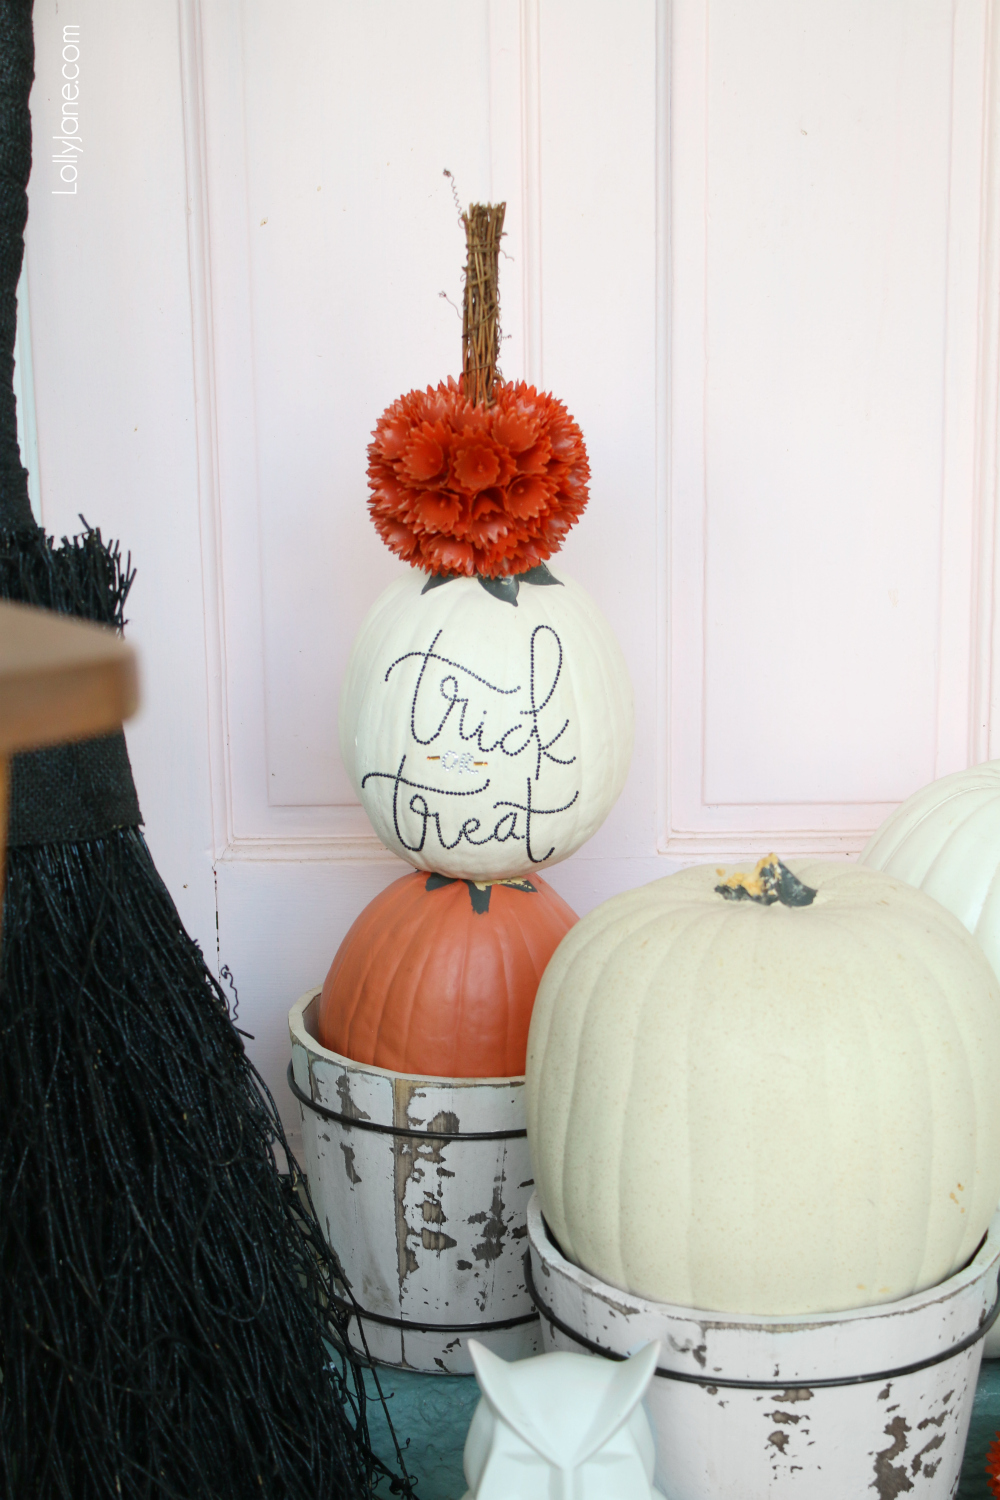
I’ve been collecting pumpkins from JOANN for 3 years now and the carve-able have held up the best. I decided to fill in a little gap on my porch and gathered a few supplies to make my own 3-tier pumpkin topiary.
Check out more FALL or HALLOWEEN DIY posts here:
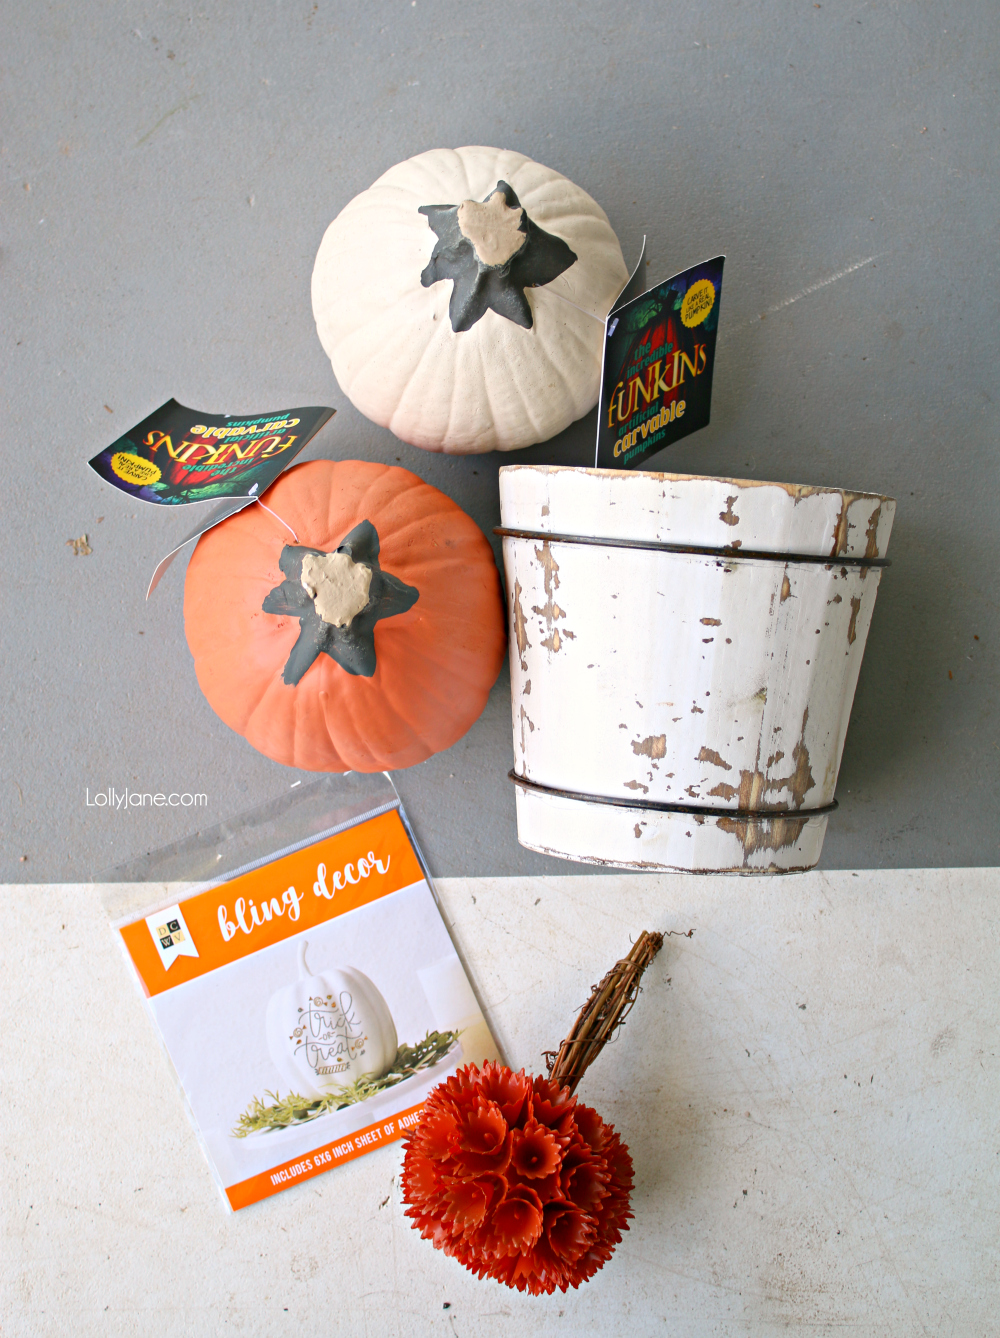
Supplies to Make a DIY Pumpkin Topiary
- Fun-Kins Halloween Carvable Pumpkin (Seneca-Orange) *Bottom
- Fun-Kins Carvable Pumpkin (Classic White) *Middle
- Simply Autumn Medium Plastic Woodchip Pumpkin (Orange) *Top
- Bucket *similar linked
- 12’ Dowels x2
- Hot Glue
- Trick-or-Treat adhesive stickers
Other Supplies to Decorate With to Create a Halloween Porch:
- Maker’s Halloween Large Rattan Broom
- Creep It Real Mat
- DCWV Halloween Paper Projects-Mini Bats
- Blooming Autumn Mini Pumpkins
- Maker’s Halloween LED Lantern with Edison Bulb
- Hudson 43 Candle & Light Collection 7X20 Lantern Metal (Nickel)
- Simply Autumn Geometric Owl Decor (White)
- Maker’s Holiday Christmas Buffalo Check Pillow & Throw (Black & White)
Instructions to Make a DIY Pumpkin Topiary
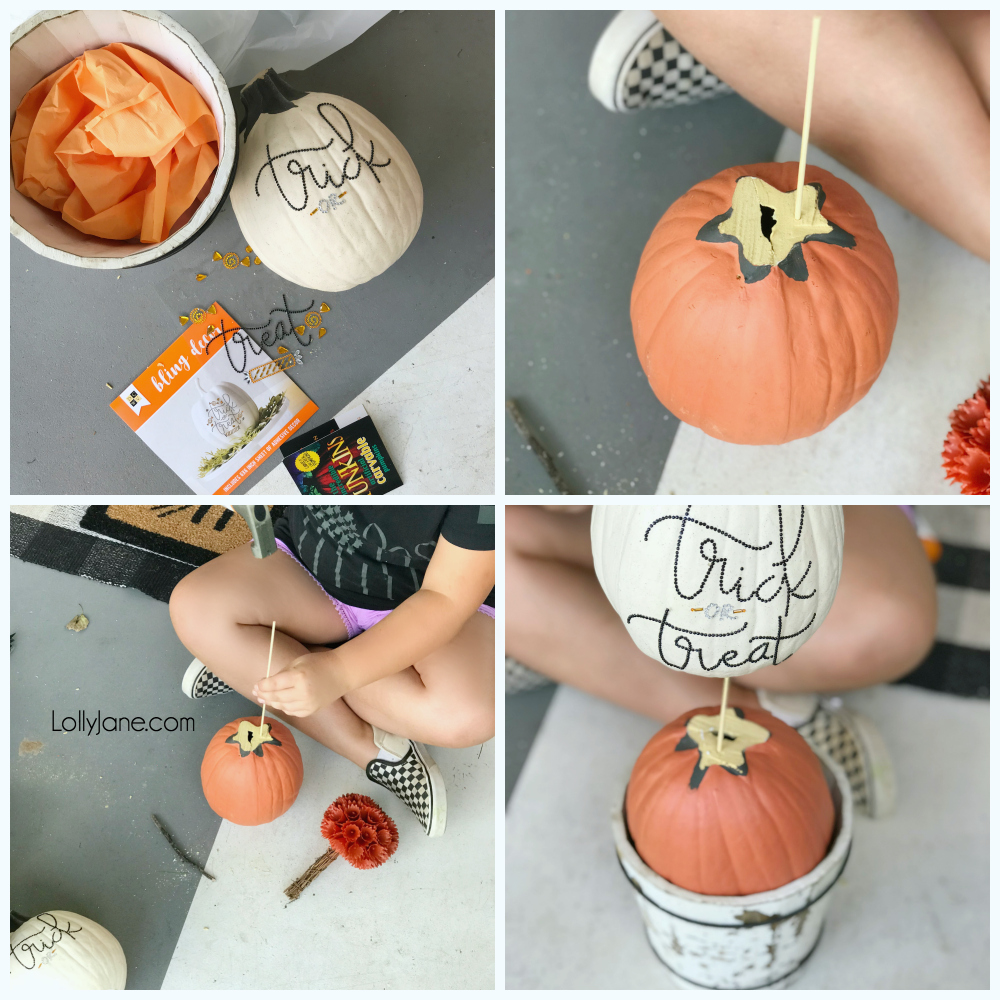
- Fill bucket with paper (or other filler)
- Cut the stem off of the biggest pumpkin.
- Place widest/biggest pumpkin inside the bucket
- Drill small hole in top of pumpkin and the underside of medium sized pumpkin
- Add “Trick or Treat” adhesive sticker onto the middle pumpkins.
- Drill small hole in top of pumpkins and the underside of the smallest pumpkin.
- Repeat steps with last pumpkin.
- To secure, insert dowel into holes (lightly hammer into pumpkin) then hot glue together.
- Layer remaining pumpkins.
- Display for an easy and nearly instant DIY!
Tips to Make a DIY Pumpkin Topiary
Tip 1: Involve the kids! If you have responsible older children like I do, let them help! I supervised my 9-year old as she gently tapped the dowel into the pumpkin with a lightweight hammer and created this pretty topiary almost solo.
Tip 2: Accent around your topiary to make it POP! We snagged a 250-piece bat cutout kit from JOANN that was so fun to punch out and tape to my front door to create the easiest ever bats-flying-away display. So fun and they polish off the look of this simple, but cute, Halloween porch!
What do you think of this porch? Anything that catches your eye?

