Chalkboard Label Easter Basket Buckets
Thank you for having me on your blog. I’m way honored! What a beautiful place for inspiration!

Today I’m going to share with you how to make these beautiful Chalkboard Personalized Easter Buckets. The cool thing about these is that they can be used long after Easter. Just turn the rabbit side around and place it on a shelf so you can use the chalkboard to label what is inside. I truly love these and think I will make a few more for storage in my daughter’s room.
Here is how they are made…
Supplies Needed:
Metal Bucket
Paint Brush
Painters Tape
Mod Podge, Matte
Scrap Book Paper
Fine Sand Paper
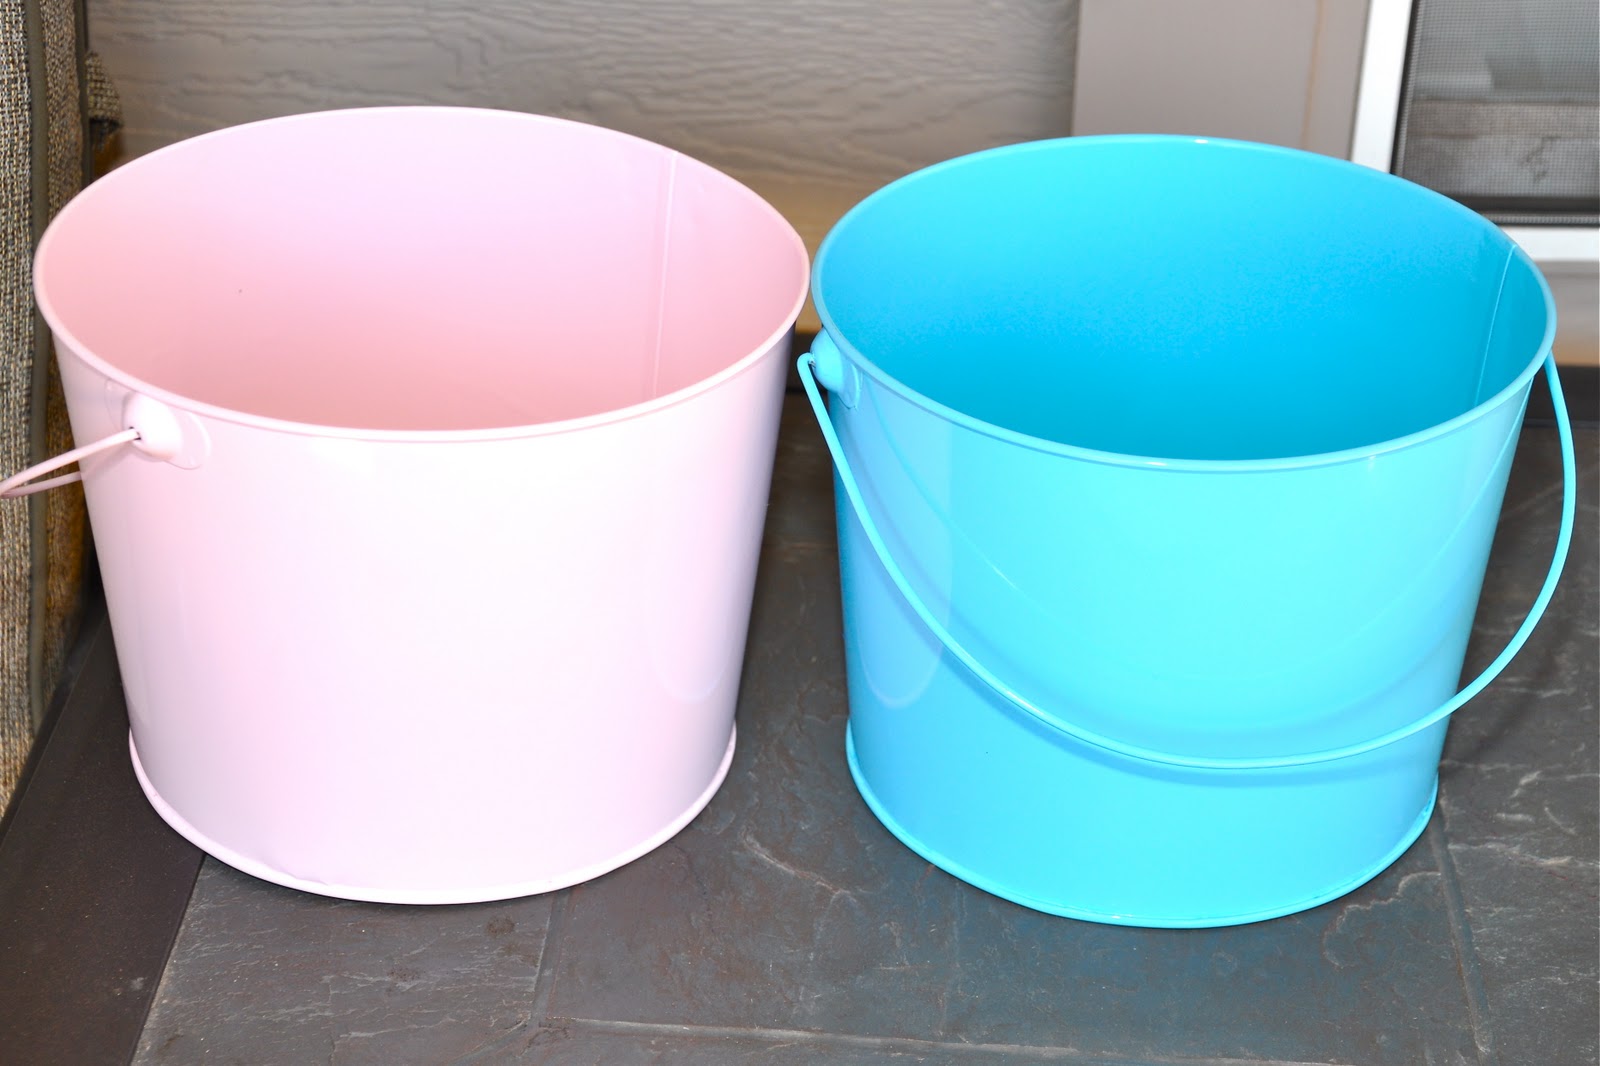
I found these metal buckets at Hobby Lobby for 50% off. Most craft stores sell metal buckets unpainted. {If yours is unpainted you can just spray paint it the color of your choice.}

First you need to prep your bucket for the Chalkboard paint.

Tape off a rectangle with your painters tape.
{I used the sticker decal that came on the bucket as my guide to tape off the area for the chalk board.}
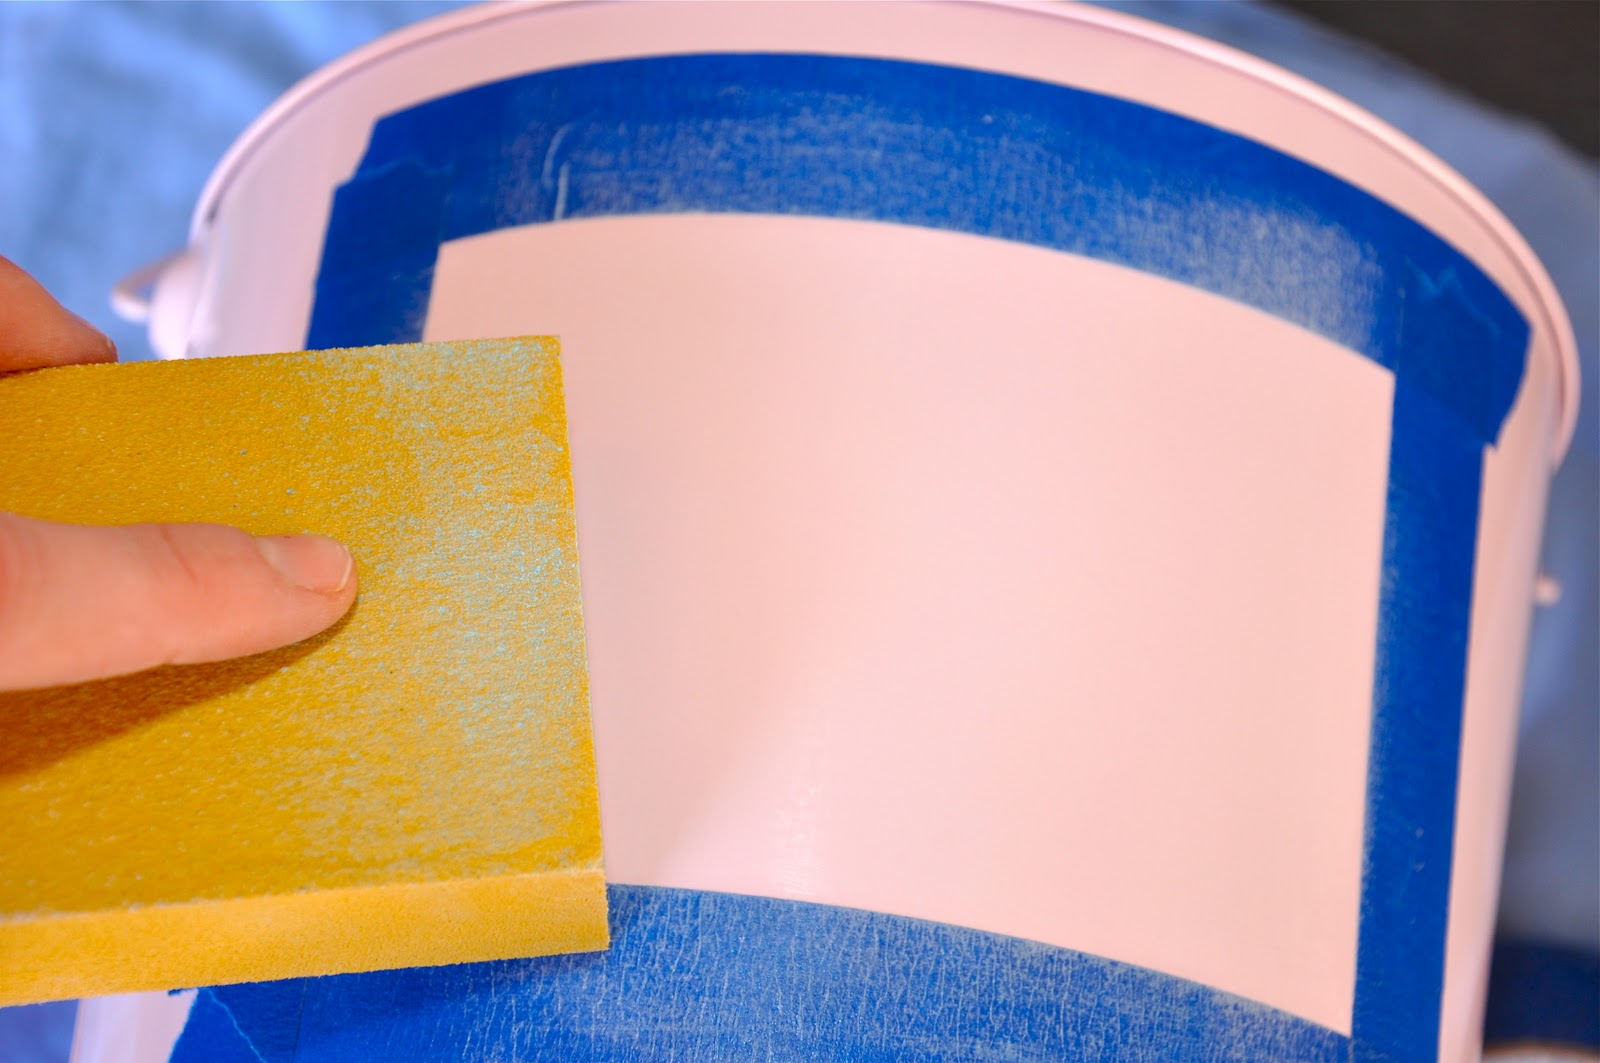
Lightly sand your area so the paint will adhere. Dust off.

Apply as many coats of the paint as needed to cover the area completely… it took me 5!
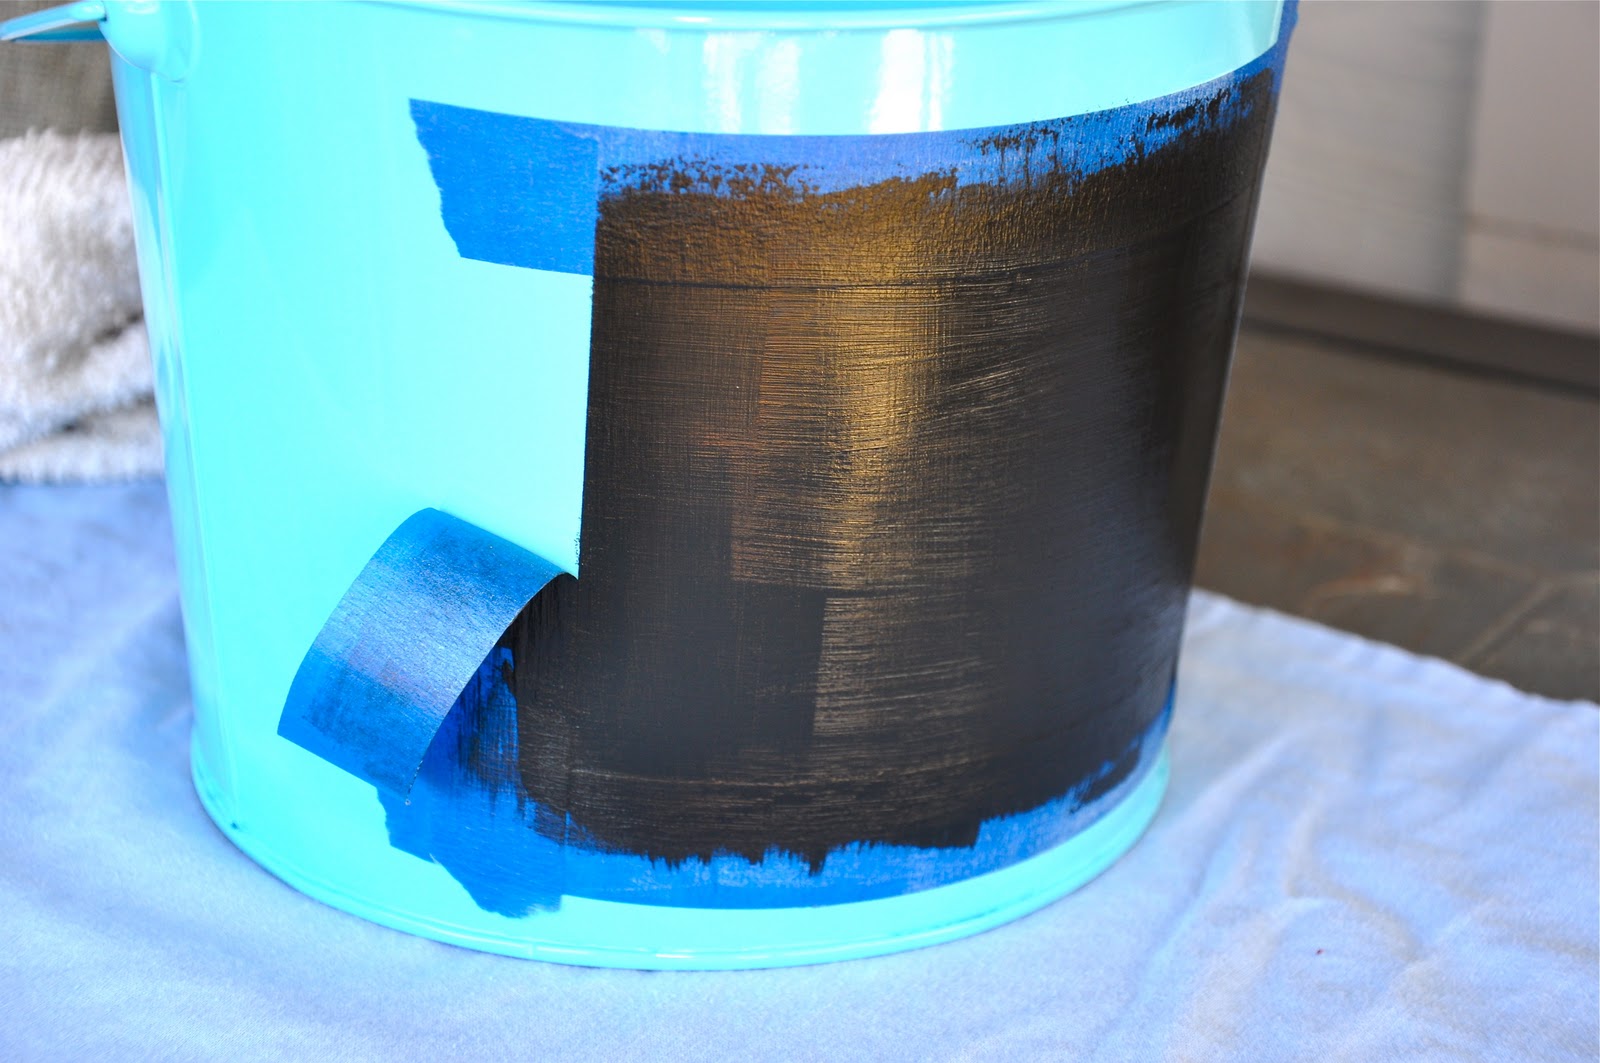
Carefully remove painters tape.
Let dry overnight.

Time to make your rabbit:
Cut out an oval and a rabbit silhouette. {Here is the rabbit silhouette I used. It is a free download.}
For the name you can cut it with your die cutter or add letter stickers.

Start Mod Podging the decal together. Mod Podge rabbit to oval then Mod Podge name to the Rabbit again.
Mod Podge over the entire decal now to seal it all together.
Mod Podge over the entire decal now to seal it all together.
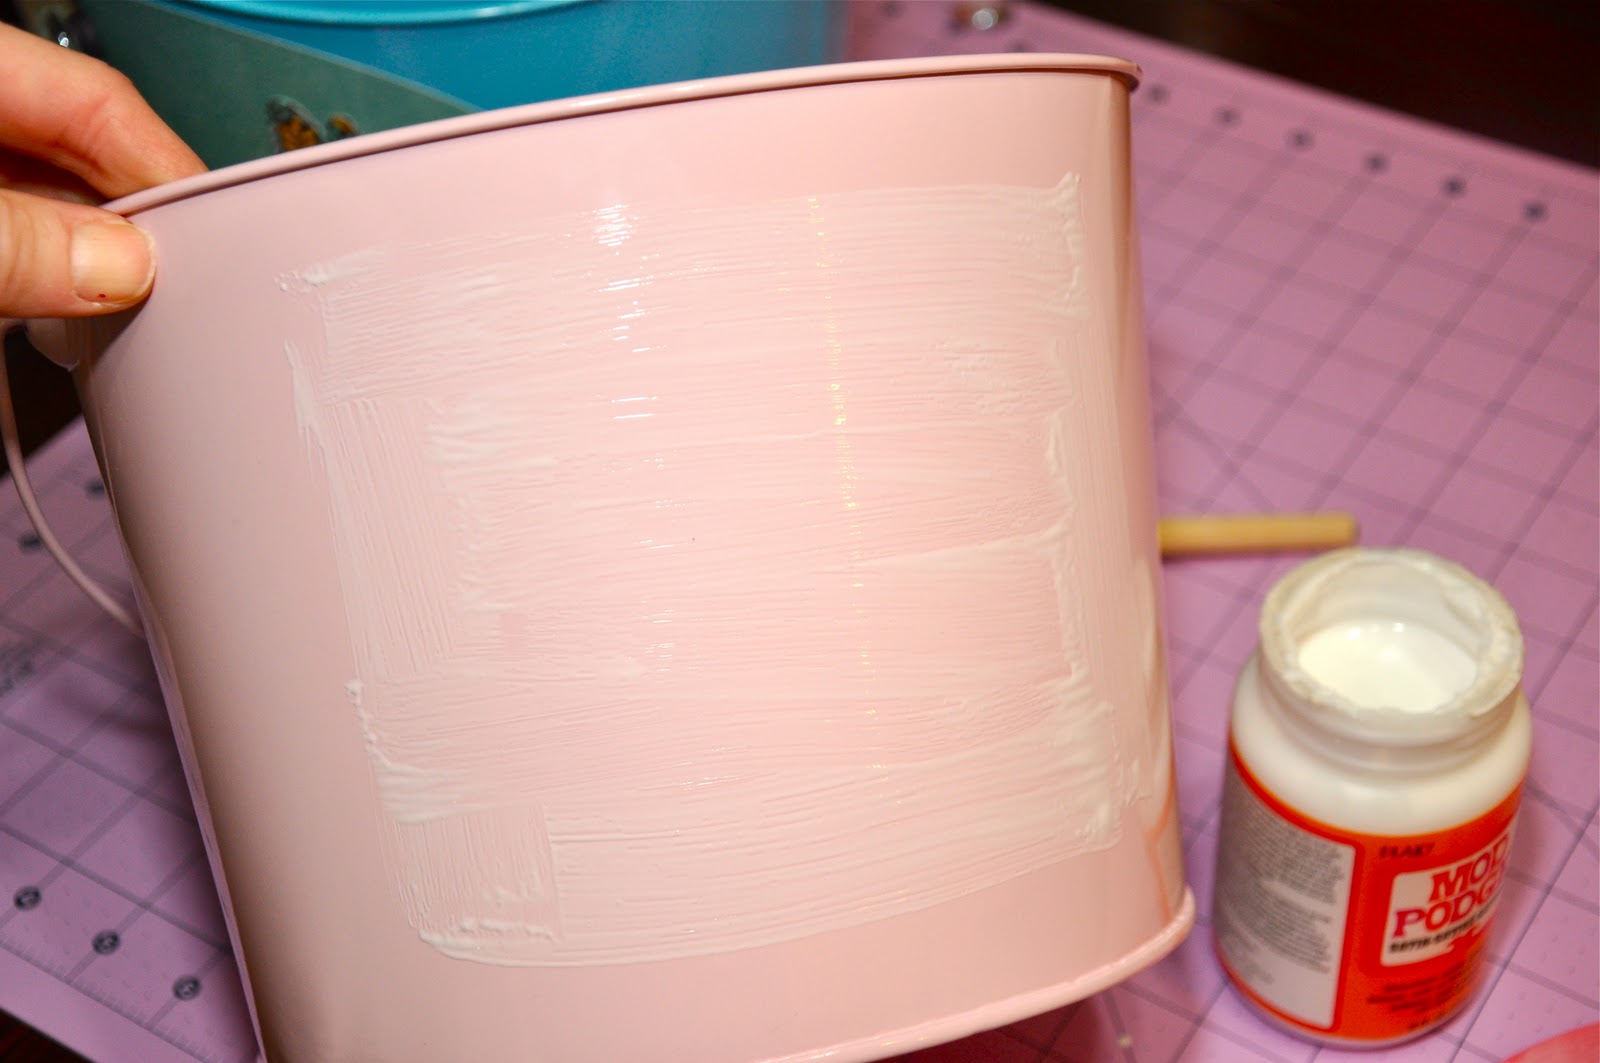
Then, add a layer of Mod Podge to the bucket. It is okay that the Mod Podge is not perfect. It cleans off easily with a damp rag. {How many times can I say Mod Podge??}

Place your decal on the bucket and smooth it out making sure it totally adheres to the bucket bubble free. Clean off any mess that is on the bucket. Let dry a few hours.


Be sure to stop by Running with Glitter for more DIY’s & FUN stuff!

Hi! I just tied a double knot on the ribbons to keep the from slipping open. You could also add a dab of glue under them to keep them really secure.
xoxo
Kelly
So cute! For the ribbon on the handles… do you just tie it in knots on the handles? How do you keep it from coming "unknotted"?
Those buckets are super cute! Thanks so much for the great idea and how-to, I'll be linking to this.
I'm your newest follower from the Thirsty Thursday Hop! Please stop by and follow back, if you'd like!
Have a great day!
Brandy
http://www.NewlyCrunchyMamaOf3.com
what an awesome idea! I have also never seen the chalkboard paint come in that small of a container 🙂 good to know! would love for you to come link up to handmade tuesdays @ http://www.ladybug-blessings.com
Thank you for having me a a guest blogger today! I love your blog and your readers too!
xoxox
Ok, seriously adorable! I have an 8 year old that would probably think this would make a great Easter Basket. Love
http://www.itsybitsypaperblog.com
Ok this seems easy enough for even ME to handle, haha!!
Love it.
Cute! 🙂 Jennifer
ps I think this would be great in a craft room or something since you can change the label. Cool!
What a cool idea! I think I will make one of these for my roommate since I don't have children.