diy photo text pillow
This tutorial is sponsored by Adobe Photoshop Elements 2018. All opinions, as always, are our very own.
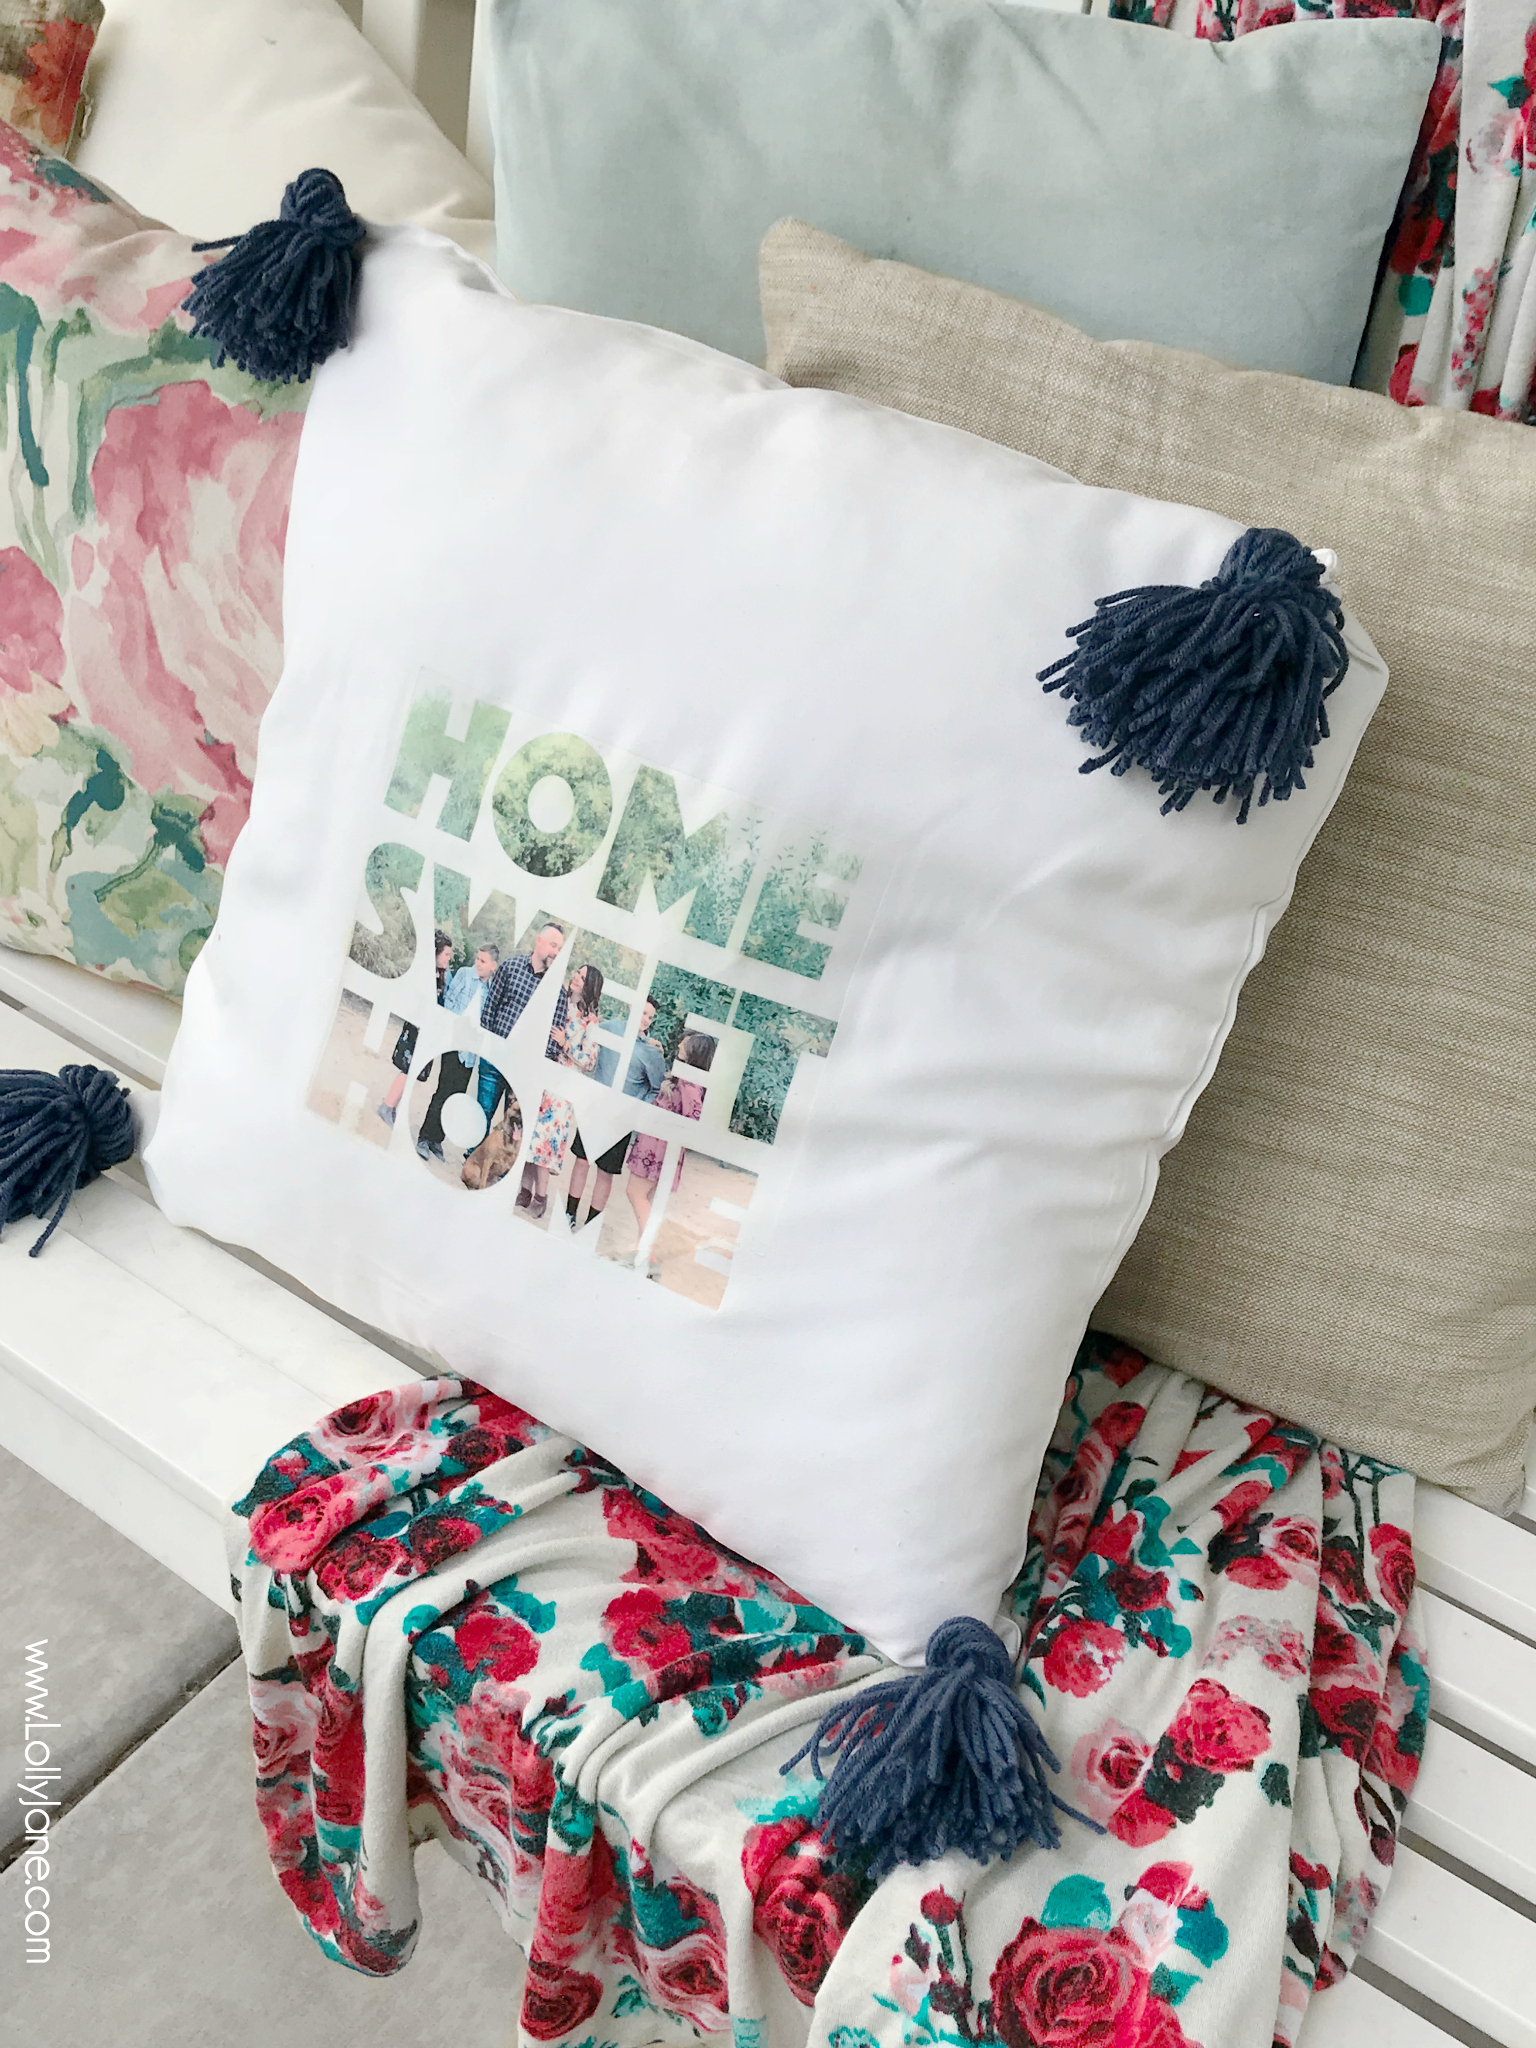
tired of giving the same gift over and over? Create a unique and custom handmade pillow with Photo Text Photoshop Elements 2018 that’s perfect for a housewarming party, bridal shower, wedding reception gift, birthday, or aNY holiday!
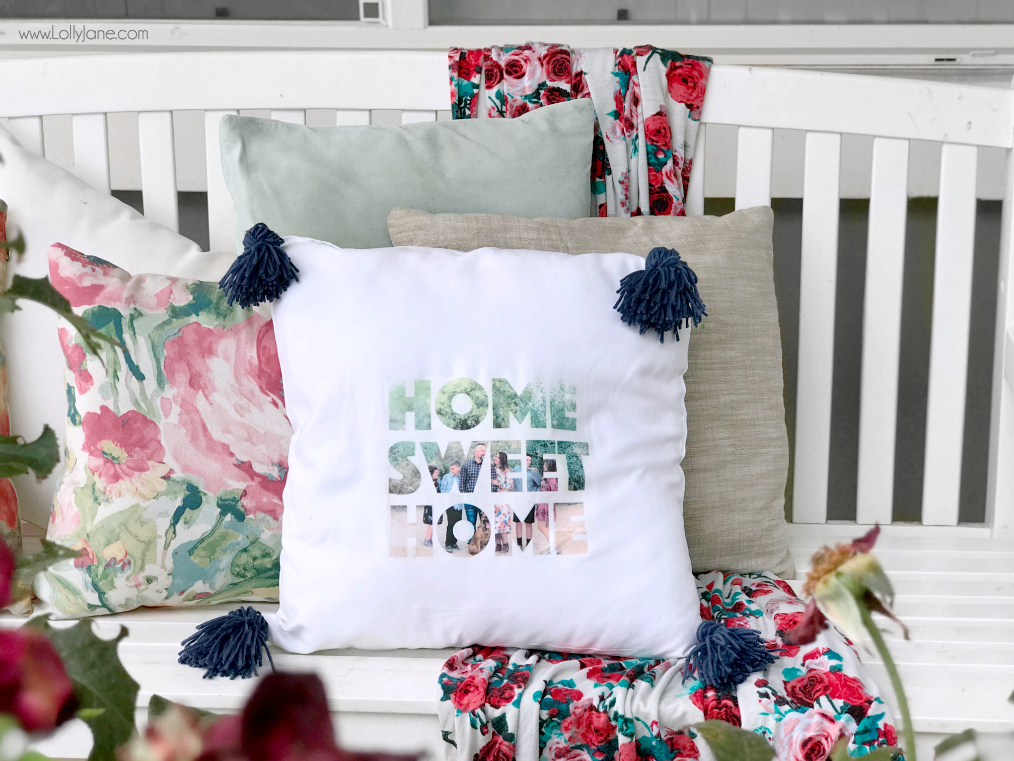
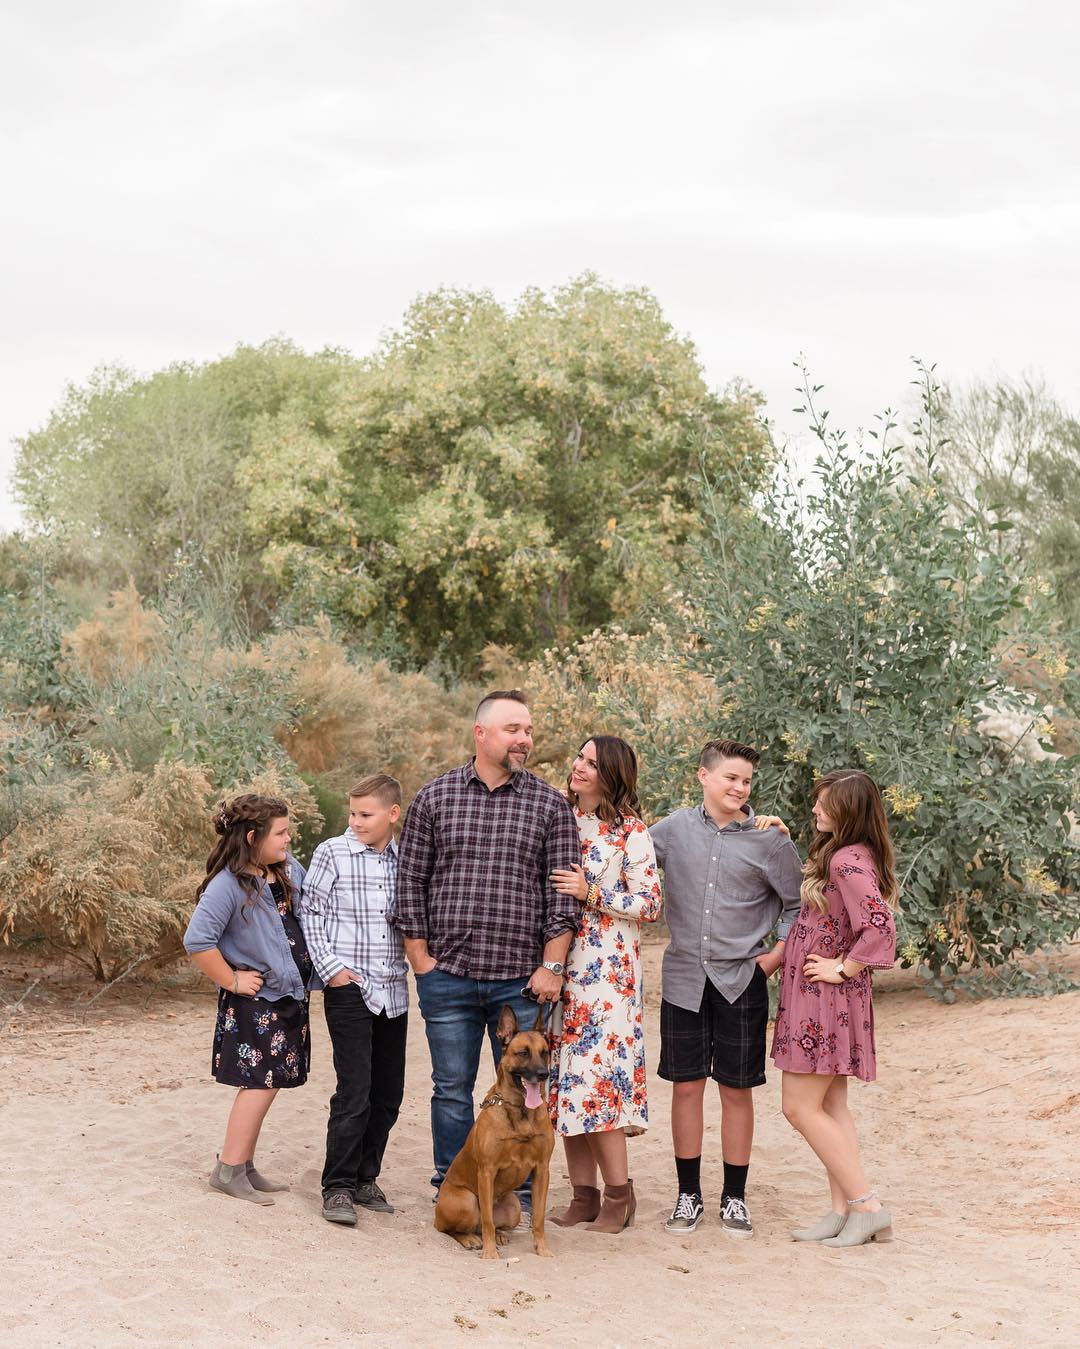
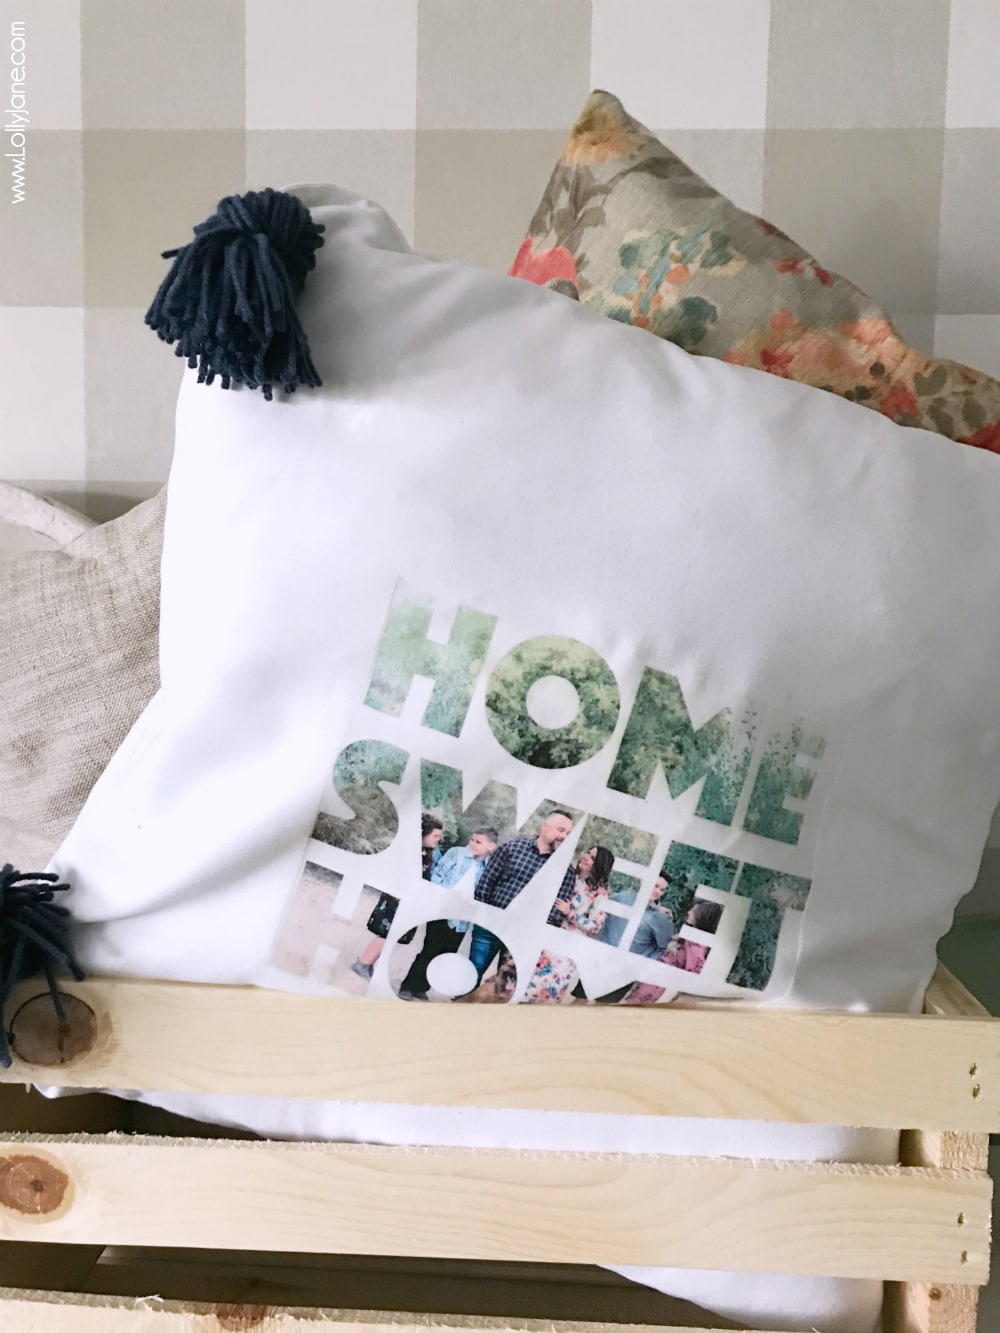
As DIYers, we tend to lean toward handmade gifts vs. purchased, and sometimes it can be hard to come up with new ideas to give family or friends for a special occasion that really comes from the heart. Enter Photoshop Elements 2018 and a few supplies from my craft stash. I love the trending phrase “Home Sweet Home” that is so welcoming and familiar, the perfect words to greet you or your visiting guests. Pair the text with a cherished photograph on top of a handmade pillow and you’ve created an ideal gift for any event.
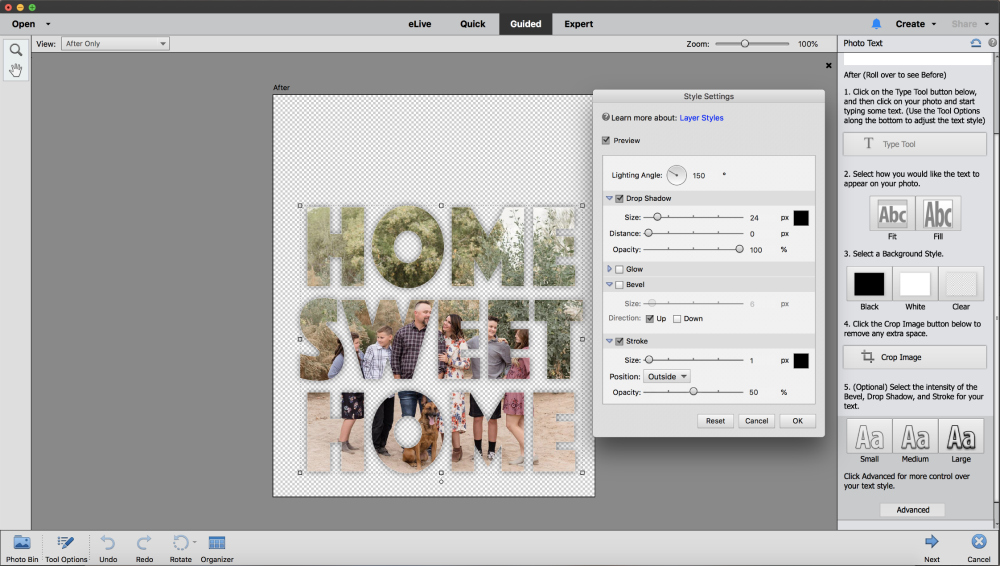
TURN PHOTOS INTO TEXT IN PHOTOSHOP ELEMENTS 2018
- Choose your photo of choice and upload into Photoshop Elements 2018.
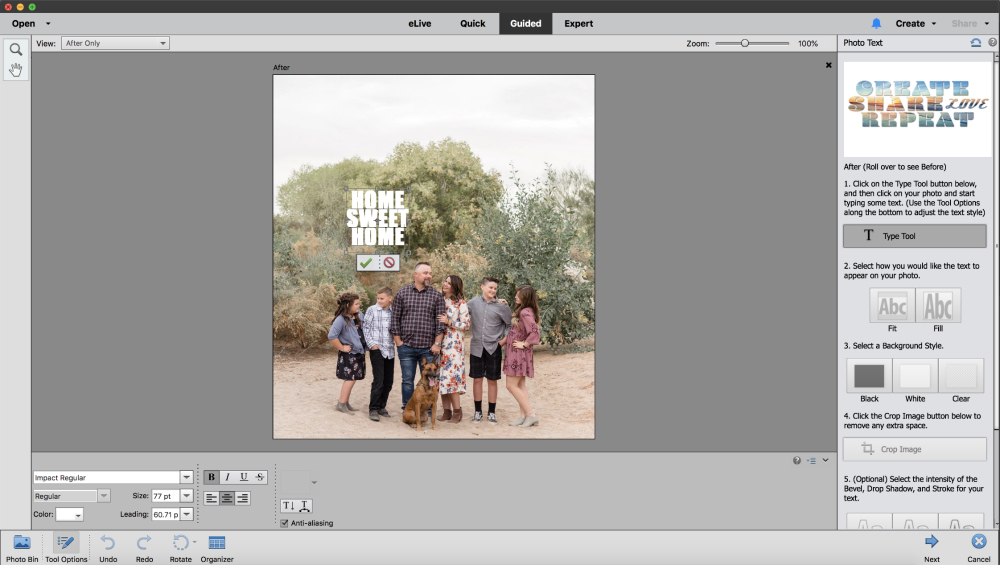
- Under Fun Edits in the Guided Edits menu, click Photo Text.
- Click the Type Tool box and enter text “Home Sweet Home” or text of choice.
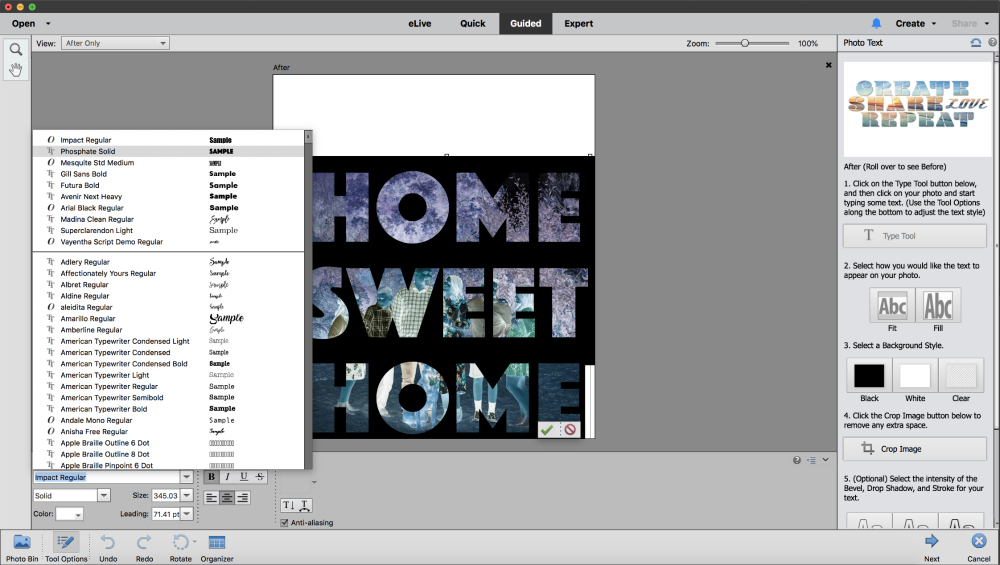
- Double-click marching ants box to change font and/or font size.
- Click the small square boxes in the corner of the text and size accordingly.
- Click Fit (which stretches text edge to edge horizontally of the photo), or Fill (which stretches text to entire area of the photo.)
- Select Background Style (black, white, or transparent.)
- Crop image.
- Select the intensity of the bevel, drop shadow, or stroke of the text.
- Click Image > Rotate > Flip Horizontal.
- Save image, then print.
A few tips: I would recommend a serif font vs. script as the thicker fonts show more of the photograph. I printed onto a white pillow so I chose a white background but if you’re printing onto a patterned pillow then a transparent would be recommended.
There are so many fun options with the Photo Text guided edit, you can try it out with your own FREE trial of Photoshop Elements 2018 here. Or, try see all of the features here!
DIY PHOTO PILLOW
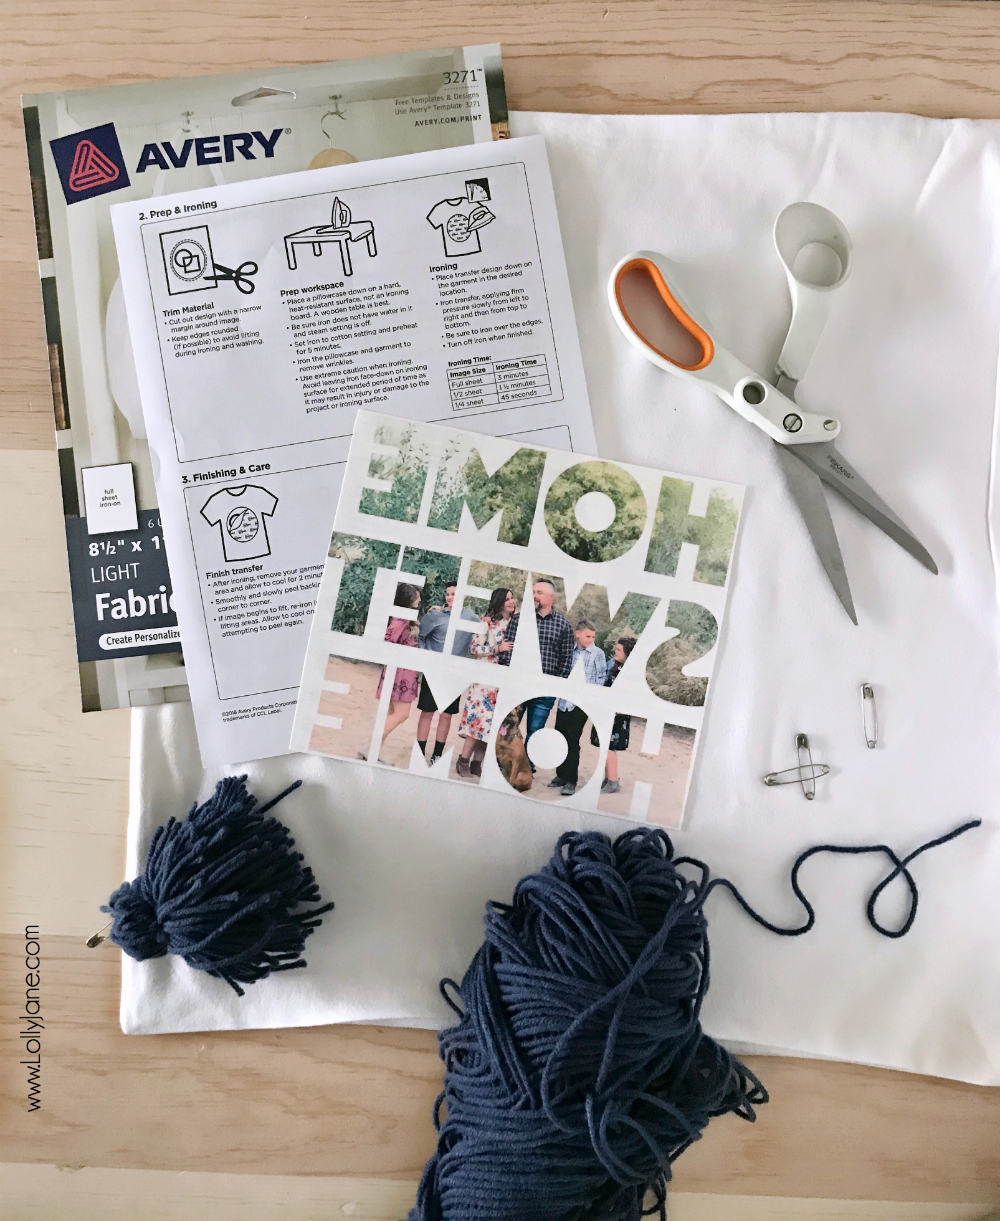
Supplies needed to create a DIY Photo Pillow:
- Pillow case, size of choice
- Photo transfer paper
- Yarn
- Safety pins
- Scissors
How to create a DIY Photo Pillow:
- Follow our tutorial to create a visual photo text image in Photoshop Elements 2018, save as JPG.
- Print to preferred size onto photo transfer paper.
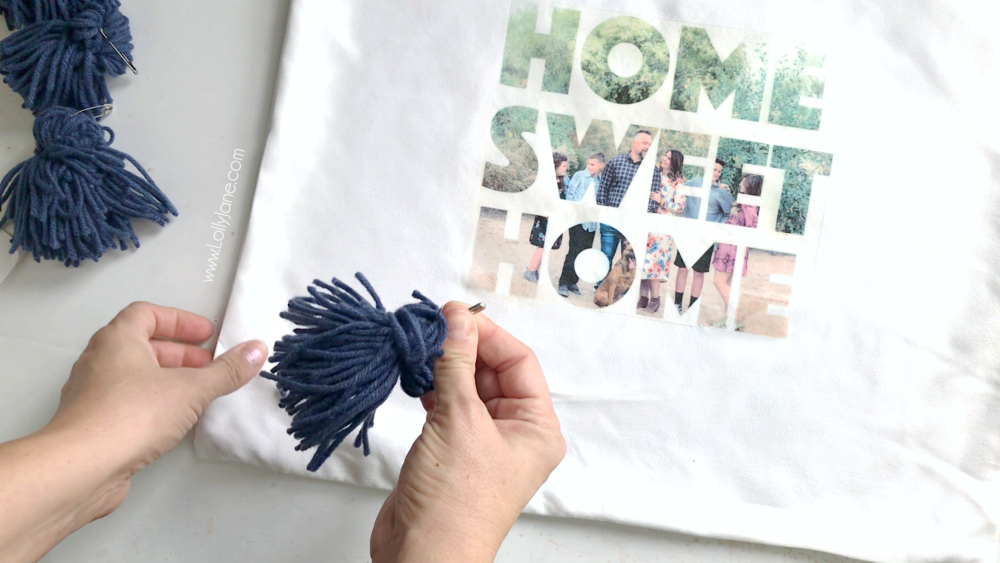
- Lay image onto pillow.
- Iron image according to transfer paper instructions, (2-3 minutes.)
- Pin tassels (DIY here) on the corners of pillow.
- Ta-da! Stuff pillow and enjoy!
Would you like to try Photoshop Elements 2018 for free? You can get your own trial here.
Want to watch it in action? Grab some popcorn and enjoy!