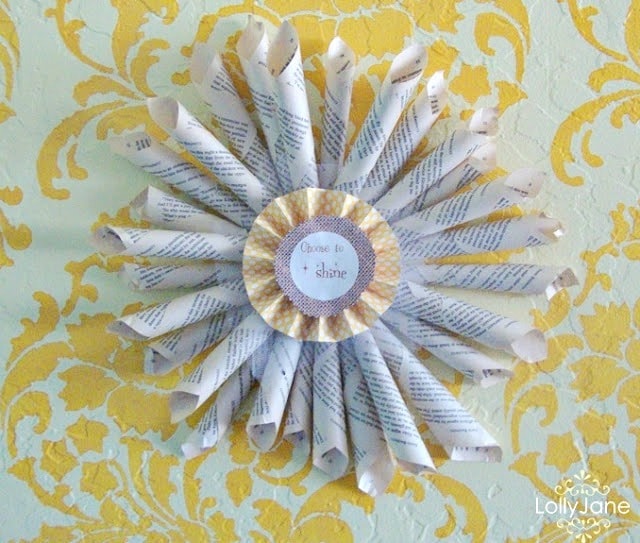
Book Page Wreath
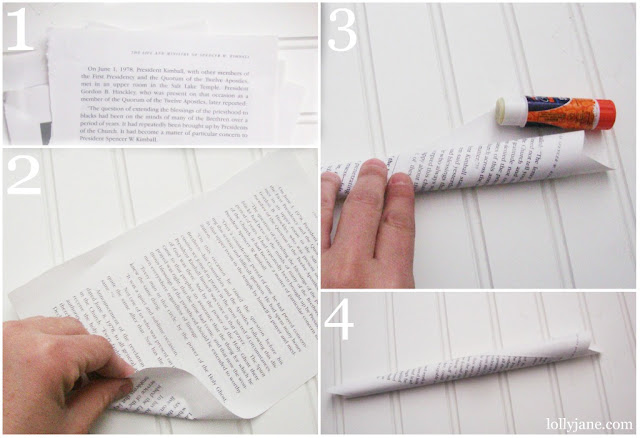
Step 1: Rip out pages [I used old Relief Society manuals since they’re now online]
Step 2: Starting in lower right hand corner, tuck end inward then roll, keeping a cone shape.
Step 3: Glue corner into place with a glue stick.
Step 4: Again, note the CONE shape in the end…if it didn’t turn out, just re-roll. Now repeat 19 more times for 1 wreath.
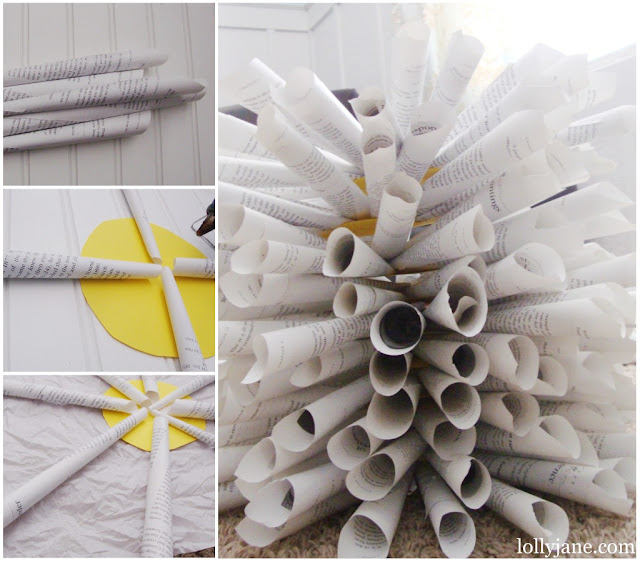
Next up, hot glue them in place: I cut out a 3″ circle from yellow card stock as my base. Hot glue the first four cones at 12 o’clock, 3 o’clock, 6 o’clock and 9 o’clock. From there, just fill in as many as you can glue between the first 4 cones, [about 8-10] then create a second row so you end up with a fuller wreath.
Right picture: that was only HALF of my wreaths…long day, good thing hubby was home to tend kiddos and I had a marathon of CSI: Vegas to keep me company (:
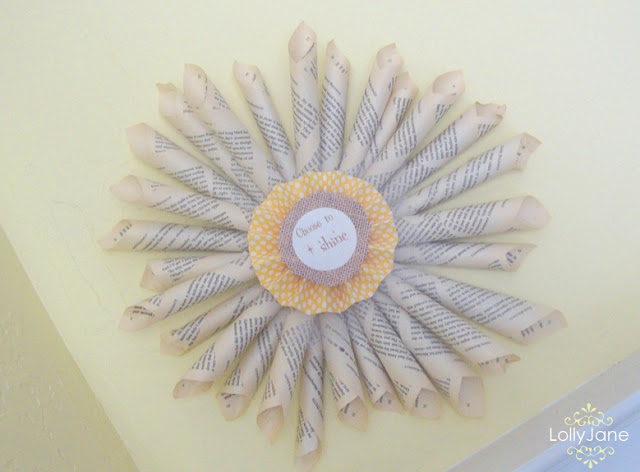
I thought a pop of yellow to coordinate our Sunshine theme would be fun so I made paper lollys to go in the center of each wreath. [We’ve explained the tut before so if these pics aren’t doin it for ya, click here!]
For the center of each lolly: Print “Choose to Shine” (in Word) onto regular copy paper, cut out into 2″ circles, glue circles onto faux burlap scrapbook paper and cut into a 3″ circle with edging scissors.
Total cost for 13 wreaths?
Just $7 for scrapbook paper [from HobLob] which comes out to less than $2/wreath.
Now that, my friends, makes our budget SMILE (:



.jpg)

This type of art and creations are look so beautiful.It is the god version of the book page wreath.
Just in love with book pages and all you can do with them. This is lovely!
I think this is a really pretty version of the book page wreath. I've pinned this, just waiting until I have a book or magazine that I'm willing to tear apart. That may take a while. Heh.
cute cute cute!
love the burplap w/ the cardstock!
PS: Just pinned! 😉
Lurve this girls! I want to make a giant, full one for my front door!!! Thanks for the tute! 🙂