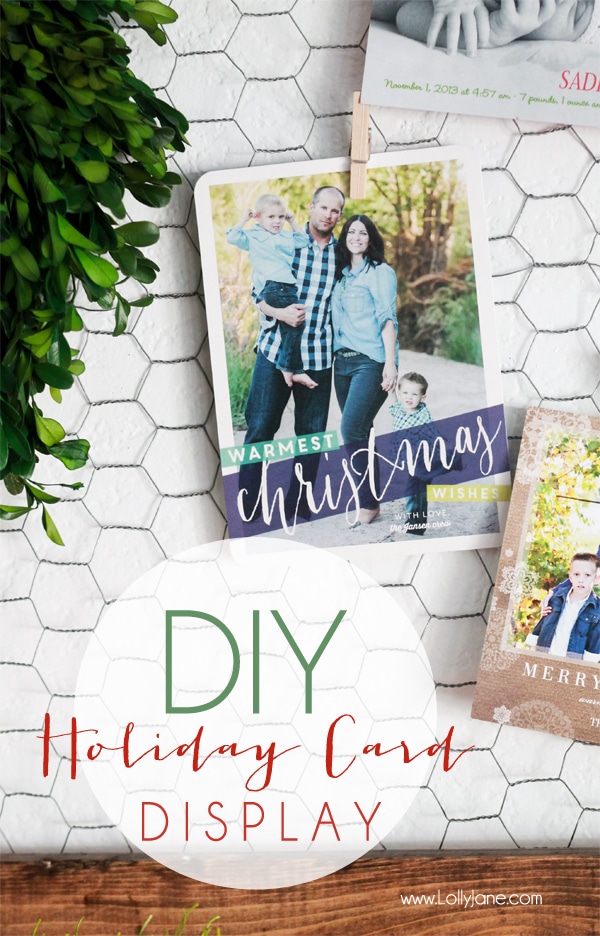
diy holiday card display
We stepped into our friend Jodie’s house a few months ago, in the middle of summer, and saw her collection of Christmas cards were still up on display in the foyer of her home. Although showcased in a cute manner, it had been 6 months after the holidays had ended. When we asked Jodie why she still had them up, she simply replied that people go to a lot of work to capture the perfect family photo then carefully choose a card to compliment that picture and it’s a waste to put them away after just a few short weeks. We thought about it and immediately agreed! We made this easy DIY holiday card display to keep ours up year round too! Read the full how by scrolling down.
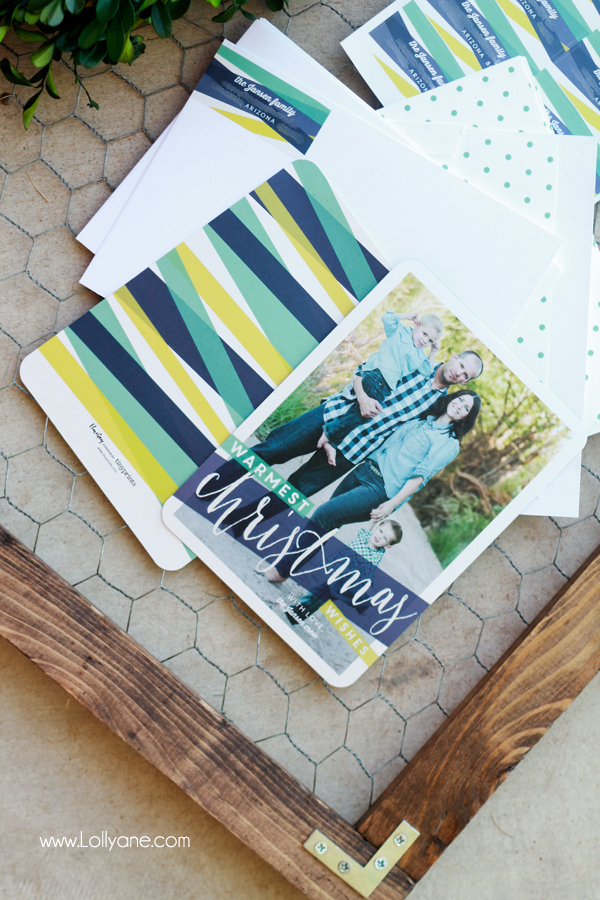
This year my family chose to have our pictures taken in the soft sandy wash in the small cozy town we had recently moved from. I laughed out loud when our “best” photo of entire family came back to us from the photographer… with two rambunctious boys, ages 4 and 2, it captured their silly personalities perfectly! I wanted to pair it with a Christmas card that would match not only the color scheme of our apparel in the photo but also the photo orientation, (vertical, horizontal or square.)
Enter Tiny Prints.
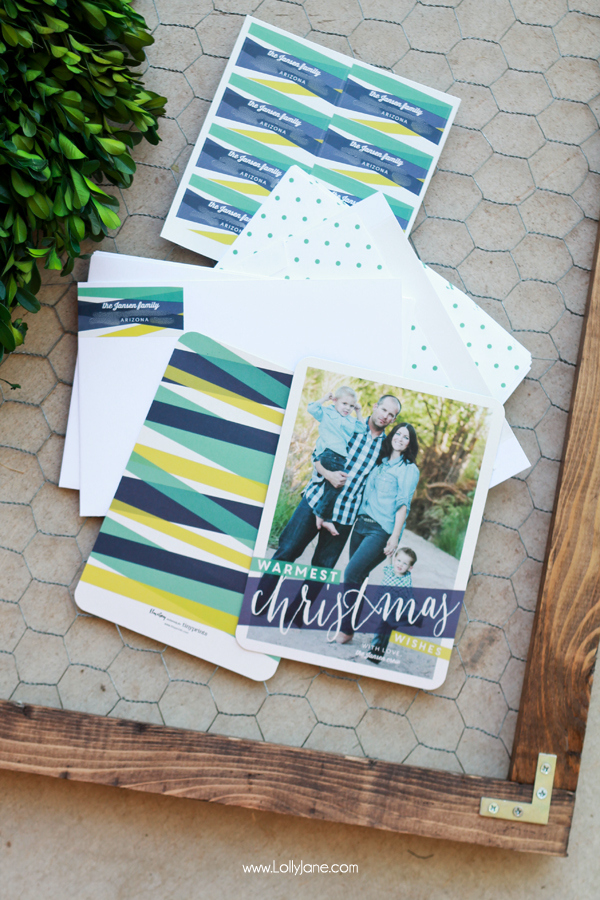
With 5 gorgeous new collections, Winter Botanicals, Delicate Frost, Mixed Metals, Black, White & Bold and Modern Merry, Tiny Prints has everything you need to make your holiday card truly delightful this season. From having your address printed to coordinating labels to a huge variety of envelope liner designs, the options are endless! I turned on a Hallmark movie and spent the entire flick choosing my card. It was SO fun. 🙂
And, it was like Christmas morning when they arrived!

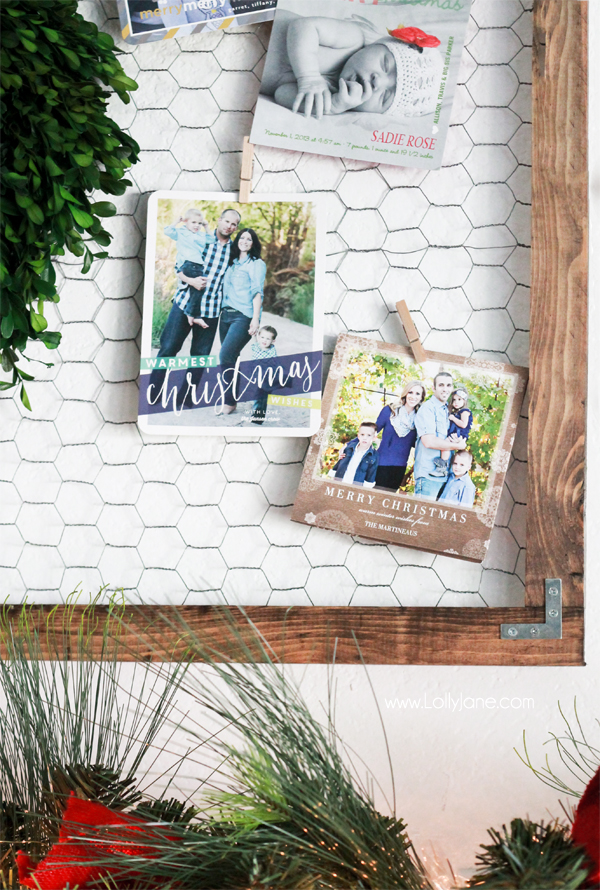
Now that your cards are signed, sealed and delivered, the fun part begins… receiving your family and friends holiday cards! With a little bit of money + DIY, here’s how we’ll be displaying our cards this year:
Supplies:
- 2) 42″ 1 x 2’s
- 2) 24″ 1 x 2’s
- 4) 1 1/2″ Flat Corner Brace
- Chicken Wire
- Staple Gun
- Stain
- Sawtooth hangers
- *Optional: 14″ Boxwood Wreath
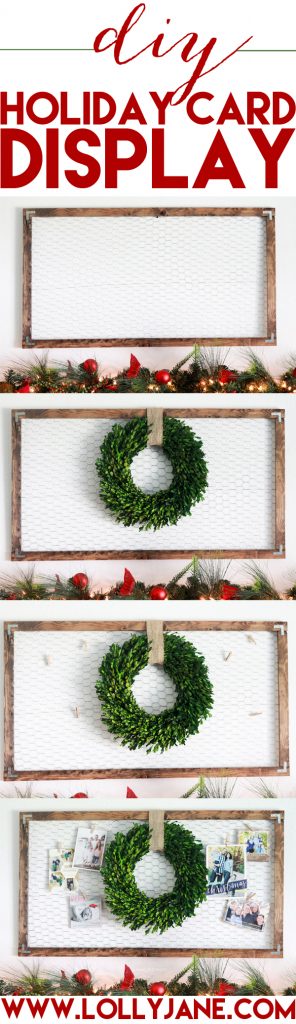
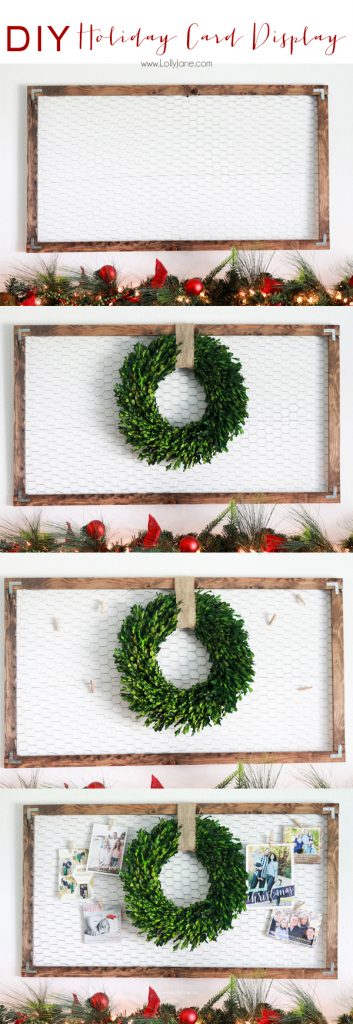
Directions:
- Cut wood to length.
- Stain.
- Screw in L-Brackets on each corner to connect the 1 x 2’s.
- Staple chicken wire to the backside.
- Display cards by hanging from mini clothespins.
- Nail in sawtooth hangers on the backside for easy hanging.
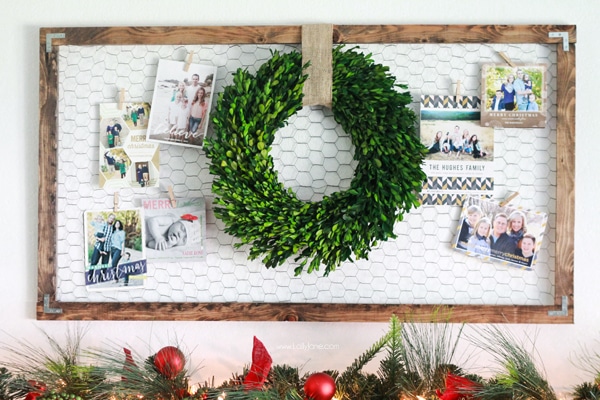
- *Optional: Hang wreath in the center.
Do you spy my card this year in the corner? I love it and can hardly wait to see it snuggled in close with my loved ones cards, too!
Be sure to check out Tiny Prints for even more styles! Can’t wait to see what YOU come up with, too!
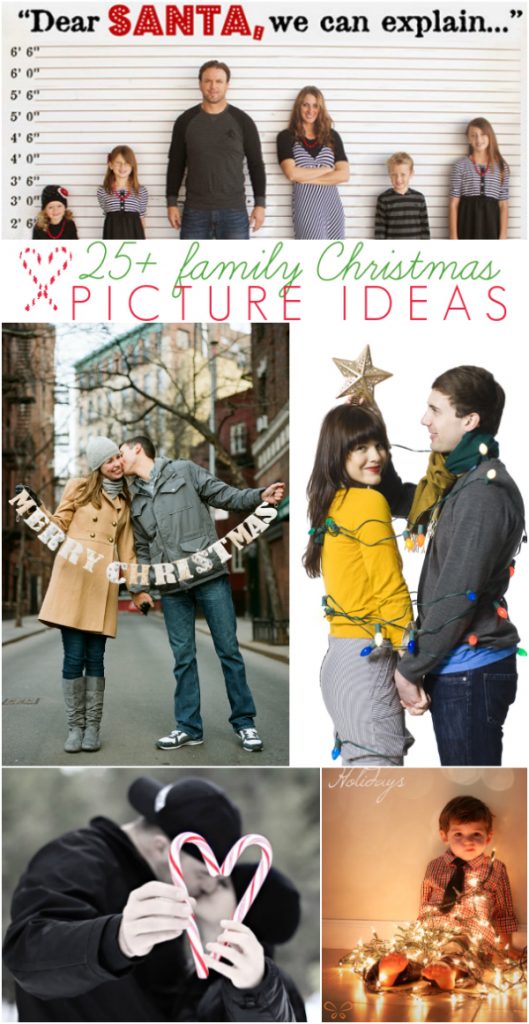
Be sure to check out our 25 Cute Family Christmas Picture Ideas roundup + 25 More Cute Family Christmas Pictures,

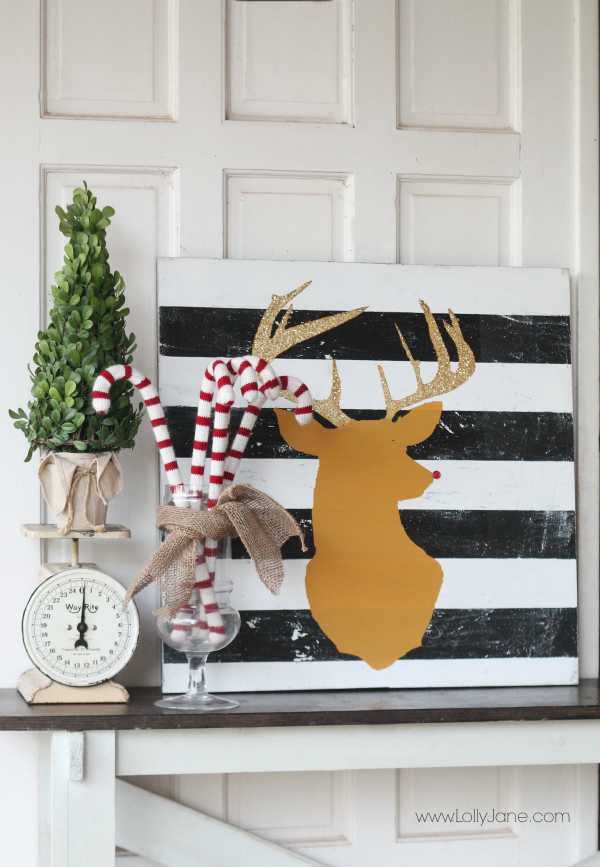
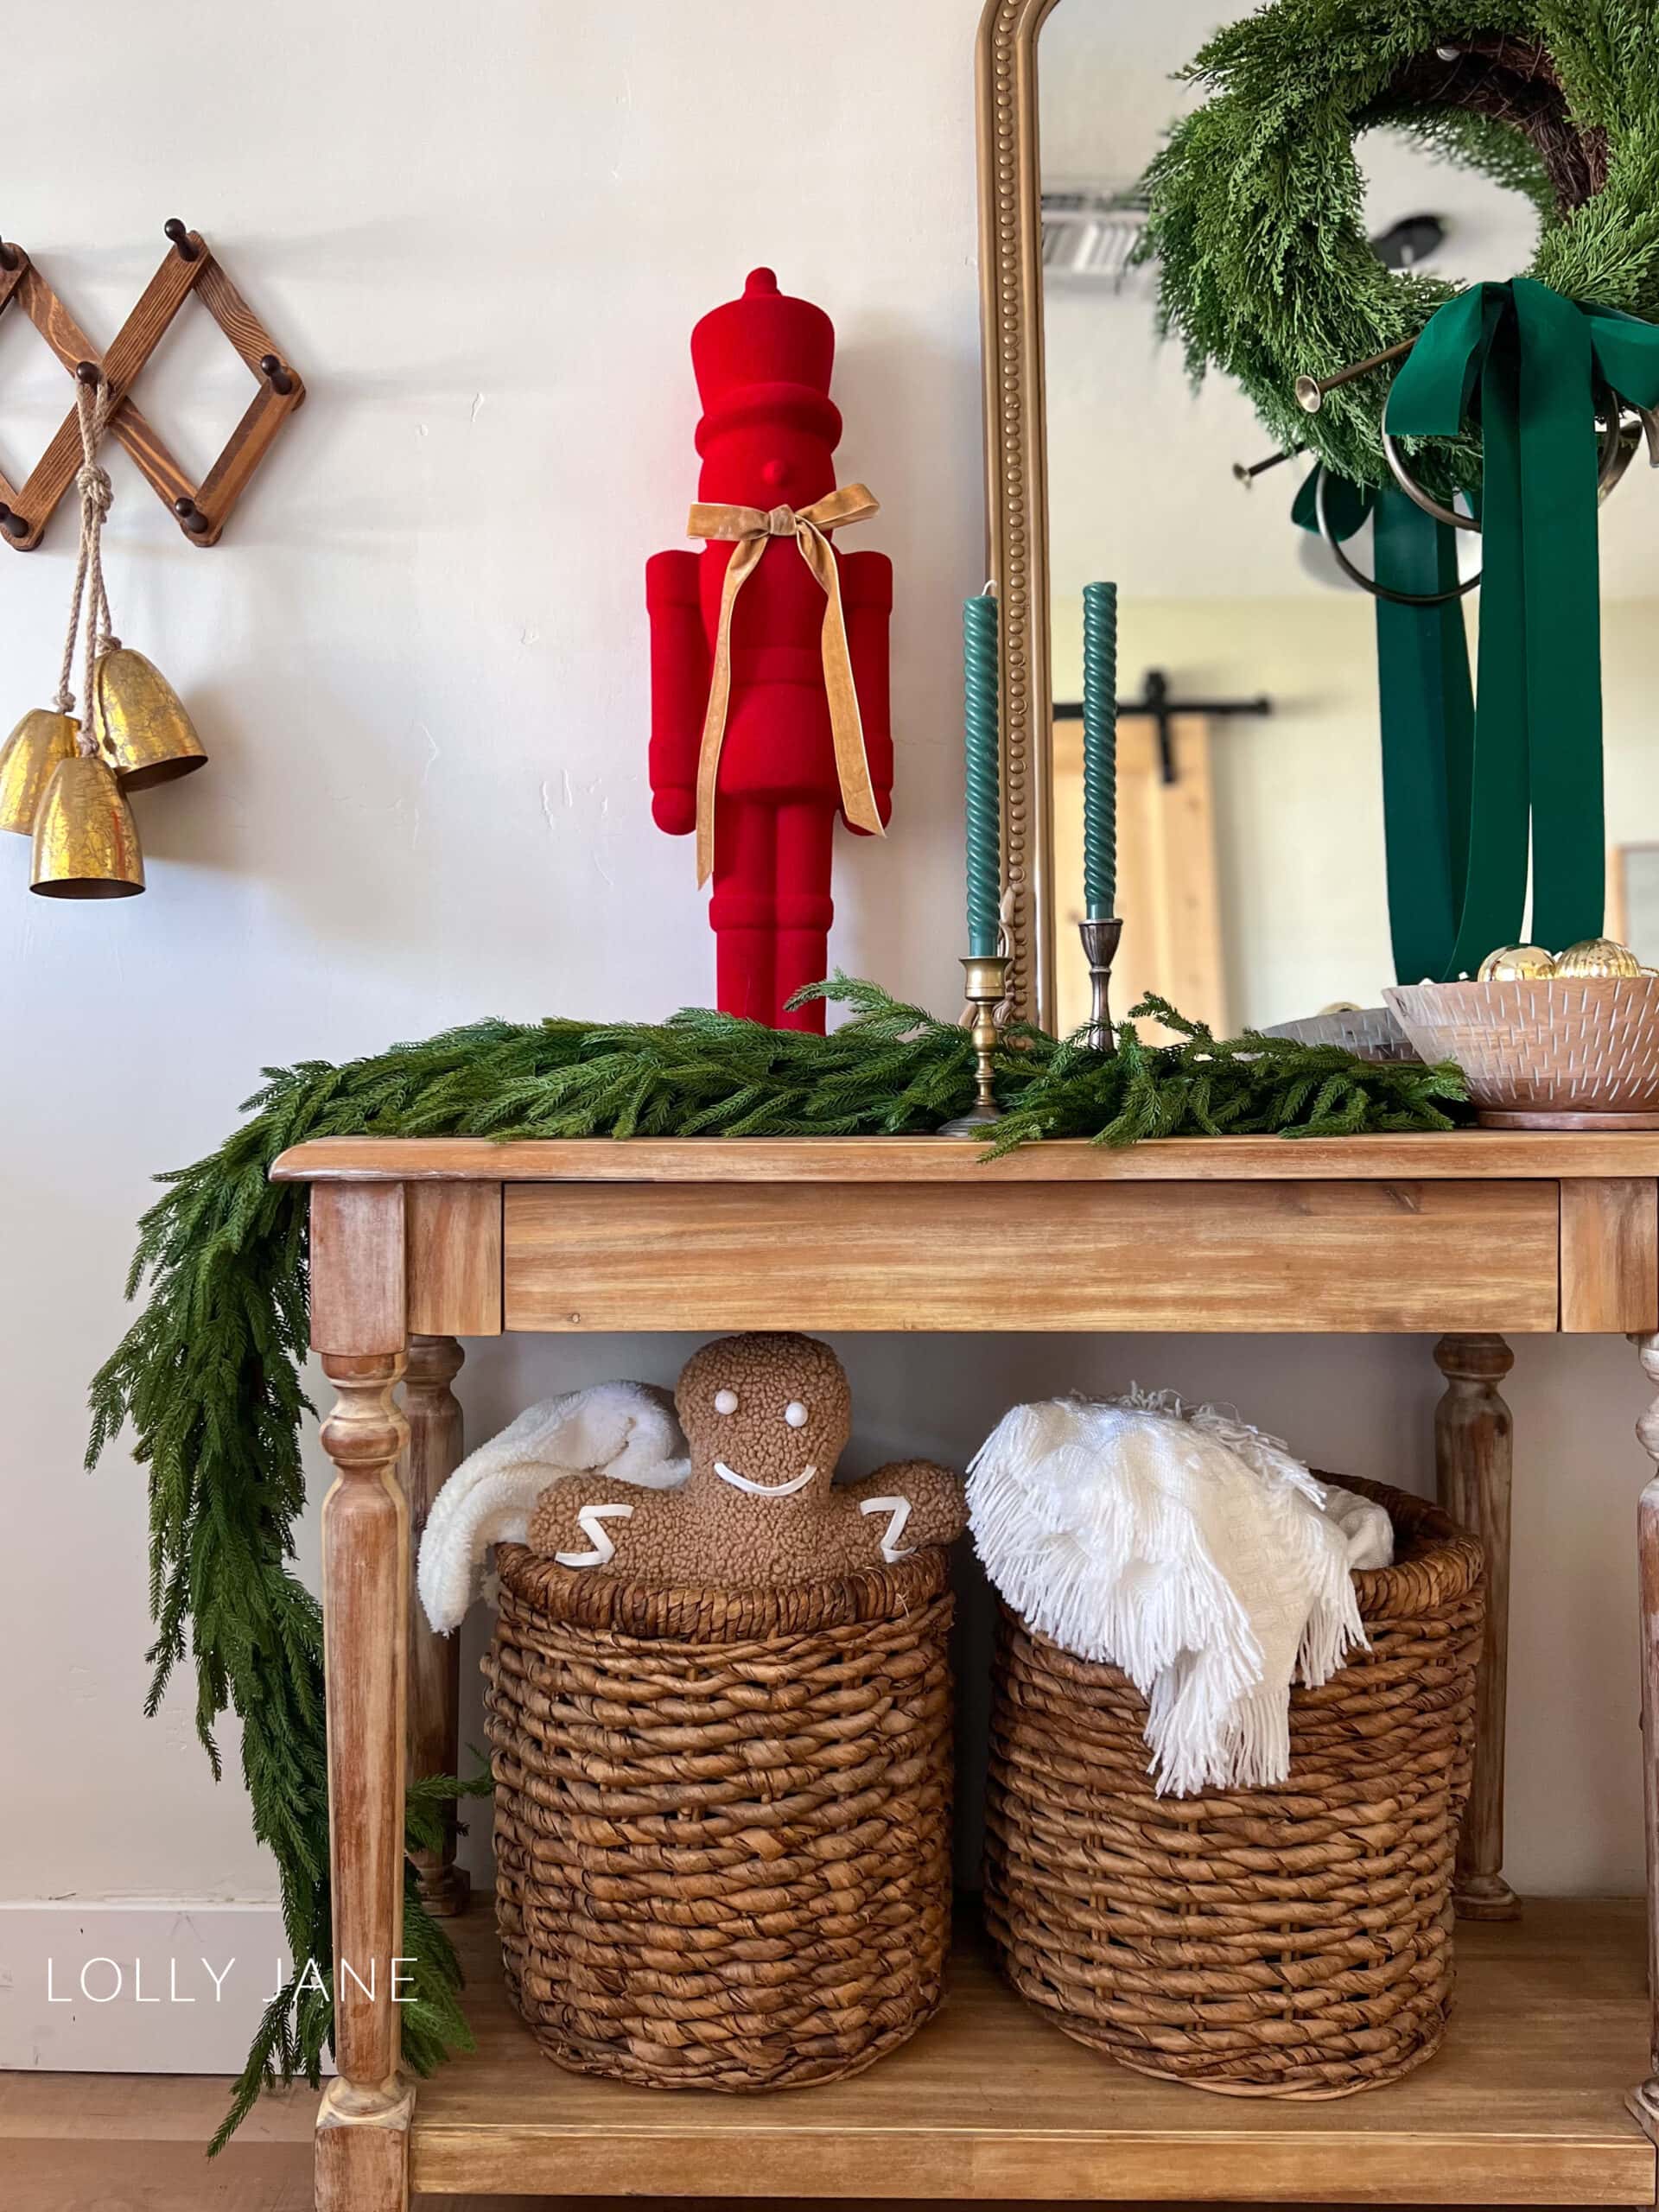
plus more of our many Christmas ideas like our Christmas front porch,
.jpeg)
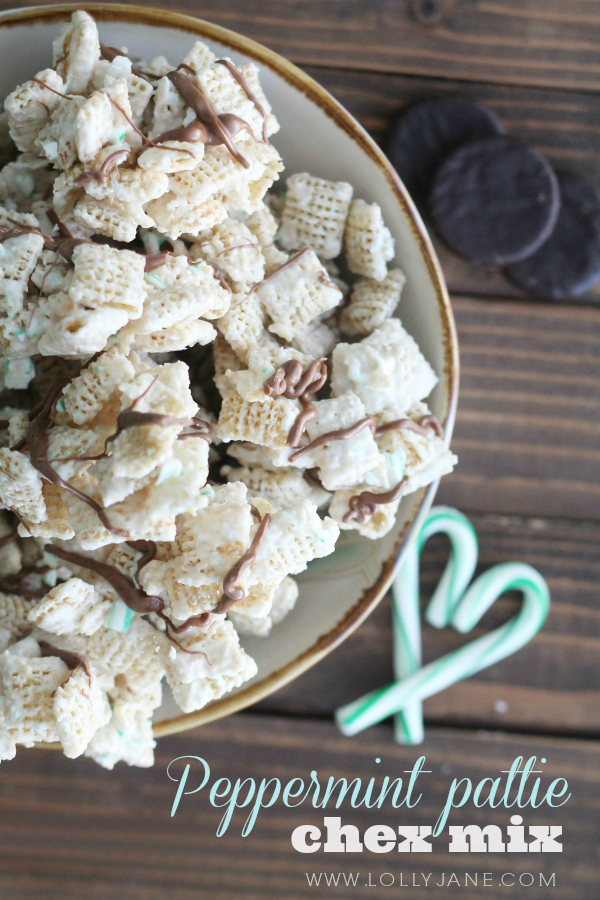
and our AMAZING Peppermint Pattie Chex Mix, mmm!
plus 19 more of our top Christmas tutorials!


Thank you so much! The Pine is a much better price, but I love the look of yours and would buy the hardwood if that is what you had used. I’m going to pick up the materials today and give it a go this week.
Oh thank you, Gayle, for coming by!! XO
Yes! We just look for the straight pieces 🙂
What type of wood did you use? Pine?
I saw this cute project on Instagram so popped over to check out your blog.
Hi Cortney! We didn’t seal it, actually! But if you’d like to, wax is a great way to go!
Hi, love this project. I’m wondering if or what kind of sealer you used for the stain. Thanks !
Cortney
Hi Bethany!
We use it for decor with a wreath during the year (:
I loved this tutorial and since we built it for our entry way two years ago, I always get so many compliments on it at Christmas time with all of the holiday cards displayed! We leave the frame up all year round and I’m struggling to find cute ways to style it. Do you do anything different with yours during the spring/summer/fall months?
Hi Amber! That is interesting, it sounds like the wood may be warped maybe? It is a completely flat piece of wood? Another solution may be loosening the L-brackets that hold the corners together (although they’re just cosmetic it may be pulling on the wood in the wrong direction if it’s too tight.) Feel free to shoot us an email with pics and we’d be happy to take a look 😉 Thanks much and Merry Christmas!!
Hello! Happy holidays! I just made this and I am so proud of it but when I tried hanging it on the wall it doesn’t lay flat. The one corner keeps popping out. Any suggestions?
I love this DIY Holiday Card Display! Makes me wonder why I never thought of this! Thank you for this holiday inspiration!
I’d say about $20, thanks Malia!
Do you have an estimate of cost for this project? Sorry if this detail is in the post and I missed it!
What length did you cut your wood for the frame? What was your end size for the entire frame? I love this!!
Looks amazing!!-thanks for sharing!
Thanks, Netty! We used Dark Walnut by Mixwax (:
Yes! We put duct tape behind it for any raw edges!
Great tutorial! Do you do anything to the edges of the chicken wire where you cut it do it won’t scratch the wall when hung?
Thanks so much for sharing your tutorial! I made it and have been enjoying it in my home!
Check out my blog post on the DIY Display Frame to see how mine turned out and how I updated it for Valentines Day as well.
http://faithledhome.com/2015/03/01/diy-display-frame/
Thanks again!
Love this Xmas card idea and I love to display mine longer too! I really love the rustic look of your wood. Can you tell me which stain you used (color and maker)? That would help so much!
Beautiful, affordable, doable!
$15?? Nice score!! We haven’t seen them that cheap! Correction: they’re flat corner braces, thanks for catching that (:
http://www.amazon.com/URBEST%C2%AE-Angle-Corner-Repair-Bracket/dp/B00NW9EHGO/ref=as_sl_pc_qf_sp_asin_til?tag=lolljanebout-20&linkCode=w00&linkId=7BKK7CRQAUZUEAD4&creativeASIN=B00NW9EHGO
I got the same wreath this weekend at Target for $15! 🙂
On a side note, I am a novice DIY’er. I followed the link in the directions above for the L brackets. The link sends you to an amazon site of corner L brackets. So I purchased those. It doesn’t work, not for this little wood. Do you mean FLAT L brackets, like in the photos? Or am I doing something wrong?
Yes! Sawtooth hangers make it easy! http://amzn.to/1FqOBNl
What a beautiful idea! How did you hang the frame on the wall? Did you attach something on the back? picture hangers?
This is beautiful! I love it!
Thanks much! It was a bit of work and I made sure I had a second pair of hands to work with 😉 Start by stapling the top securely then pull as hard as you can and staple the bottom snugly. Pull the sides just as hard and staple away! I used my hubby to pull and I stapled b/c he’s way stronger than me! If it’s a curled piece, you can lay it on a flat surface and weigh it down to get the curl out so when you staple it, it’s already flat. 🙂
Happy making!!
🙂
Hi there! I absolutely love this craft!
I have a question for you though. How on earth did you get the chicken wire flat enough to staple to the frame? I haven’t had much luck with it in the past 🙁
Thank you for sharing this tutorial, it is really helpful and inspiring one.
http://www.amazon.com/gp/product/B00N41ILQC/ref=as_li_tl?ie=UTF8&camp=1789&creative=390957&creativeASIN=B00N41ILQC&linkCode=as2&tag=lolljanebout-20&linkId=RIHFI5R5P6JOOHXR 🙂
Where did you find your wreath?
We used a tiny nail in the center but you can tie it on, too, (through the chicken wire.) Happy hanging! 🙂
How did you hang the wreath on it?
LOVE this DIY! I’m such a sucker for a boxwood wreath, it really adds a pretty touch to your idea!
I LOVE this!! And great pics!
Yes!!! #youretotesfamousnow 😀 Ha! XOXO
Did I just get a shout out from your blog?! Saweet!!
Thanks Shelly! And agree, the add on’s add up way too quickly! Luckily, the cards themselves are pretty affordable as is, (if you’re like me and only need 50 or less.) So happy you’ve found a display that’s to your liking- this one is even cute to leave up year round with a simple wreath on it. 😉
Love your card for this year and love TINY PRINTS but it can be super expensive, especially if you get the envelopes and all the extras! I think we send out too many to afford all the bells and whistles. I SUPER love your card display! I’ve looked the past few years on pinterest and haven’t found one I’d liked until yours!
I have to pin this post! Gorgeous idea to display cards!! I love anything with wire!! Also, beautiful ideas for unique Christmas cards!! Would love to have you share this (or any other post too) at our link up party on Thursdays please! Hope your week will be great, ladies!
Hi Katie,
We used a 14″ wreath (:
So glad you like it!!
I I want to tickel your pickle this idea! What size is the wreath that you used?