because unpainted pumpkins are boring
Tenth of the month already! I swear we just started this blog hop, but this is month four…I’m so not ready for the holidays to hit! This month’s theme is HONEYCOMB. We love this pattern!! Kell shared her mailbox makeover using the same pattern a few weeks back and is still getting compliments from the neighbors. So be sure to pin the collage below then read on to see how we decorated our painted pumpkins, such an easy way to dress up some boring fakes!
Make sure to come back on the 10th each month to keep up with these talented gals, click below on their names + projects.
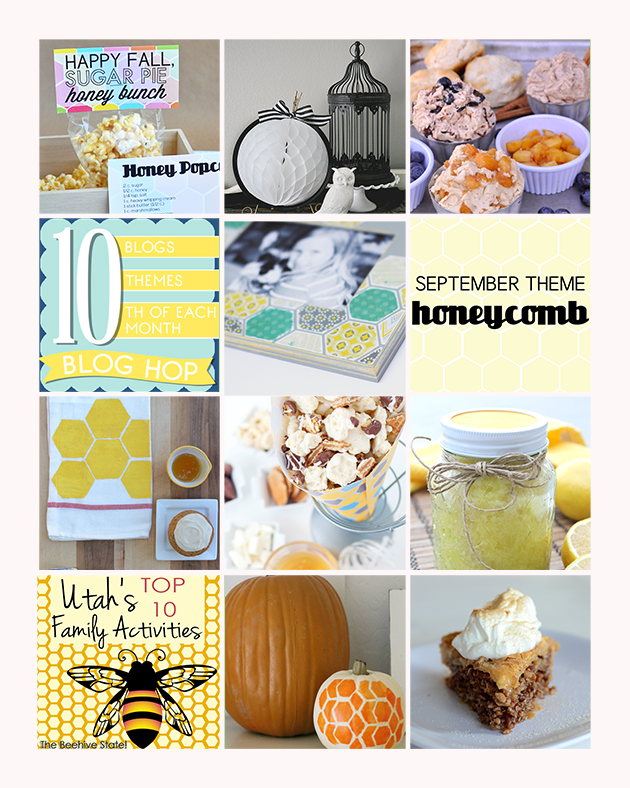
- Happy Fall Printable with Honey Popcorn from Thirty Handmade Days
- White Honeycomb Pumpkin from eighteen25
- Flavored Honey Butters from Your HomebasedMom
- Honeycomb Frame from Landee See
- DIY Honeycomb Dish Towel from Little Miss Momma
- Triple Honeycomb Crunch from Capturing Joy
- Honey Lemon Sugar Hand Scrub from Six Sisters
- Utah’s Top 10 Family Activities ~ The Beehive State! from Or So She Says
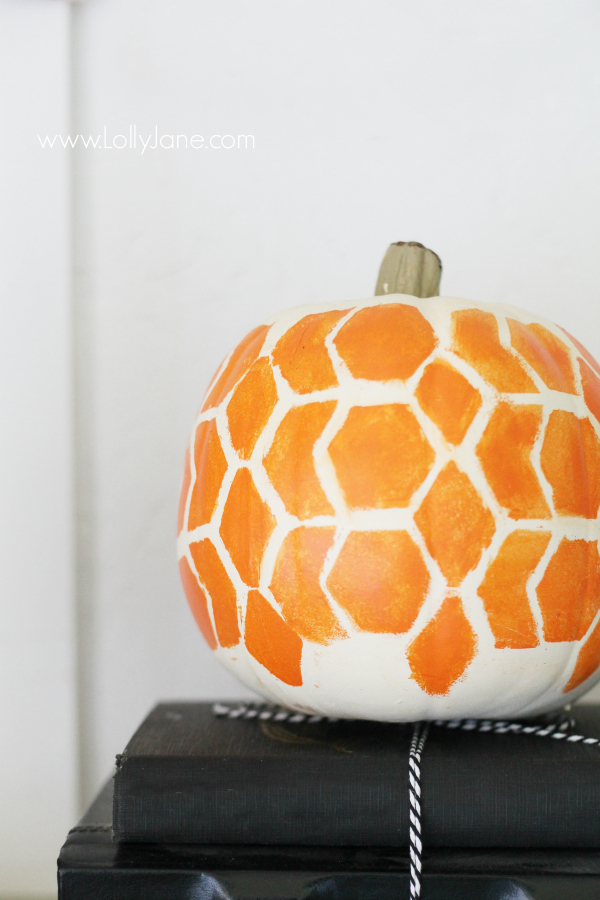
- Honeycomb Patterned Pumpkin from Lolly Jane
- Honey Nut Pie from Simply Kierste
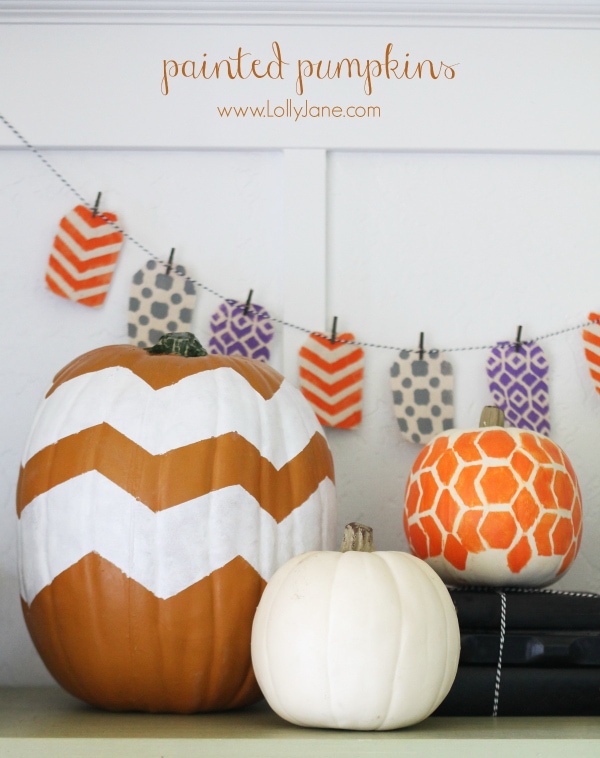
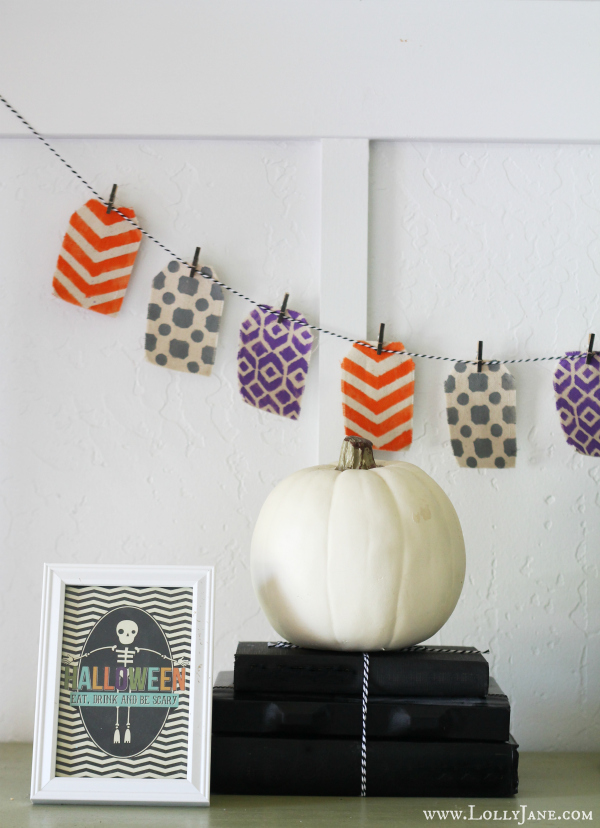
Do you ever see these fake pumpkins at Goodwill? I scored the big orange one for $0.75 a couple years ago. I love how big it is and you can’t beat the price! The small white ones are from Michael’s, they run sales all season long for these cuties. I do love the classic look of them. See how I paired the plain white one with my stenciled bunting?
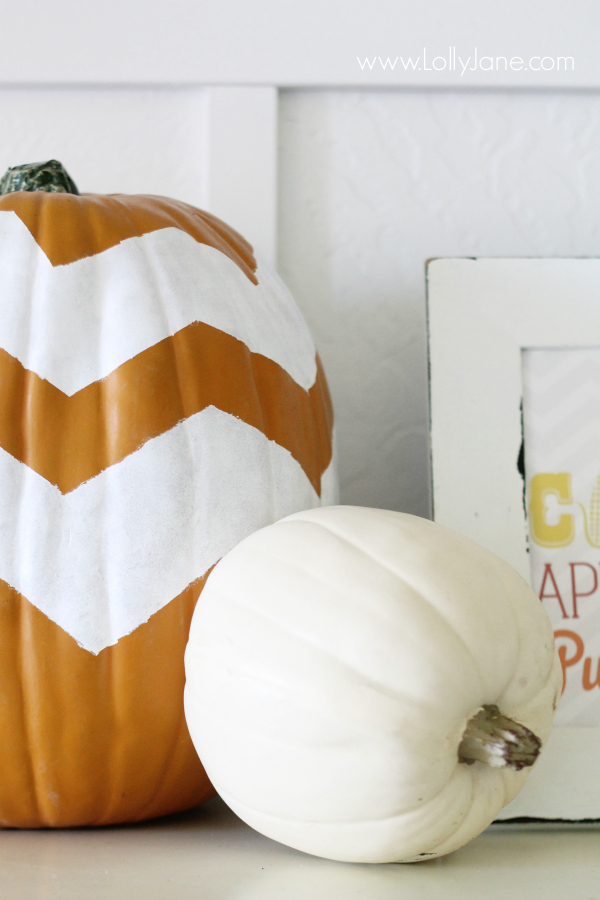
I love the classic look for the busy bunting. But if you’re a LJ reader, you know nothing stays the same around here for very long…hence the chevron pumpkin and the honeycomb pumpkin, lol! Here’s how I painted these, pretty darn easy. Warning: if you’re a perfectionist, this isn’t a project for you! Stencils are messy and inaccurate, I think it gives them character but stencils bleed so clean lines aren’t a guarantee either (;
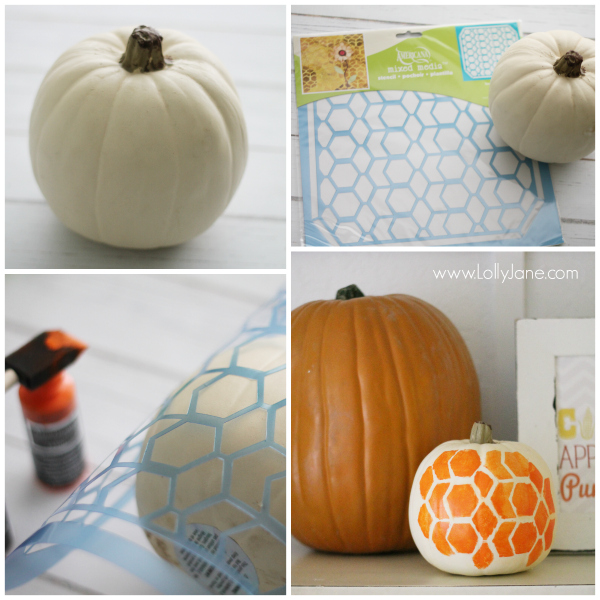
This was easy, I just used a stencil Michael’s, taped the sides to hold it in place and painted inside with DecoArt’s orange acrylic paint. So that was a little boring, right??
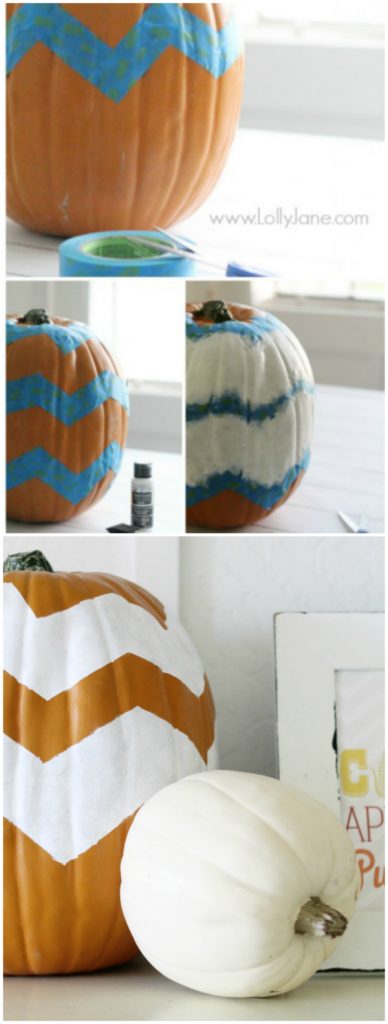
I then added stencil the rest of the way around the white pumpkin and decided to jazz up the orange one while I was at it. The chevron pumpkin was easier because the stencil is flat and I wasn’t in the mood to keep taping down a stencil so I used painters tape to create a chevron pattern and painted white inside it. I used 3-4″ strips and eyeballed everything. Some tutorial right!? I will say, start at the top. When that pattern is complete, use the middle lined to mimic the first, keeping the points lined up. For the bottom line, do the same thing, making sure all the points are accurate. When you paint, blot instead of going back and forth. It’ll cover faster with only 2 coats.
See the blotting in the bottom left picture? You can use a circle foam brush but I didn’t have any on hand so I used a rectangle foam brush and used my finger to guide it. Easy and fast. Since the oranges are different colors in this case, you can keep them together like the first picture or separate them into fall versus Halloween decor.
I like the chevy pumpkin paired with our free autumn printable plus an additional white pumpkin for quick decor on a mantel.
Pin it so your friends can see how easy it is to make (:
If you’re looking for more intense patterned pumpkins, check out Kris’ pumpkins…that she Goodwill’d! I could kick her sometimes, lol!
Visit our many fall ideas and Halloween projects too! Excited to start whipping up some pumpkin desserts…anyone know of tasty sugar free options?? Kris and I have been weigh loss buddies and have lost 20 lbs combined in the past week and a half, whoop!


I included your fun idea in my latest article for Parade Magazine! Darling!
http://www.parade.com/218216/kimbyers/10-unique-and-creative-no-carve-pumpkins-all-the-fun-and-none-of-the-mess/
Thank you Kim!! (: xo
Oh my gosh…how super-duper cute are these. Totally digging the Chevron pumpkin & the argyle & the polka dot. Will you be my new bff & make me all these? 😉
Hahaha Meghan! Yes we’ll be your besties and have a craft night together and make these! lol (; xo
LOVE the painted pumpkins and have never yet tried it! Can you believe that… guess this is the year. Thanks for the tips and ideas- and I am so on board with the honeycomb it isn’t even funny. Awesome.
I always love a good stenciling project! And perfect lines are for chumps. 🙂
You guys are the cutest–I love these pumpkins! I admit, I do love to carve real ones, but it’s so fun to have the fake ones to keep from year to year. Dah-ling, just dah-ling!
P.S. I need your weight loss secrets. Seriously. This baby weight isn’t budging!!
These are fun. My kids would love to help me with this!
My daughter and I are so excited to paint our pumpkins this year. Last year, we were boring and kept them orange, yellow and white, but this year we have been looking at fun ideas to decorate them. Love your painted pumpkins! By the way, congratulations on your weight loss. That’s awesome!!
SO many fun painted pumpkin projects out there, for sure! I love the classic orange, yellow and white’s but also love seeing the latest turquoise, blues and purples integrated into them! Hope you and your daughter have a blast painting! Whoo hoo! (: ps: Thanks for your weight loss comment… let’s see if we can keep it off around all that yummy Halloween candy. HAHA!
I’m pretty impressed that you could do that! Looks kind of hard to me to keep the stencil in place. Nicely done!
Thanks! And to be honest, it wasn’t THAT easy for sure, Amber! LOL 😀
Such a fun spin on decorating the pumpkin–I’m with LA, not a fan of carving so much!
Agree! Paint is much easier AND you can keep them if they’re fake. Bonus! LOL
I love the idea of painting pumpkins. My least favorite thing to do is cut and clean out a pumpkin. I make my husband do it so painting solves that problem for me – too cute!