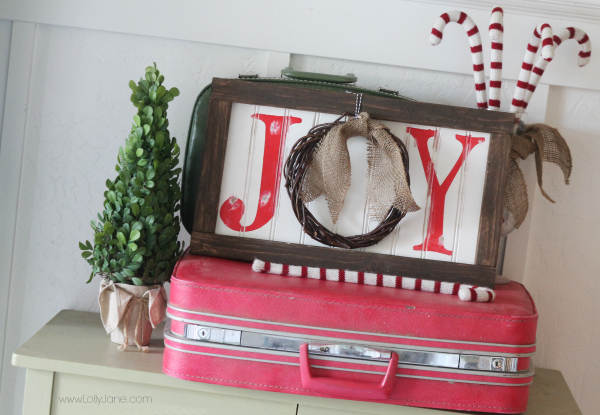
Christmas JOY wreath sign
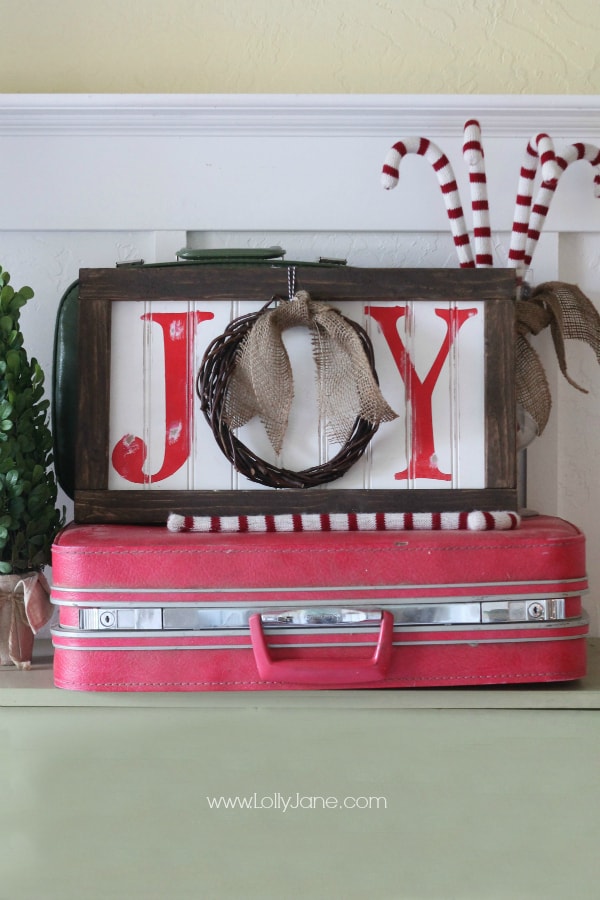
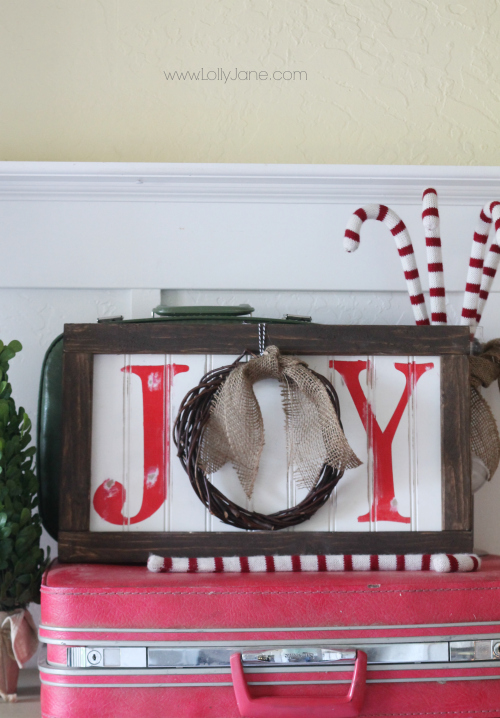
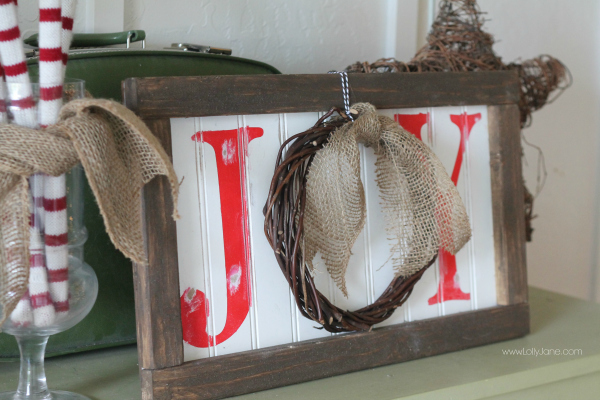
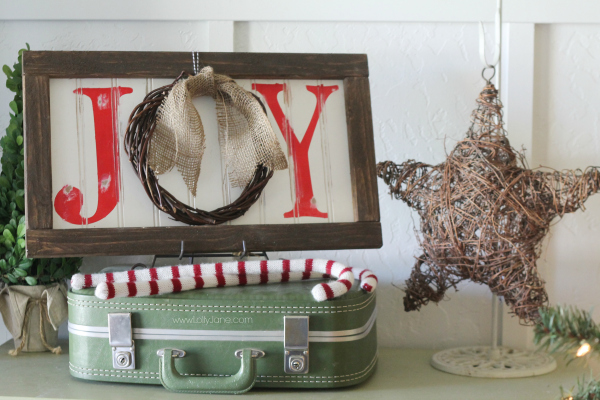
We’re excited for Thanksgiving and have been decorating in all warm tones this month. For those who are hitting Christmas hard, we wanted to share this cute Christmas JOY wreath sign we shared with Positively Splendid readers last year. We’ve created a few Christmas decor posts so far this season so be sure to check them out. We love wood crafts and our saw so this fun Christmas sign is a match made in heaven for us (; This easy JOY sign would make a fun neighbor gift, especially since it’s affordable which is our favorite kind of craft!
Supplies:
- Scrap Bead Board
- Trim
- Screws
- Measuring Tape,
- Grapevine Wreath
- J + Y stencils
- Brown acrylic paint
- Red acrylic paint
- Foam brush
- Drill
- Bakers Twine
Directions:
- Cut bead board to size, mine is 20″ long x 11 1/2″ tall.
- Measure + cut trim to size, I used a Ryobi miter saw, 4 quick cuts!
- Paint trim brown, I used DecoArt’s “Raw Umber”. Don’t forget the edges of your bead board too!
- Screw bead board to trim from the back of the bead board using 1/2″ screws.
- Apply stencil (I used BellMT font/bold) and paint inside red.
- After the letters are dry, sand down the inside wood for a distressed look. Bonus: hides imperfections (;
- Use bakers twine to hang the wreath discreetly behind the frame, tack into place.
Hang and display and you’re done! This project was free for me since I had everything in my stash in my craft room!
For more easy Christmas and decor ideas, be sure to catch up with us on FB, Pinterest, Twitter or Insta. We hope you’ll enjoy our recent Christmas porch decor ideas,
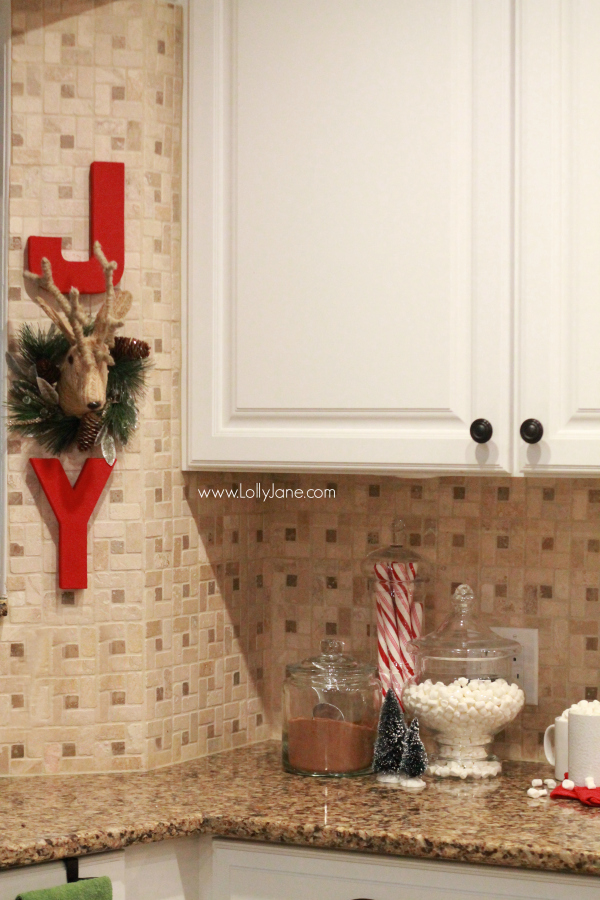
our Christmas kitchen decorating ideas,
and our DIY stocking board.
Christmas JOY Wreath Sign
Materials
- Scrap Bead Board
- Trim
- Screws
- Measuring Tape
- Grapevine Wreath
- J + Y stencils
- Brown Acrylic Paint
- Red Acrylic Paint
- Foam Brush
- Drill
- Bakers Twine
Instructions
- Cut bead board to size, mine is 20″ long x 11 1/2″ tall.
- Measure + cut trim to size, I used a Ryobi miter saw, 4 quick cuts!
- Paint trim brown, I used DecoArt’s “Raw Umber”. Don’t forget the edges of your bead board too!
- Screw bead board to trim from the back of the bead board using 1/2″ screws.
- Apply stencil (I used BellMT font/bold) and paint inside red.
- After the letters are dry, sand down the inside wood for a distressed look.
- Use bakers twine to hang the wreath discreetly behind the frame, tack into place.
- Hang and display and you’re done!

.jpeg)
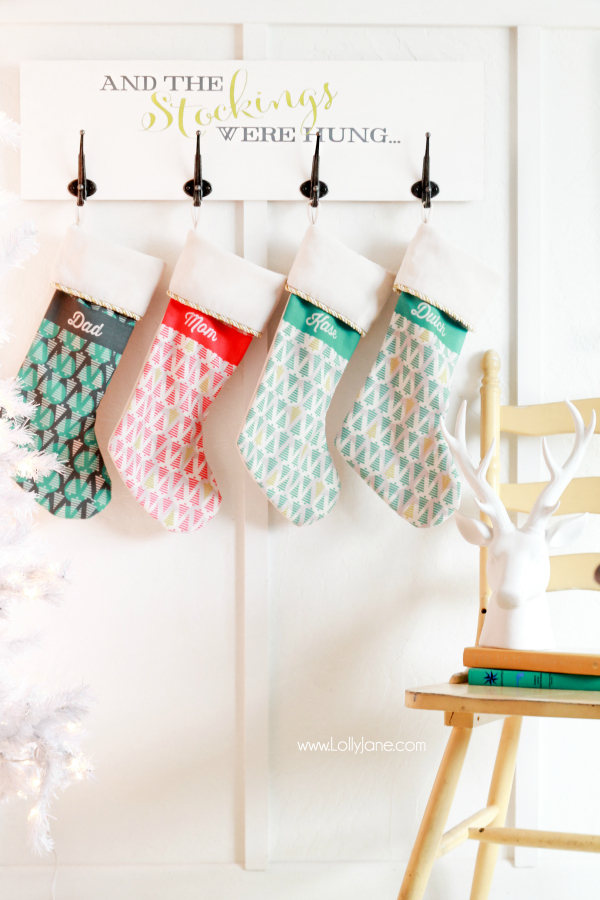
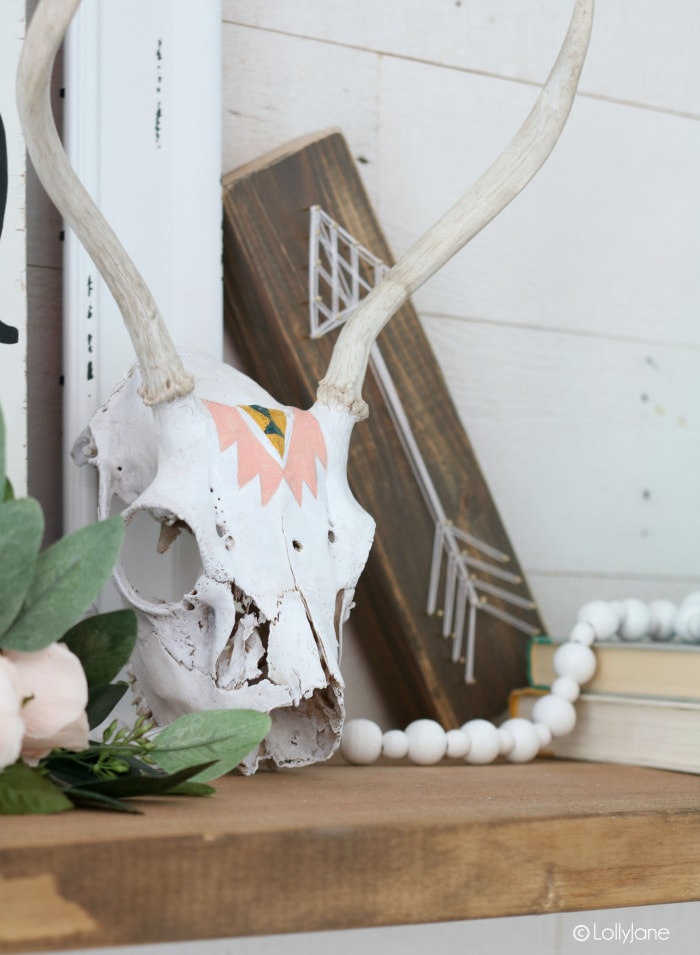

Where did you get the small white ceramic deer head with antlers? I’ve been looking for one and can’t find what I’m looking for!
It’s from Target:)
love the sign!! So cute!