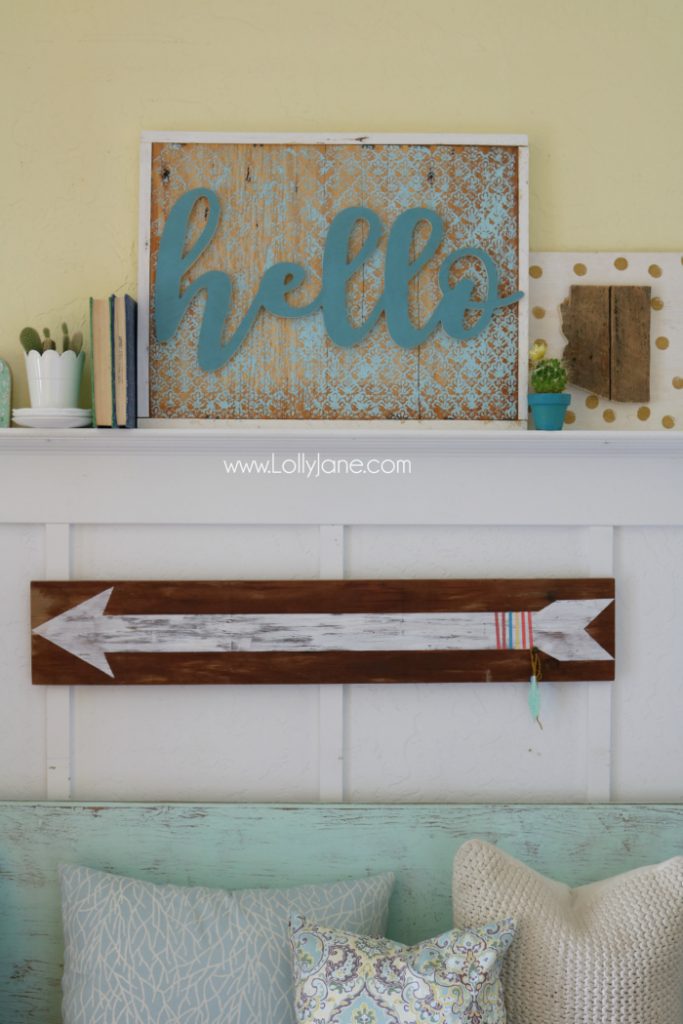
diy stenciled hello sign
We’re squeezing the last bit of brighter hues into our decor before the whole world switches gears into the fall season with darker colored pillows, throws, and wall decor. This DIY Stenciled Hello Sign is a cinch to put together and makes great for year round decor in between the fun holidays!
To make your own sign you’ll need:
- DIY Sign (tutorial here)
- Waverly Inspirations Semi-Gloss Acrylic Paint
- Waverly Inspirations Laser Stencil
- Waverly Inspirations 4-pc. Wide Paint Brush Set
- Wood cut out (hello)
- Adhesives: Hot Glue and Liquid Stitch
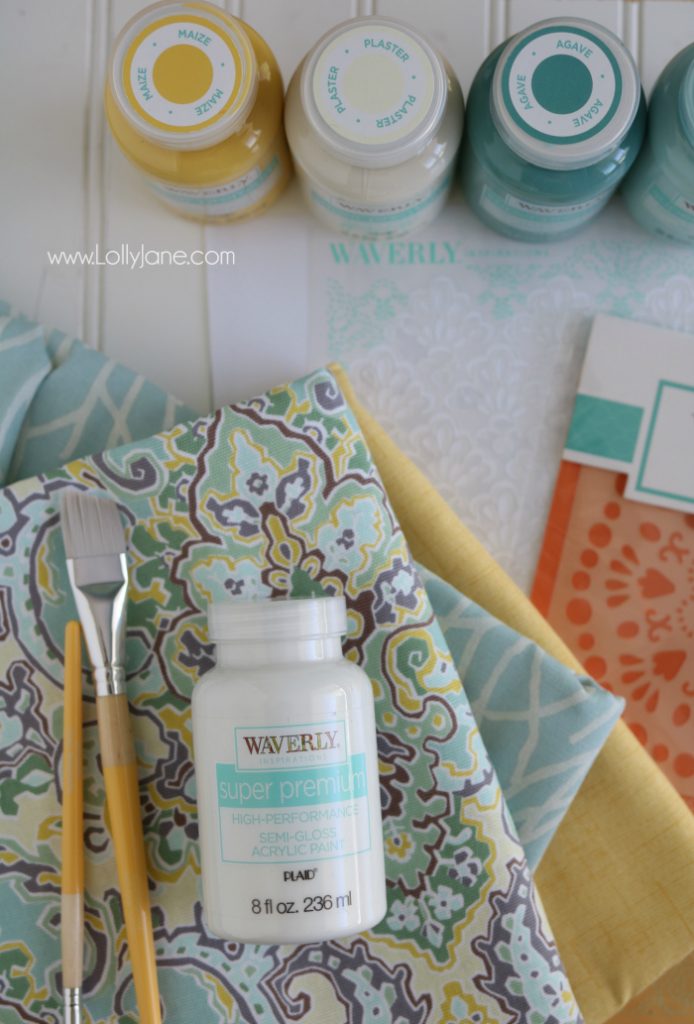
How cute are these stencils? Like everything in this DIY, we were able to find them at Walmart! Seriously. I dare you not to walk down the fabric aisle and not get distracted with all of the lovely prints!
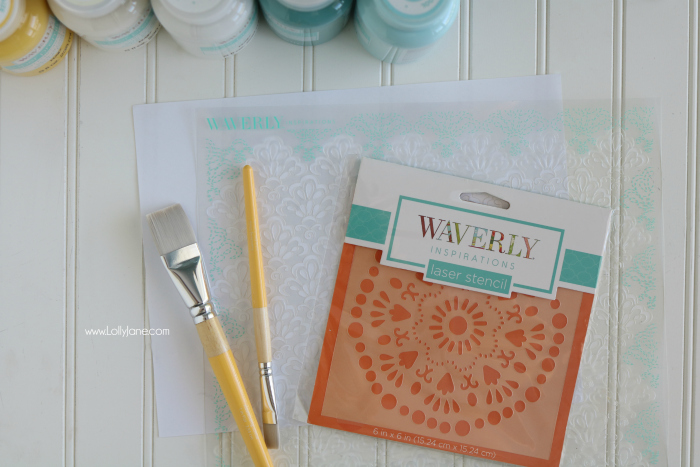
You know we have a slight obsession with stencils. They are a GREAT way to easily spruce up a piece or a space with little effort and in this case, they really make the word hello POP!
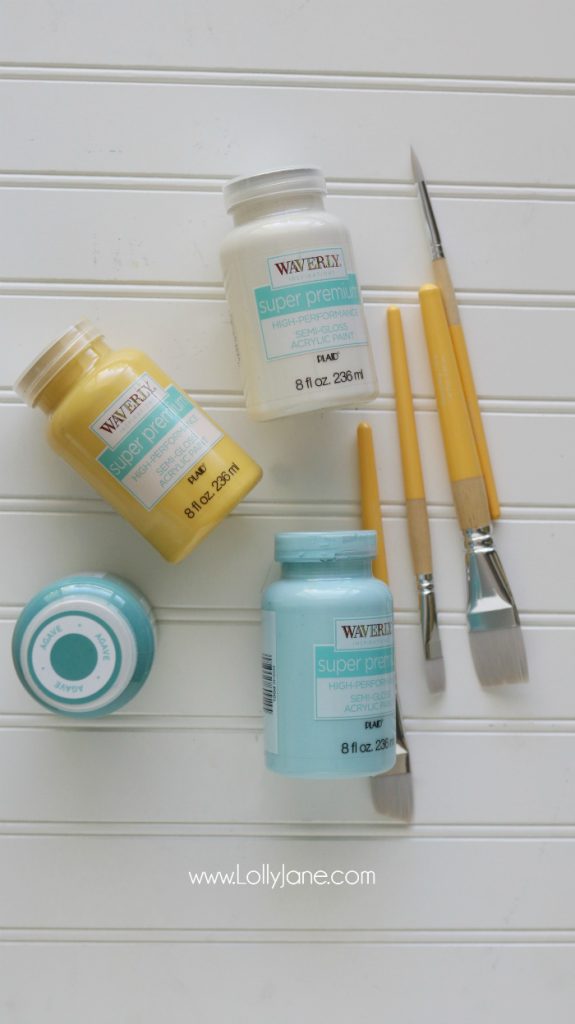
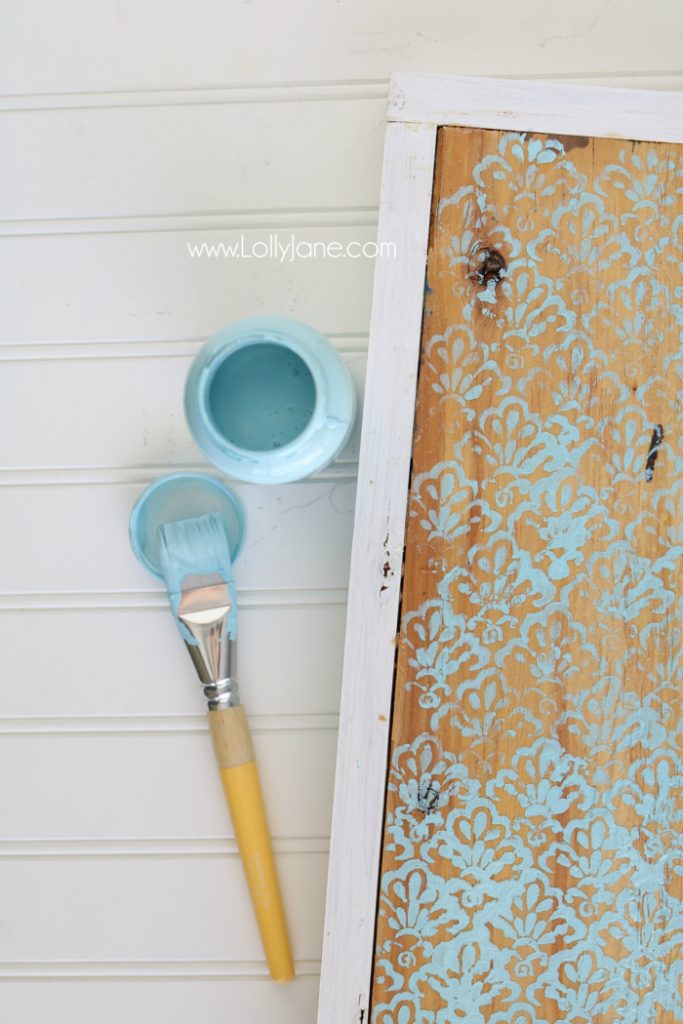
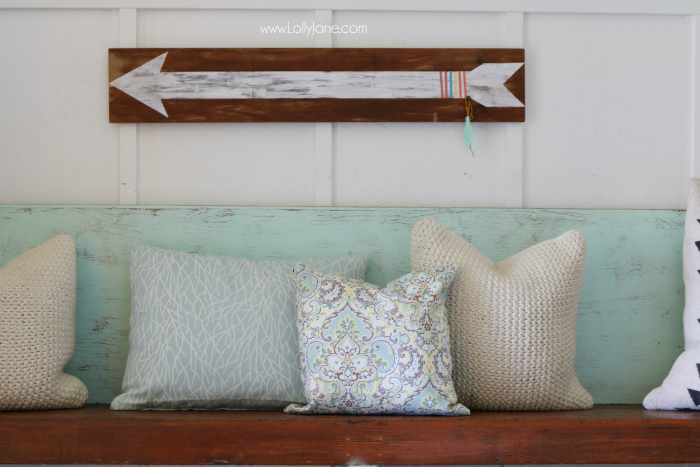
We used Waverly’s acrylic paint colors Snow White (frame), Plaster (hello), and Pool (stencil.)
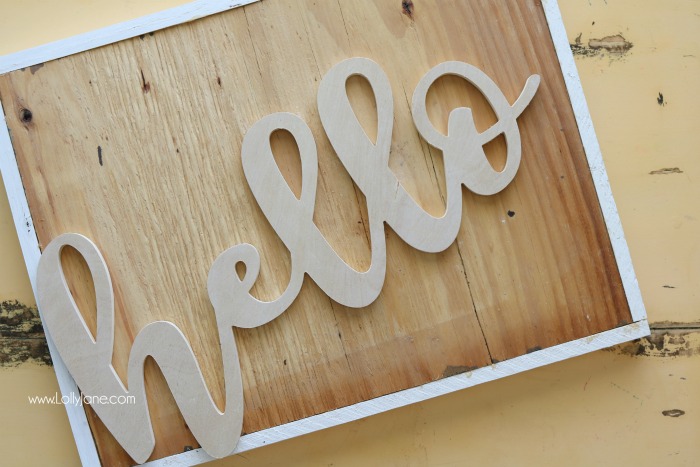
To start, build sign and painted the edges white. Apply stencil over the raw wood of sign then paint in light strokes. Let dry completely.
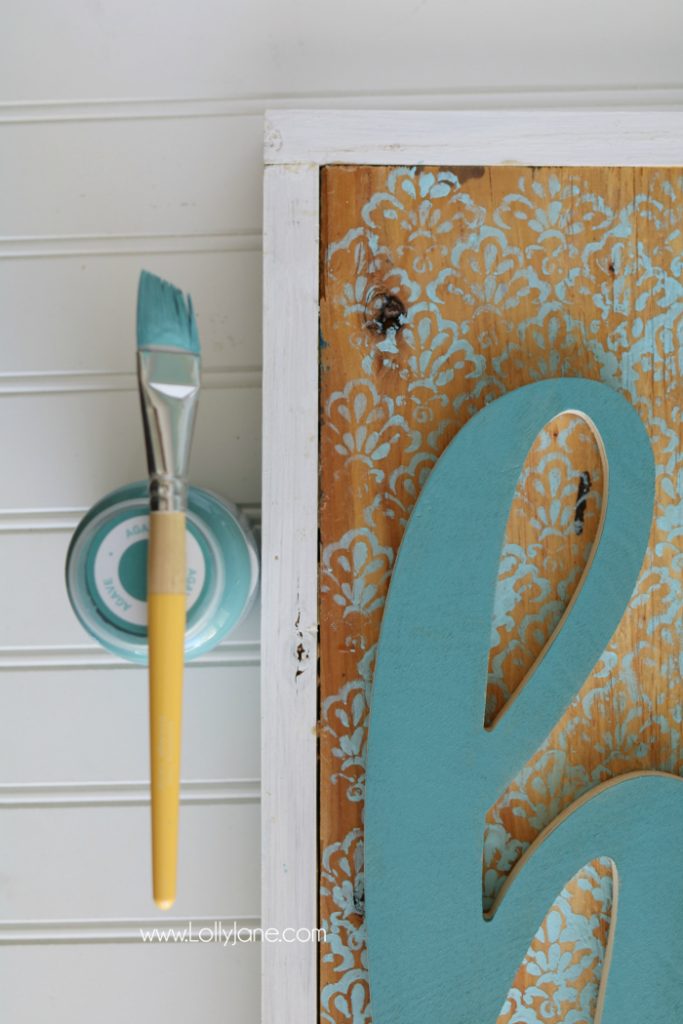
Paint hello wood cut out then adhere to sign with hot glue or wood glue over the stenciled piece of wood.
That’s it! Here’s a peek at how absolutely darlz the pattern of this stencil is!

I love the texture of this sign and how easy it was to quickly transform a boring piece of wood!
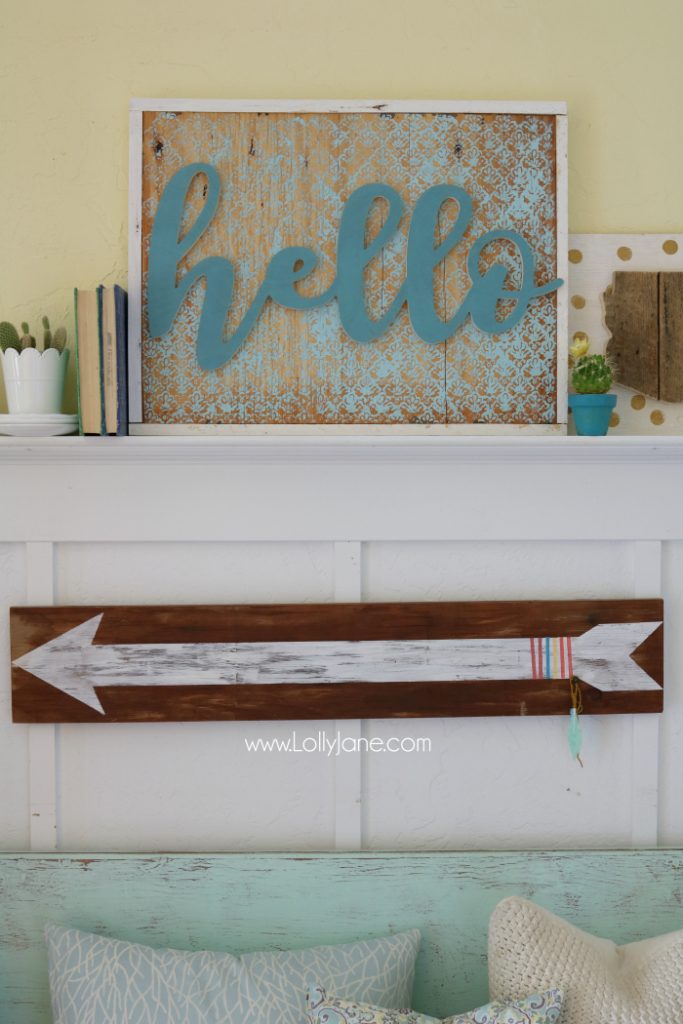
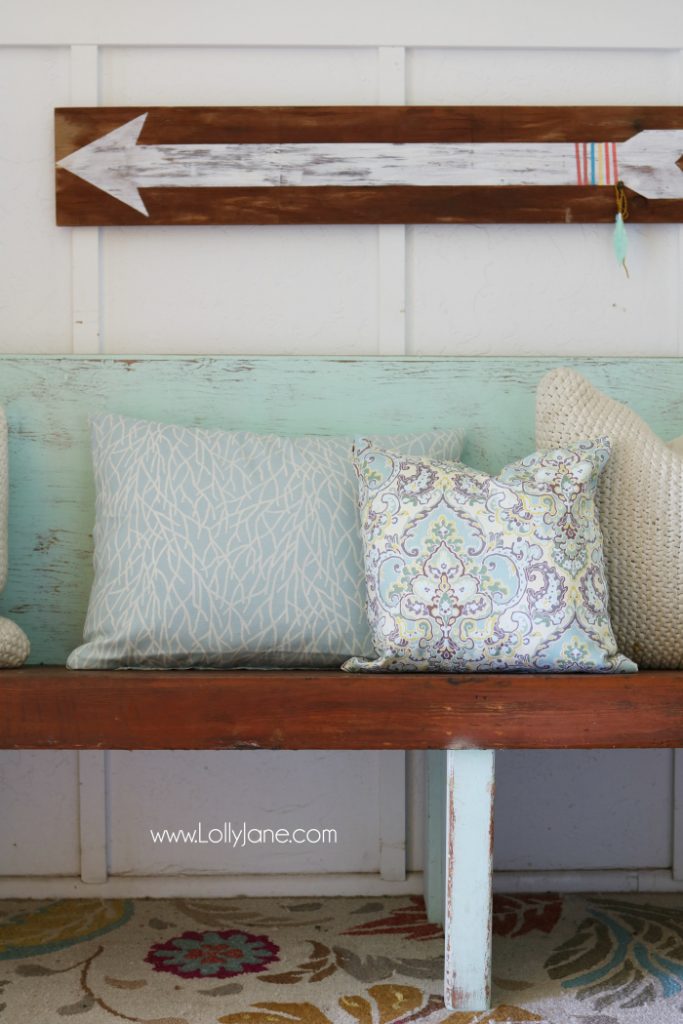
See those coordinating pillows below the sign? They’re no-sew! No kidding! 😉
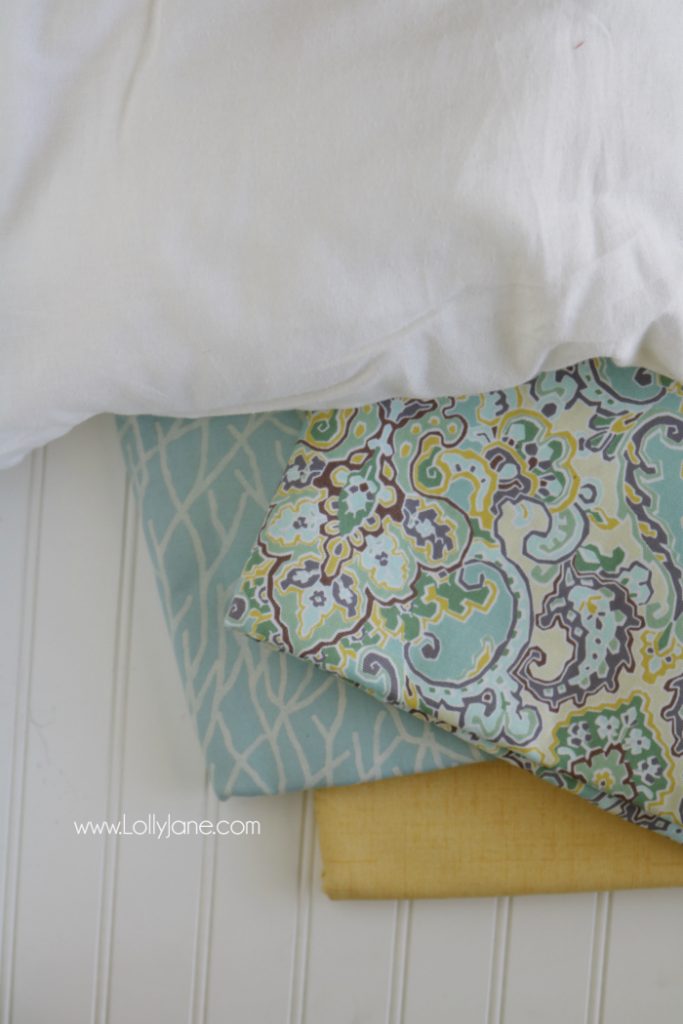
If you have a few yards of fabric + liquid stich then you can make this just as easily as me! (Follow DIY: Why Spend More’s simple tutorial here.)
These colors paired with my vintage church pew are such a cute combo and I love that I was able to spruce up this area with light pops of color for pennies! I love the quality of this fabric and I can wait to have it cut while I browse Walmart and nab a few things! It seriously can’t get any easier that this!
We were compensated for this project by Waverly Inspirations in partnership with Walmart, but as always, opinions are our very own and we really do shop and use Waverly often! Thank you for supporting the brands that help keep our free tutorials… well, FREE! 😉
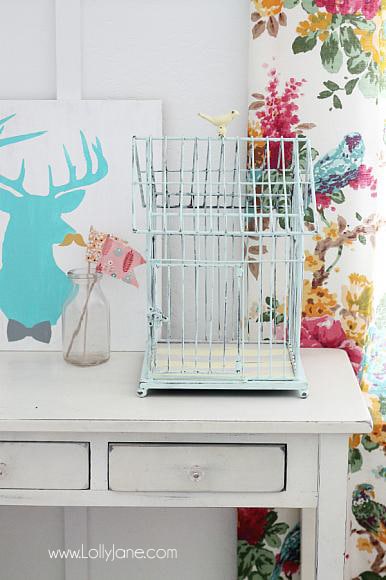
Check out more DIY’s we have made with Waverly’s HUGE line of fabric like our Summer Bicycle Wreath,
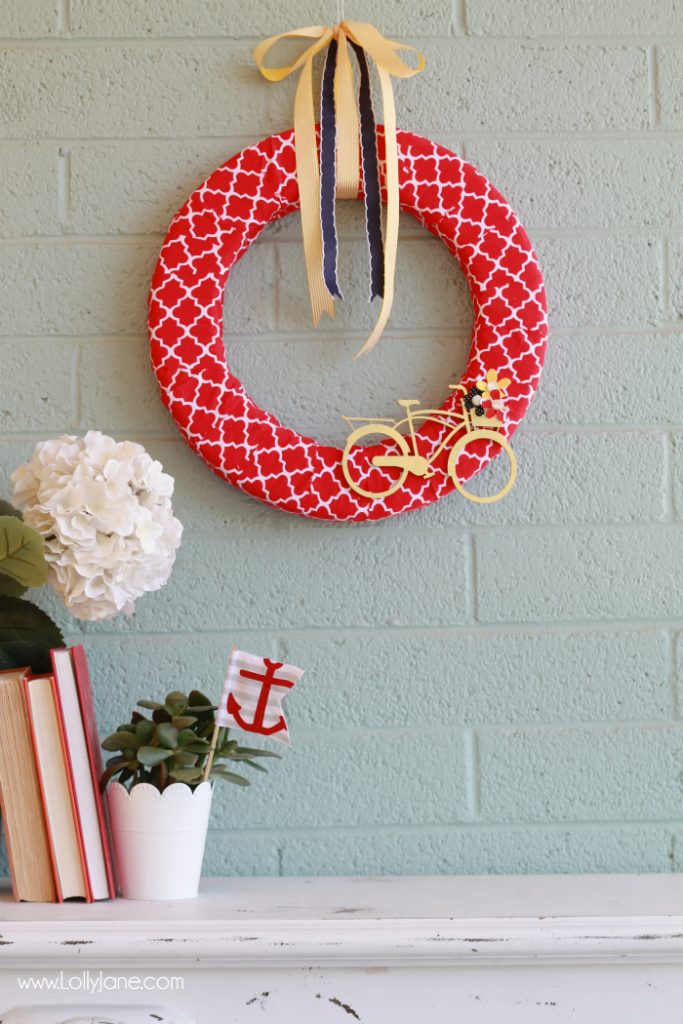
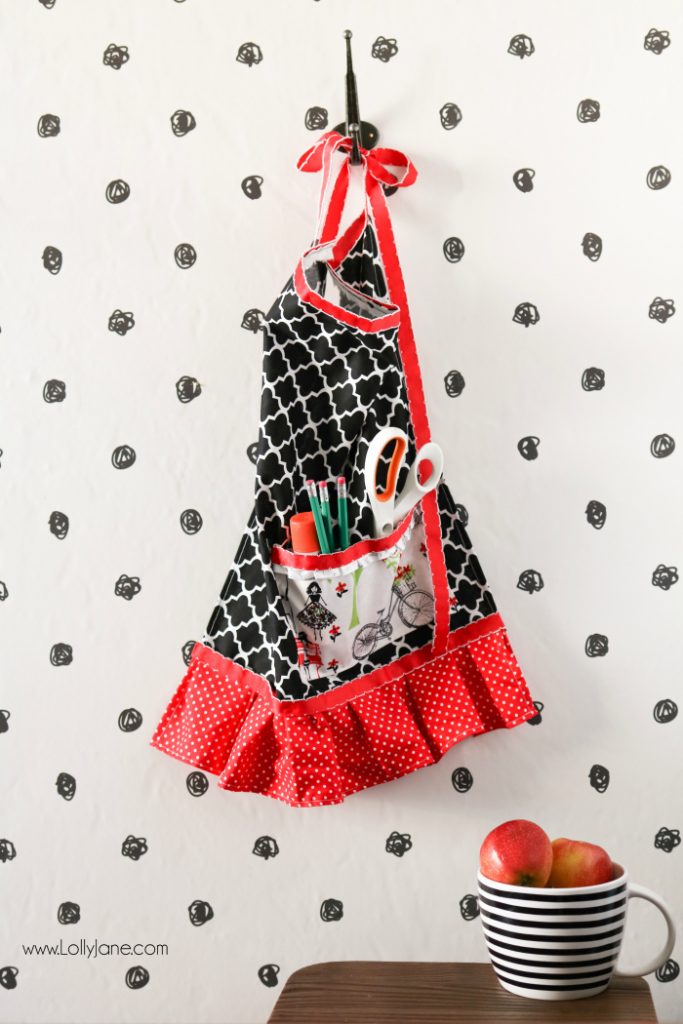
or our easy Half Apron tutorial!


Aw, thanks, Candy!
Very cute! I just love all of the Waverly line WalMart now carries!!!
Hugs!!
Thanks so much, Jennifer!
Your grandma’s kitchen must be darling 😀
This sign is so much fun, I love all of your color choices, that teal is almost the same color of my grandma’s kitchen – one of my favorites 🙂 We just started a new link party over at grandmashousediy.com called the “To Grandma’s House We Go” party that you might be interested in, thanks!
Very cute! Thanks for sharing on the Homestead Blog Hop!
Pretty and simple to make! It came out great!
Thanks for joining us this week at the Merry Monday link party!
We hope you can join us again next week!
Kate | TheOrganizedDream.com
I love it! Its precious and you made it look so easy.
THanks, Sahana! We’ll be there!
Love the stenciled effect. Thank you for sharing for with us at #HomeMattersParty. We would like to see you again next week.
I love each idea!
Thanks for sharing with SYC.
How fun!! It has a bit of a beach vibe! Thanks for sharing at Throwback Thursday!
Mollie
love this DIY and thanks for all your great contributions to craft schooling Sunday!
I just adore this color! And I like that you kept the wood raw instead of staining it. Adds alot of character.
Thanks so much, Sandi! What is it with blue? Our fav too 😀
Very cute and that is one of my favourite colours. Thanks for sharing.
Simply lovely and my very favorite colors!!