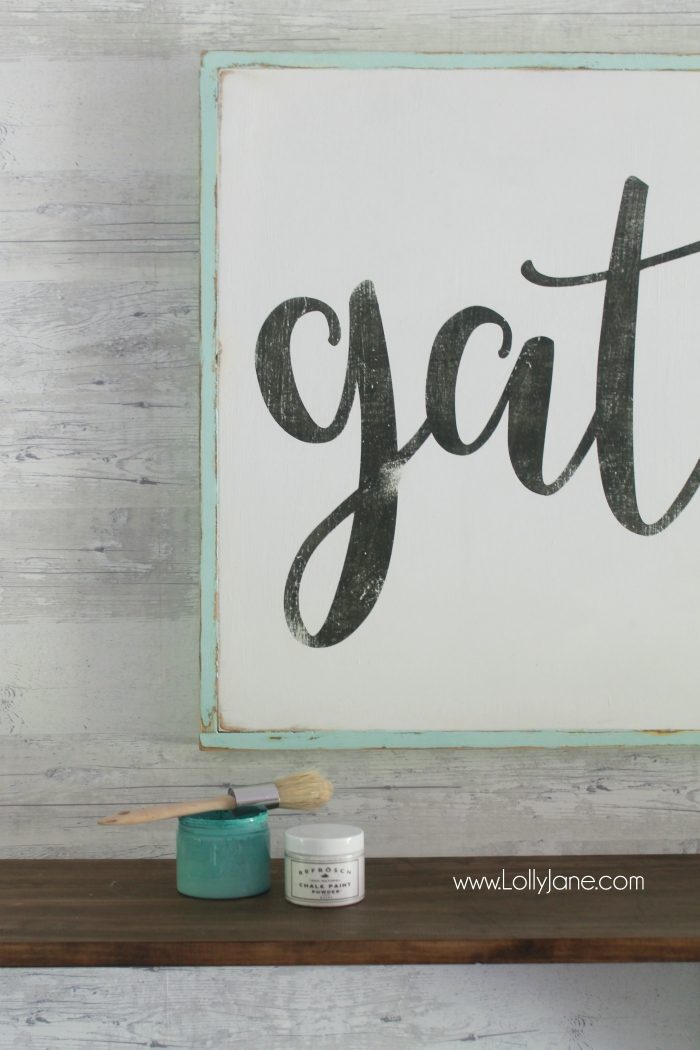
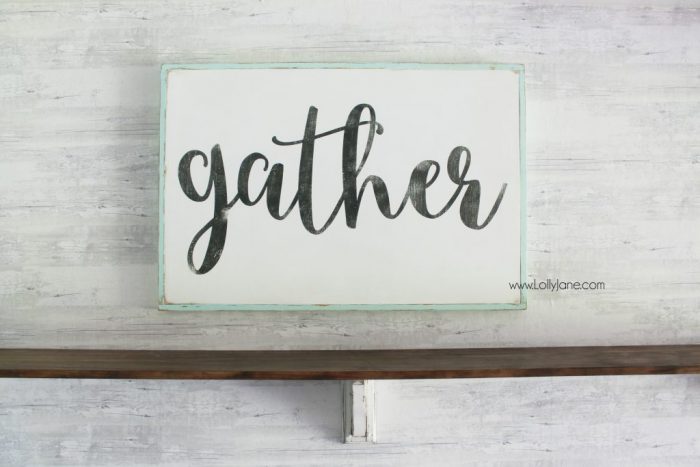
How to Make a Gather Wood Sign | Tutorial
Hi guys! We’ve had LOTS of inquiries on Instagram about our newest gather wood sign so we thought a tutorial would be helpful to show you what we did.
.jpg)
We got so excited about this sign at night (bad lighting) that I didn’t take the step-by-step how to pics BUT we have this video below which is the basic how-to on building a frame: (Warning: Turn your speakers down!)
https://instagram.com/p/2_7EXMh6EK/?tagged=ljlovesbbf
Our hello sign was originally shared on Instagram. Keep in mind the video is showing inexpensive wood so it’s rough to work with. You can use any wood that’s in your price range, the video is what we had leftover from previous projects. >>> And if you’d like to buy our Gather sign, know it’s made with top quality wood, carefully stenciled with no bleeding and nicely distressed!
Supplies to make a wood sign:
This particular sign is sized a 2′ x 3′ from frame to frame so pick your size accordingly.
- sheet of wood (we use higher quality for selling, we used pressed plywood in the video which is rough)
- furring strips for the frame
- chalk paint
- paint brush
- wax
- wax brush
- stencil (We used a paid font called Starstruck, our current fav! We use an industrial cutter for signs.)
- sander
- wood glue or brad nailer (video uses glue, we were out of nails but our signs in the shop are secured with nails)
How to make a wood sign:
- Cut strips to size, sand then paint. TIP: Paint the sides too so you don’t have unpainted edges!
- Paint body of sign, let dry.
- Apply stencil from vinyl cutter, let dry.
- Distress lettering and edges.
- Attach sides using glue or brad nails.
Pretty easy, right!
Shop our gather signs:
Our gather collection is now available in our etsy shop per your request!
- Large Gather Wood Sign 2’x3′‘
- Gather Wood Sign 12″x24″
- Mini Gather Wood Sign 12″x12″
- Gather Digital Download Printable
Thanks for supporting handmade!
.jpg)
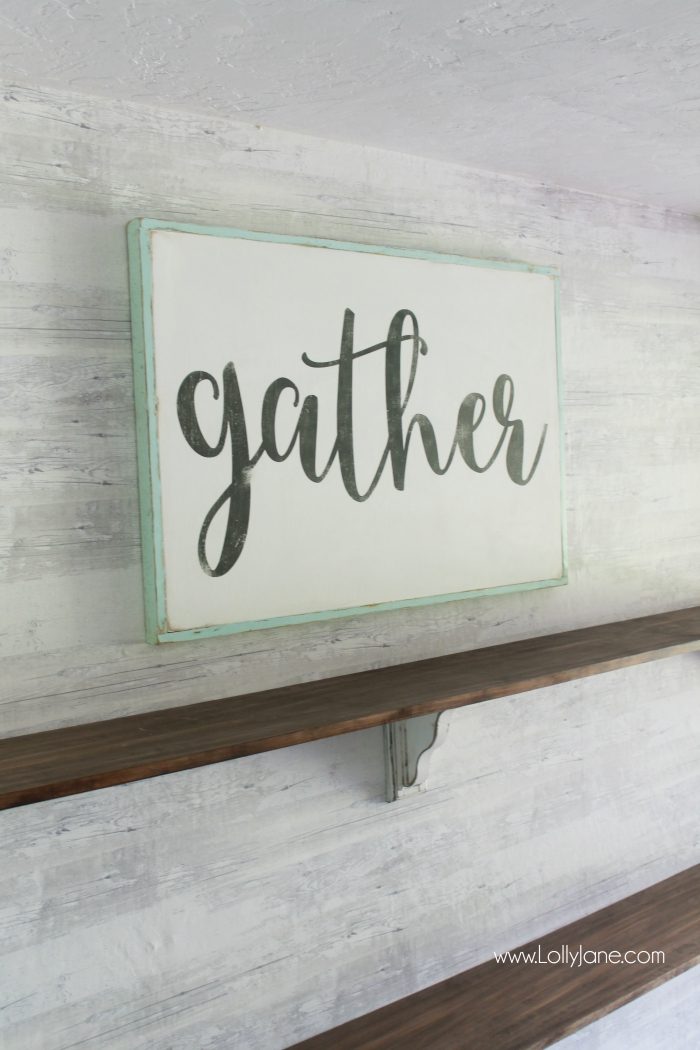
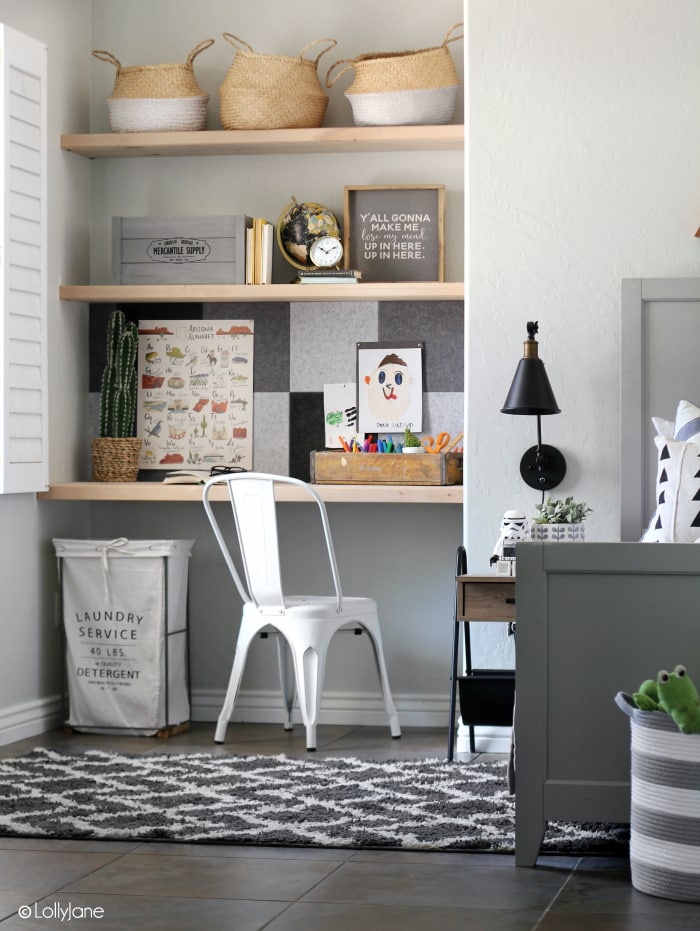
Stay tuned for the full reveal of this farmhouse dining room transformation! Check out the before of this room and our fun wallpapered after…
.jpg)
and how our farmhouse dining room looks right now:
.jpg)
plus how we built the farmhouse shelves, so easy!
.jpg)
Disclosure: Being DIY bloggers and also shop owners, we realize we suffer from a double edge sword. We LOVE sharing our ideas with you, we LOVE when you duplicate them. We are saddened when we are copied and given no credit back to the original source. We lose credibility when other see the copied version and think WE copied the source they saw. So please, if you’re going to use our ideas, credit us! This is our job and our families depend on the income we provide them sharing fun and easy ideas with you! Thank you!! XO

Hi Jenn, we use 1/4″ birch 🙂 Happy crafting!
Hi! I was wondering how thick the wood is that you use? Im having a wood sign painting party and I want to stay in budget, but don’t also don’t want the wood to be too thin. Thanks for your advice!!
Hi Erin! We create the inner frame size first then size the design accordingly 🙂
I was wondering how you decide what size to make the font? do you eye ball it? or change the size of the sign to fit the size letters you want?
Thanks for this tutorial!!
They’re 1″ x 2″ 🙂
How wide are the furring strips you use for the frame?
Hi Lauren!
We just use a sawtooth hanger from the hardware store 🙂
What type of hanging hardware do you use on the back?! I just made my first sign but have no clue how to hang it.
Hi Ashlie, make sure it dries really well then peel up slowly. Make sure your paint/stain is new as well. Good luck 🙂
Hi there! I love this sign! Each time I use vinyl, the under layer (stain or paint) come up with it once I’m finished painting the stencil part. It leaves not so pretty lines of the wood underneath. Do you run into this problem?
Hi Kristi! Thanks for the heads up about the link, I’ve updated it (:
You can get the print from our shop (https://www.etsy.com/listing/294653821/gather-printable-instant-download?ref=shop_home_feat_3) or make your own print with the font and graphics shown in the post. Enjoy!
There’s a link for printable but it’s not there. I’d like to print the gather with a wreath around it. Thanks.
Email us (:
[email protected]
With a palm sander (:
Can you tell me how you distressed the letter?
Do you still sale the gather stencil?
Hi Allie!
We don’t use reusable stencils, we cut per sign and toss it. They’re made from vinyl and it’s an affordable way to create stencils when we buy in bulk. Af far as bleeding, we use quality birch or pine wood and press our stencil hard then rub it down with a squeegee. I made 7 signs today and didn’t have any bleeding. It takes a little practice is all (:
Good luck!
Hi! Thank you so much for the tutorial! I have a lot of the same questions that others had below, regarding the bleeding do I will give your tips a try. One other question I had was about the stencil itself. Do you have to make a new stencil for each sign you make or is there a way you have found to reuse them? That is a concern I have when thinking of possibly opening a shop and making multiple. Any advice would be so appreciated!
Hi Rebecca! Yes, visit our shop: https://www.etsy.com/listing/244250517/gather-stencil-only A 12″ cutter would be difficult for sure. So glad you like it! XO
Can’t wait to make this gather sign for my home! Would it be possible to buy a stencil from y’all? Do you sell something like that on etsy? I was going to use my cricut to cut out regular vinyl and make a stencil (purchased the starstruck font) but I am worried that it will be too complicated trying to get the vinyl on straight. I understand if this is not something you want to do. Just curious. Love this blog btw!
Hi Jen!
We apply the wax after. Think of it as painting your nails and it’s the “top coat”. It’s a sealer for your hard work. LMK if you have any more q’s. Happy crafting!!
(:
thank tou so much for the tutorial!
I was just wondering if you apply the wax after you’re all done with everything, or before you do the stenciling? I’m doing a chalk paint for the background and acrylic for lettering.
Thanks!
Hi Krystal, it’s roughly 28″ x 14″ Good luck!
Hi there, love this tutorial and has really inspired me to try something similar to put in my new home. I’m struggling to find the perfect font size, what size did you use for this sign ?
Hi Brianna!
We use a really high quality wood like birch or the more expensive pine. It’ll create a nicer seal with your vinyl stencil to prevent bleeding. Just press your stencil really hard onto the wood, apply two LIGHT coats and you shouldn’t have any bleeding (:
Good luck!
Hi I just came across your tutorial and am so excited to give it a try! I was wondering how you cleaned up the places where your letters had bled? In the video I couldn’t tell what you did to get rid of the bleeding once you’d already stenciled the letters onto the board. Thanks for any help you can give me, this seems to be my biggest problem whenever I’ve tried to make a sign.
Hi Kandis! We use an Enduracut machine with Arlon vinyl. A great tip if you’re having bleeding is to “paint” inside the stencil with decoupage which will create a seal. When it’s dry, paint inside your stencil with your acrylic and/or chalk paint and then immediately remove the stencil. Hope that helps!!
Would you mind sharing what type of cutter/stencil medium you use to achieve a no bleed look on the lettering? I’ve followed your tutorial and tried a few different kinds of vinyl but it’s either to flimsy or too thick. Is there an easy way I’m missing? Trying to do a larger version for my home. Thx so much!!
Hi Kathleen!
We have a 24″ Enduracut Vinyl Cutter 🙂
http://www.signwarehouse.com/c/vinyl-express-enduracut2-desktop-vinyl-cutters
What kind of industrial cutter do you use?
Hi there!
I was just wondering if you know the color of aqua blue you used on this gather sign? I would love to use this color on a chalk paint project I’m doing. Thanks! ????