Mint Dresser Redo |painting tutorial
I recently refinished this dresser for a friend’s nursery. I debated about saying it caught fire so I could secretly keep it, lol…but it was her childhood dresser and she’s actually a close friend so in the end I gave it back to her (; I’m pretty much in love with this mint dresser redo, I need to find one for my house now…

When my friend asked me to paint this for her, I looked at it and thought, no prob! After she dropped it off, I realized it was a veneer top and pressed wood underneath. Wah-wahh…bummer! I’m a big fan of real wood as it lasts forever so I was nervous that the end result wouldn’t look great and she’d be disappointed! So here’s what I did to ensure it was a success and up to her high standards:

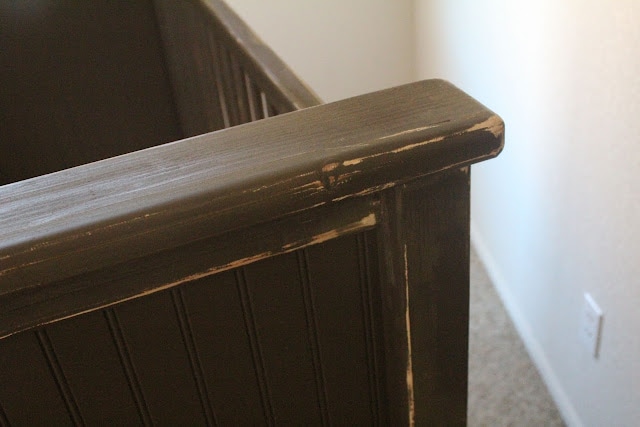
Prepping is SO important. You cannot take short cuts if you want a high quality end product. It’s time consuming but worth the work. I timed this (as I charge hourly) and this only took me 3.5 hours (since my kids were all in school and I had little interruptions). Here’s the before.

Very glossy but in good shape for being 30 years old! Remember to PREP PREP PREP!!

First I sanded the piece so the primer would adhere to it, using 60 grit paper, I didn’t sand heavily as my automatic sander did my work for me. When I primed, I used a spray paint. This is important since it will help the final paint to adhere to the furniture. I used a gray spray paint instead of white. You really only need to use white IF you’re painting your final product in white. Otherwise, any other lighter color primer is acceptable. After you prime, sand it again with a 180-200 grit to smooth out the surface for your paint. Wipe it down and start painting.
Since I had received free paint from Dutch Boy (this color is Airy Mint) I wanted to use it as it’s the perfect match to my friend’s nursery. Purdy came to my rescue for this project so I could use the free gallon I had on hand…I used the rollers and 9″ cage for rolling the top, sides and dresser drawer fronts. Perfectly smooth!

The 3″ brush was perfect for the hard to reach spots that the roller couldn’t fit in.

Definitely a doable project for anyone to complete…all it takes it confidence! I’ve shown you the correct tools and steps to do this yourself! Now get ‘er done!


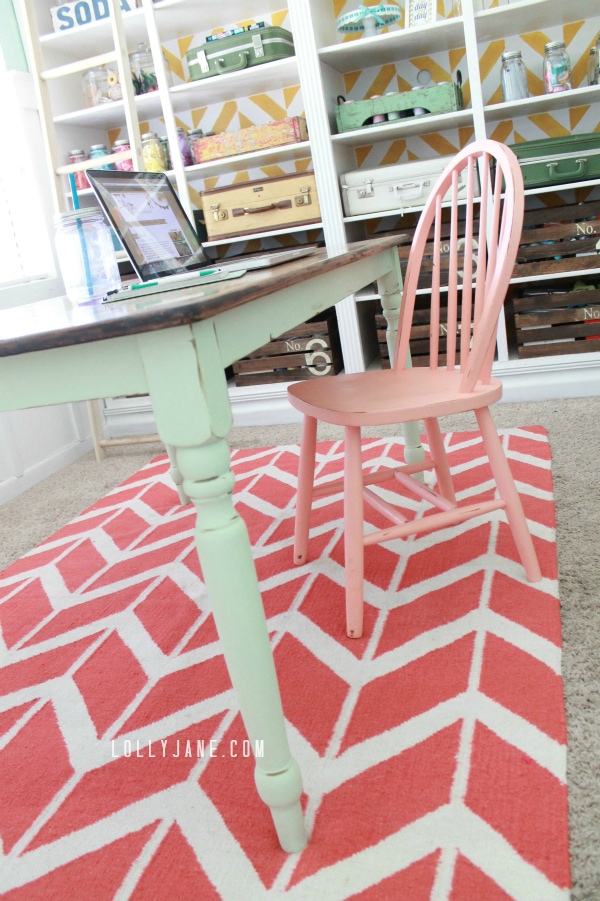
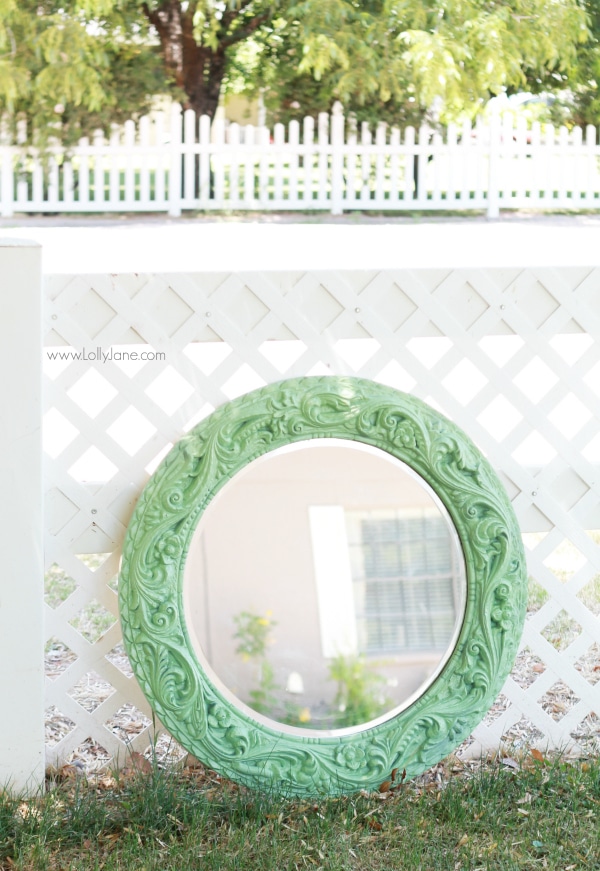
BIG THANKS to our fav paint accessory supplier, Purdy, for gifting us the products shown! DIY ROCKS! Follow Purdy on Facebook and Twitter to keep up with their latest! Check out all of our mint projects like our farm house table
and our spray painted mint mirror!

Hi Shona,
A lot of time stain won’t stick to laminate because it is not a real wood and the finish is ultra heavy. Try this article; looks like lots of people have had luck with it! (: Good luck to you!
http://www.ehow.com/how_4899311_stain-laminate-furniture.html
Can you refinish laminate furniture by staining instead of painting?
http://simplykierste.com/2013/04/its-baby-time-featuring-lolly-jane.html
Is there a link to the finished nursery? love this!@
Minwax clear sealer, roll it on like you did the paint. Grab it at any hardware store or Walmart!
What did you use to seal the project?
For sanding, I used my mouse sander which is a small automatic sander. I used 60 grit paper. I didn’t push very hard but I was very thorough. After you prime, sand it again with a 180-200 grit to smooth out the surface for your paint. Wipe it down and start painting.
I used a standard latex paint. It’s Dutch Boy brand called Airy Mint, it’s a semi-gloss finish.
And what kind of paint did you use?
Im new to re-doing furniture and taking on my first laminate project. Could you tell me about the sanding step, what grit paper did you use, and how intensely do you sand the piece?
Oops, thought this was a different thread! Was referring to the herringbone stencil bookcase makeover, sorry! (http://bit.ly/WXDV4Z)
The only thing that works is less paint, slow and steady. Use a low nat roller too. The longer ones will leave more texture. Foam rollers will do the best job!!
Did you use a foam roller? They provided one and it did a great job. My backing was flat, are you on textured walls?
What is your secret to rolling? I have found that when I use a roller it leaves a really yucky texture. Any thoughts?
I love how rollers give such a smooth finish- try it for yourself, girl! Thanks for poppin in, Kim! (:
Beautiful color! I don’t usually use rollers, but yours turned out so smooth, I may give I another try 🙂
SO pretty! I have a couple of laminate dressers that I’ve wanted to redo, I just haven’t had the confidence to tackle them you. You make it look so easy. I might finally give it a shot!
Thank you for this! I have a dresser similar and was wondering where to start! Love that you explained it so well!
Beautiful work & cute-as-can-be color! I love that rustoleum spray primer too! xo caroline
This is gorgeous! I’m glad that it’s laminate, because it seems so hard to find cheap furniture made from real wood nowadays. Now, I don’t have to worry about that! Thanks for the great instructions.
I LOVE the final color! Such a cute dresser!! I bet it looks adorable in your friend’s nursery!
It looks soooo beautiful!!!! Love the colour!
Turned out beautiful!! Great job!!
great tips to know as i’ve been searching for a dresser for baby’s room and have no idea where to start with refinishing one. and i love the color!