How to Frame a Canvas the Easy Way
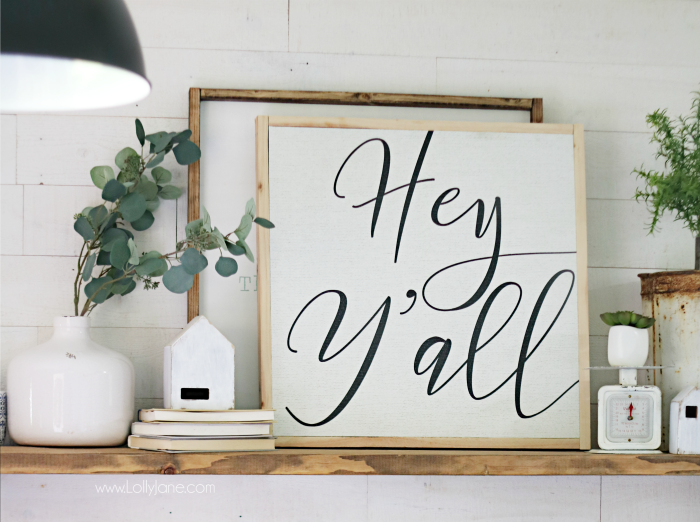
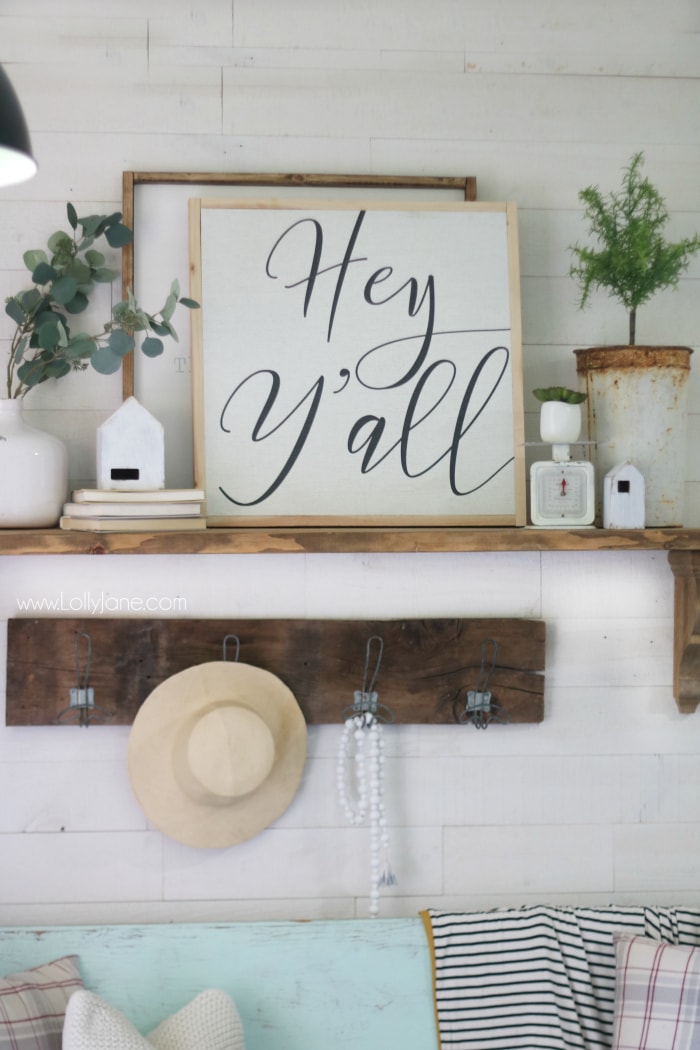
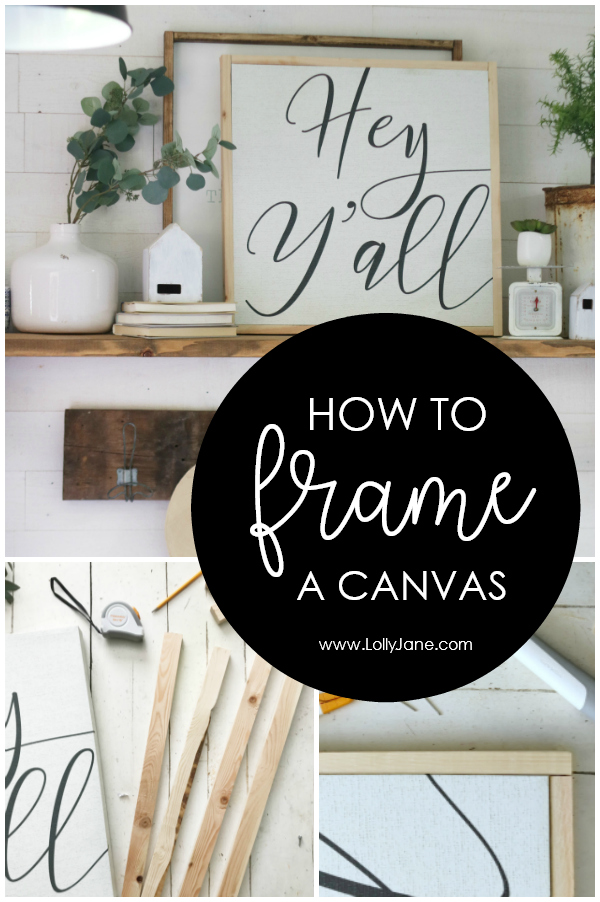
How to frame a canvas the easy way with simple everyday tools… no power saw required!
You know our love of sign making. It started back in 2007 and has come a very long way since then! Signs are now in every room of the house from the kitchen with EAT, the popular Home Sweet Home in the entryway to funny bathroom signs in the loo. Several years ago, canvases were equally as popular but then died off when framed signs hit the decor world. One of the ways to update an old (or new!) canvas is to add a frame around it. It instantly updates it and make it look more custom and finished. We’ve got a super cheap way to do just that: how to frame a canvas without spending much out of pocket. Bonus: no power tools required! We’re all about our miter saw but have heard several concerns about being scared of it or not having room to store it so we’ve got a simple alternative to get the same look!
Supplies Needed to Frame a Canvas
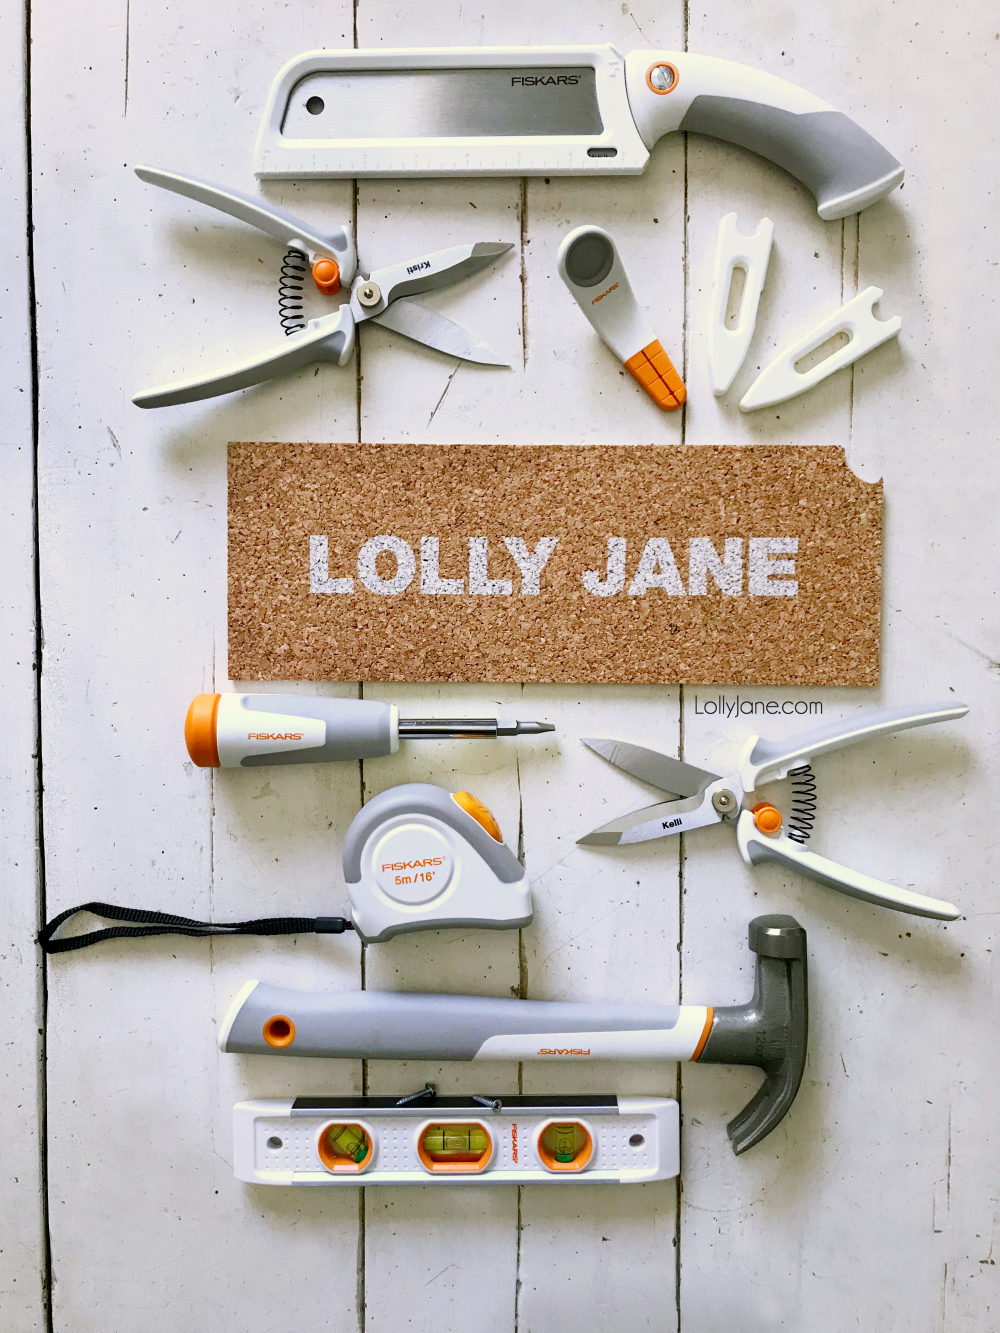
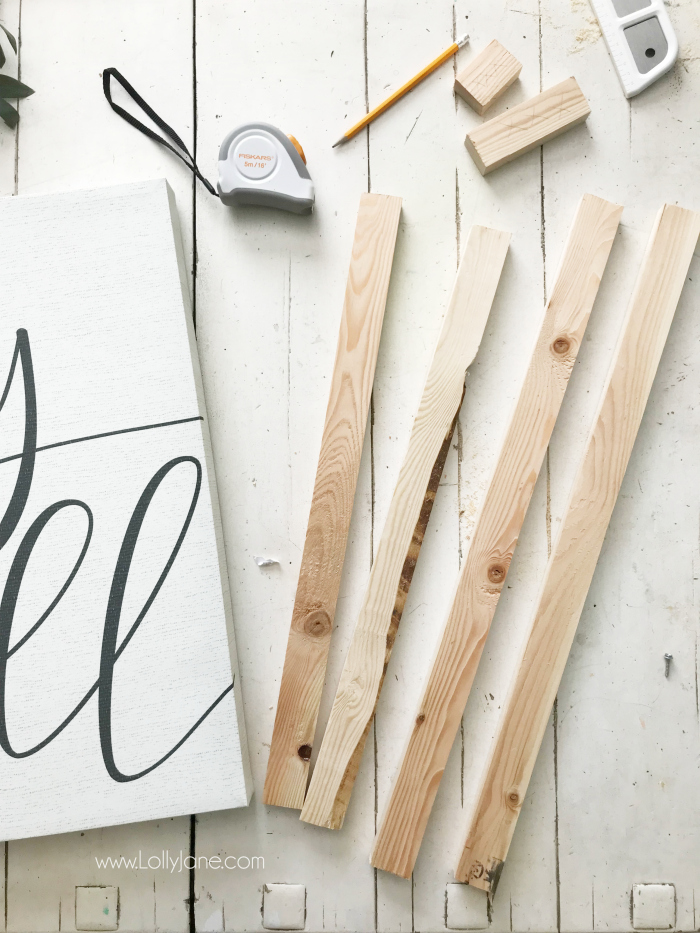
To frame a canvas you need a handful of tools you likely already have on hand!
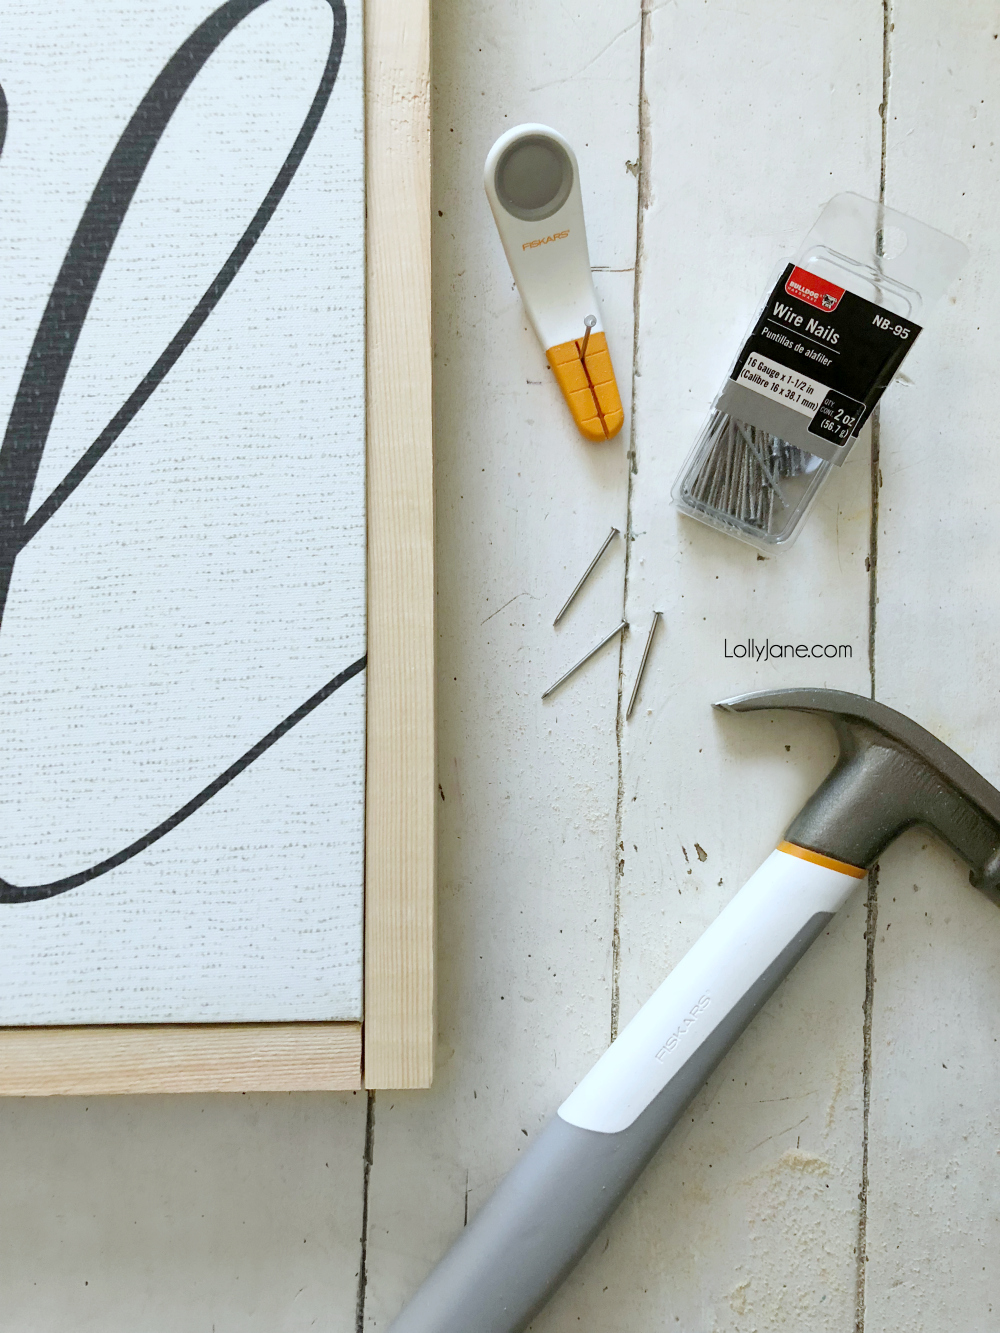
Grab a canvas to get started plus these tools:
- 1″ x 2″ pine wood strips
- Tape Measure
- Hammer
- Finishing nails
- Nail Starter (optional)
- Screwdriver
- Eye hook
How to Frame a Canvas
Your sizing will vary depending on your own canvas size but this easy to follow tutorial will guide you on building your own frame for a pre-made canvas:
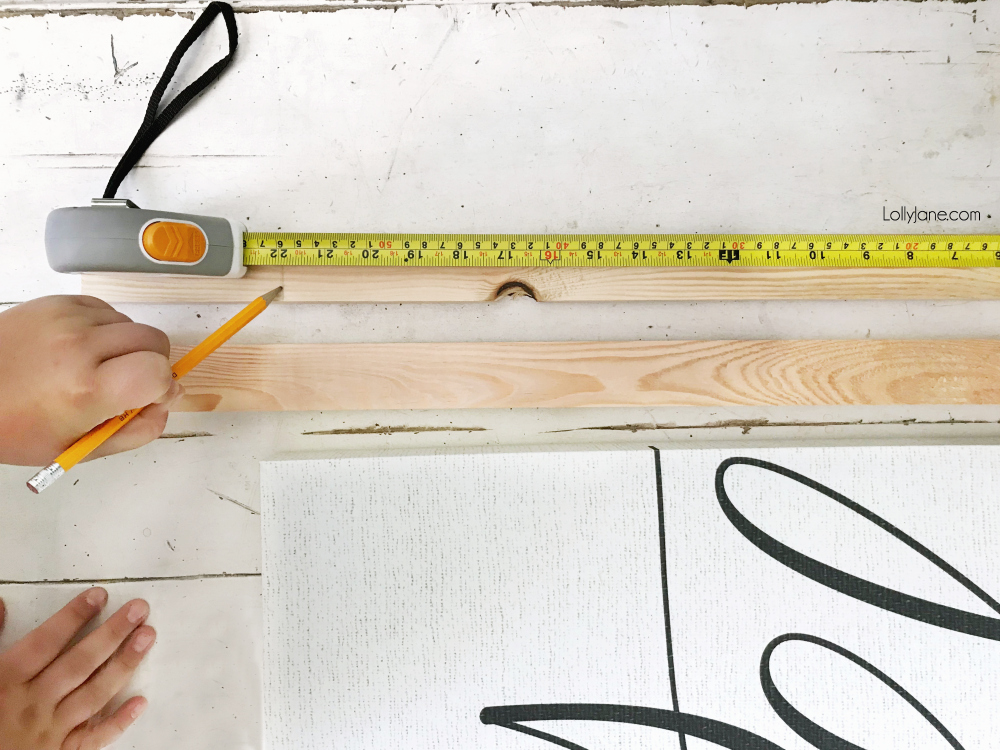
- Lay out your canvas. Our starting canvas size is 22″ x 22″.
- Measure your wood strips as follows:
Two will be the length of the sides and the other two will be the length plus the thickness of the wood strips.
In our case, two of the strips are 22″ long and since our strips are 1 1/2″ thick, the other two are 23 1/2″ long.
Cut to size with the hand saw, you’ll be surprised how easily it slices through the wood! A Hand Saw is great because it is thin, yet powerful and glides through materials for controlled, precise cuts if you don’t have a miter saw on hand.
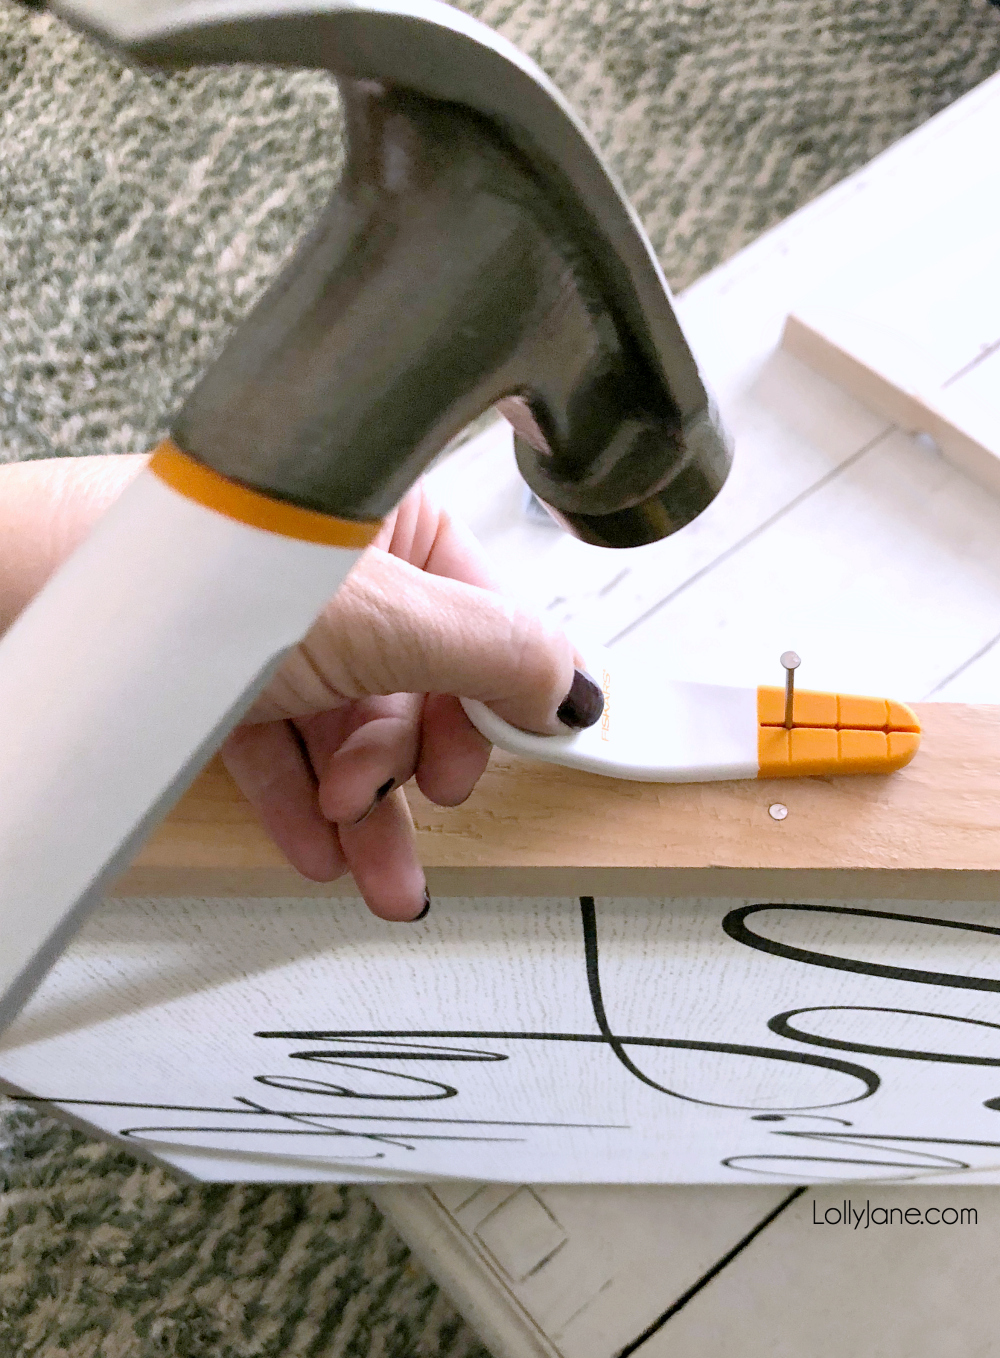
First time using a nail starter, a fun sidekick to your trusty hammer and saves your fingers. 😉
Start with 2 nails in the center of each side for added security, then add one more nail to each corner to completely secure the frame to the canvas. We used 12 nails total.
After your wood frame has been built and nailed, screw the eye hook onto the back of the canvas for added security. The benefit of a framed canvas versus a wood sign is how lightweight the final product is. Some of our larger signs get pretty heavy, requiring anchors and making extra holes in the walls. You won’t need to with this quick DIY framed canvas.
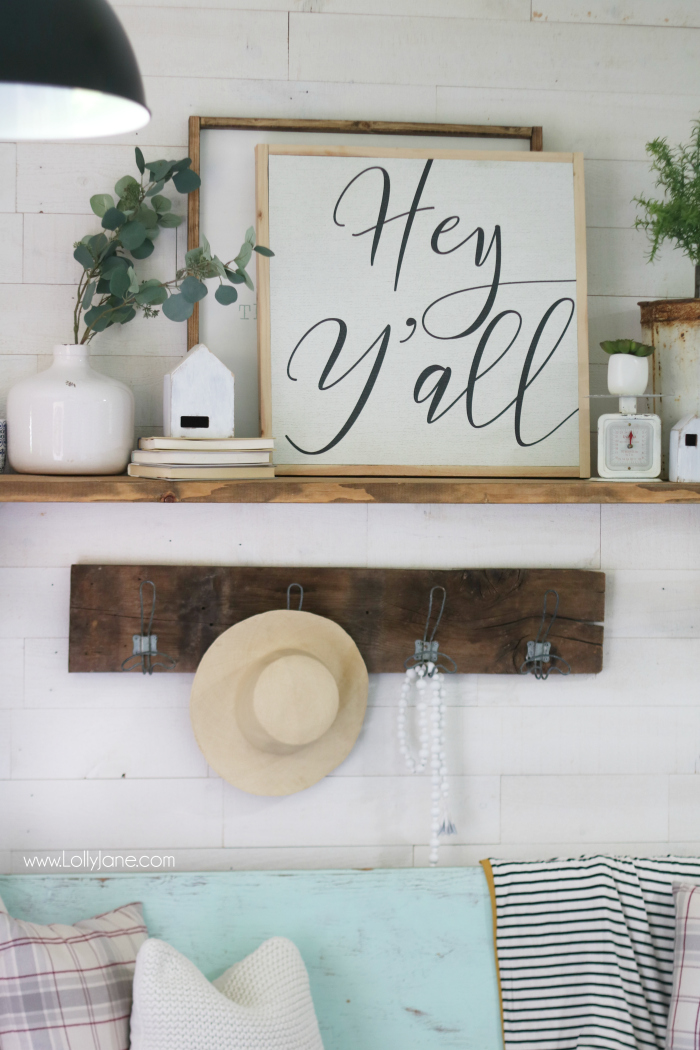
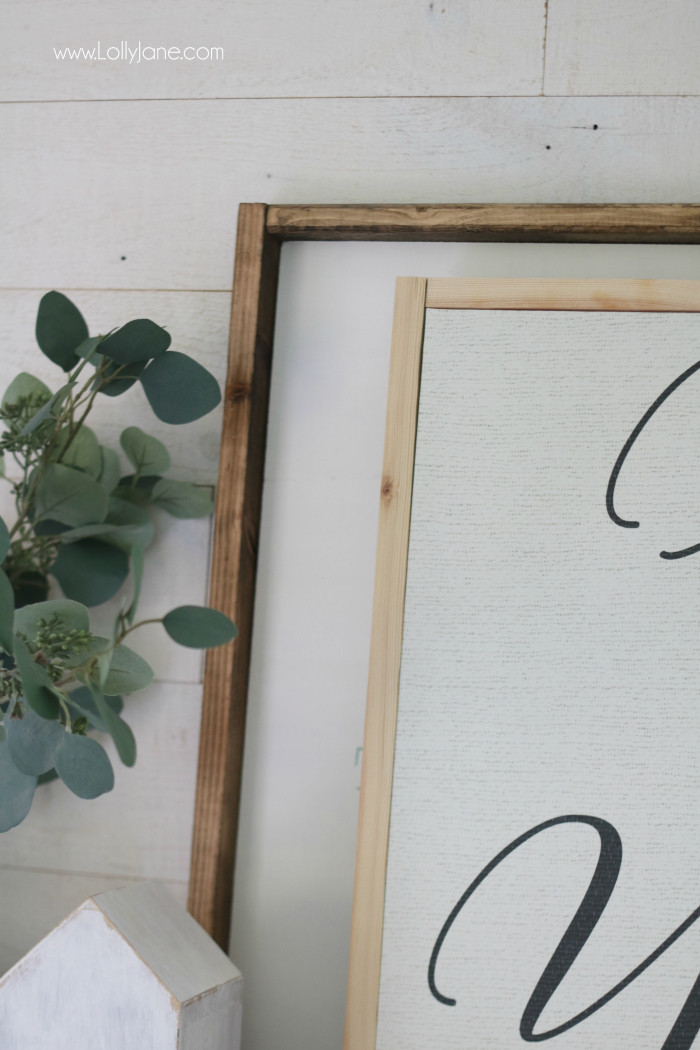
That’s all there is to it! Display on your DIY farmhouse shelves in your entryway or give as a handmade gift!
Please PIN so your friends can make this too! xo

