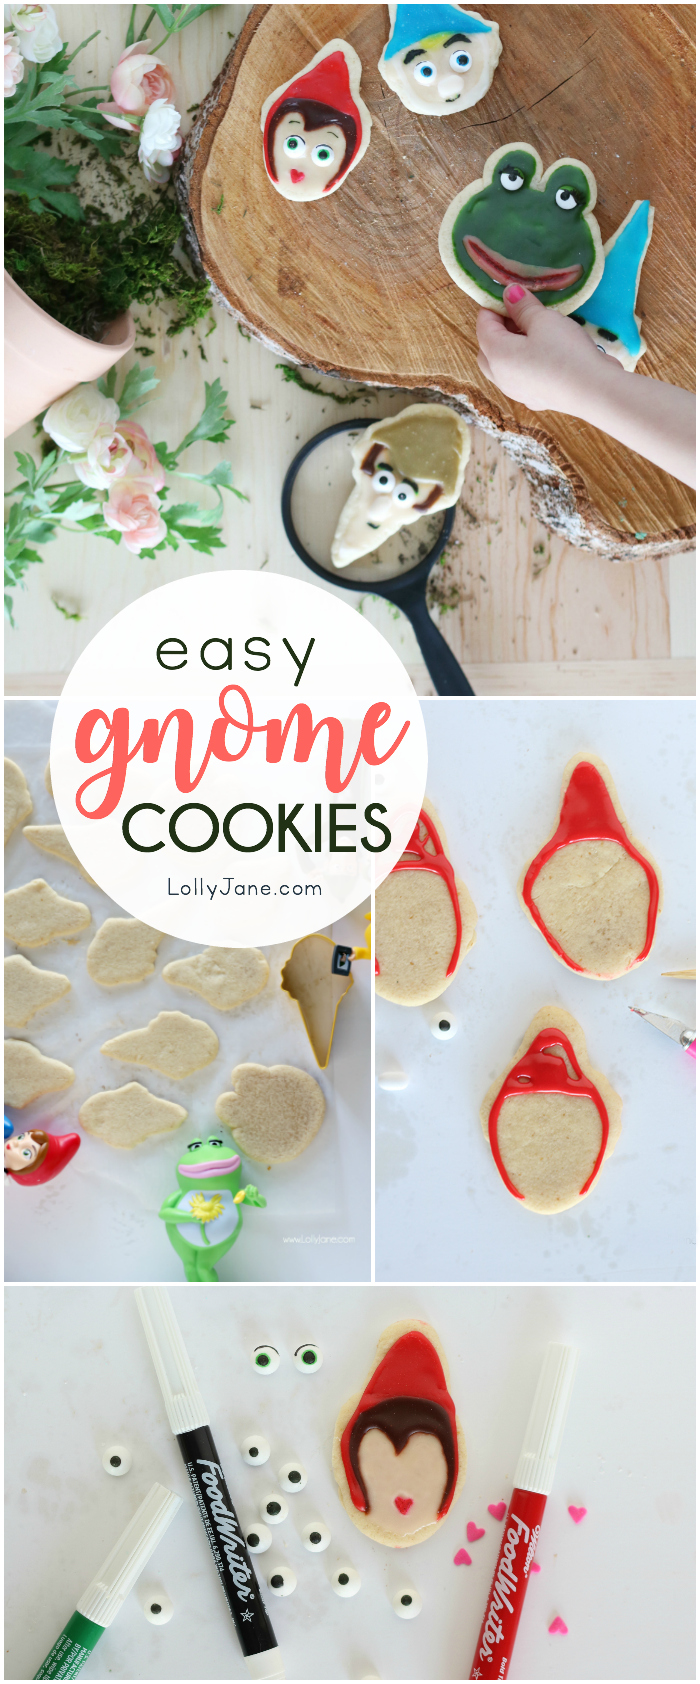
easy decorated gnome sugar cookies
This easy decorated gnome sugar cookies post is sponsored by Paramount Pictures. As always, opinions are our very own.
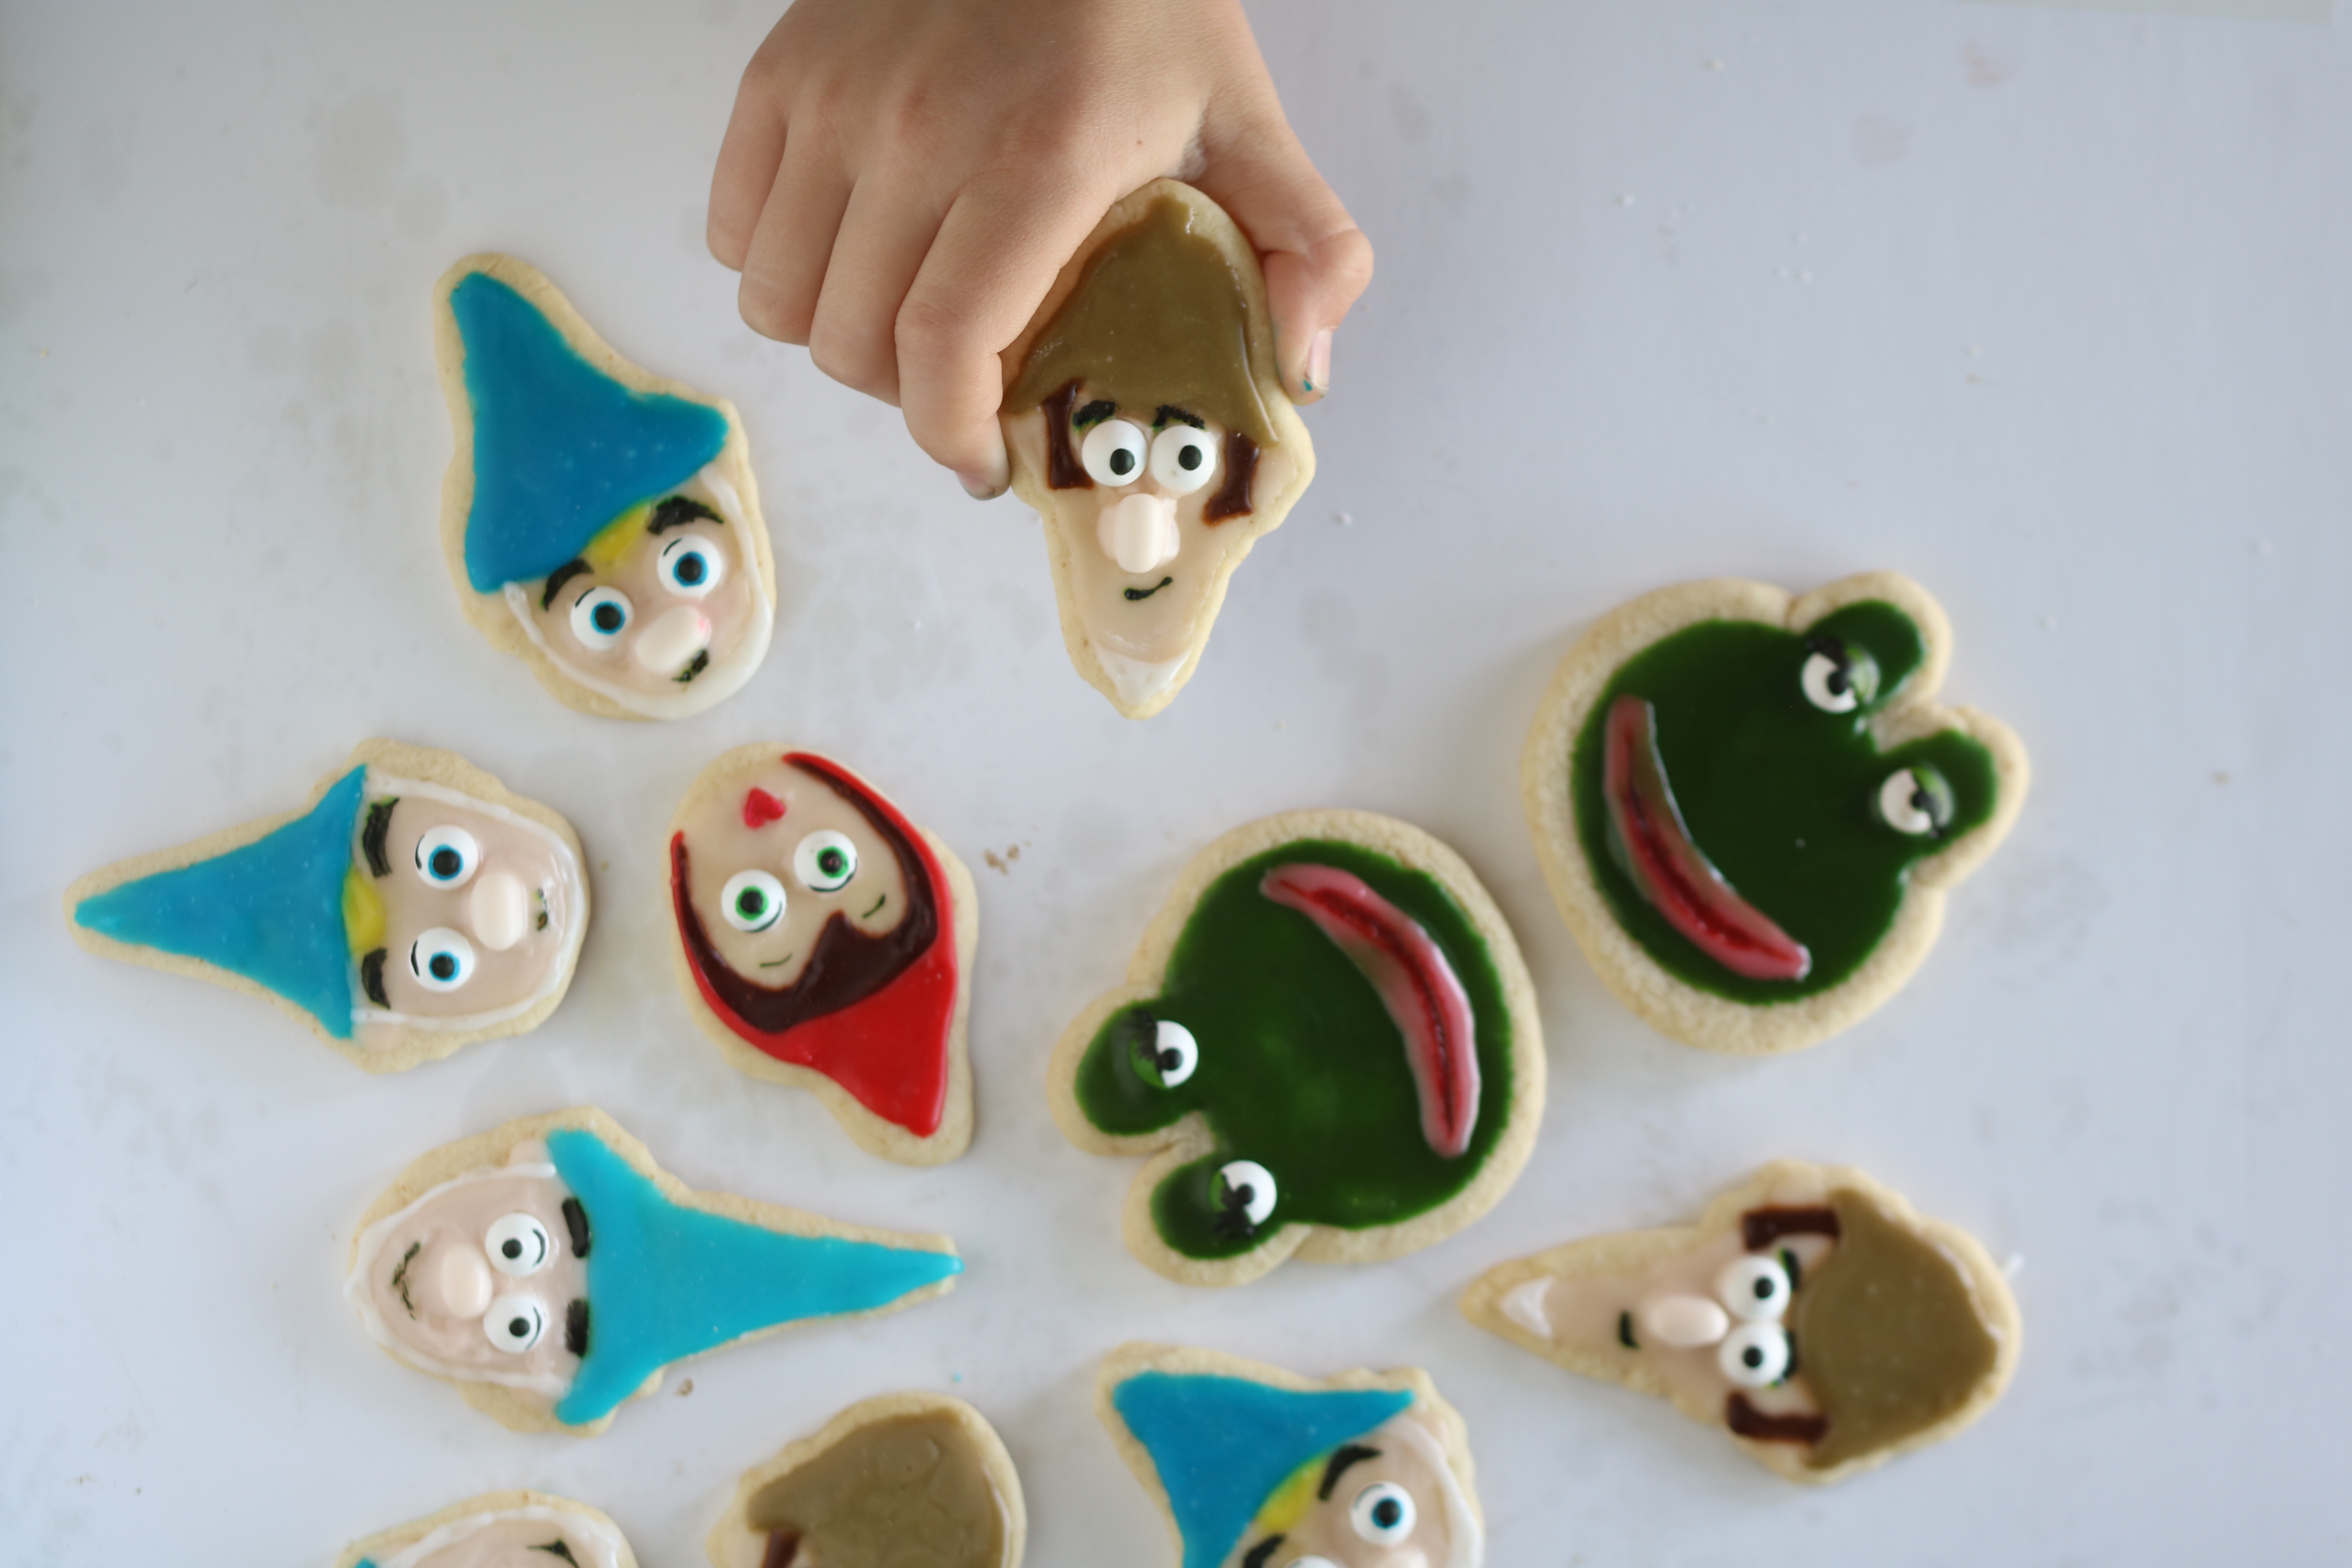
First timer here decorating sugar cookies with royal icing and these easy gnome cookies turned out so cute! Follow along with this simple step-by-step tutorial to decorate your own Gnome cookies, perfect for a woodland themed party!
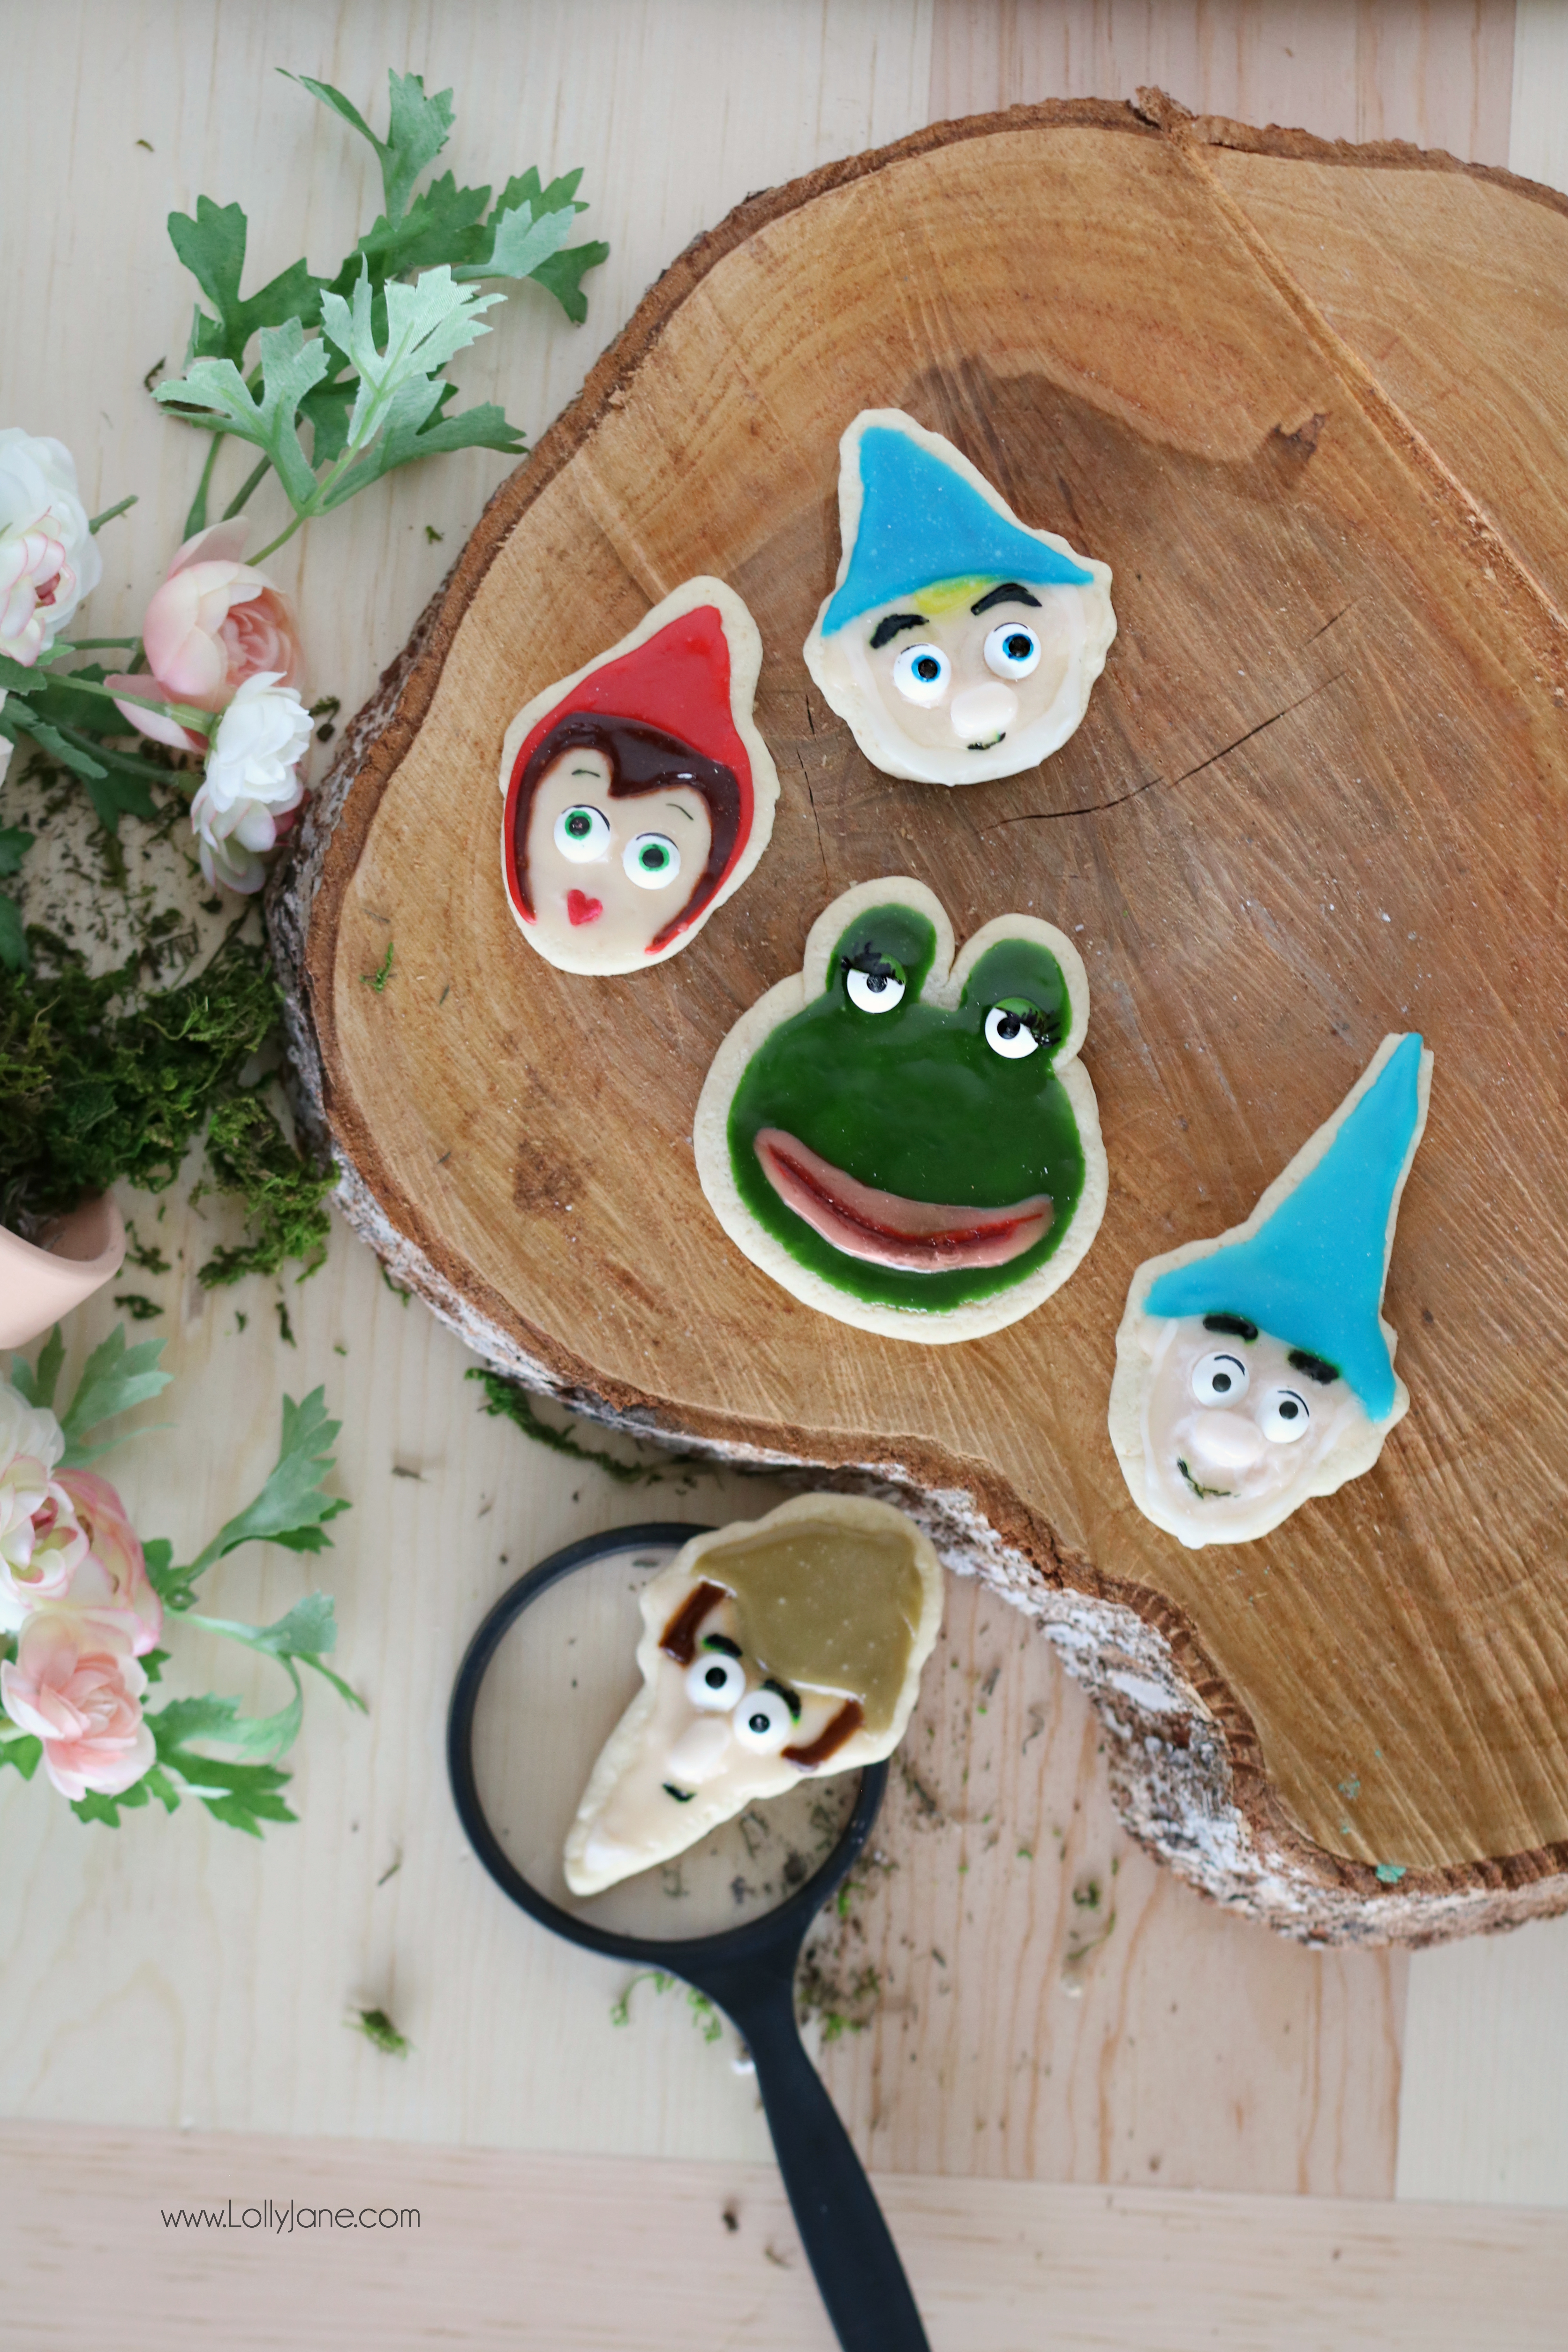
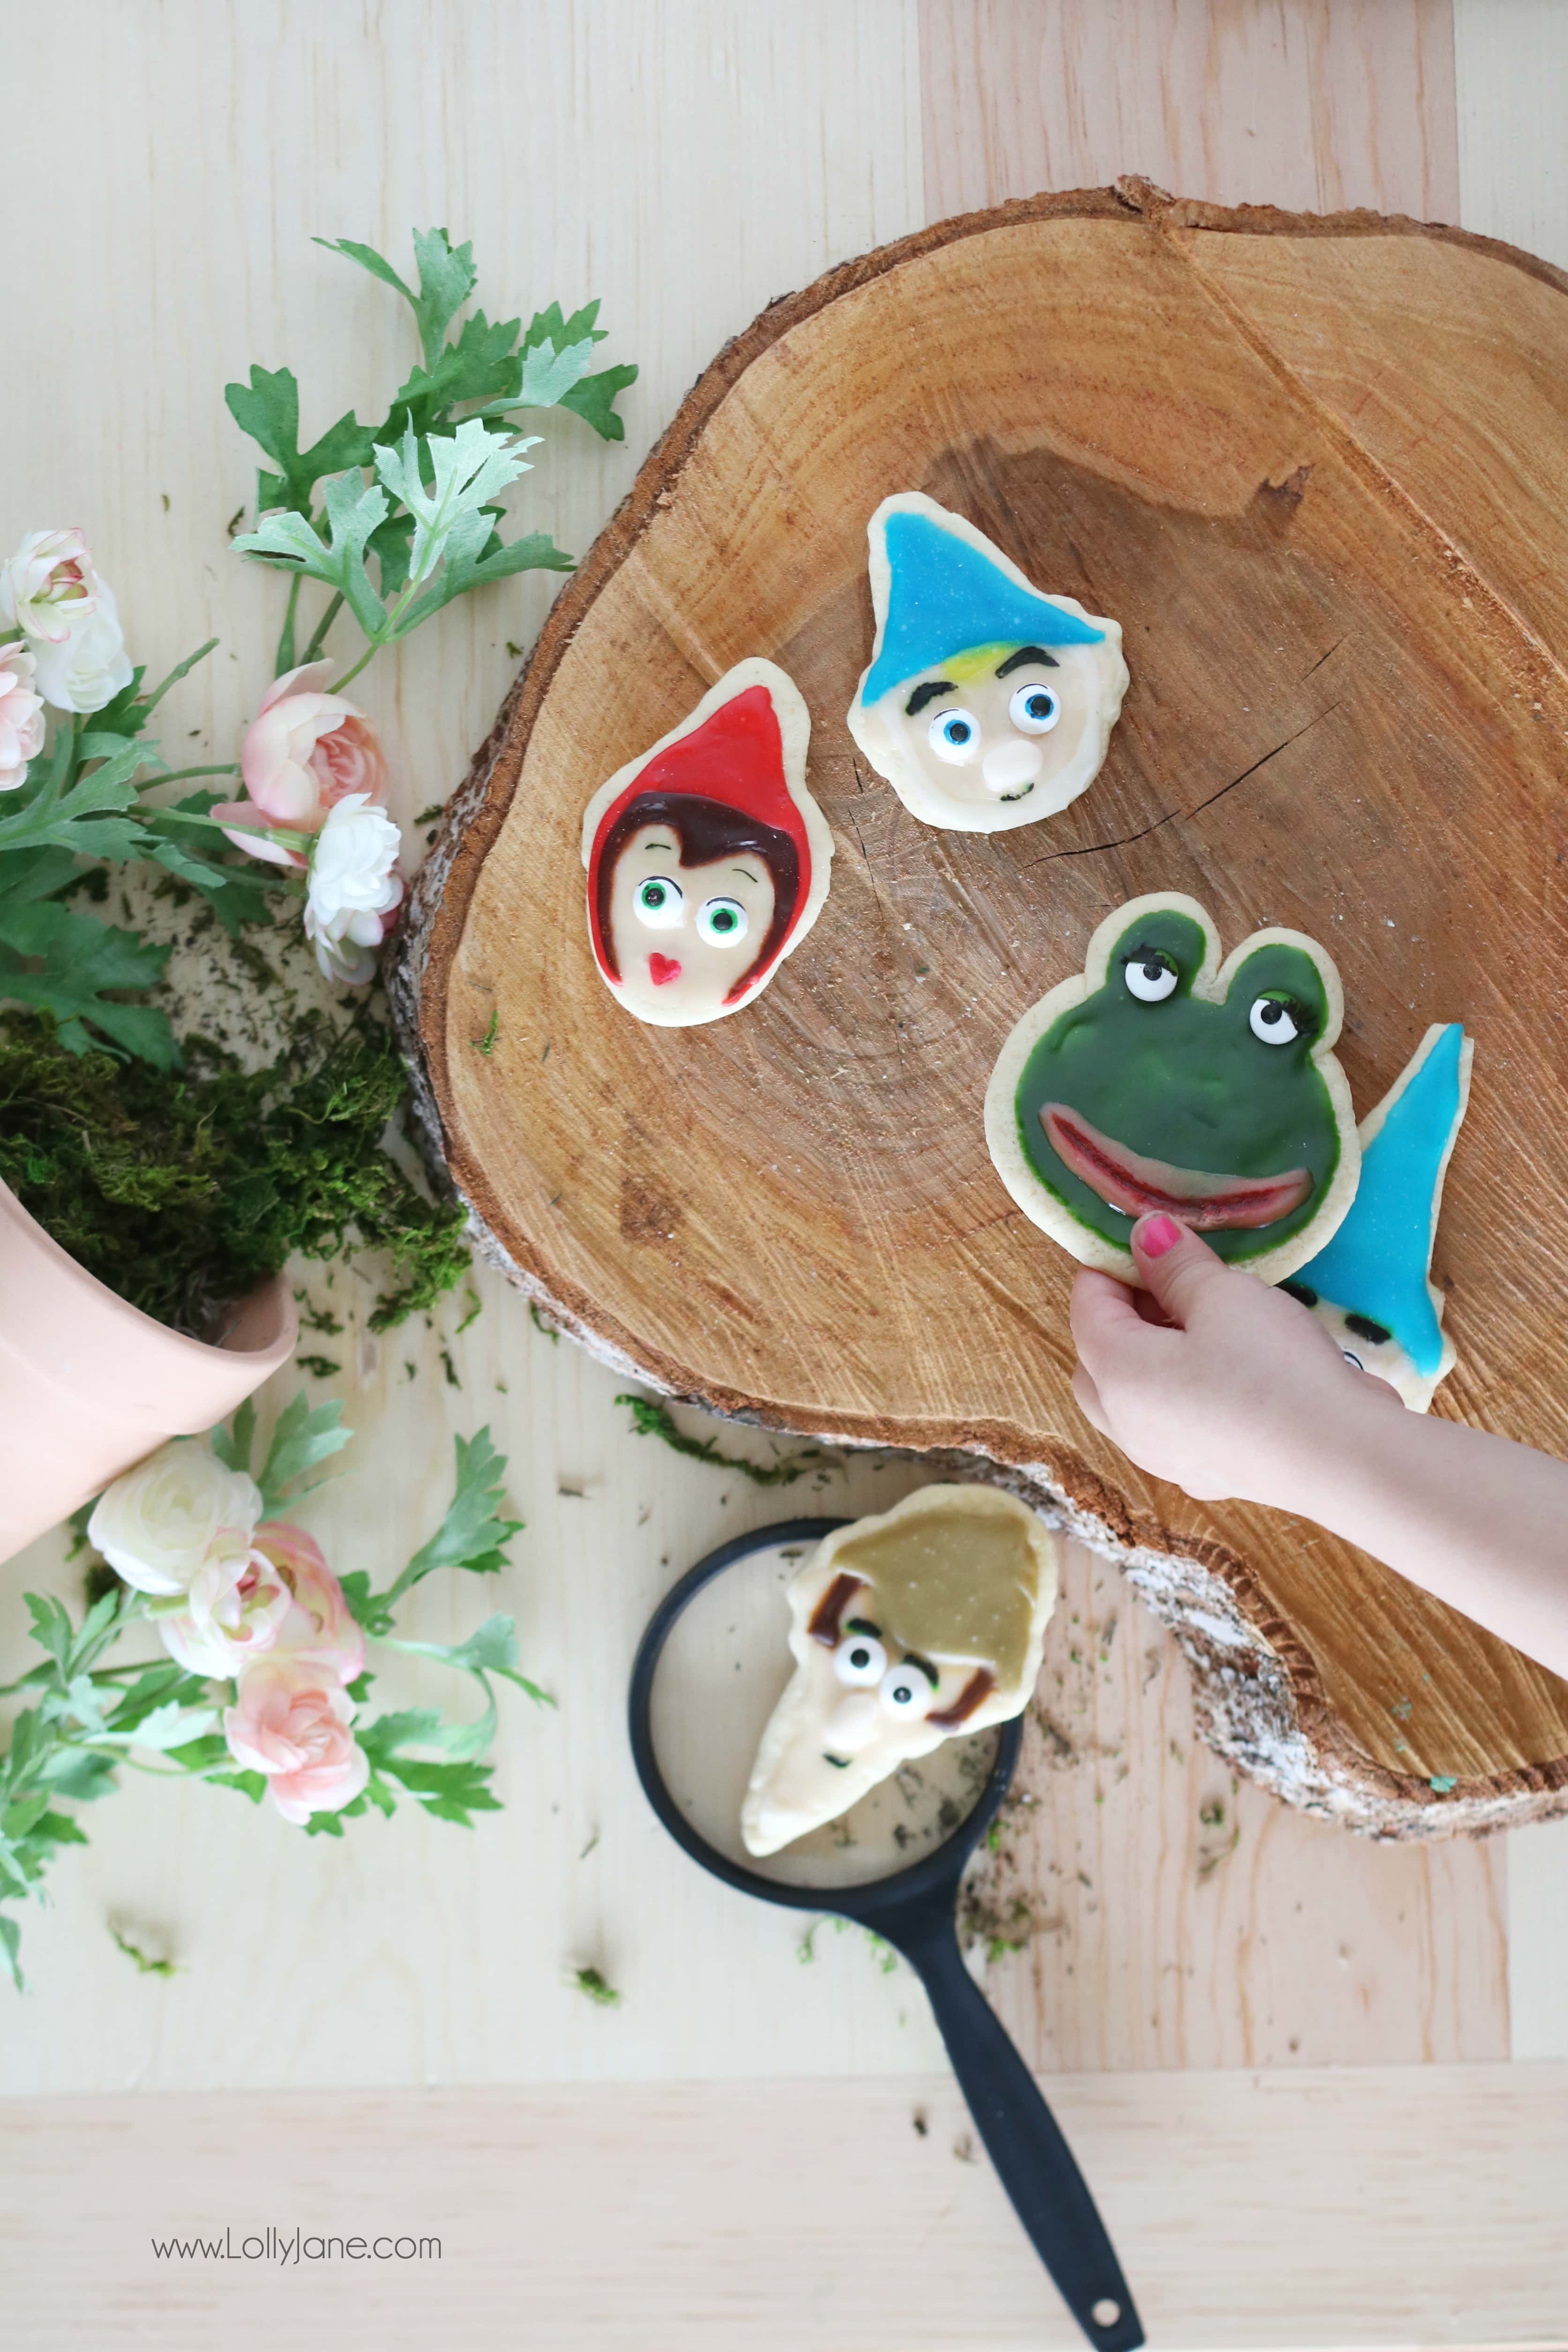
These gnome cookies were easy to bake and even more fun to decorate. Munch on them while you re-watch Gnomeo & Juliet in preparation for Sherlock Gnomes making its debut in theaters on March 23rd. Our favorite gnome couple is back, this time with the help of legendary detective Sherlock Gnomes. After a string of garden gnome disappearances in London, Gnomeo & Juliet enlist Sherlock to solve the case of their missing friends and family. My kids and I loved Gnomeo and Juliet so we can hardly wait for this cute sequel and to see if Gnomeo, Juliet, Sherlock, Benny, Nanette, and even those silly goons find their missing friends!

easy decorated gnome sugar cookies
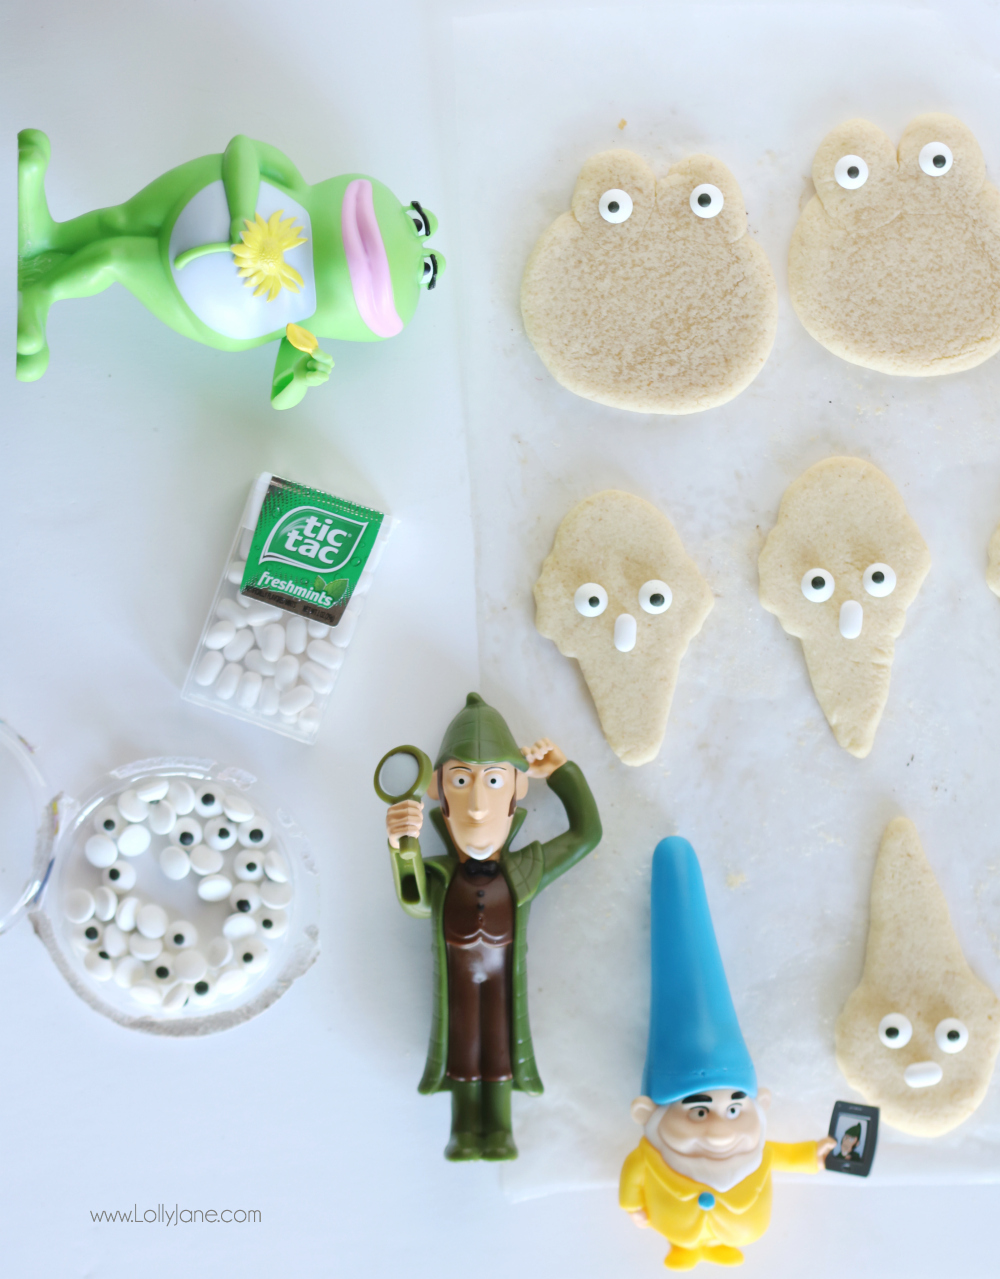
GATHER DECORATING SUPPLIES:
- Royal Icing
- Sugar Cookie Dough
- Ice Cream Cone Shaped Cookie Cutter
- Food Dyes
- Edible Eyeballs
- Edible Markers
- White Tic-Tac Candies
- Toothpick
- Sandwich baggies
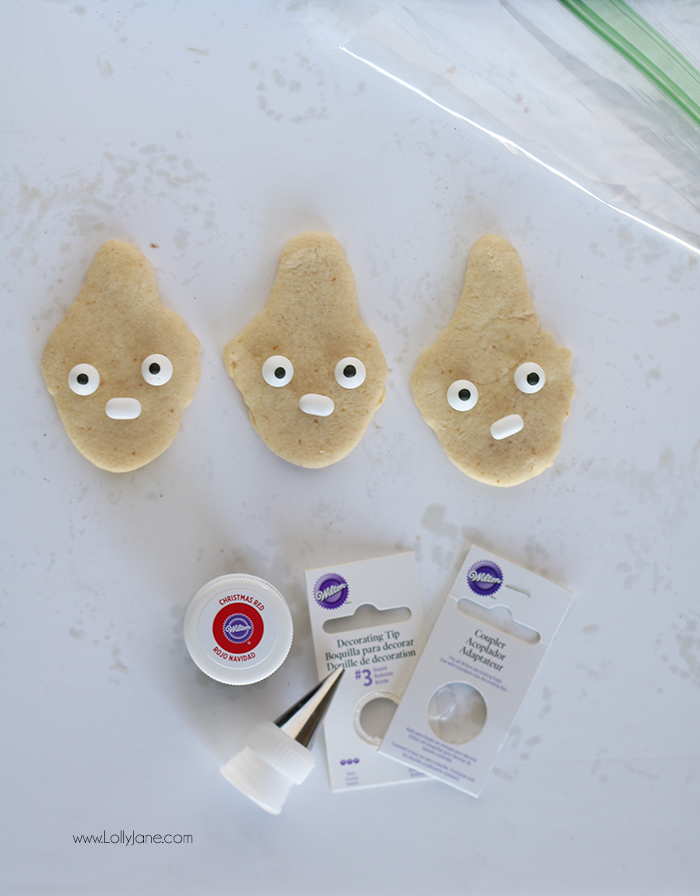
- Frosting Tip (#3 size)
easy decorated gnome sugar cookies
DECORATE THOSE COOKIES!
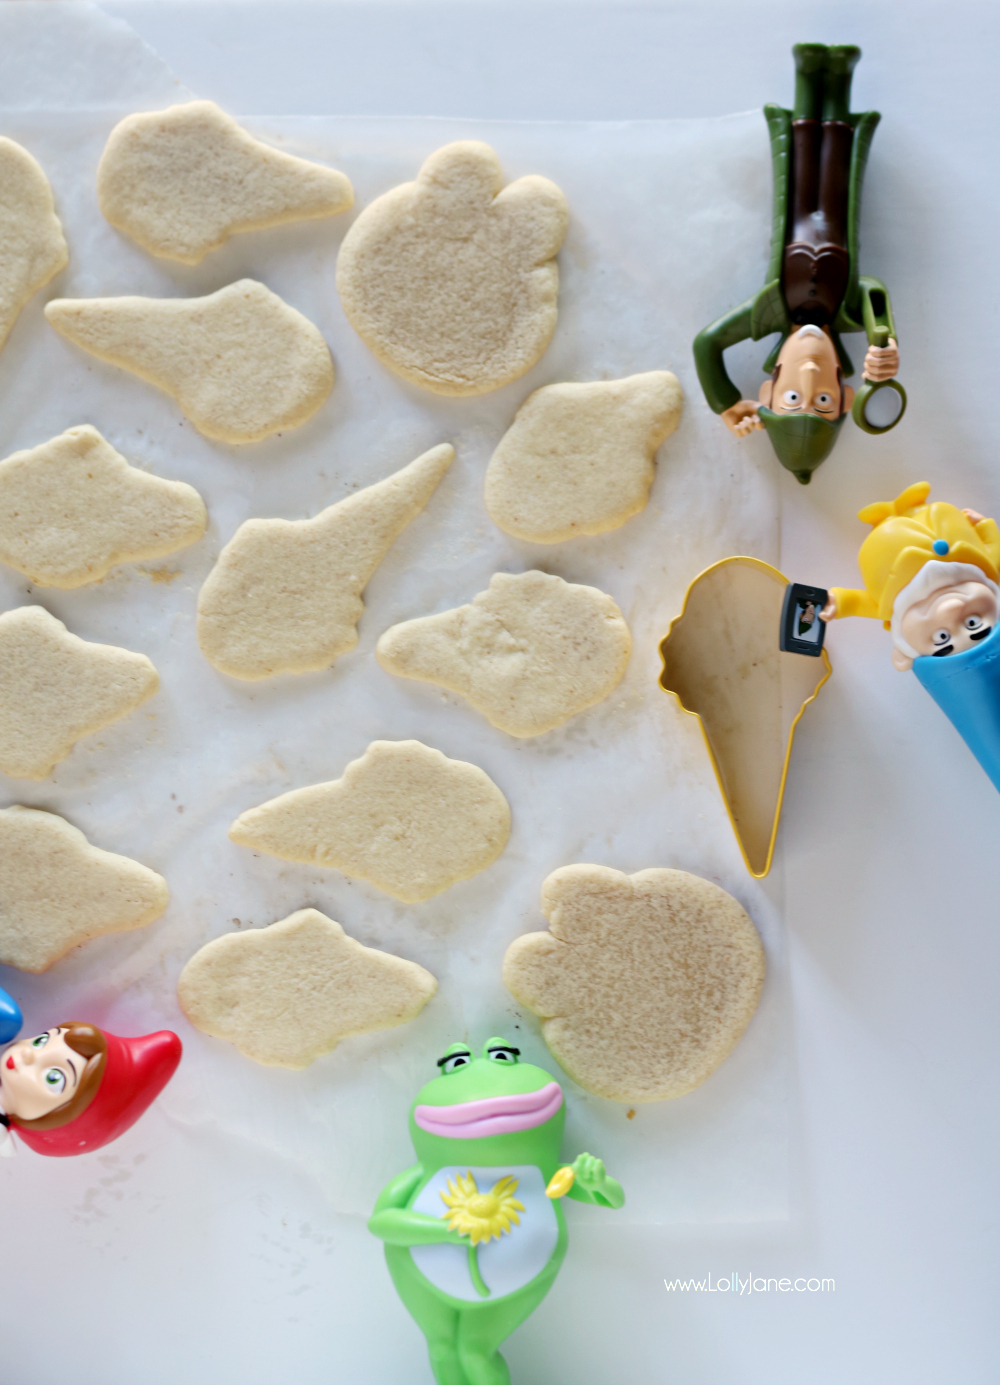
Step 1. Bake your favorite sugar cookies, cut with ice cream cookie cutter into shapes, and let cool completely. (We added hilarious Nanette and simply cut a round cookie with a cup then added two circles for “eyes” to shape a frog.)
Step 2. Make an XL batch of royal icing frosting, (use your favorite recipe.) Separate into 9 small containers.
Step 3. Mix food dye in 5 containers to make alllllll the colors of gnomes! I used colors based off the characters from Sherlock Gnomes but you can use whatever colors you prefer. The colors I used were: red, green, olive green (brown + green,) brown, yellow, pink, blue, and pink + yellow for flesh tone. I left some unmixed icing (white) for the gnomes beards.
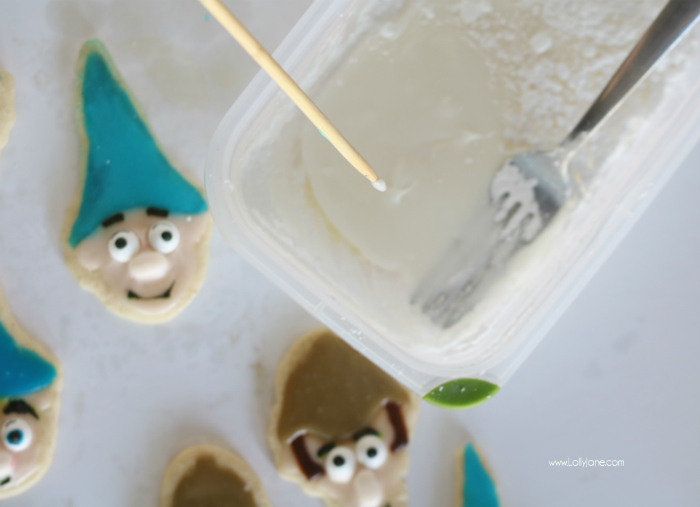
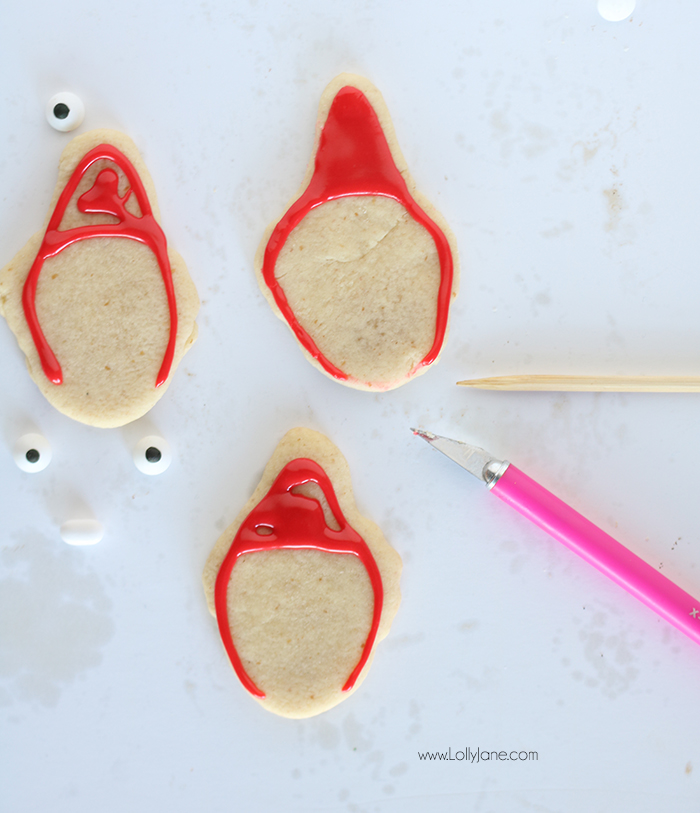
Step 3: Fill sandwich baggie with icing hue of choice then use it to pipe the gnome hat on top of the cookie first, fill in with toothpick or in my case, a skewer. LOL! (I love these cookies because no fancy tools needed, very kid friendly.) Anyway, let dry for 5-1o minutes or until icing has glazed over.
Step 4. Add hair (optional) then fill in the remainder of the cookie with flesh colored icing. Set tic tac as nose and pipe matching flesh colored icing over it completely.
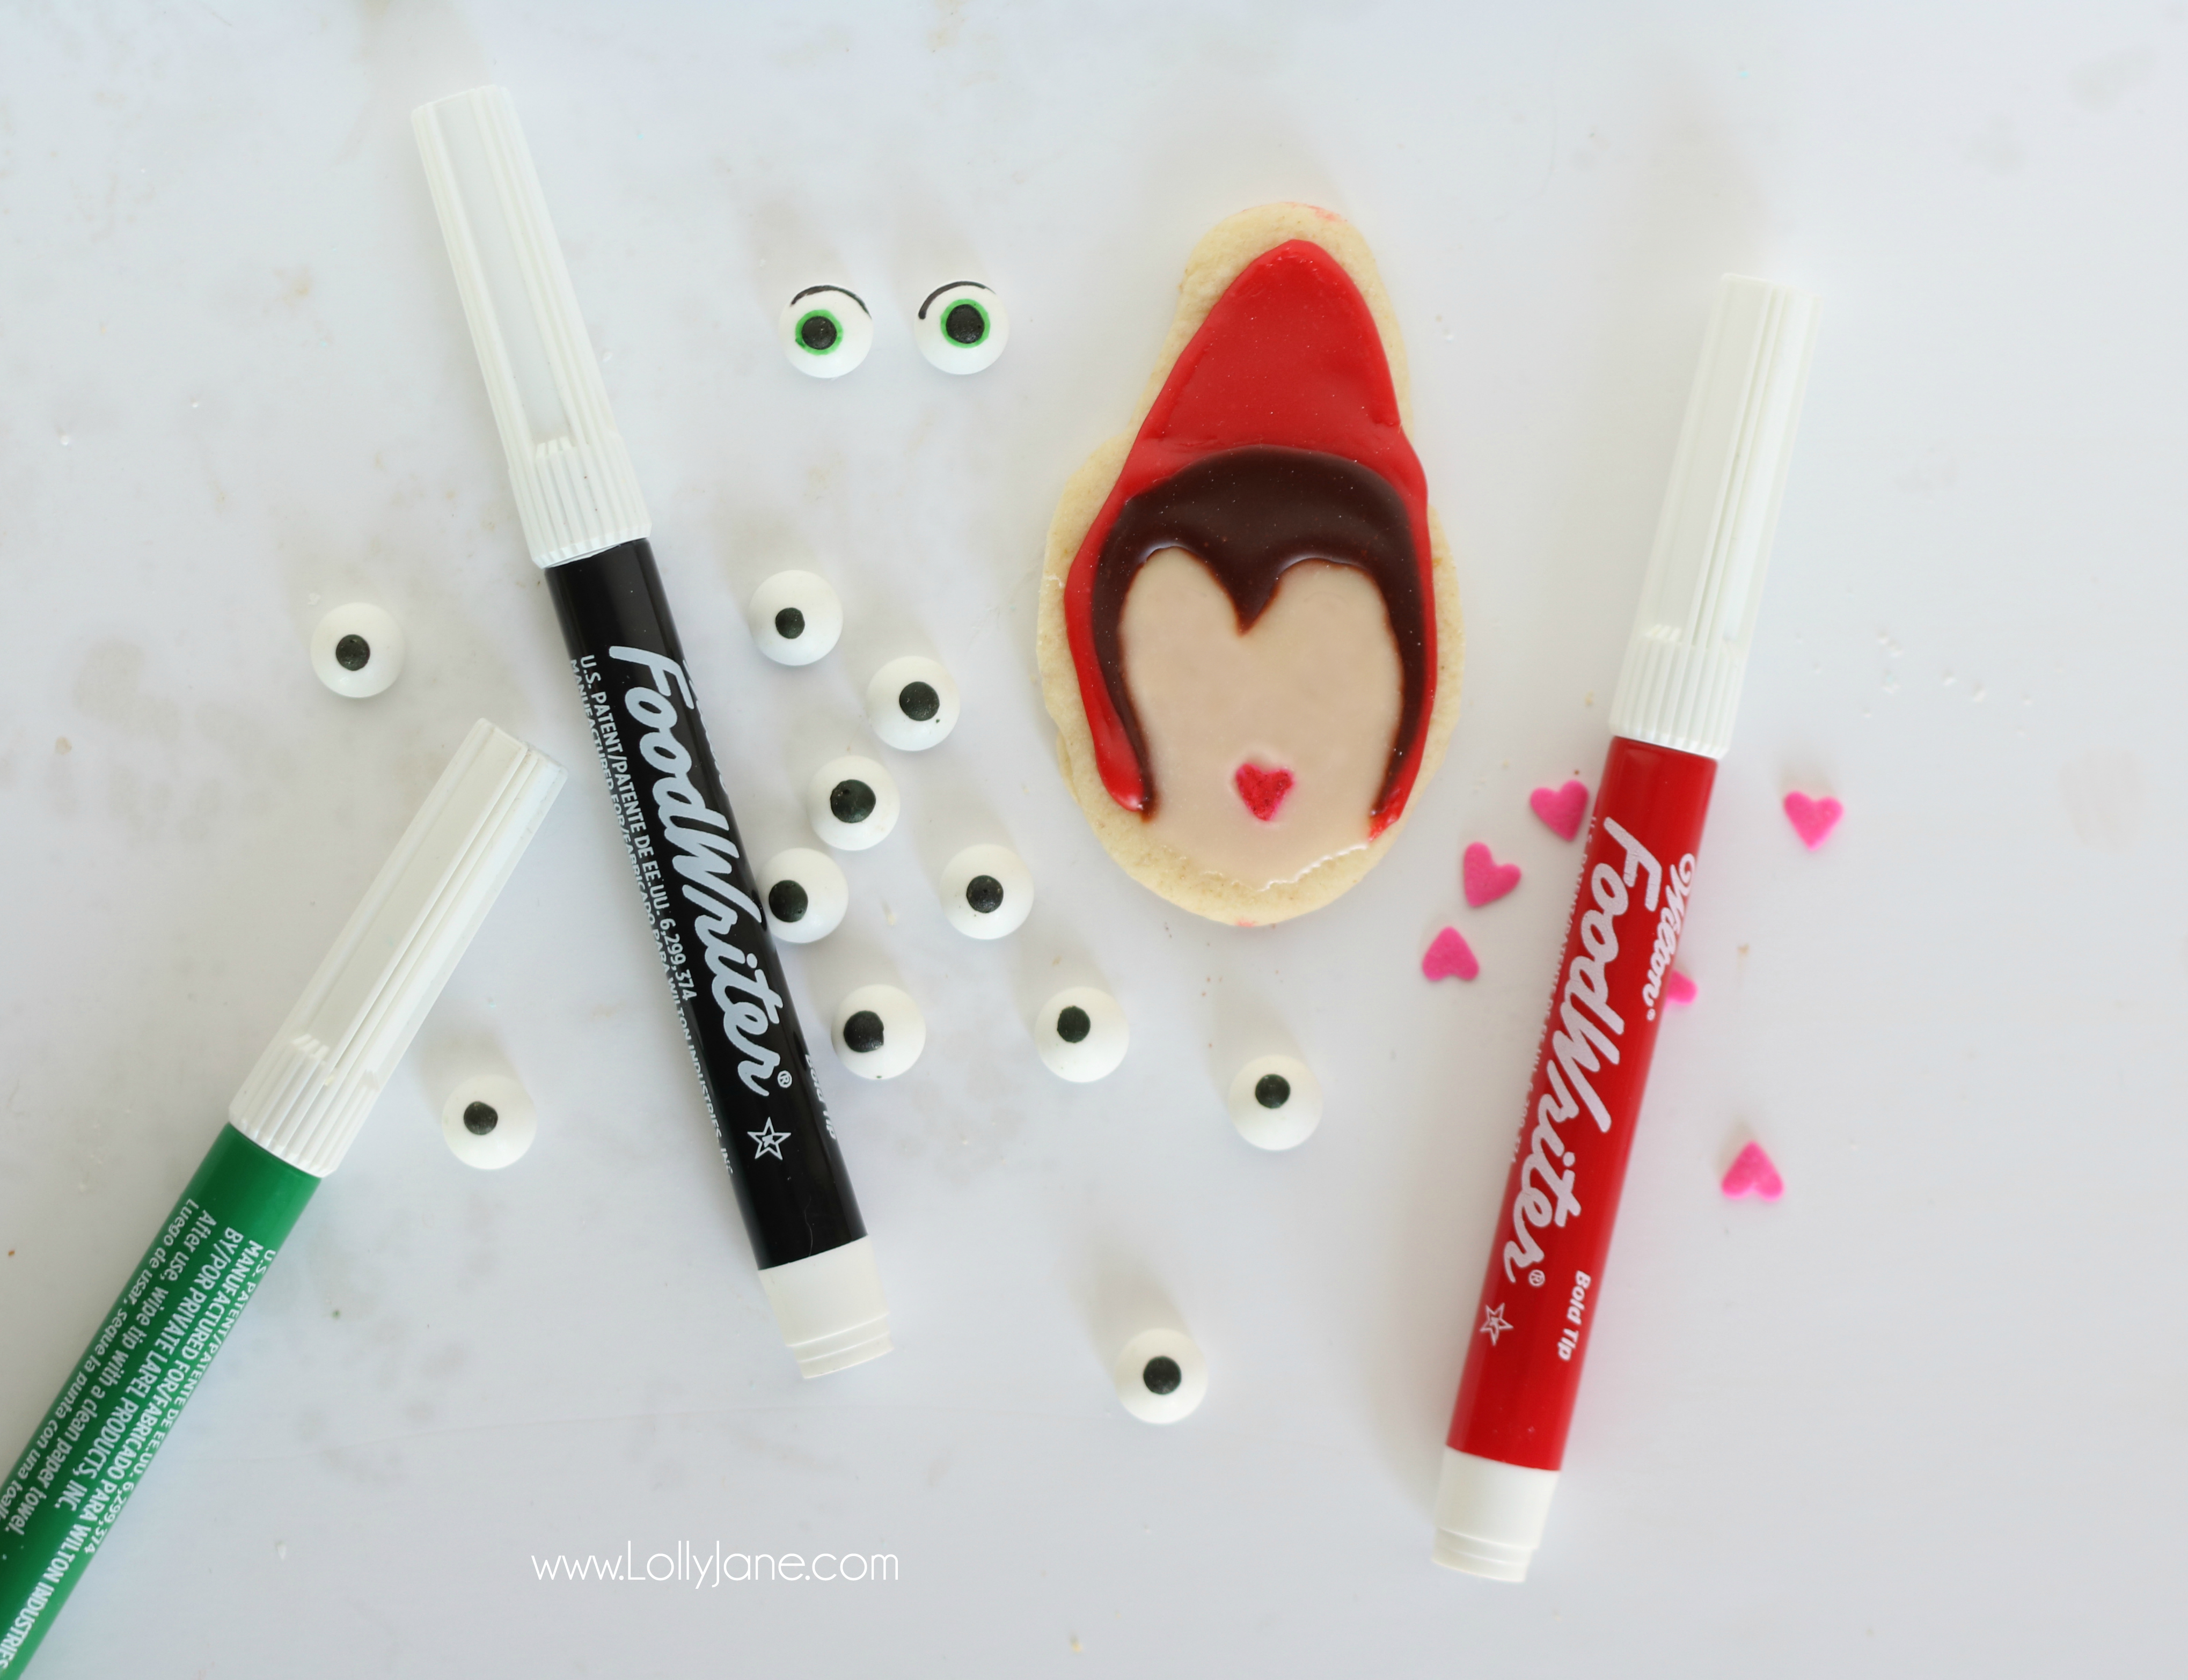
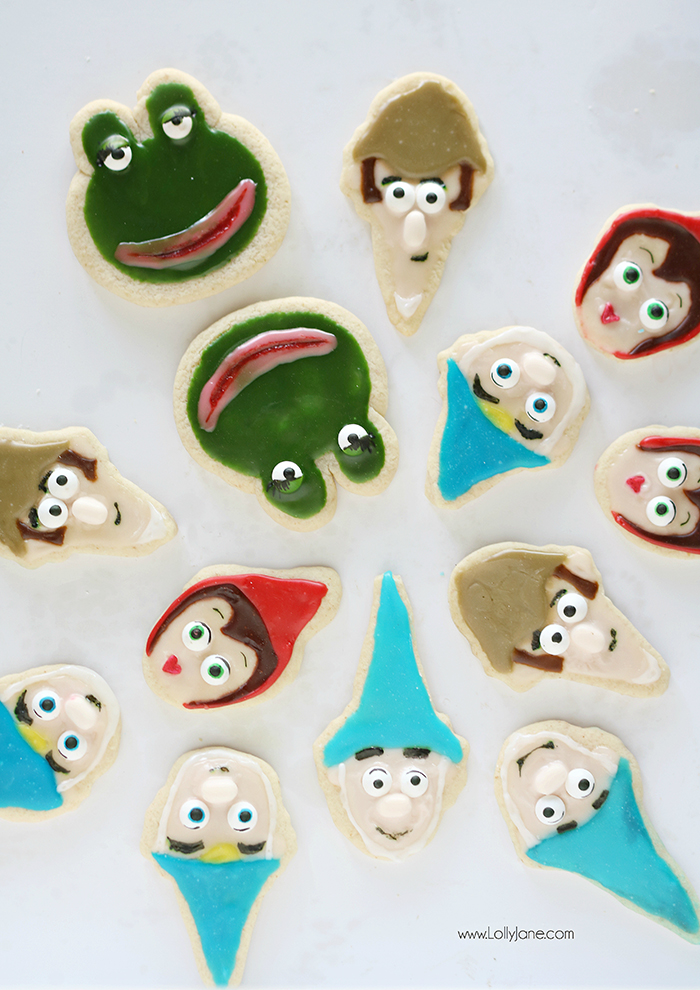
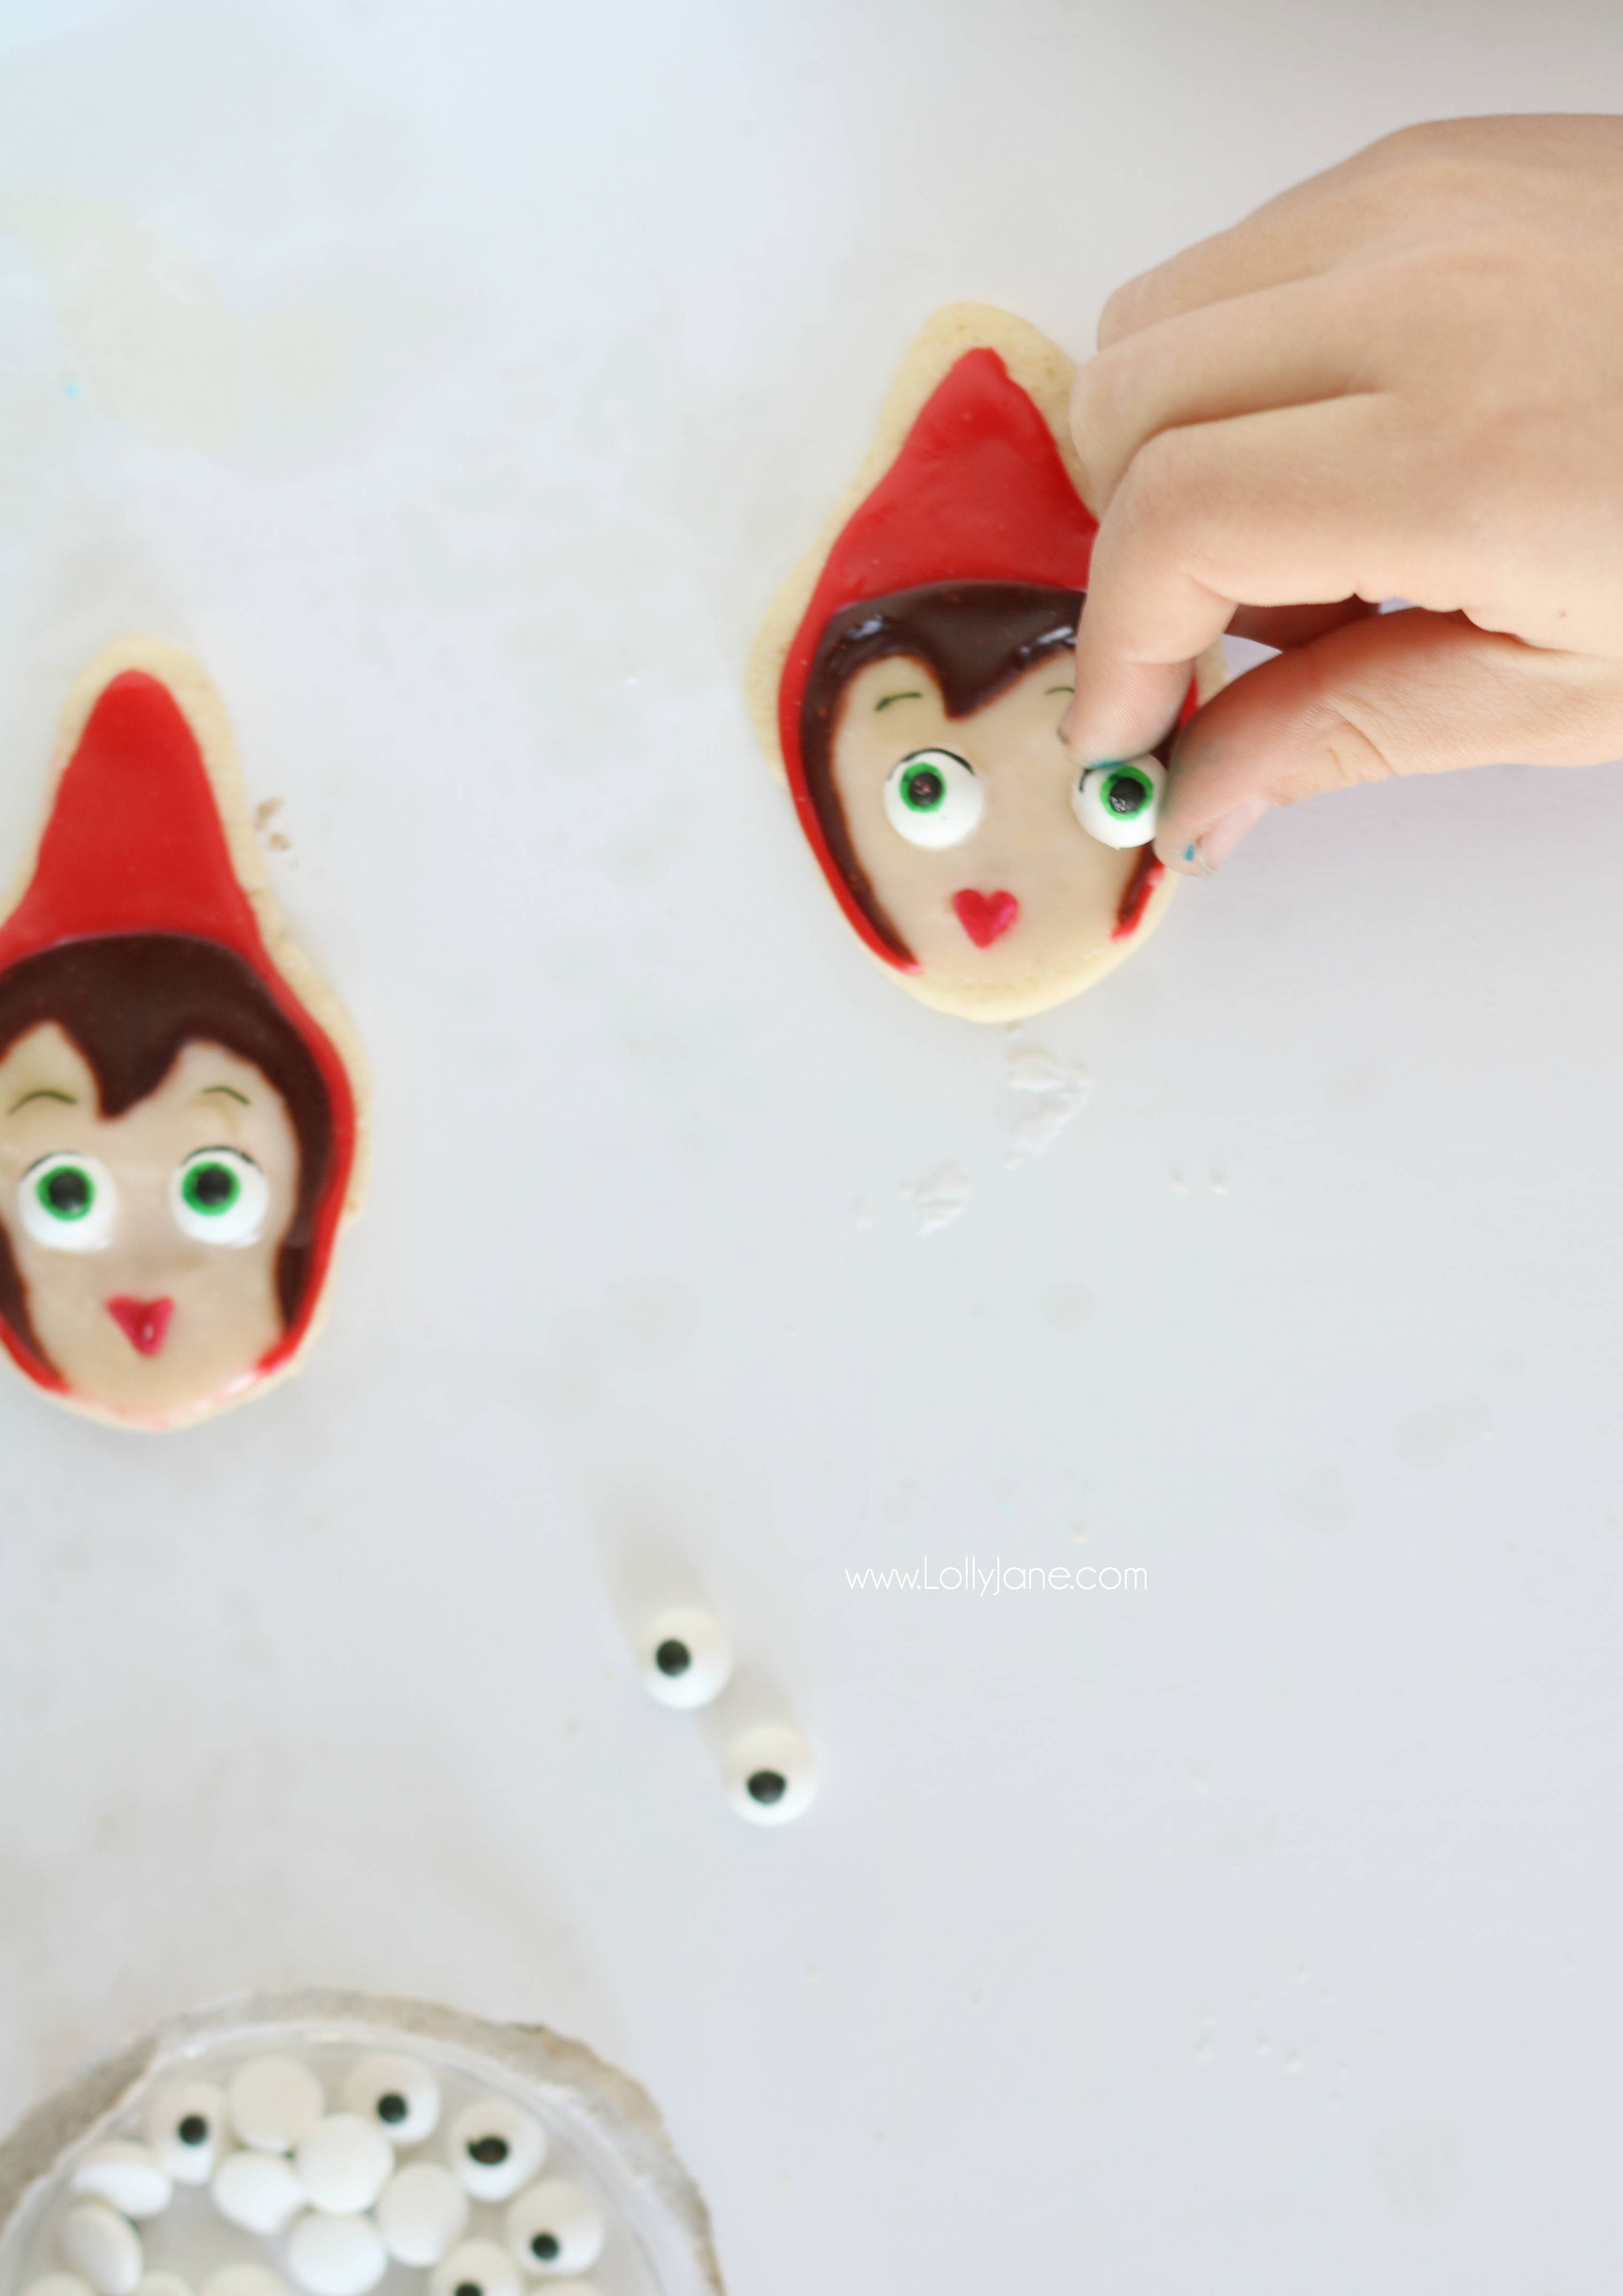
Step 5. Now to decorate! Dab a bit of icing on the back of the edible candy eyes then place on gnome cookie where appropriate. For Juliet, use edible marker and color over a red heart sprinkle to use as mouth and add some icing to the back and set under eyes, (or draw mouth on with marker.) If you want your gnome to have colored eyes, trace circle around candy eye pupils with edible marker- easy peasy! For Nanette, simply frost entire cookie green then add eyes, (use icing to cover part of the eyes as shown,) then pipe pink mouth. Optional, use edible marker to draw on eyes once icing has set completely.
Step 6. Let icing dry for several hours then draw on eyebrows and mouth with black edible marker.
Step 7. Store your cookies (in the fridge for 2-3 days or freezer for 1 week) and enjoy at the movie theater with your family on March 23rd while watching your favorite Sherlock Gnomes characters come to life!

Hope to see you there!
You can keep up with Sherlock Gnomes in the meantime!
- Visit the Official Website
- Like on Facebook
- Follow on Twitter and Instagram
- #SherlockGnomes

easy decorated gnome sugar cookies – royal icing
Have you tried royal icing? I was surprised at how fun it really is, and these little characters were fun to get my kids in movie mode! :


Thanks so much, Helen! They were tricky to make but turned out so cute 🙂
What fun cookies!! Great instructions – Thanks for sharing at the What’s for Dinner party!