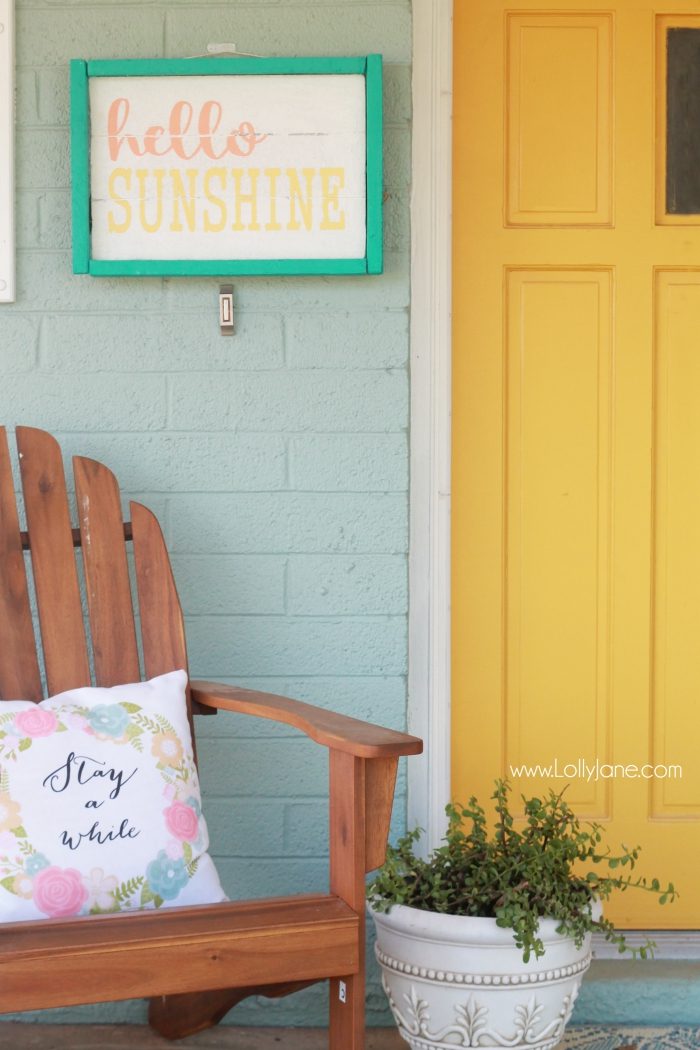
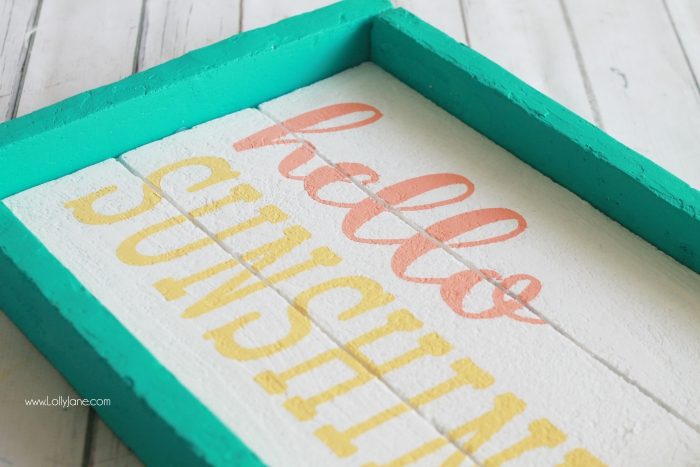
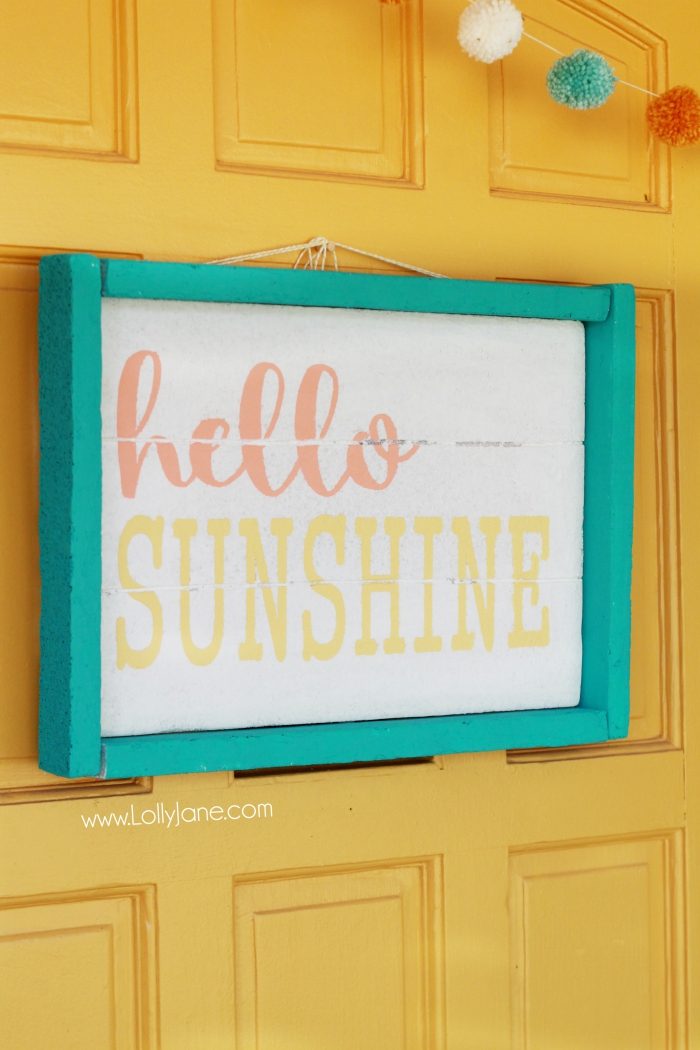
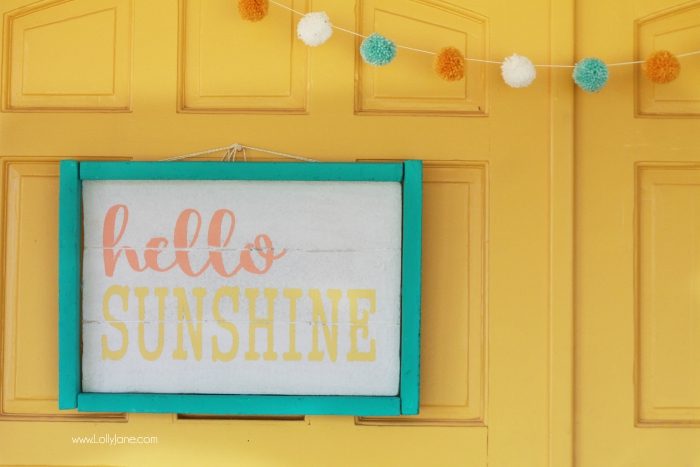
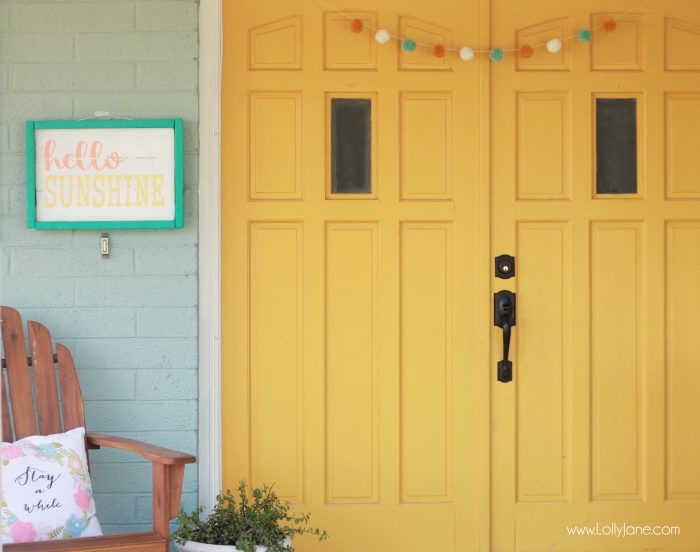
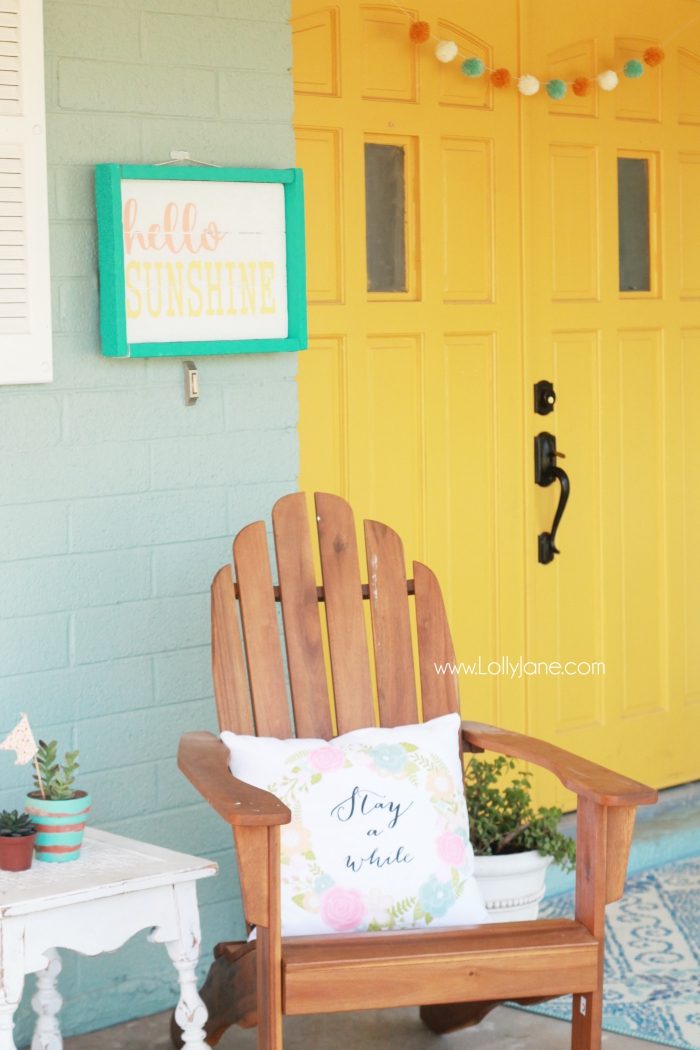
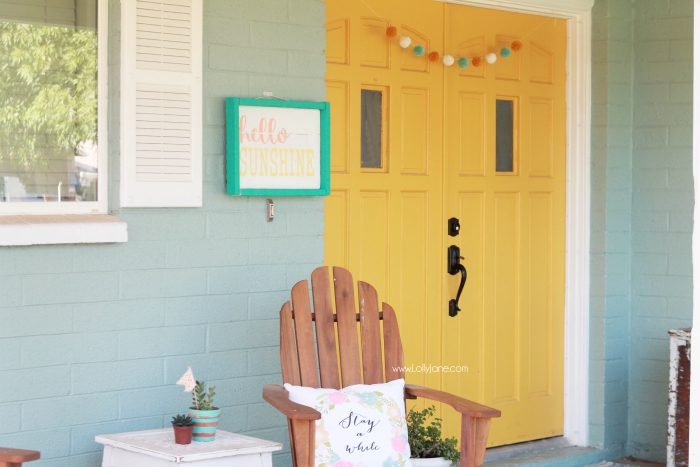
hello sunshine foam sign
We’re a little behind for our Make It Fun® team challenge but not too late to enjoy it the rest of the summer or all year long. At least in Arizona it’s SUNSHINE-Y year round (: This isn’t a fast project but unlike our sign making, at least you can work on it indoors. The longest part is the dry time…even with a blow dryer, lol…that’s our usual paint-drying trick! But it’s fun to get creative with foam and we LOVE how this hello sunshine foam sign turned out!
S U P P L I E S:
- FloraCraft® Make It: Fun® Foam Sheets: 1/2″, 1″ and 2″ thick or here
- FloraCraft® StryoCutter® Plus or here
- FloraCraft® Foam Connectors and Eyelets
- pen or something to make an indent
- tape measure
- vinyl lettering or stencil or sticker letters
- popsicle stick for spreading
- chalk paint
D I R E C T I O N S:
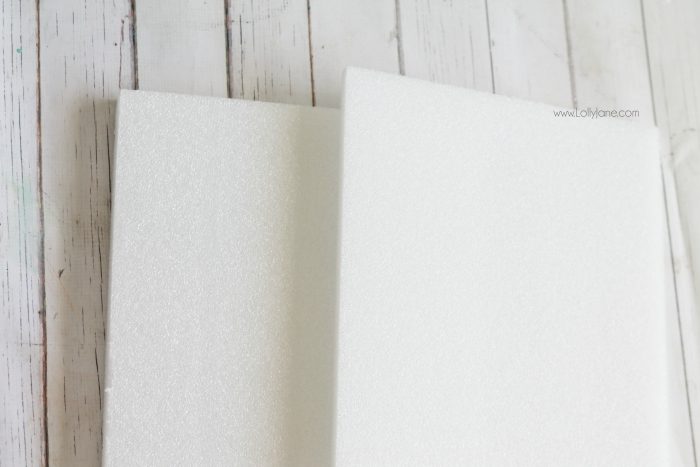
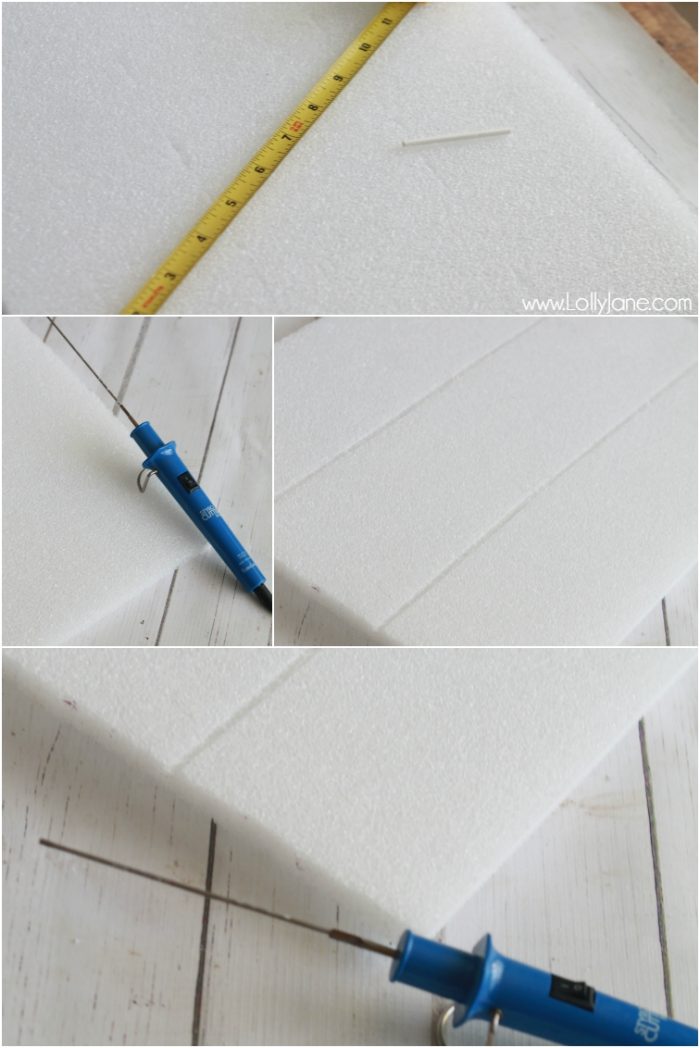
- Start with the 1/2″ foam (which is 12″ wide), mark out 4″ increments.
- Using a sharp object (credit card, pen, I used a sucker stick), lightly indent a line measuring 18″ across.
- Lightly trace the line with the StryoCutter® so it melt across the sheet.
- I went over it twice so it was a thicker slit in the sheet.
- Using the 1″ sheet + the cutter, cut (melt) out 2″ strips.
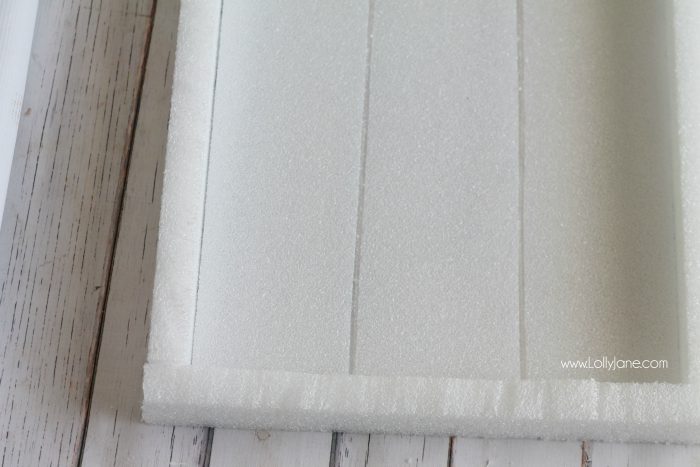
- The middle of the sign (the faux planks part) is 12″ x 18″ so your 2″ strips will measure 2) 14″ + 2) 18″.
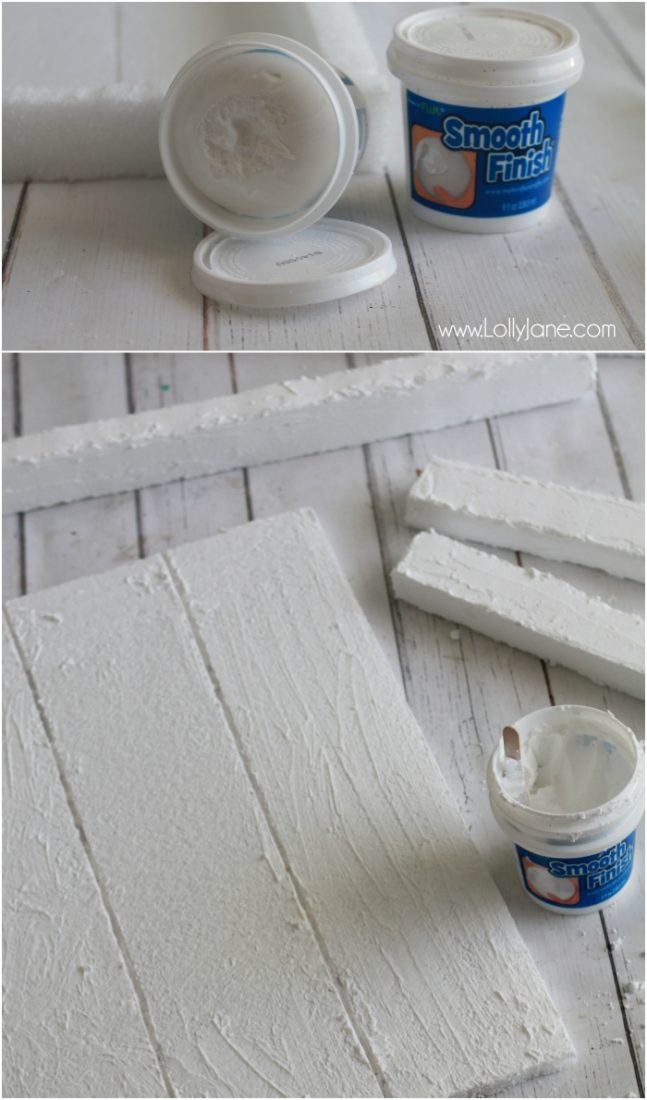
- Heavily coat all pieces (except the bottoms no one sees that) in Smooth Finish
- Sand all the dried Smooth Finish until there are no longer chunks sticking out.
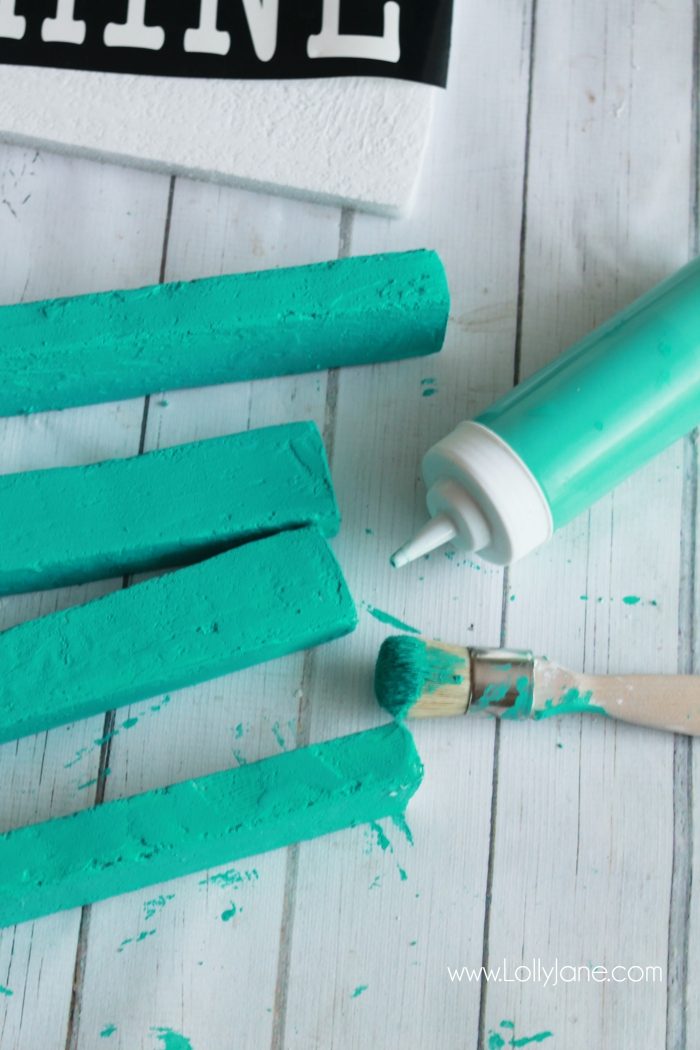
- Paint the edges desired color with our favorite chalk paint powder mix (we did XXX).
- Paint the “planked wood” desired color (I did white).
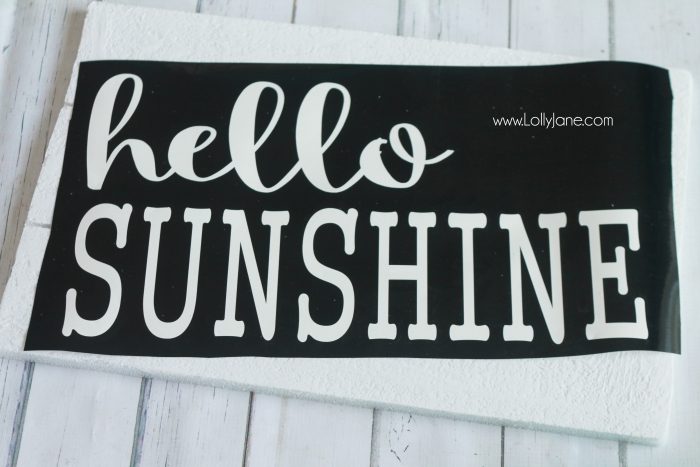
- When dry, paint inside the stencil: We used Starstruck font for hello and Gungsuh for sunshine. >>> PLEASE recreate for personal use only, we hate seeing our free ideas ripped off for sales! Thanks for your understanding.
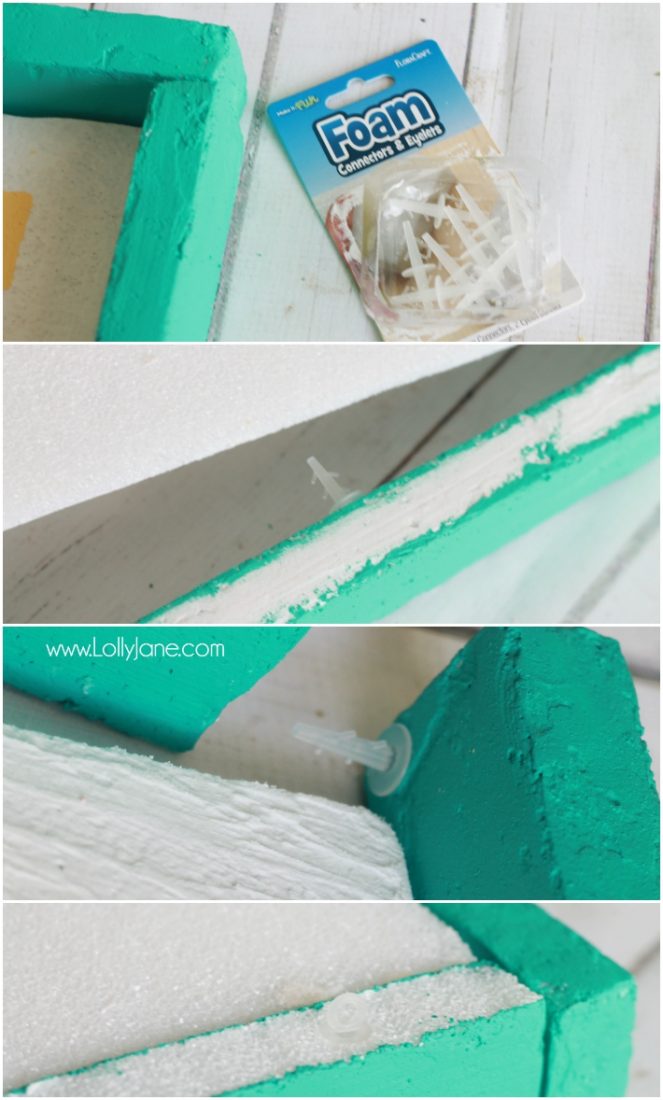
- To attach the edges, use the connectors + outlets to connect it all. I used 6 connectors total (one to attach each corner + 2 to attach the sides of the inside to to the inside of the frame) and 2 eyelets total (in the back of the foam frame, see bottom pic on the right side of the pic).
- Hang with bakers twine in the back since it’s so light.
Love it on my front door! It’s lightweight so it won’t bang around…plus, we don’t use the door its on since we have double doors so it won’t go flying either when the right double door shuts.
And funny enough it matches my cute pom pom garland from our adorable contributor, Amy from My Name is Snickerdoodle! Visit her shop to snag your own garland (:
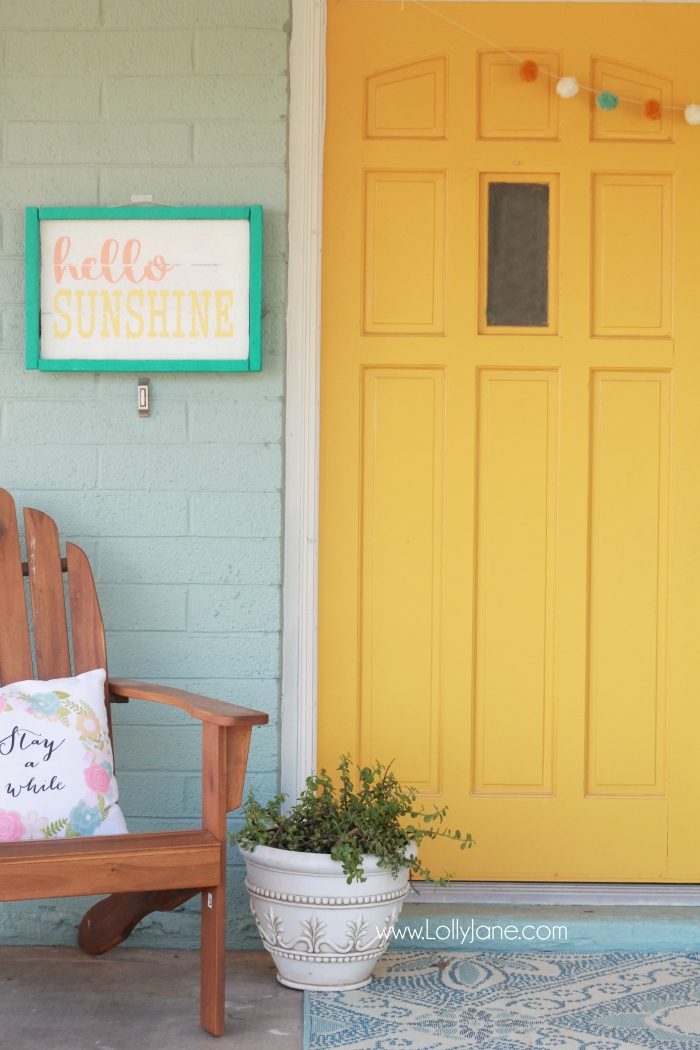
Click to the see the full colorful front porch reveal where we got the cute adirondack chairs. The pillow is from Paint Me Pink shop, we “met” the fun owner on Instagram.
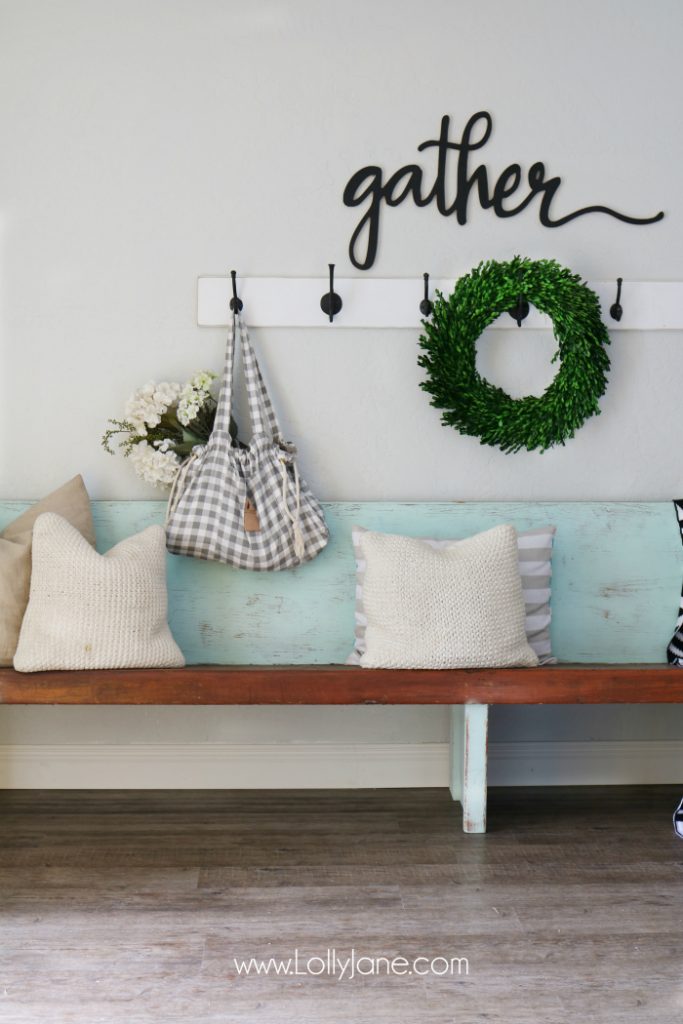
I repeatedly am asked what house colors I used: Jackson Square by Valspar for the yellow, seen here on my fav 100 year old buffet. The aqua is trickier because I color matched it to a bench my loving hubby scored off the side of the road, does he know his junker wife or what?! (: The paint code is 417152525780 and I had it mixed at Home Depot via Glidden Paint.
The white pot is a clearance item from Big Lots 10 years ago that I’ve used in 200 different places like this, lol…the succulents are from Home Depot garden too and is the only plant I haven’t killed yet…RIP sad ficus from the link above 🙁
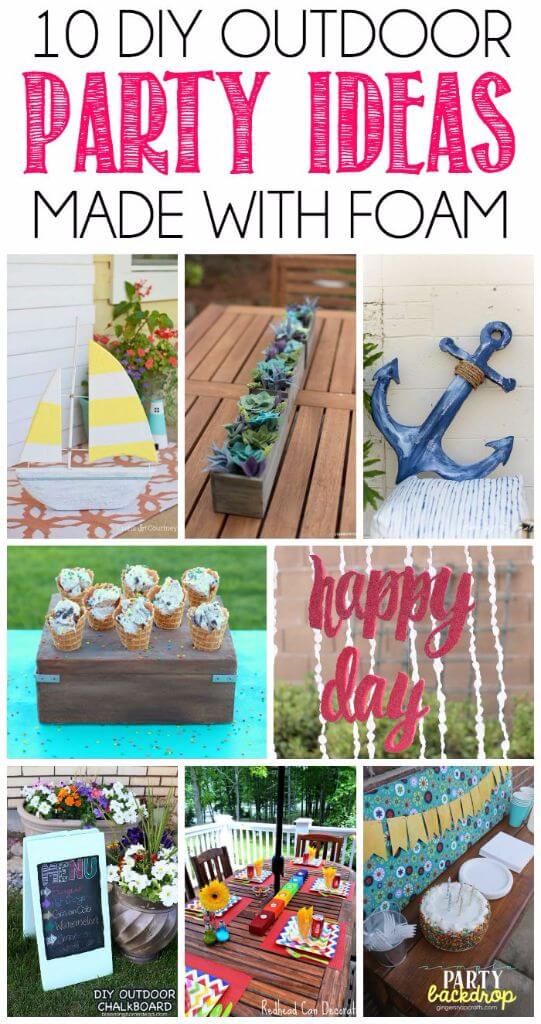
Check out the Make It Fun Crafts® page for lots of ideas and also check out the team’s creative outdoor decor uses with foam:
DIY Foam Sailbot from Crafts by Courtney | Foam Typography Party Backdrop from Persia Lou | DIY Chalkboard from Blooming Homestead | Party Backdrop from Ginger Snap Crafts | Felt Succulent Vertical Garden from Lia Griffith | DIY Anchor Sign from Place of My Taste | DIY Rainbow Candle from Redhead Can Decorate | DIY Succulent or Treat Holder from A Girl and A Glue Gun | DIY Succulent Garden from Reasons to Skip the Housework | DIY Welcome Sign from Play. Party. Pin. | DIY Moss Wall Art from Kara’s Creations
See all of our FloraCraft® foam projects like our gold dipped faux concrete planter,
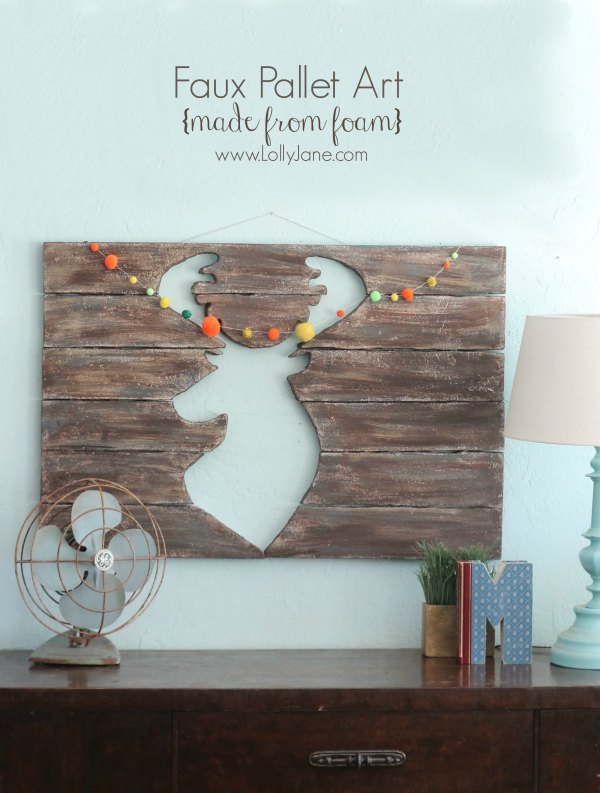
plus our fun deer head pallet art that was featured in Better Home + Garden magazine (:

.jpg)
SO creative! Love it!
This is so cute on your porch, and I love the colors. Great tutorial. Thank you.
Thanks so much, Sharon!!