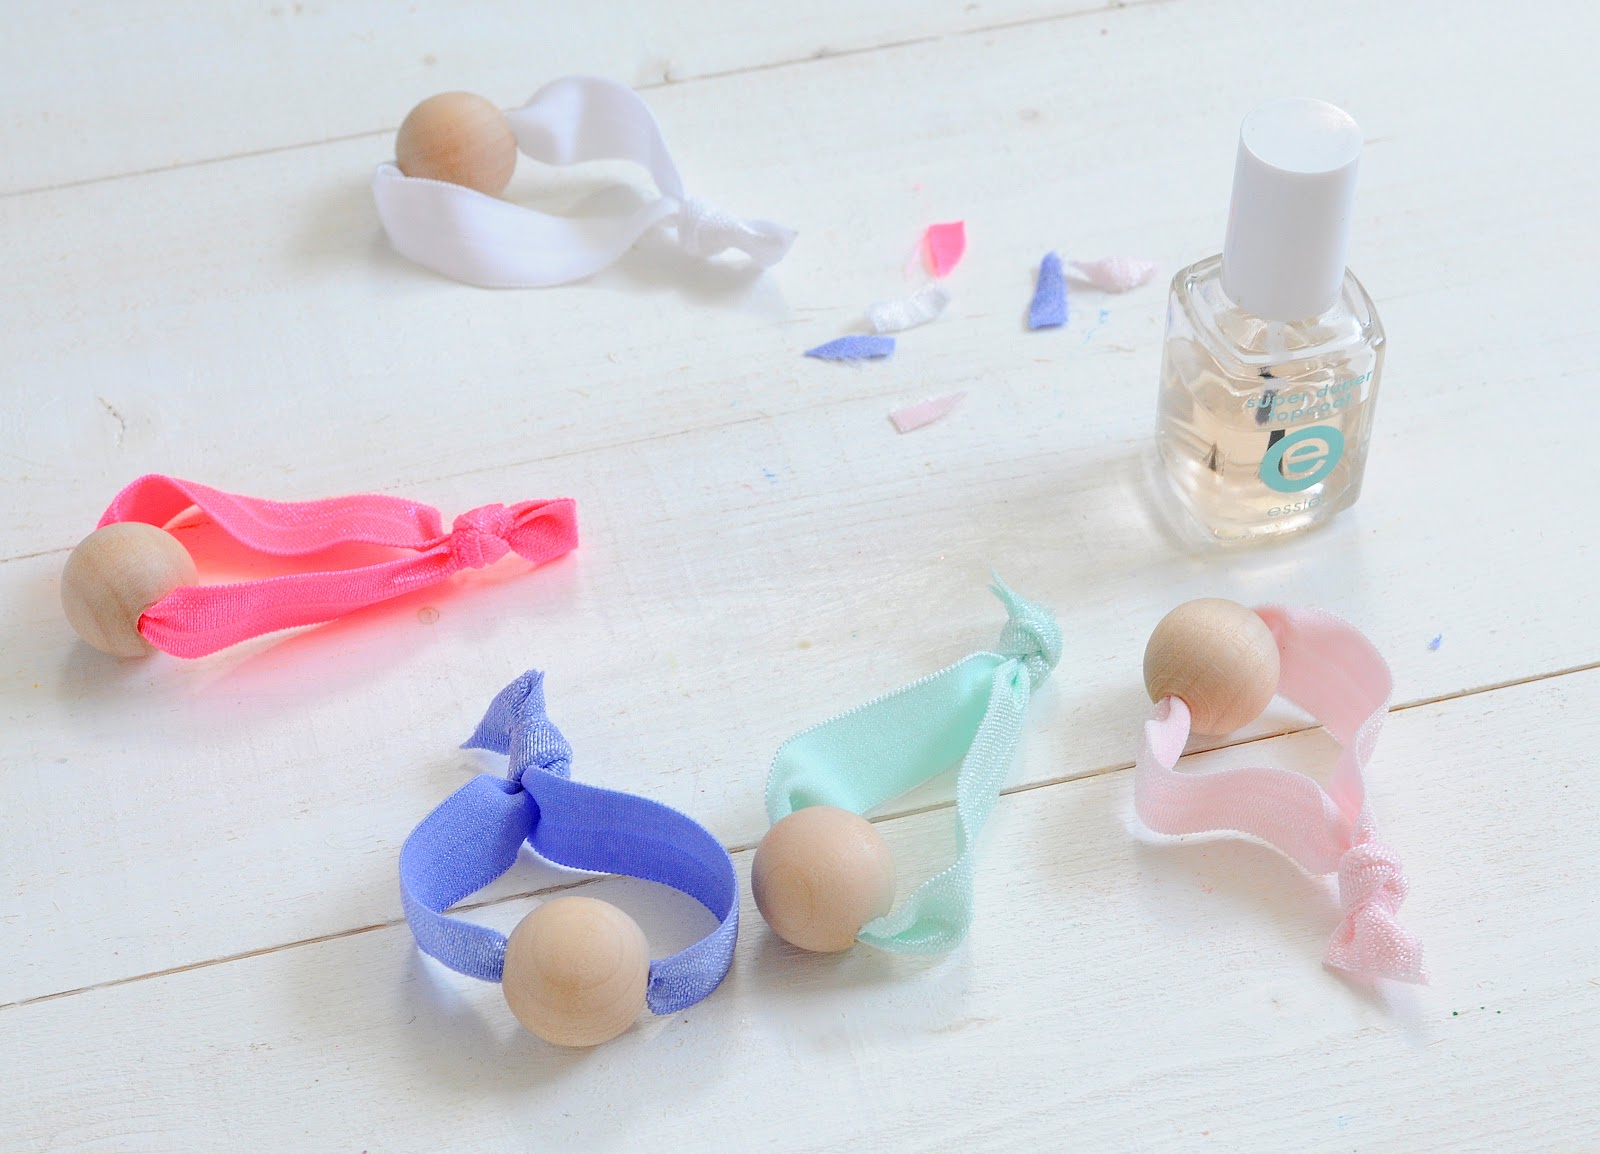
Wooden bead elastic hair tie DIY
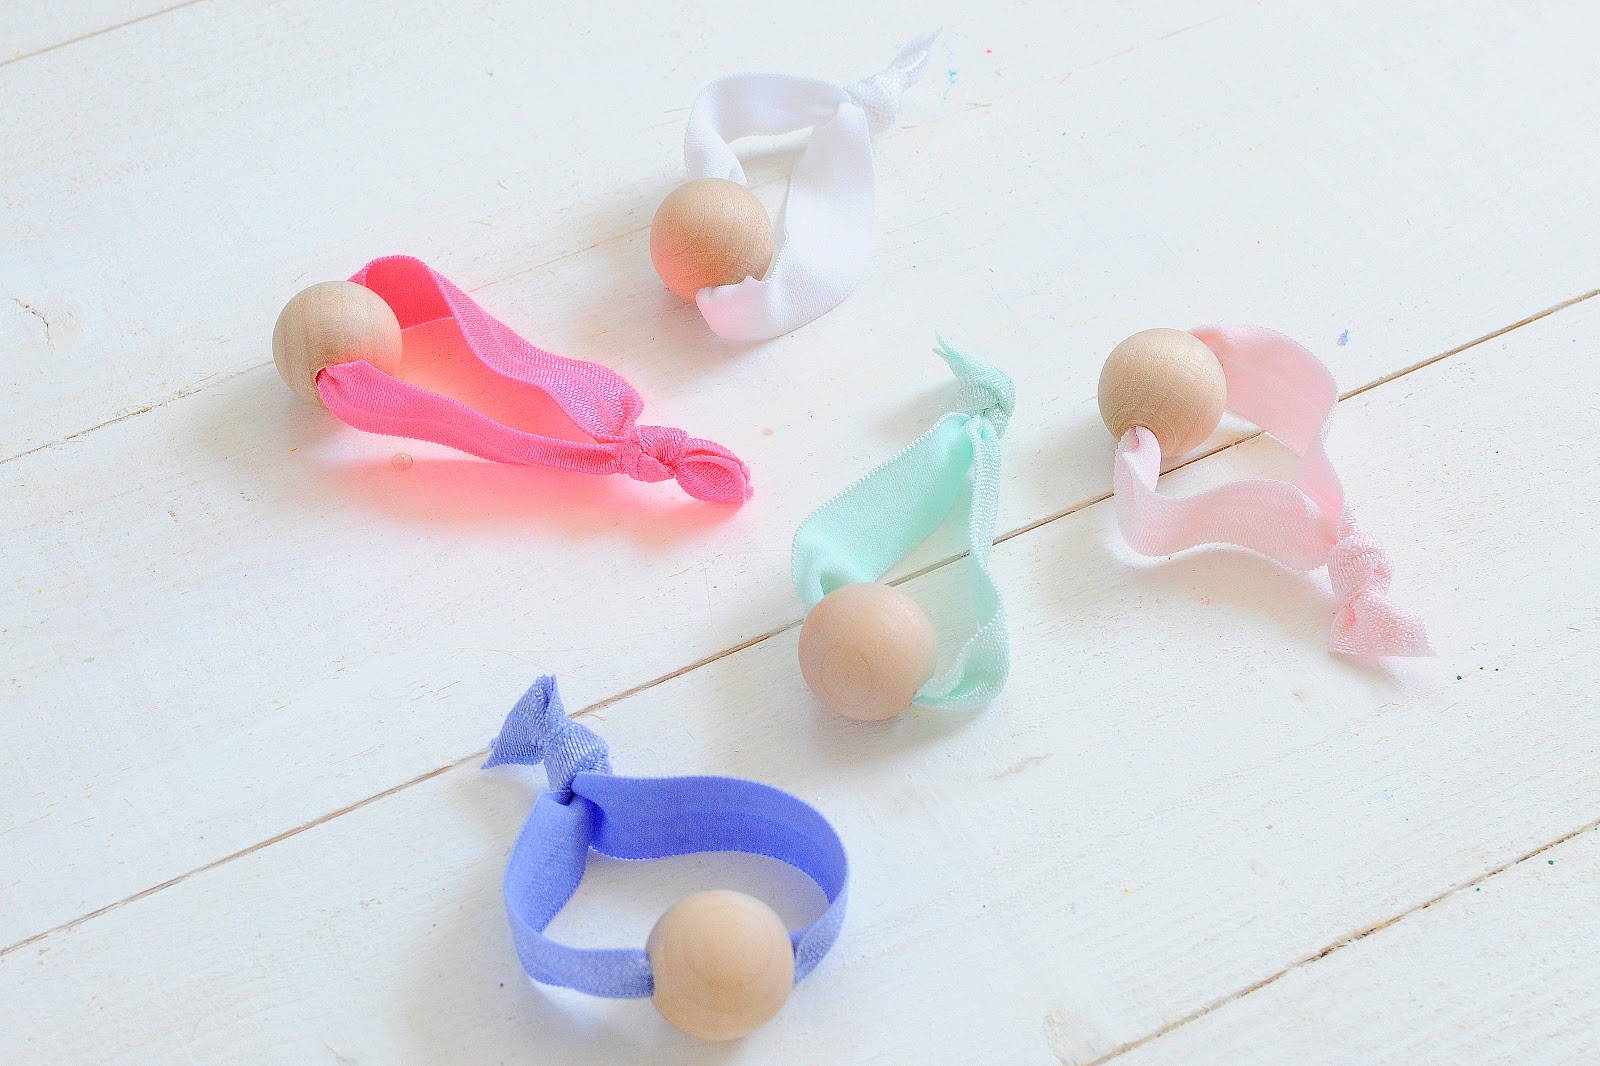
I always like ways to make simple, everyday items a little more unique… so I thought I’d try adding a wooden bead to elastic hair ties for a bit of contrast.  To make these, you’ll need:
 To make these, you’ll need:
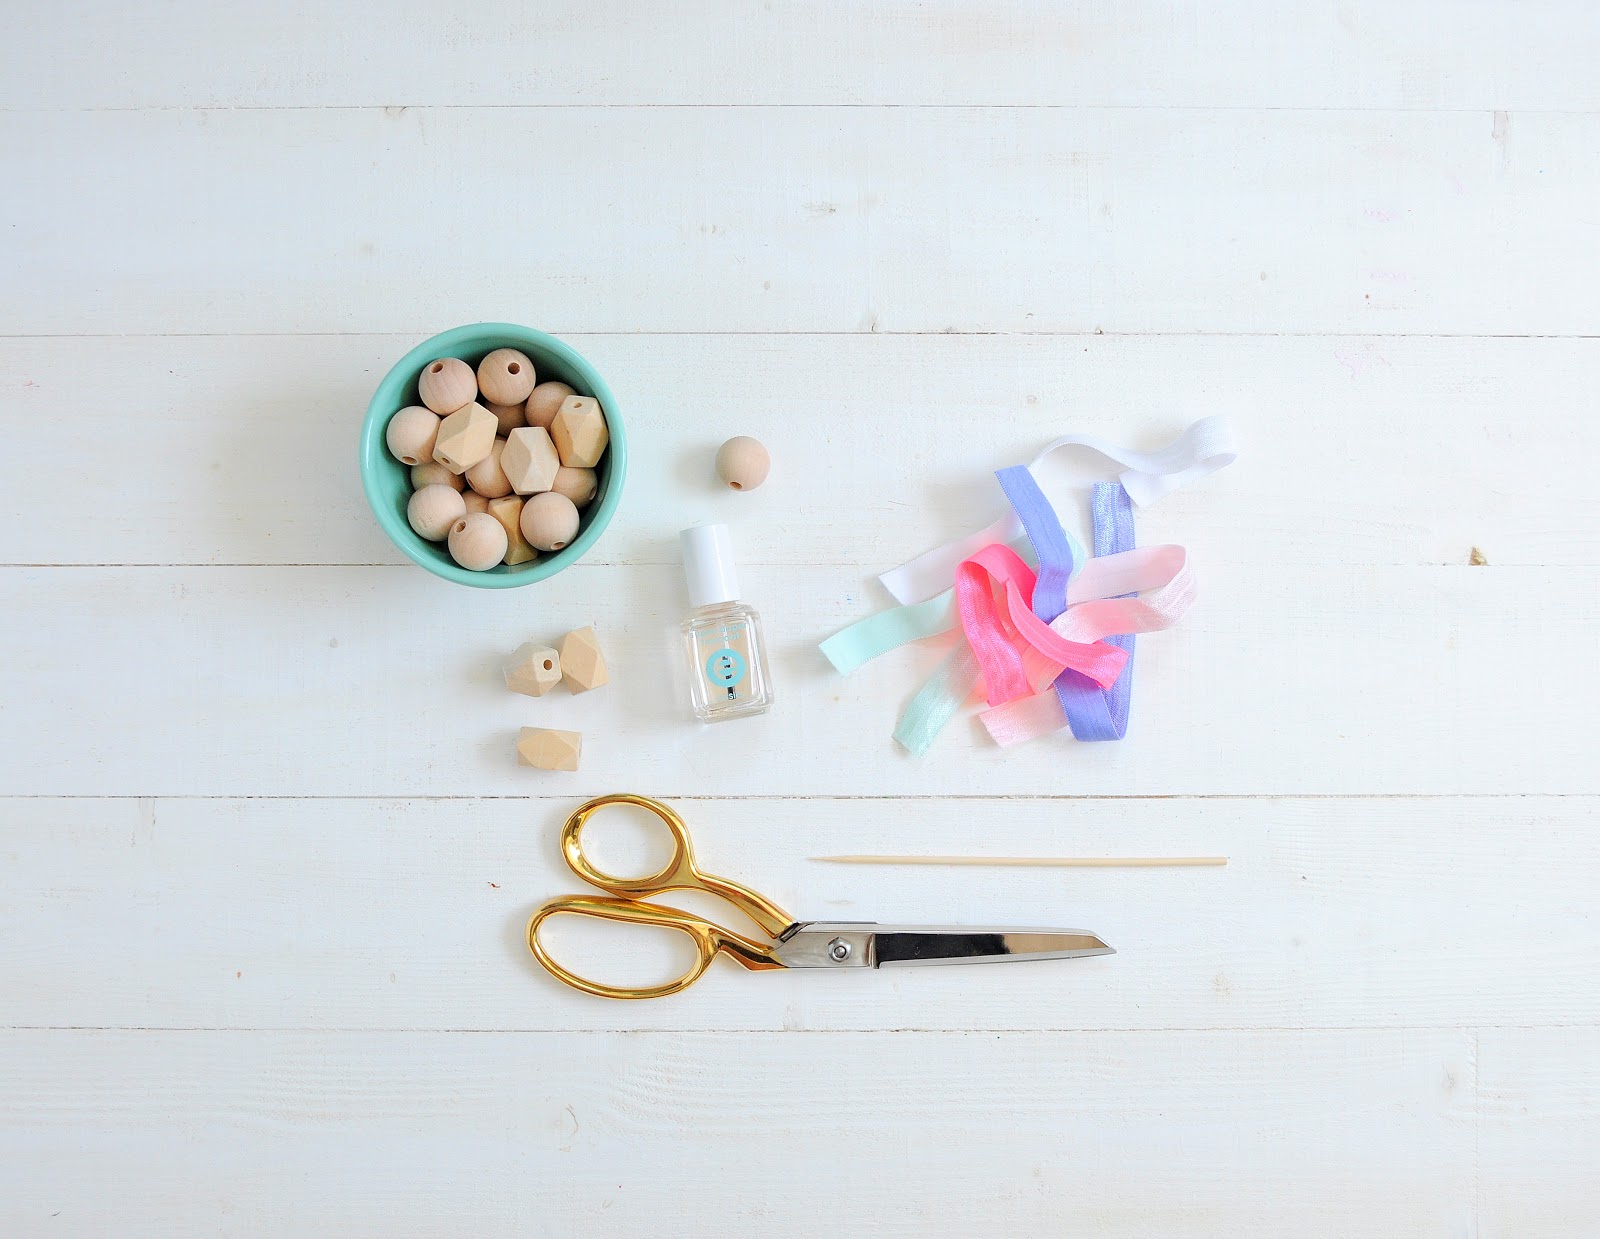
- fold over elastic in your favorite colors {found in many fabric stores or here}
- wooden beads
- clear nail polish
- wooden skewer {optional}
- fabric or other sharp scissors
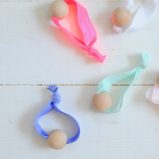
Start by cutting your elastic into 9 inch lengths.
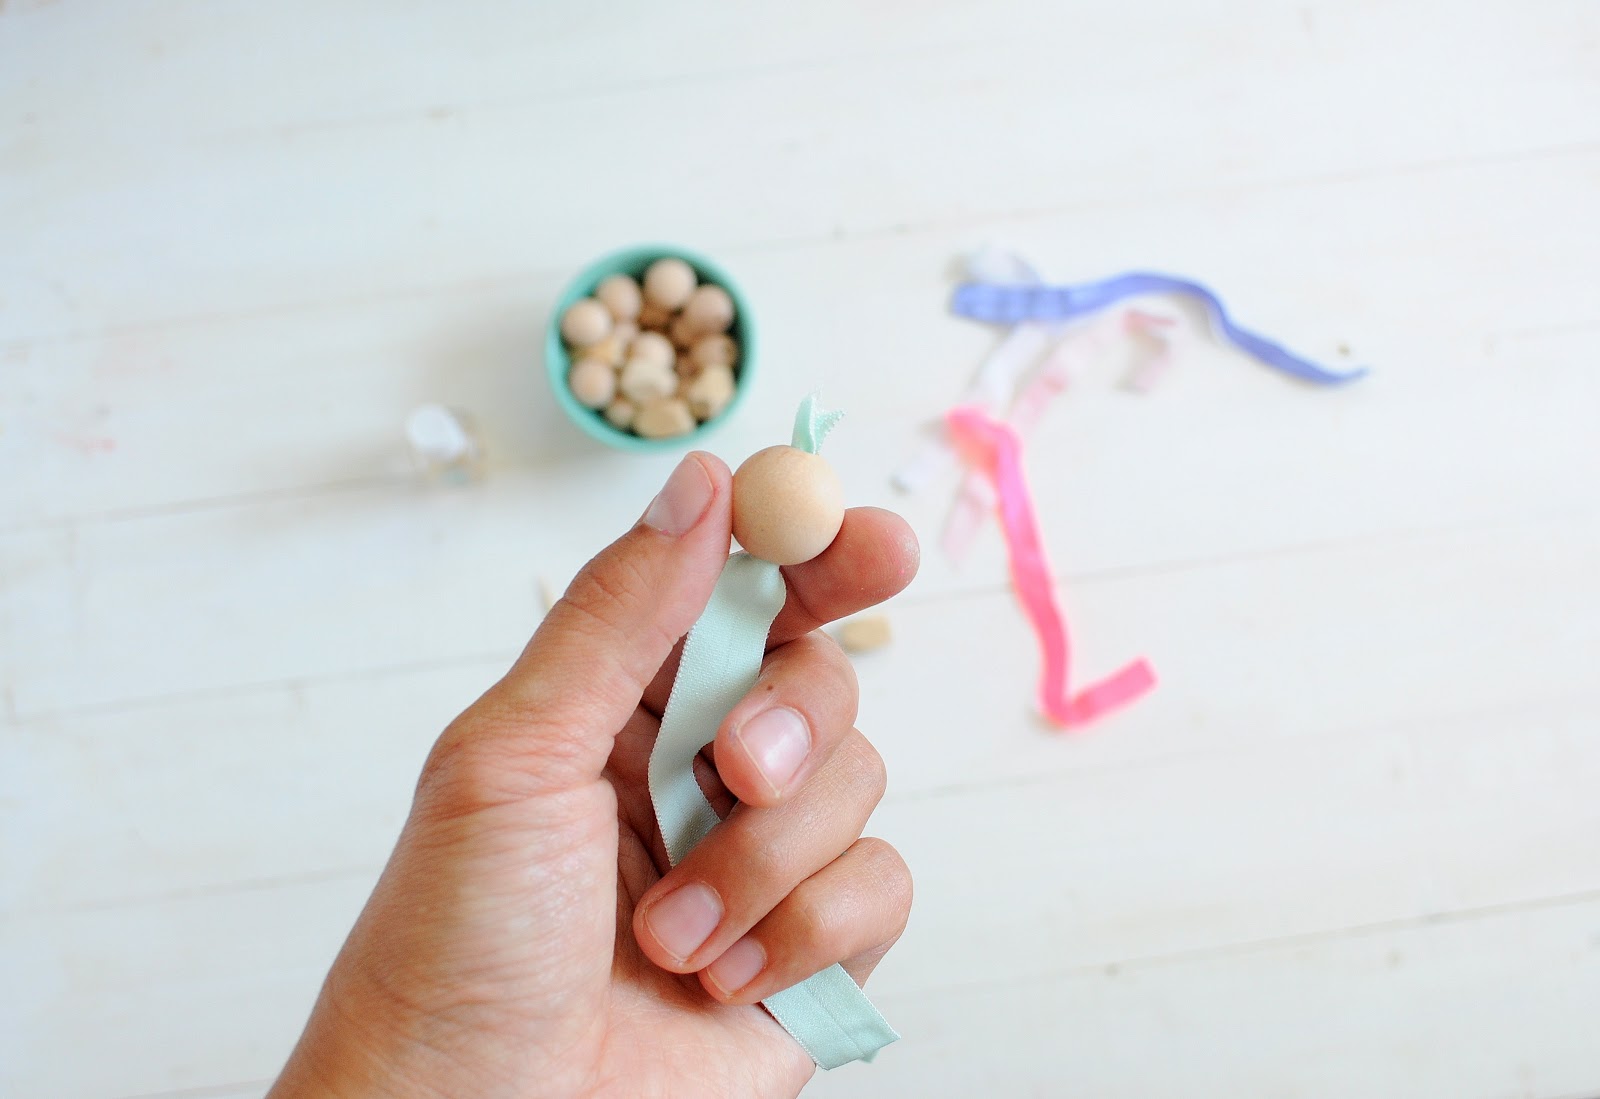
Thread a bead {or more if you like!} onto each piece. Use the wooden skewer to help poke the elastic through if necessary.
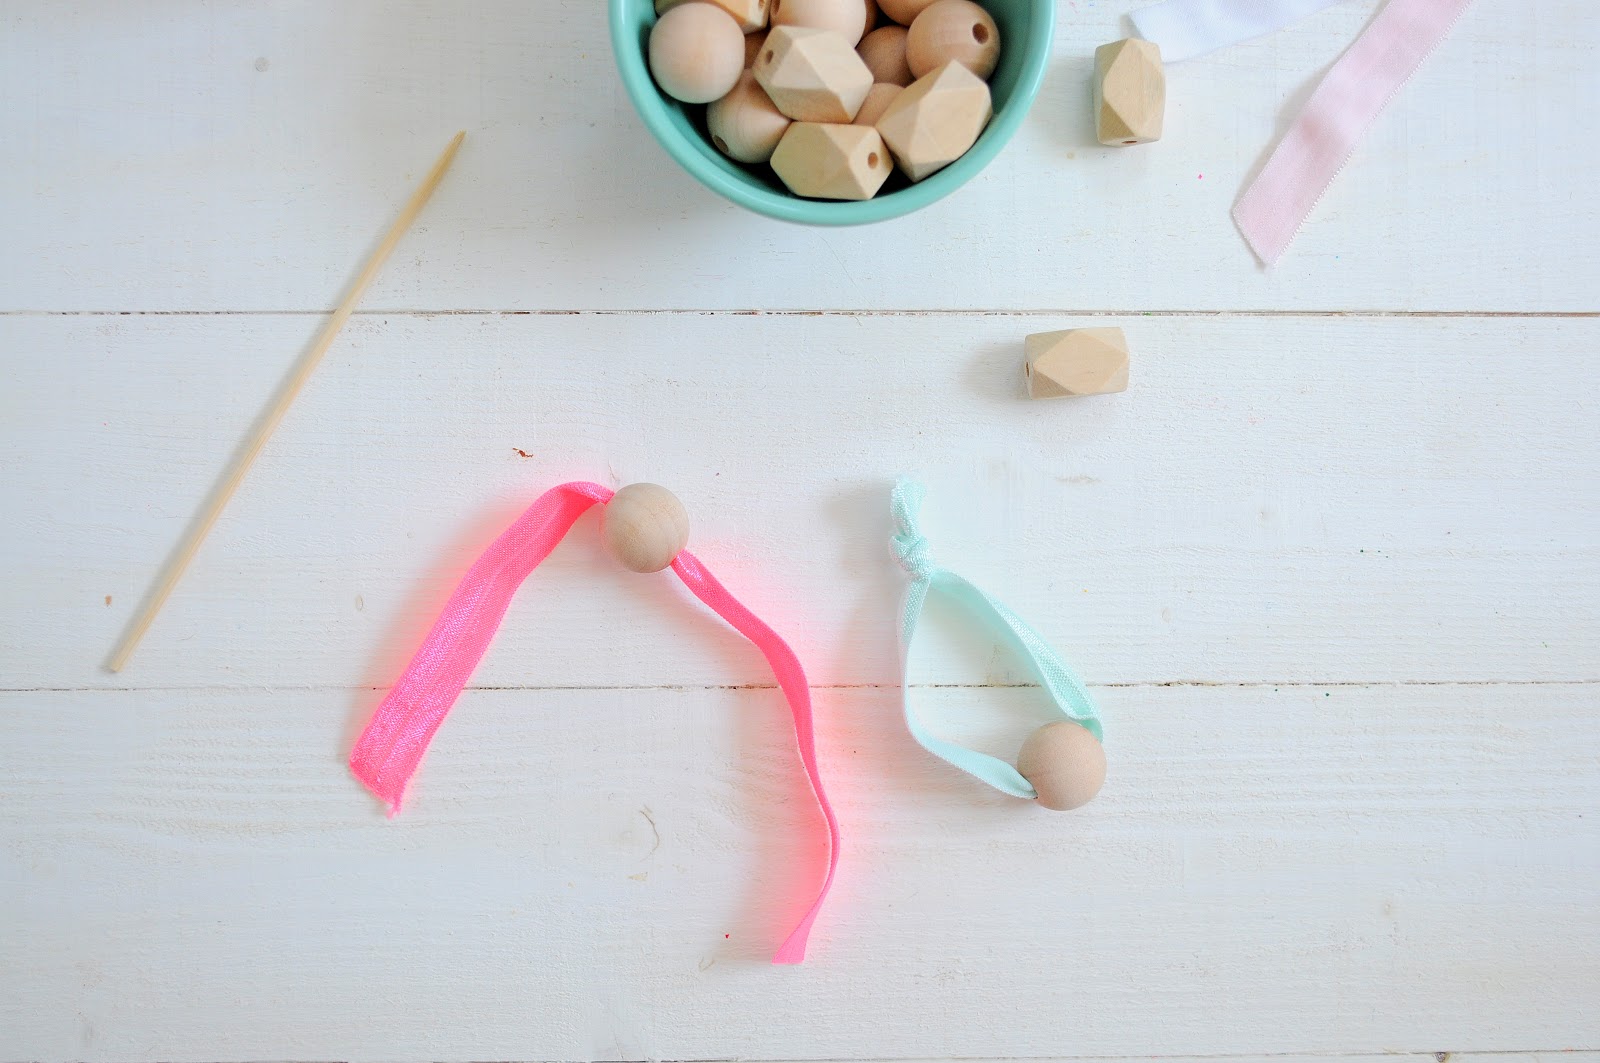
Knot each piece of elastic into a loop.

Trim any uneven or frayed edges of elastic with sharp scissors.
Seal the ends of the elastic with a tiny bit of clear nail polish to prevent fraying.

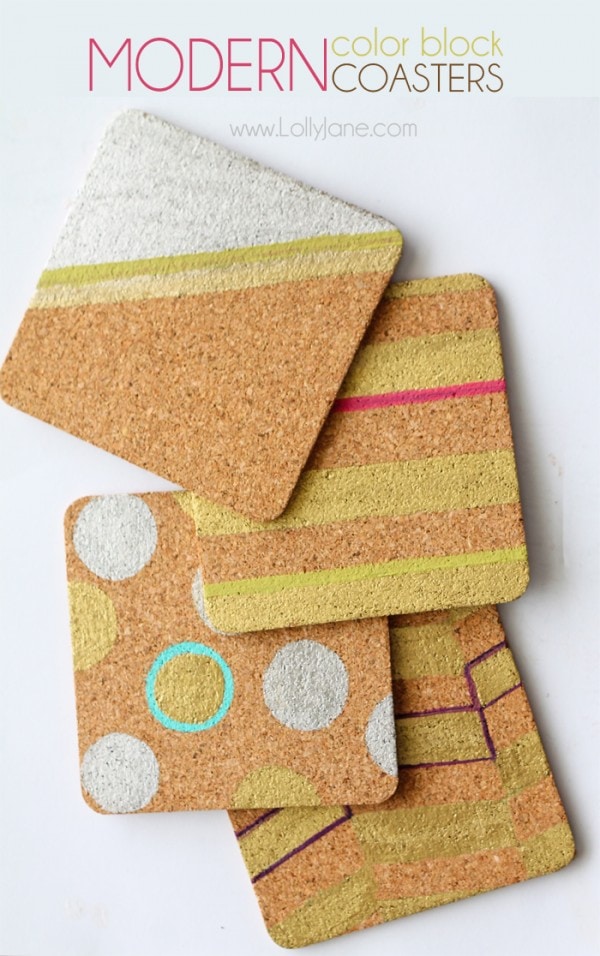
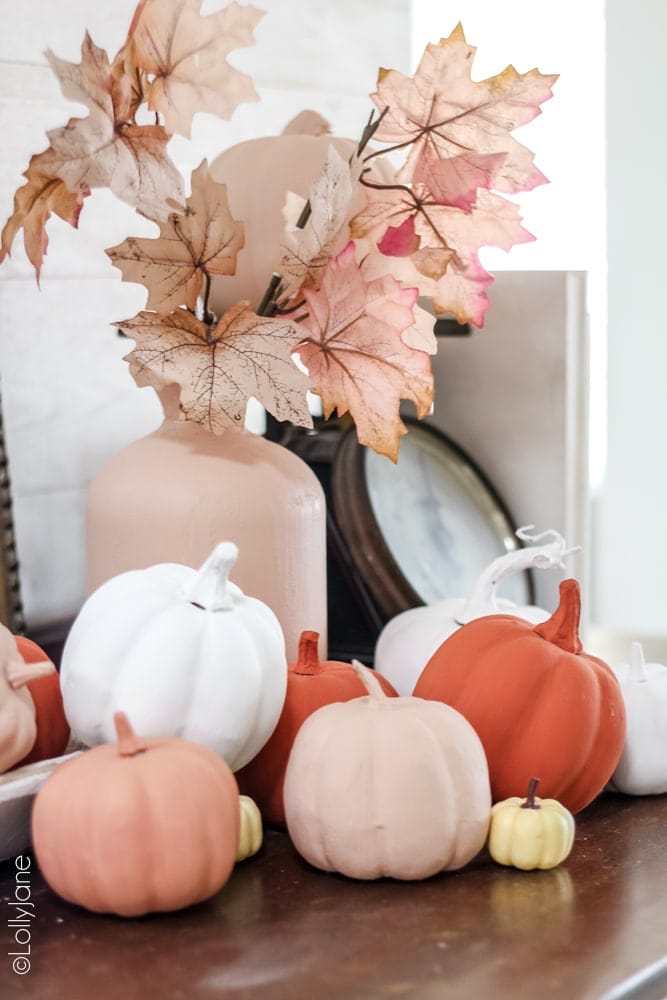
Keep these for yourself or gift them to friends! Check out more projects like my DIY Spin Art, Cupcake Ice Cream (with no ice cream maker) or my Chocolate Dipped Magic Shell Bananas:


Find me on bloglovin’ and my fave social media sites!
: : facebook
: : pinterest
: : instagram
: : twitter
Wooden Bead Elastic Hair Tie DIY
Materials
Instructions
- Start by cutting your elastic into 9 inch lengths. Thread a bead {or more if you like!} onto each piece. Use the wooden skewer to help poke the elastic through if necessary.
- Knot each piece of elastic into a loop.
- Trim any uneven or frayed edges of elastic with sharp scissors.
- Seal the ends of the elastic with a tiny bit of clear nail polish to prevent fraying.
Super easy to make, for sure. Thanks Ana, have fun 🙂
So cute! I want make this!