floral wood sign tutorial
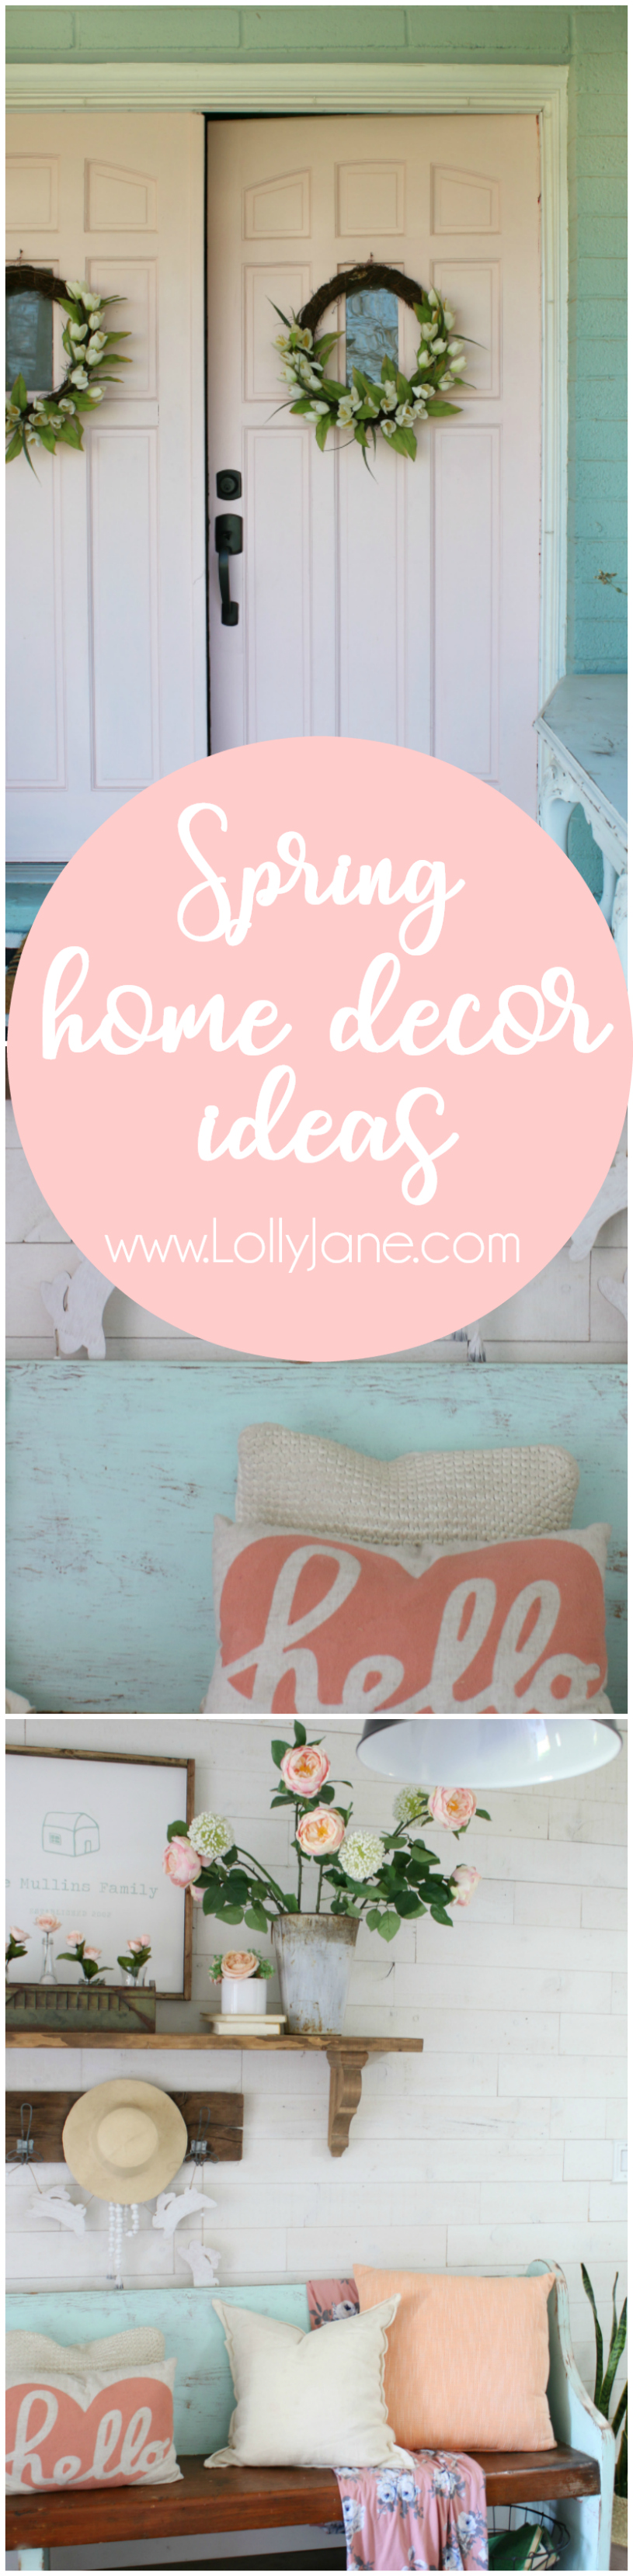
Such a fun spring mantel with a bonus floral wood sign tutorial. Includes a free cut file! Love this easy to decorate spring mantel home decor!
Hi friends! We finally found a contractor…well, a potential contractor! Hoping he works out so we can tackle our huge house renovation. Dreaming of a pitched roof with lots of white cabinets! Until then, I shifted my entryway around to create a spring mantel and freshened up my front porch. Plus we’re sharing a fun diy with you, how to make a floral wood sign tutorial. We’re excited to be apart of Your Marketing BFF Home Decor Craft and DIY Tour, welcome if you came from Tana’s cute site!

Come on in!

You may have noticed my doors are pink since you last saw them red. What can I say? Pink was calling my name!
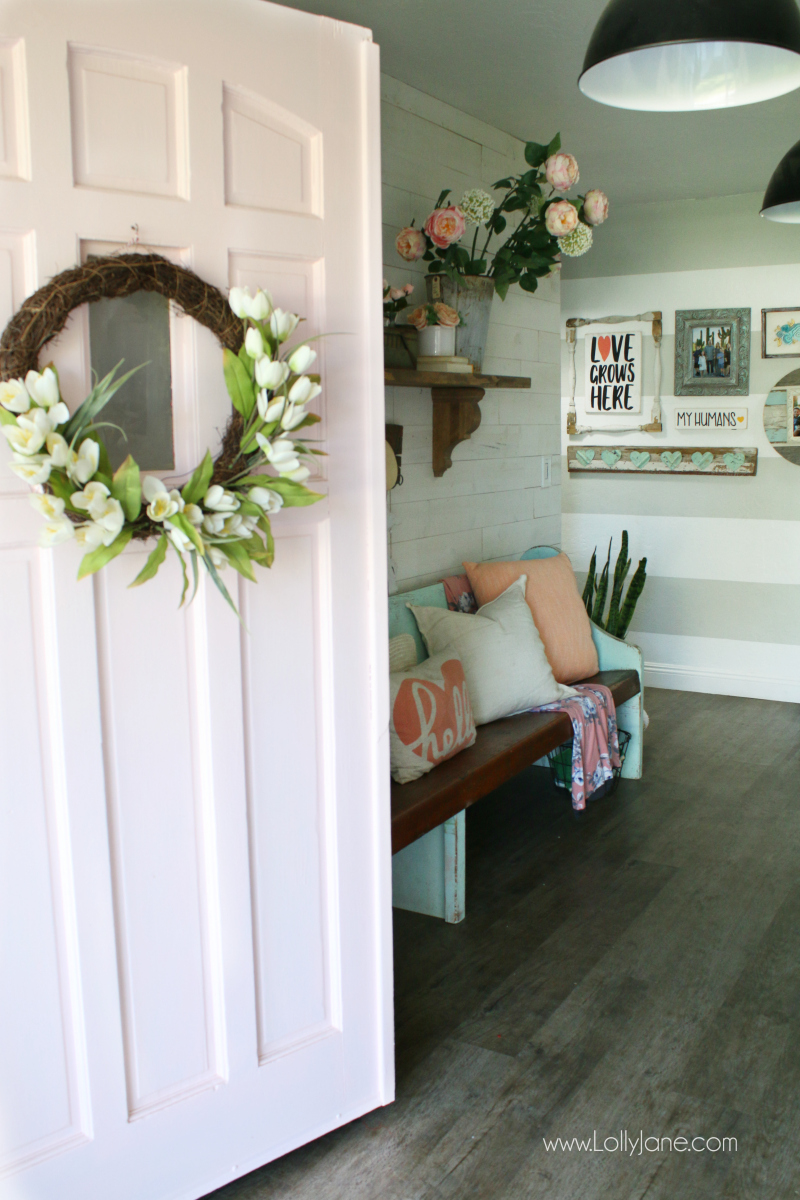
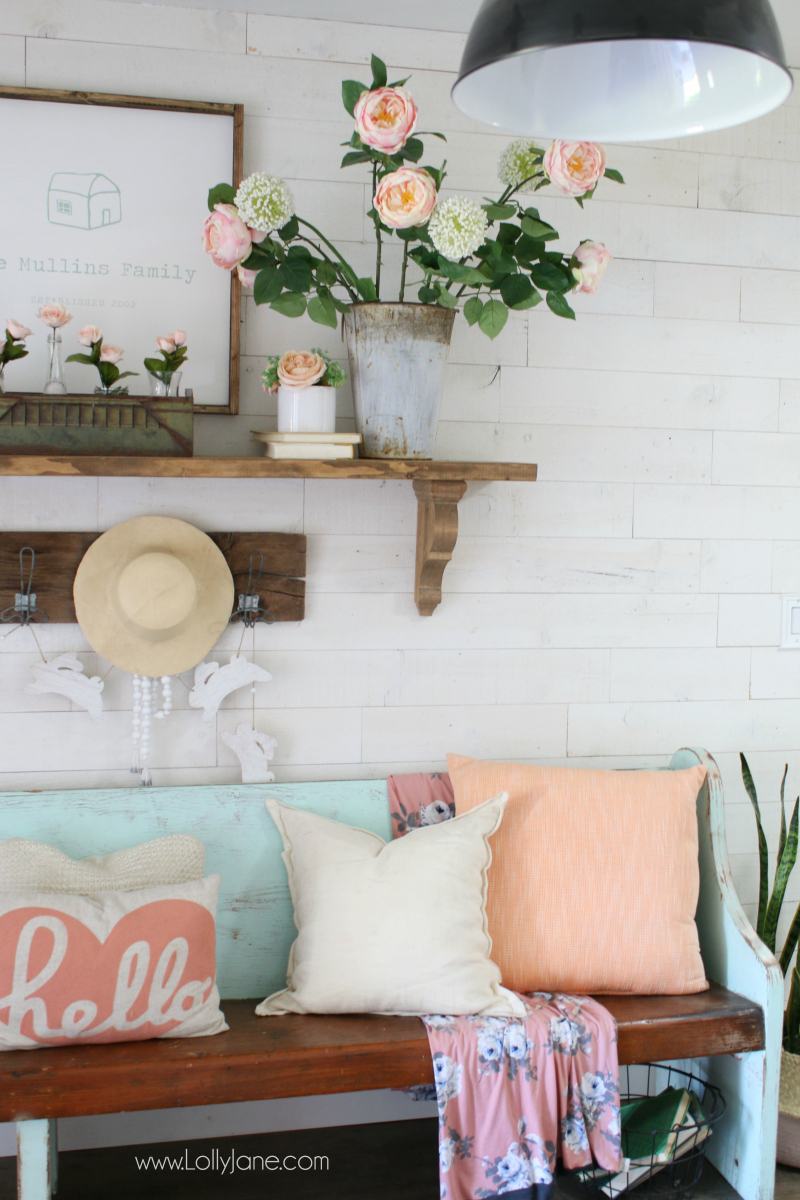
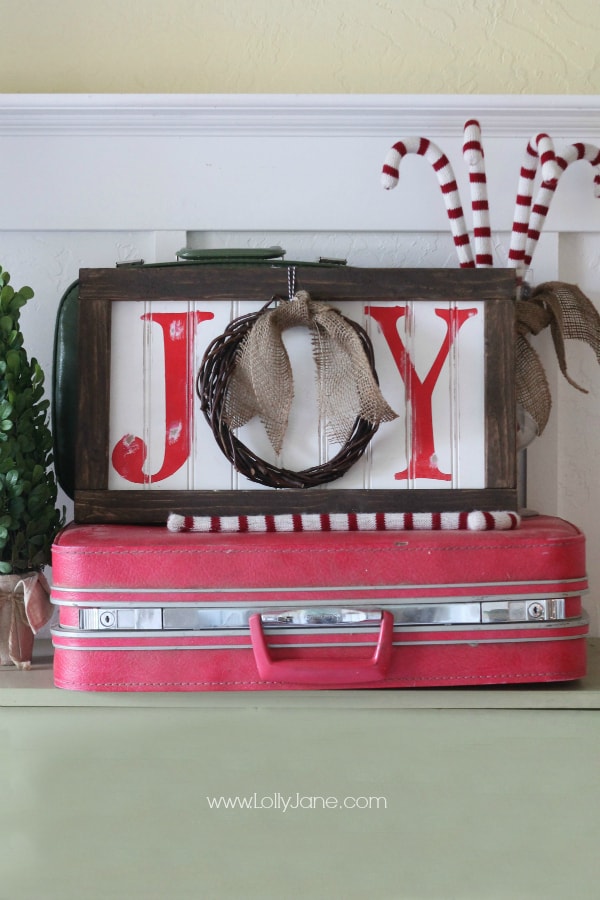
I love flowers. But not fresh ones, because they die and get slimy and I’m lazy about throwing them away. These giant blooms are from WalMart and I love them paired with this fun thrifted find!
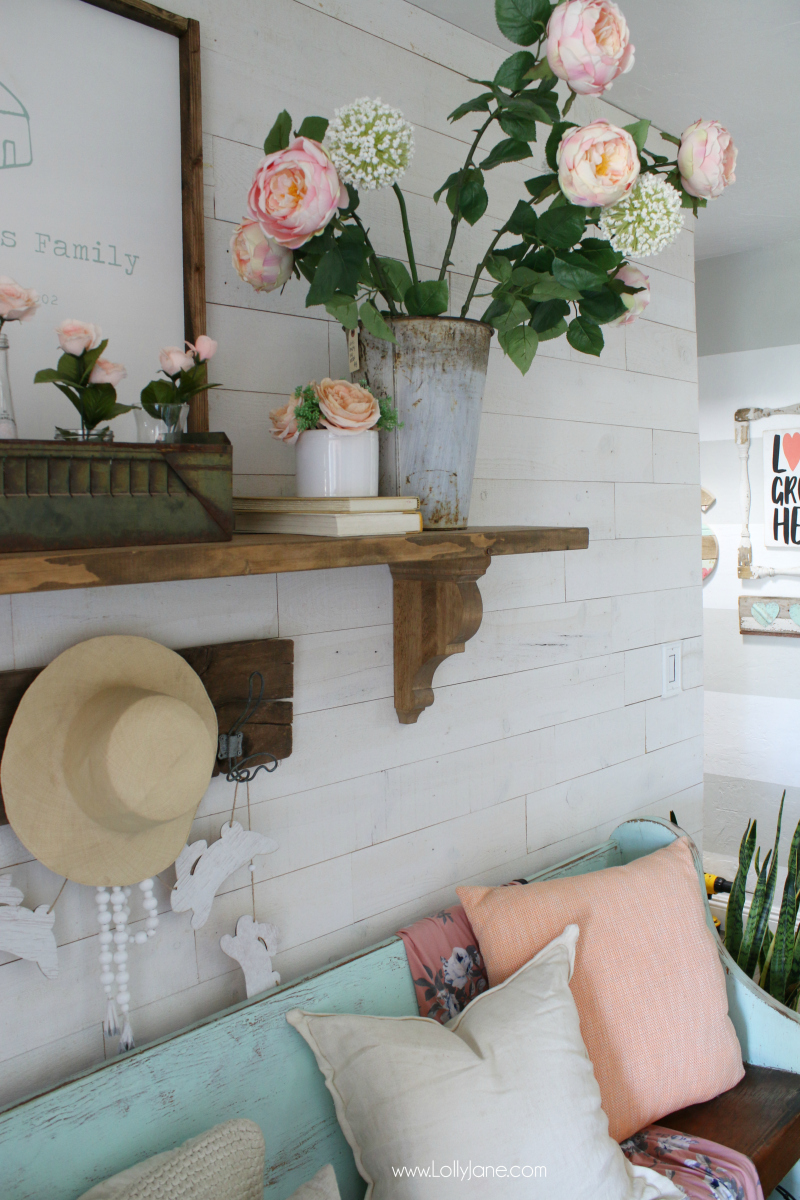
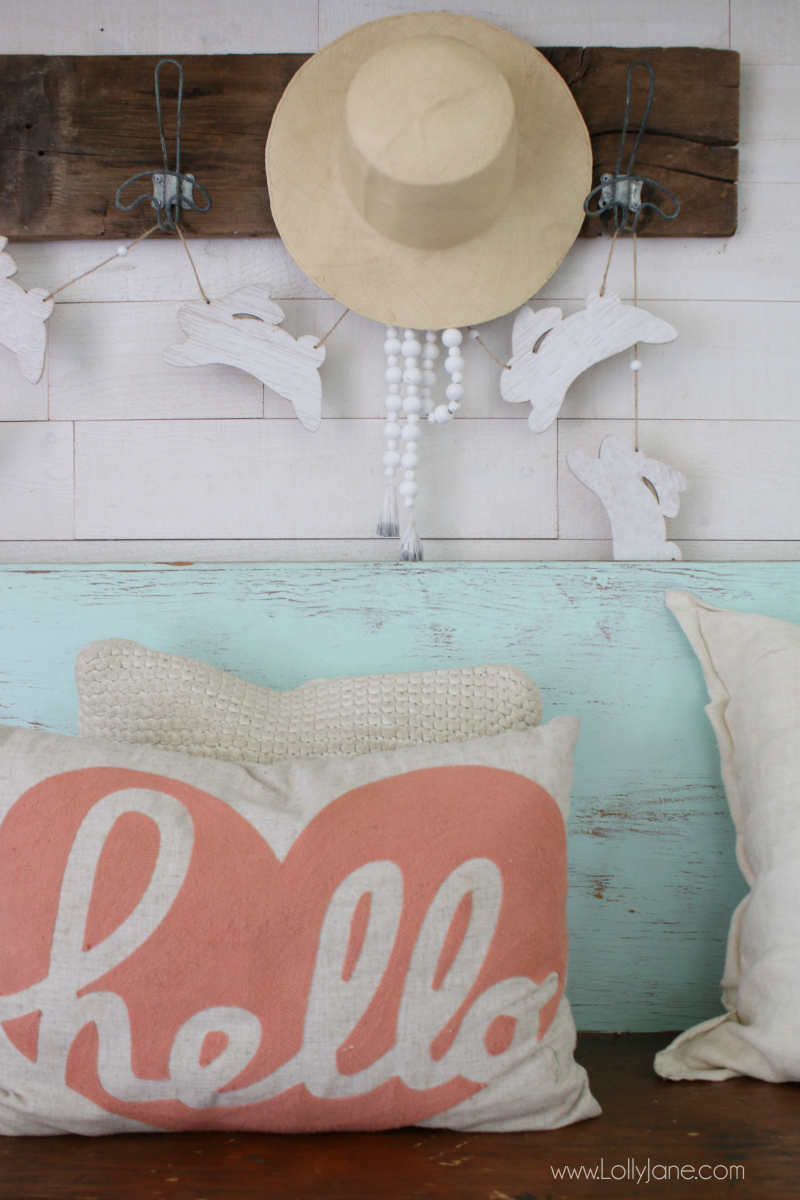
I added my wood bunny garland from Target last year to our wood shelf.
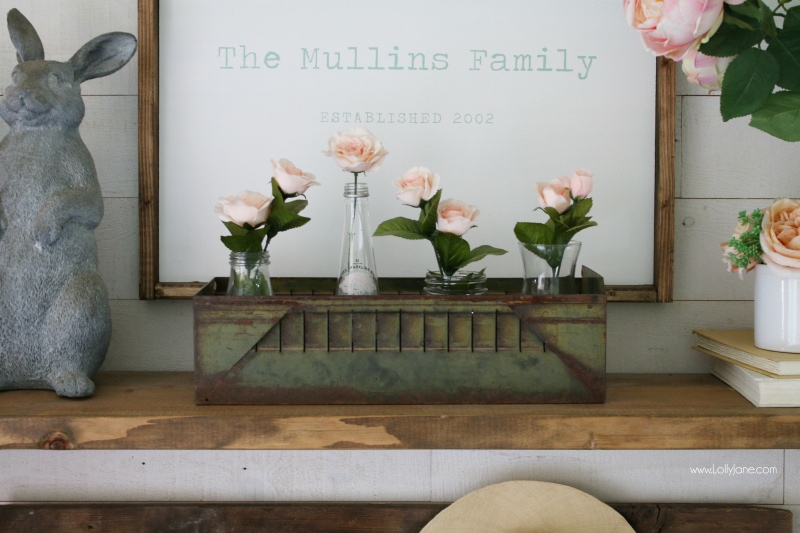
We added lots of faux flowers in glass jars to bring some pink inside. I love the green metal thrift store box too.
Collected spring pillows from WalMart and AtHome add instant spring decor to this space! Our floral Cozy is our fav!
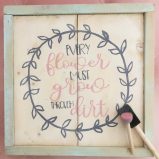
Here’s the fun floral wood sign tutorial we promised you! It’s a fun little addition to our spring mantel decor.
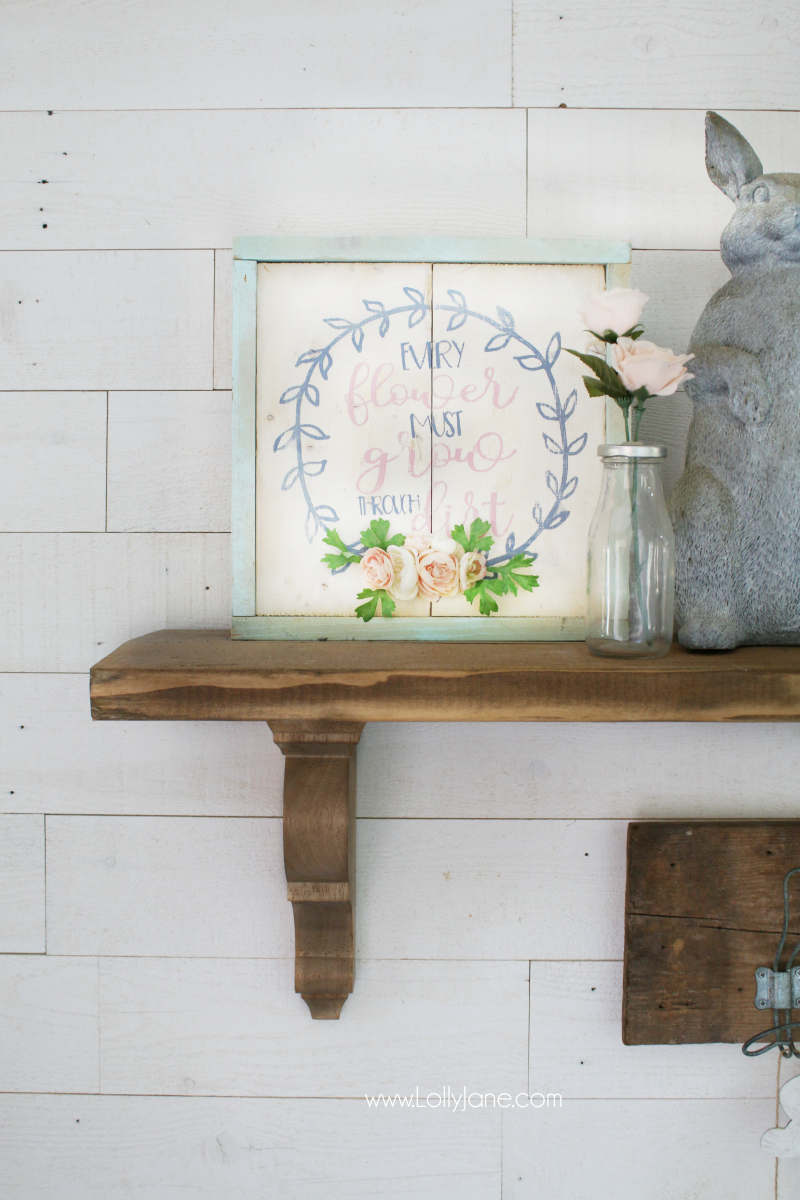
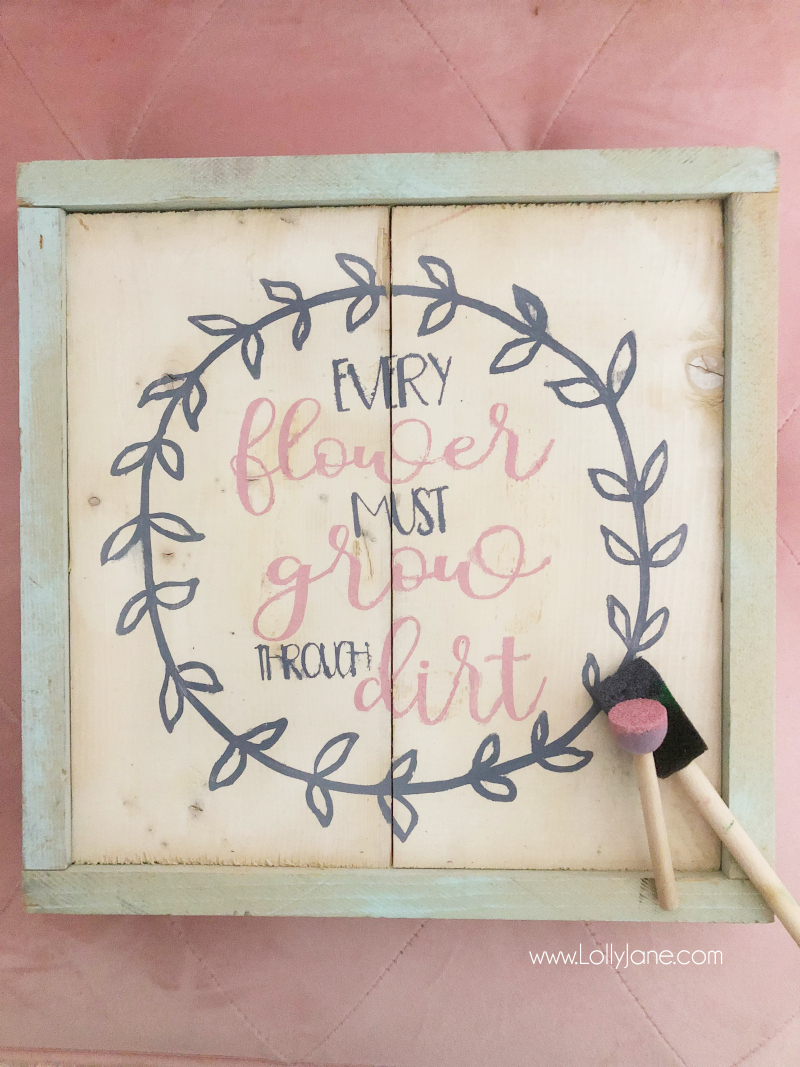
Floral Wood Sign Tutorial – How to make a floral wood sign.
We’ve shared several tutorials on how to make wood signs throughout the years. For this one, we’re using an old frame we had lying around and upcycled it with a fresh stencil design we created on our vinyl cutter.
Floral Wood Sign Tutorial – Supplies You’ll Need:
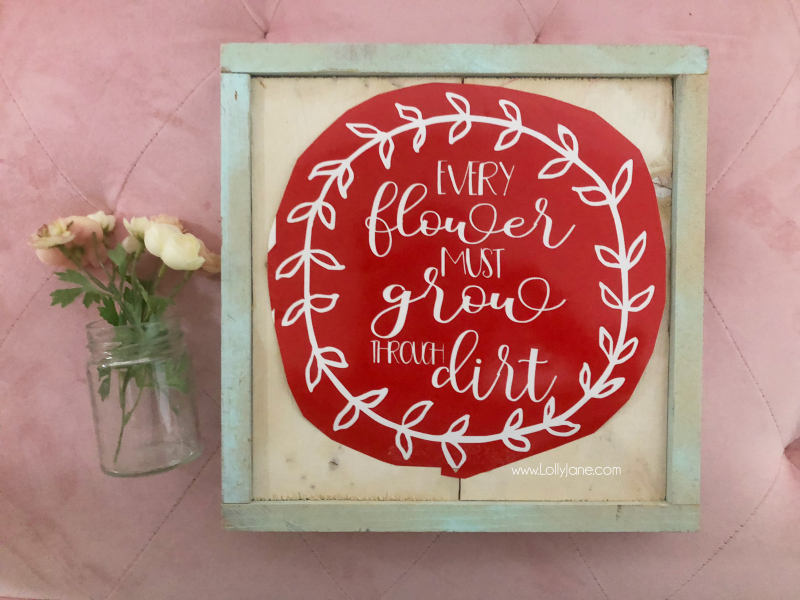
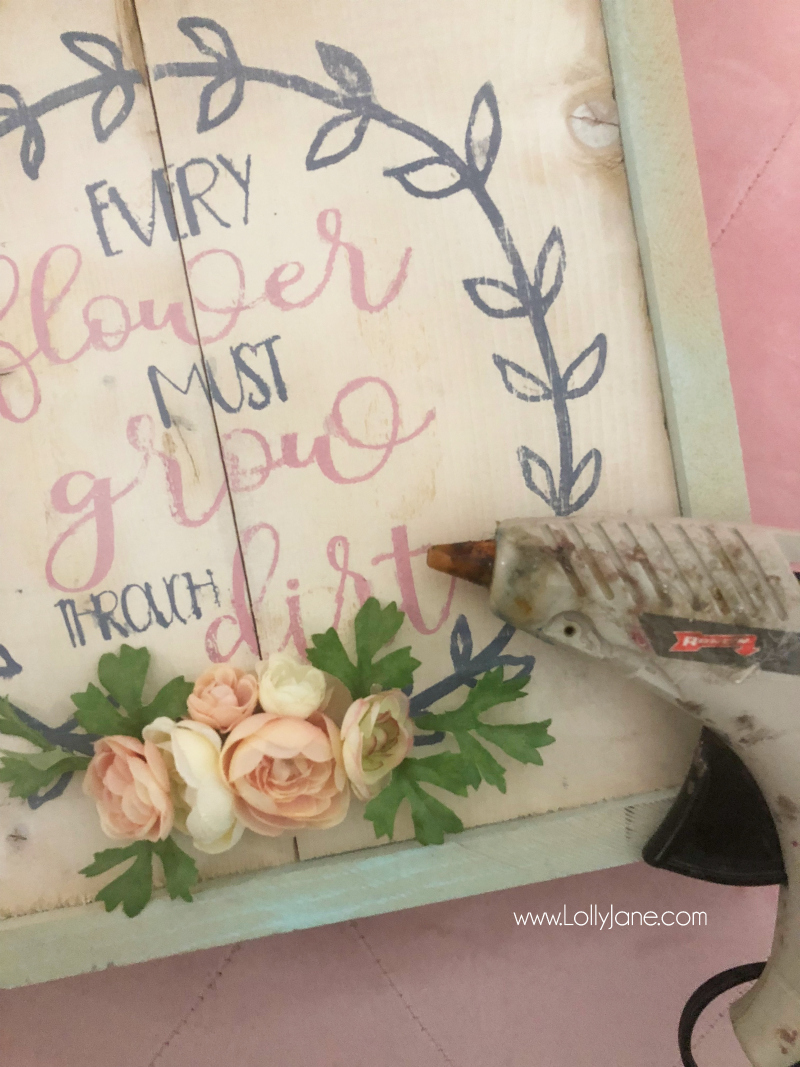
You’ll need an every flower must grow through dirt stencil, paint (we used DecoArt French Gray + Pink Vintage Effect), paint brushes, sanding block, faux florals and a glue gun.
Floral Wood Sign Tutorial – Directions:
Cut stencil.
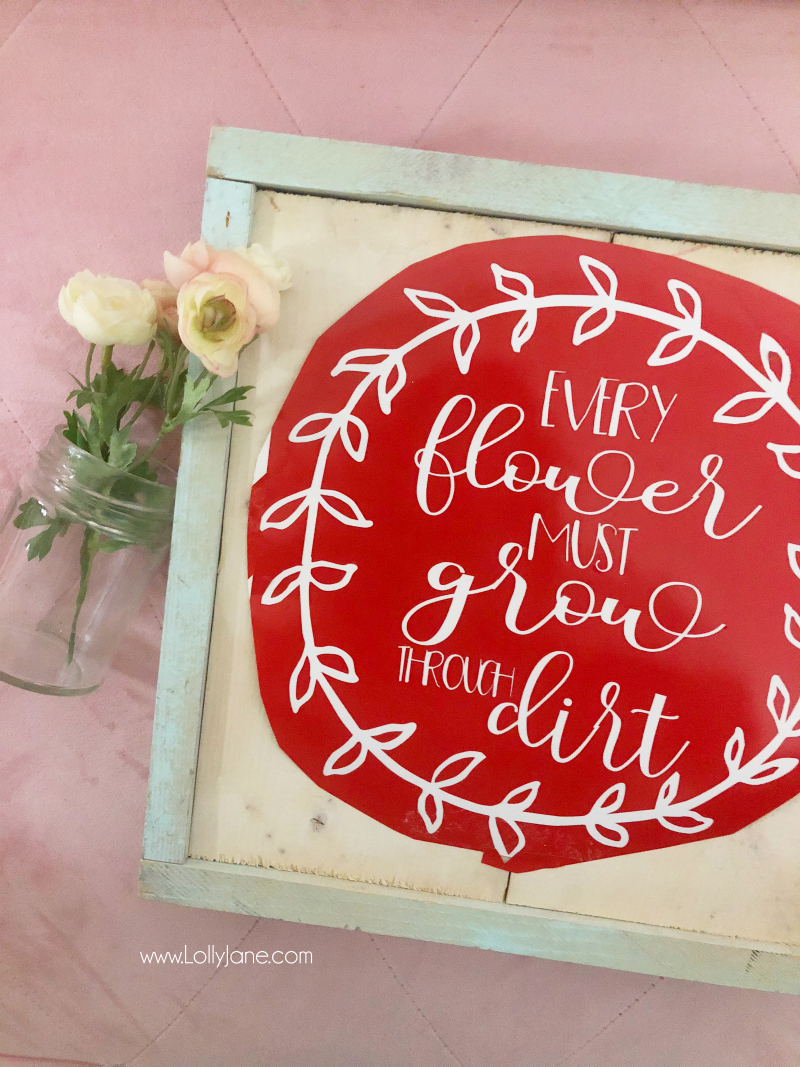
Paint inside stencil with preferred paint choices.
Lightly sand.
Hot glue flowers into place.
PIN FOR LATER so your friends can decorate for spring too!
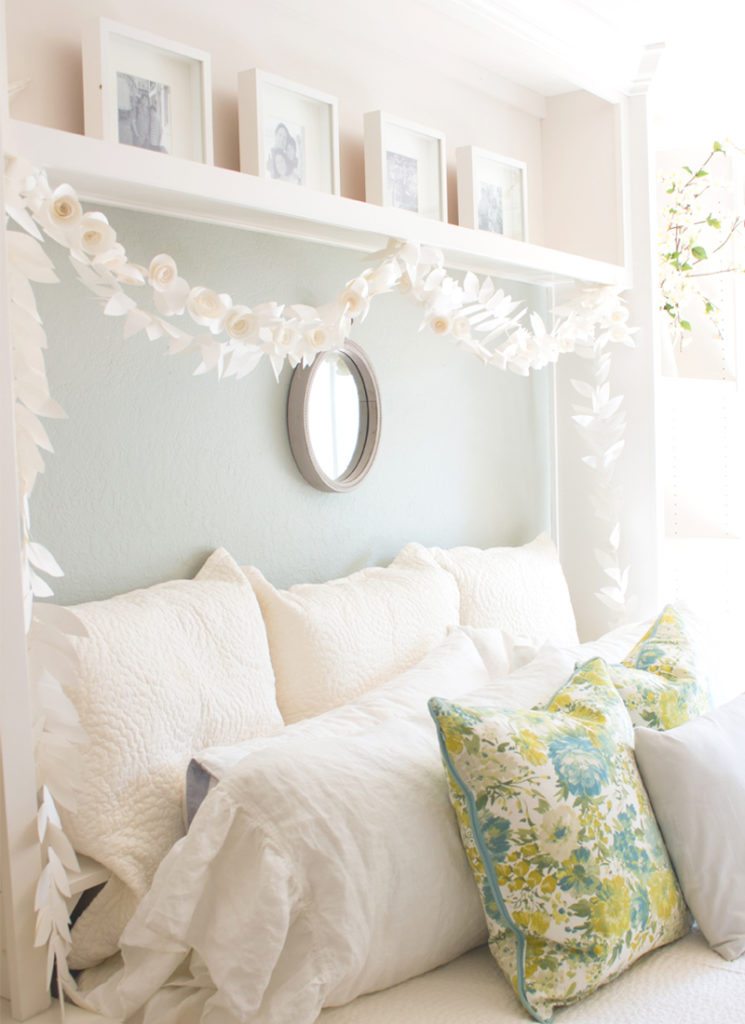
Check out Janine from Happy Happy Nester and her lovely DIY Paper Garland Rosettes as the next home on the tour.
Visit more of our pals with their happy spring decor and easy how-to’s! xo


Floral Wood Sign Tutorial
Materials
Instructions
- Cut stencil.
- Paint inside stencil with preferred paint choices.
- Lightly sand.
- Hot glue flowers into place.
- Ta da!


Hi Naomi! It’s Cupcake Pink from Behr 🙂
What color pink did you use on the front door. LOVE IT!!!!!
Wow, it was perfect, I loved it. Congratulations on creativity, and thank you for sharing!
Thanks so much, Janine! It was fun to make! xo
Kelli and Kristi,
I LOVE your project! What a great idea adding faux flowers, it just brings this sign to another level that I have never seen anywhere else. Love the colors and flowers and how beautiful they are!
Thanks so much for joining the blog hop!