floral deer head pallet art
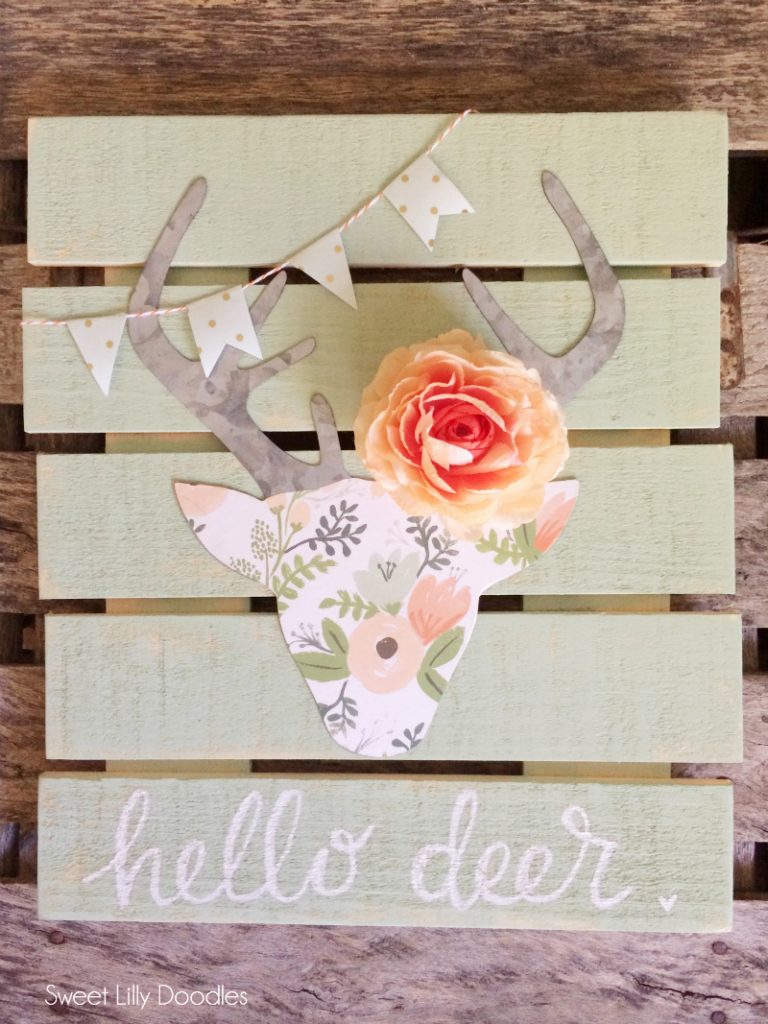
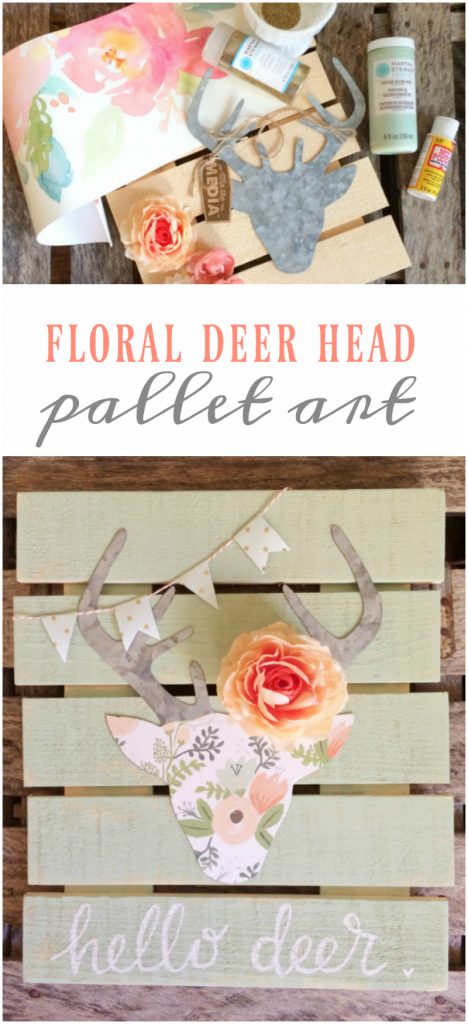
Hello! It’s Megan Ballarini again, from Sweet Lilly Doodles shop! I’m going to show you how to make this easy floral deer head pallet art, no wood cutting involved! Two things are in right now- wood signs ( trust me on this ????), and deer. Deers are still in, right? Well I think they are! Hopefully you’ll adore this easy DIY deer head silhouette craft! I just love this Rifle Paper Co floral covered deer art, do you?
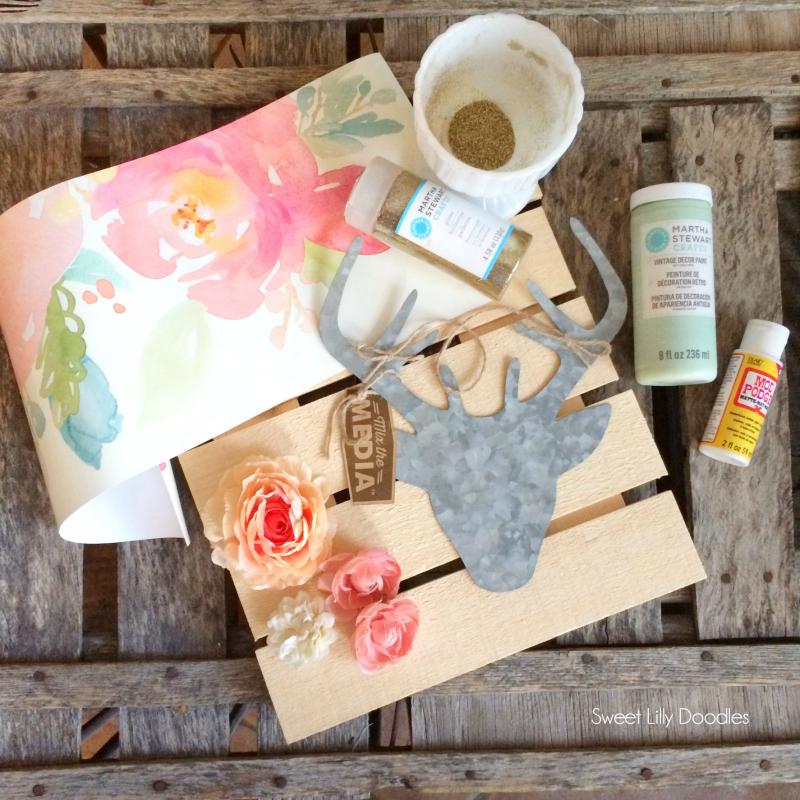
Supplies:
• ready made pallet sign from craft store
• deer head
• decorative paper
• paint for sign
• mod podge
• sandpaper
• flower
• glitter
• paint pen
Wood signs are easy to make, but you might be intimated by a wood saw, or maybe you don’t have a saw. Or maybe you don’t want a saw! Well your problem is solved! I saw this already assembled “pallet” sign at Joann’s and and then saw the zinc deer head there too, and naturally thought they should be united! To prep the sign, I lightly sanded it just enough so I wouldn’t get a splinter if I touched it. Then roughly applied my paint. I used a Martha Stewart brand chalk paint in the color Antique Sky. I wanted it look a little rustic and distressed so I didn’t apply it very evenly.
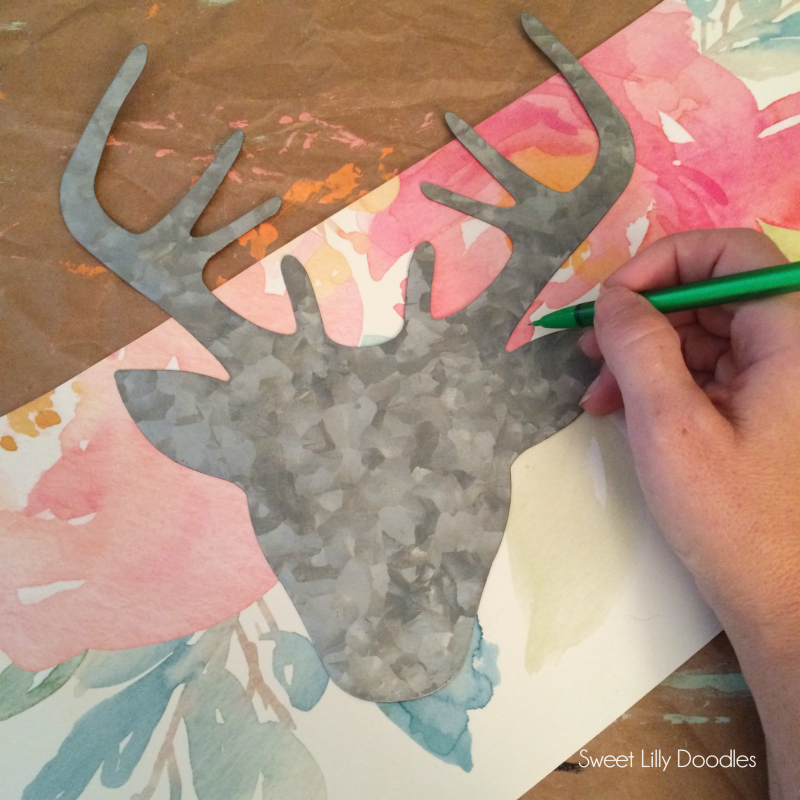
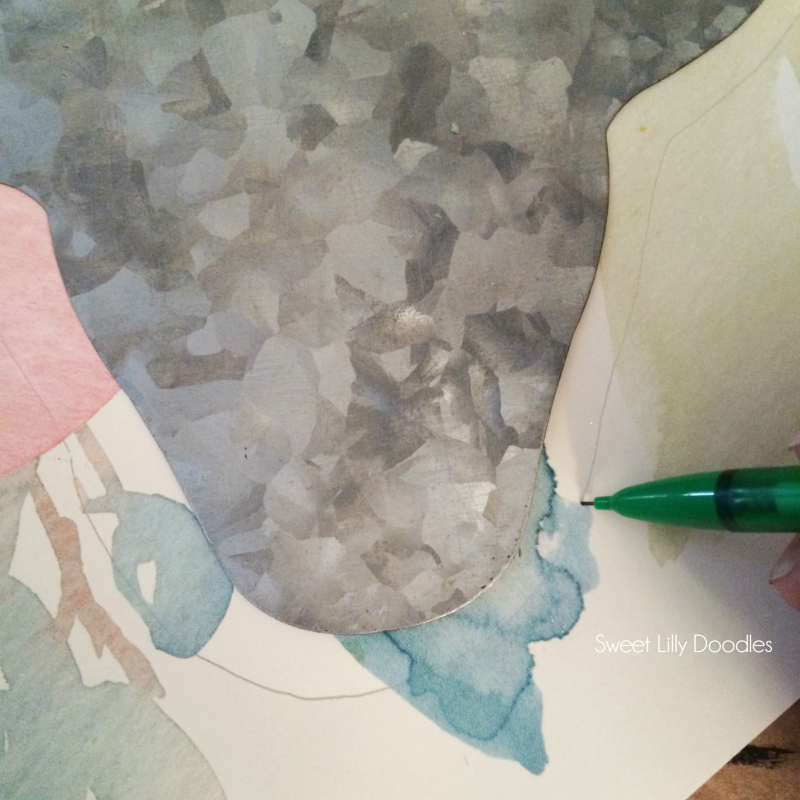
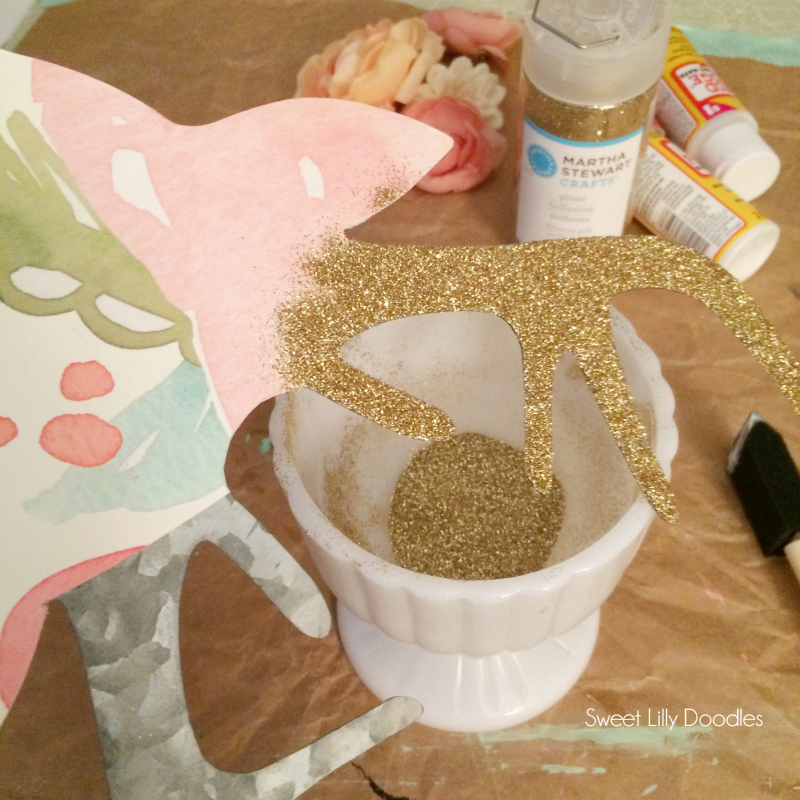
Apply a thin even layer of glue on the head careful to get the glue all the way to the edges, and place the paper on top. Line up the the precise bit at the top. Use a clean dry paper towel to firmly smooth and rub the paper down. Then flip the head over and snip the paper up to the edge, all the way around the head. This is going to help relieve the tension of the paper around the curves so it stays smooth. Wrinkles are the devil in decoupage!
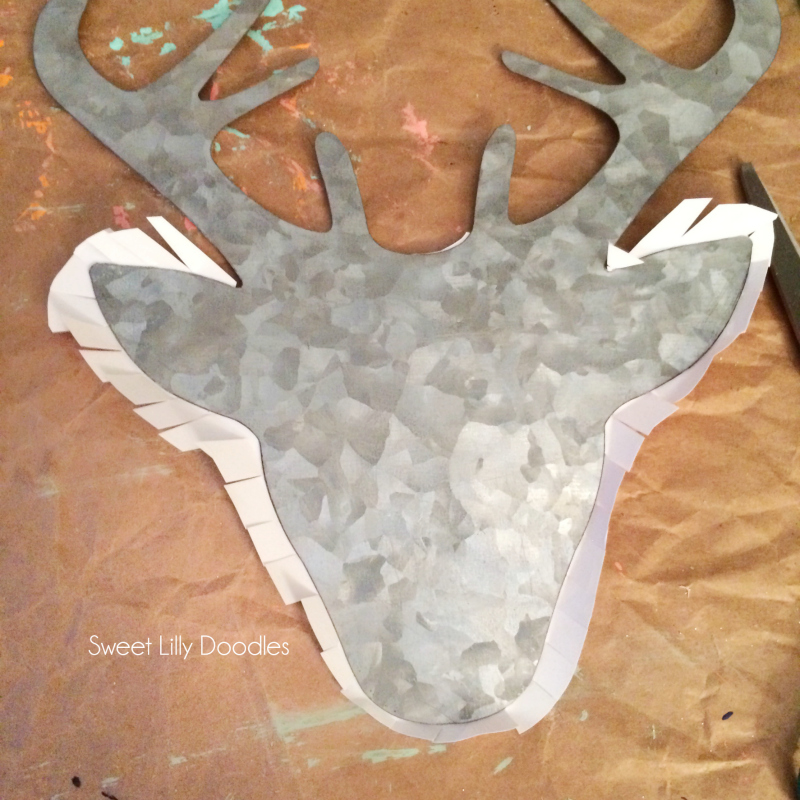
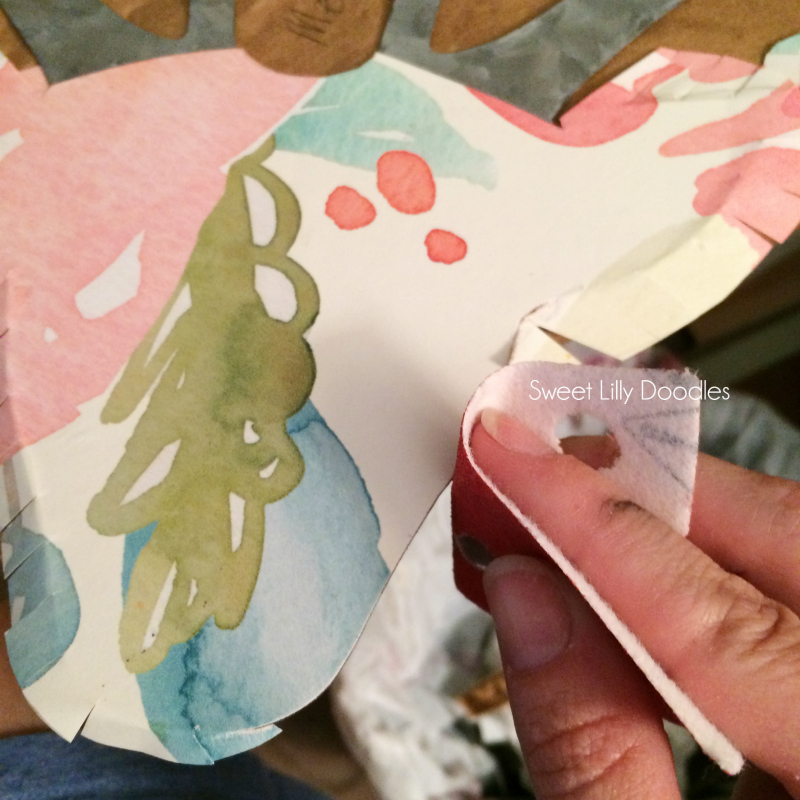
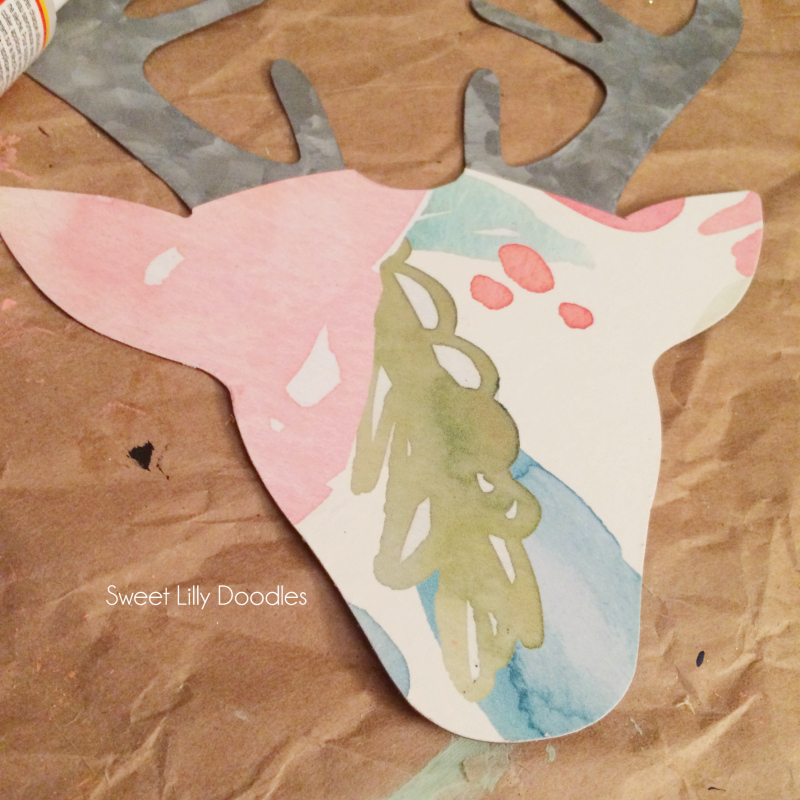
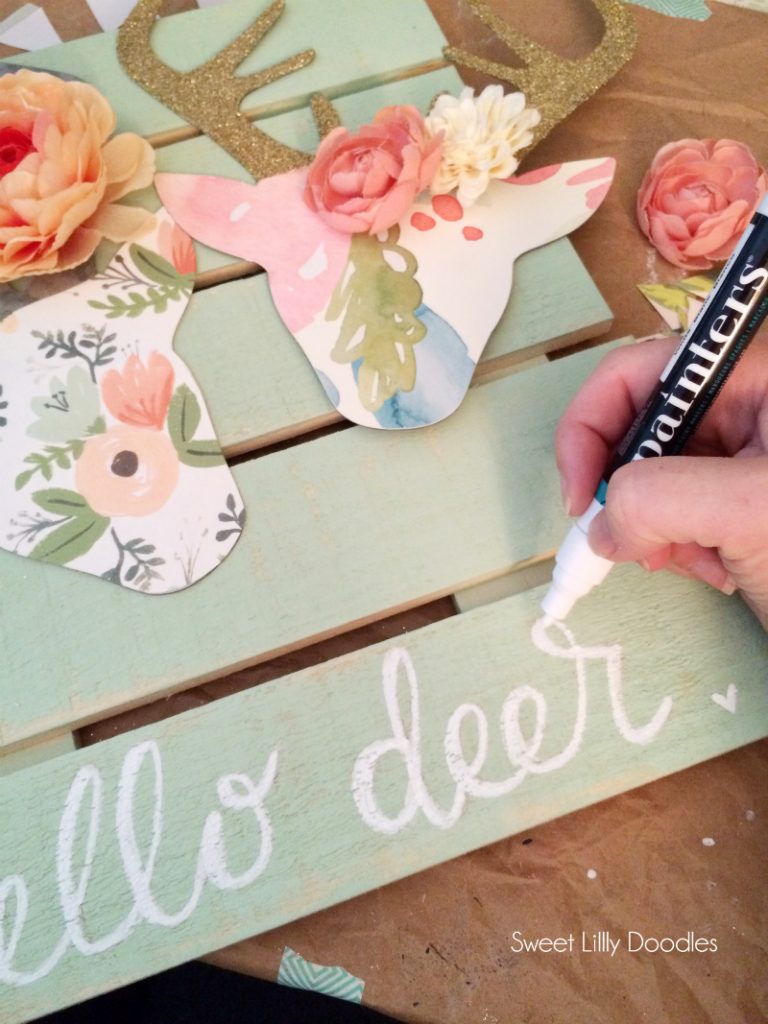
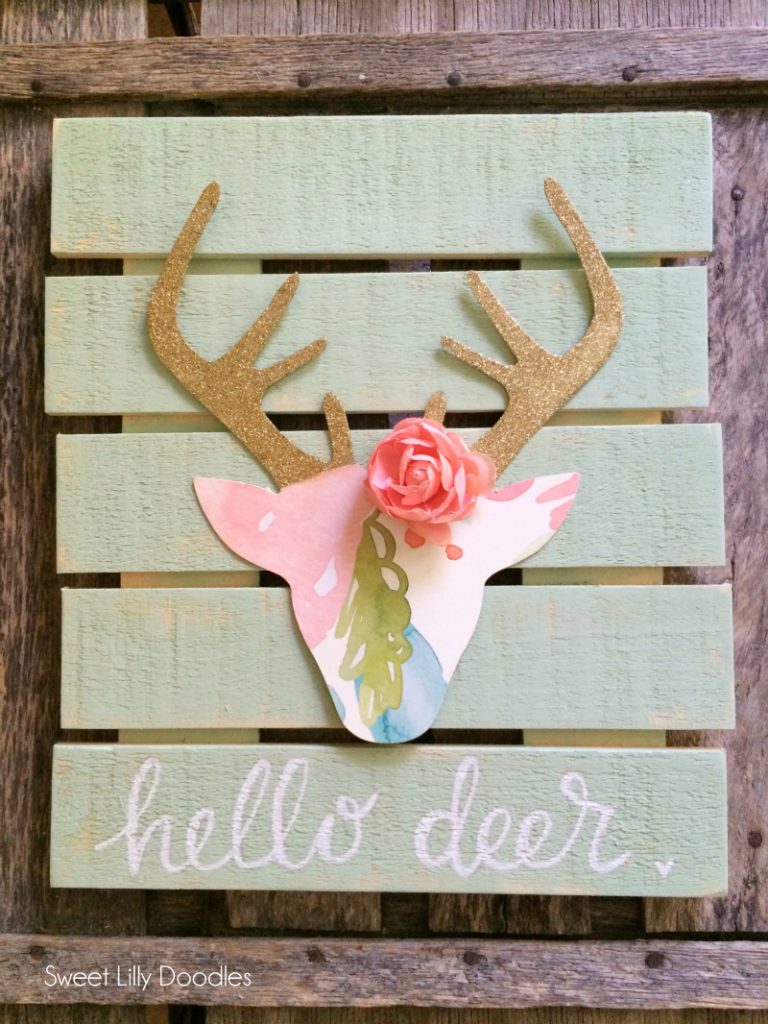
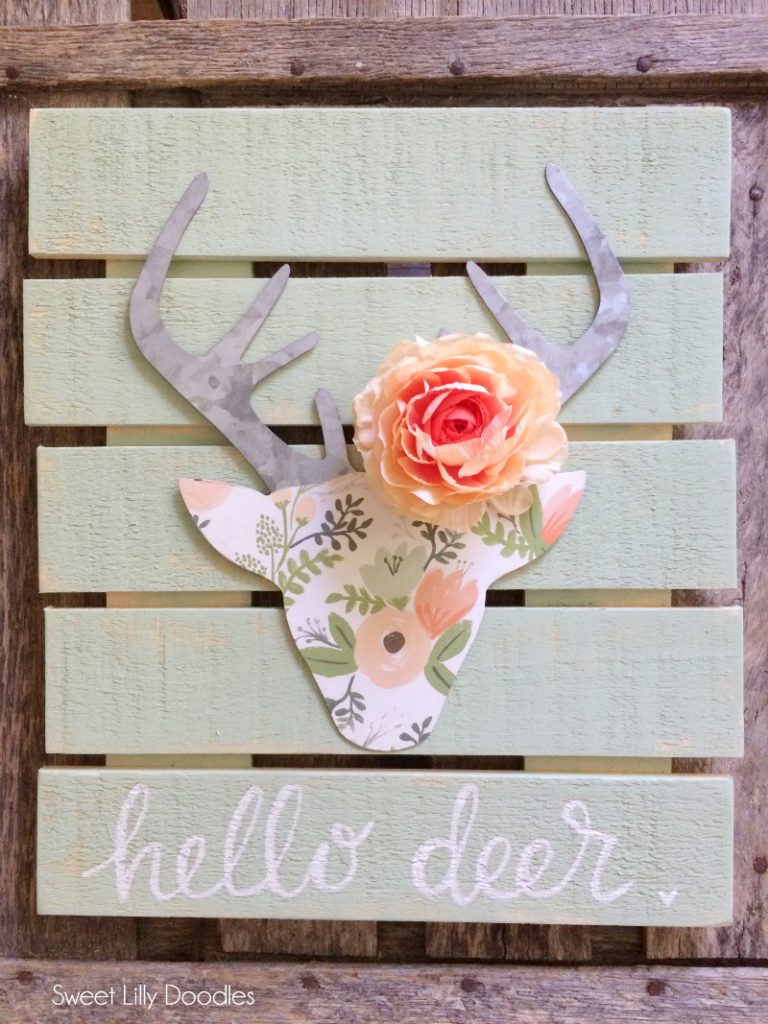
I used a Painters Brand paint pen and wrote “hello deer” in my own handwriting.
After auditioning the deer on the sign, I decided to use a different paper. Same process of papering the second deer.
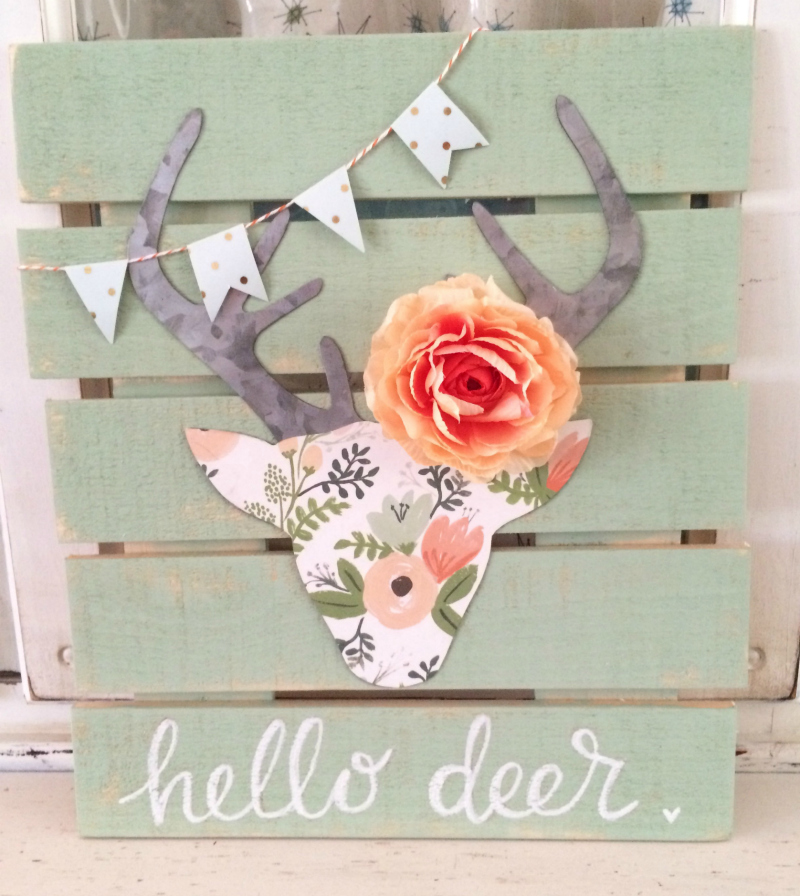
The color and paper possibilities are endless! You could make it more boyish with dark colors and geometric paper. Or for Christmas! Think of a plaid Christmas deer, that would be so cute! I do hope you’ll give it a try!
Love, Megan
Please pin so your friends can enjoy it too!!
Visit more of Megan’s work like her Painted Floral Faux Wallpaper, we love it!
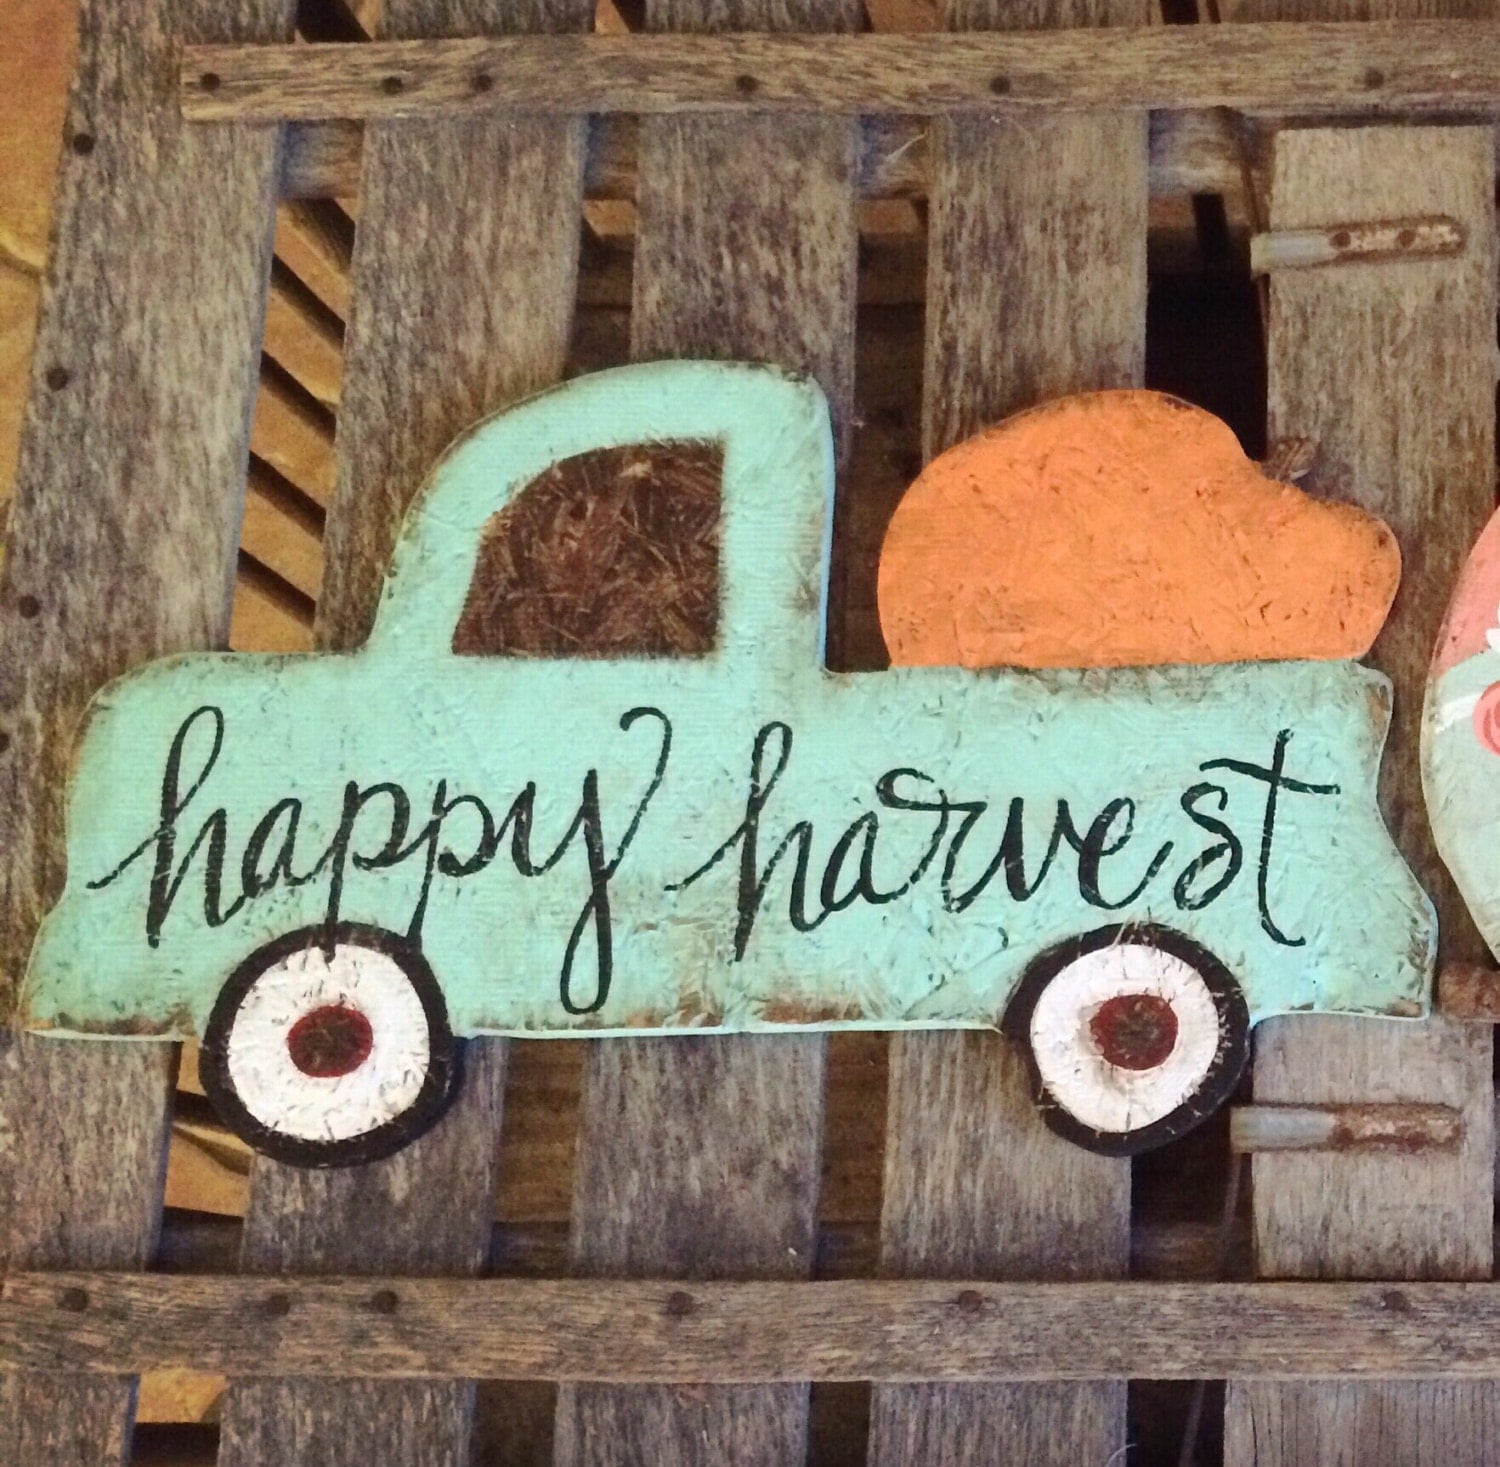
Don’t forget to check out her darling etsy shop where you can nab cute decor like her Happy Harvest Vintage Truck!
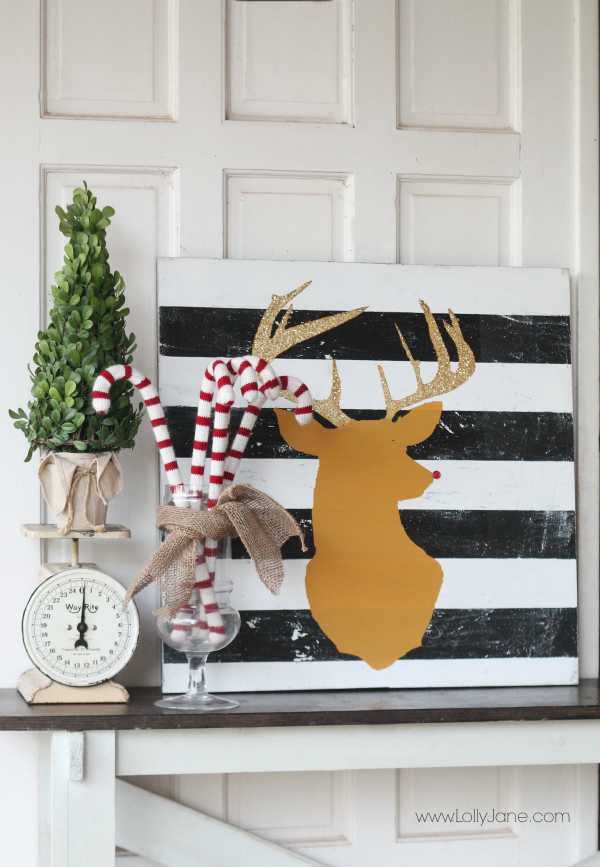
and our rugby deer head sign.

.jpg)

That’s so pretty, I’m especially loving the glitter.
Your floral deer is so pretty! Thanks for sharing with us at the Merry Monday party. Pinning!
This is so gorgeous. Featuring when my party opens up tonight.
Ooh I love this deer sign that Megan made! I really like the glitter and floral combination, very charming and elegant.
This is soooo pretty on so many levels!! I can imagine many different looks and shapes! Great DIY! Thanks for sharing at our DIY Craft Party on Thursdays! We pinned all your DIY’S! Hope to see you again tonight!
Awww, thanks, Denise! XOXO
This is so pretty. Love all the details. Thanks for sharing at the #InspirationSpotlight Party! Pinned & shared.
What a fun and fabulous project. Thanks for linking up at Shabbilicious Friday this week. I’m delighted to be featuring you at tomorrow’s party. Pinned too!
Hugs ~ Kerryanne
Thank you, Kerryanne!
What a fun and creative idea, I especially love your photography! Definitely a must pin 🙂 have a great day! Xo
Awww, thanks Jae!
Oh, my word! This floral deer head is super cute! What a fabulous tutorial! Thanks so much for sharing it at my Creative Ways Link Party!
Blessings,
Nici
I love the look of this. There are so many cool things you can do with pallets. #CCBG
Thanks so much, we love it too! XO
I love this! The paper you chose is so pretty. Thanks for linking up with our Creative Spark party – this was our most-clicked project last week! We’ll be featuring your cute pallet sign at this week’s party, which kicks off at 6am EST tomorrow. Hope you’ll stop by and link up again 🙂
Thanks, Emily! XO
Very cute and you are right those are very popular elements in decor right now. Thanks for sharing with us at Creatively Crafty Link Party #CCBG http://tryit-likeit.com/link-party-it
What a lovely project! Thank you for sharing at Meet up Mondays.
Thanks so much, Anglea! XO
Such a beautiful finished product! I would never have thought of adding the flowers or the bunting, but it finishes it off so nicely!
Loving this easy to do craft! It’s too cute.
Wow..this is super creative! I love the color scheme, too.
This is adorable, as are all of your signs!
So cute and I love the banner draped across! Thanks for sharing with SYC.
hugs,
Jann
Oh my goodness…this is just TOO cute! LOVE!
Would love for you to share this with my Facebook Group for recipes, crafts, and tips: https://www.facebook.com/groups/pluckyrecipescraftstips/
Thanks for joining Cooking and Crafting with J & J!
This project is so adorable. Love, love, love it. Maybe I missed it, but where can I find the deer head? I have searched several craft stores so far and have come up empty handed.
Hi Miranda! Megan says she found it at Joann’s, in their fab lab section with other galvanized stuff. (:
LOVE this adorable diy! So fun!
Blessings,
Edye | http://gracefulcoffee.wordpress.com
Aw, thanks so much, Edye, we love it too!
I love this tutorial! I think I am going to use this tutorial for a baby shower gift for one of my close friends. They are doing a nursery that is modern/girly woodland and I think this would be the perfect addition. Thank you so much for sharing!
Cheers,
Lisa {http://www.dreamsandcaffeine.com}
I love this! It is so cute I just love it!
We love it too! Thanks, Ashley!
I LOVE this Signs and deer are my favorite. Very cute
Very cute!
Cute!
Thank you for a fun DIY idea. Oh my I love those deer silhouettes!
This is too fun!!
YES, Christmas papers would be so cute!! Hope you have a fabulous week! =)
Hello! So pretty! Love the handwritten ‘hello deer’, very pretty.
xo
Myric
Cute cute idea. I love her etsy shop too! :]
xo Sarah
http://allthingsblogs.blogspot.com
Thanks for the tutorial, girls! I hope you have a wonderful week!
Jenn 🙂
The deer papers are both so cute!
xo, Jacinda
http://www.yellowcloth.com
Love this!!
This is so cute, Megan!
Very pretty project.
Lovely greetings and a nice Thursday to you!
http://pudel-design.blogspot.de/
Love it!
Yay! I was out of town (Disney!!) for a week and am just seeing this, so cute!
I LOVE the whole project, the paper choice too! SO CUTE!!!