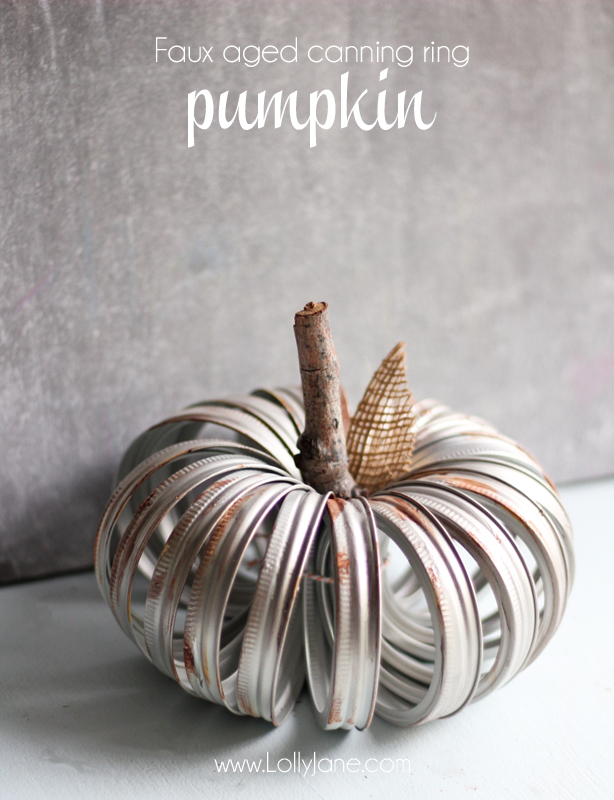
Faux aged canning ring pumpkin
Fall is officially upon us… although we have our Halloween decor displayed right now, we’re getting prepared ready for the take down of said decor… #lifeofablogger LOL! The original idea for this cute canning ring pumpkin was created by the talented Kristin of Yellow Bliss Road. I just love her pumpkin and wish I could have used her old, pretty discolored rings. Instead, we’re putting a little twist on it by making our canning rings look aged when they’re actually brand spankin’ new from the box. Take a look at our version and follow along to make your own!
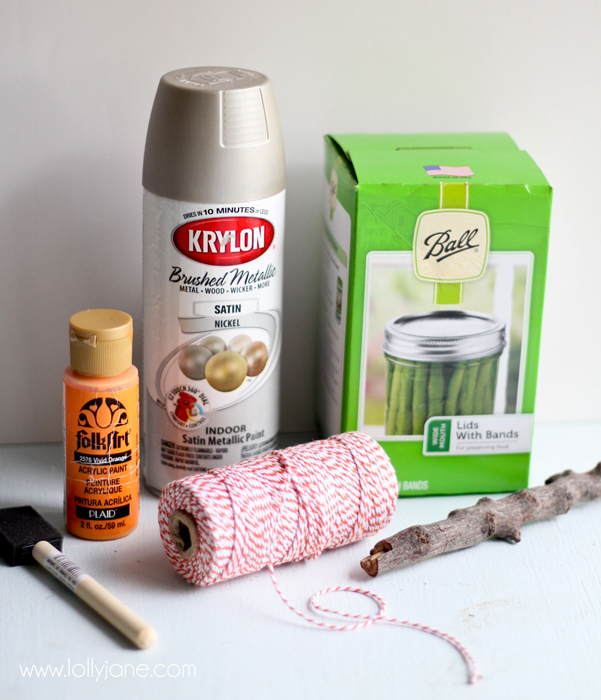
Besides the canning rings, I used some orange bakers twine (around 12″) brown & orange acrylic paint, a pretty satin spray paint, (Krylon brushed metallic) a piece of burlap and a twig from outside.
This was an easy peasy project and took about 15 minutes to create, including dry time.

Follow Yellow Bliss Road’s full tutorial on how to make the canning ring pumpkin then follow our tutorial to make it look aged.
- Paint a light coat of brown acrylic paint, then dab orange acrylic paint loosely on the canning rings.
- Give the entire pumpkin a light coat of spray paint.
- Slightly distress with a fine grit sandpaper until the brown-ish orange paint just peeks through the spray paint.
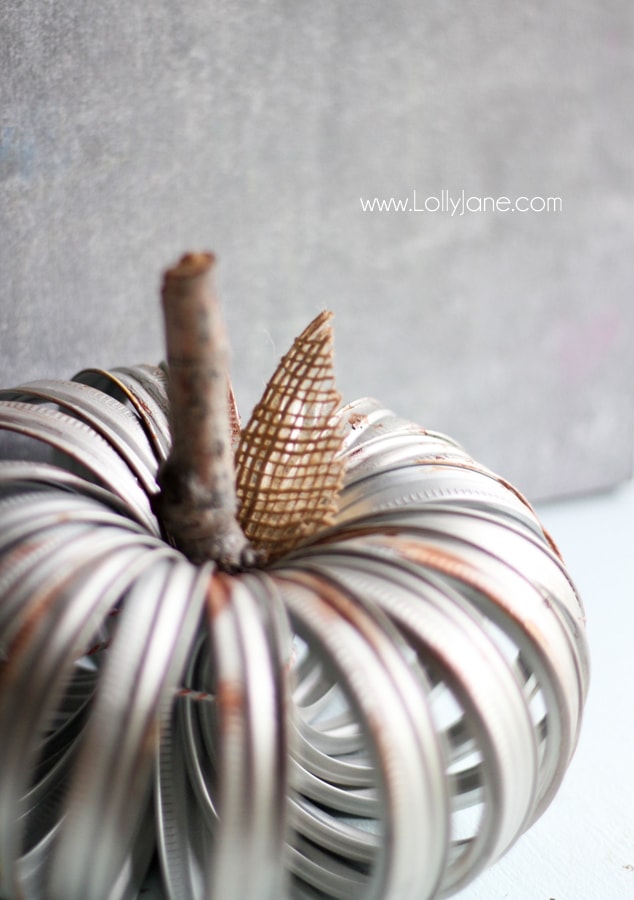
- Add your stick in the middle of the canning rings.
- Cut a leaf shape out of burlap and tuck by the stick.
- Dab some hot glue on the stem + leaf for reinforcement if little hands are around. (;
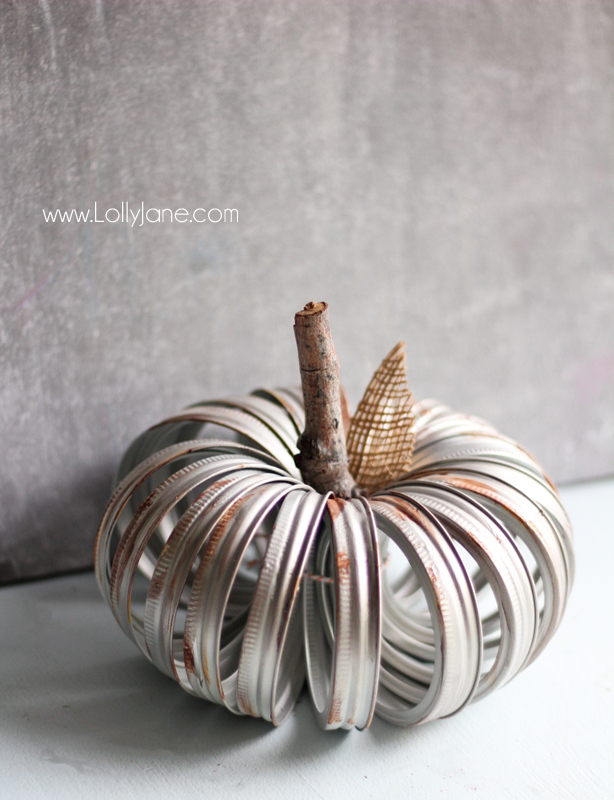
That’s it! A simple piece fall decor, faux distressed Lolly Jane style:
Seriously easy, seriously cute. That’s how we roll this crazy busy time of year! LOL!
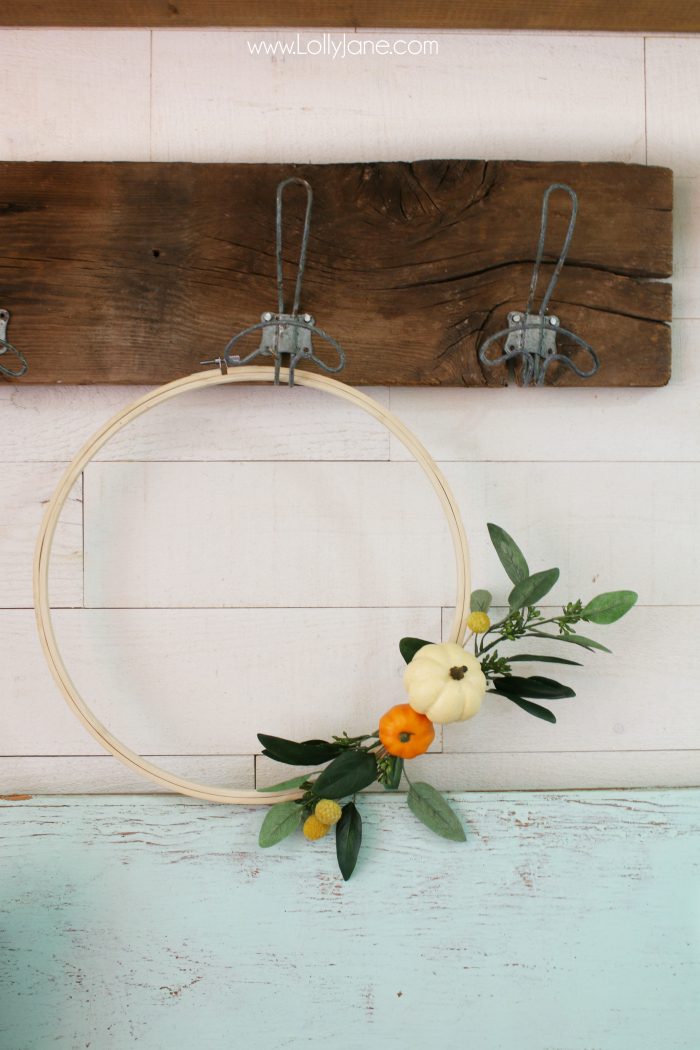
Be sure to take a peek at our other fall tutorials like our Pumpkin Embroidery Hoop Wreath,
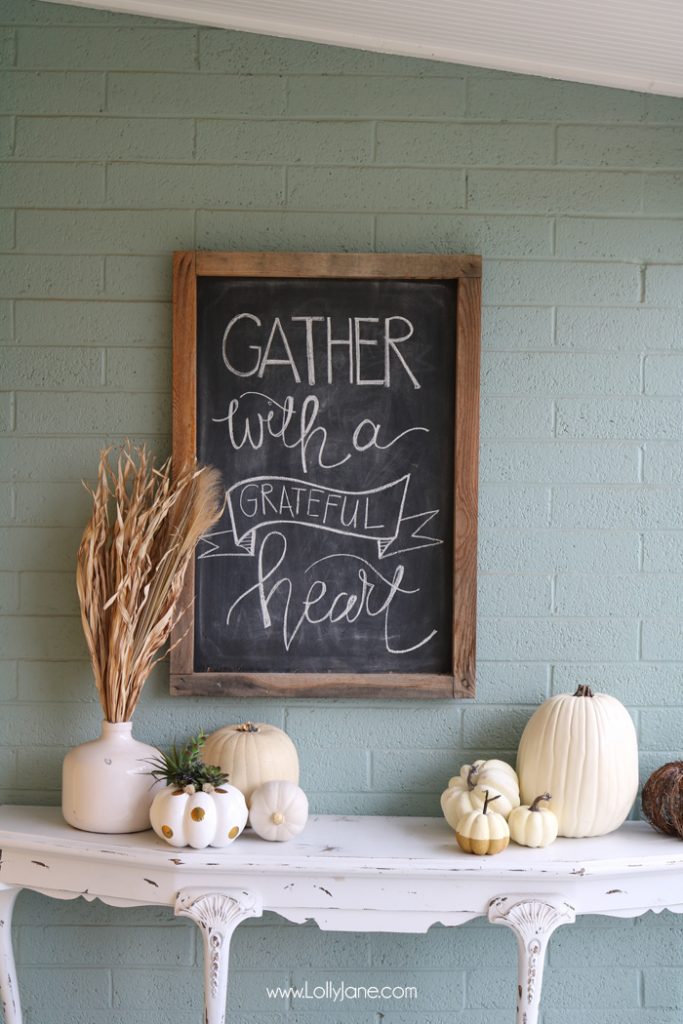
plus our fall printable,
and these yummy Pumpkin Cheesecake Bars, mm!


Faux Aged Canning Ring Pumpkin
Materials
- Brown Acrylic Paint
- Orange Acrylic Paint
- Spray Paint
- Fine Grit Sandpaper
- Stick
- Burlap
- Hot Glue
Instructions
- Follow Yellow Bliss Road’s full tutorial on how to make the canning ring pumpkin then follow our tutorial to make it look aged.
Aged Look
- Paint a light coat of brown acrylic paint, then dab orange acrylic paint loosely on the canning rings.
- Give the entire pumpkin a light coat of spray paint.
- Slightly distress with a fine grit sandpaper until the brown-ish orange paint just peeks through the spray paint.
- Add your stick in the middle of the canning rings.
- Cut a leaf shape out of burlap and tuck by the stick.
- Dab some hot glue on the stem + leaf for reinforcement if little hands are around. (;


Cute idea and a great way to use canning rings! The burlap leaf idea, however, is just adorable! It’s the icing on the cake (so to speak) 🙂
I love the vintage look of this pumpkin and I love that you say it is easy to do
Thanks so much Debby! 🙂
Well thank you! Such a fun holiday idea!
Love!
Debby
Debbygoesshabby.blogspot.com
Love this simple, yet classic design! Great job ladies 🙂
Here it is (:
http://www.yellowblissroad.com/canning-jar-lid-pumpkin/
I love this pumpkin….but the tutorial doesn’t exist anymore…or I couldn’t find it….any help?
Such a brilliant idea that Kristin from YBR came up with, isn’t it?? The old rusty ones are the best, for sure!! (:
These are just adorable and look so very easy to make! I have seen them on Pinterest made from the old rusty ones. I am all about making things new look old…I’ve done it on many things…I just may have to try making these 🙂
Looks awesome! What a cool idea. I’d love if you’d link up to The DIY’ers. http://homecomingmn.blogspot.com/2013/10/diyers-32-and-marathon-weekend.html
This is what I call thinking out of the box! Great effort!!!! I love the chic rustic look you created with a touch of paint! Awesome!!!!! 🙂
The use of canning rings is definitely a smart idea 🙂 Your rustic pumpkin turned out great!
We love YOU, Kristin!
LOVE. xoxo
You’re the sweetest, Krista! Mucho thanks! 🙂 xo
I wish we had the rain to help speed this process along! LOL Thanks for the tip, LA! Next monsoon season I’m leaving my mason jar rings OUTSIDE! 😉 xo
Thank you Audrey! 🙂
Love this idea and the aged look
Love this idea. Here is rainy Oregon all I need to do is leave them outside for a few days and they will look like that!! LOL!
You girls are so talented… I just love everything you come up with! This is so rustic cute!! Pinned, three times:)