glossy dresser makeover
You know we are huge fans of all thing chalk paint with a distressed clear wax finish but today we’re sharing our first finished piece of an easy glossy dresser makeover and we la-la-love it!
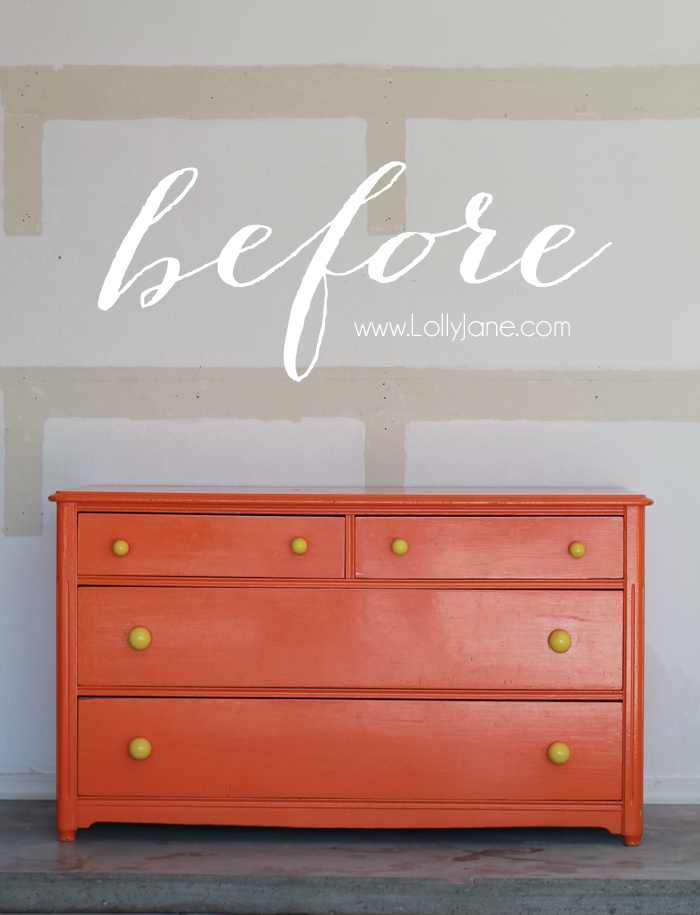
I moved into my new house last month and scored this simple dresser on Craigslist for $50 and it was the perfect height for my boys room, (room reveal coming soon!) The only thing wrong with it was the color… bright orange with neon yellow knobs wasn’t going to work for me! lol
Enter Maxx Gloss finish in the perfect deep red hue called Garnet Stone, (there are 20 trending hues available if red isn’t your color!)
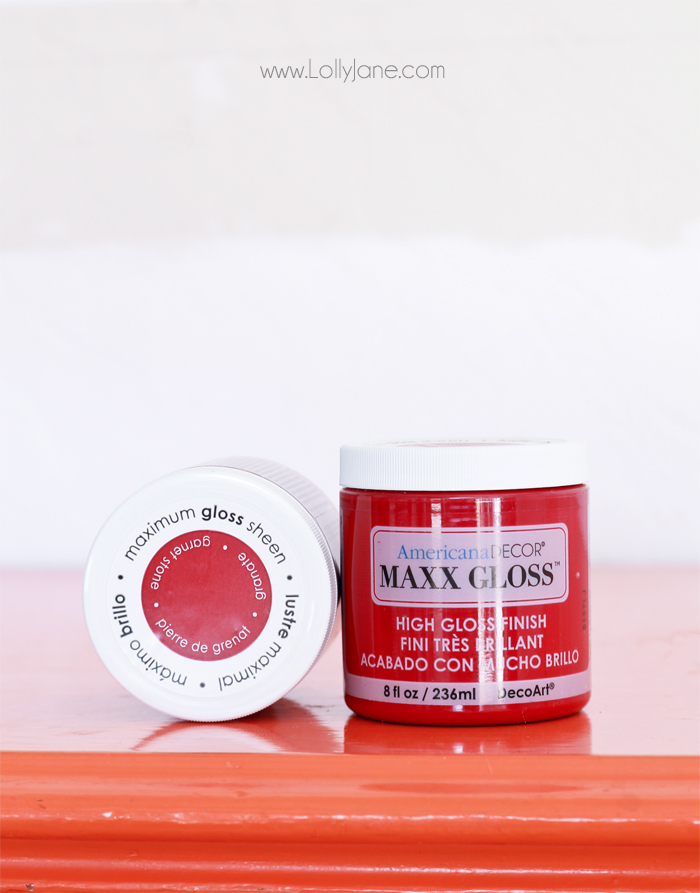
I used 2 jars that I grabbed while shopping at Jo-Ann Fabric store but you can also purchase it from Michaels, Home Depot (all online) or at Meijer. I gotta brag on DecoArt for a sec about this superior, high-gloss sheen that delivers an almost lacquer-like finish. Until now, this level of gloss finish has only been available in aerosol spray paints that we know cause over-spray and must be used in a well-ventilated area for safety. Since I’m 4 weeks from delivering my 3rd baby I painted outside to be extra careful but since Maxx Gloss is water-based, non-toxic has a fantastic brush-on formula I wasn’t worried about my baby girl’s safety while redoing this dresser.
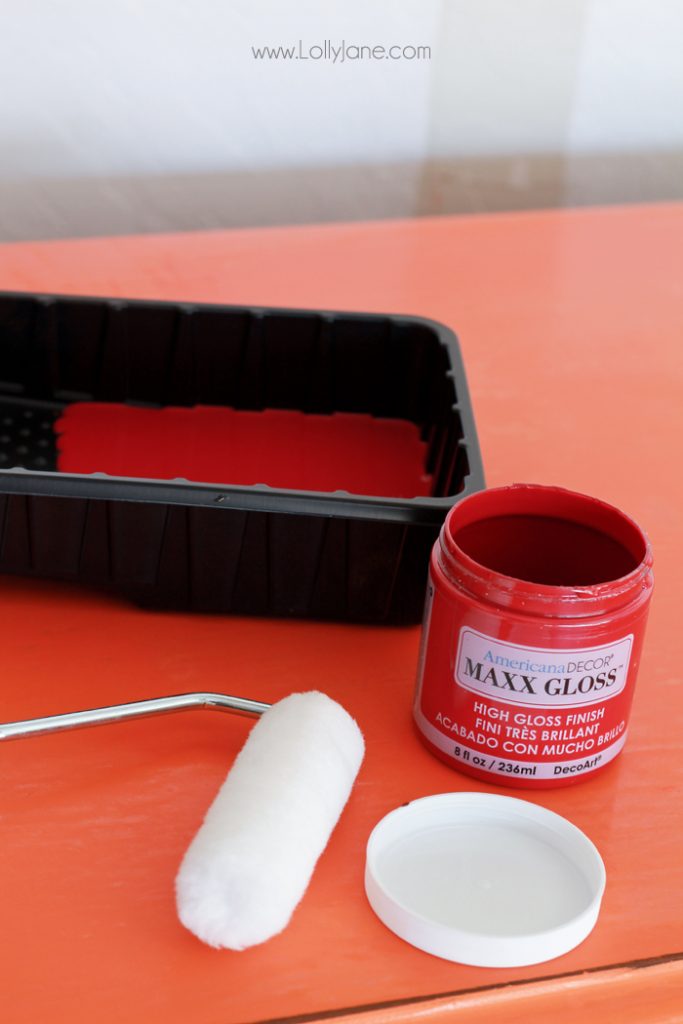 Since the piece I was refinishing had an oil based paint on it, I sanded it thoroughly to make sure the Maxx Gloss paint would adhere without question. You can also first seal the surface first with one coat of Multi-Purpose Primer & Sealer before sanding. I used a roller instead of a brush because it’s quicker and, at 36 weeks pregnant, I’m always tired and am shooting for the fastest route. 😉
 Here’s the dresser after the first coat and you can see through the streaks it’s still nice and glossy!
Second coat, full coverage. Sweet.
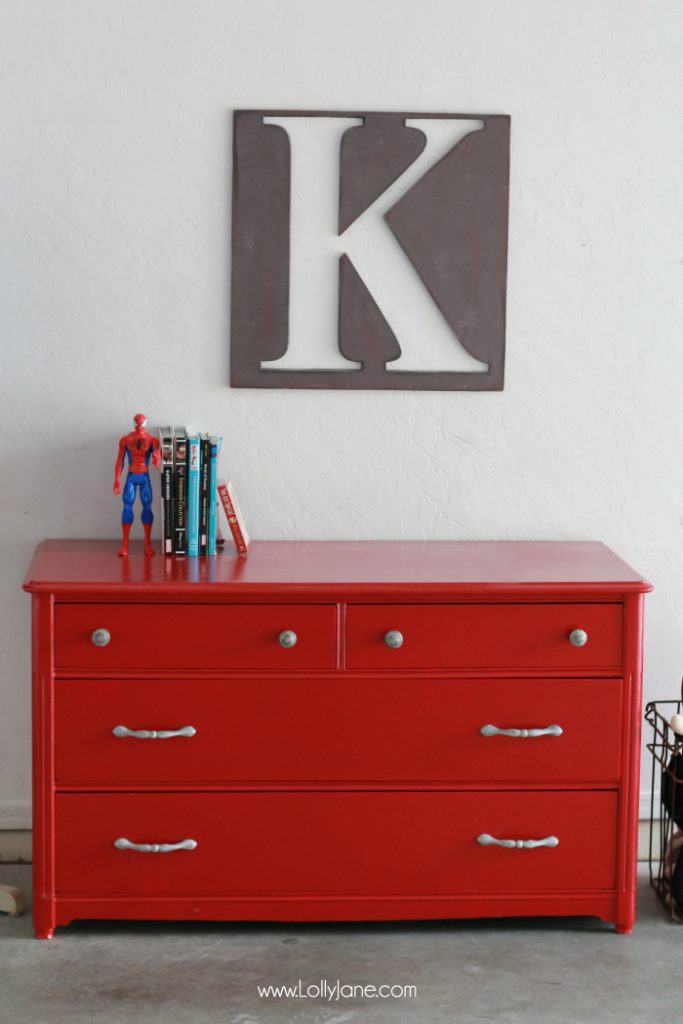
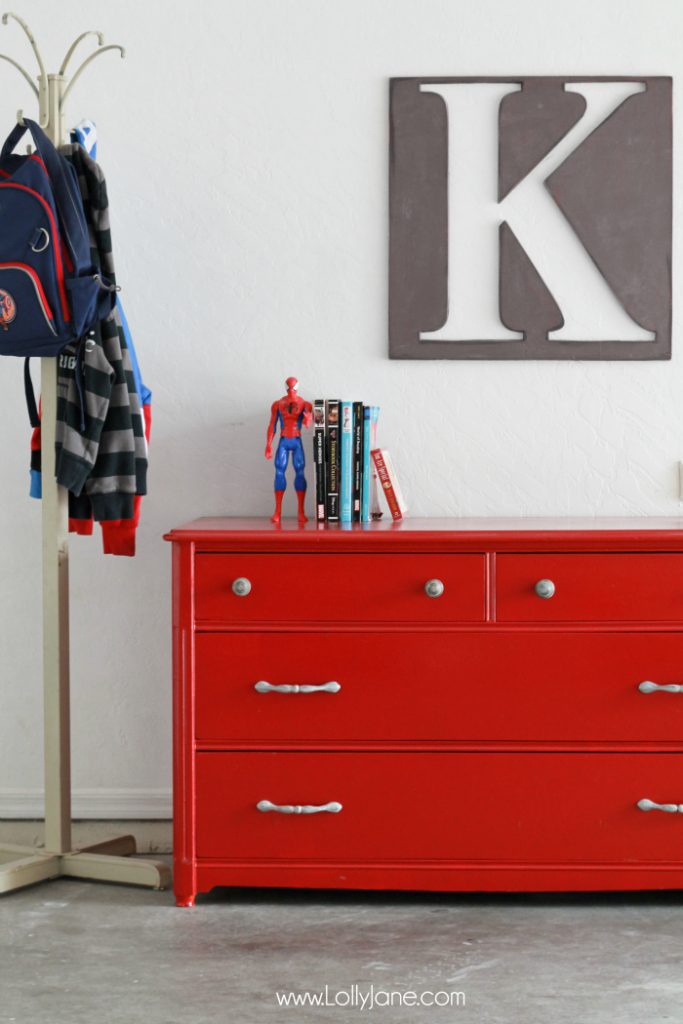
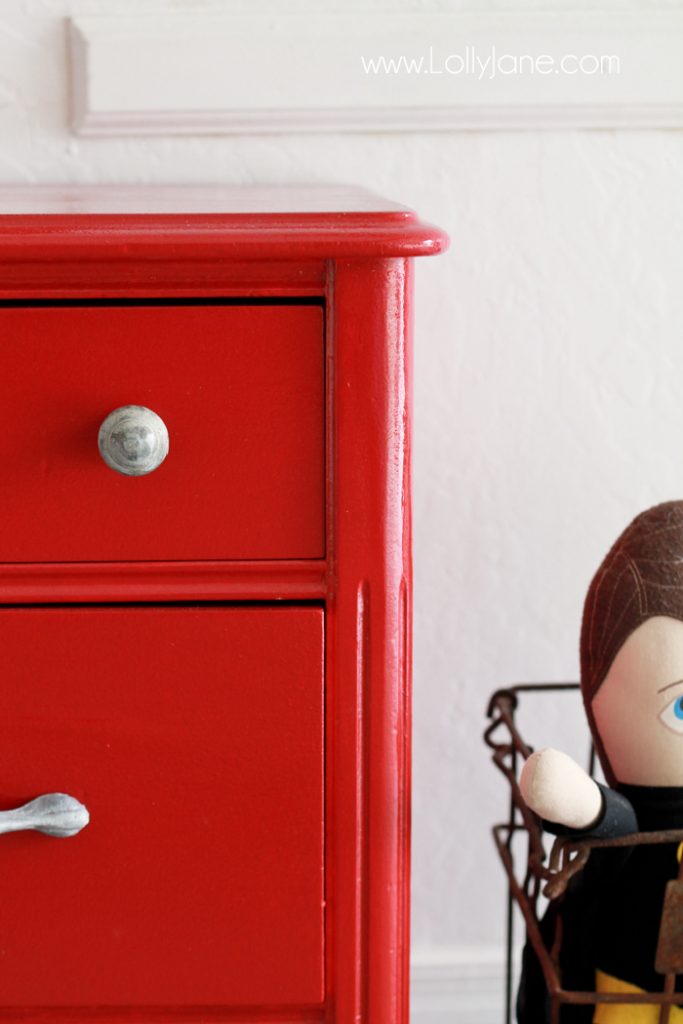
I grabbed some more updated looking knobs at my local hobby store and this little number is now ready for my boys bedroom as it’s the perfect shade of superhero red. 😉

Oh, be sure to let your Maxx Gloss completely dry before trying to use it. Since I’m in sunny Arizona it just needed a few hours (most of the day, actually) in the warm sunshine until it was no longer tacky to the touch. I am mostly excited that through my kiddos messes of playing superheroes, army guys, coloring and jumping off of the dresser this piece will last through it all!
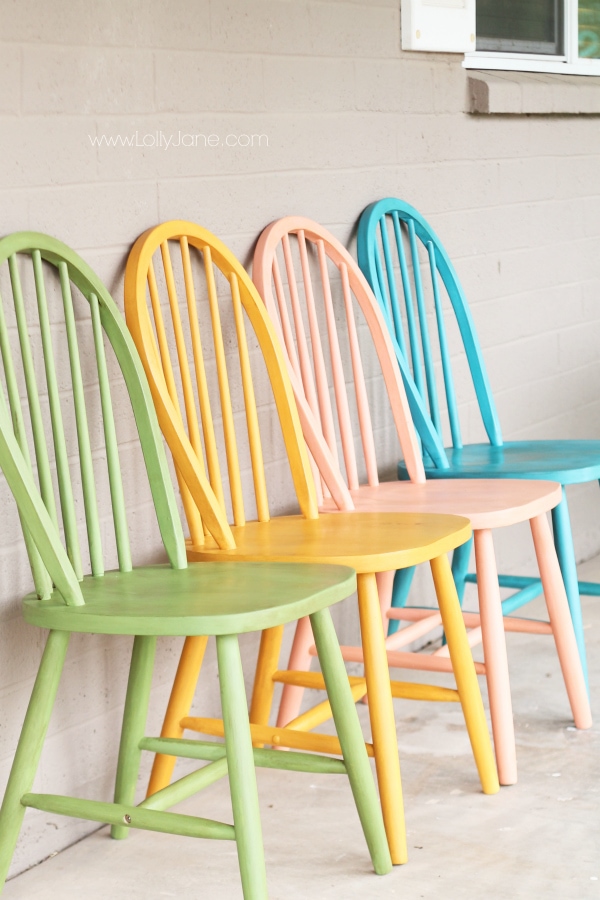
Check out more makeovers like Chalky Painted Chairs,
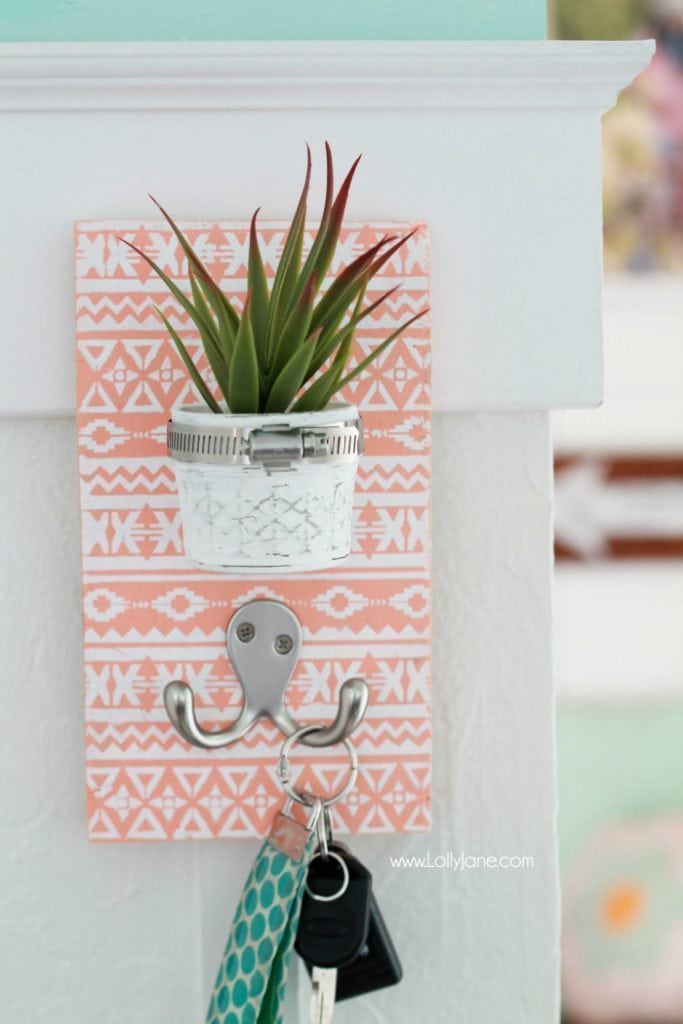
our Mason Jar Succulents,

and our DIY Succulent Key Holder!


Hi! It was a gift from a friend but you can make your own with a scroll saw. We just bought a wood cutter that can do the same, keep us in mind in the future and we can make one for you! Early 2016. Thanks!! (:
Where did you find the big K wall art? Thanks!
Me too, Kristie! It’s a great shade of red (:
Thanks for popping by!
Love this color! Thanks for the heads up on this perfect glossy paint!