DIY wood cutout sign tutorial
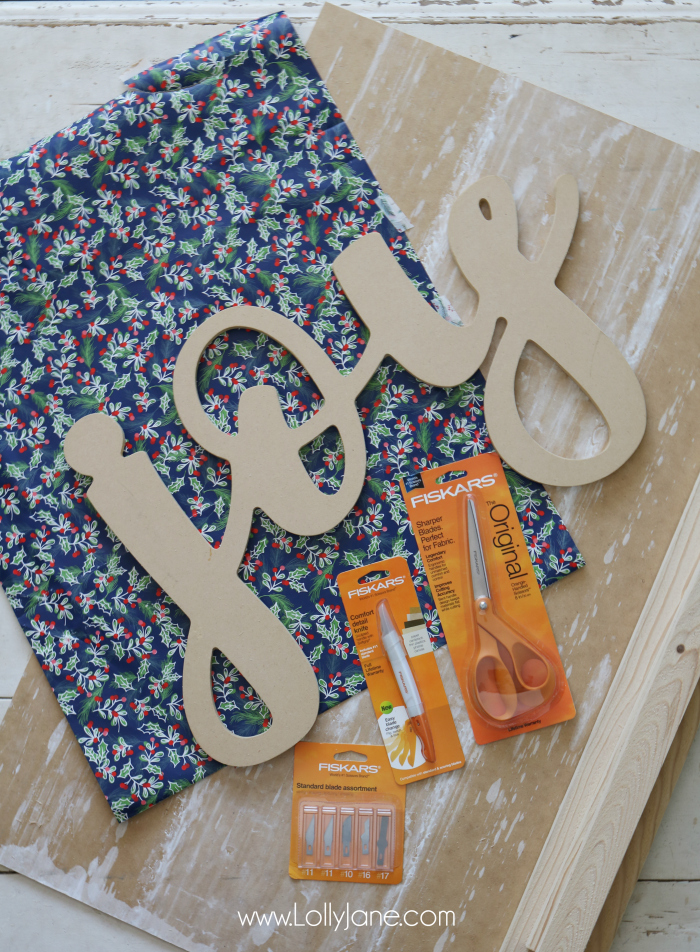
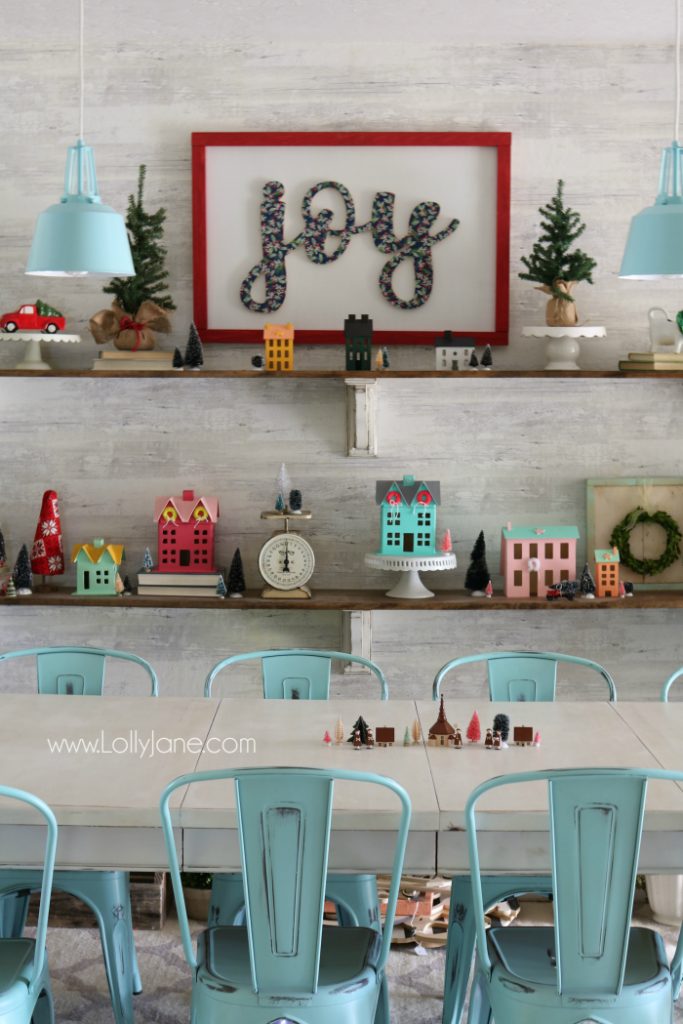
Christmas is coming up fast and we’re still putting the finishing touches on the big day! We have a few pieces left of our wood cutouts after our last boutique and decided to turn them into signs. We had one joy left and were anxious to apply some pretty holiday paper to the top of it to dress it up. With the help of Fiskars, I was able to easily outline my wood cutout from this gorgeous, thin wallpaper. I love how it turned out!
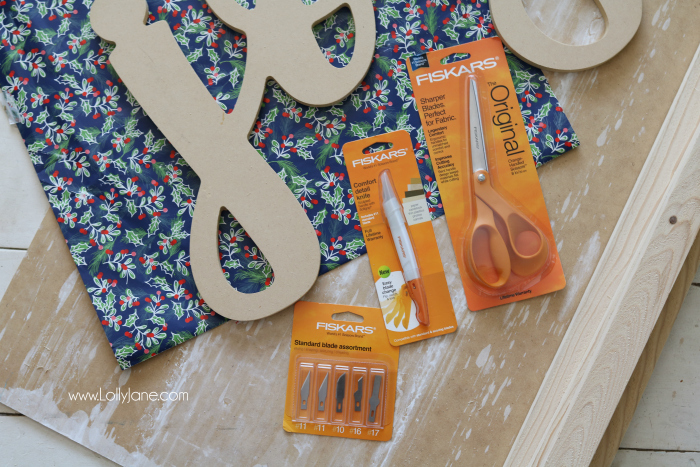
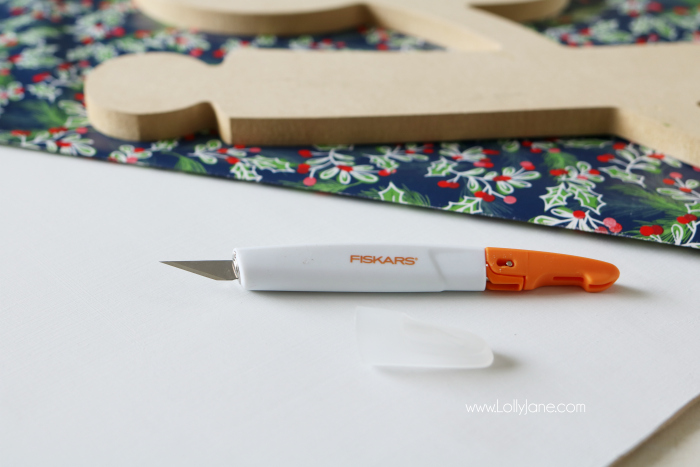
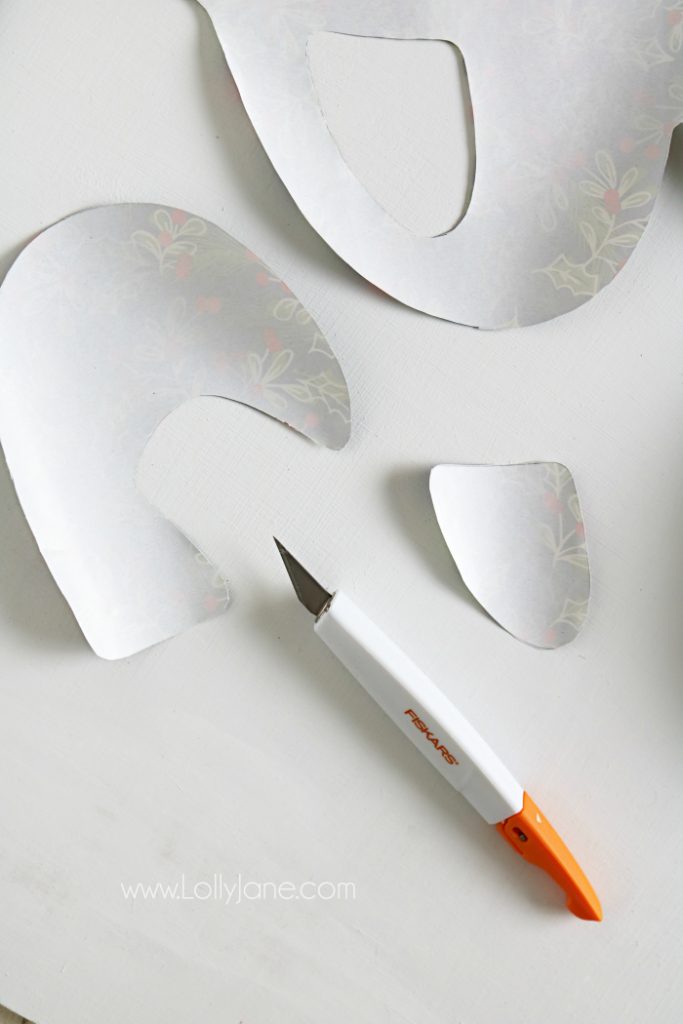
We love the new Easy Change Detail Knife because it makes switching between cutting tasks simple. The easy blade change lock lets you switch blades in seconds and it’s compatible with standard blades including #10, #11, #16 and #17! It also comes with a safety cap that protects the blades (and yourself!) when you’re not using the tool.
To make your own diy wood cutout, you’ll need:
- Pine wood (from a home improvement store)
- Cutout phrase
- A roll of paper (leftover wrapping, wallpaper, scraps, etc.)
- Pine furring strips
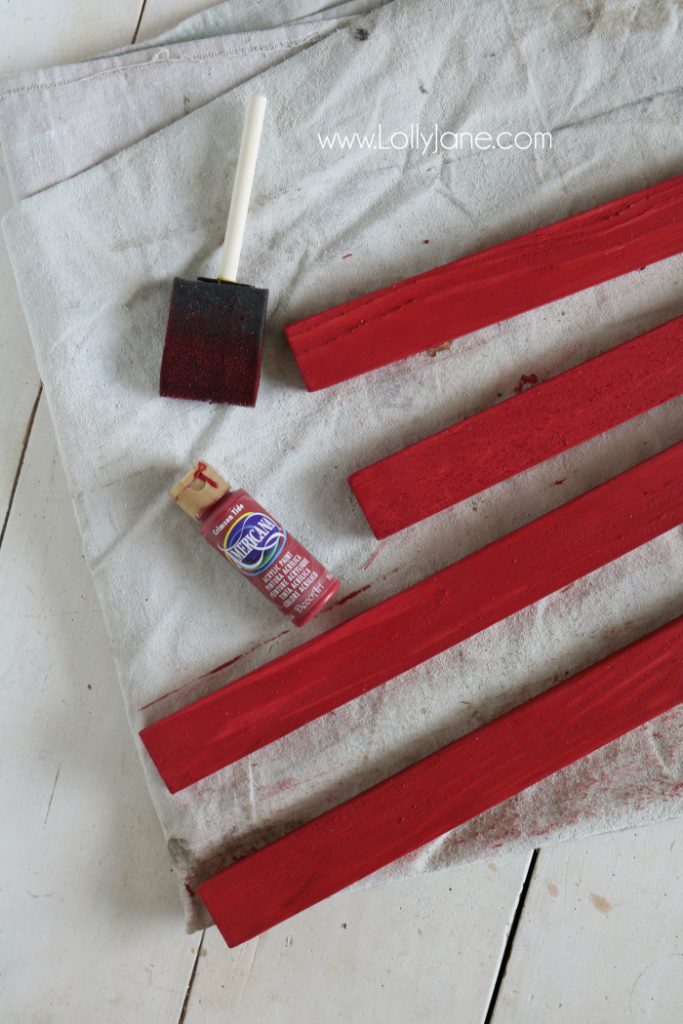
- Acrylic paint
- Braid nailers + nails or wood glue and a Fiskars Easy Change Detail Knife.
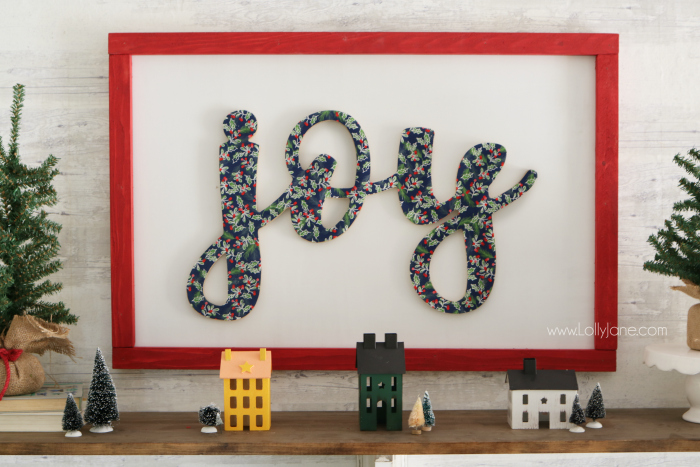
Start by cutting your wood to size. Our joy letters are a whopping 18″ x 26″ so our sign is pretty large!
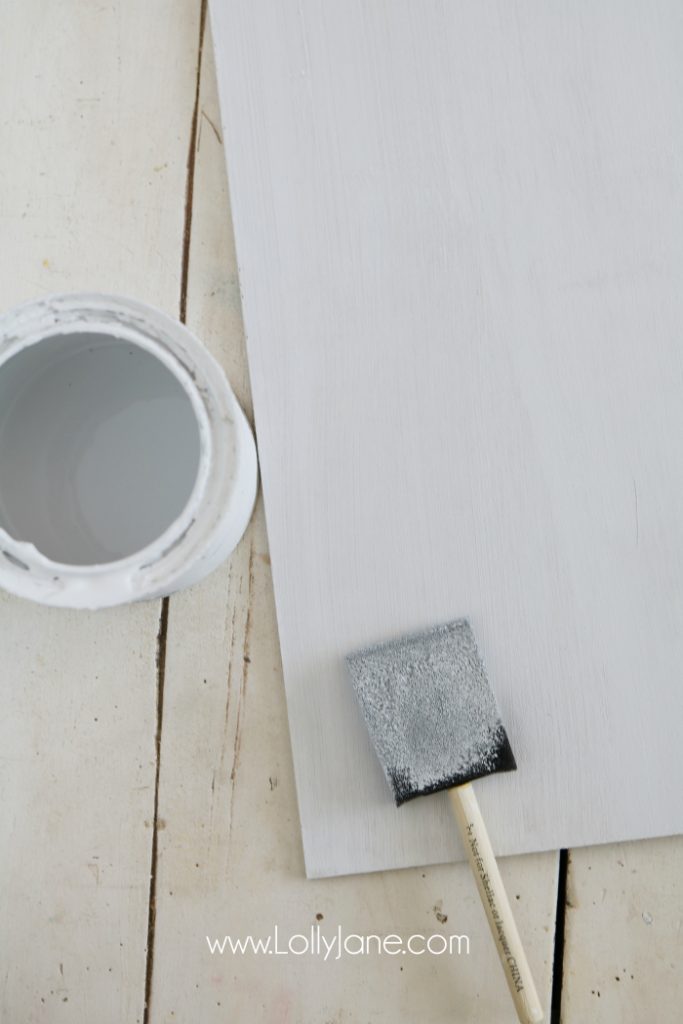
Paint your wood white, we used chalk paint.
Cut your strips to size (we used a miter saw), sand and paint red.
Gather your paper and lay flat.
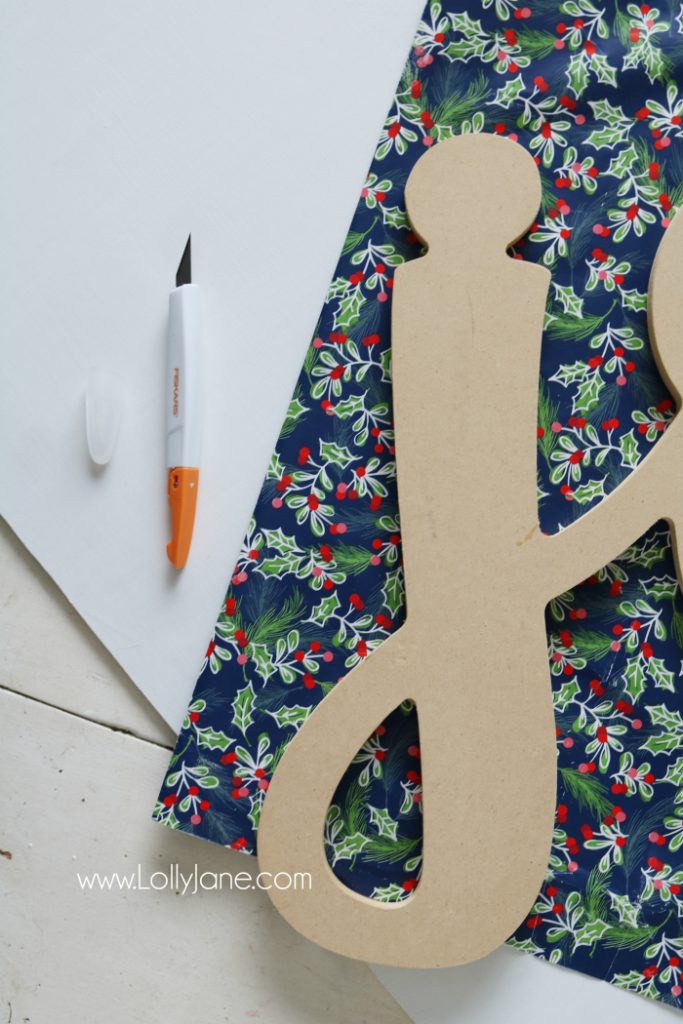
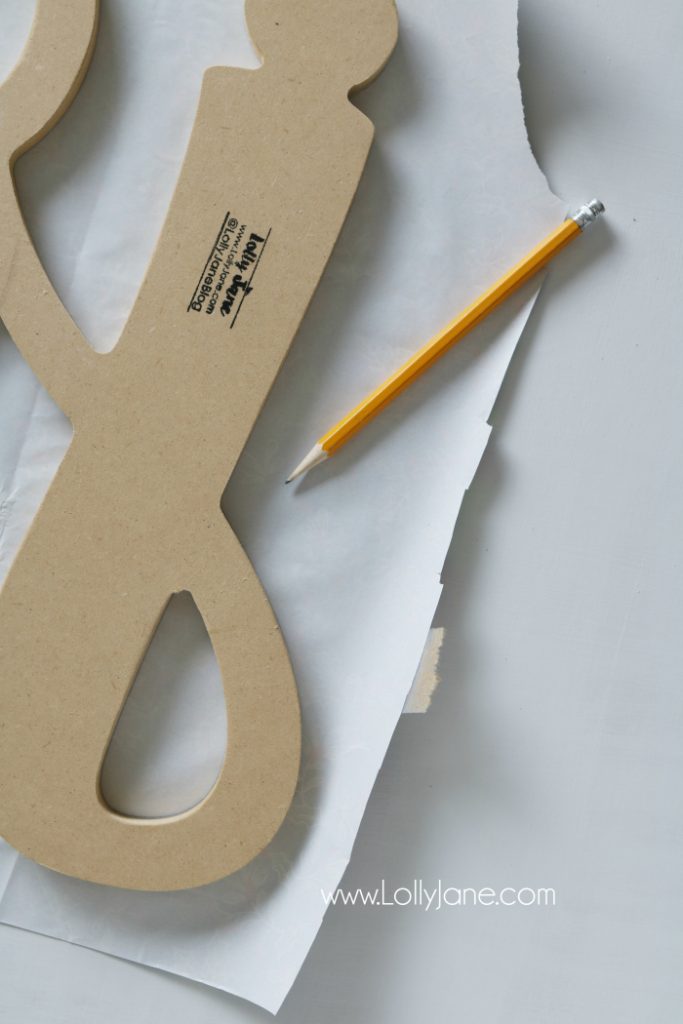
Flip your wood cutout upside down and place it on the backside of the paper. Trace around it with a pencil.
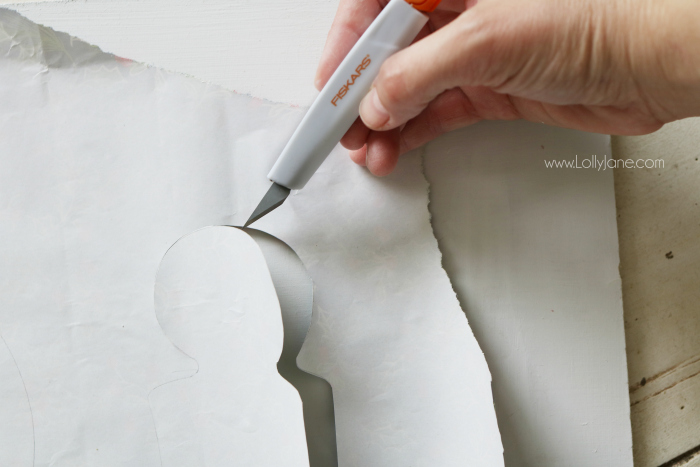
Gently trace the pencil outline with your Fiskars Easy Change Detail Knife. It slices like butter. So smooth. This new tool is ideal for precisely cutting a wide variety of materials including paper, cardstock, canvas and more. No tearing or fraying!
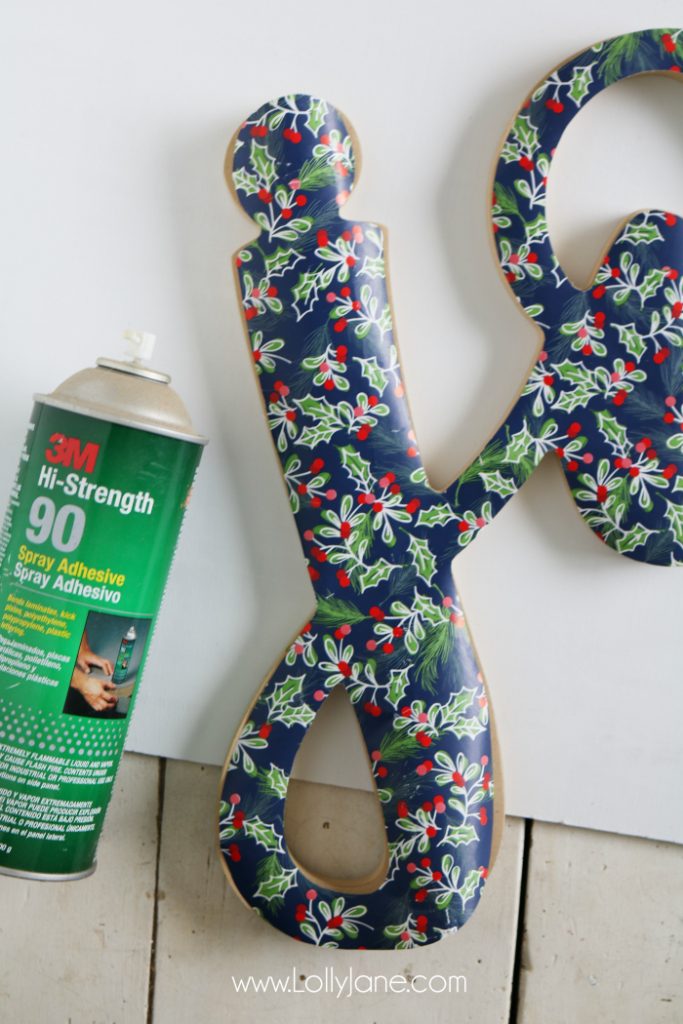
Using decoupage or spray adhesive, press your paper onto your wood cutout.
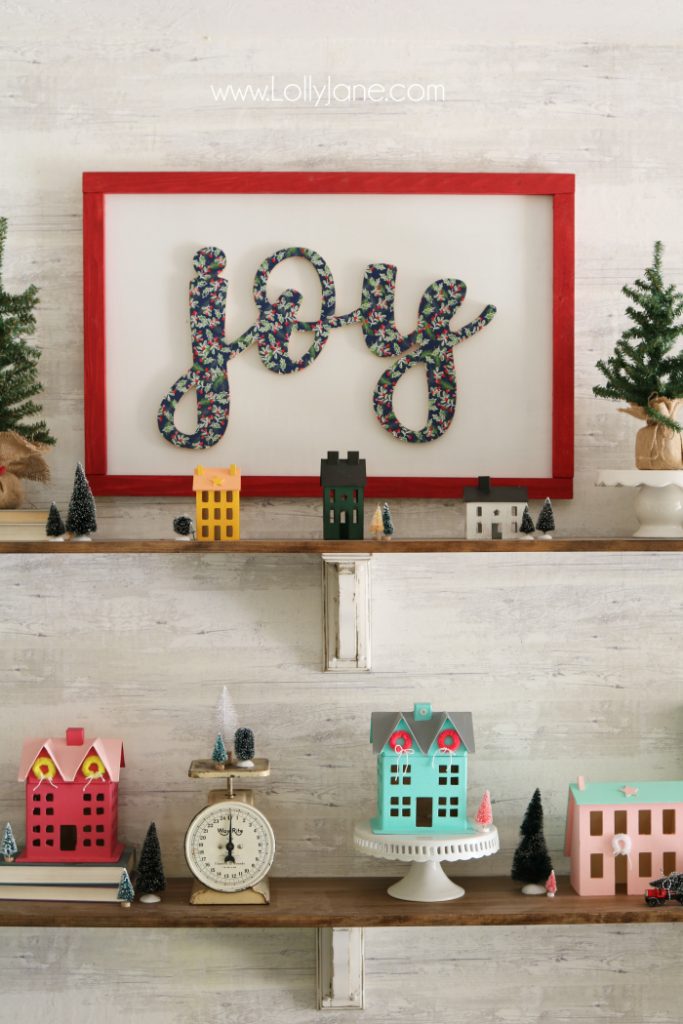
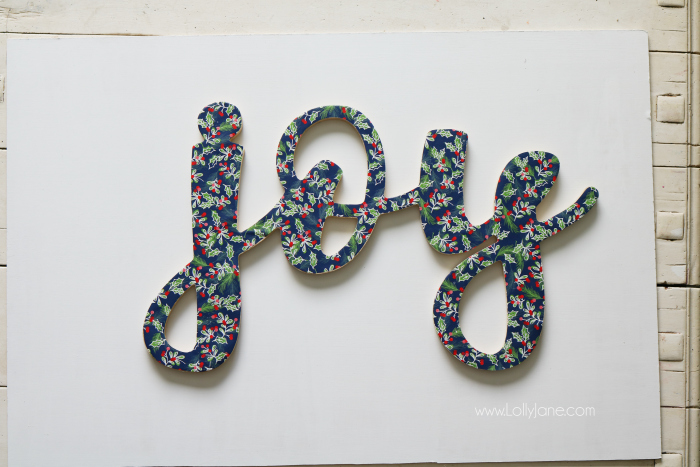
Look how pretty it turned out!
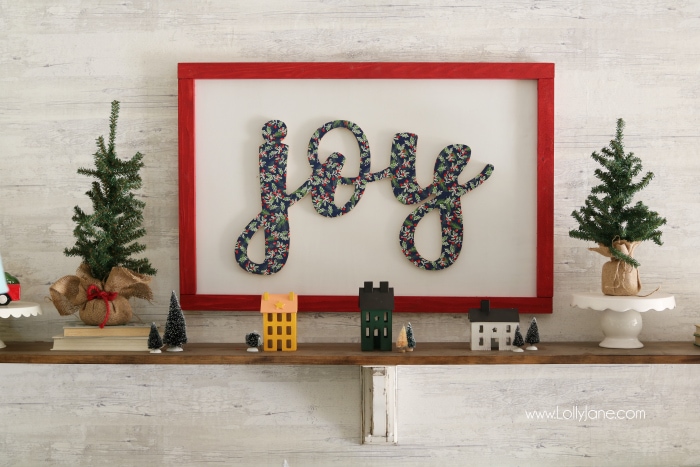
Attach the painted furring strips to the sign with wood glue or brad nails. Our favorite nailer is cordless and a breeze to handle. We hung it in my dining room with a sawtooth hanger.
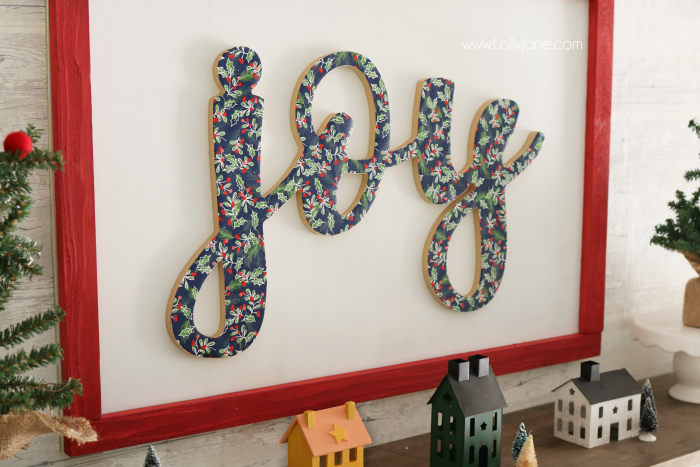
I love the untraditional navy paper with the classic red and green Christmas colors.
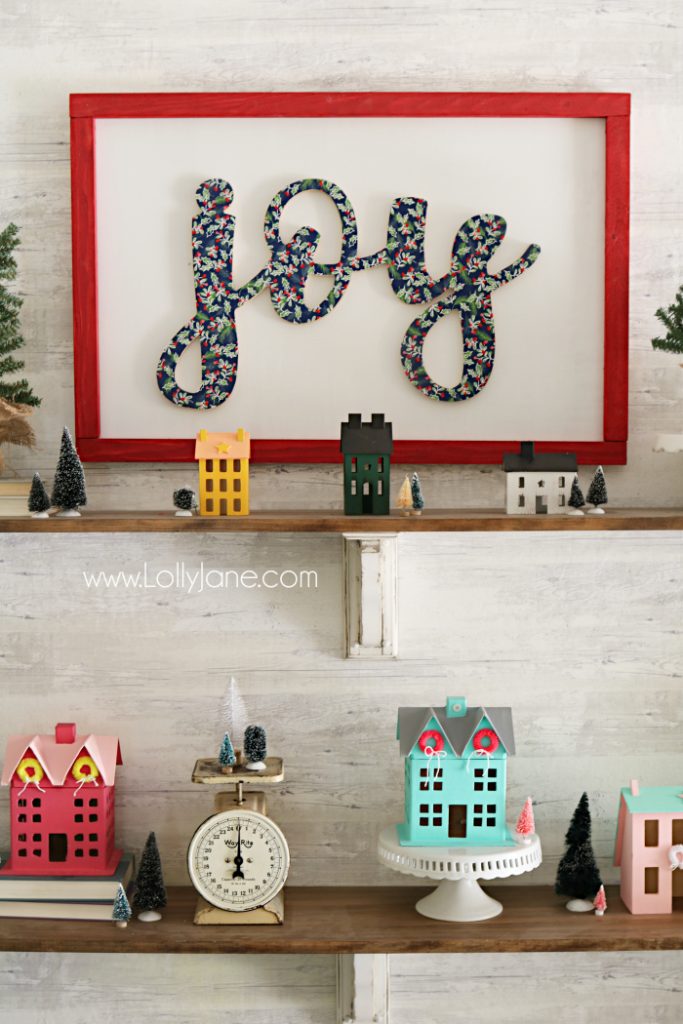
It was fun to style my farmhouse shelves with last year’s village Christmas tree.
Big thanks to Fiskars for sponsoring today’s post. You know we’re in charge around here and only partner with like-minded companies. Everyone has Fiskars iconic Original Orange-handled Scissors in their drawer.
Visit Fiskars on their website and follow them on Facebook, Instagram, Pinterest and Twitter for their latest and greatest!

DIY Wood Cutout Sign Tutorial
Materials
- Pine wood
- Cutout Phrase
- Roll of Paper leftover wrapping, wallpaper, scraps, etc.
- Pine Furring Strips
- Acrylic Paint any color, we used red & white
- Braid nailers + nails or wood glue and a Fiskars Easy Change Detail Knife
Instructions
- Start by cutting your wood to size.
- Paint your wood white.
- Cut your strips to size, sand and paint red.
- Gather your paper and lay flat.
- Flip your wood cutout upside down and place it on the backside of the paper. Trace around it with a pencil.
- Gently trace the pencil outline with your Fiskars Easy Change Detail Knife.
- Using decoupage or spray adhesive, press your paper onto your wood cutout.
- Ta da! You're done! Hang your new sign somewhere festive!

Hi there,
Just regular pine wood, we’ve updated the post to reflect this. Thank you!! Happy building 🙂
Amazing, what they call this type of wood please and thank you
Hi Tina! We no longer sell outside of Arizona but our friend Brooke from Start At Home does 🙂 https://startathomedecor.com
I’d love to buy one of your Joy cut outs to make my own! Do you sell them.?
LOL, Jenny! You are so sweet!
It’s possible that the angels were singing when you made this. LOVE LOVE LOVE It!!
Hi Rosemary! We use an industrial CNC router, you can see what we have made in our shop: lollyjane.etsy.com Thank you!
Great post! Do you have a tutorial on how to make the wood cutouts (i.e. the “joy”)?
Thanks 🙂
I love the printed paper on top of the wood. You can do this for any season! Thanks for sharing at the Wednesday Showcase party. Hope to see you again 🙂
So cute! I love how you didn’t wrap the the paper around the whole lettering and only on the top. It gives it this awesome 3d effect! So pretty!!
Love this!! So many possibilities and gift ideas with this DIY sign, love the patterned paper on the word, just perfection! I’ve chosen this as my feature this week over at the Friday Favorites Linky Party – thanks for linking up this week!!
SO pretty! 🙂
I would love for you to share this with my Facebook Group for recipes, crafts, tips, and tricks: https://www.facebook.com/groups/pluckyrecipescraftstips/
Thanks for joining Cooking and Crafting with J & J!
What a cute idea! This would make a great and easy hostess gift! thanks 🙂
Thanks so much, Erlene!!
The detail knife is so fun and my nail gun…that is my best friend 😀
I love the dark blue print paper and the colors on your Christmas shelf. So fun! Will have to pick up a Fiskar detail knife and looking at the Ryobi nail gun too 🙂