DIY Pink Pumpkins | Fall Mantel Decor
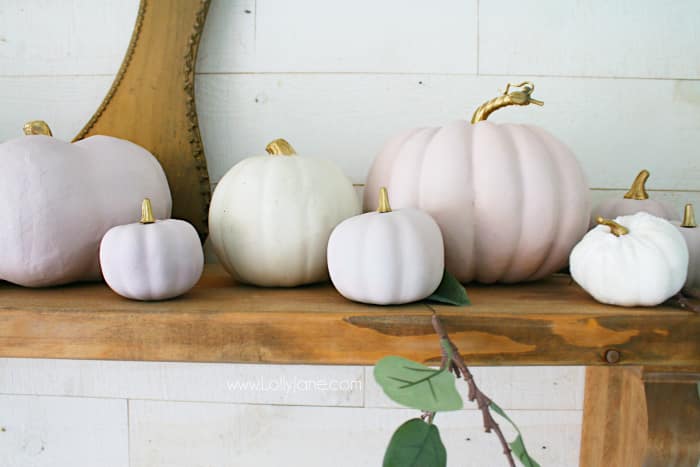
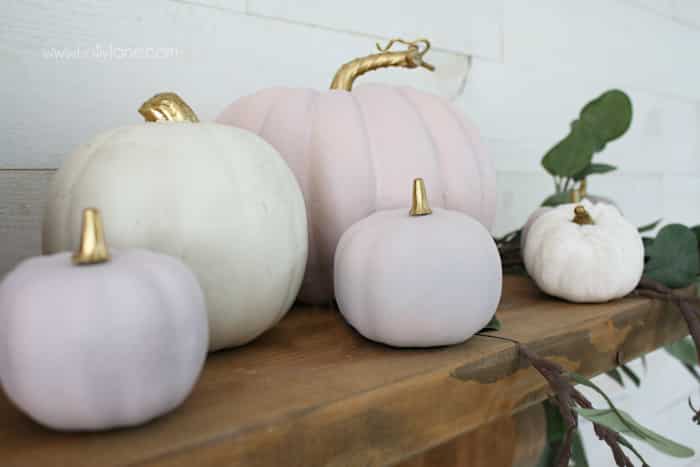
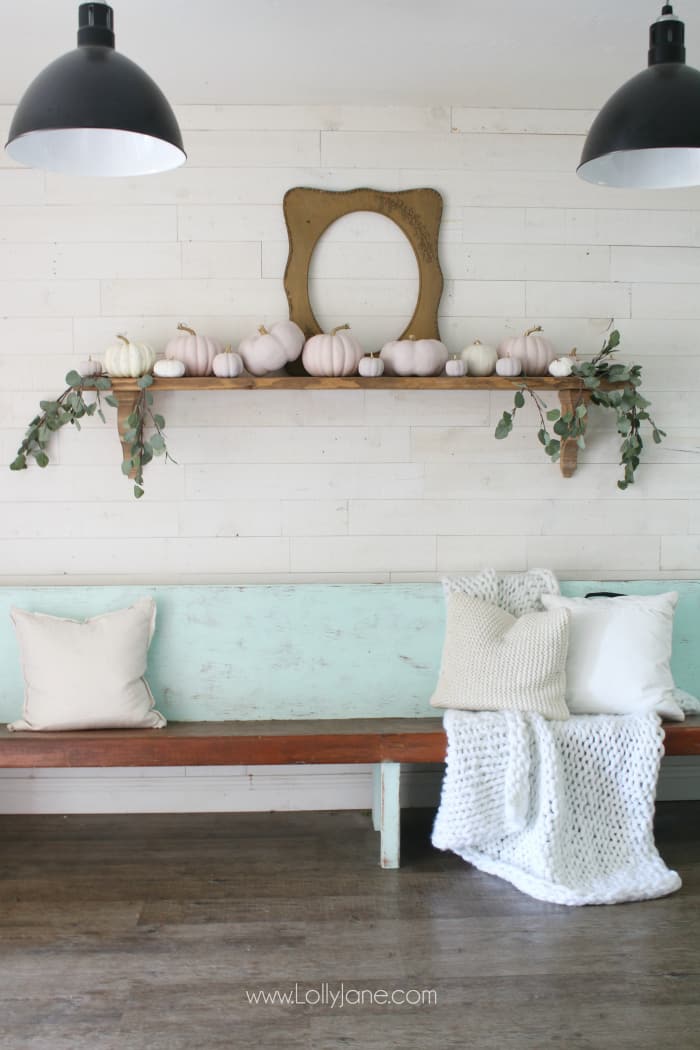
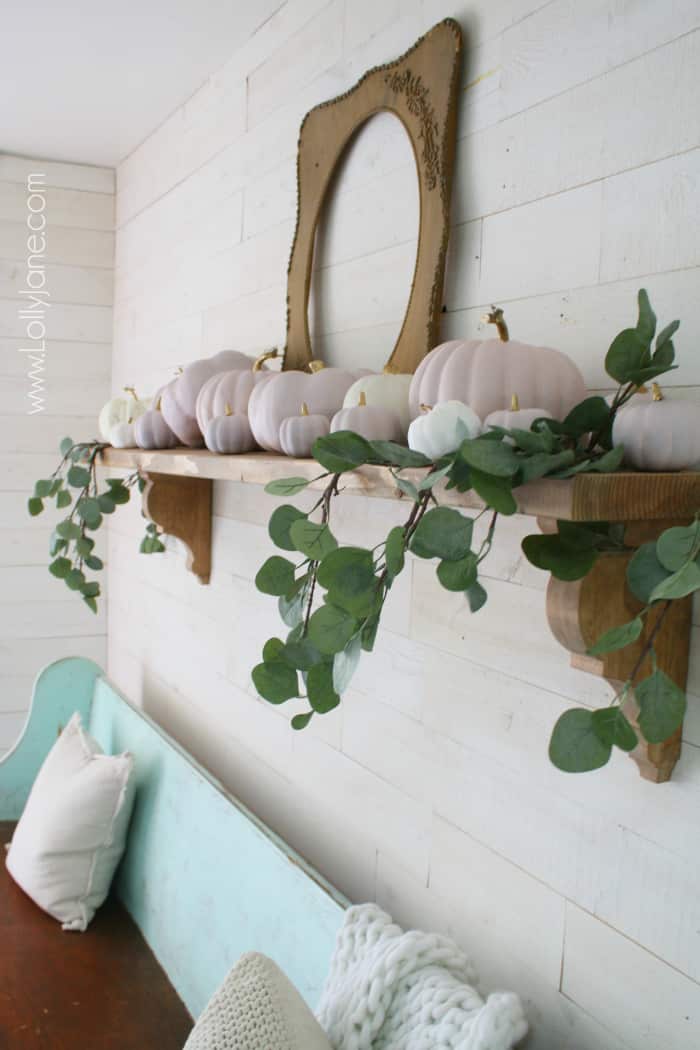
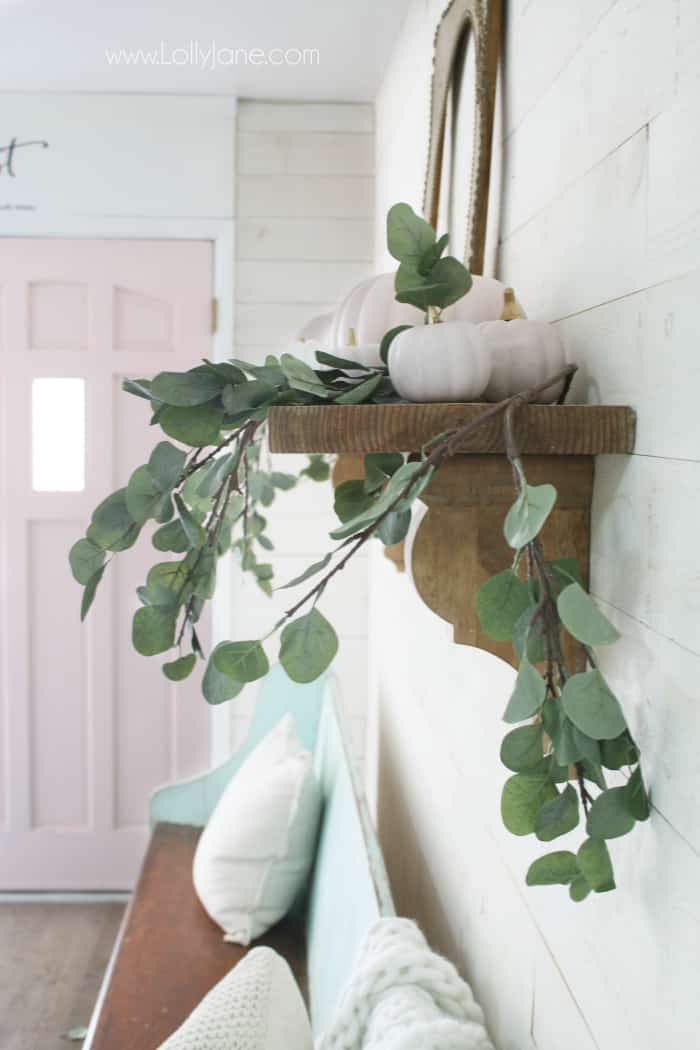
Forget traditional fall colors: try your hand with DIY pink pumpkins for a fresh fall mantel decor this year! Create this look with a little chalk paint and faux eucalyptus leaves to welcome this fall season.
When we spotted Loving Lombard + Fifth’s Ombre Pumpkin Mantel, we fell in LOVE! You know our passion for pink as it’s on Kelli’s front doors and all over our Instagram account. We knew we had to replicate her look, so darling!
Forget the standard orange and brown fall decor colors..pink and white matches my everyday decor aaaaand since it’s hotter than blazes outside, these cuties fit right in so pink fall tones, it is!
Supplies to Paint Pink Pumpkins
Check out our Amazon store to find all the materials in one spot!
*note: some links may be affiliate links which means we may make pennies per dollar from your purchase at no extra cost to you. See our disclosure.
- 8 Pack of Mini Pumpkins
- Paper Mache Pumpkins
- Plastic Pumpkins
- Rustoleum Chalked Spray Paint “Blush Pink”
- Rustoleum Metallic Gold Spray Paint
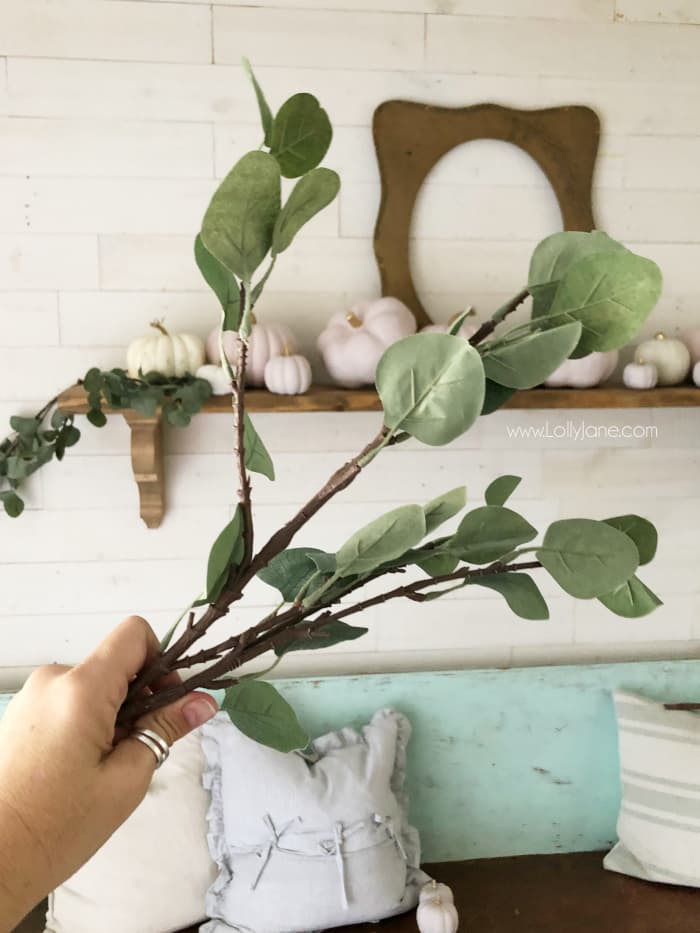
- Eucalyptus Leaves Stems
How to quickly spray paint pink pumpkins
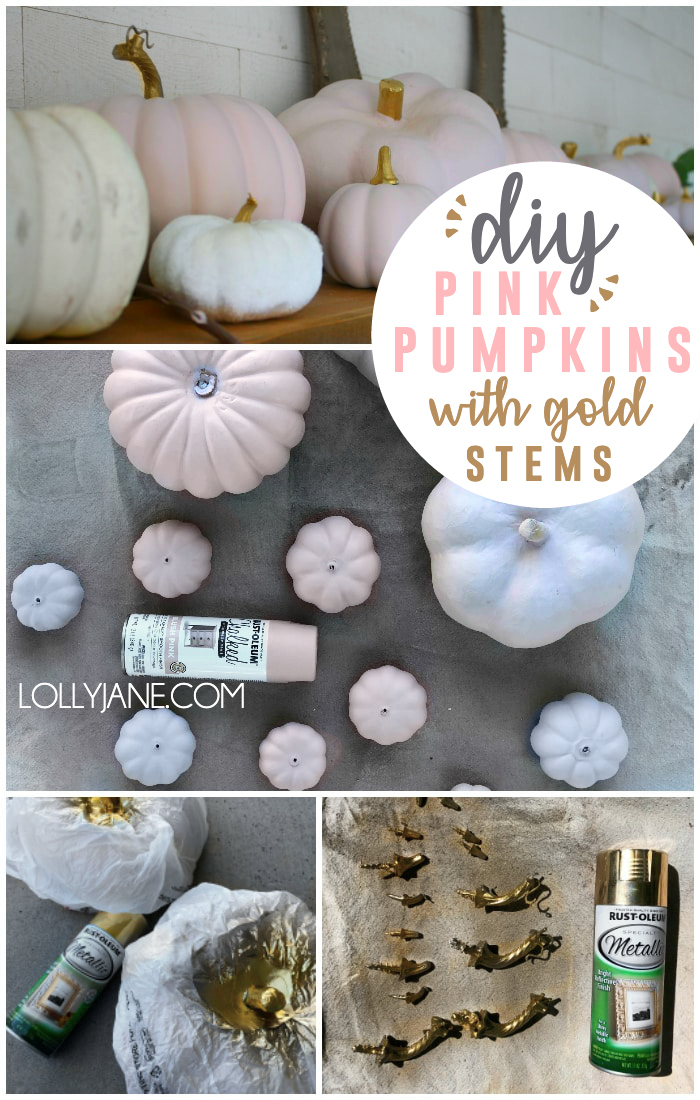
We’ve made a pinnable image for you to easily show you how to paint pink pumpkins! Feel free to share it to one of your boards, we’d be so grateful!
- Pull stems off of pumpkins, they’ll pop right out!
- Lay out a drop cloth and set your pumpkins at least 6″ away from each other.
- Line stems up, 2″ apart.
- Lightly spray pumpkins until well coated, they’ll need 2 coats.
- Lightly spray stems, they’ll only need 1 coat.
- If you have stems that aren’t removable like our paper mache pumpkins, don’t despair! Spray paint the whole pumpkin first. When dry (about 30 minutes depending on your weather), wrap it inside of a plastic grocery bag and rip a small hole into the bag then pull stem through. Tape the bag into place so the bag doesn’t shift. Lightly spray gold, let dry for a few minutes then remove the bag.
- Gently push dried stems back into now-pink pumpkins.
How to Style a Pink Pumpkin Fall Mantel
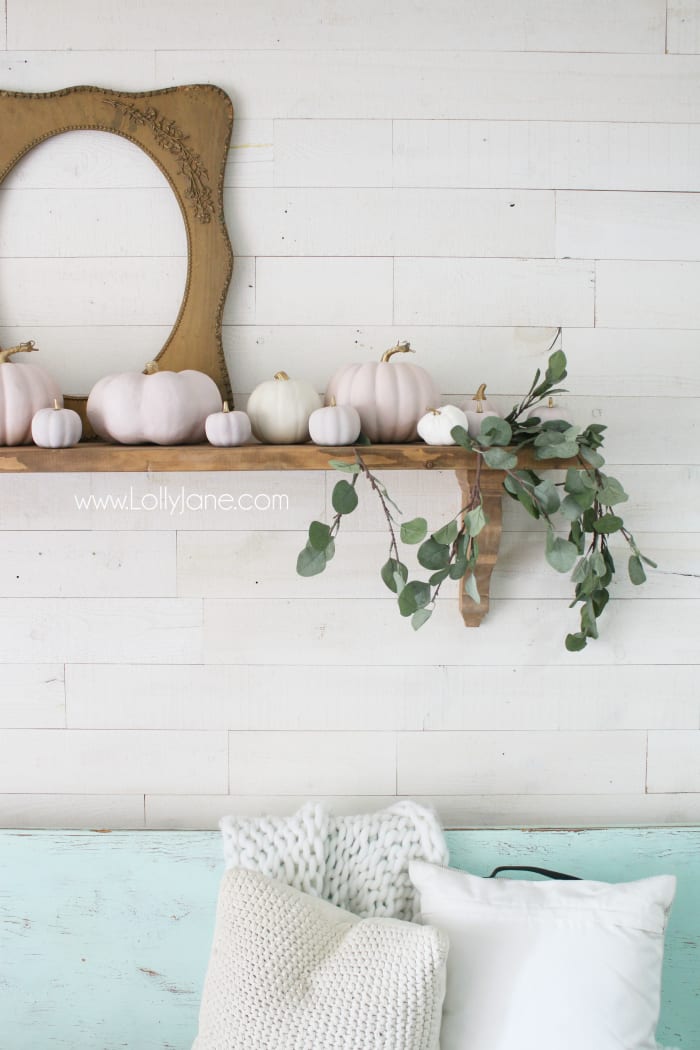
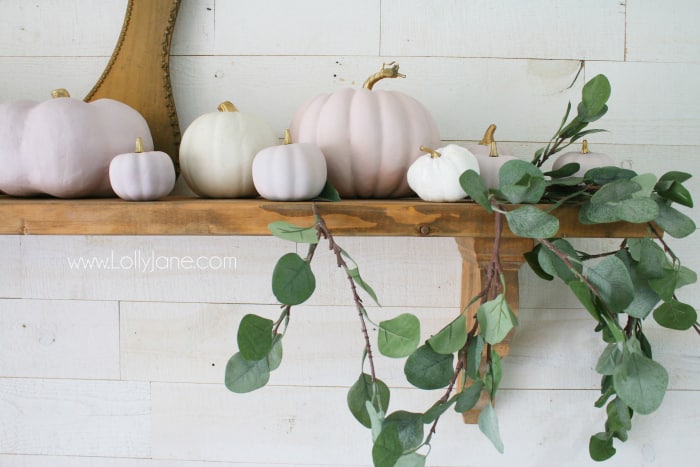
To decorate the mantle, place pumpkin in a row. There’s no rhyme or reason, we just placed the largest ones every foot or so and filled in with smaller pumpkins around them.
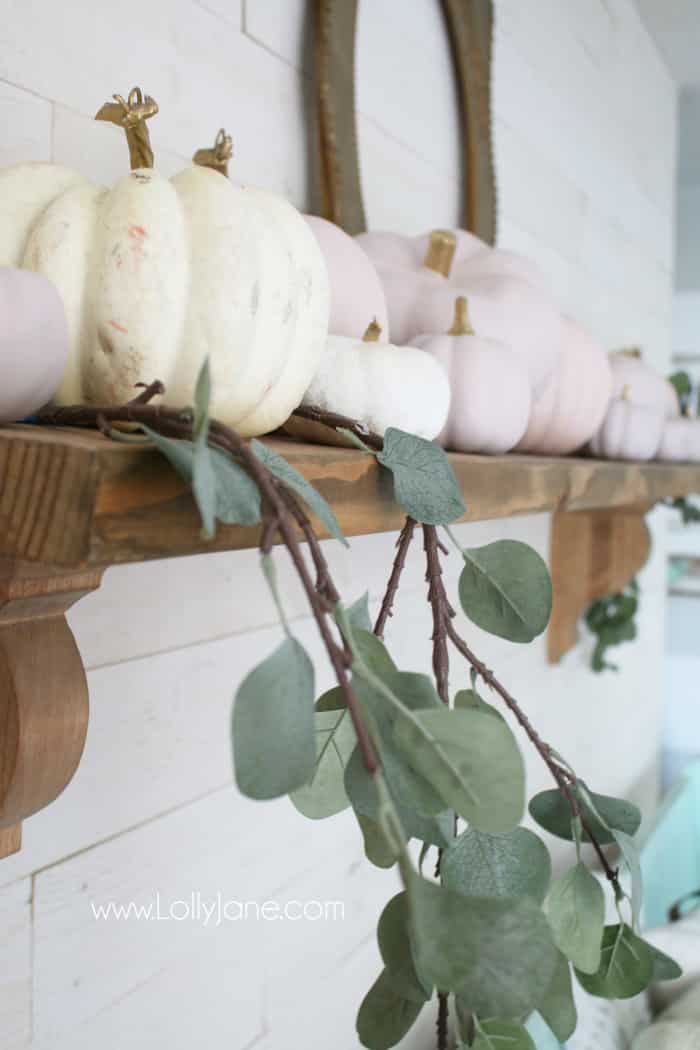
We then placed the eucalyptus stems on the ends of the mantel, pushing them between pumpkins until they looked nice and festive!
You may need to tape down stems directly to the mantel to prevent them from falling off the mantel, depending on your stem length.
See more of our fall decor ideas:
- This House Runs on Pumpkin Spice Fall Mat Tutorial
- DIY Pink Happy Fall Wood Sign
- Traditional Fall Mantel Decor
- Easy Fall Porch Decor
- Fall Wheel Wreath Tutorial
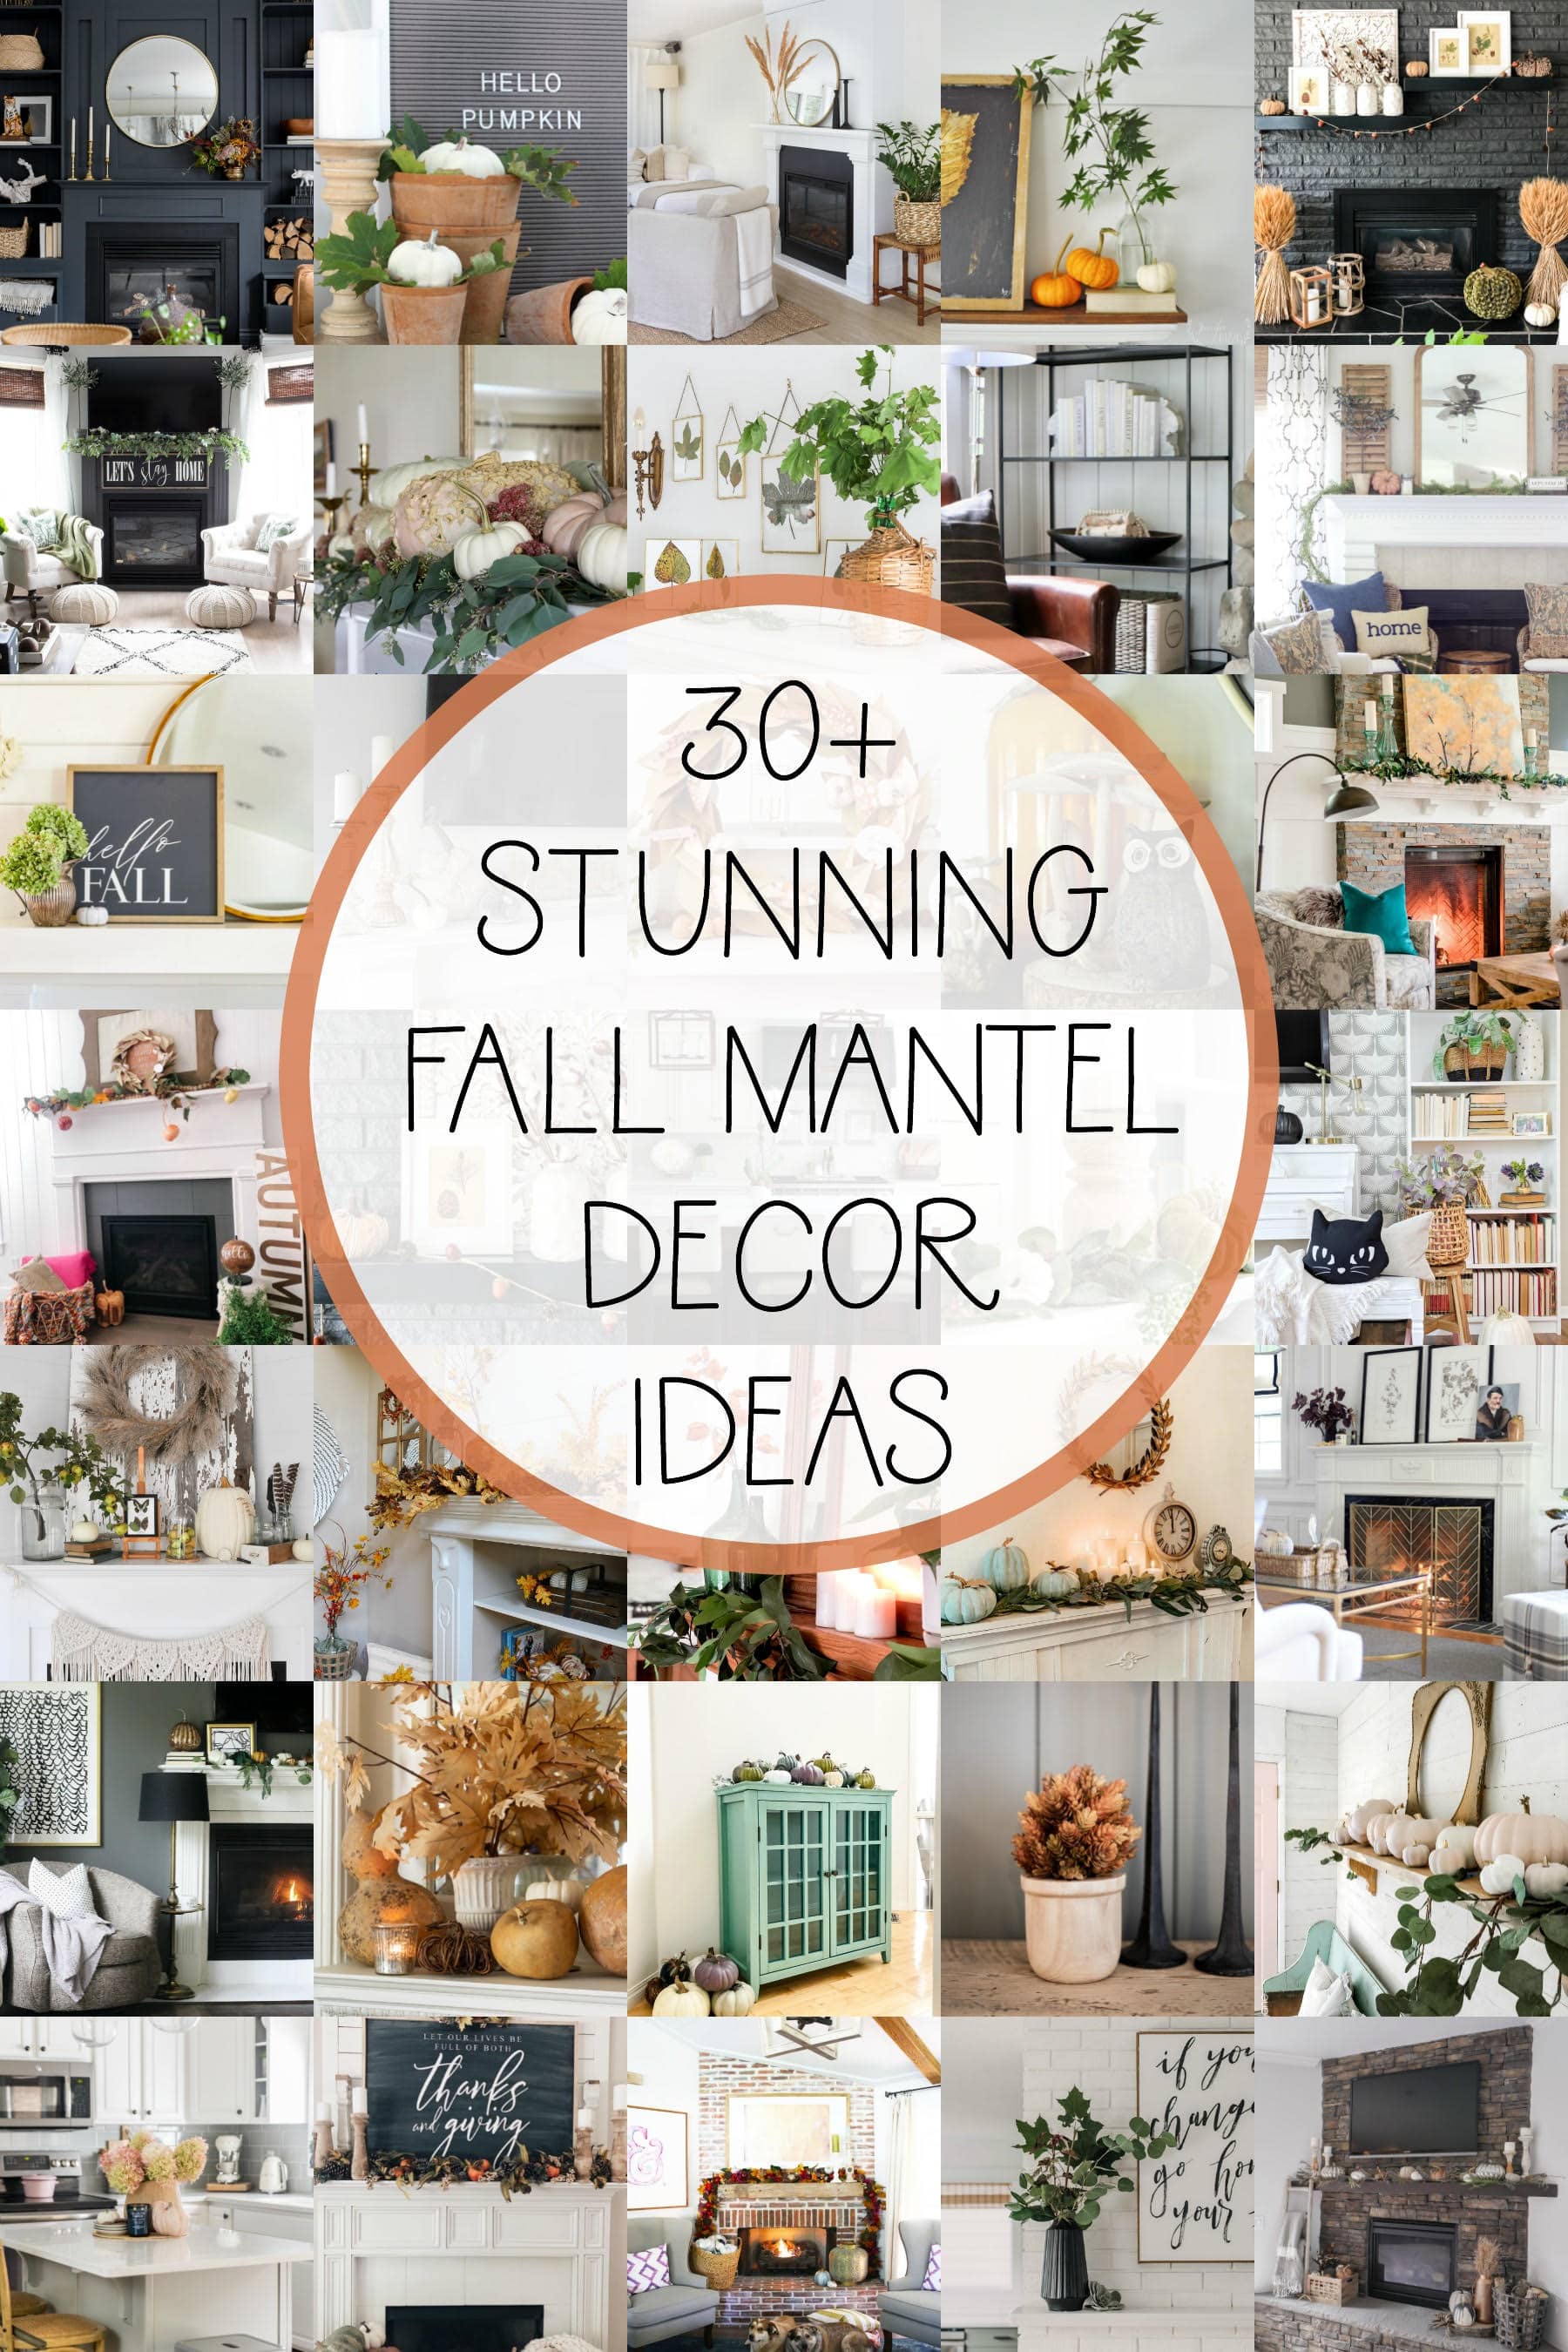
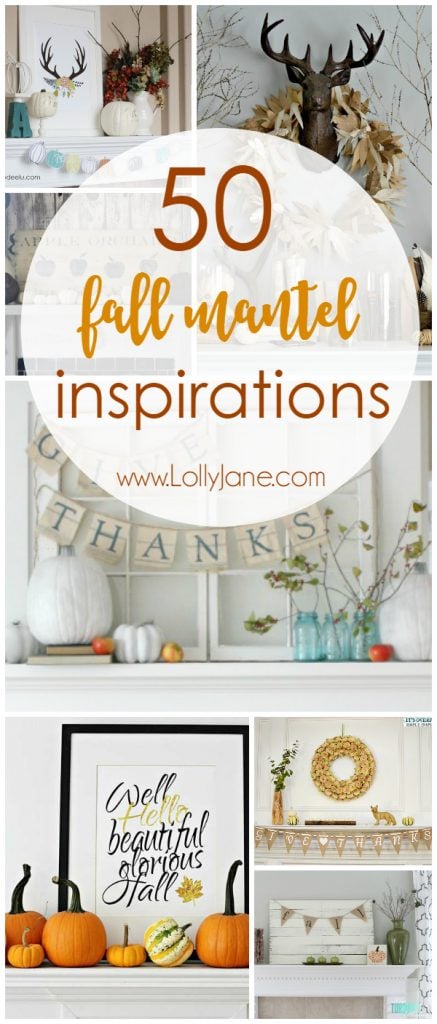
30 Fresh Fall Mantel Decor Ideas
Feeling inspired yet?
Be sure to check out 29 more fall mantel decor and fall vignette ideas from our talented blog buddies!
Simply click on the links below the images to see more. Happy decorating!
Hallstrom Home | Sincerely, Marie Designs | Life is a Party | Cherished Bliss | Lolly Jane (that’s us!)
The Happy Housie | Rooms FOR Rent | The Turquoise Home | Jennifer Rizzo | Craftberry Bush
The Handmade Home | So Much Better With Age | Modern Glam | Grace in My Space | House by Hoff
The DIY Mommy | Jenna Kate at Home | Home Made Lovely | Maison de Cinq | Clean & Scentsible
Tatertots and Jello | A Pretty Life in the Suburbs | All Things With Purpose | Town and Country Living | She Gave it a Go







These are darling!! Yes to all things PINK! So cute, ladies 🙂
Yes, gimme all the pink! Thank you!!
So pretty!! I love these pink pumpkins! Such a pretty color with the eucalyptus.
Hugs, Jamie
I love the different shades of pink! So pretty! Pinned!
xoxo
Thanks, Jen! It was a fun one!
This is such an amazing idea! I am obsessed! pinned to my fall group board.
I love those cute little pumpkins that can be custom painted to match any colour scheme for fall. Thanks for sharing on the blog hop!
Sharing on the weekend edit, and might share on future post I am working on too! love the shades of color!
Hey thank you so much, Laura! XO