easy play kitchen makeover
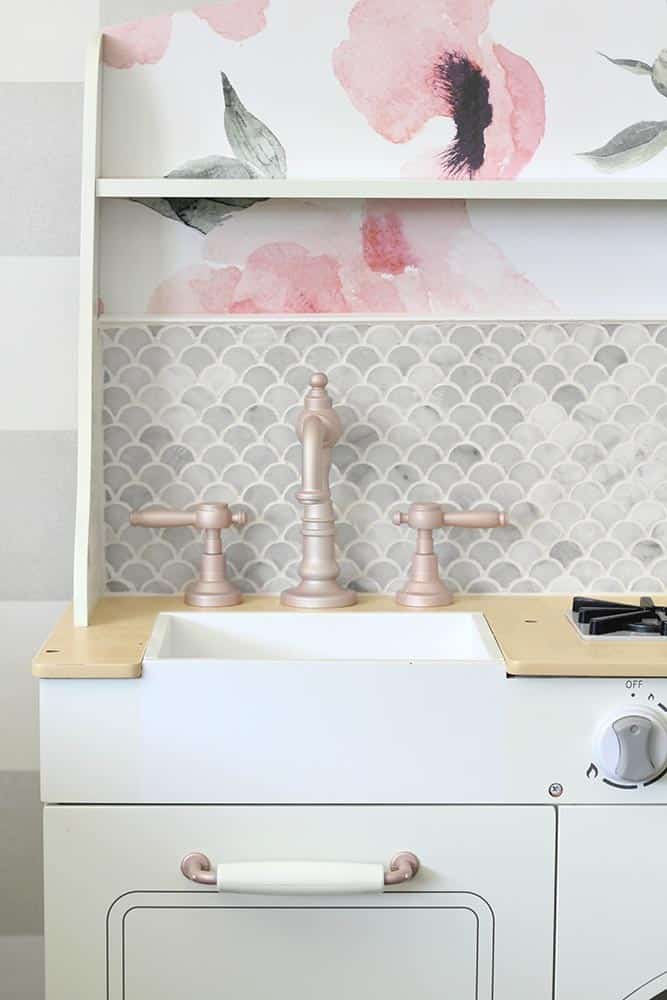
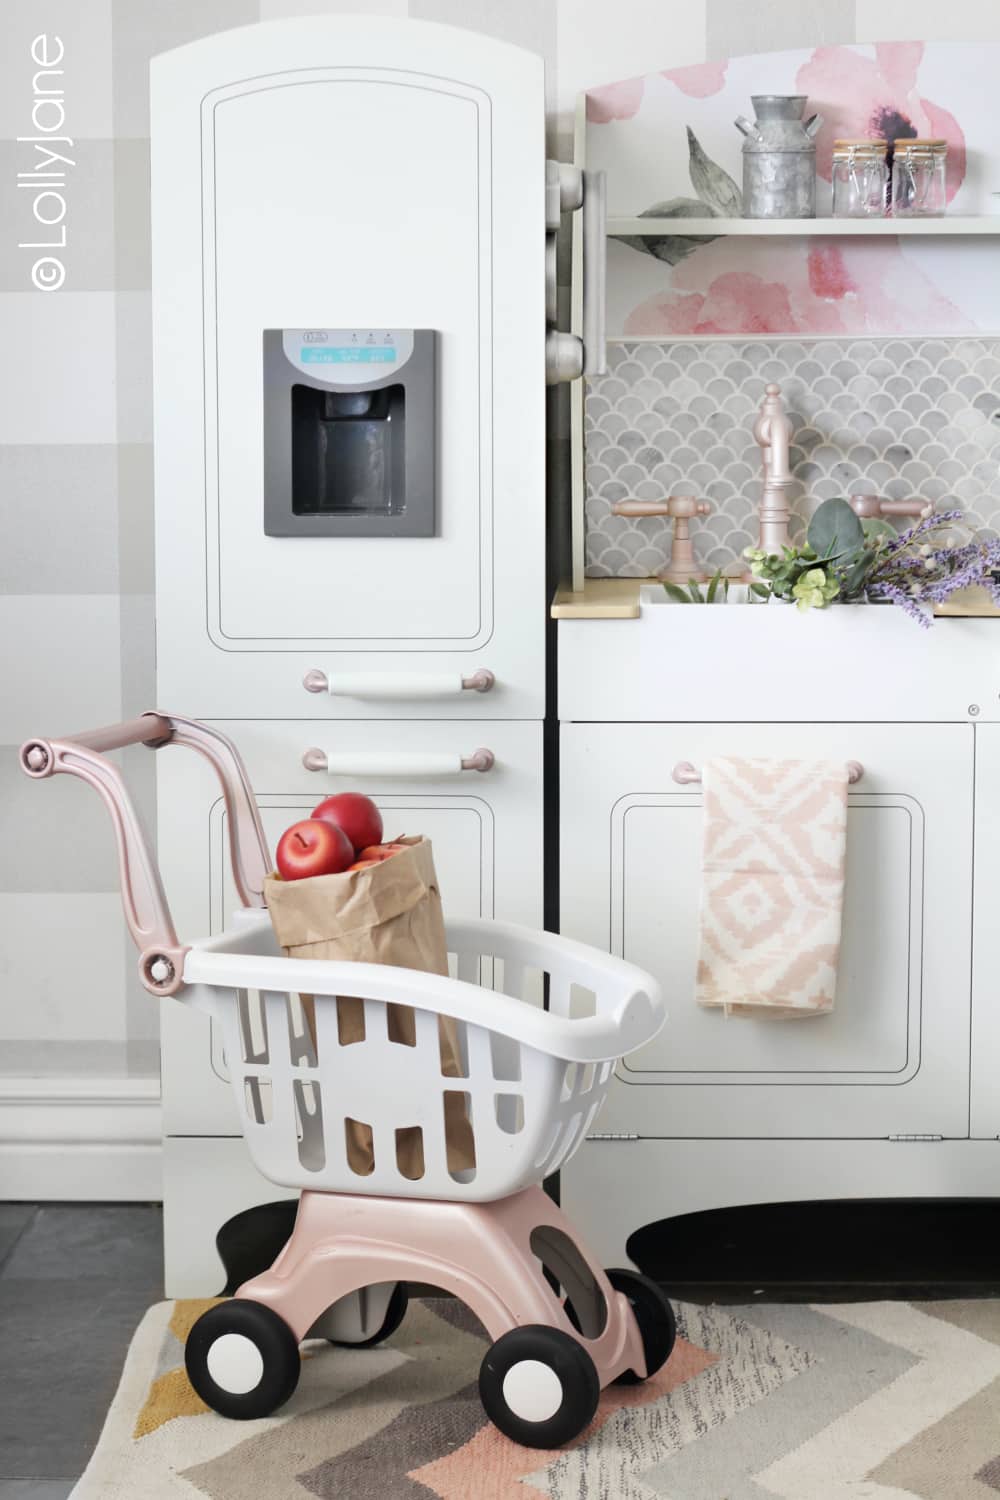
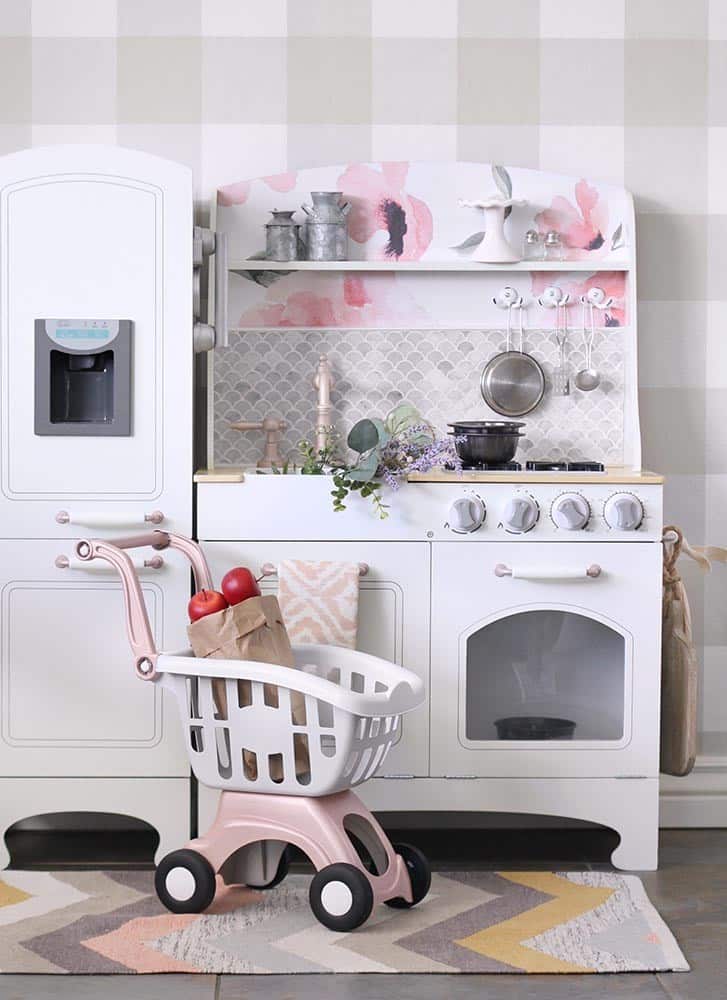
Spruce up a play kitchen with a little paint, leftover tile and wallpaper! Accessorize with thrifted items for this easy play kitchen makeover!
This easy play kitchen makeover all started with a pile of leftover sample fan tile I had from Kelli’s bathroom makeover… she had leftover wallpaper too so I basically raided her stash and, along with a little spray paint, transformed this standard play kitchen in no time at all. It now matches my daughters room perfectly. 🙂
ITEMS NEEDED FOR A play kitchen makeover:
There are just a few steps to transforming your own play kitchen (check Offer Up, Craigslist or local thrift stores for the best deals!). I used the following items:
- Play Kitchen from Sam’s Club
- Wallpaper remnant
- Leftover tile of choice
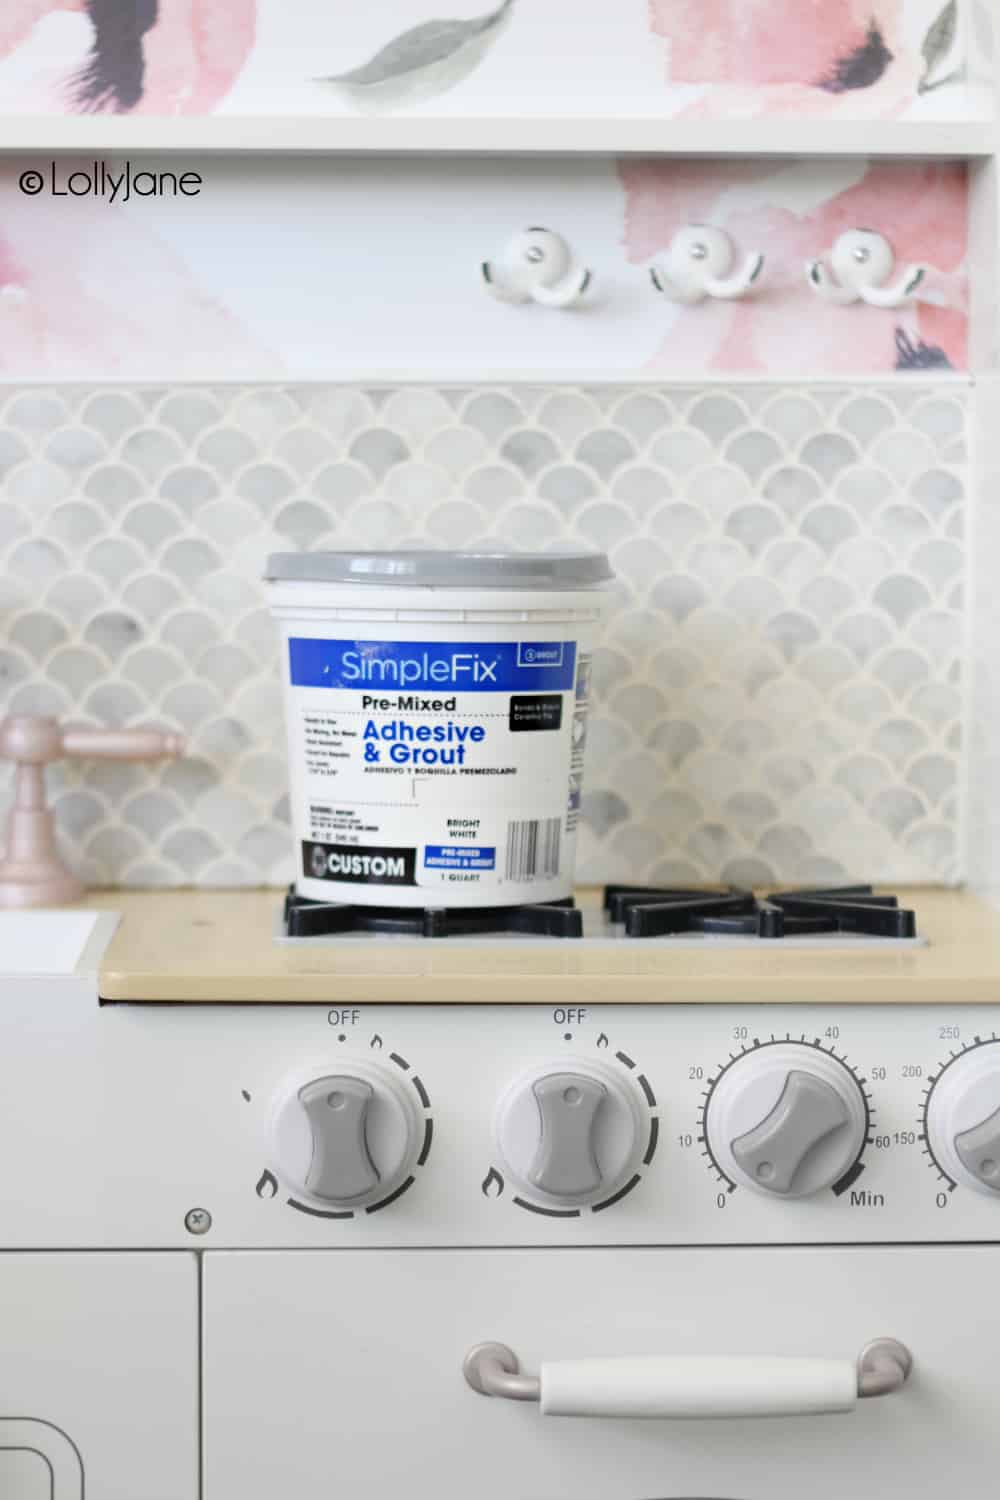
- Pre-mixed Adhesive + Grout
- Painters Tape
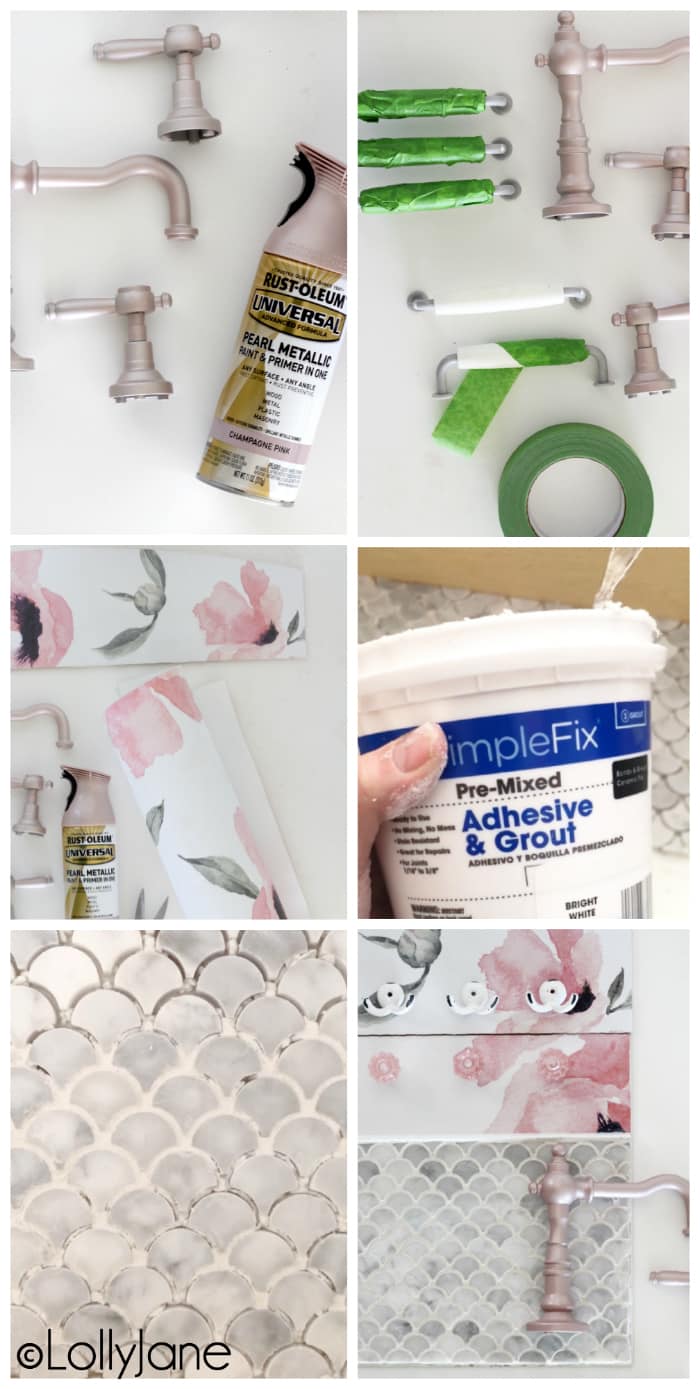
- Spray Paint (Rustoleum Pink Champagne)
- Knobs or Hooks (optional: sand the ones link down for a rustic style)
DIRECTIONS TO MAKE OVER A PLAY KITCHEN:
- Take apart your play kitchen.
- Clean the “backsplash” well and smear a thin layer of Pre-mixed Adhesive + Grout.
- Lay your larger pieces of tile.
- Using a tile cutter, fill in any gaps with tile; let dry overnight to set.
- Grout over tile with Adhesive + Grout, wipe clean. Let dry overnight.
- Wallpaper remaining backsplash with peel ‘n stick wallpaper.
- Put kitchen back together.
- Spray accessories on your own kitchen (handles, etc.) with fun color of spray paint.
- Accessorize with new hardware (optional) and enjoy!
