metal charm gift tag tutorial
Today’s post is sponsored by JOANN Fabric and Crafts. As always, all opinions are our own.
Being 2 of 9 children in our family we were raised with handmade or upcycled gifts more often than not and we still LOVE to receive them. Today is our birthday, in fact, and Kristi’s husband made an accent wall from reclaimed wood and that is pretty much the best gift ever… the gift of time! Putting special details into presents this time of year lets the giftee know you’re thinking of them and adds the perfect personal touch.
With so many holiday parties this time of year, we thought it would be fun to add some keepsakes onto our hostess and holidays gifts. With one trip to JOANN, we were able to get all of the tools from start to finish in making personalized, metal stamped tags. As first-time stampers, it was a breeze to snag ImpressArt’s stamping kit (plus some extra goodies) and follow the online tutorial to make a handmade gift in no time at all.
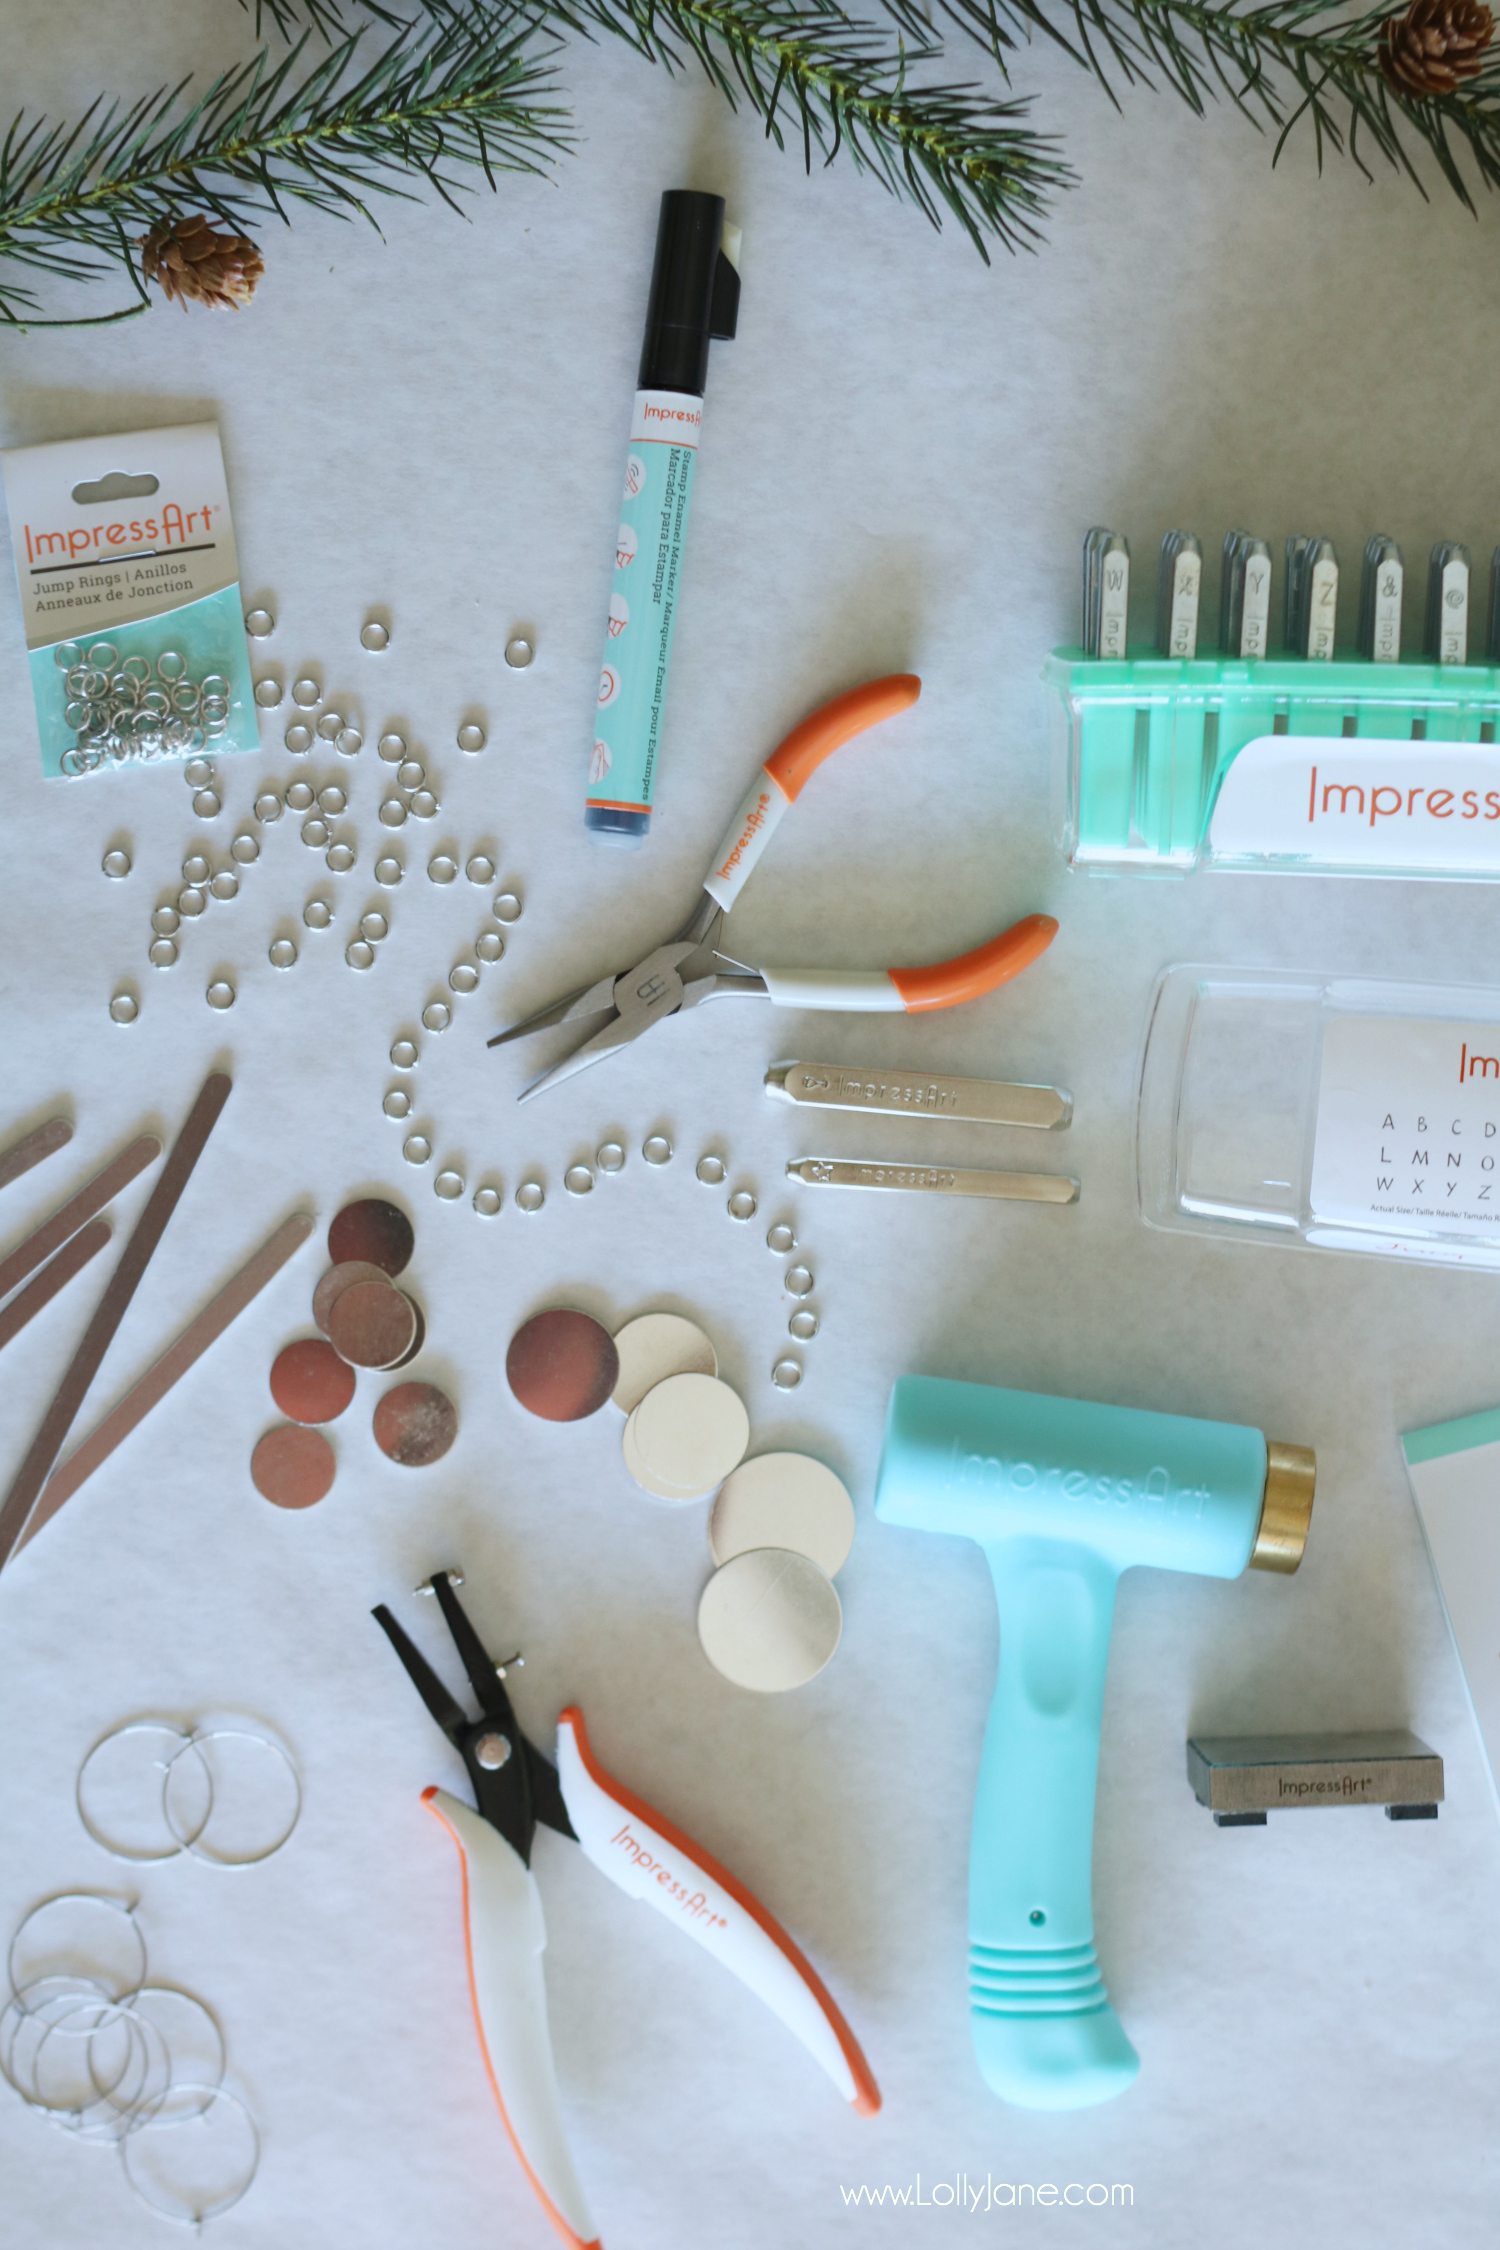
To make your own you’ll need:
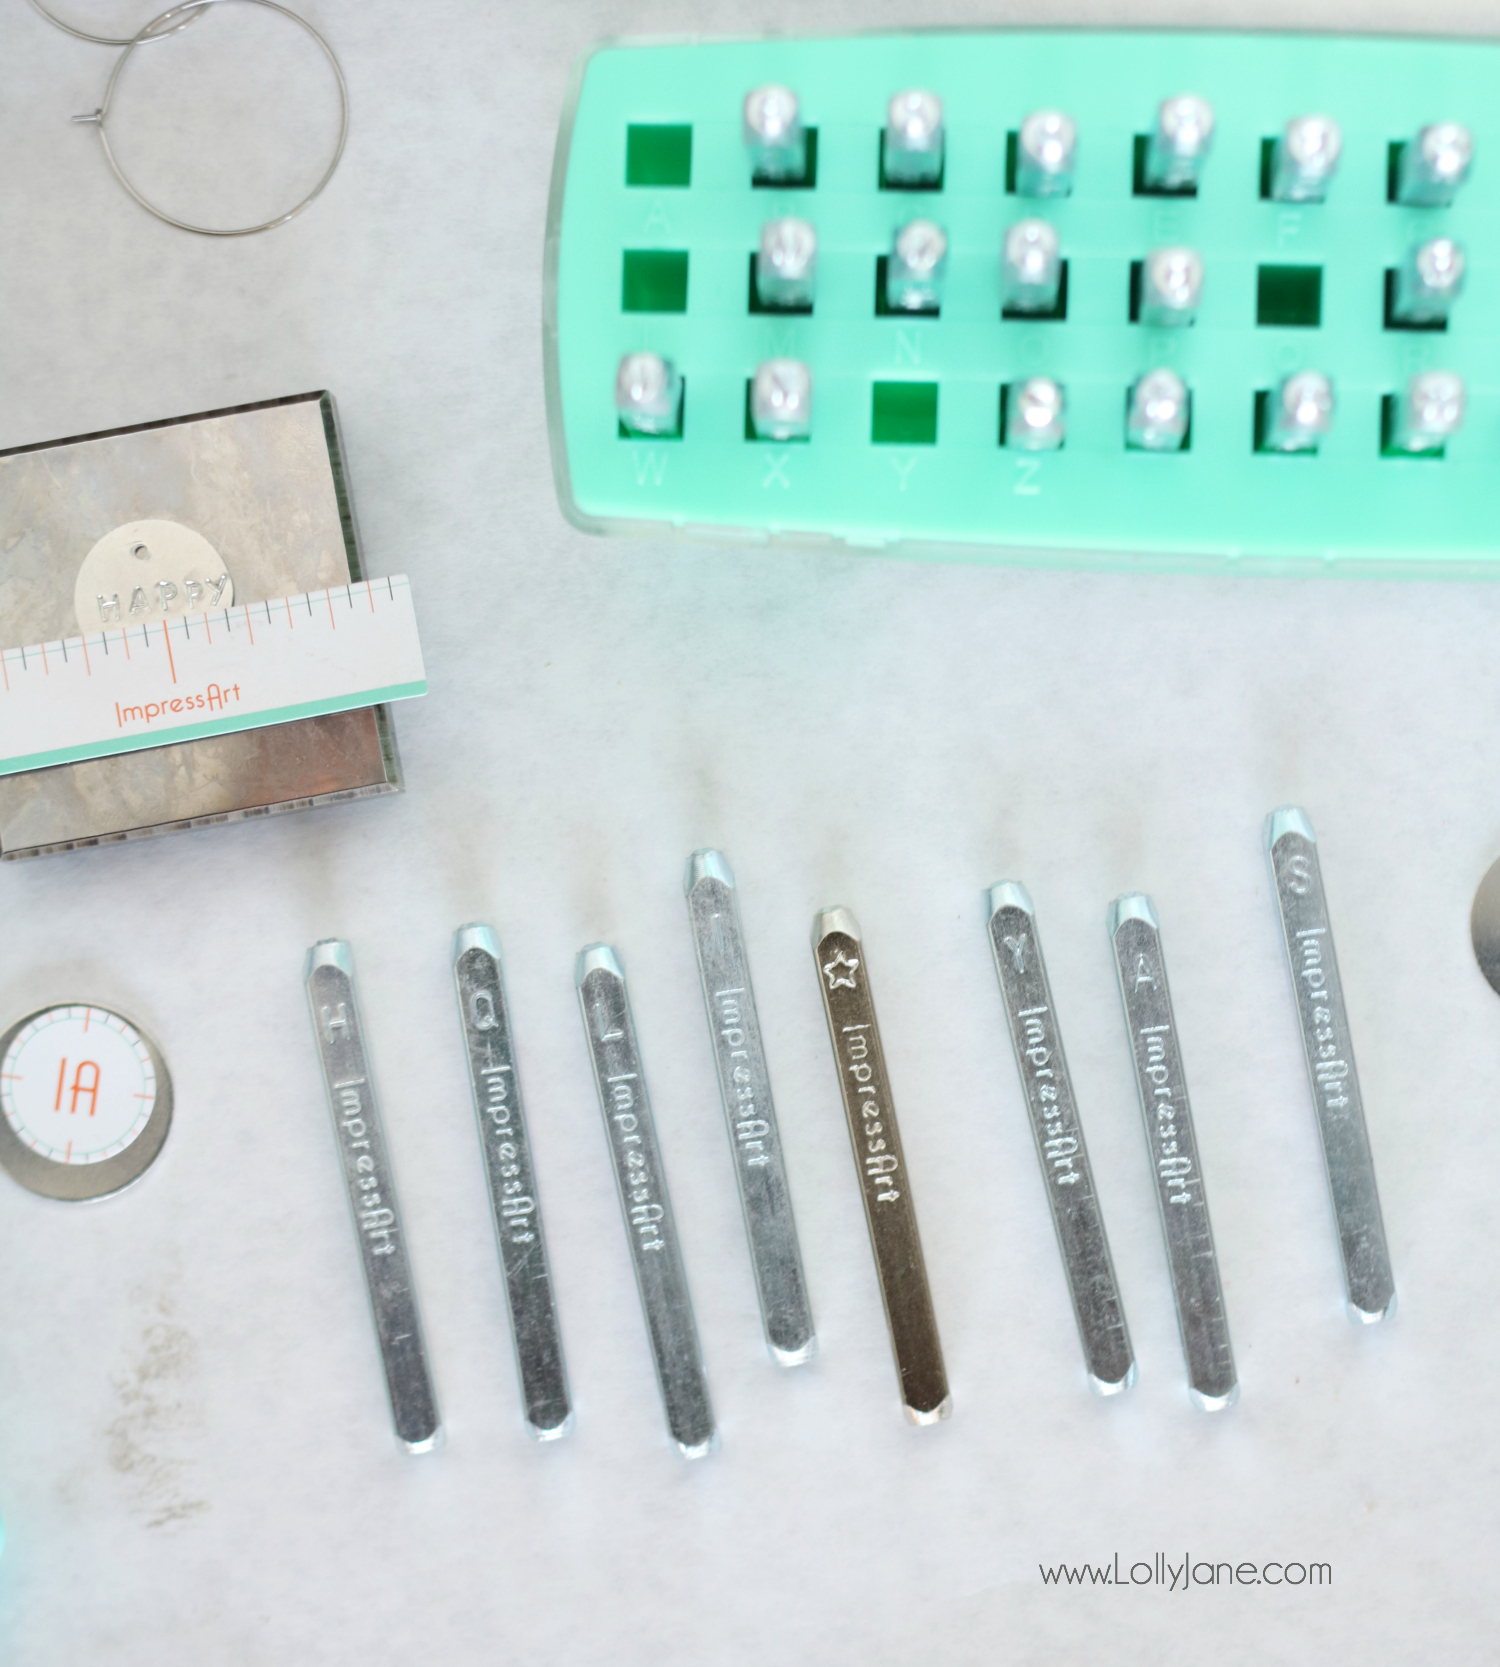
- ImpressArt Letter Stamps
- ImpressArt 1″ Stamping Blanks
- ImpressArt 3/4″ Stamping Blanks
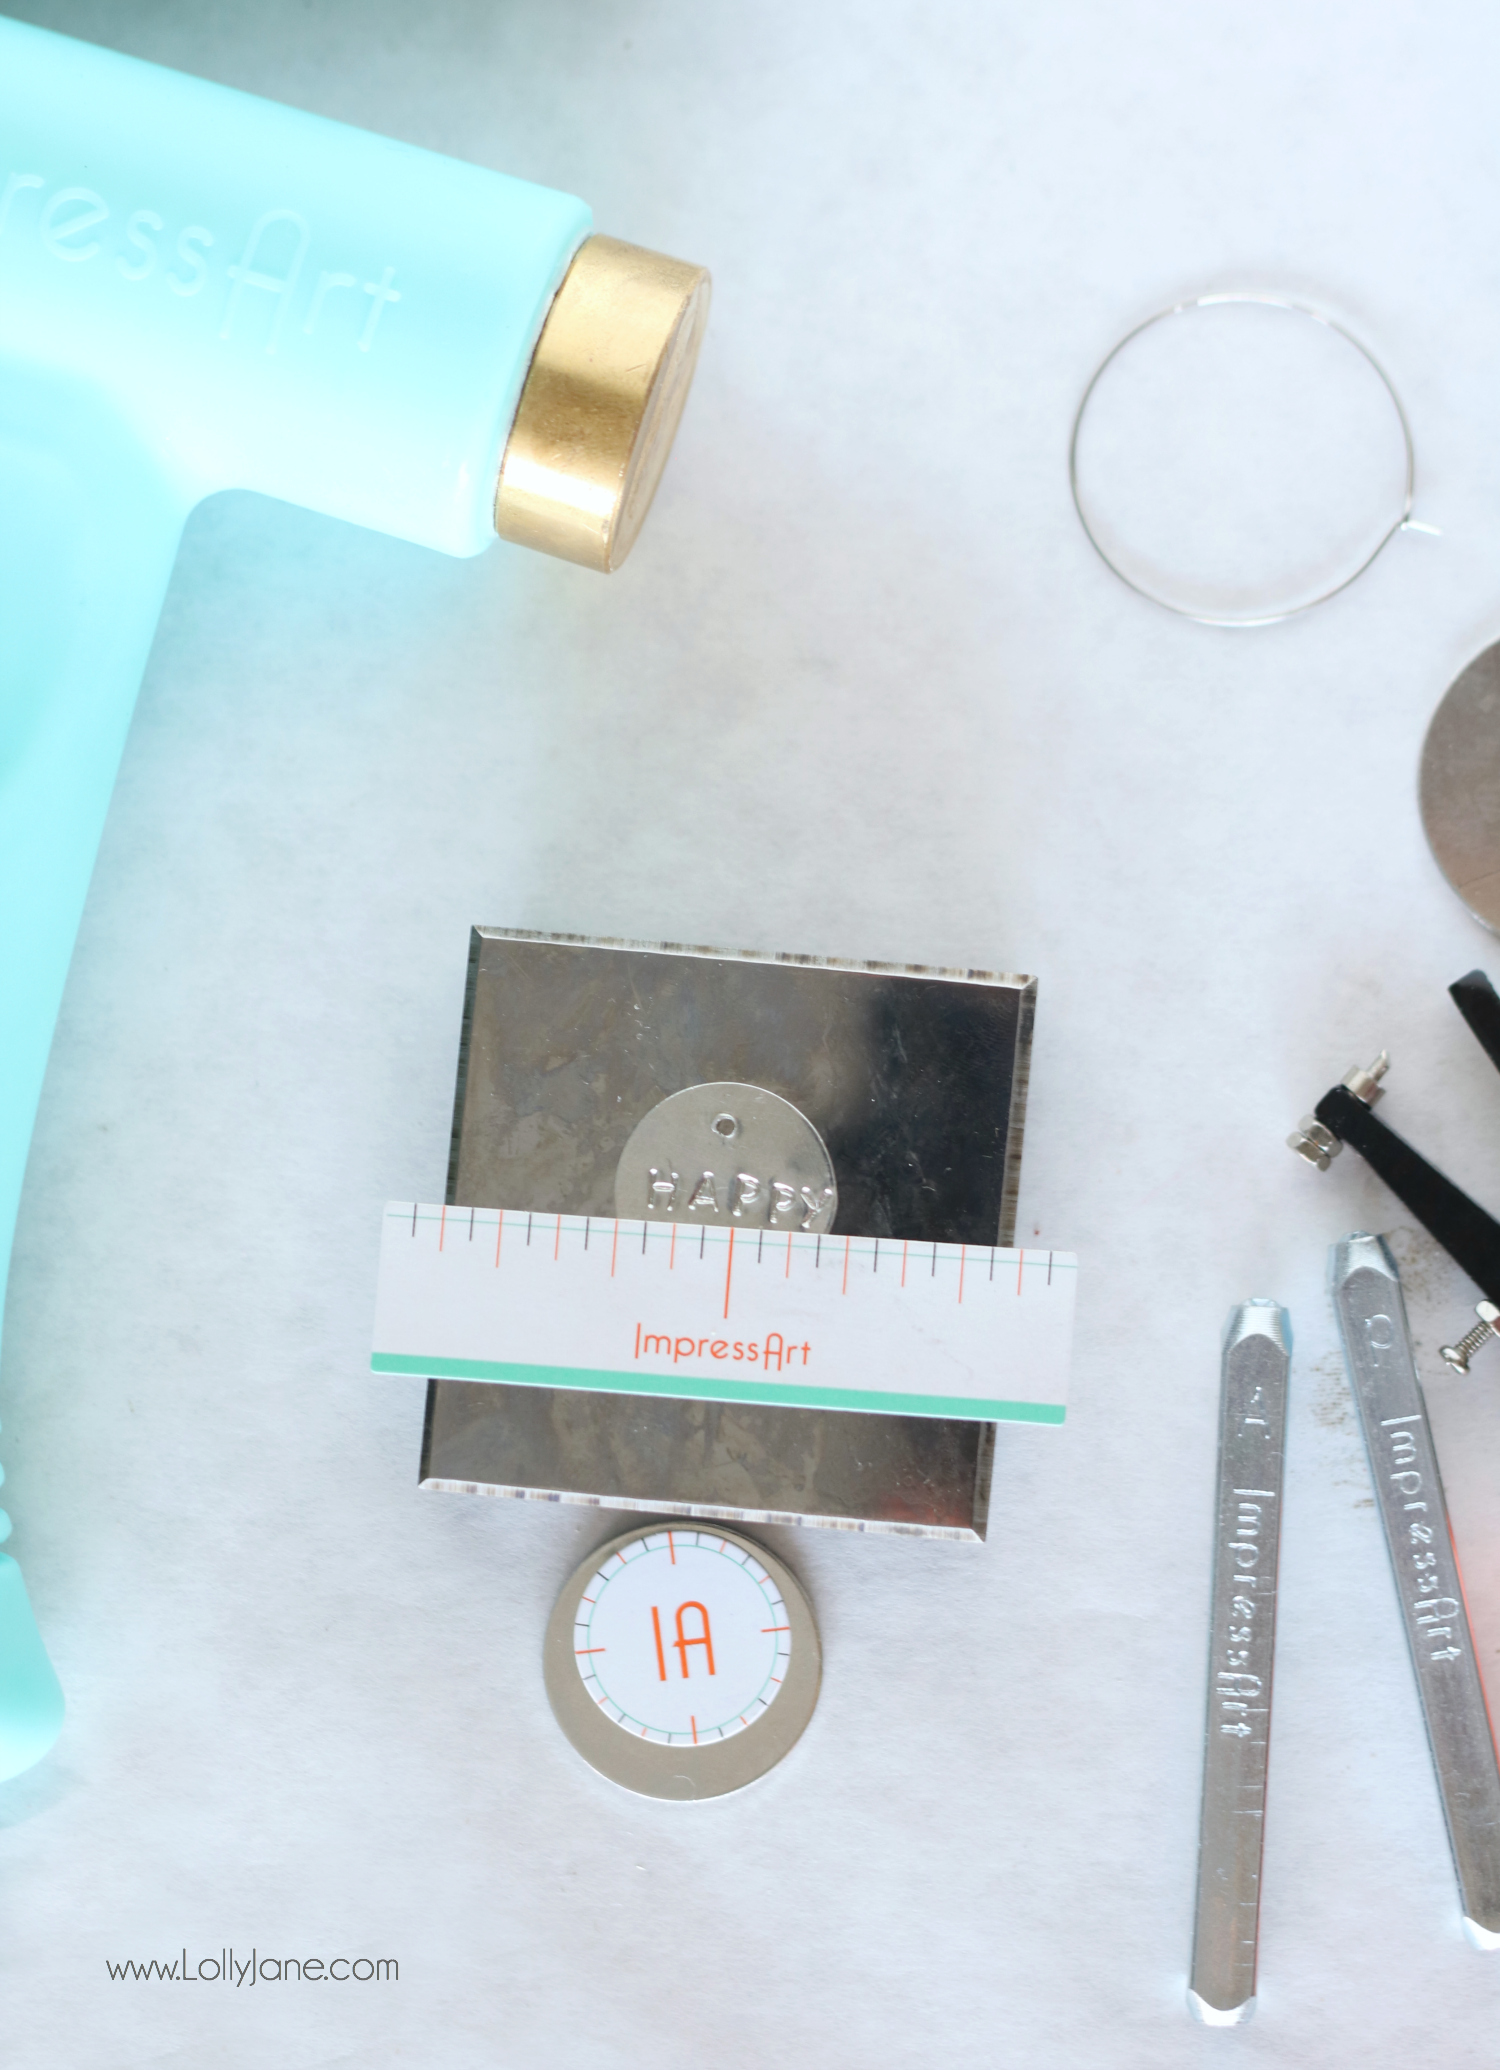
- ImpressArt Ergo-Angle Metal Stamping Hammer
- ImpressArt Stamping Block
- ImpressArt Stamping Guide (in store)
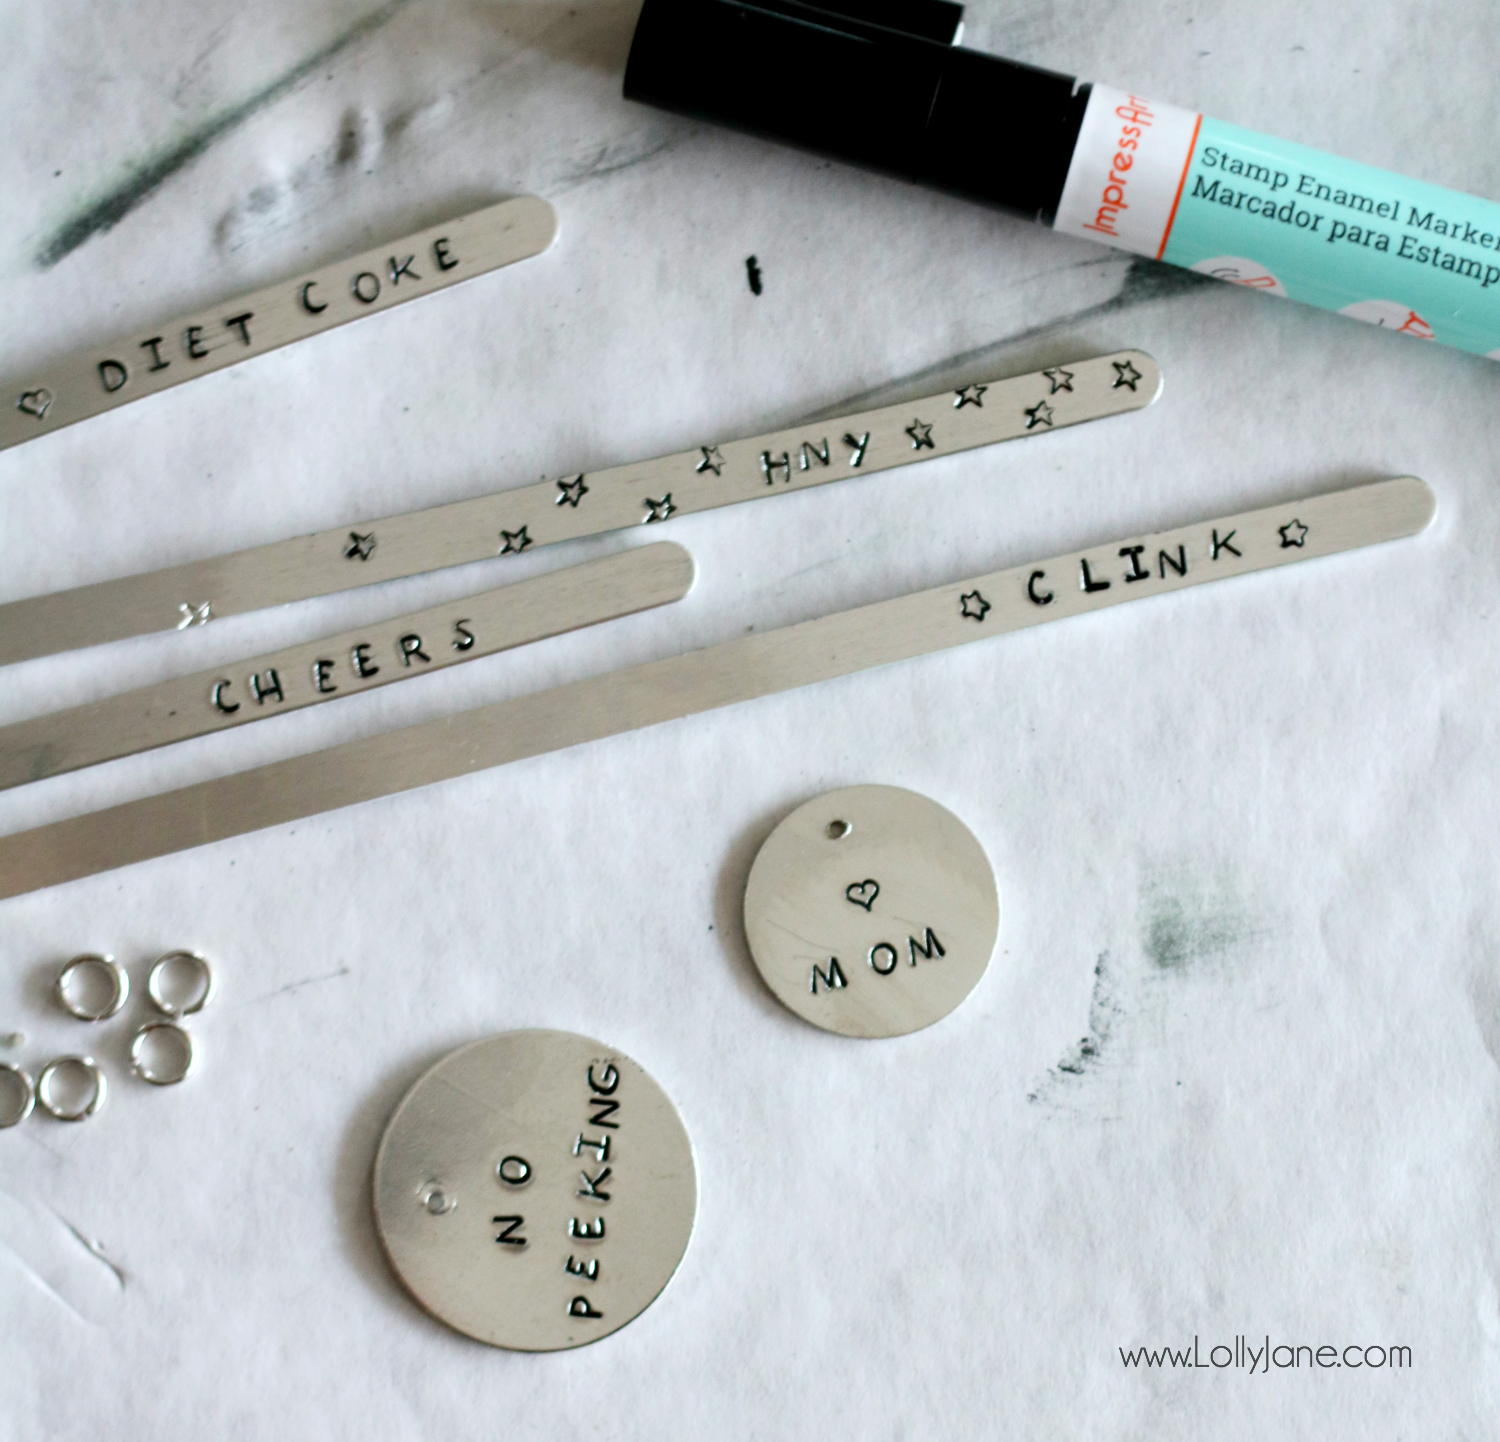
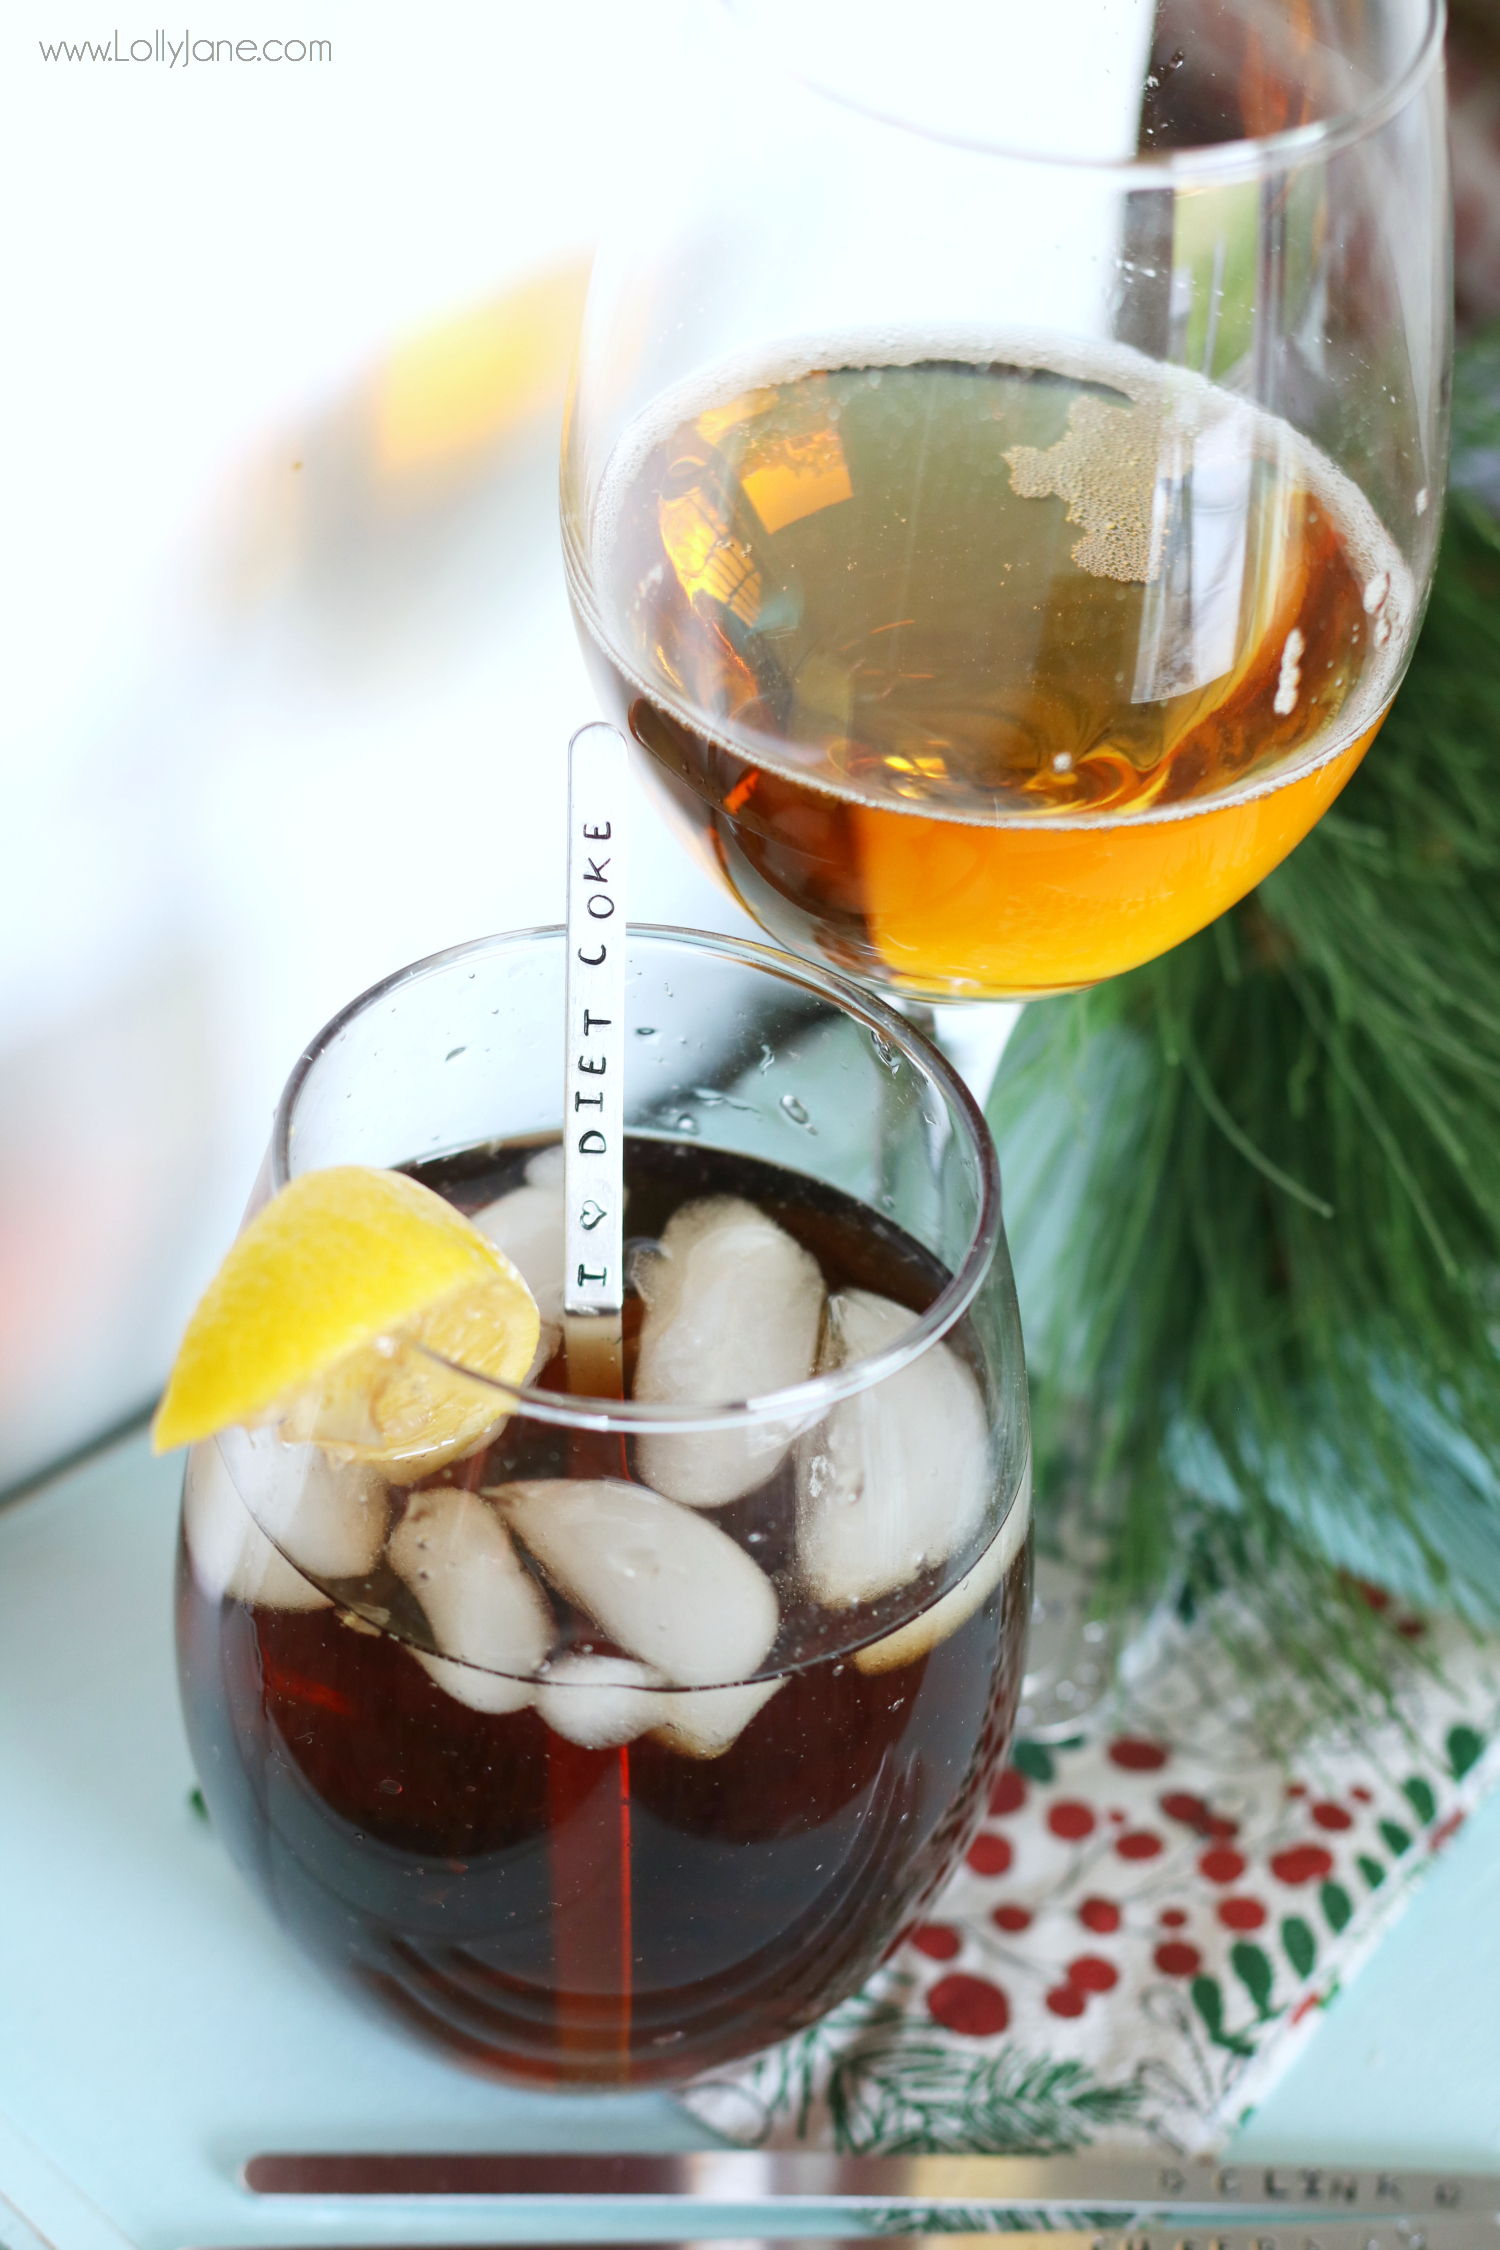
- ImpressArt Bracelet or Stirring Stick Blank
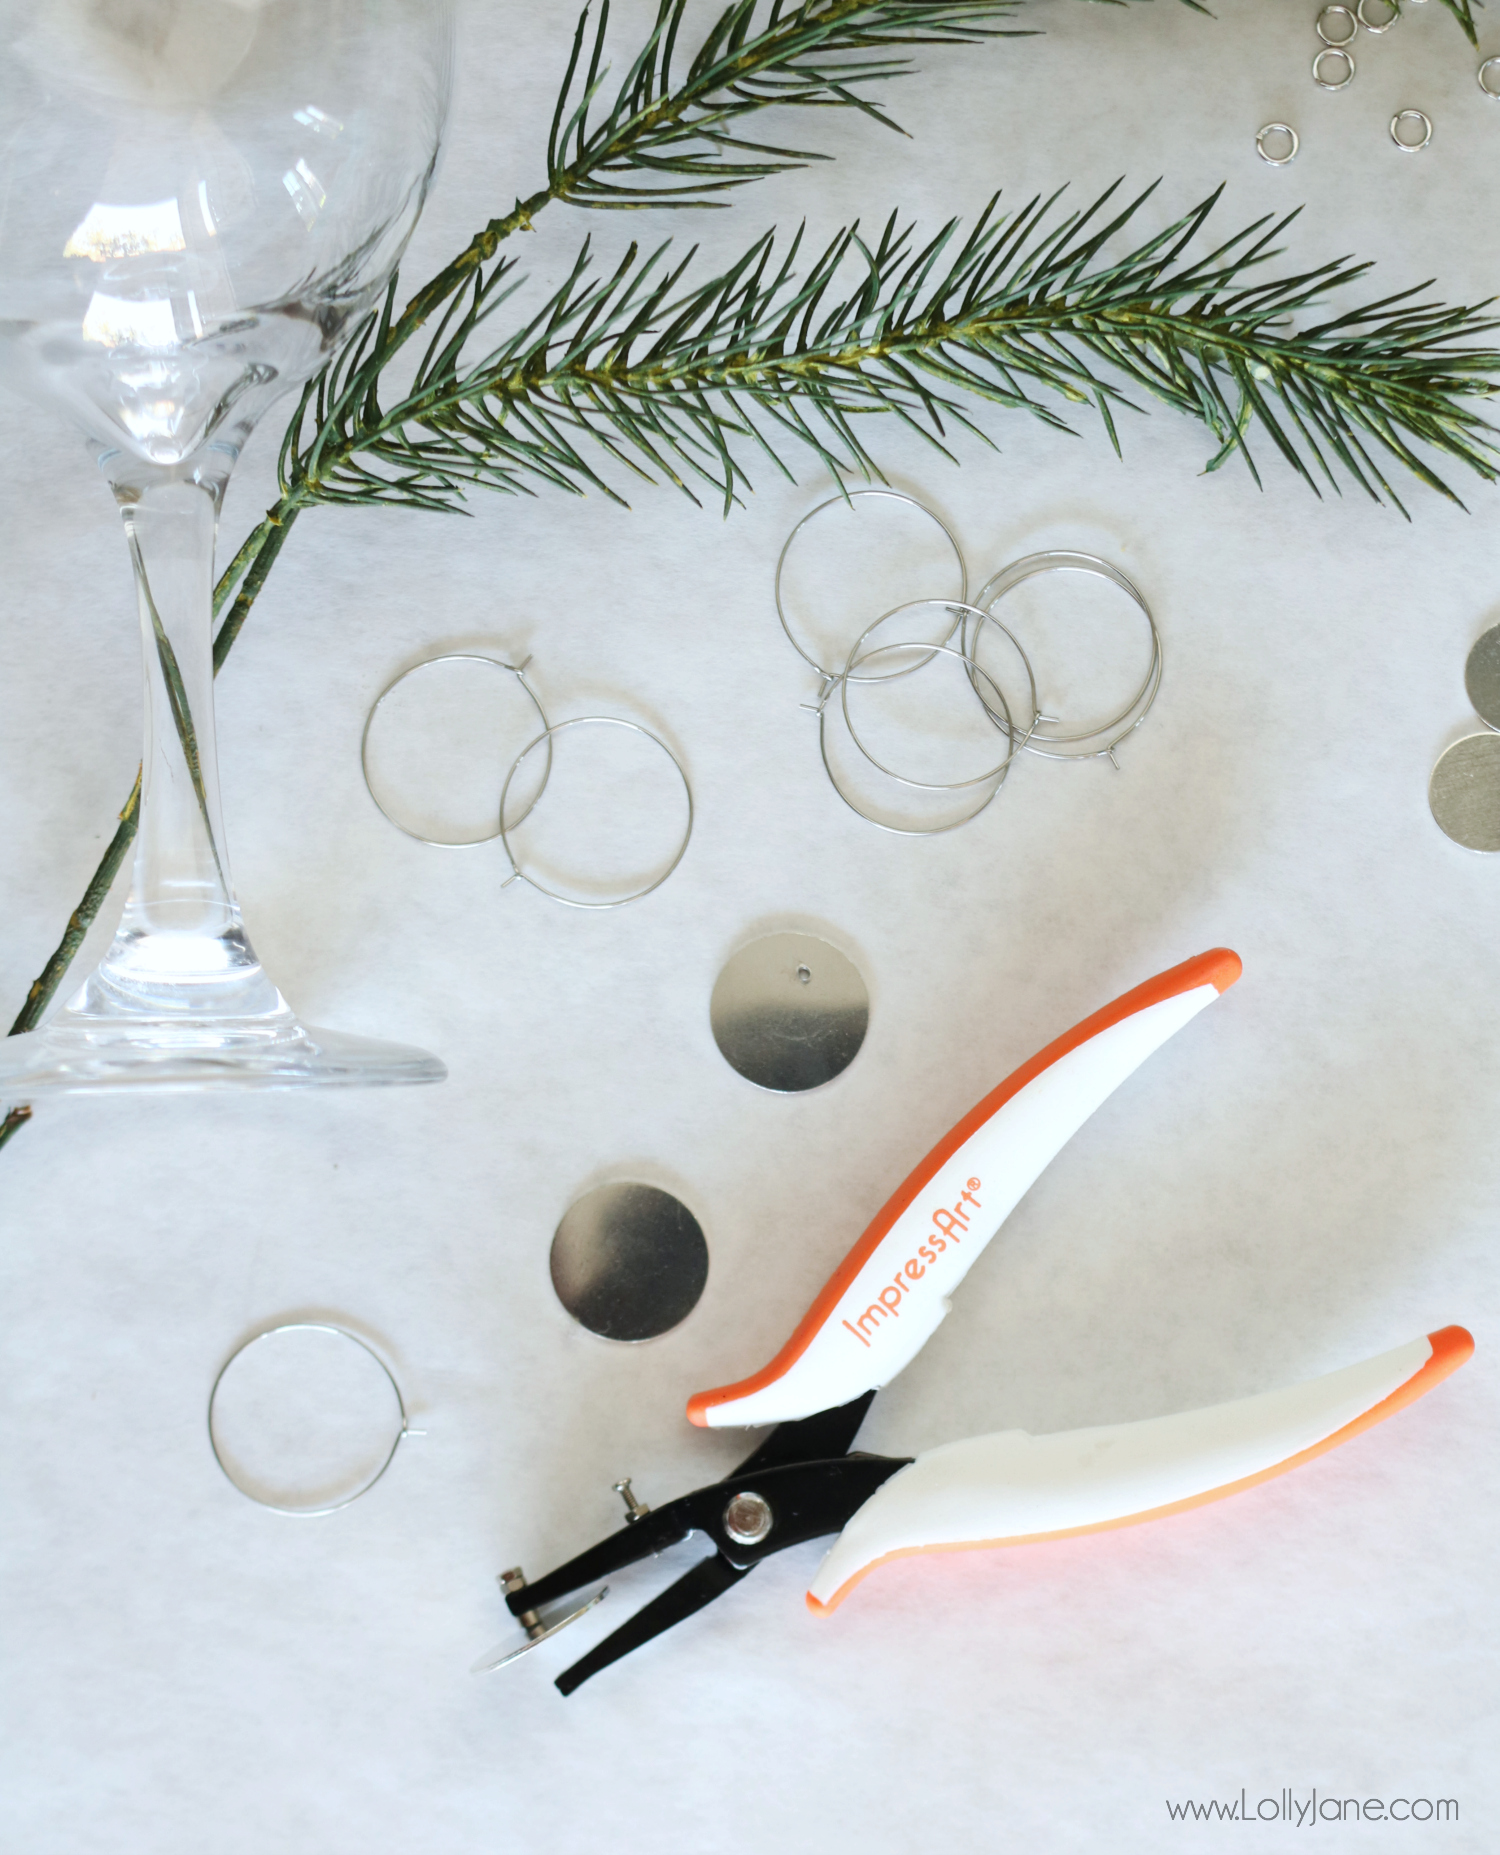
- ImpressArt Hole Punch Pliers
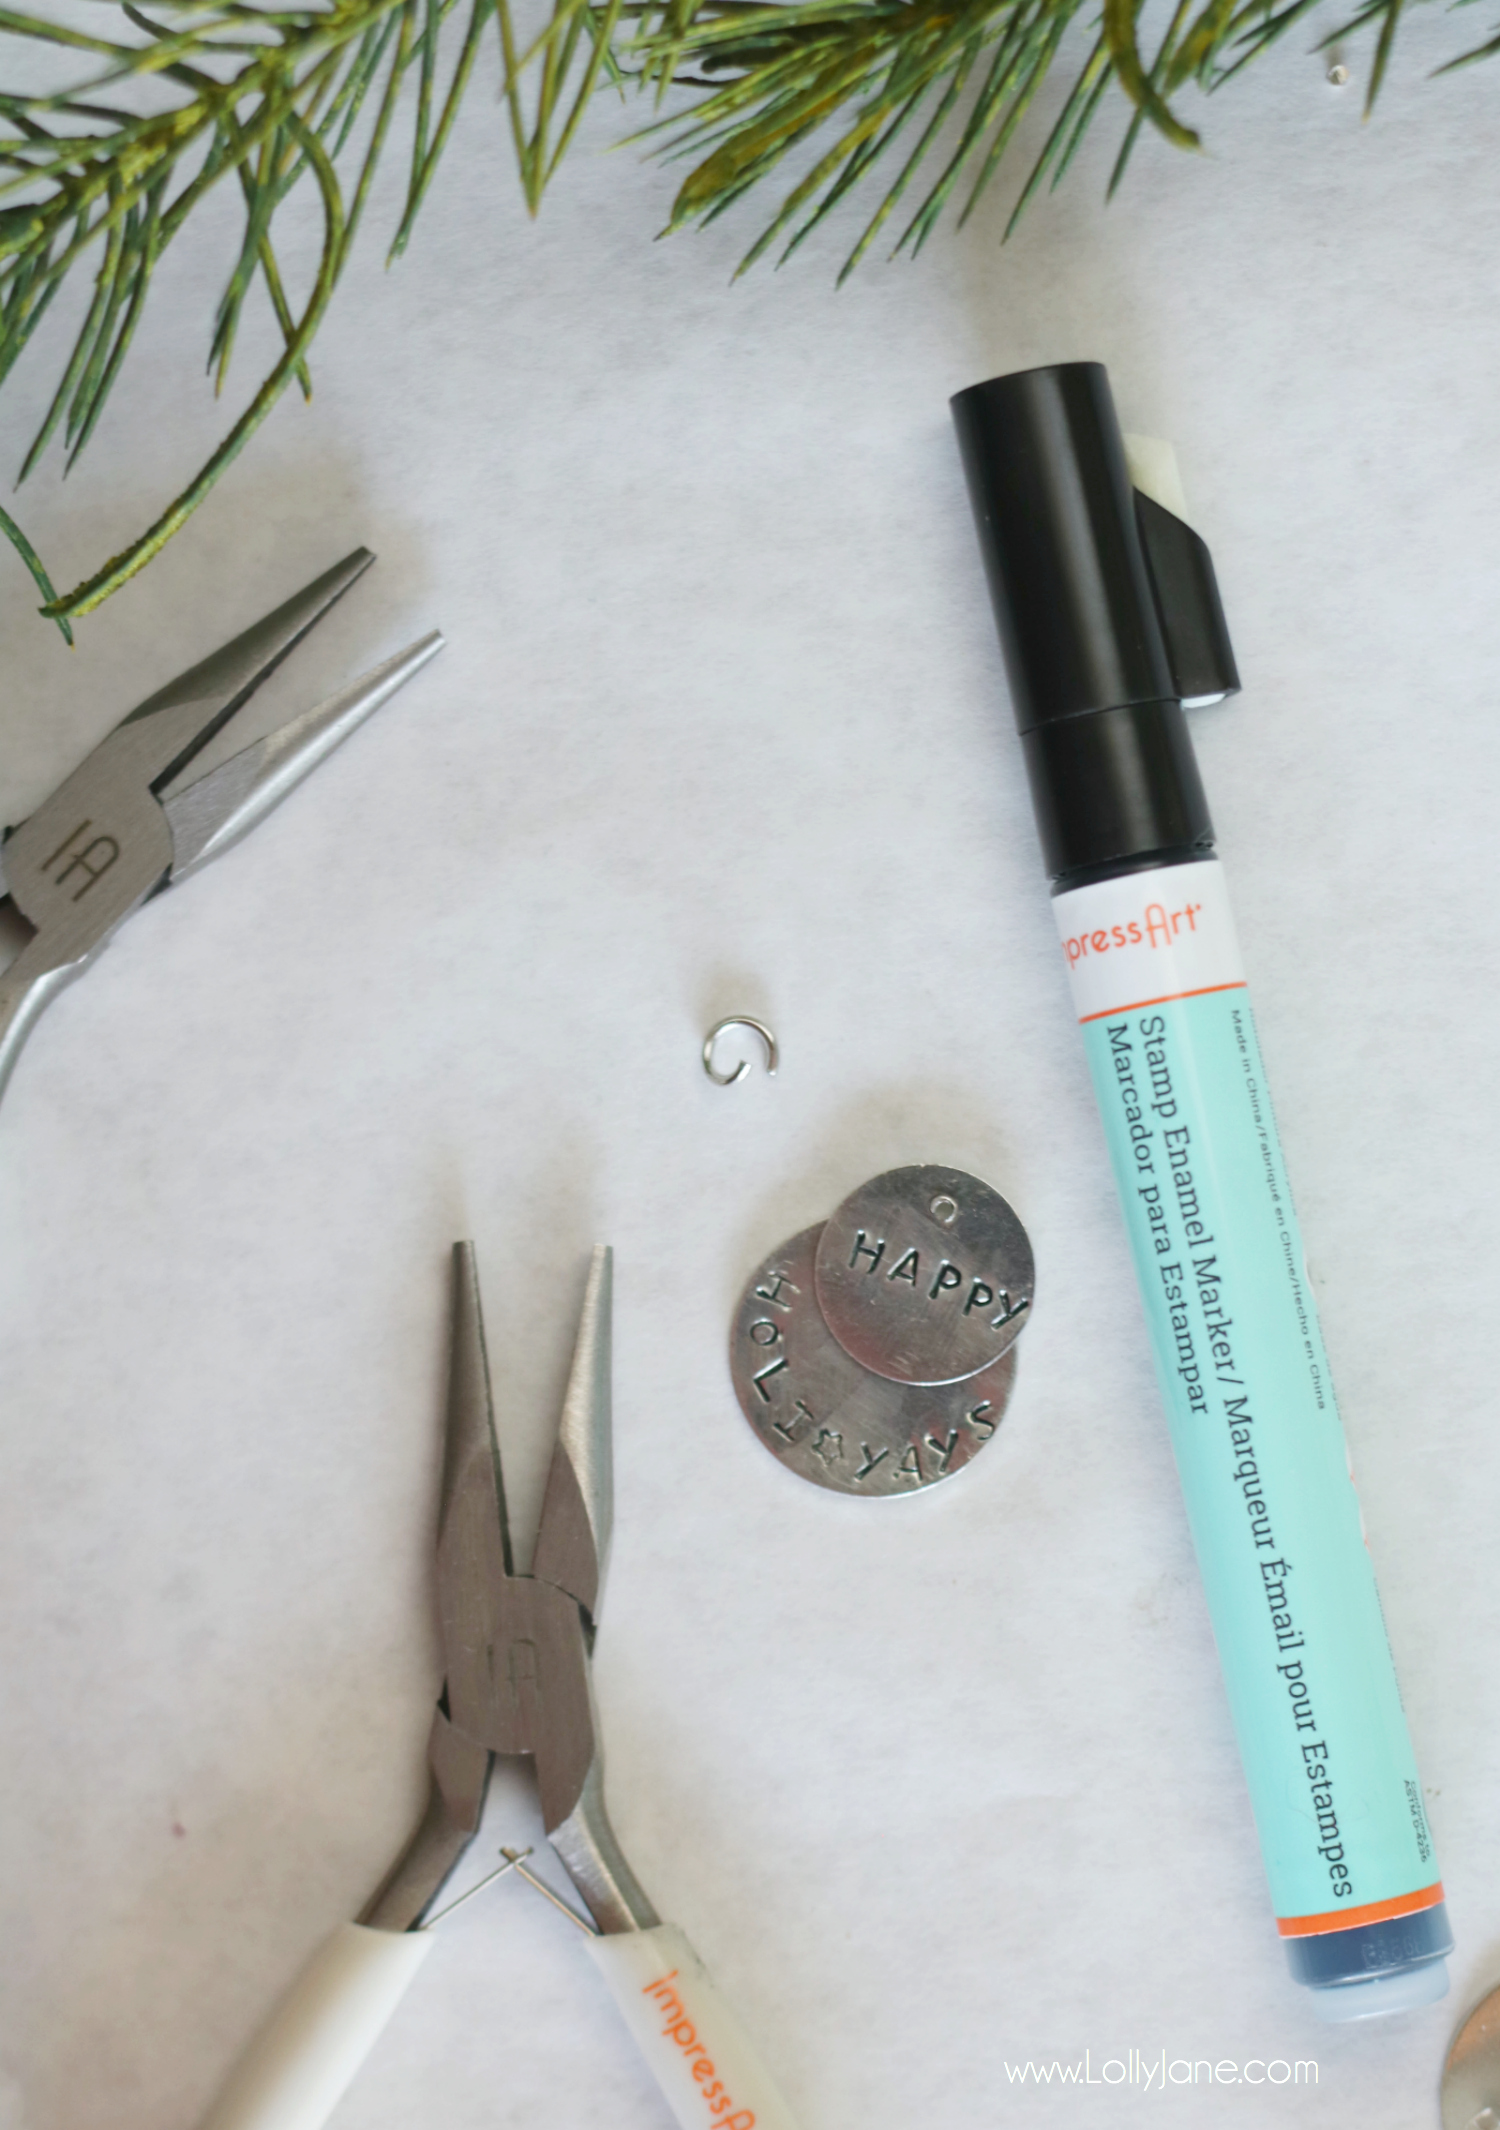
- ImpressArt Pliers (in store)
- ImpressArt Jump Rings (in store)
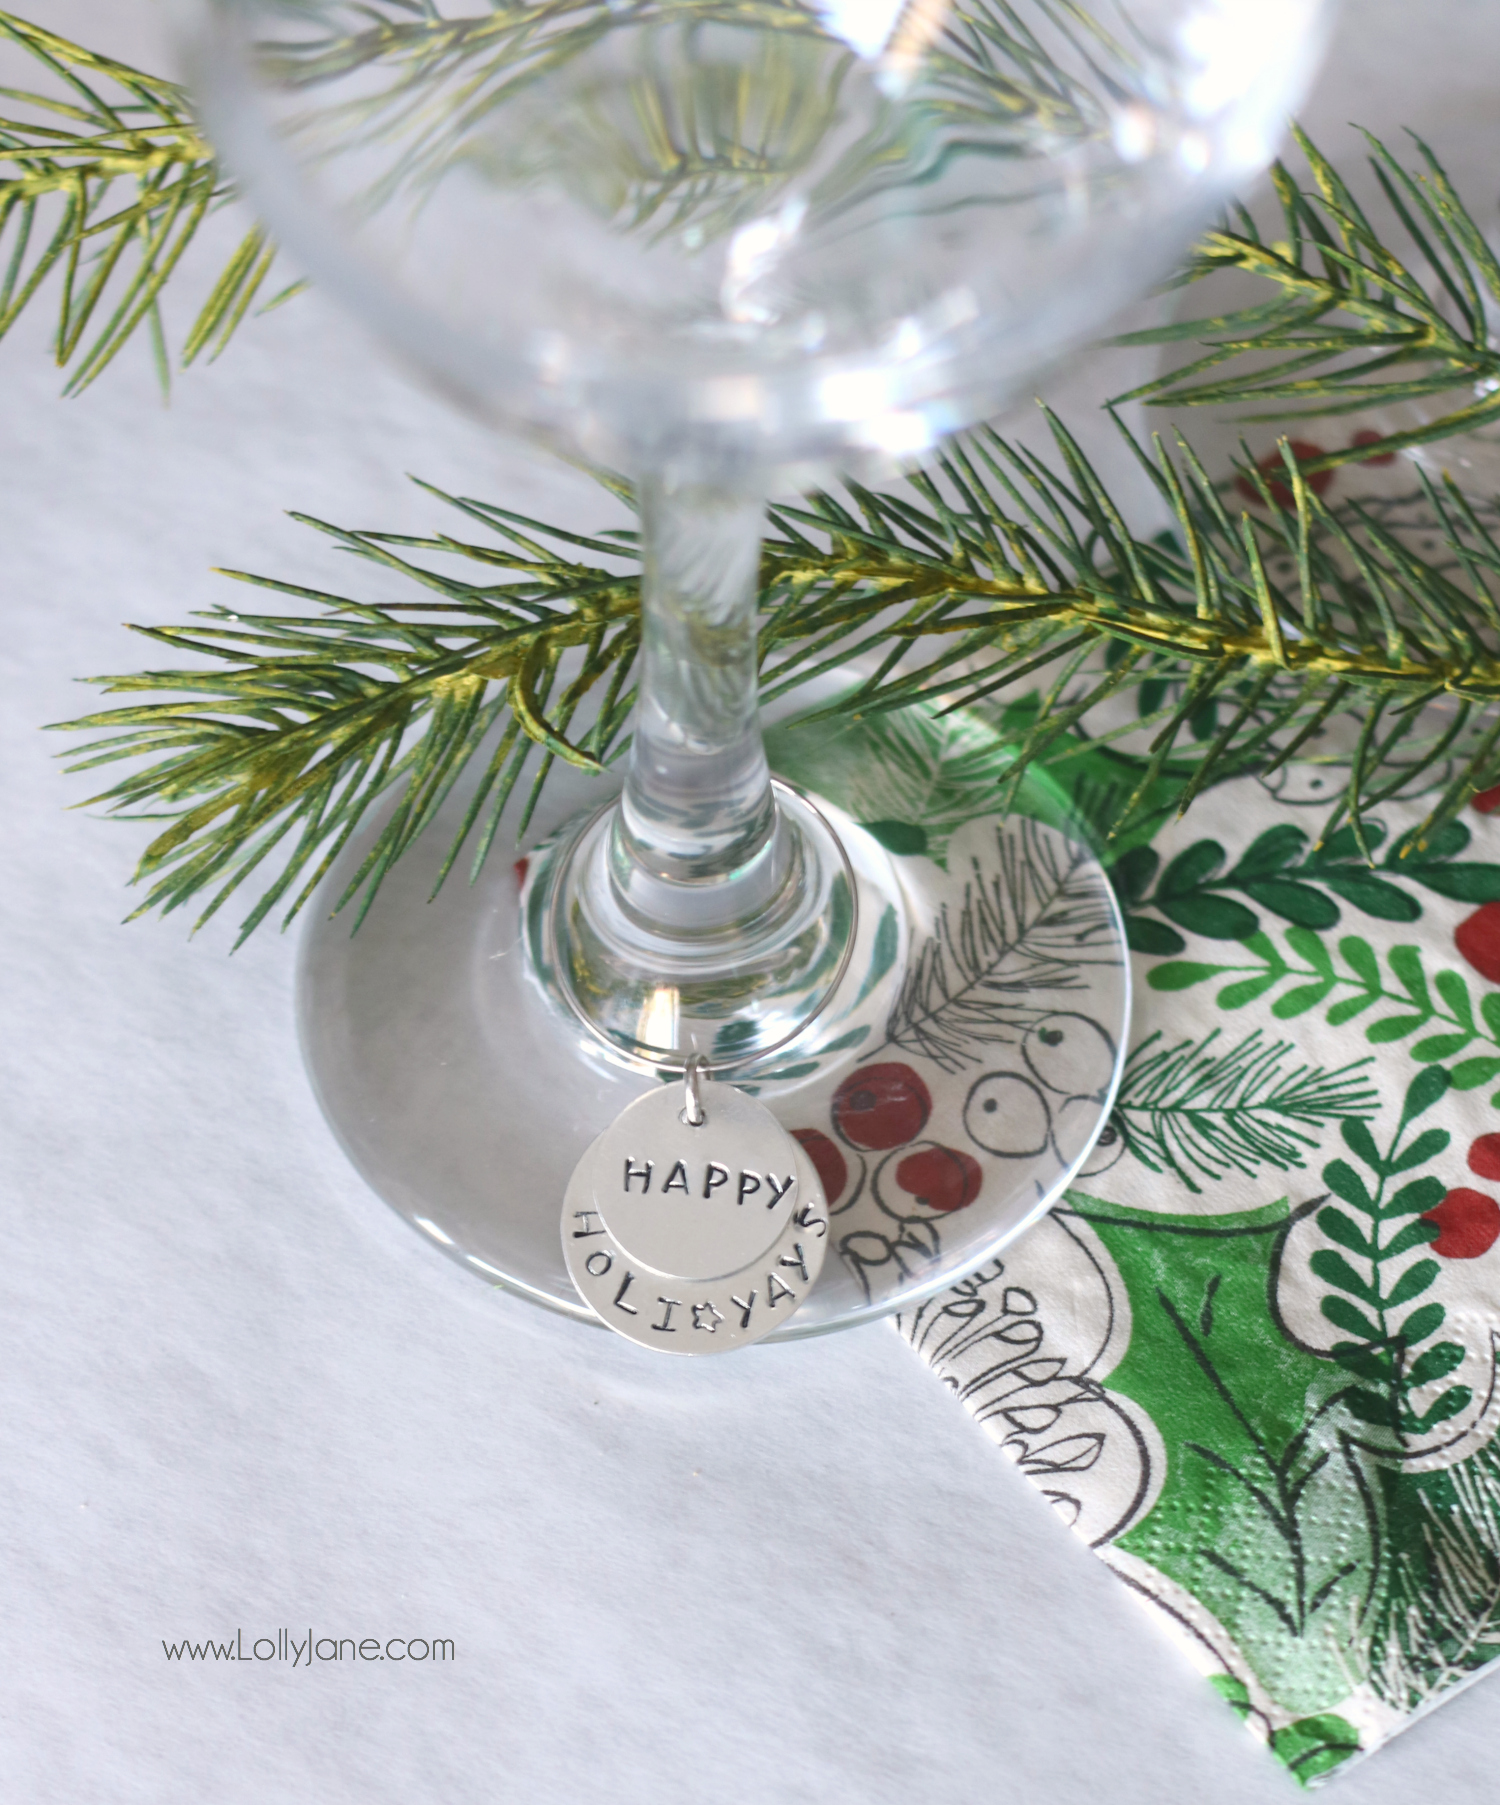
- ImpressArt Wine Ring
- ImpressArt Stamp Enamel Marker (in store)
Once you get the hang of it, stamping metal goes really quick and it’s fun to think of new phrases or words to add onto your gift or glass!
First, choose your letters then punch a hole where your jump ring will go so you know where the top and bottom is.
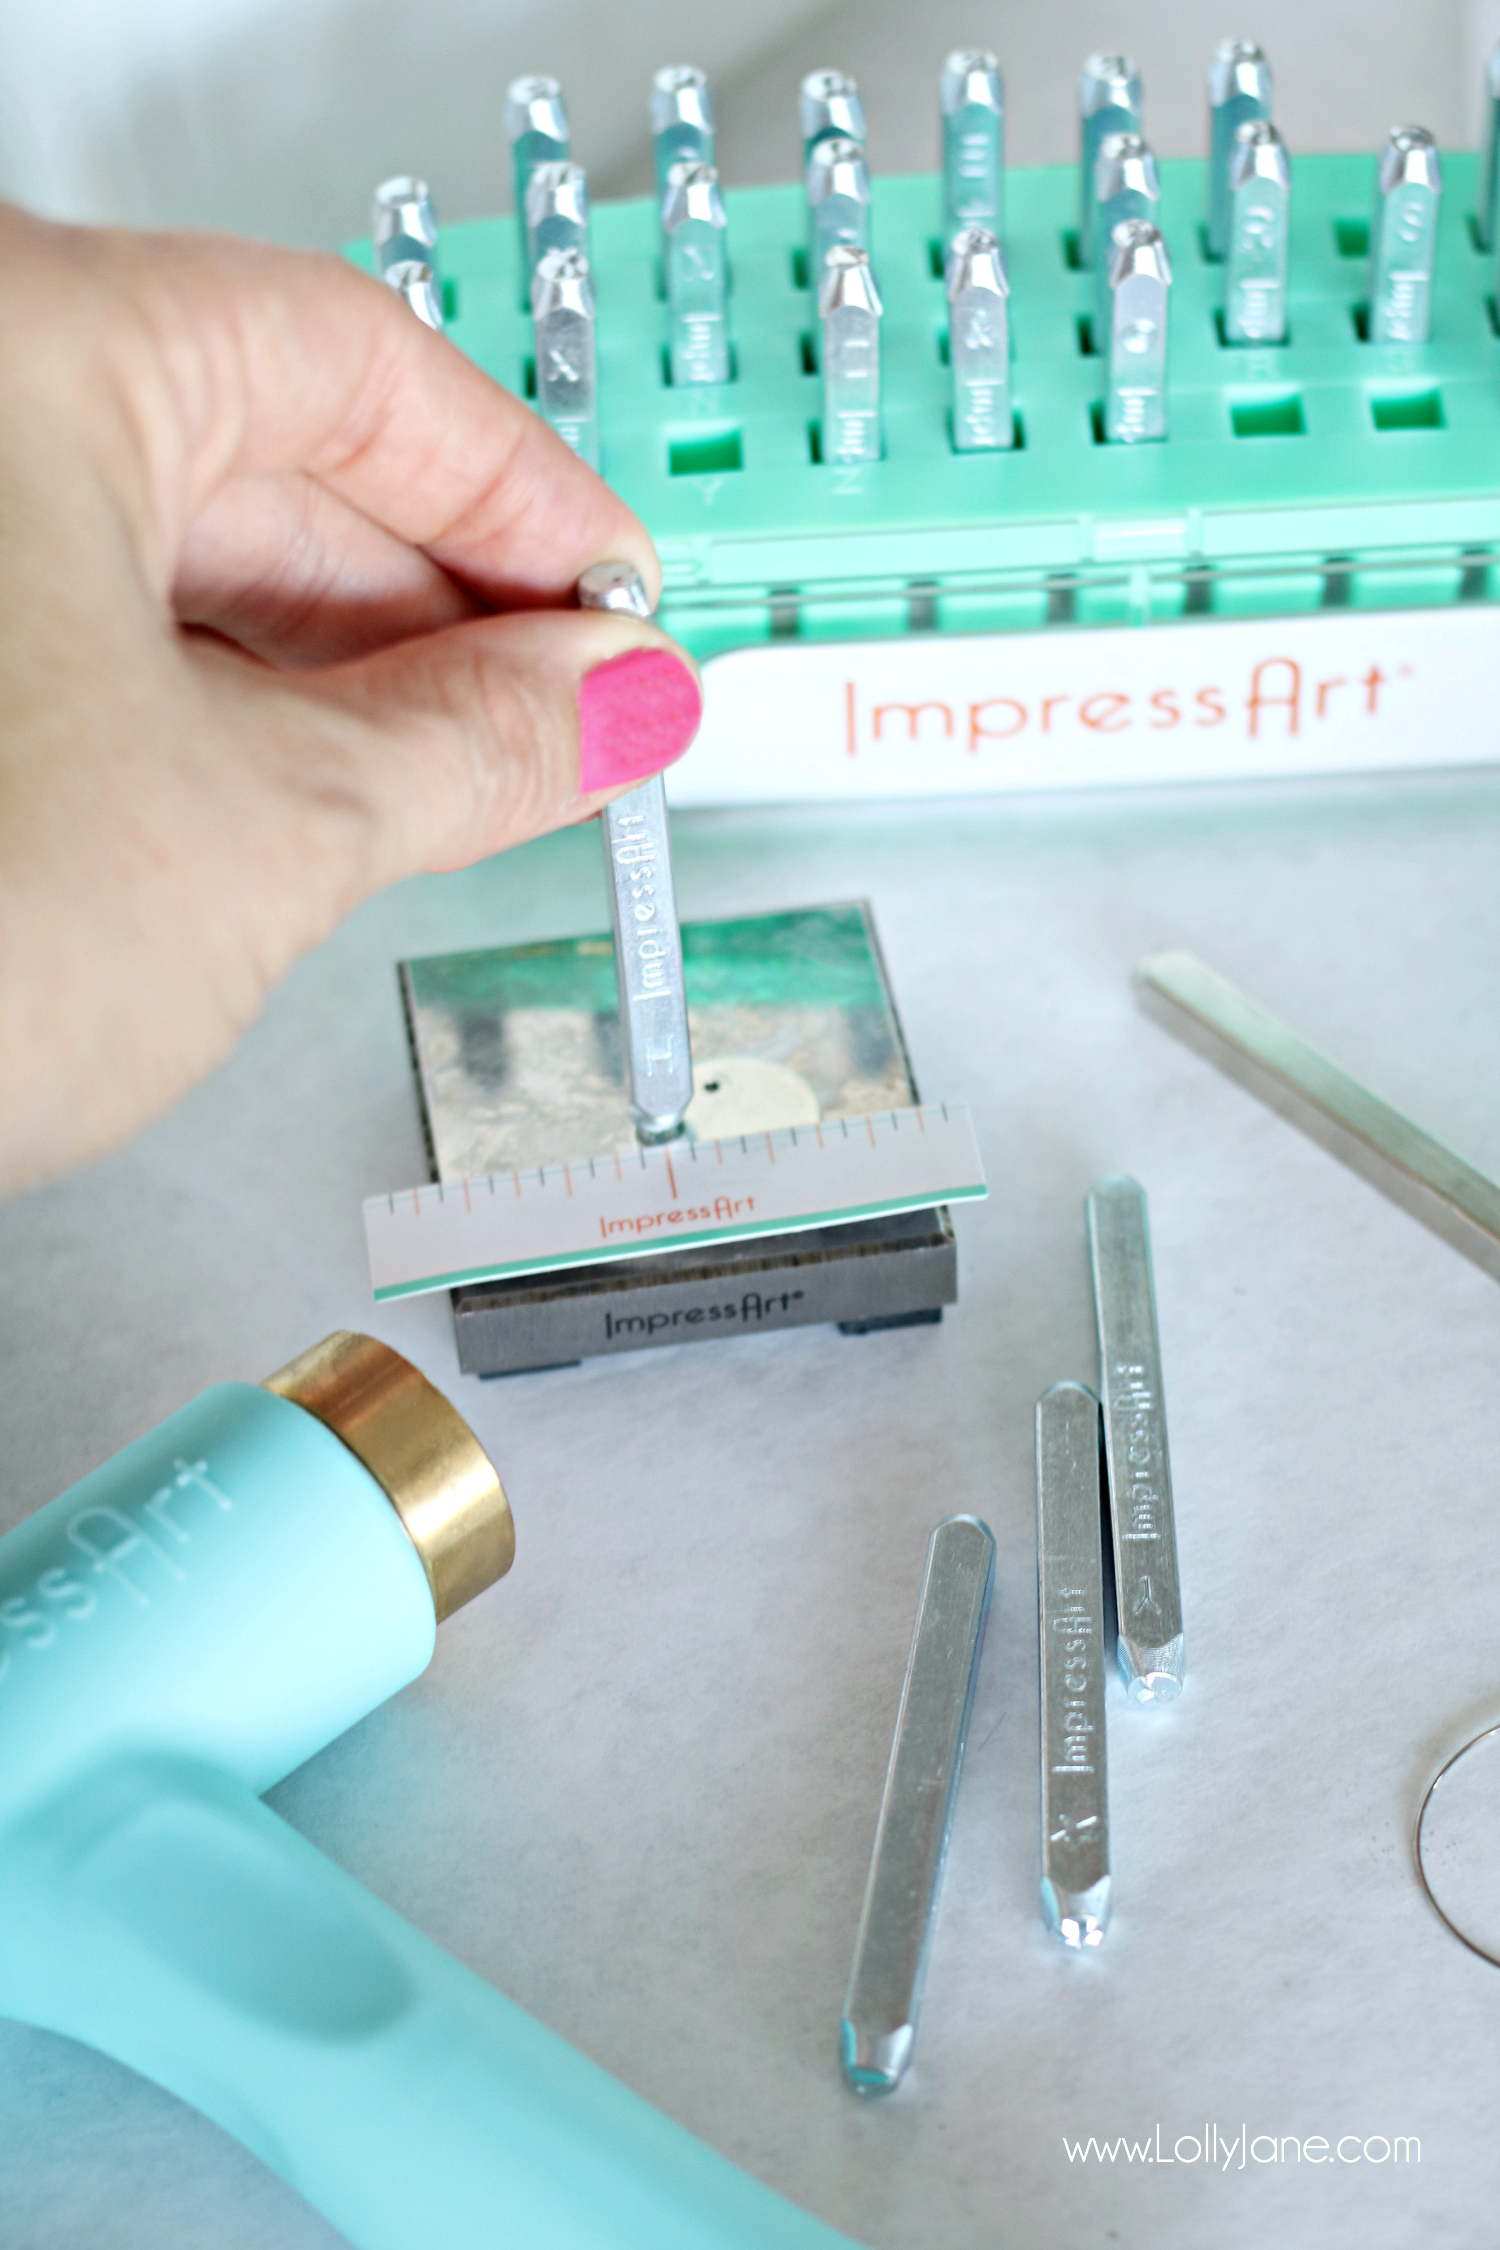
Set your stamping blank on the stamping pad. Next, if you’re a novice like me, you’ll want to use the stamping guide to line the letters up perfectly… this works great for straight lines and also curves!
Start stamping! I didn’t use enough force the first time and it didn’t penetrate the metal as much as I would have liked so I simply aligned it then stamped with a little more force and saw those pretty deep letter lines. Of course how deep you want to stamp is all about preference!
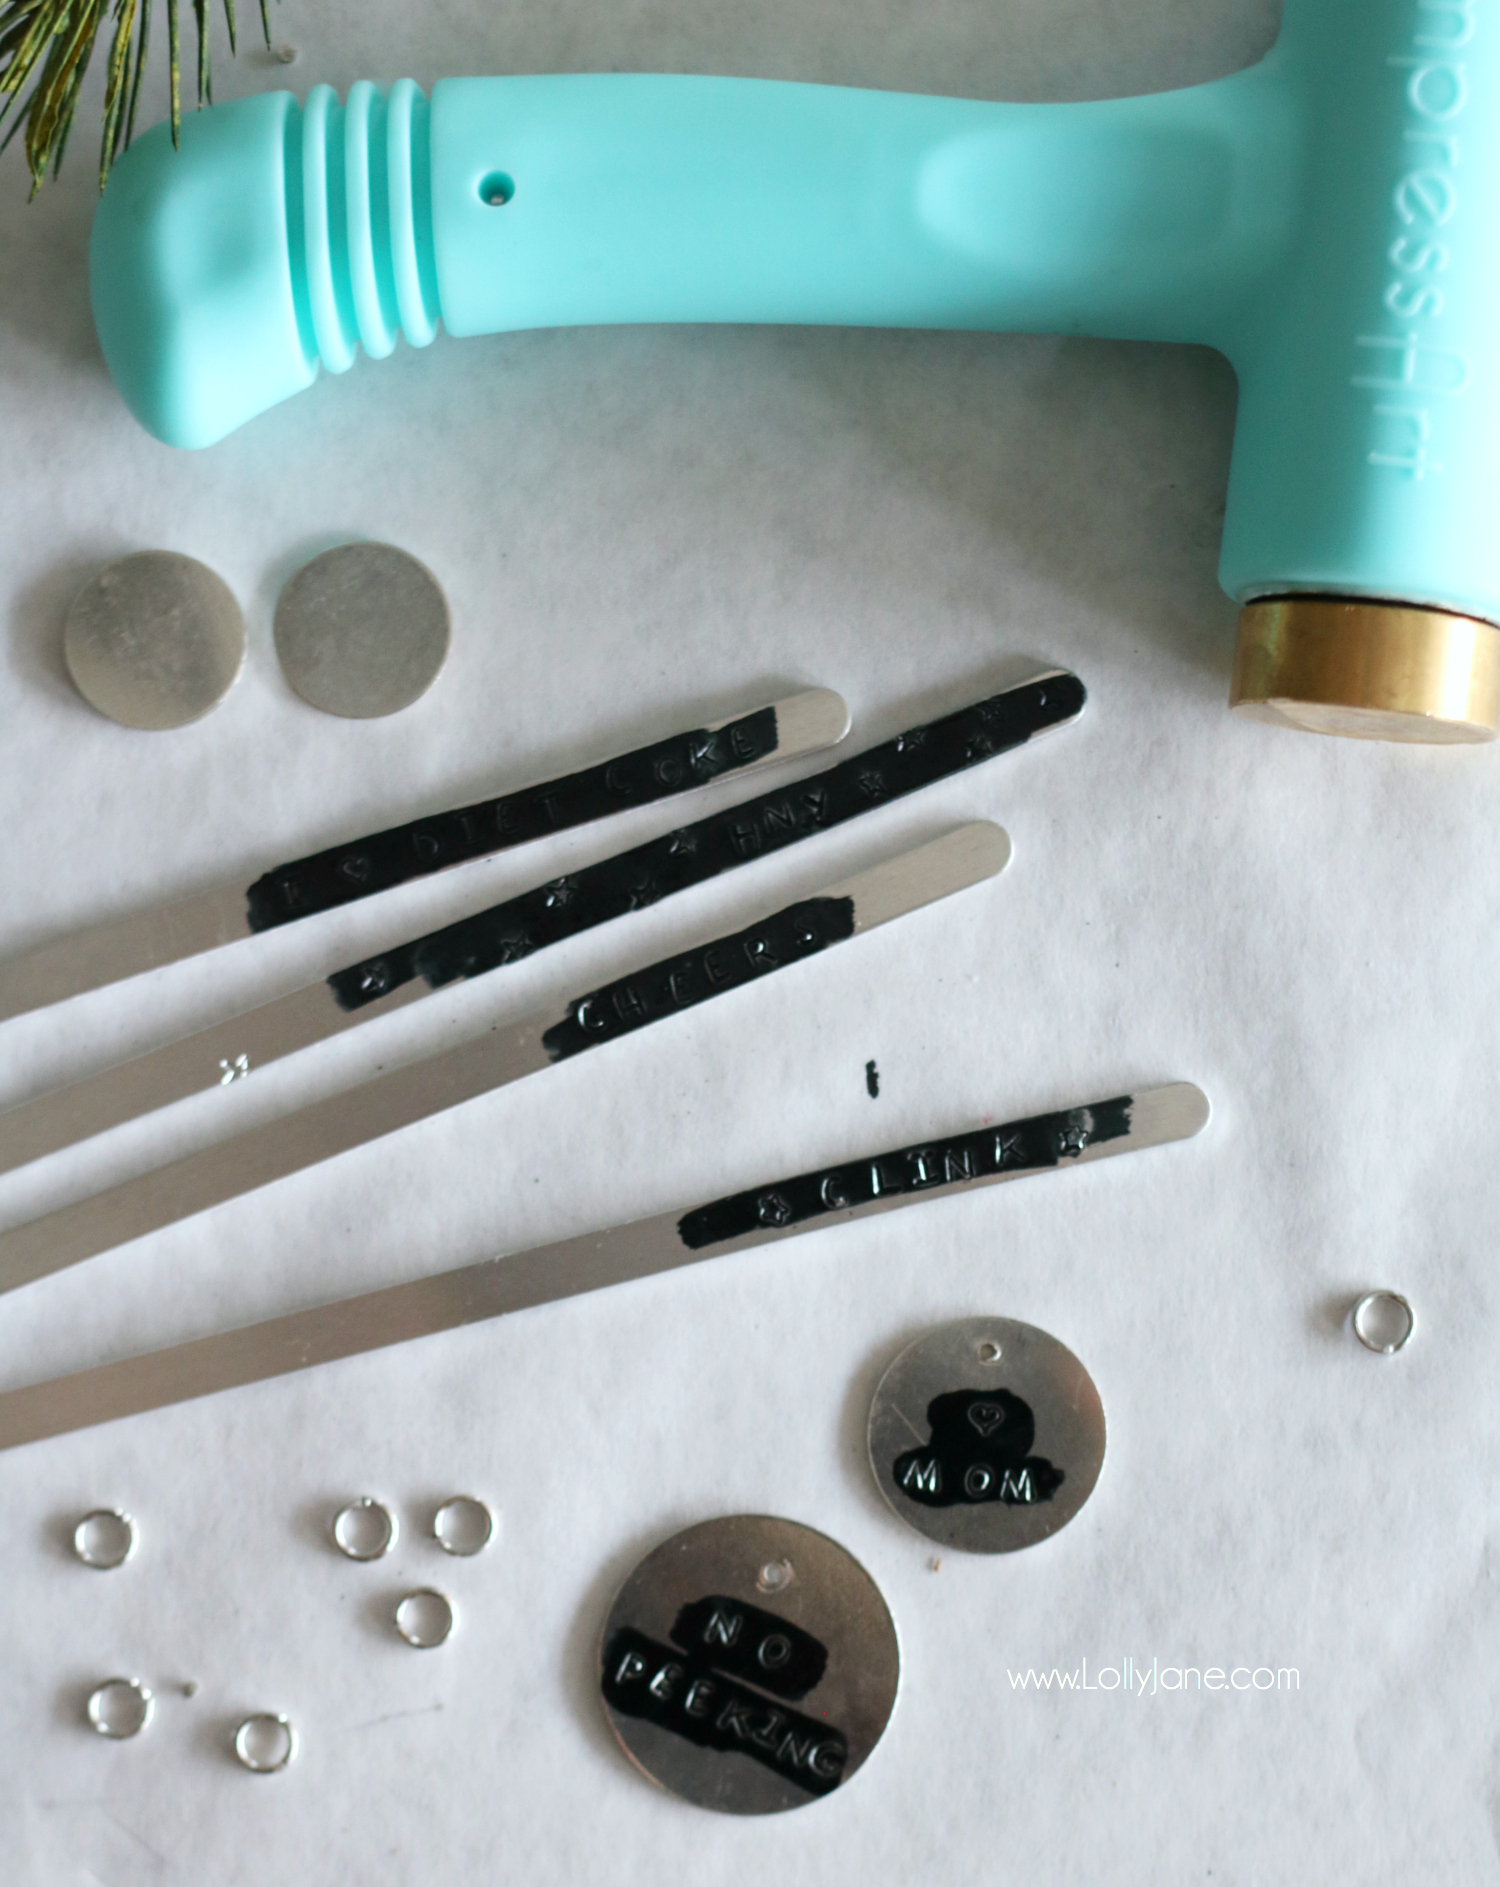
Use pliers to pull the jump ring apart then slide it through your punched hole and use your pliers again to close the jump ring.
Once the charm or tag was done, you can simply string bakers twine or ribbon through and tie on.
ImpressArt has some wine tags perfect to dress up your glass at parties and my dirty Diet Coke never looked more stylish!
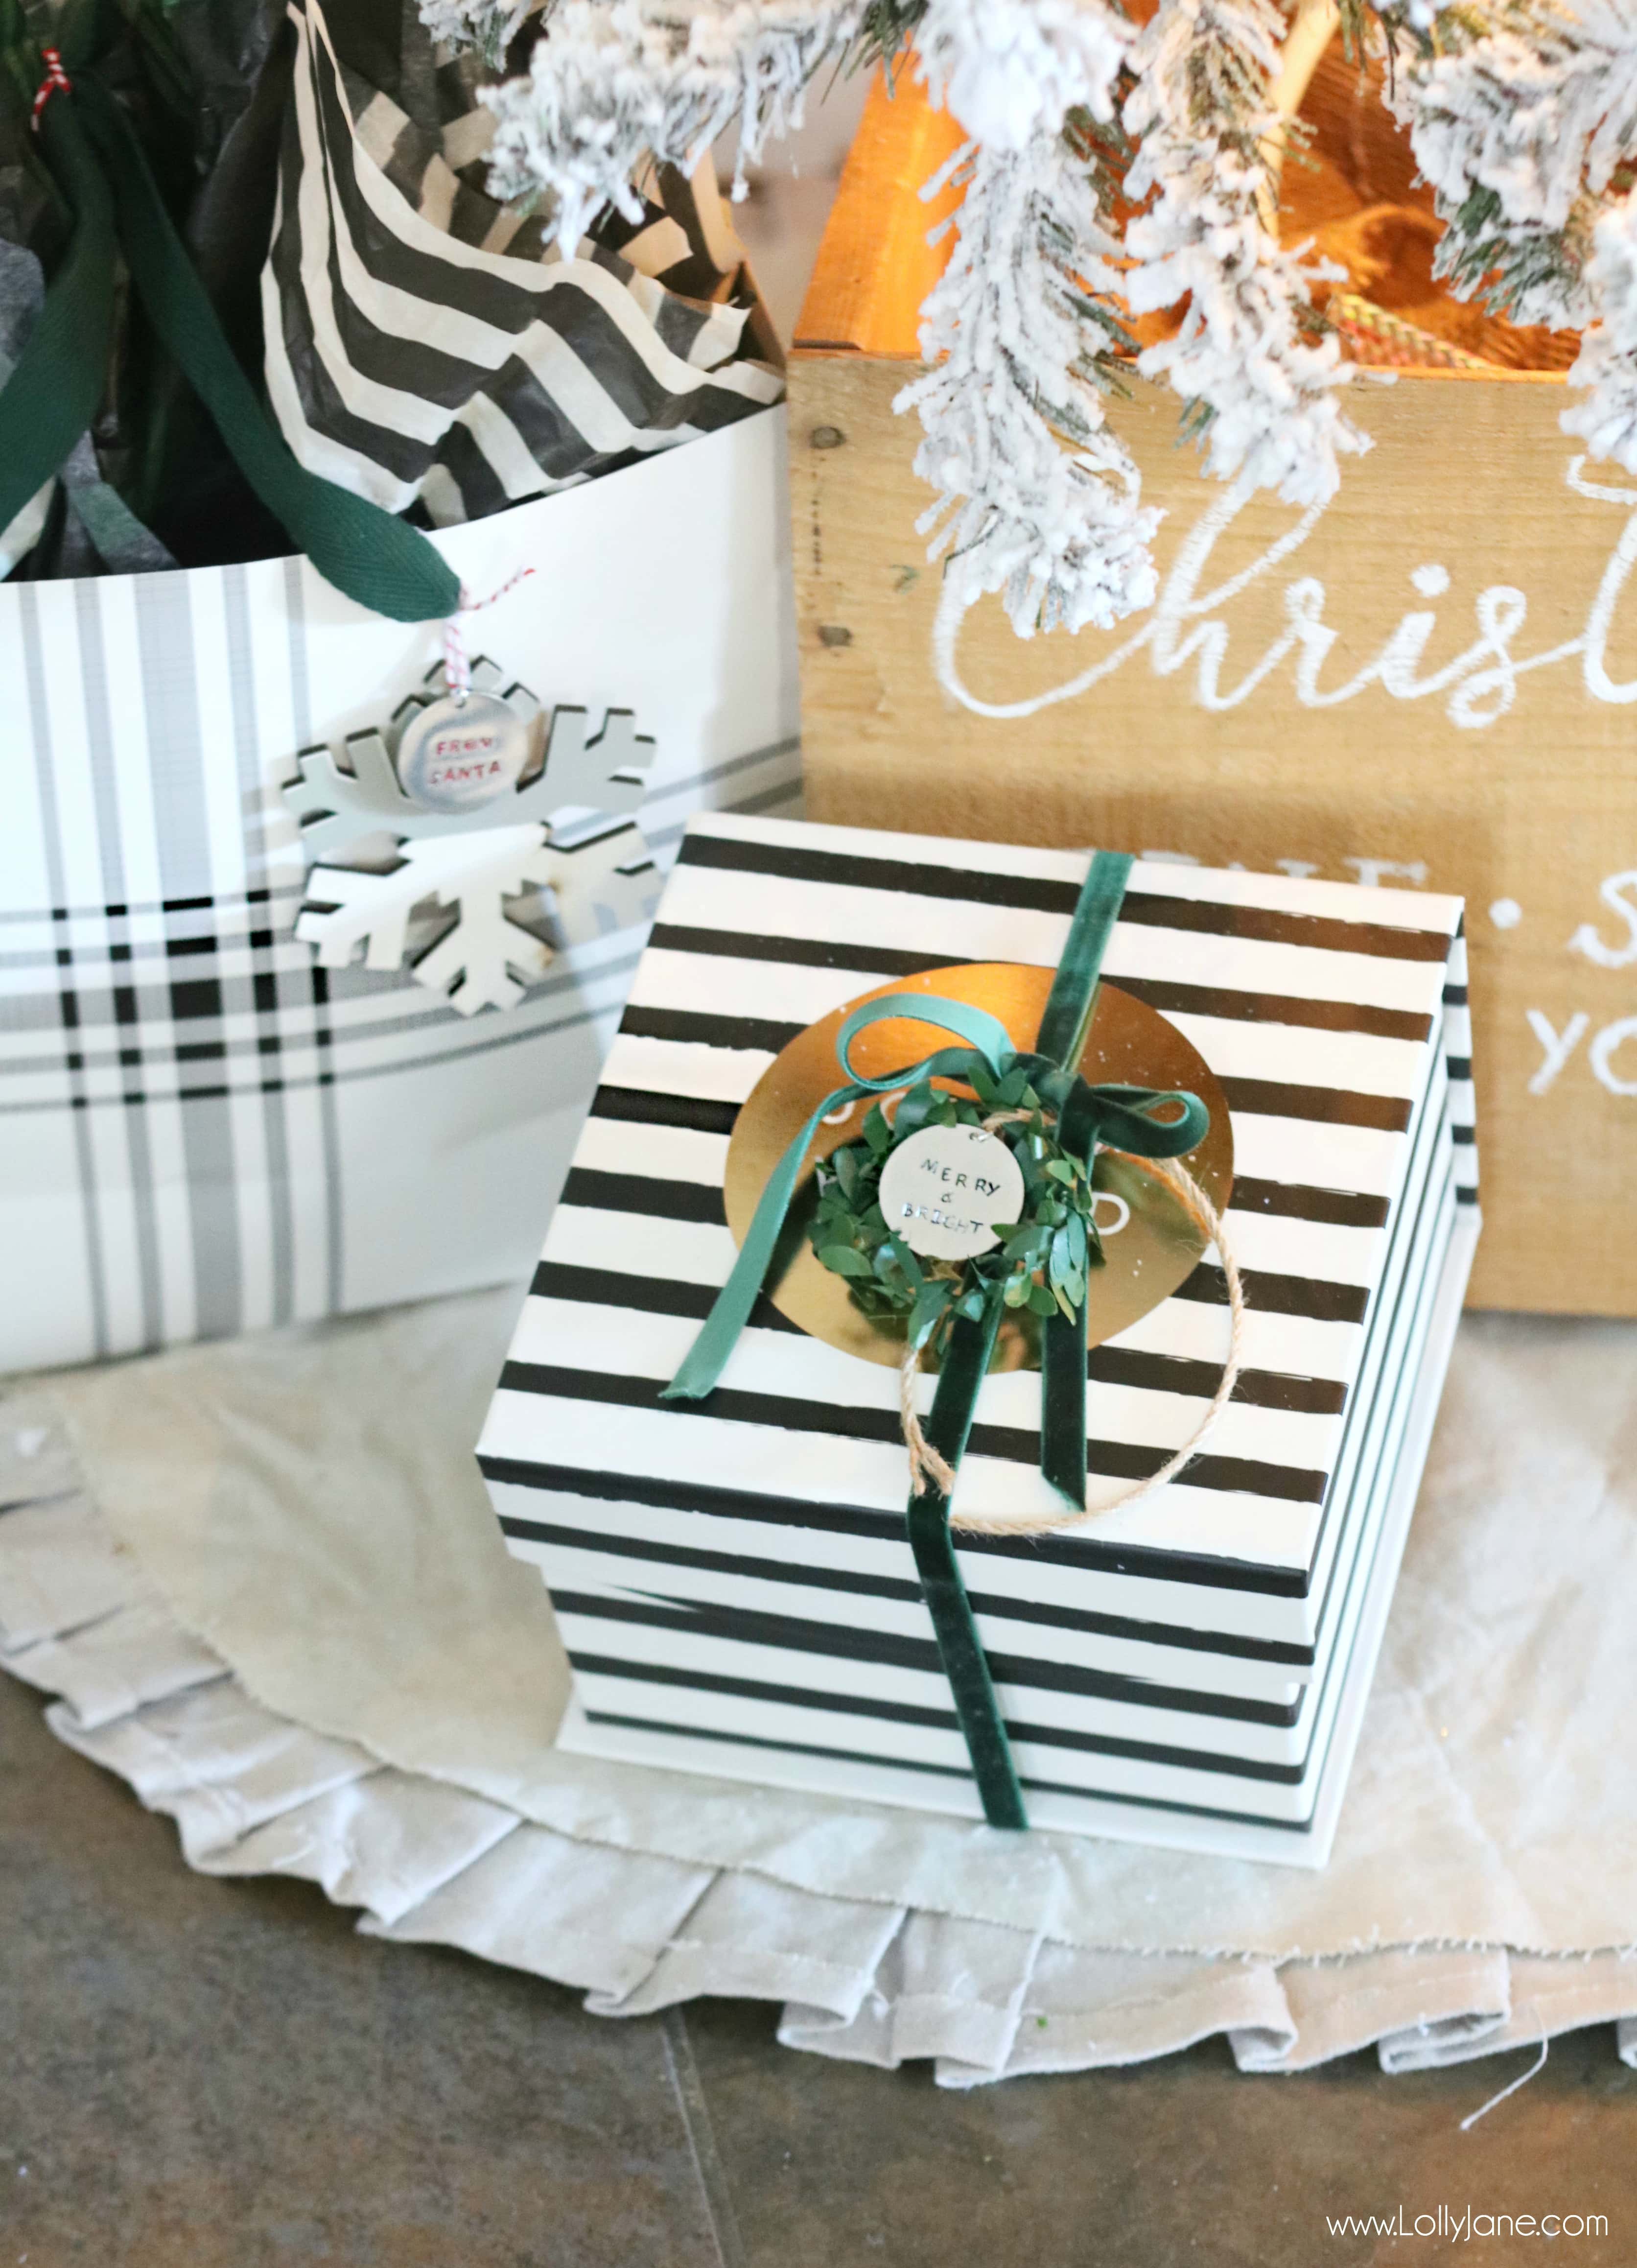
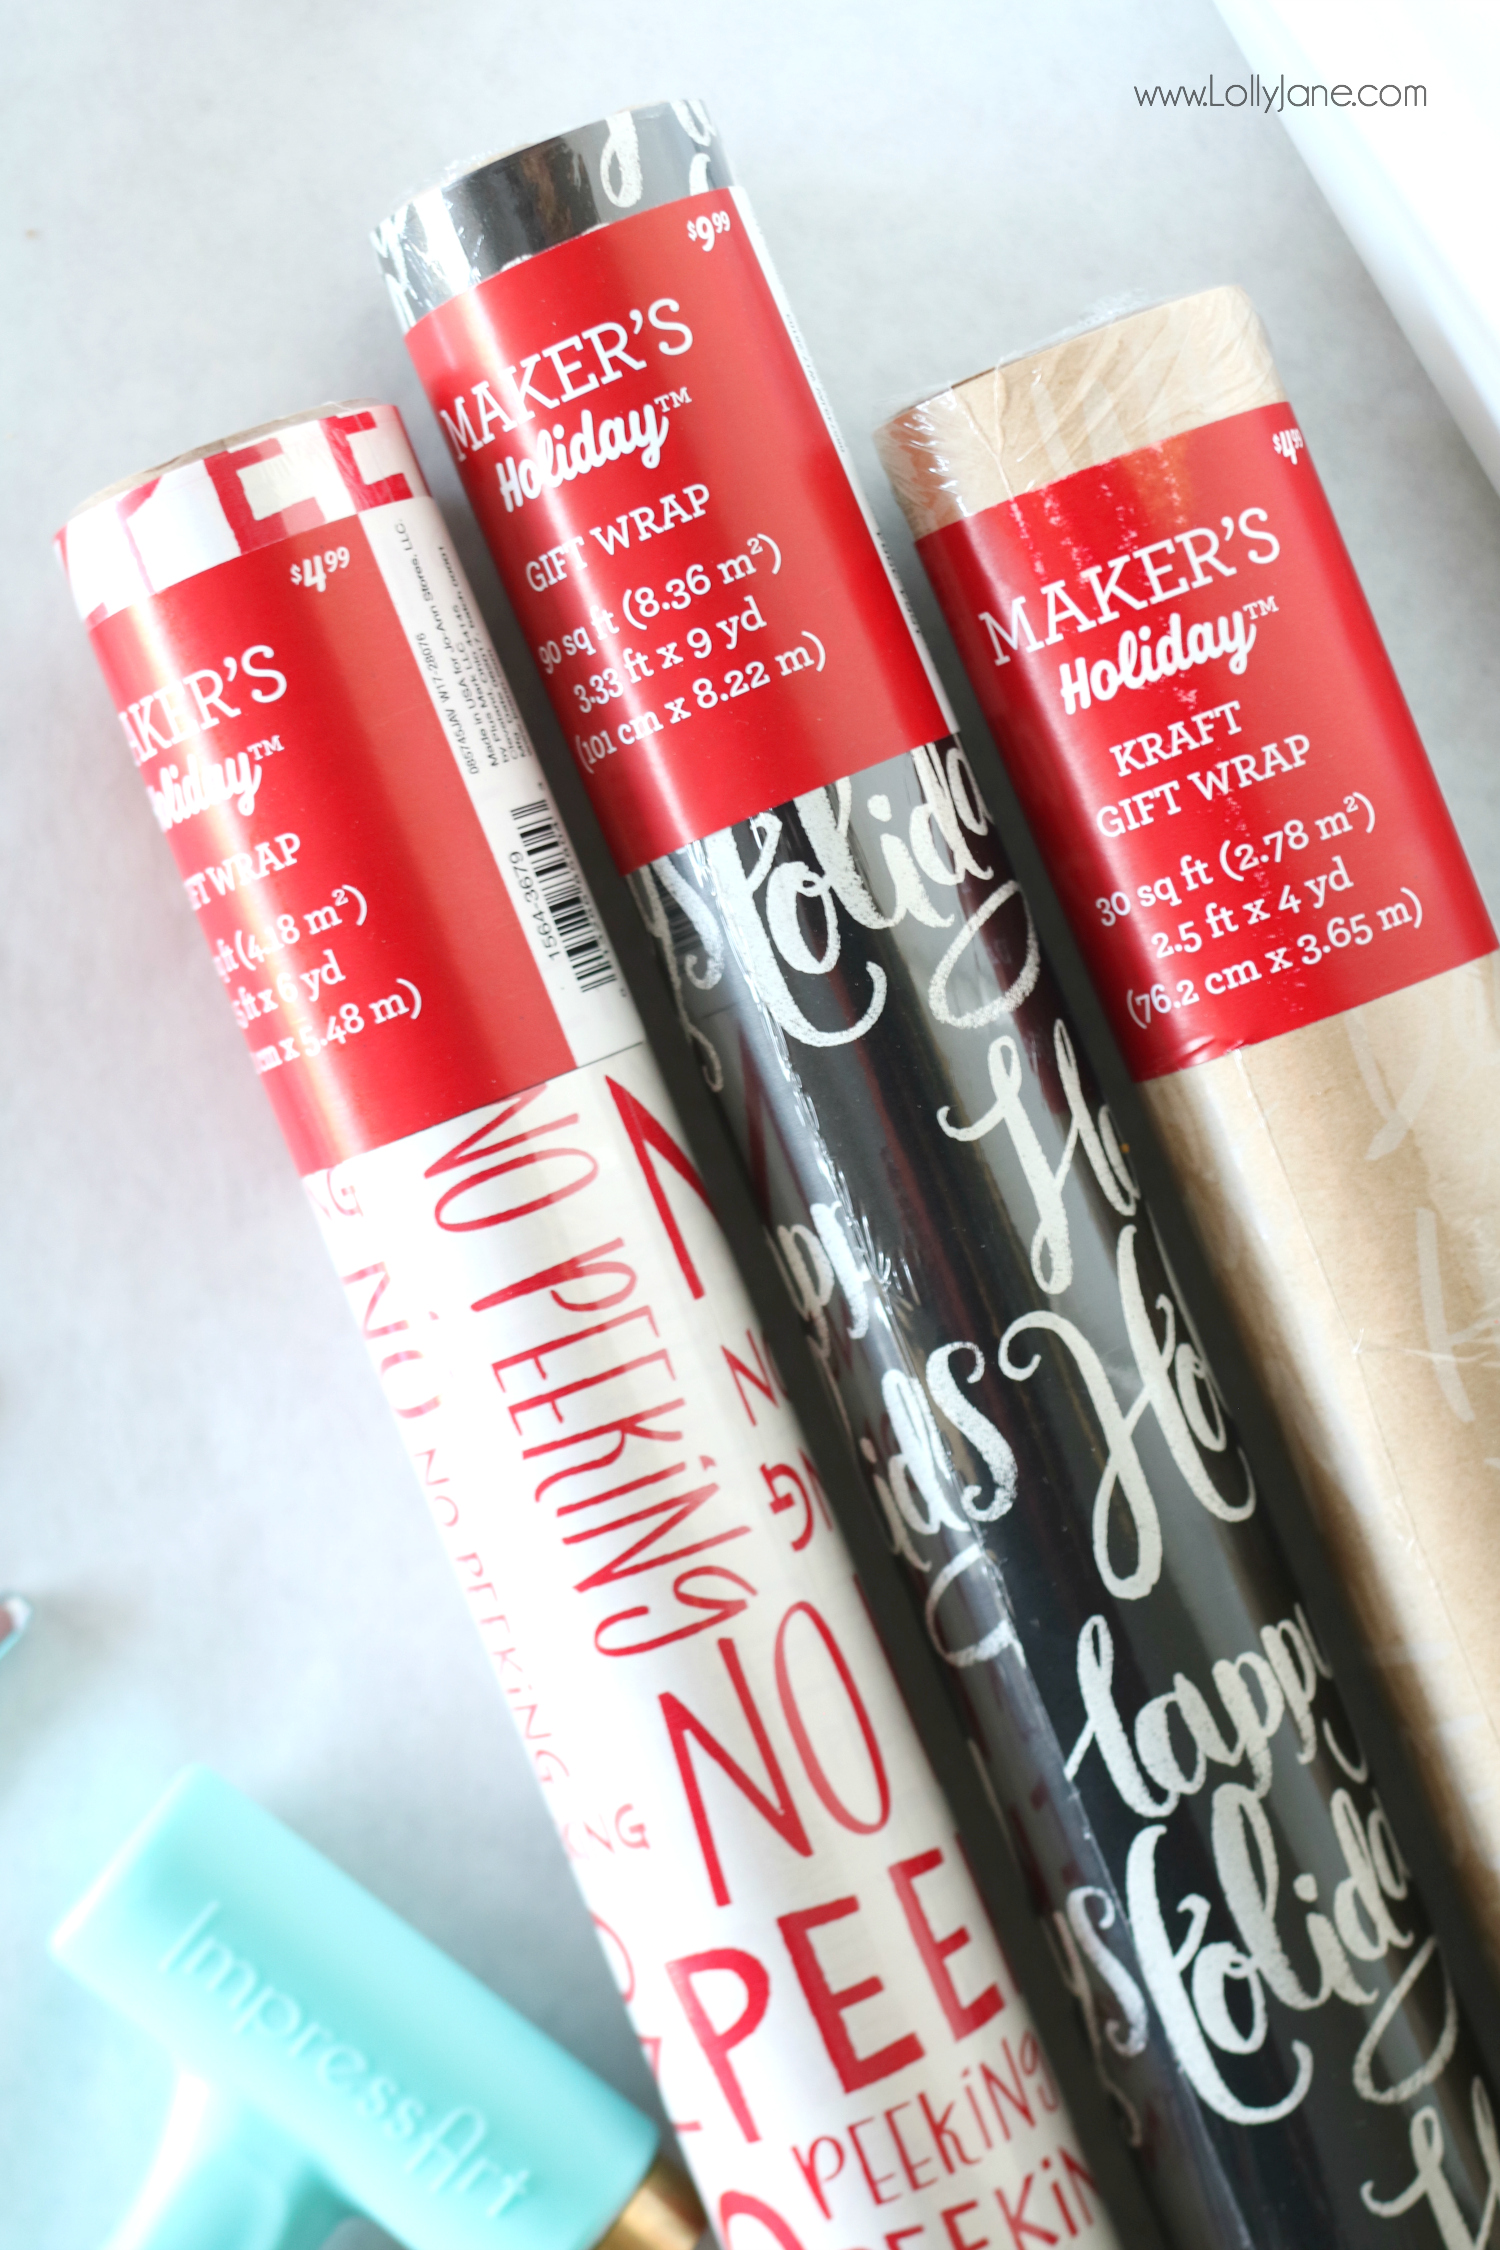
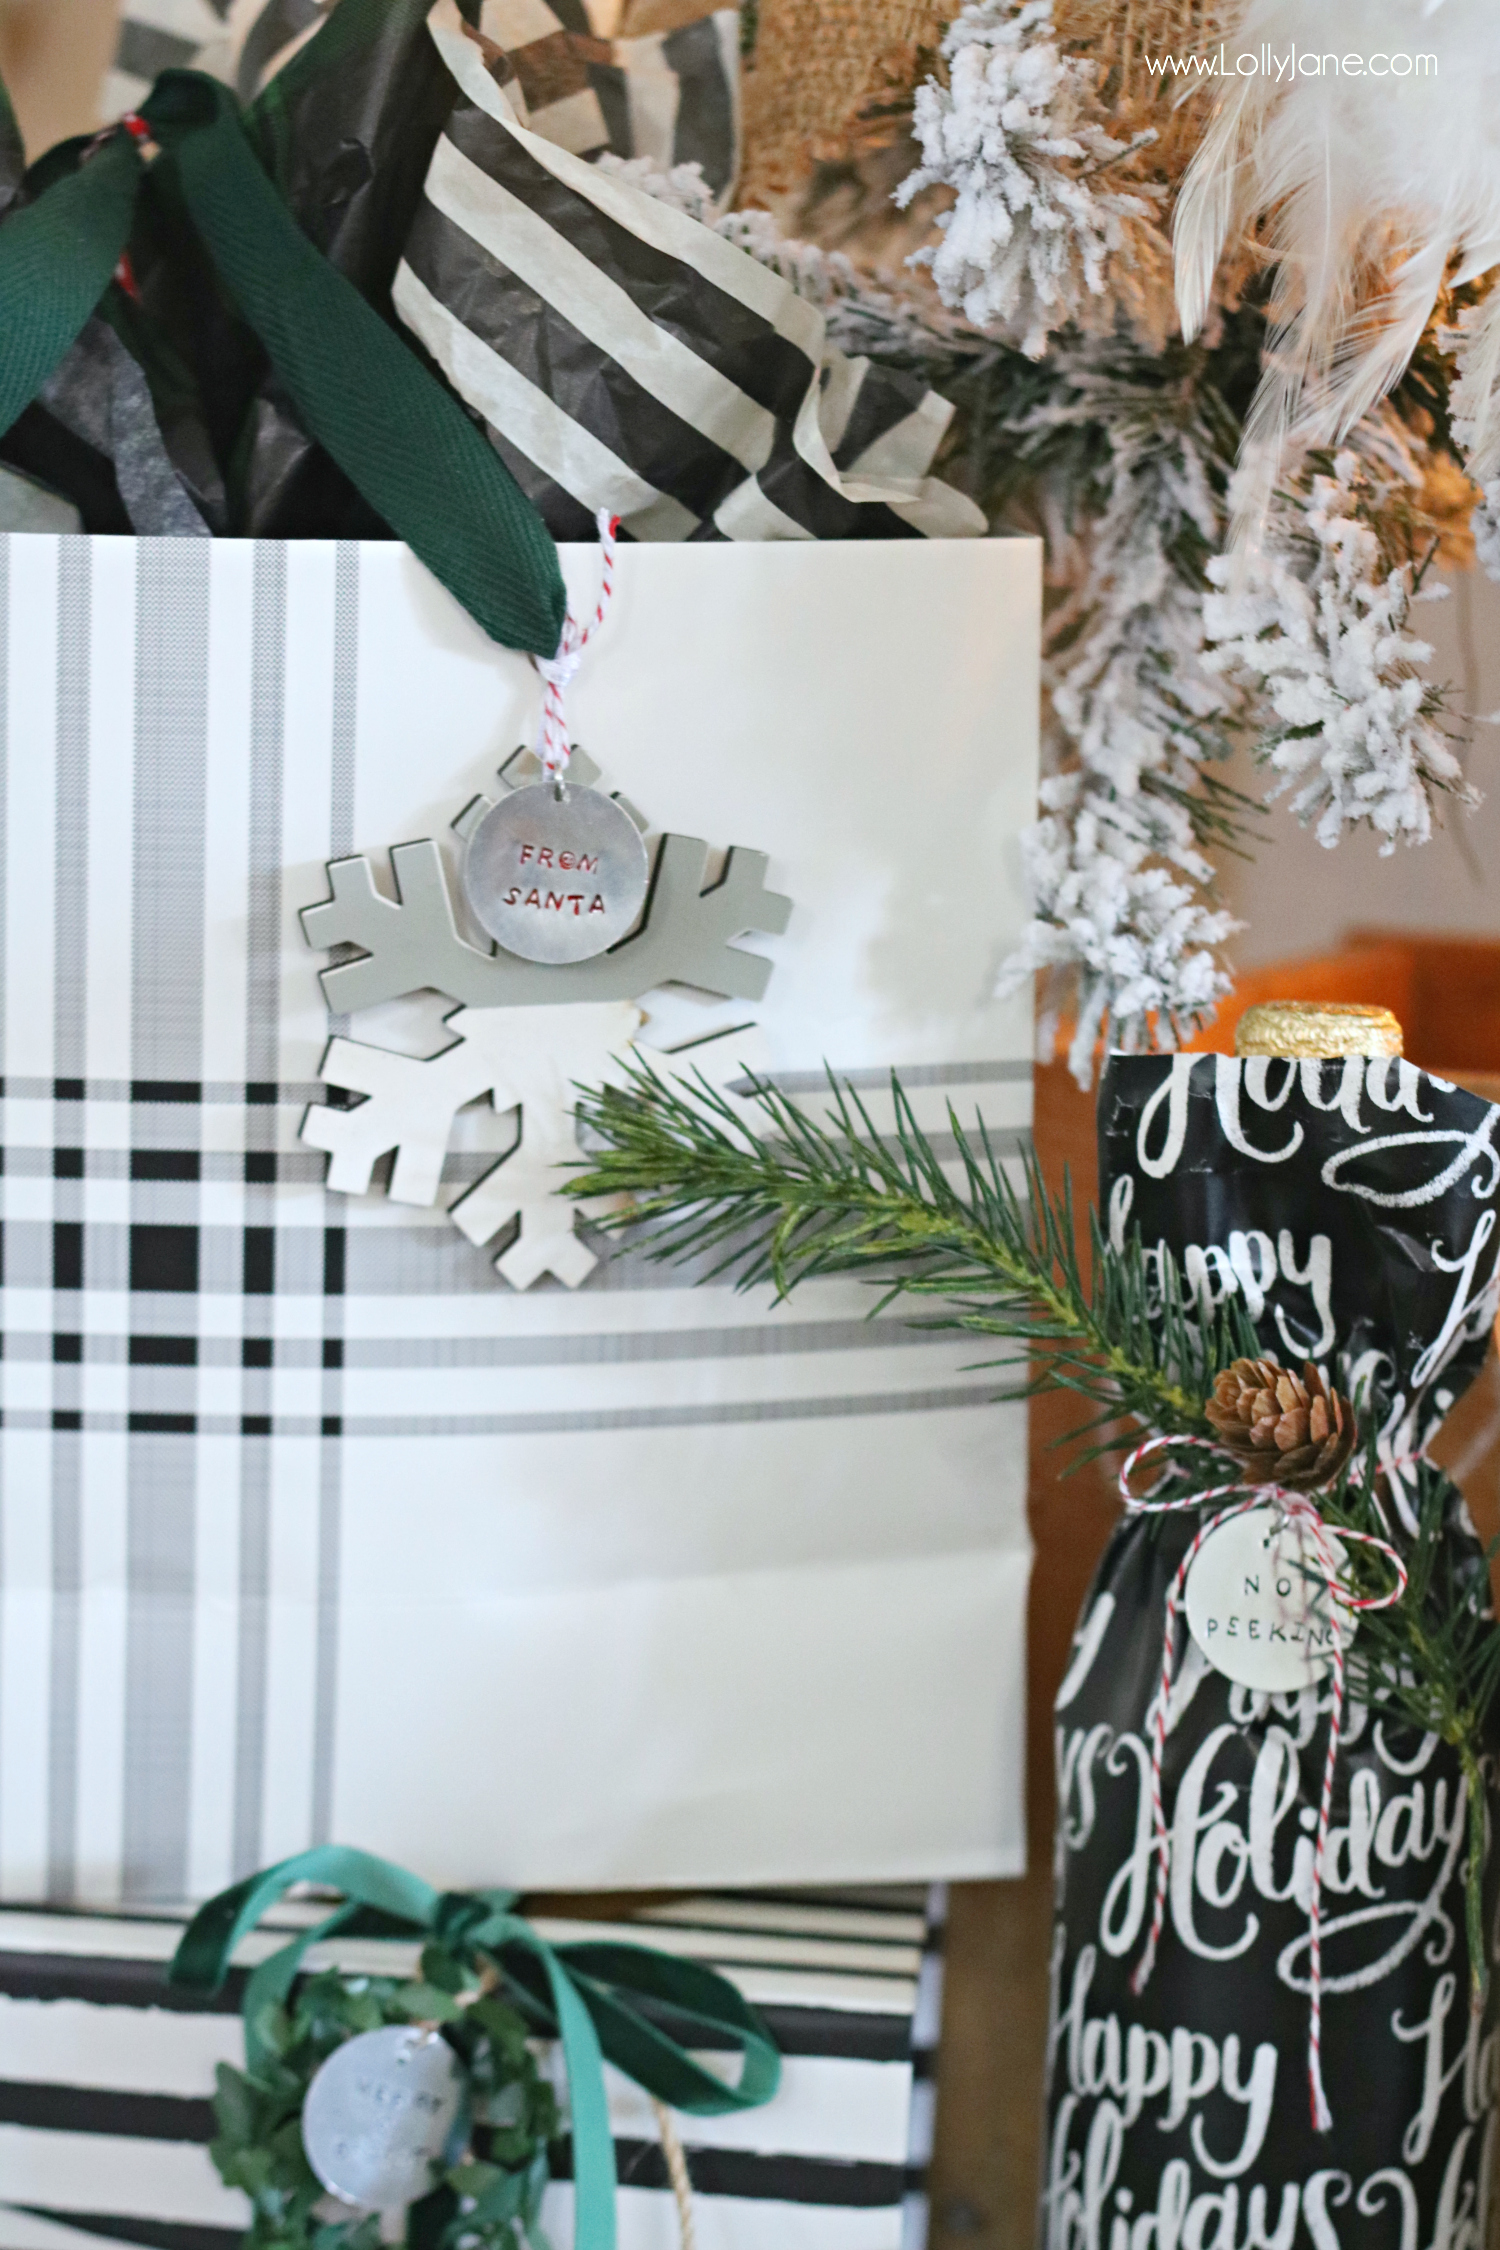
You can stamp tags to tie onto a store bought gift and let the person receiving the gift know you thought about them with a special personalized name, nickname, message, or cute emoji or shape that ImpressArt has on their variety of design stamps. For a great hostess gift, just wrap festive holiday wrapping paper around a bottle and tie off with a ribbon + charm.
In our family, because there are SO many get togethers, we call the holidays, holi-yays, so I stamped a “Happy Holi*yays” tag and know our mom will laugh when she sees that. From martini stirrers to tags, charms, and of course jewelry, it was so therapeutic to stamp and let my creative juices flow, (now I think I should host my own party to show off my new creations!)
Check out all of ImpressArt’s stamping line at JOANN and get creating!
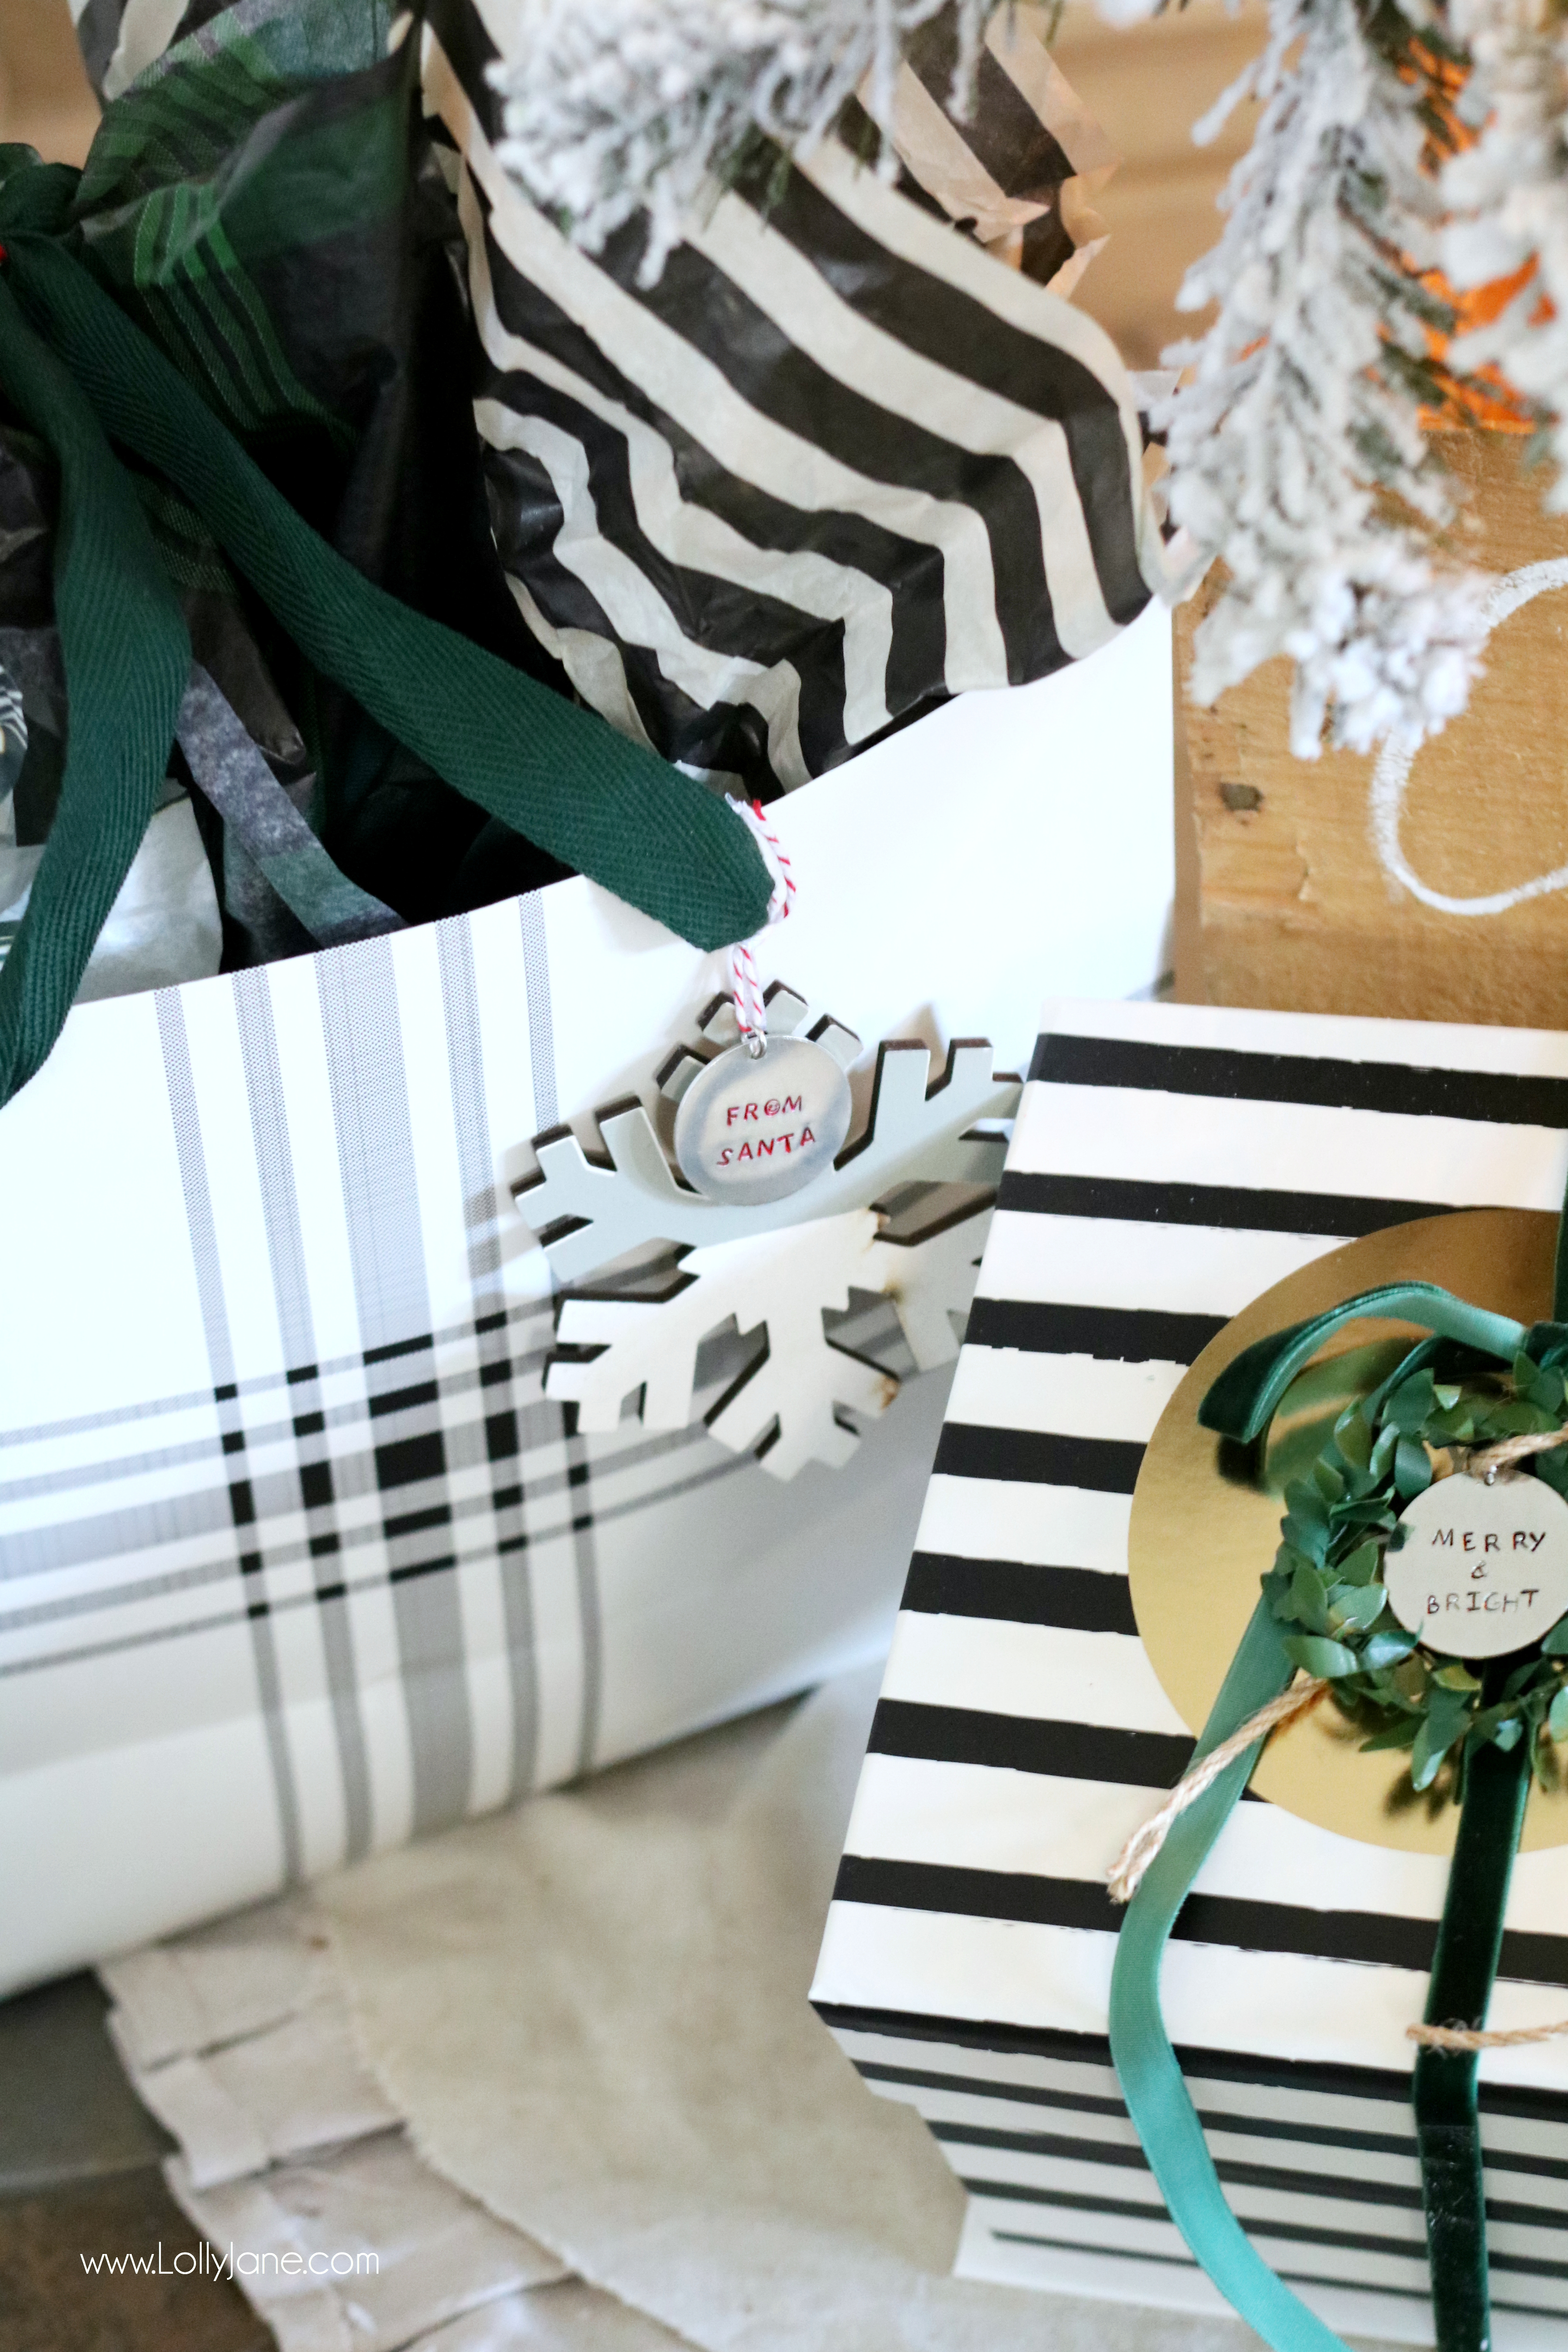
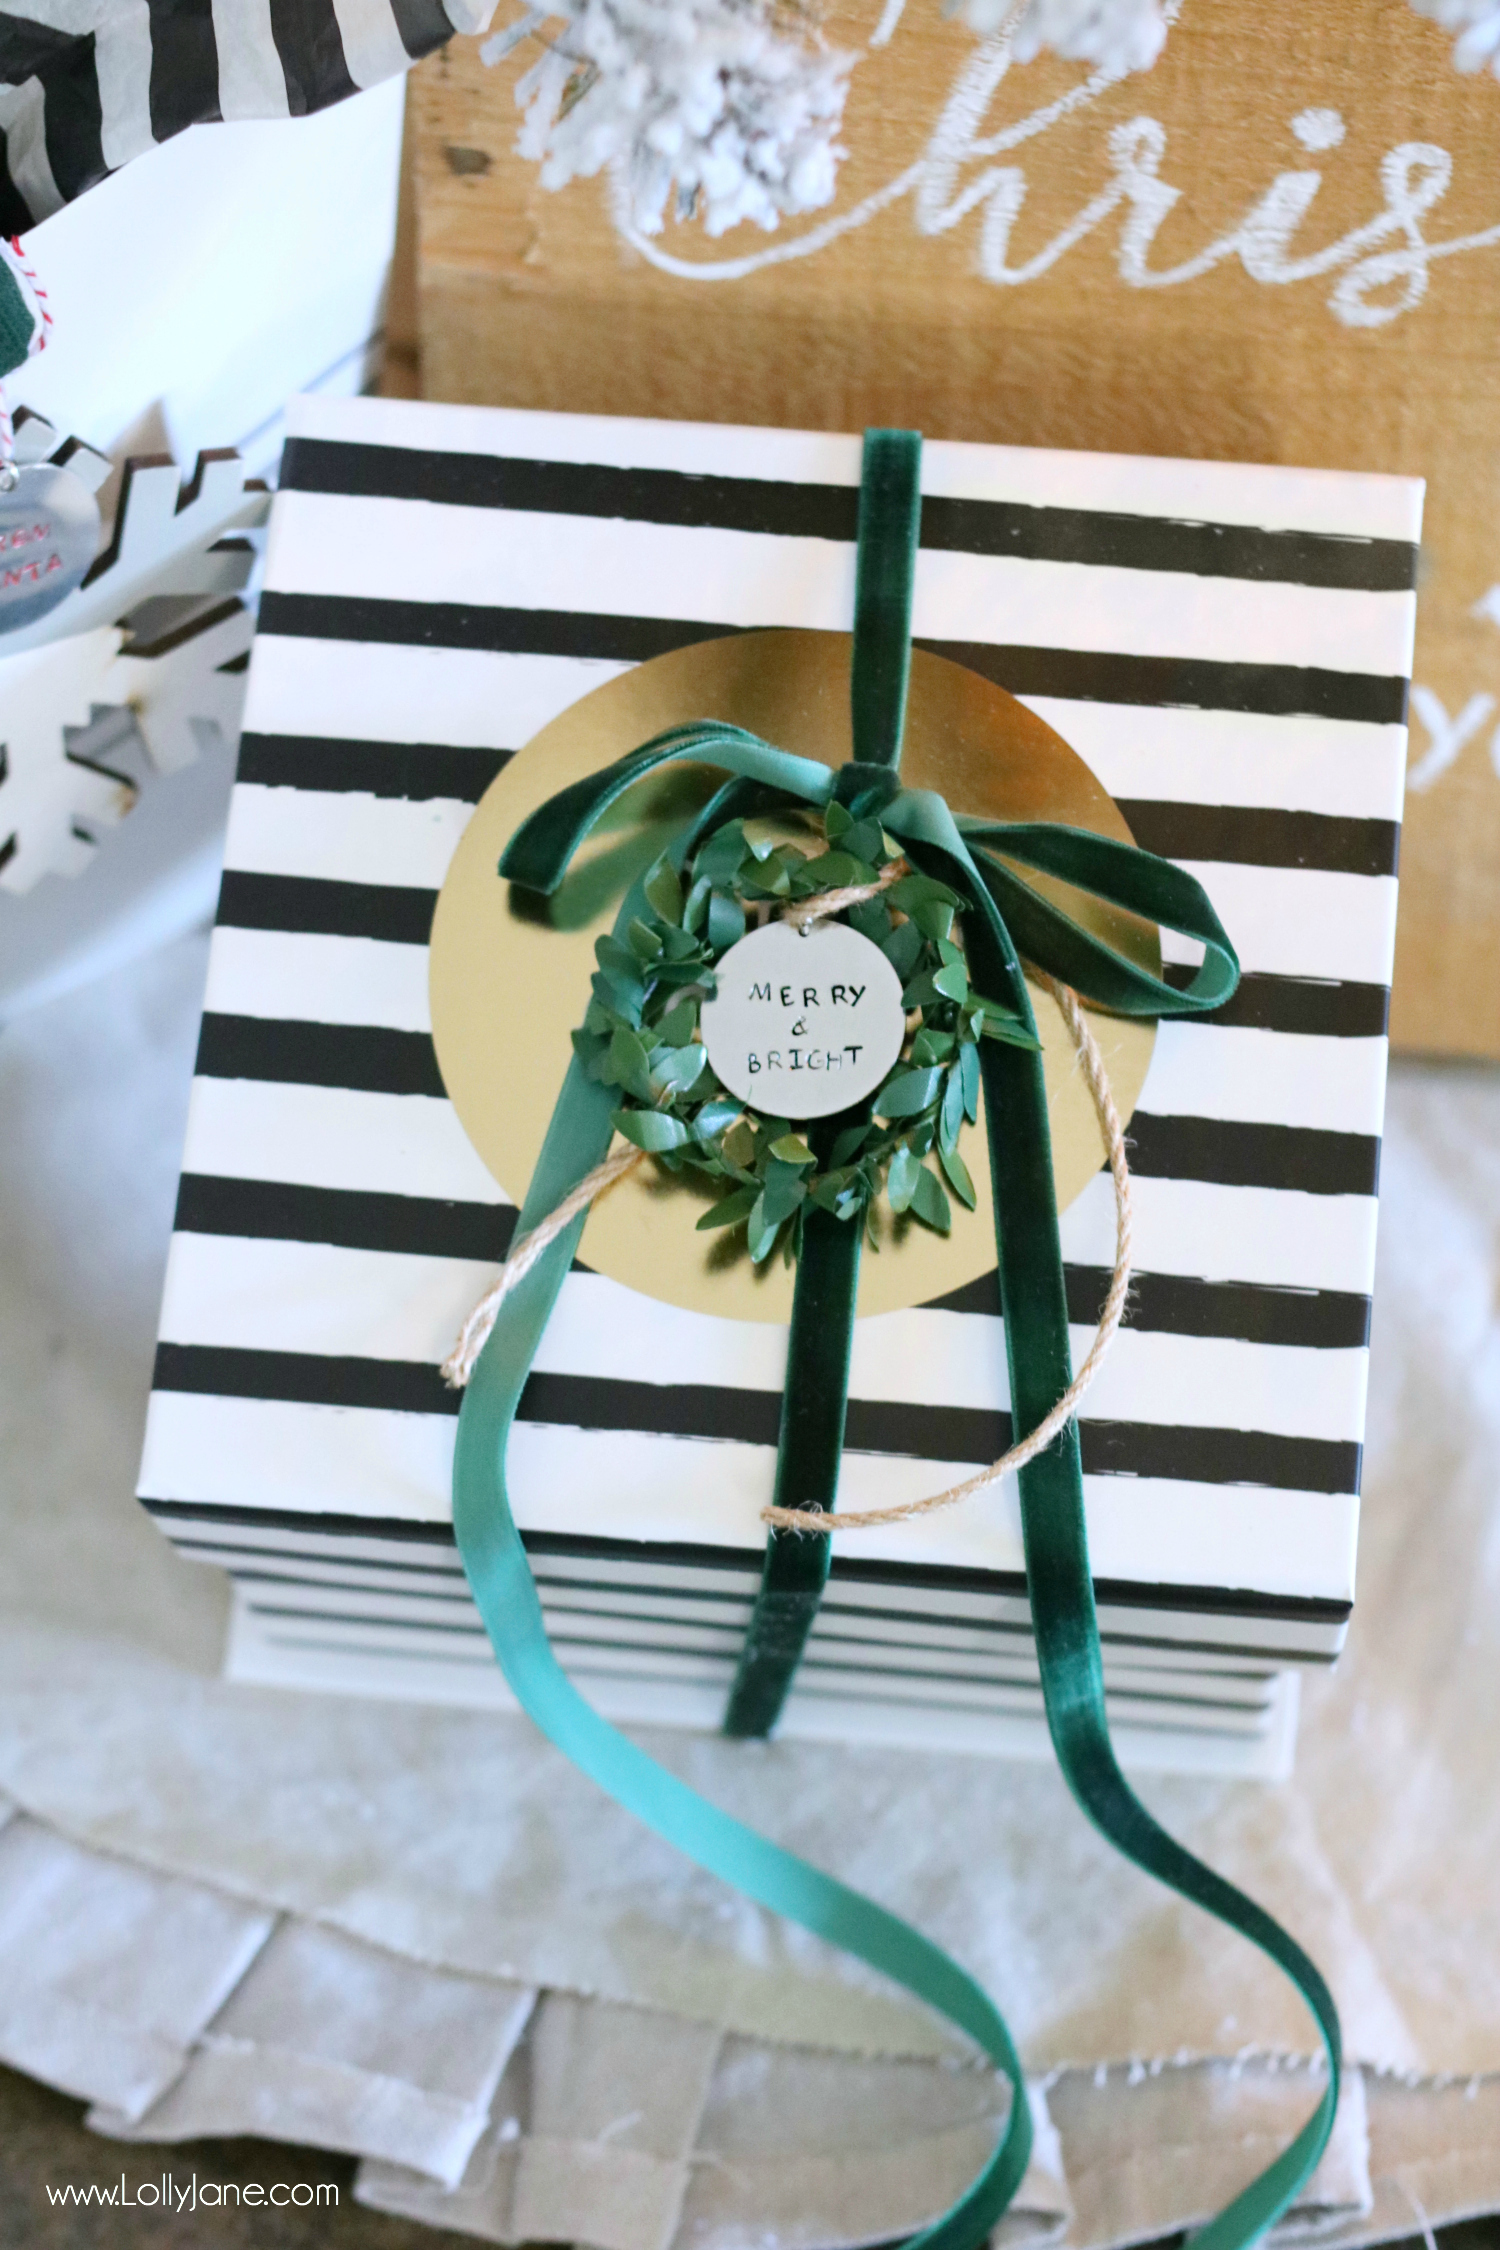
If you have little believers of the Big Guy in your family, stamp “From Santa” on a disk to conceal your handwriting. The words “Merry & Bright” are not only festive but look so cute paired with a mini wreath or sprig + ribbon.
The possibilities are endless!
Check out all of ImpressArt’s stamping line at JOANN and get creating!
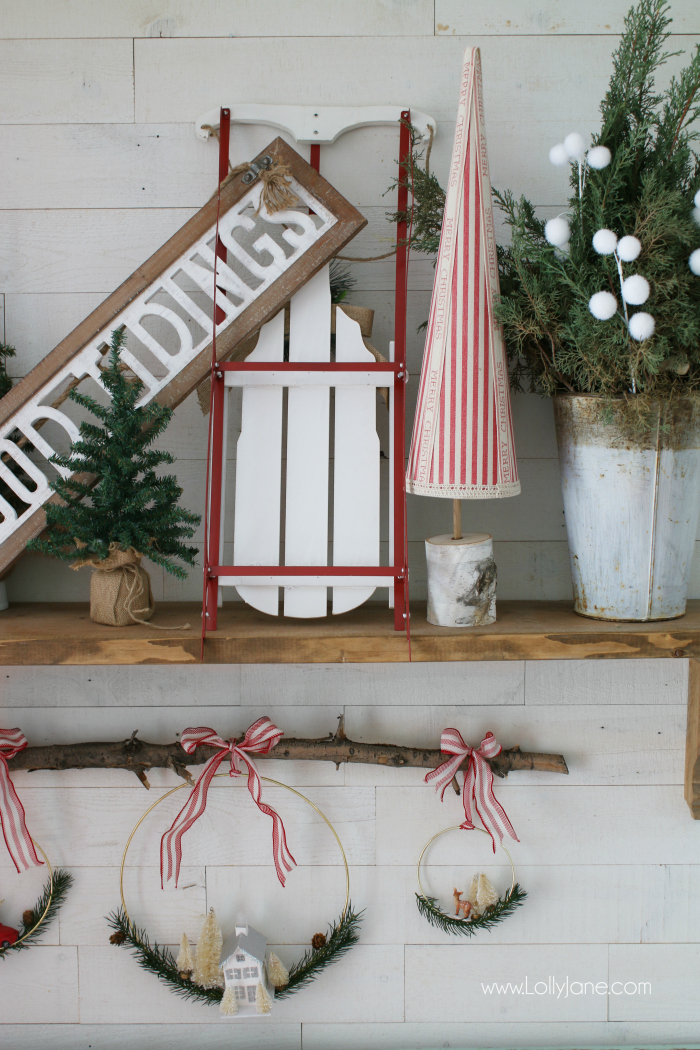
Check out more of our holiday decor from supplies snagged at JOANN’s like our Christmas Mantel,
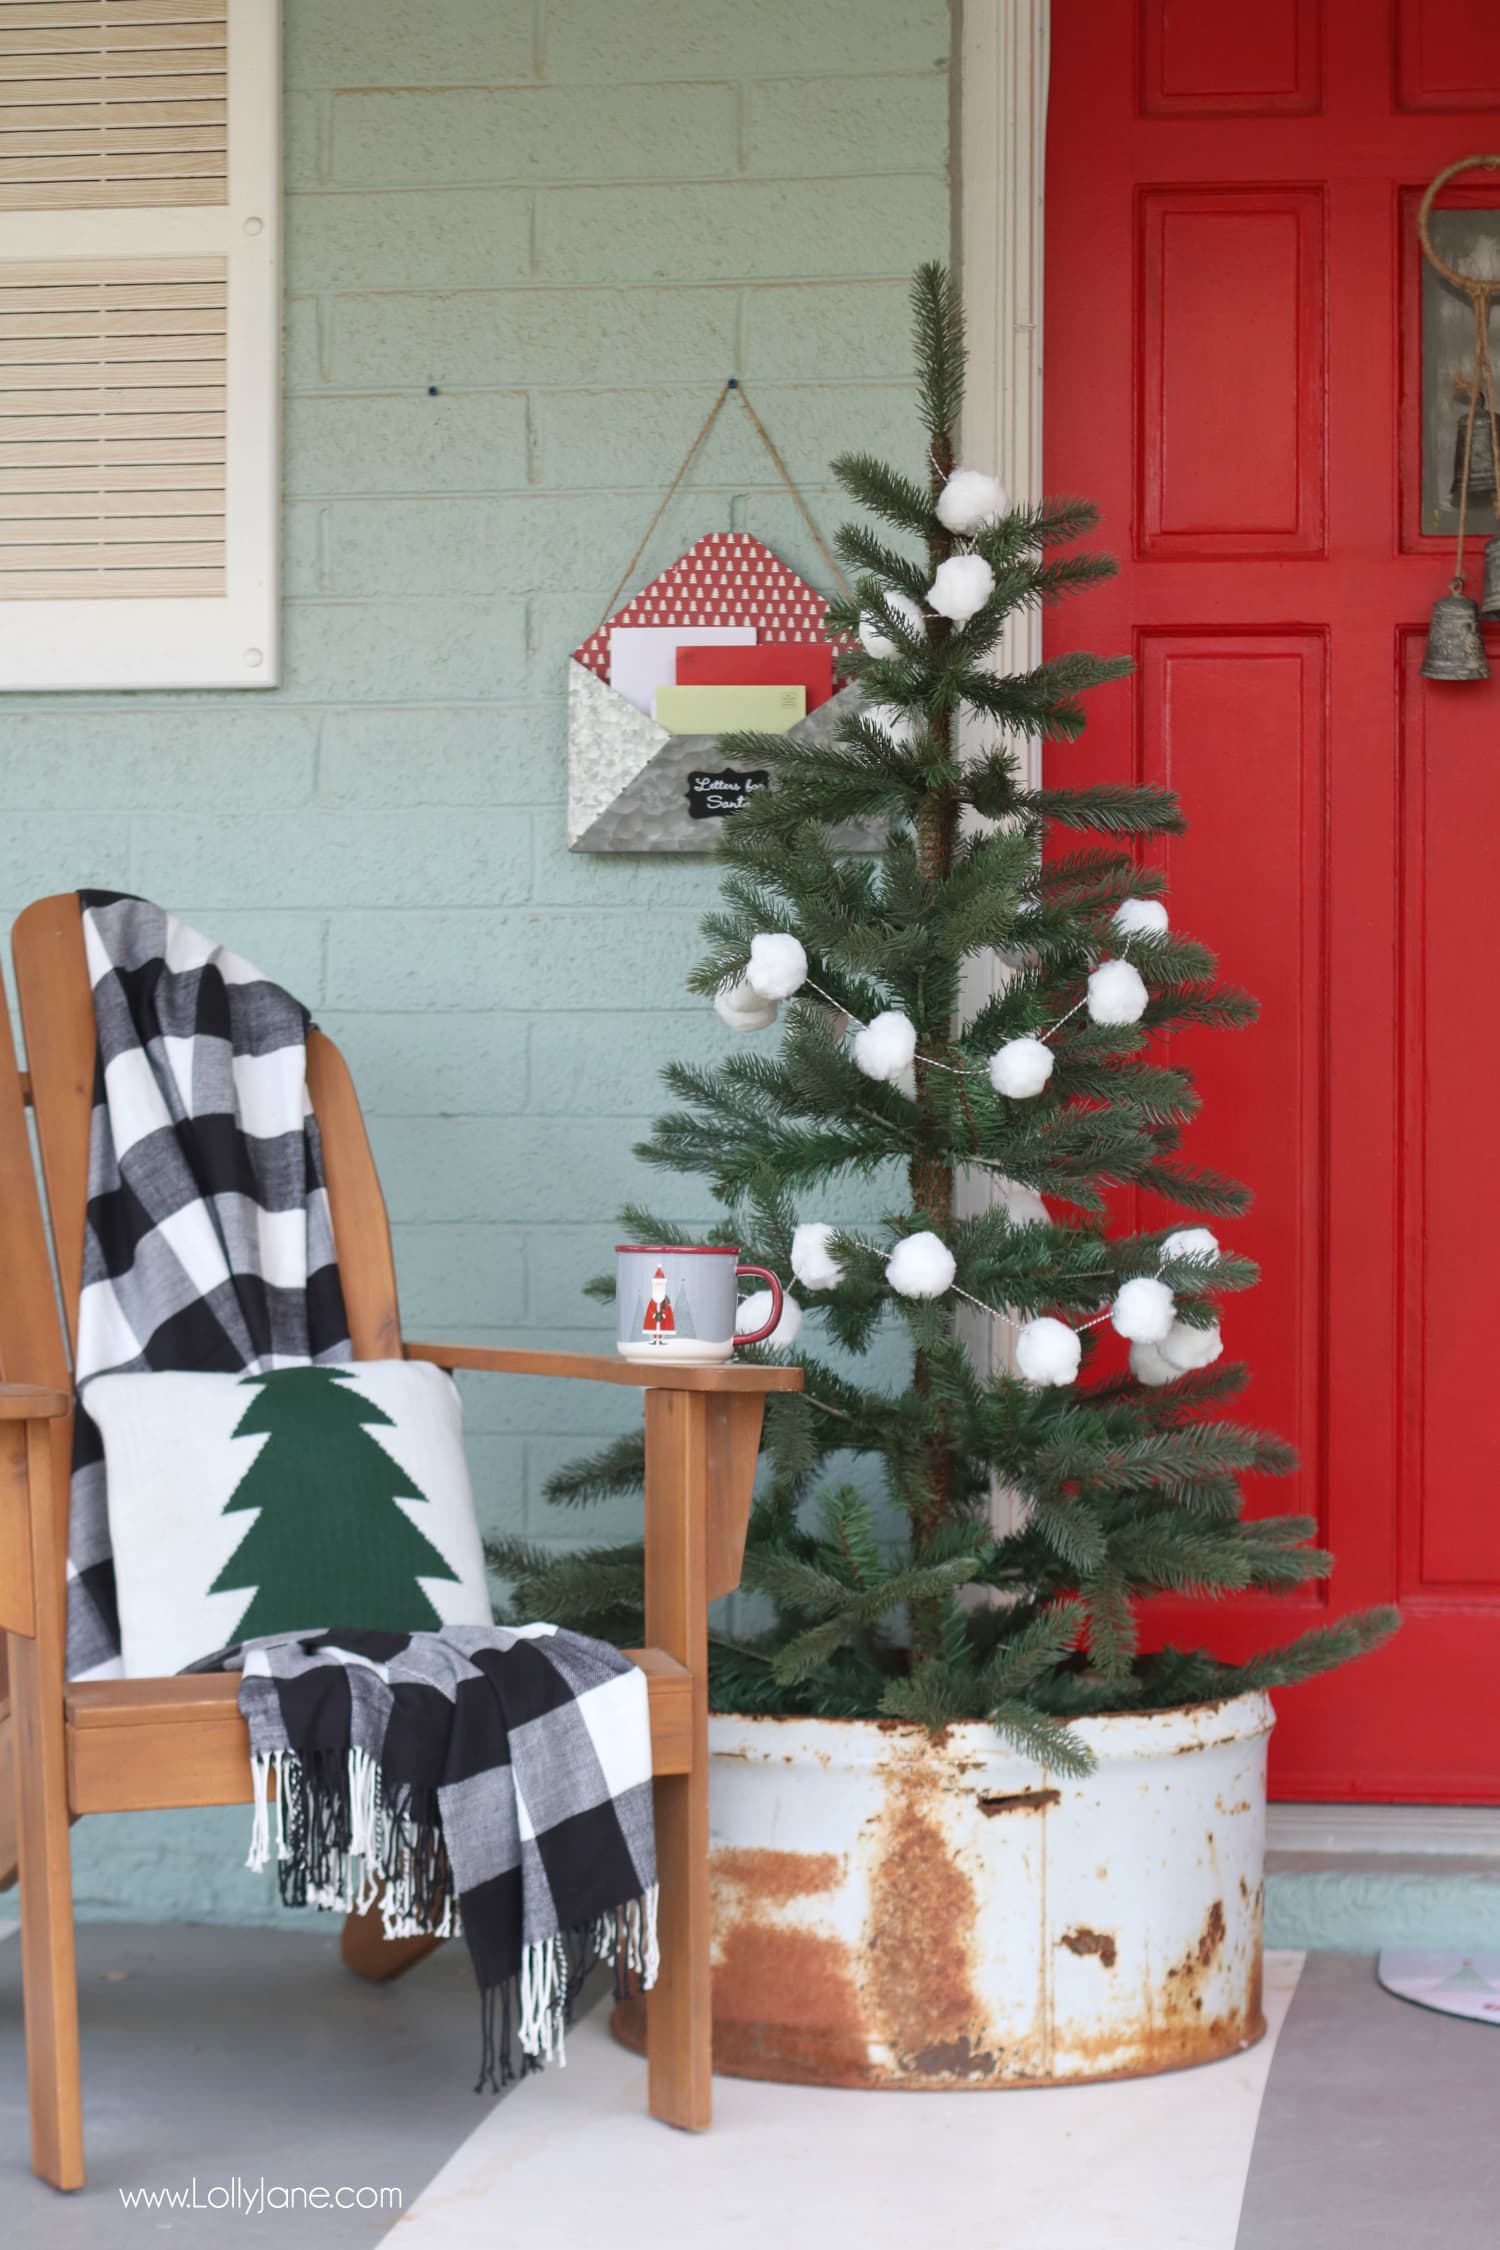
our Holiday Front Porch decorated in less than 5 minutes,
or our trio of Bottle Brush Tree Wreaths!

