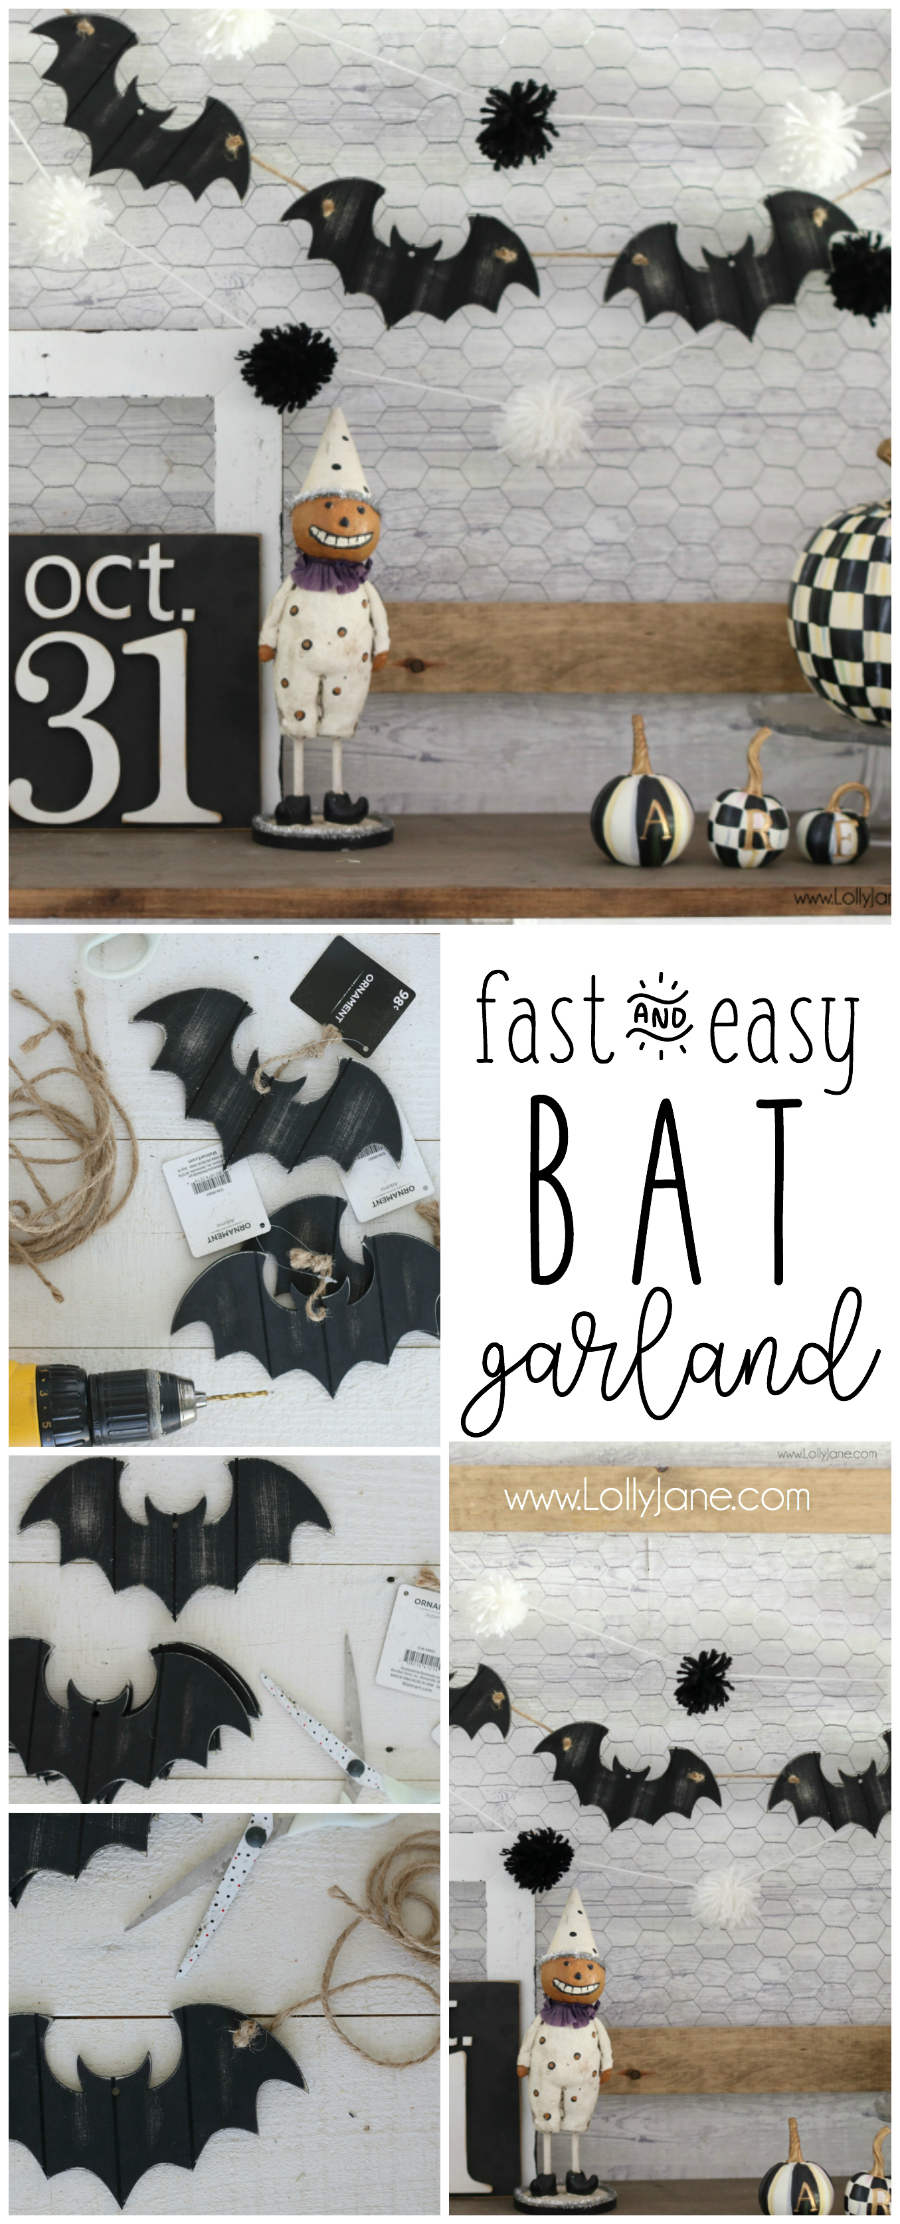
easy bat garland diy
Eek! Just a few more days until HALLOWEEN! We have already had our community Trunk-or-Treat (do you do that where you live?), our Fall Festival (costumes welcome!) and our friends adults-only couples Halloween bash soooo we are ready for Tuesday the 31st! We start with a driveway potluck and leave the husbands to grill and pass out candy while the wives take the littles trick-or-treating… I can hardly wait! Since Arizona has TWO full weeks of fall break, we hid from our summer like weather we’re still enjoying having and the kids and I made this cute bat garland for less than $5… and under an hour! Note that it would have taken me 10 minutes total but hey, we’re making memories right? 😉
In case you missed this original post on BeckyHiggins.com, here it is for you!
Materials needed:
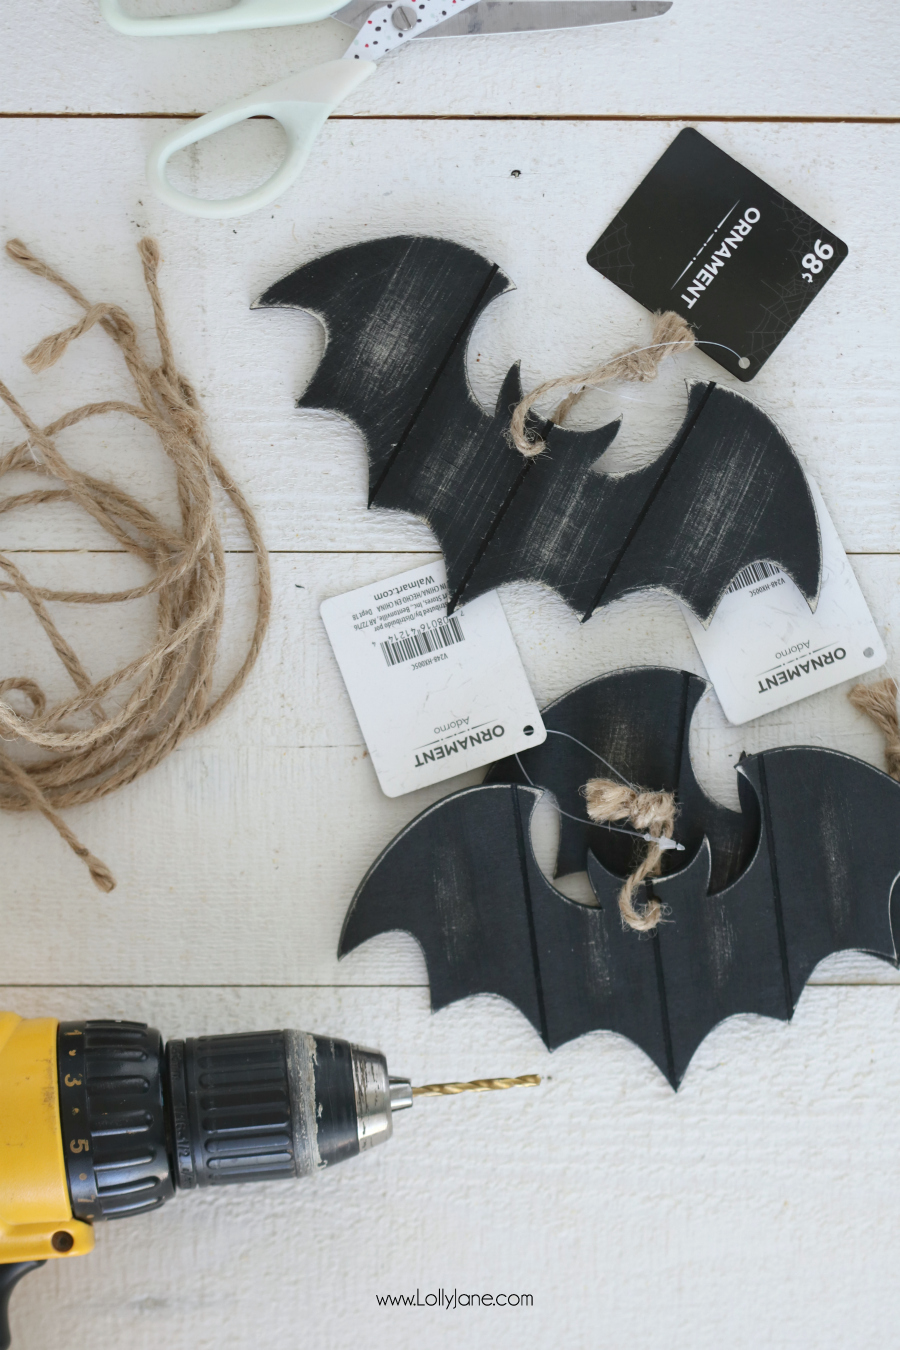
- Wooden Bat Ornaments x4 ($.98/each at Walmart or OT has them unfinished for a steal!)
- Twine or string or yarn (roughly 2.5′)
- Drill with drill bit (1.7 size)
I feel like this is pretty self-explanatory but I’ll give you the official tutorial anyway! 😉
Instructions:
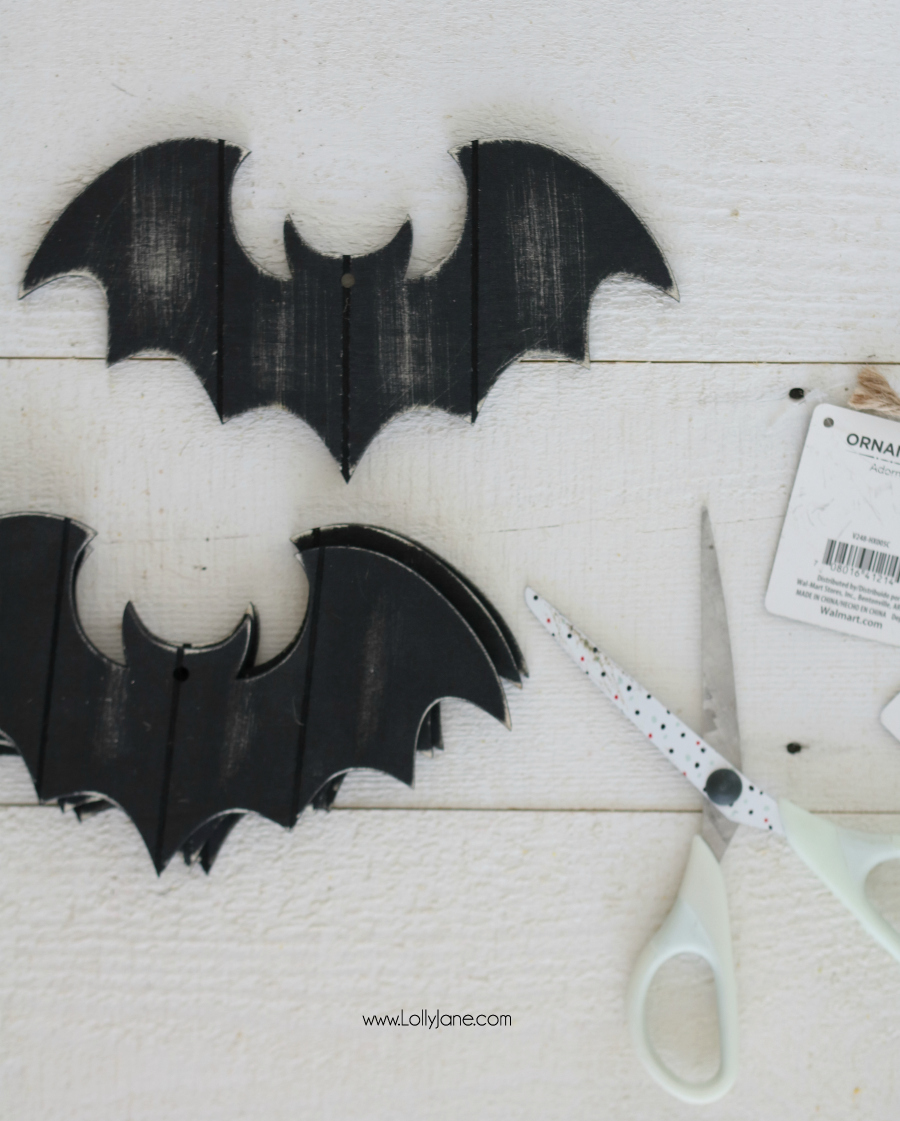
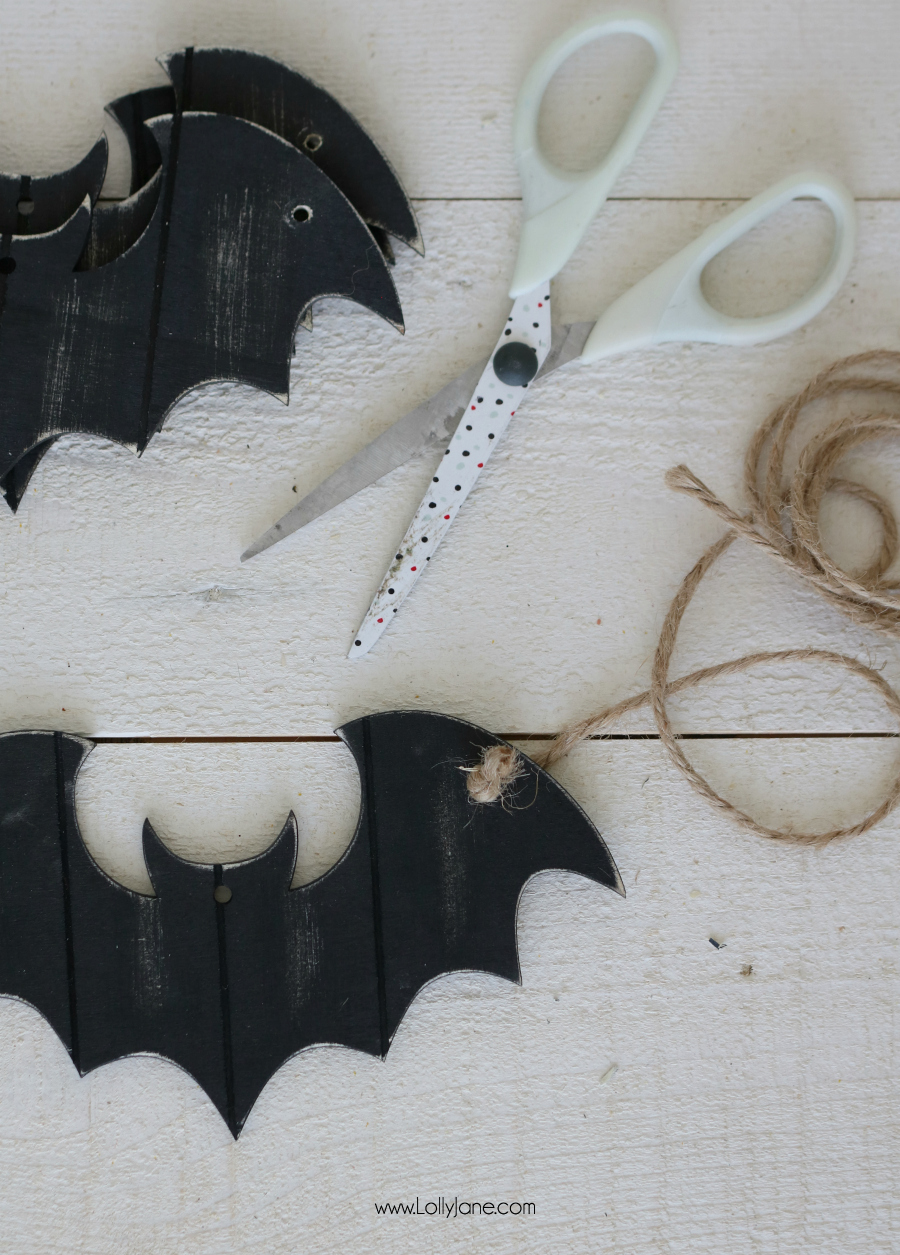
STEP 1. Snip off ornament tags and twine from bat head.
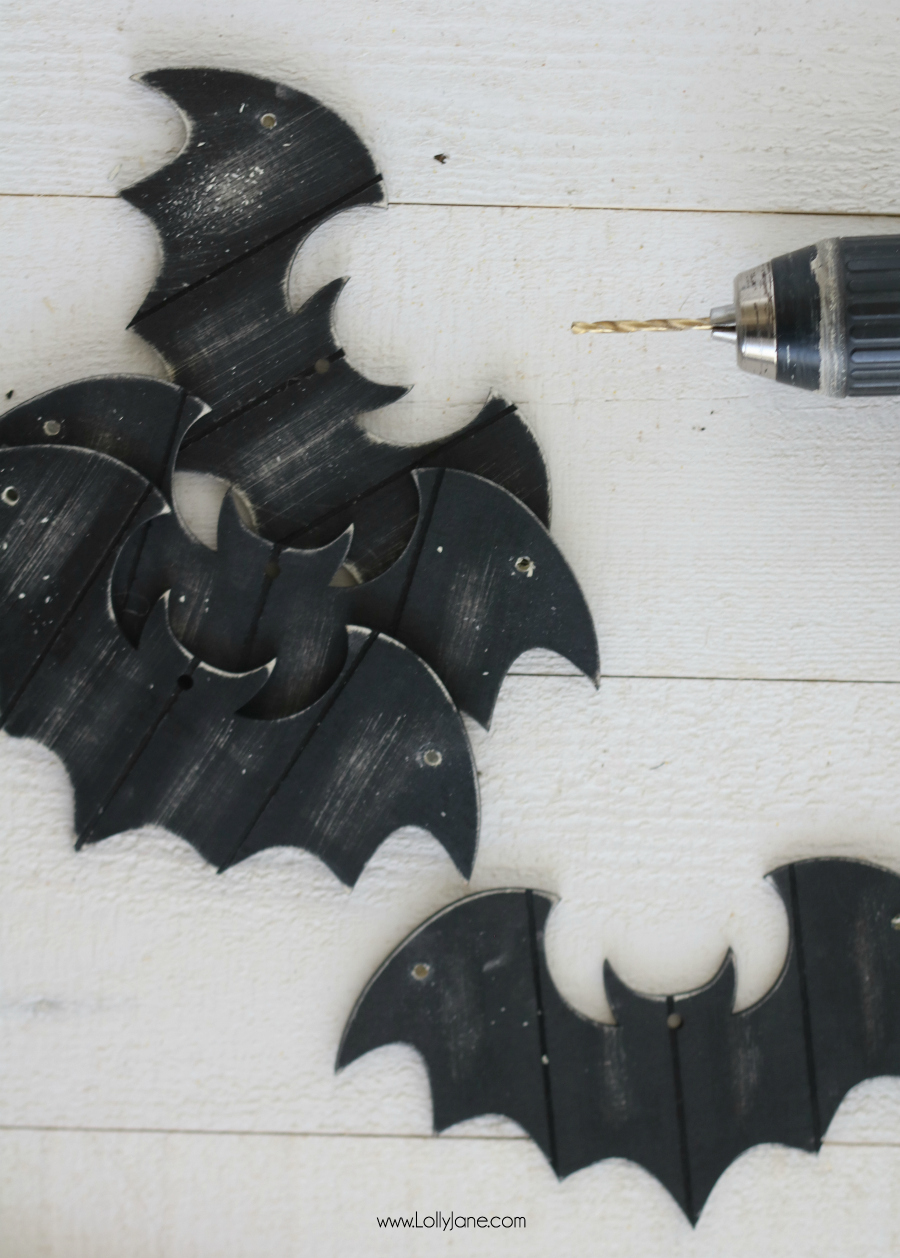
STEP 2. Drill holes in bat wings.
STEP 3. String twine (roughly 5″ from each bat, including knot,) from the back of the wing and tie in a knot to secure.
Yes, it’s really that easy!
I did the drilling and the kids did the tying and displaying!
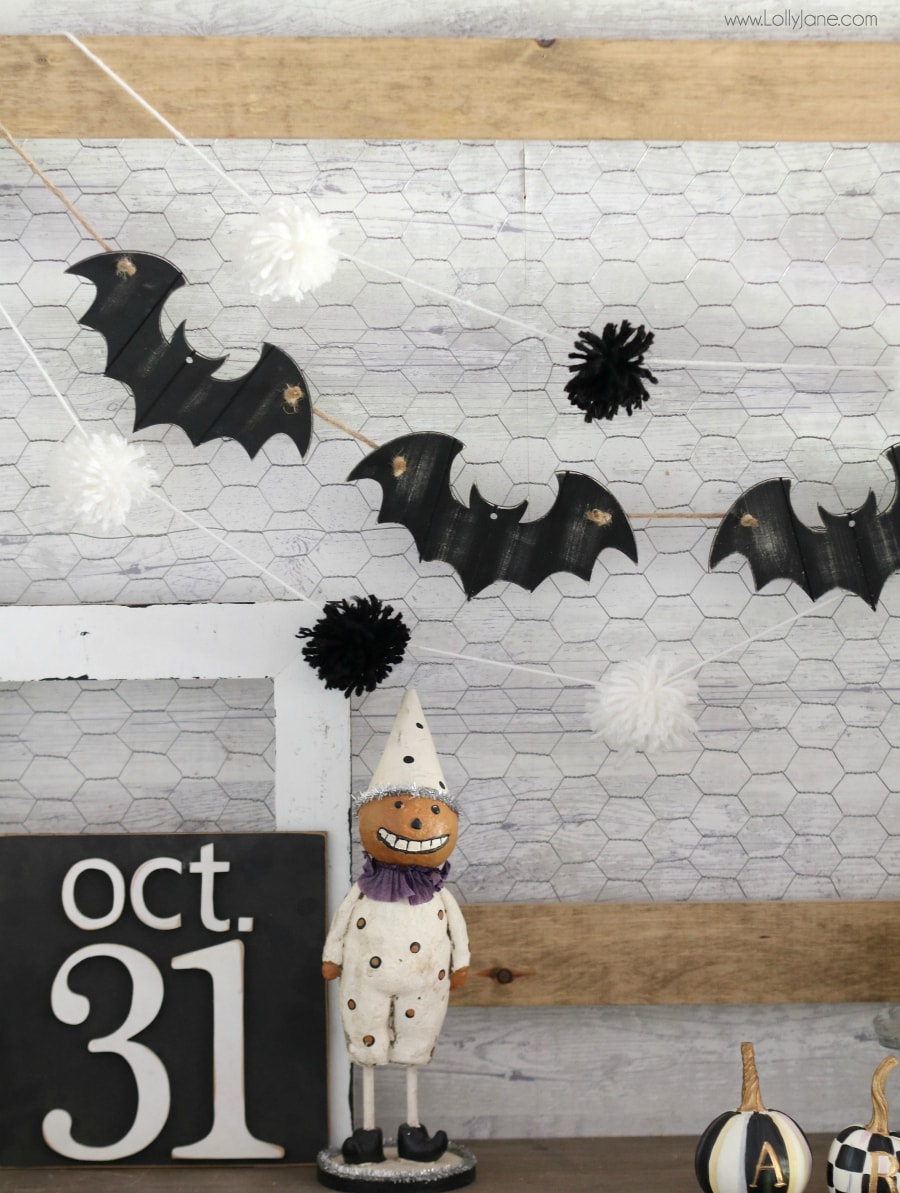
We paired it with some yarn poofs (if Becky hasn’t shown you how to make these cuties you can search Pinterest for how to whip them up,) and my farmhouse dining room shelves are officially Halloween-ified!
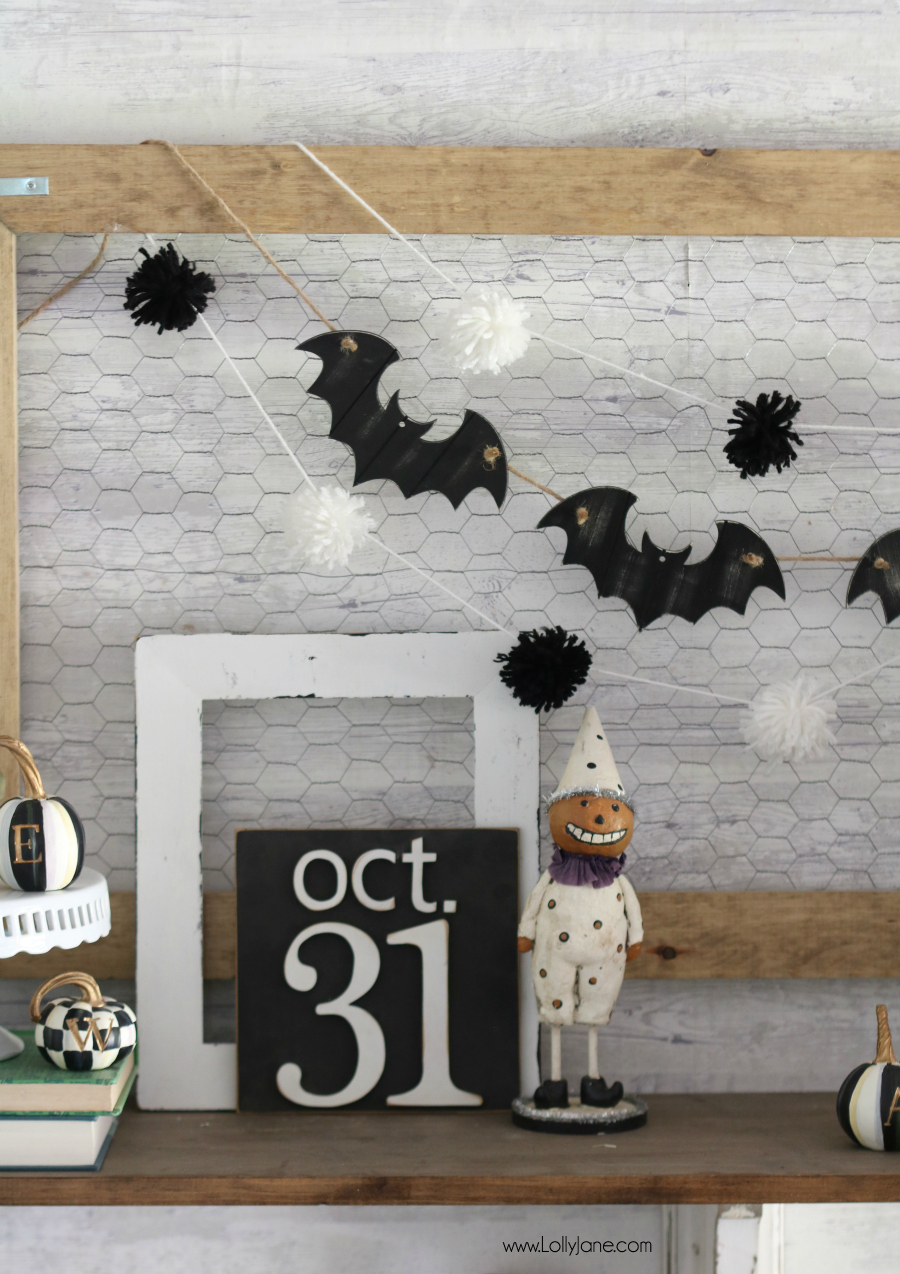
I love how versatile this little garland is. Display over your doorway to welcome visitors, add over your mantel, or string across your food table at a Halloween party… so festive for less than $5!
If you need it longer, just snag more Halloween bats and make as long as you need. For us, they’re the perfect accent over our DIY Chicken Wire Frame 😉
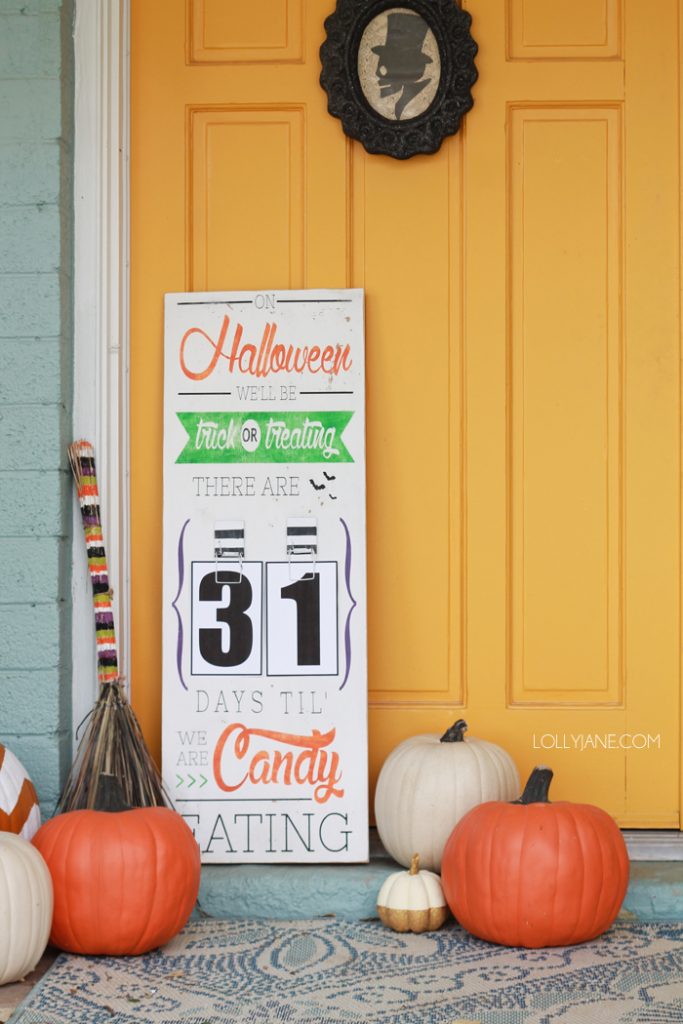
For more Halloween crafts, take a peek at our our DIY Halloween Countdown Board, (or free printable!),
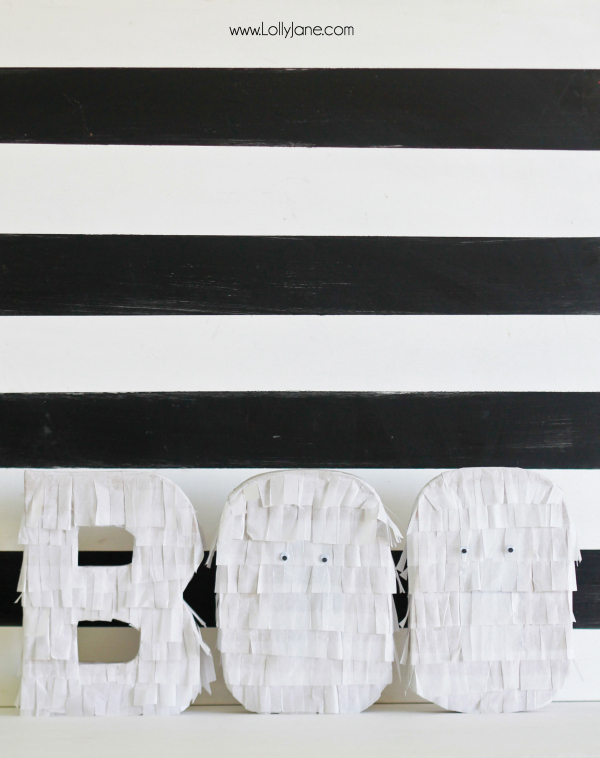
or our DIY BOO Fringe Letters!
Tell us, what are YOU dressing up for on Halloween? My family are a band of pirates and the baby is a parrot. Aaaarg! 😉

Easy Bat Garland DIY
Materials
- 4 Wooden Bat Ornaments
- Twine or string or yarn (roughly 2.5′)
- Drill with drill bit 1.7 size
Instructions
- Snip off ornament tags and twine from bat head.
- Drill holes in bat wings.
- String twine (roughly 5″ from each bat, including knot,) from the back of the wing and tie in a knot to secure.
- Ta da!


Oh thank you Leena! Such a sweet comment 🙂 Happy Halloween!
I love this bat garland! In fact, the entire vignette is so cute and charming! Thank you for sharing! Hugs!