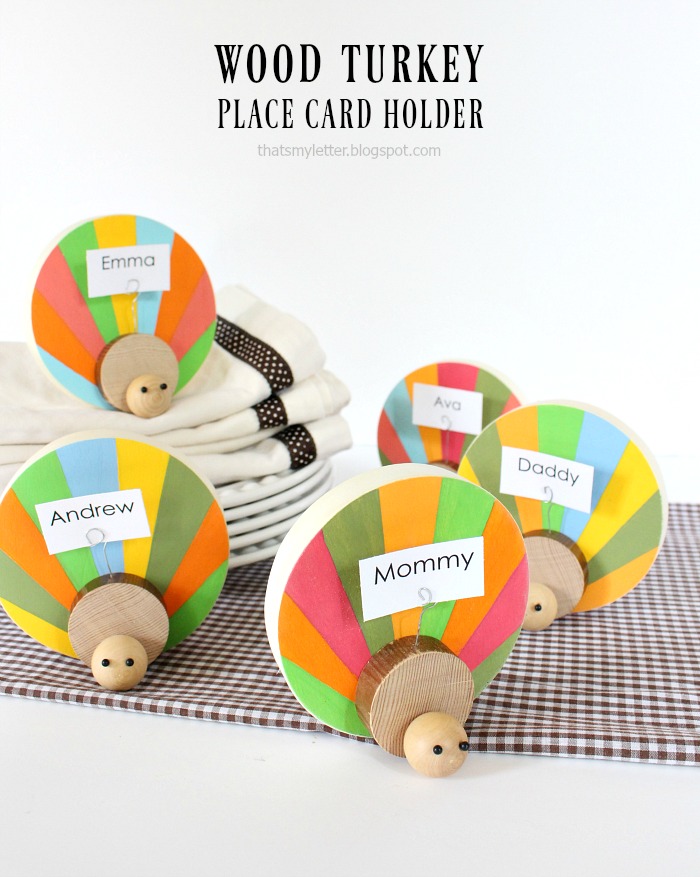
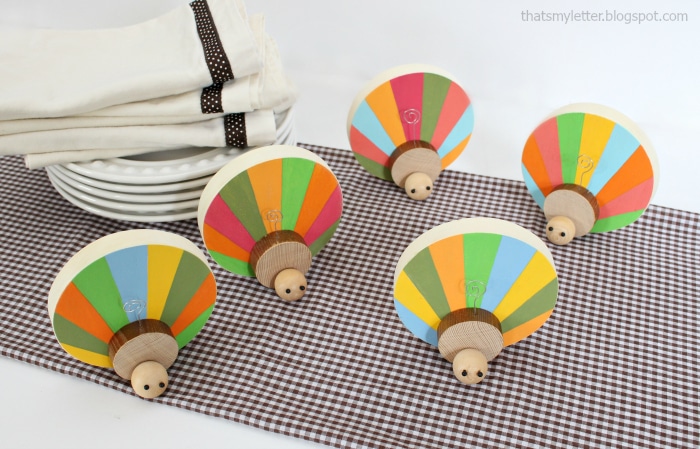
DIY Wood Turkey Place Card Holders
Supplies:
- 5″ wood circle (I used the cap from a circular wood box)
- 1 1/2″ wood circle (dowel cut into 1/2″ slices)
- 1″ wooden doll head
- ruler
- pencil
- acrylic craft paints & paintbrush
- drill & drill bits
- 22 gauge craft wire
- wire cutter
- super glue (gel version is best)
- wood glue
- black ball head straight pins
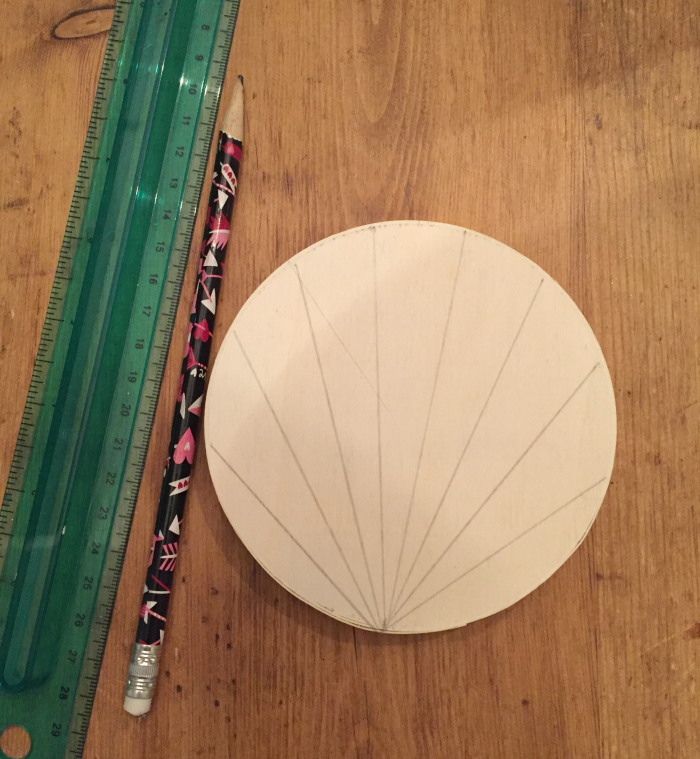
Step 1: Using a pencil and ruler draw the feather lines stemming from one point fanning outwards. Draw as many feathers as you like, the more lines, the more colorful your turkey will be.
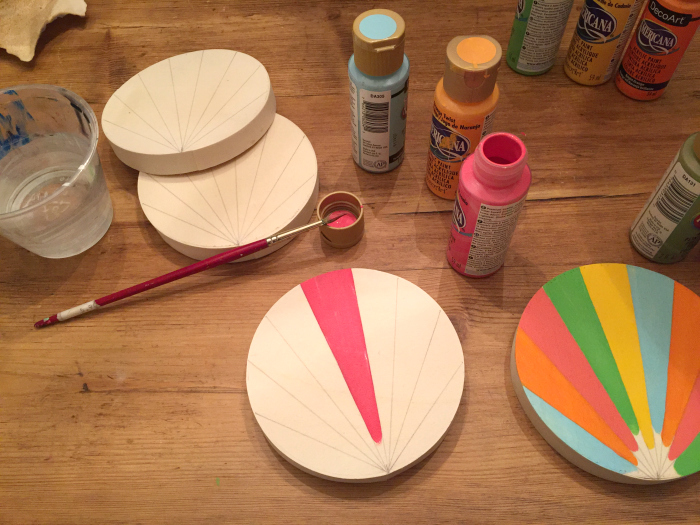
Step 2: Paint the feathers using acrylic craft paint.
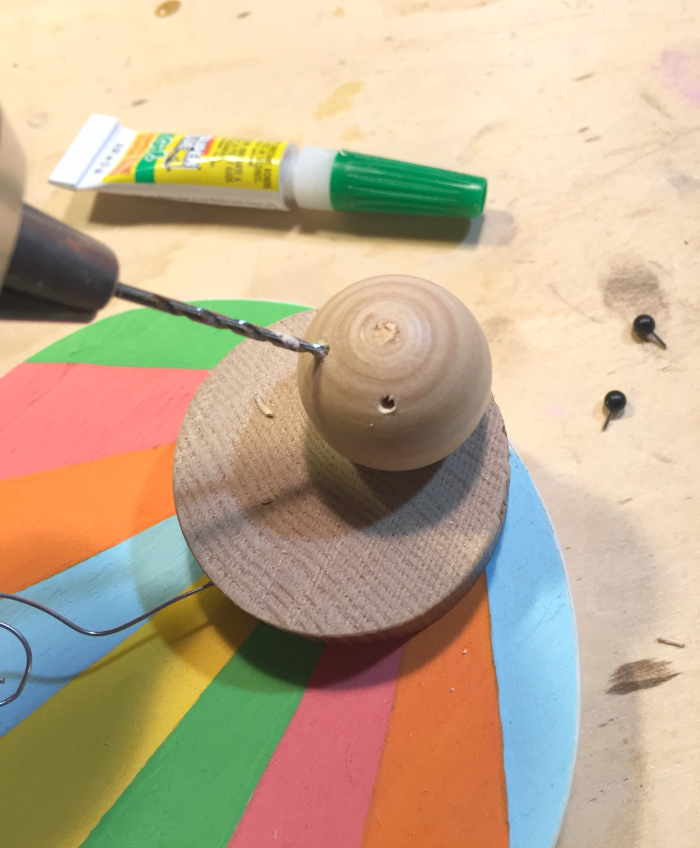
Step 3: Predrill a tiny hole into one edge of the turkey body piece (1 1/2″ wood circle).
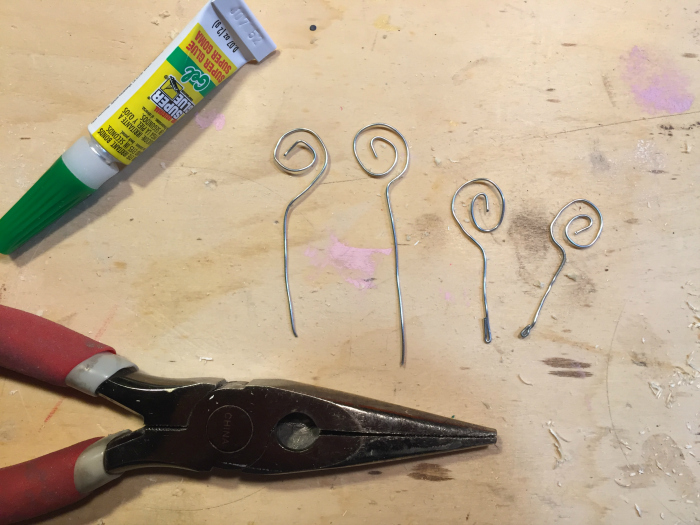
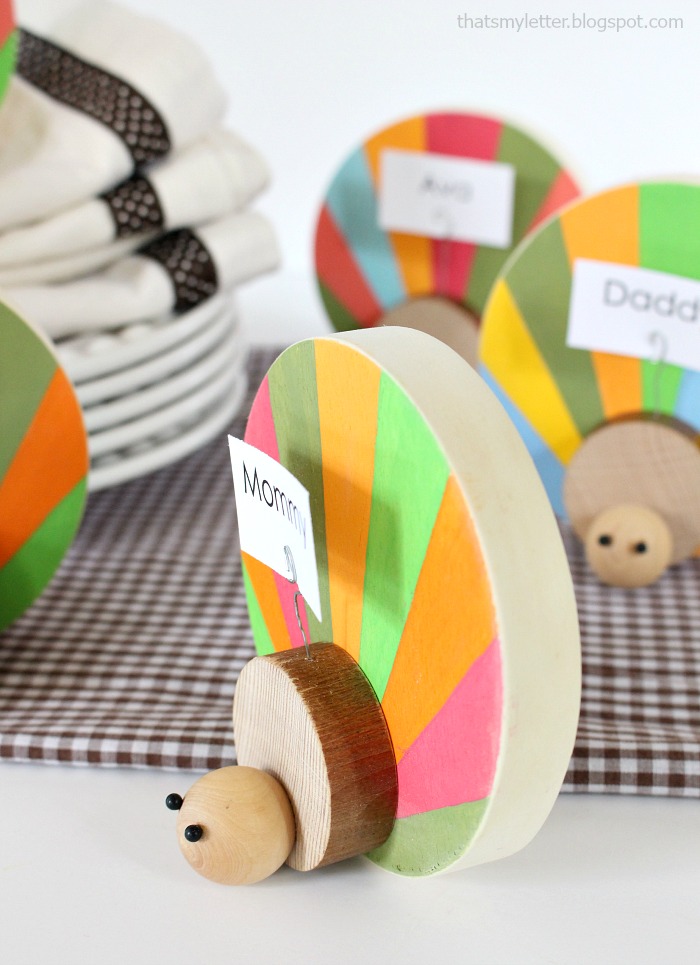
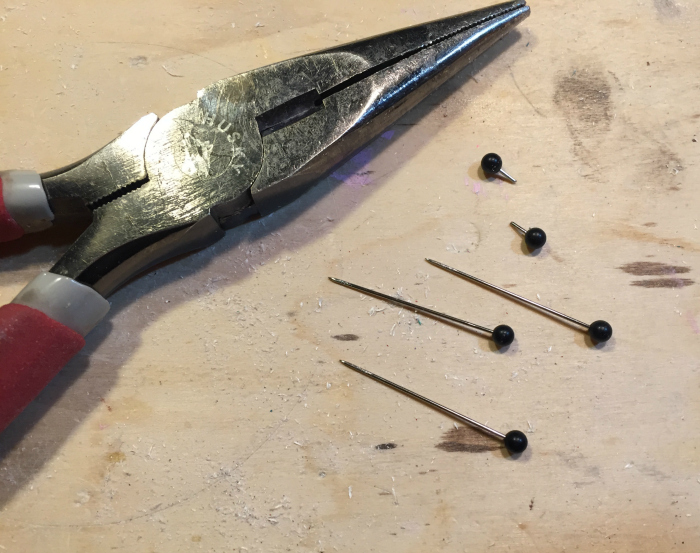
Step 6: Using a wire cutters trim off the long metal pin portion keeping only a small tip.
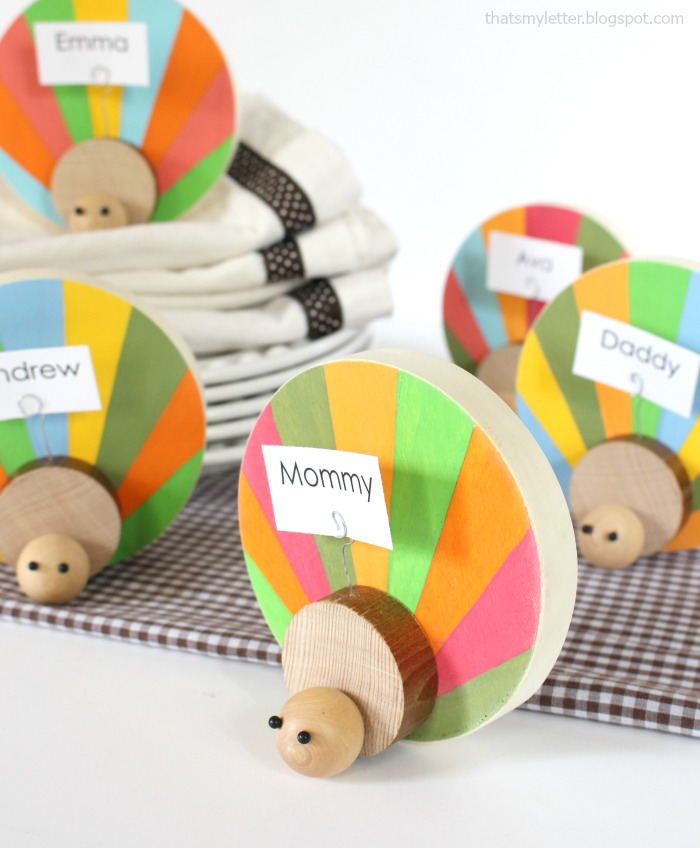
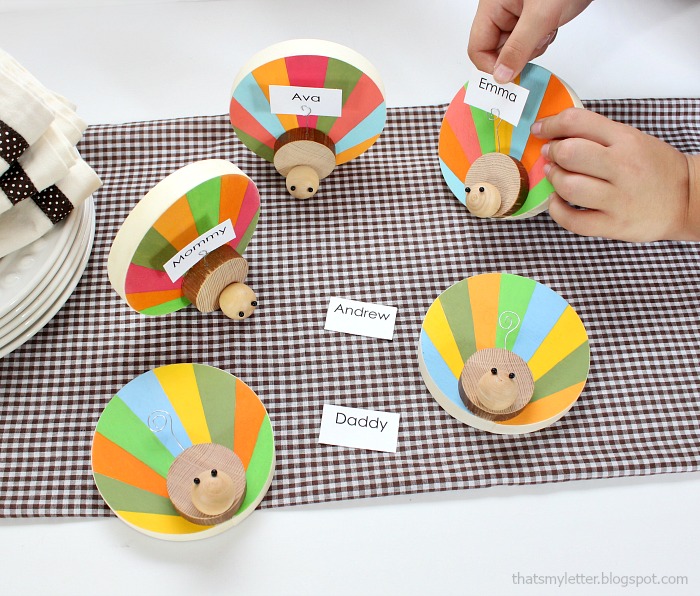
Print out names onto cardstock and insert into wire holder. These wood turkey place card holders stand up on their own, if yours are woobly consider adding pipe cleaner ‘legs’ to support the sides and even a cute little beak would be fun.vI hope you enjoyed this easy wood craft, be sure to follow me on social media for more project ideas and sneak peeks:



This is so cute! Thank you so much for sharing with us at Dishing It & Digging It. Hope to see you back again this weekend
Please remeber to add the link #naturallycrafty http://simpleparenting.co.uk/clay-leaf-printing/
So cute! They would be so fun on our kids table. Thanks for sharing with SYC.
hugs,
Jann
Fantastic turkey name place card holders. I’m visiting from the Naturally Crafty link up.
We love them too, Linda!
So cute! I love these turkeys! Sucha great craft!
So cute! Thanks, Johanna!
These are so cute! Love the critter plant sticks too 🙂
OMG these are so cute!!
I would love for you to share this with my Facebook Group for recipes, crafts, tips, and tricks: https://www.facebook.com/groups/pluckyrecipescraftstips/
Thanks for joining Cooking and Crafting with J & J!